Mi Corazón de Arcoiris
FULL ENGLISH VERSION

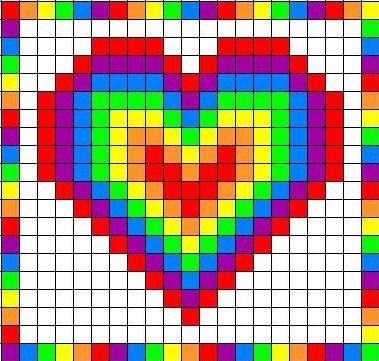
Greetings, talented folks at #HiveDIY. I continue to be obsessed with 💜 Hearts 💜. Whether they're pixelated, Minecraft-style, geometric, or an optical illusion style, which, from what I can see, I still have a long way to go to achieve. Today, I bring you a simple Rainbow Heart to make. For this drawing, I started by taking inspiration from an image on Pinterest that I show below:

𝐒𝐭𝐞𝐩-𝐛𝐲-𝐒𝐭𝐞𝐩
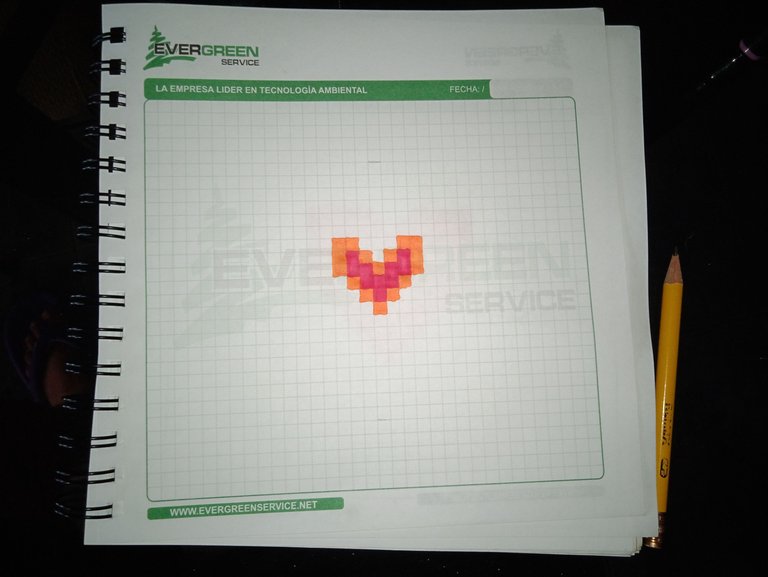
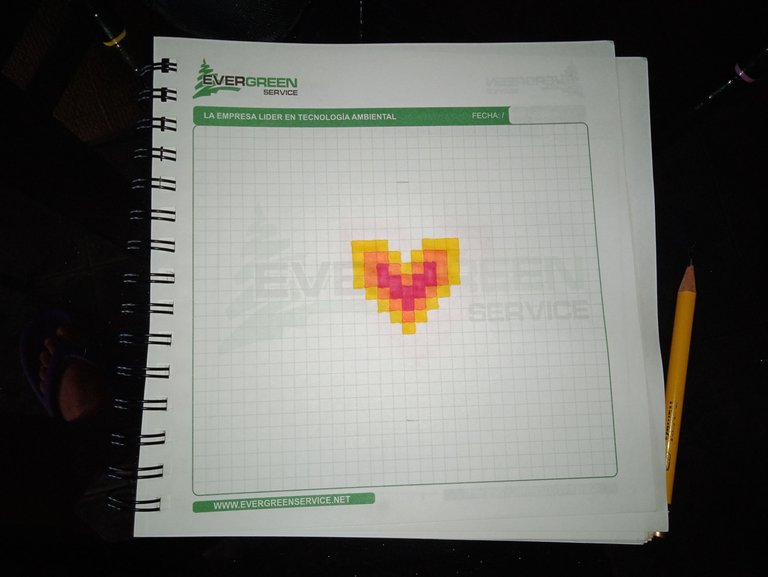
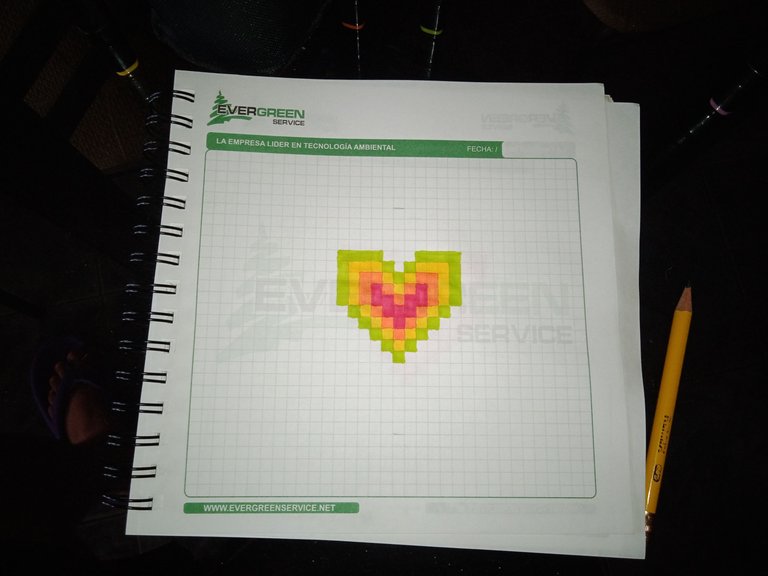
As you know, I am obsessive-compulsive when it comes to counting squares to orient myself in time and space and know exactly where to place my drawing. This time was no exception. I first determined the center and started from the inside out, using red as my first color.
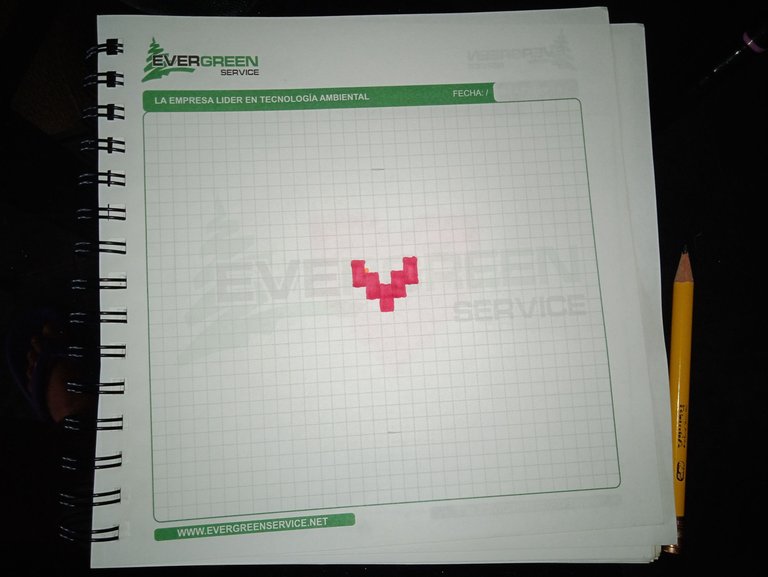
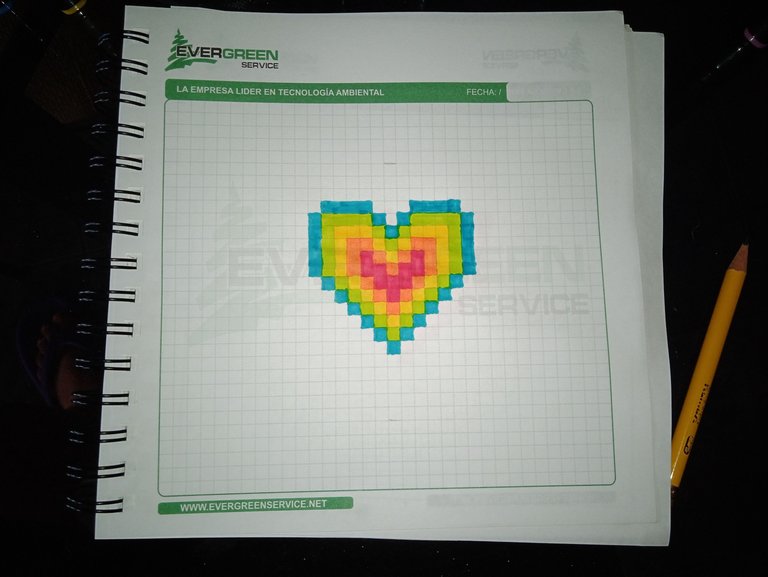
Then I used orange, yellow, green, blue, purple, and red again. To keep this post short, I will leave the step-by-step instructions in photos, as you can easily follow along with the guide images.
| Orange | Yellow | Green |
|---|---|---|
 |  |  |
| Blue | Purple | Red |
 |  | 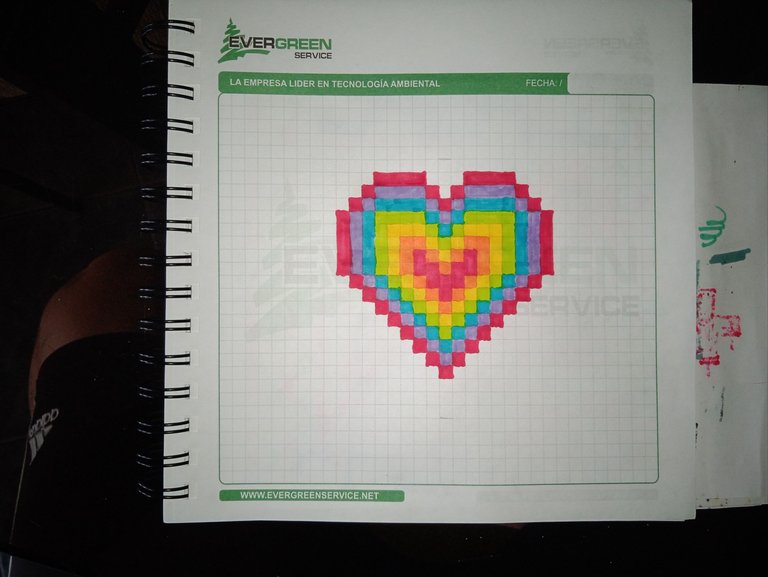 |
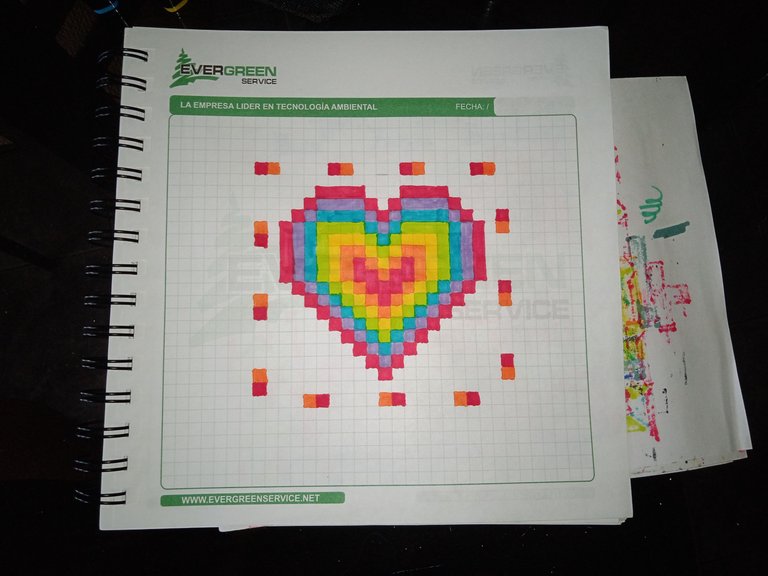
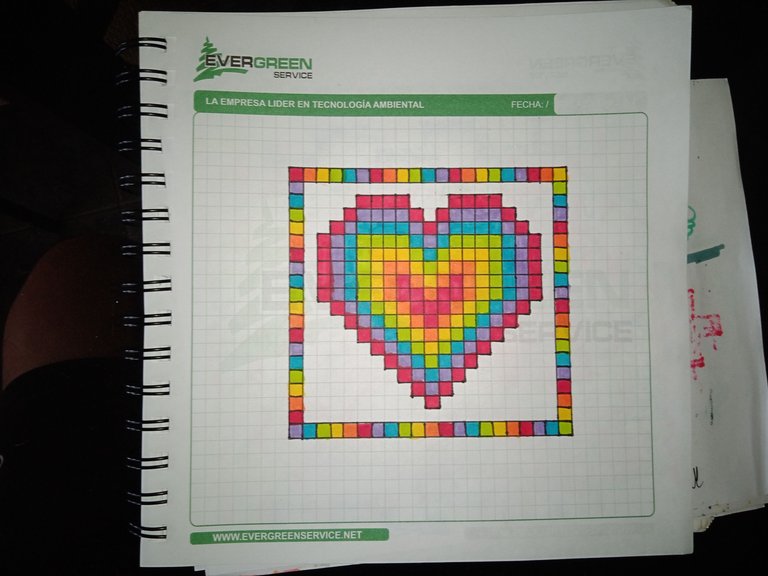
Now that the heart is done, we need to make the border. You could leave it like this and finish here, but as you know, I like to color everything that is blank.
To make the border, I followed the same color order as when I drew the heart, that is, I started with red, then orange, then yellow, then green, followed by blue, purple, and red again, completing the cycle.
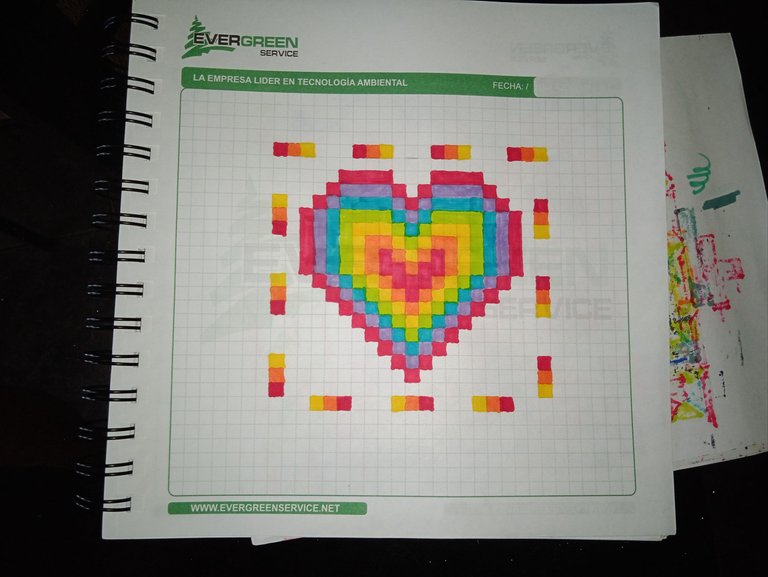
I also started in the upper left corner with the color red, leaving 5 spaces or squares in between to repaint the red square, and so on with the other colors. For this step, I will show it in orderly photos.
| Red | Orange | Yellow |
|---|---|---|
 |  |  |
| Green | Blue | Purple |
 | 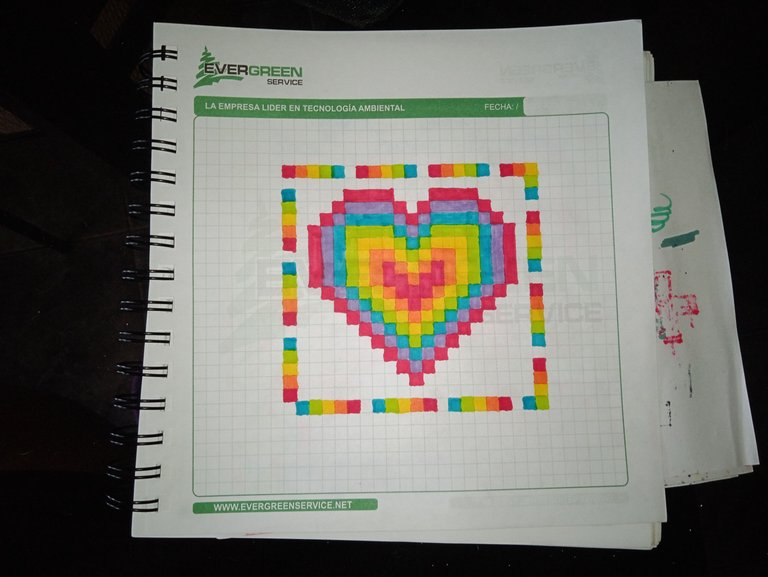 |  |
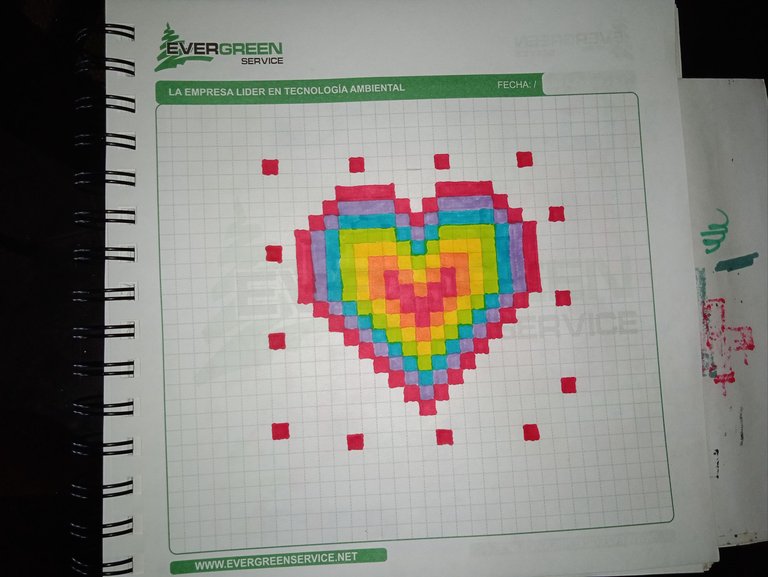
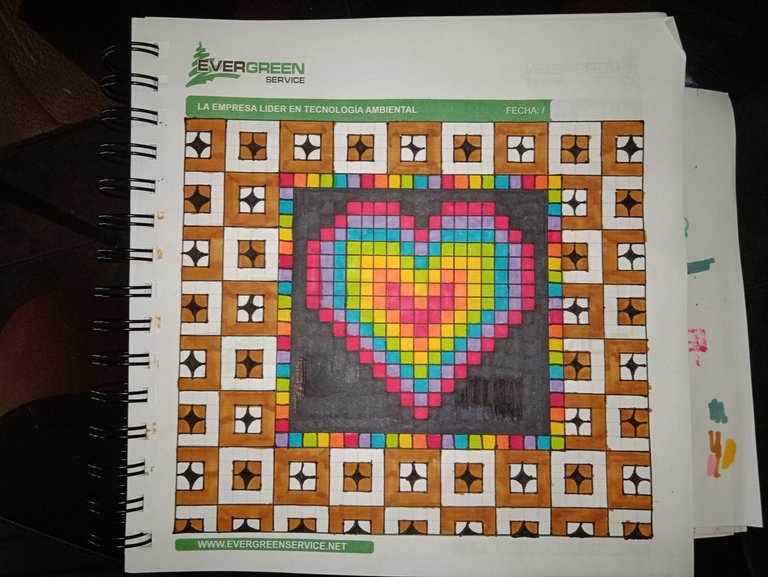
Once everything was colored like a rainbow, I decided to highlight everything with an ultra-fine black marker to make it look nicer, resulting in this:
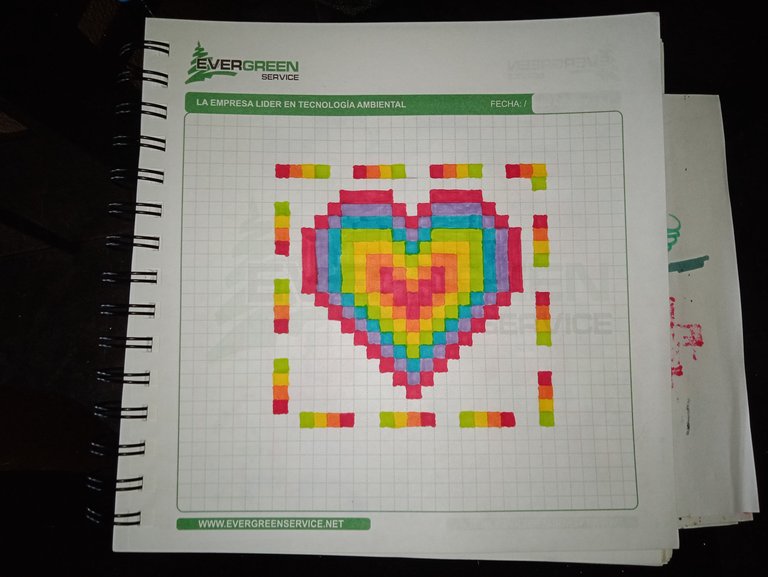
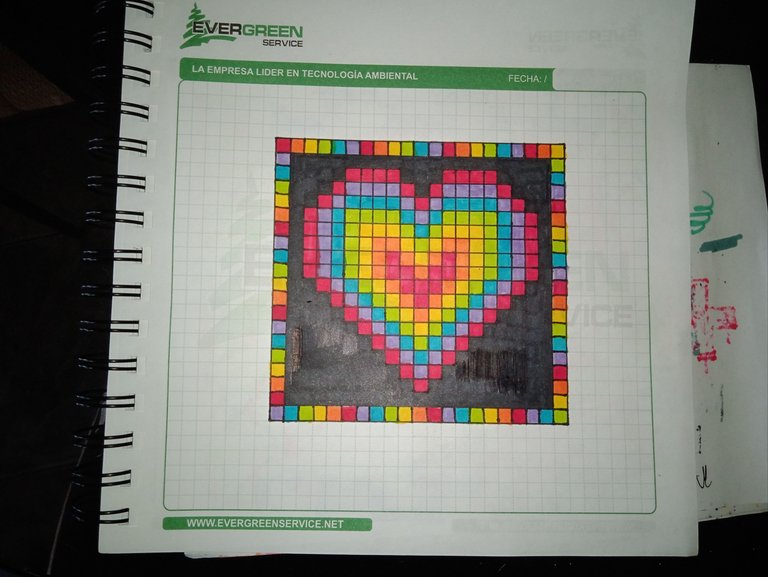
And since I'm a big fan of the color black, but so as not to overload the entire drawing with this color, I highlighted only the inside of the heart frame in black as well. The result looked like this:
For the outer edge, I wanted to draw a grid pattern, also using colors that contrasted with the heart itself.
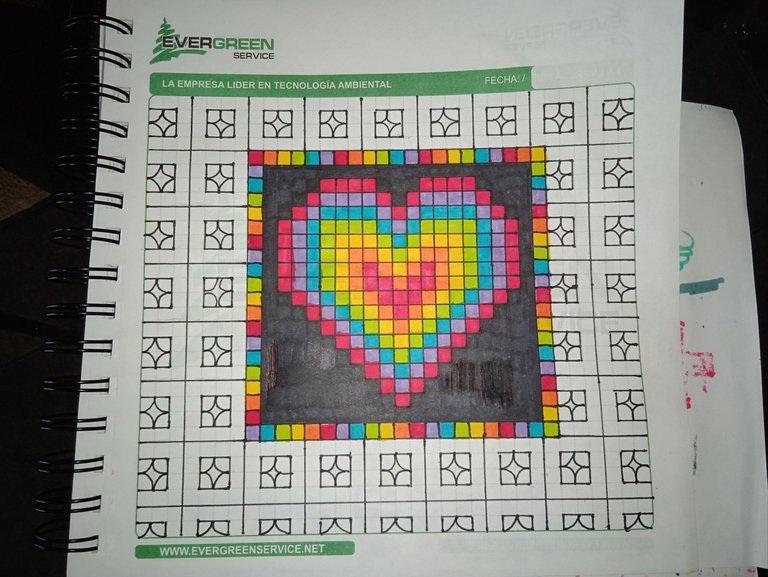
I wanted to use a pattern similar to one of my previous geometric drawings, but this time with a rhombus added so that it wouldn't look all square and boring.

I drew the diamonds in black, and the rest would be in two different colors. I wanted gold, but since I have a gold marker, I used a light brown one instead. I was unsure about the other color, between a blue-gray and a light pink. In the end, I decided on blue-gray.
As you can see, I drew some squares on the outer edge and others on the inner square, alternating between them. First with light brown, then with blue-gray.
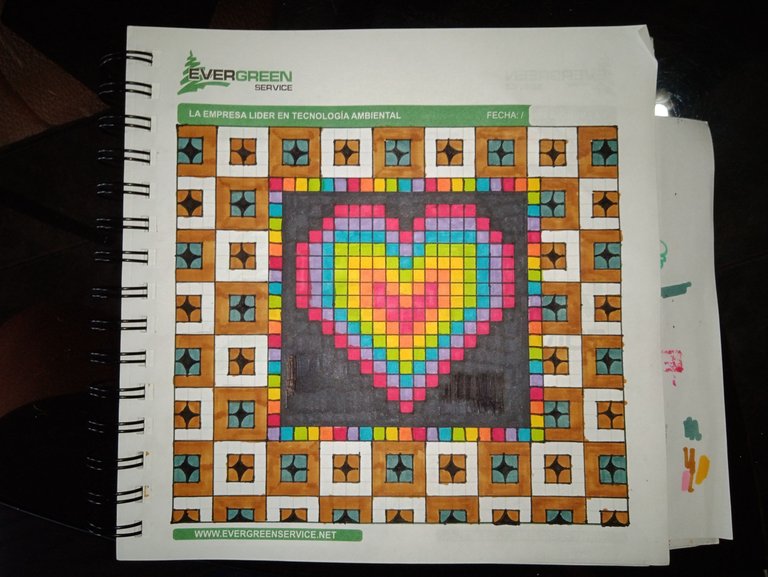
Here I show the inner squares in blue-gray. I show the edges of the other squares below, as this would be the final result of my drawing.
𝐅𝐢𝐧𝐚𝐥 𝐑𝐞𝐬𝐮𝐥𝐭
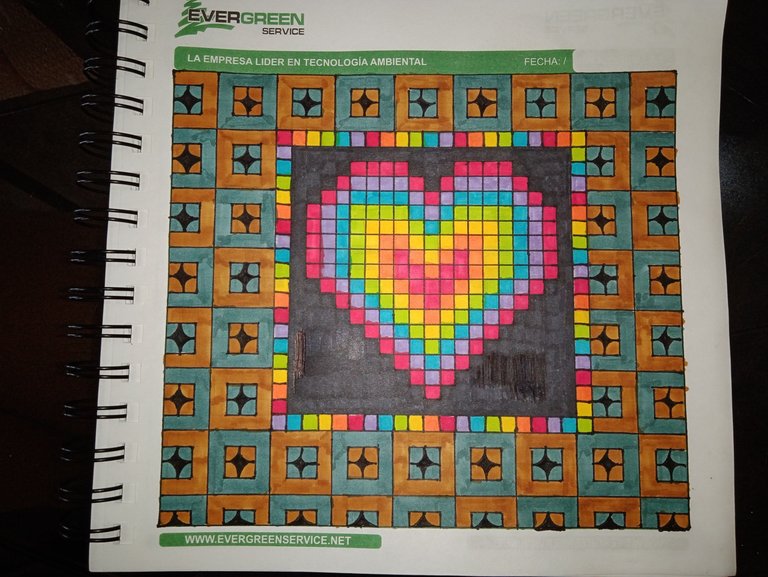
I think the choice of colors for the outer border and the checkered pattern goes very well with the bright colors of the heart. In addition, the black color continues to bring the design to life without looking excessive. I loved it. What did you think? I look forward to reading your comments! Until my next post! 💚
At the end of the post, you can see the Complete Video Tutorial from which I was guided to make this drawing. click on HERE to go there
Español
Saludos gente talentosa de #HiveDIY. Yo continúo con una obsesión por los 💜 Corazones 💜. Ya sean pixelados, estilo Minecraft, geométricos o como un estilo de ilusión óptica al cual por lo que veo, aun me falta para llegar a ese nivel. Hoy les traigo un Corazón de Arcoíris sencillo de hacer. Para este dibujo inicié tomando de inspiración una imagen de Pinterest que muestro a continuación:
𝐏𝐚𝐬𝐨 𝐚 𝐏𝐚𝐬𝐨
Si bien saben, soy obsesiva compulsiva a la hora de contar los cuadritos para ubicarme en el tiempo y el espacio y saber exactamente dónde colocar mi dibujo. En esta ocasión, no fue la excepción. Me fijé primero de cuál era el centro y empecé todo de adentro hacia afuera, primero usando el color rojo.
Luego usé el naranja, también el amarillo, el verde, el azul, el morado y de nuevo el rojo. Para no hacer tan largo este post, dejaré por fotos el paso a paso ya que siguiendo una imagen de guía pueden elaborarlo sin inconvenientes.
| Naranja | Amarillo | Verde |
|---|---|---|
| | |
| Azul | Morado | Rojo |
| | |
Ahora que está hecho el corazón, ahora falta hacerle el borde. Podrías dejarlo así y terminar acá pero como ya saben, a mí me gusta colorear todo lo que está en blanco.
Para hacer el borde seguí el orden de los colores como cuando dibujé el corazón, es decir, empecé con el rojo, luego el naranja, luego el amarillo, después el verde, seguido del azul, el morado y nuevamente el rojo completando el ciclo.
Además inicié en la esquina superior izquierda con el color rojo, dejando 5 espacios o cuadrículas de por medio para volver a pintar el cuadro rojo y así sucesivamente con los demás colores. Para este paso lo mostraré en fotos ordenadamente.
| Rojo | Naranja | Amarillo |
|---|---|---|
| | |
| Verde | Azul | Morado |
| | |
Una vez todo coloreado como un arcoíris, me dispuse a resaltar todo con un marcador ultra fina color negro para que se viera más bonito, quedando así:
Y como soy muy fan del color negro, pero para no sobrecargar todo el dibujo de este color, resalté sólo en interior del cuadro del corazón en negro también. El resultado quedó así:
Para el borde externo quise dibujar un patrón cuadriculado también usando colores que hicieran contraste con el corazón como tal.
Quise usar un patrón parecido a uno de mis dibujos geométricos anteriores, pero esta vez con un rombo agregado para que no se viera todo cuadrado y soso.
Los rombos los dibujé de negro, lo demás iría de dos colores diferentes. Quería un Dorado, pero como tengo marcador dorado, usé uno marrón claro que hizo las veces. El otro color estaba dudoso entre un gris azulado y un rosado claro. Al final me decidí por el gris azulado.
Como pueden ver, dibujé unos cuadros el borde exterior y en otros el recuadro interior, intercalándolos. Primero con el color marrón claro, para luego hacerlo con el gris azulado.
Ya acá muestro los recuadros internos con gris azulado. Los bordes de los otros cuadrados los muestro a continuación ya que sería el resultado final de mi dibujo.
𝐑𝐞𝐬𝐮𝐥𝐭𝐚𝐝𝐨 𝐅𝐢𝐧𝐚𝐥
Pienso que la elección de los colores para el borde exterior y el patrón cuadriculado va muy bien con los colores vivos del corazón. Además, el color negro sigue dando vida al dibujo sin verse excesivo. A mí me encantó. ¿A ustedes qué les pareció? ¡Los leo en los comentarios! ¡Hasta mi siguiente post! 💚


| 𝐄𝐥𝐞𝐦𝐞𝐧𝐭𝐨𝐬 (𝐄𝐥𝐞𝐦𝐞𝐧𝐭𝐬) | 𝐇𝐞𝐫𝐫𝐚𝐦𝐢𝐞𝐧𝐭𝐚𝐬 (𝐓𝐨𝐨𝐥𝐬) |
|---|---|
| Las Fotos Utilizadas a lo largo del Post son de mi galería (Photos used throughout the post are from my gallery) | Cámara del Teléfono Redmi Note 9A (Redmi Note 9A Phone Camera) |
| Contenido y Texto Original de mi Autoría (Content and Original Text of my Authorship) | DeepL |
| Imagen Usada de Inspiración (Image Used for Inspiration) | CANVA |
| Grammarly |
Esta bueno, lo que hay es que tener paciencia para pintar cuadro por cuadró ahahahaha, pero chevere puede ser a pesar de todo un trabajo entretenido y anti-estresante.
jajaja si, por eso mismo es que los hago. Requieren concentración y resultan altamente relajantes. Gracias por pasar y comentar!
.
View or trade
PAKXtokens.Thank you so much, pretty!
!discovery 30 💞
Muchas gracias por el apoyo!
This post was shared and voted inside the discord by the curators team of discovery-it
Join our Community and follow our Curation Trail
Discovery-it is also a Witness, vote for us here
Delegate to us for passive income. Check our 80% fee-back Program
A beautiful work in colors and traditional techniques. When we do things from the heart, they end up beautiful. Thank you for sharing your creative process with us.
selected by @dayadam
Aww~~ thank you so much!
Te quedó muy bonito, espero que te encuentres bien y que sigas con todos tus proyectos sin importar los malos tiempos.
Te dejo un saludo de la comunidad y este apoyo !PAKX
View or trade
PAKXtokens.Use !PAKX command if you hold enough balance to call for a @pakx vote on worthy posts! More details available on PAKX Blog.
Muchas gracias culebrito! aprecio mucho tus palabras, un abrazo!
Wow, it's so beautiful, the color scheme is also very spectacular. Cool👍
Thank you so much! 😄
You're welcome🤭
¡Cuánto dinamismo en estos trabajos que nos traes!
Los agradezco porque, sin saber explicar por qué, me alegran en este amanecer de sábado.
¡Gracias!
¡Feliz fin de semana!
Gracias a usted pos su mensajes! mi próximo proyecto es hacerlo estilo Minecraft XD
¡Fantástica idea!
¡Lo espero con ansias!