El Eslabón del Corazón (🇪🇸 | 🇺🇸)
FULL ENGLISH VERSION

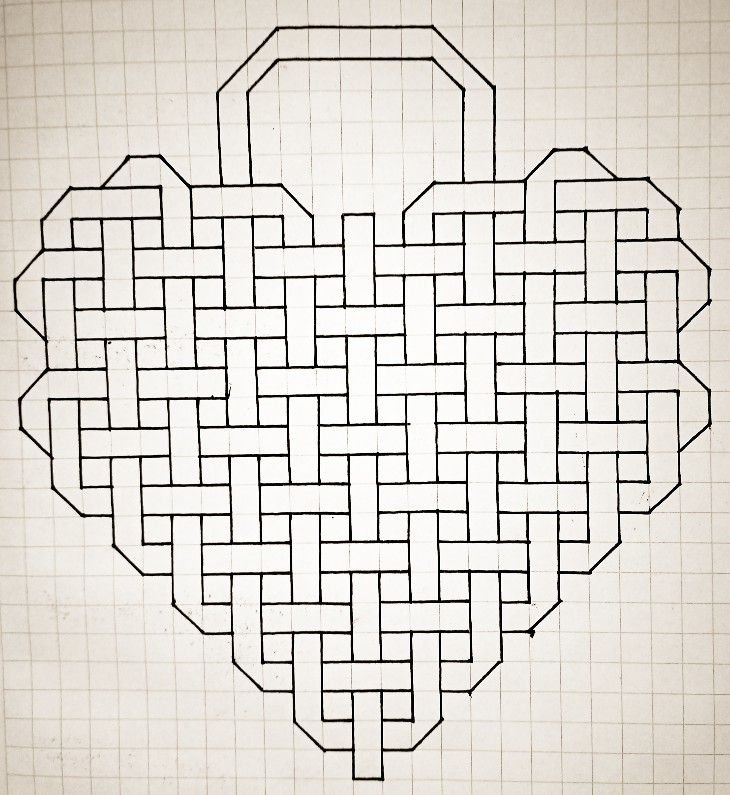
Greetings, lovely people of #HiveDIY. I'm still inspired by all kinds of 💜 Hearts 💜, and this time I'm bringing you a Linked Heart. I saw this image on Pinterest and it seemed like a heart lock, but to put it more correctly, it's more like intertwined links that form a heart. I really liked the idea, so I'm sharing it with you. The image I used as a guide was the following:

𝐒𝐭𝐞𝐩-𝐛𝐲-𝐒𝐭𝐞𝐩
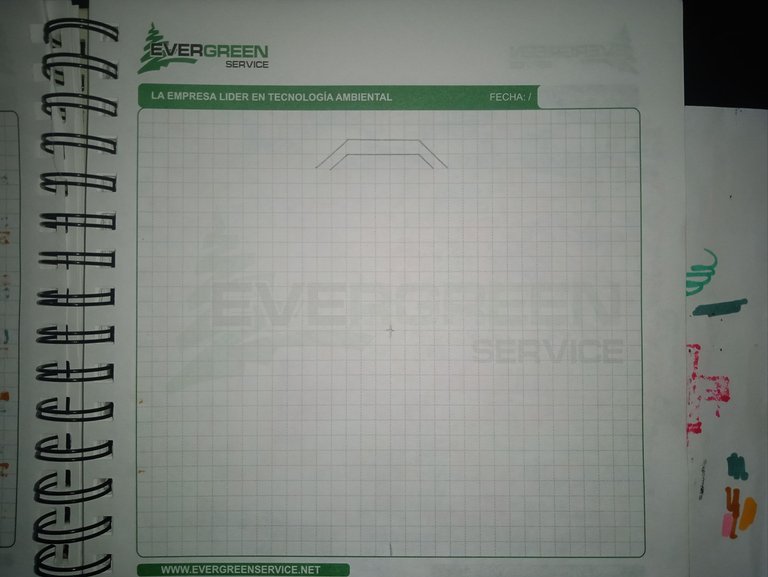
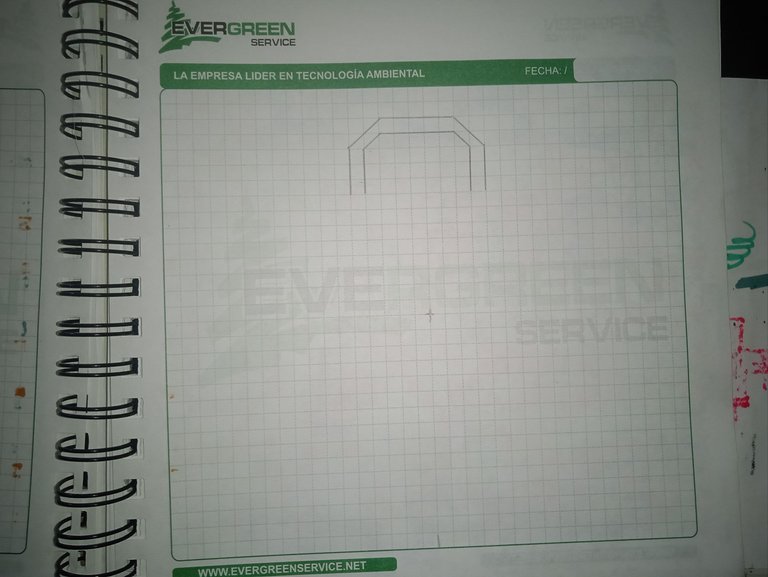
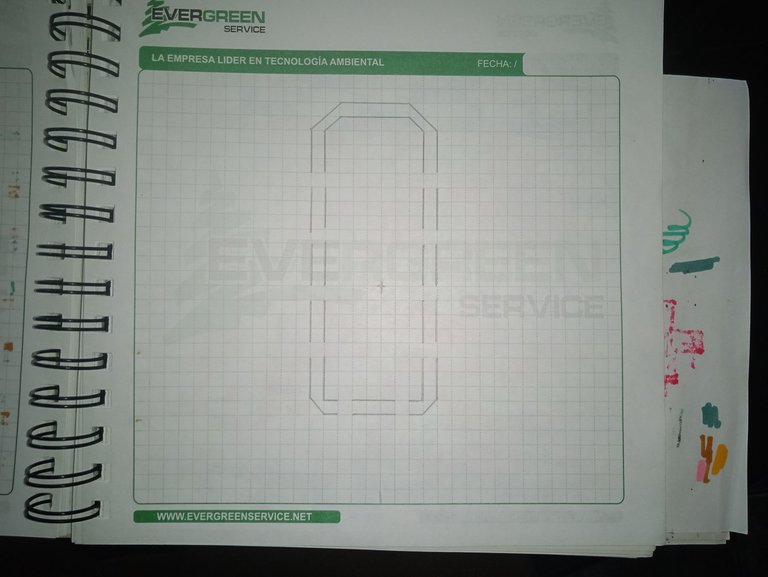
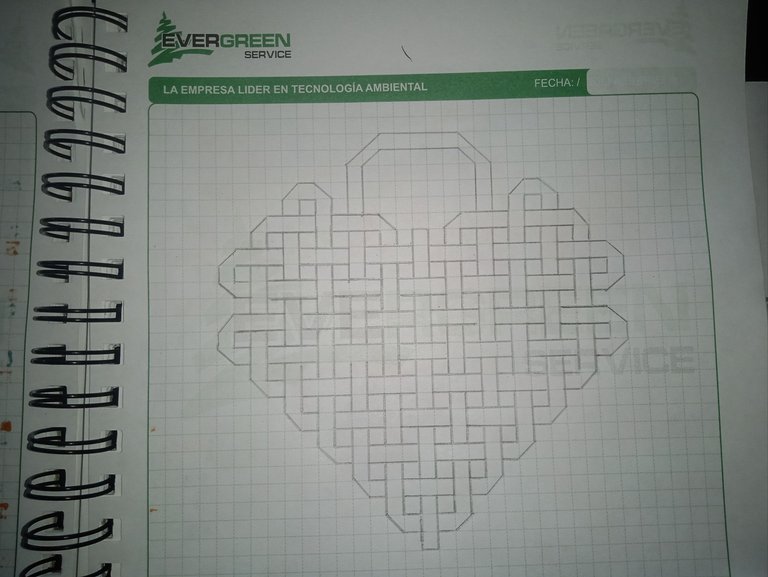
You know the key to these drawings is counting the squares they cover. This time I started from the top, counting 5 squares to make the heart's handle. I also drew two slanted lines, one with two spaces and the other with one. When I talk about spaces, I'm referring to the squares on the paper.
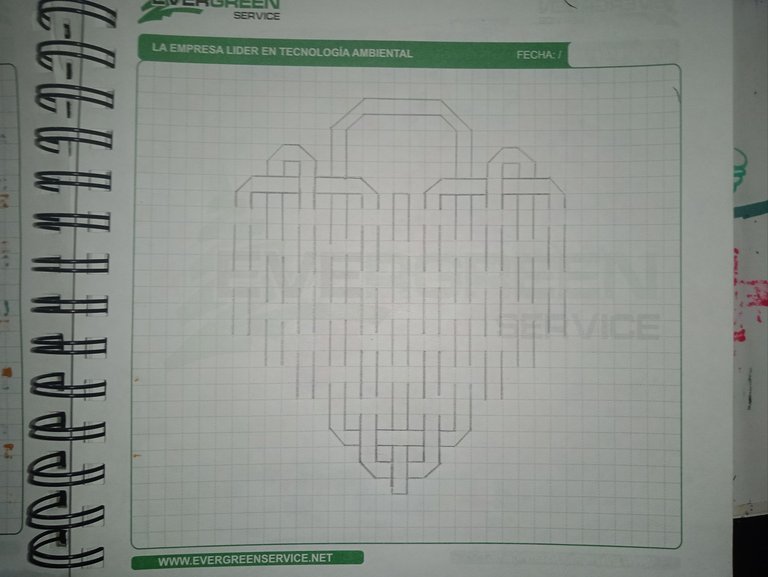
Then I finished by tracing the corresponding vertical lines for the first or middle link of the heart. So I start with the first three squares outlined vertically.
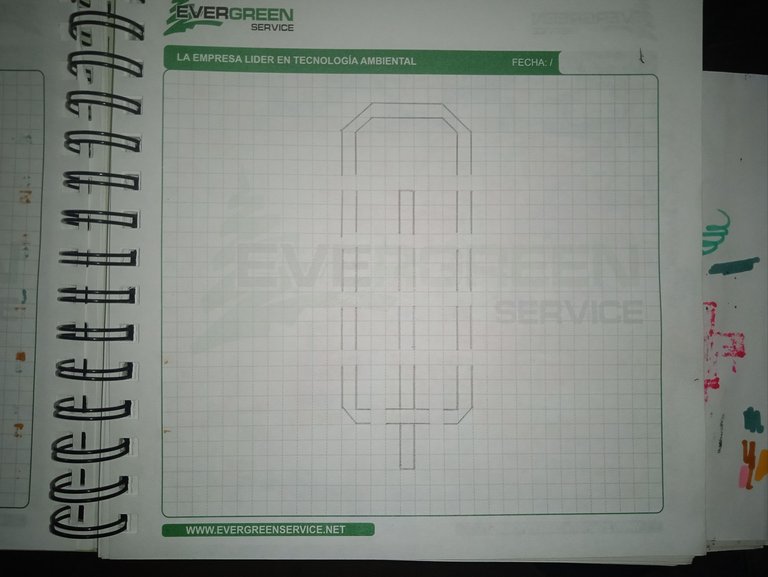
Now I leave a space in between and continue making two parallel lines of three squares each. I repeat this four times and finally close the line horizontally, always leaving a square in between.
For the second link, I made the one in the middle vertically as well. Note that I left the same amount of space between each three squares.
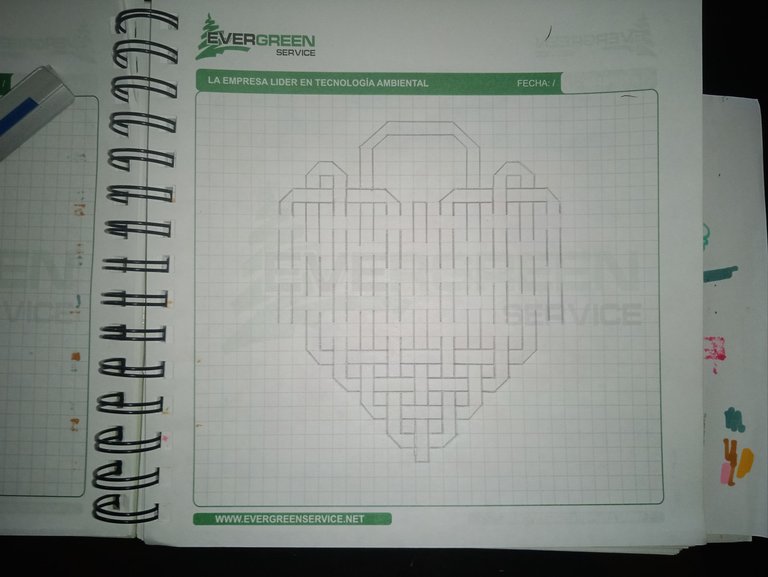
I'll now continue with the side links, using the image from the beginning as a guide. This part was a bit tricky for me; in fact, I made a mistake at one point, but I'll let you know when I corrected it.
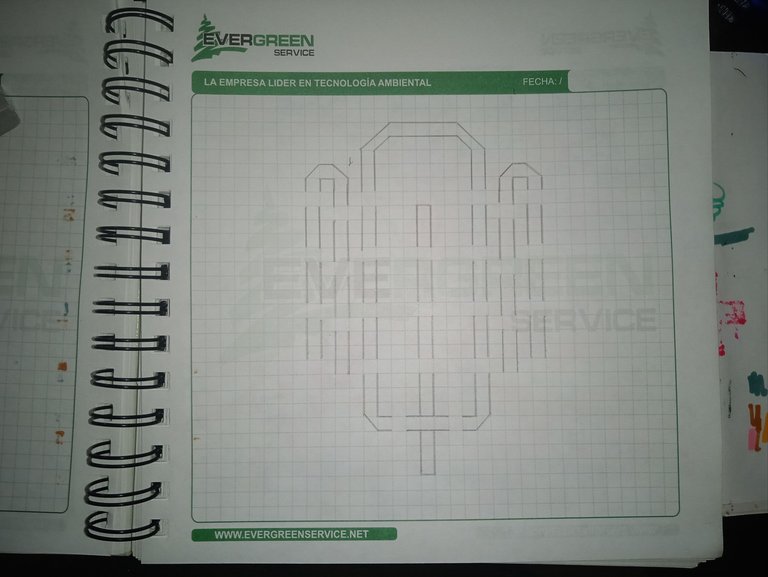
I continued like this for my fourth link. If you notice a slight difference between my drawing and the one I used as a guide, it's because I'm leaving more space outside the side links, both at the top and on each side when I need to do it horizontally. At this point, I hadn't yet noticed the error.
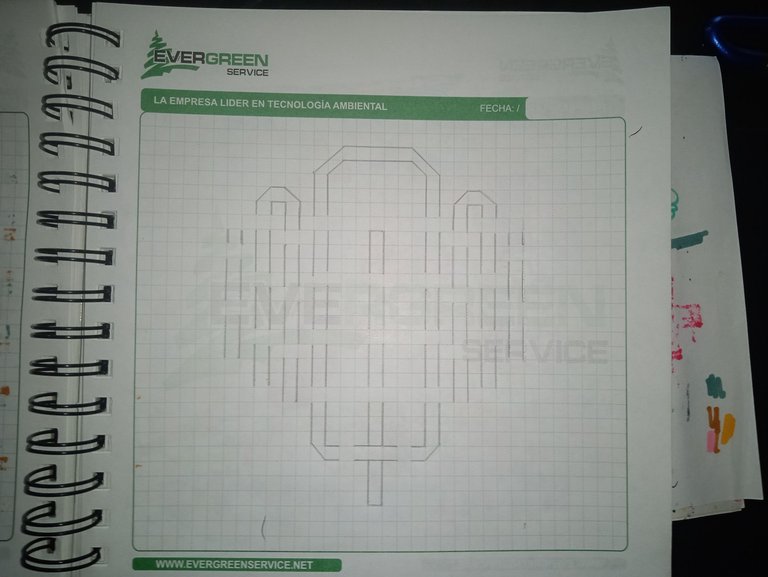
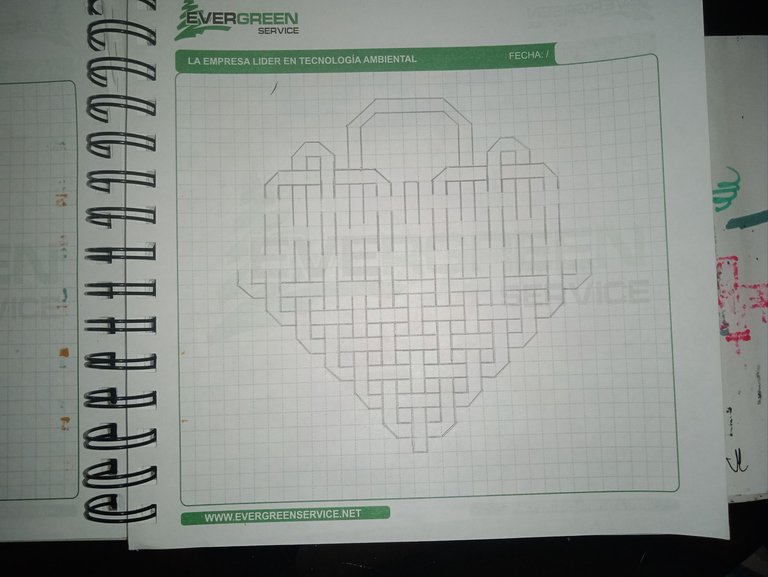
It was in this step that I noticed the mistake with the third link. If you compare the photo above with this one below, you'll notice that the third link should have been one space lower. That is, I started with the same guide: 3 squares, then a space, 3 more squares, then another space, and so on, 4 times.
If you do it correctly, you'll notice that the third link should have one of its lines right in the middle of the center link and be even with the center link's spacing and its second line.
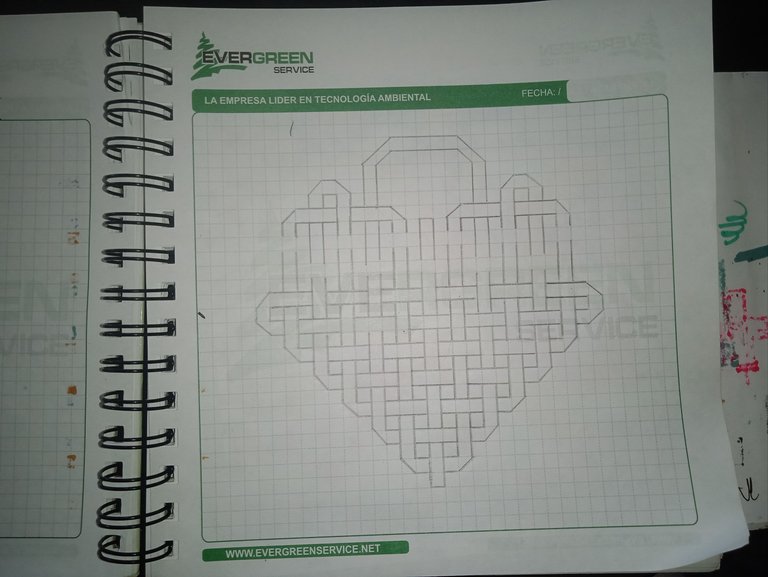
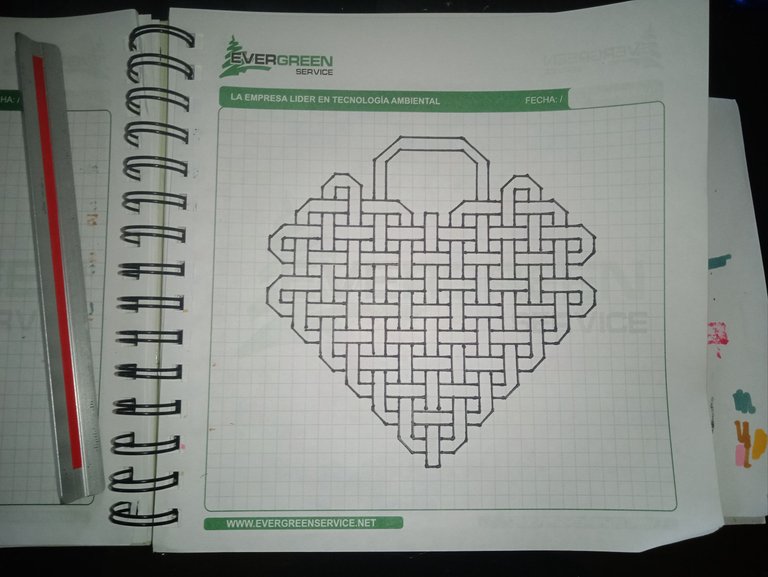
I noticed this mistake because, since I added an extra space at the top, I didn't notice it until after I started the horizontal lines. For this point, I'm going to group the images together to make the step-by-step process easier.
 |  |  |
 |  |  |
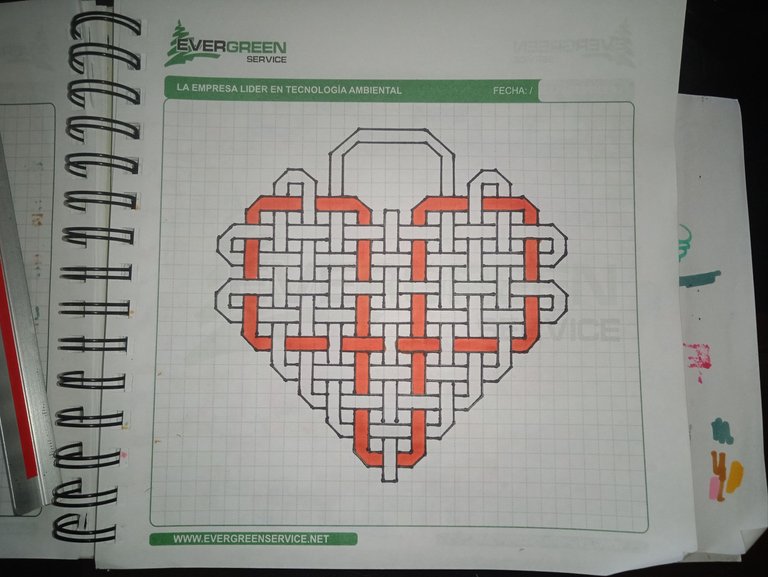
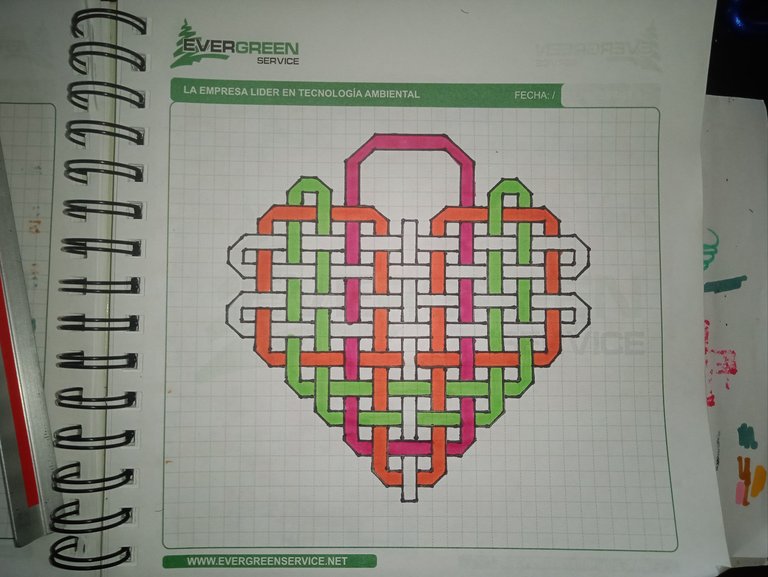
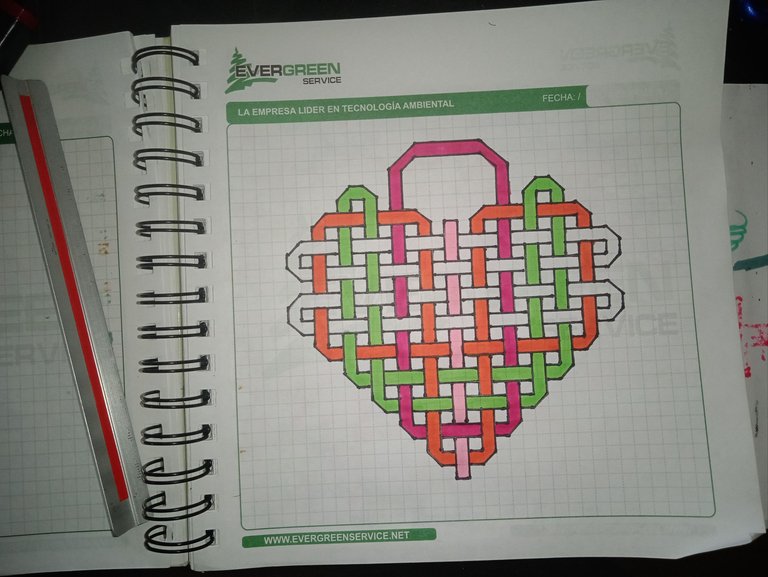
Now, the next step is the coloring. Coloring it is easier, and I used a total of six colors: Pink, Fuchsia, Orange, Red, Green, and Light Blue.
For a better explanation, I'll leave the images in a box so you can see how I colored it. This part was really simple since you just have to follow the link from start to finish. You can't get lost.
 |  |
 |  |
Now the Red color follows, leaving it as follows:
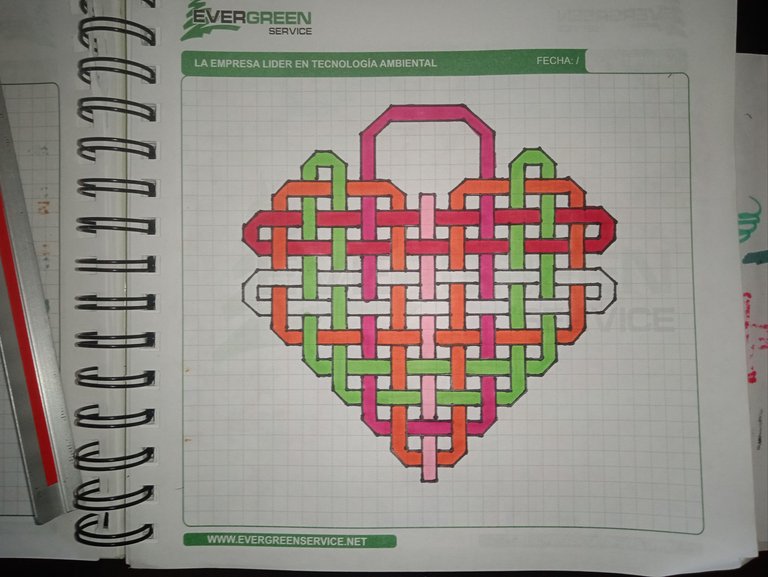
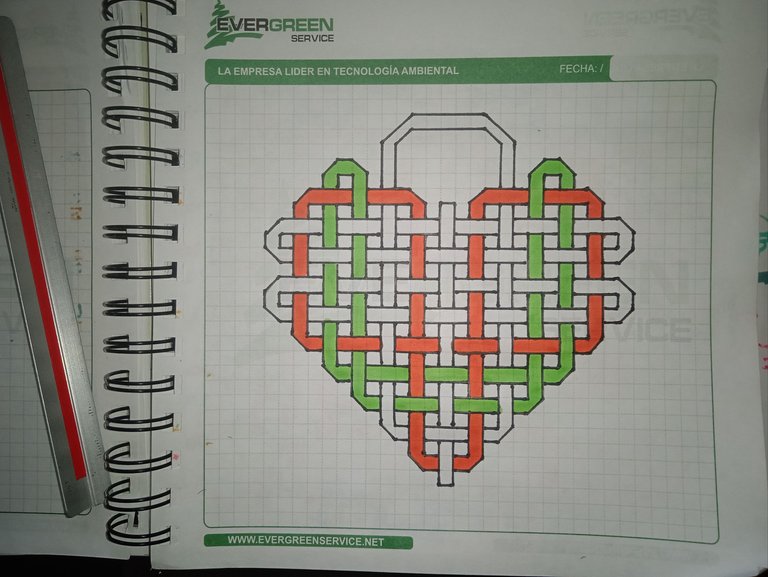
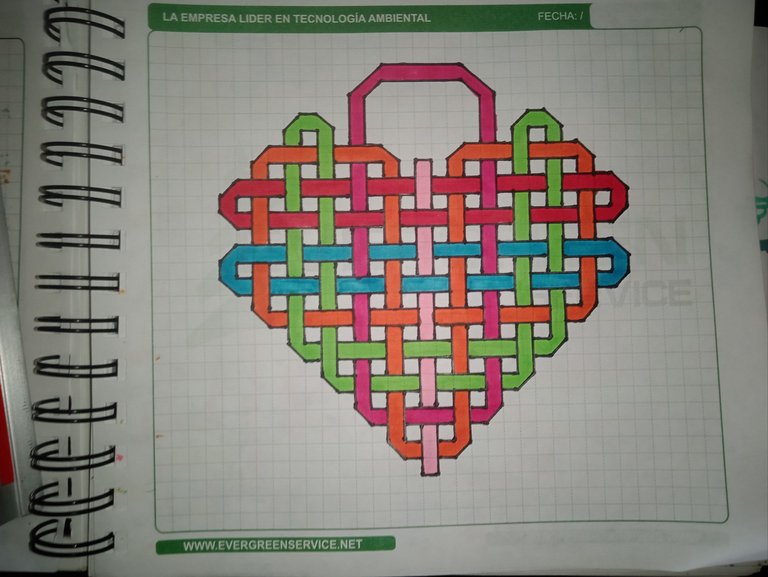
I ended up with the blue, leaving the following as the final result:
𝐅𝐢𝐧𝐚𝐥 𝐑𝐞𝐬𝐮𝐥𝐭
As you know, I don't like to leave my drawings blank; I like to make sure everything has some color. In this case, the colors I used between the links clash, between orange, red, and fuchsia. That is, they don't show the details I'd like.
So I decided to add black to one part. But I got stuck halfway, so the final result will be for a second part. For now, I'm sharing it with you like this. I hope you like it. What did you think? I'll read them in the comments! See you in my next post! 💚
At the end of the post, you can see the Complete Video Tutorial from which I was guided to make this drawing. click on HERE to go there
Español
Saludos gente linda de #HiveDIY. Acá sigo inspirada con todo tipo de 💜 Corazones 💜, en esta ocasión les traigo un Corazón de Eslabones. Vi esta imagen por Pinterest y me dio la impresión de ser como un candado de corazón, pero para expresarlo de manera correcta, son más bien eslabones entrelazados que forman un corazón. Me gustó mucho la idea, así que se las comparto. La Imagen que usé de guía fue la siguiente:
𝐏𝐚𝐬𝐨 𝐚 𝐏𝐚𝐬𝐨
Saben que la clave de estos dibujos es contar los recuadros que abarca. En esta ocasión empecé desde la parte superior, contando 5 cuadritos para hacer el aza del corazón. También tracé 2 líneas inclinadas, una con 2 espacios y otra con uno. Al hablar de espacios, me refiero a los cuadraditos de la hoja.
Luego terminé trazando las líneas correspondientes de manera vertical del primer eslabón o del eslabón central del corazón. Así que empiezo con los primeros 3 cuadraditos remarcados de manera vertical.
Ahora dejo un espacio intermedio y continúo haciendo 2 líneas paralelas de 3 cuadraditos cada una. Esto lo repito 4 veces y al final cierro de manera horizontal, siempre dejando un cuadrito intermedio.
Para el segundo eslabón, hice el que está más en el medio, también de manera vertical. Nótese que dejé os mismos espacios entre cada 3 recuadros.
Continúo ahora con los eslabones laterales, tomando como guía la imagen del inicio. Esta parte se me hizo algo engorrosa, de hecho, me equivoqué en un punto, pero ya les aviso cuándo corregí mi error.
Continué así para mi cuarto eslabón. Si notan una leve diferencia entre mi dibujo y el que uso de guía, es que estoy dejando un espacio más afuera de los eslabones laterales tanto en la parte superior como a cada lado cuando me toque hacerlo de manera horizontal. En este punto aún no había visto el error.
Fue en este paso que noté el error con el tercer eslabón. Si comparan la foto de arriba con esta que le sigue notarán que el tercer eslabón debía estar un espacio más abajo. Es decir, empezaba con la misma guía 3 recuadros, y espacio, 3 recuadros más y otro espacio, así y así 4 veces.
Si lo hacen bien, notarán que el tercer eslabón debería dejar una de sus líneas justo al medio del eslabón del centro y estar a la par en cuanto al espaciado del eslabón del centro con su segunda línea.
Este error lo vi poque como agregué un espacio más en la parte superior, no lo vi sino después de empezar las líneas horizontales. y para este punto voy a agrupar las imágenes para que vean más sencillo el paso a paso.
| | |
| | |
Ahora lo que sigue es el coloreado. Para colorearlo es más sencillo y en total usé 6 colores: Rosado, Fucsia, Naranja, Rojo, Verde y Azul Claro.
Para una mejor explicación, dejaré las imágenes en un cuadro y así ustedes ven cómo es que lo iba pintando. Esta parte fue realmente sencilla ya que sólo tienes que seguir el eslabón desde que empieza hasta que termina. No hay pérdida.
| |
| |
Ahora le sigue el color Rojo, quedando de la siguiente manera:
Terminé con el azul, quedando como resultado final el siguiente:
𝐑𝐞𝐬𝐮𝐥𝐭𝐚𝐝𝐨 𝐅𝐢𝐧𝐚𝐥
Si bien saben, no me gusta dejar en blanco mis dibujos, sino que todo tenga algún color. En este caso, los colores que usé entre los eslabones chocan a la vista, entre el naranja, el rojo y el fucsia. Es decir, no se detallan como yo quisiera.
Así que decidí echarle color negro a una parte. Pero quedé a mitad de camino, así que el resultado final se los debo para una segunda parte. Por ahora se los comparto así. Espero que les haya gustado. ¿A ustedes qué les pareció? ¡Los leo en los comentarios! ¡Hasta mi siguiente post! 💚


| 𝐄𝐥𝐞𝐦𝐞𝐧𝐭𝐨𝐬 (𝐄𝐥𝐞𝐦𝐞𝐧𝐭𝐬) | 𝐇𝐞𝐫𝐫𝐚𝐦𝐢𝐞𝐧𝐭𝐚𝐬 (𝐓𝐨𝐨𝐥𝐬) |
|---|---|
| Las Fotos Utilizadas a lo largo del Post son de mi galería (Photos used throughout the post are from my gallery) | Cámara del Teléfono Redmi Note 9A (Redmi Note 9A Phone Camera) |
| Contenido y Texto Original de mi Autoría (Content and Original Text of my Authorship) | DeepL |
| Imagen Usada de Inspiración (Image Used for Inspiration) | CANVA |
| Grammarly |
Cuánta belleza en tu interpretación de la imagen.
Gracias por compartirla!!🌱✨
Muchas gracias estimado @marabuzal un gusto tenerlo en mi blog! un abrazo!
!PAKX
View or trade
PAKXtokens.Use !PAKX command if you hold enough balance to call for a @pakx vote on worthy posts! More details available on PAKX Blog.
Muchas gracias @ushiro.snow eres muy atento!
Wow, this is very interesting!
Thank you so much!
Thank you for the support!
Thanks @melinda010100 you are so gentle!