DIY: Libretita de Notas (🇪🇸 | 🇺🇸)
FULL ENGLISH VERSION

Greetings, dear Hivers of #HiveDIY. Today I wanted to bring you something different. I don't always feel like drawing, so inspiration doesn't flow, and I look for ways to reinvent myself, but sometimes nothing comes. However, today was the third time I needed something to write down in my room, and I had no choice but to grab a huge notebook, only to realize I didn't have a pencil handy there. So I decided to make myself a small notebook.

𝐒𝐭𝐞𝐩-𝐛𝐲-𝐒𝐭𝐞𝐩

I checked the notebook I took and noticed that I had a few sheets available to write on, so I decided to tear them out and put them to better use for my needs.
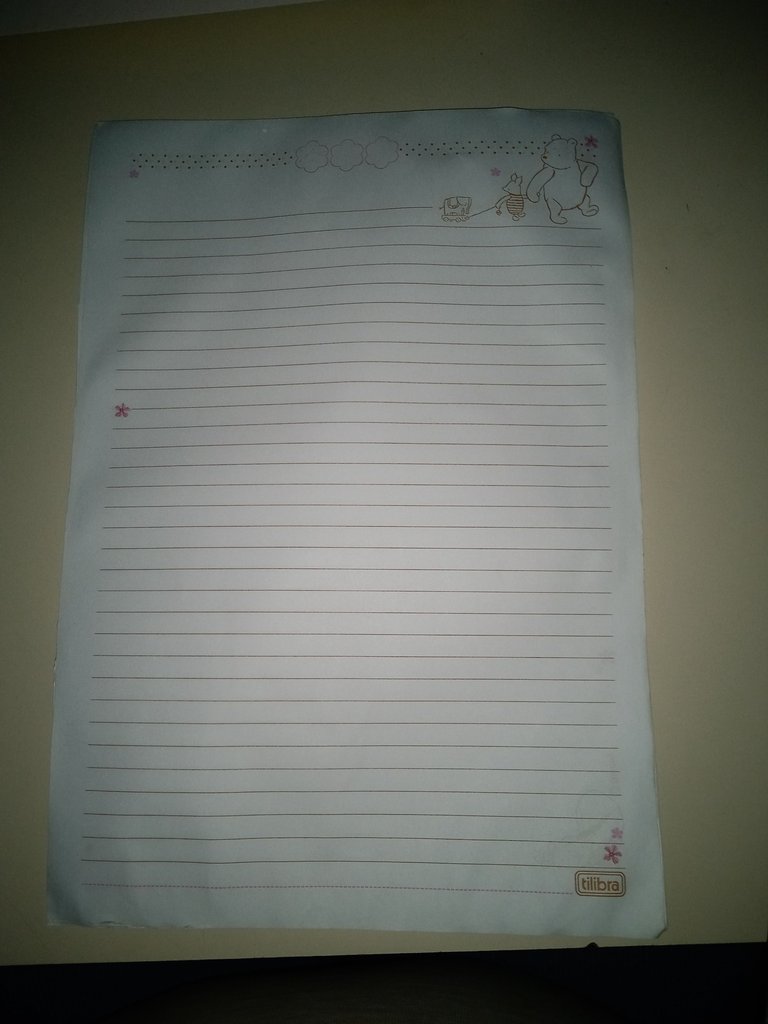
So after tearing off the leaves, I decided to clean up the edges of each one to remove the rough edges I had at the beginning. And as you can see, the leaves are quite pretty, so it was worth making something beautiful out of them.

I drew a central cross in pencil, dividing the sheet into 4 parts. But to make them look more Coquette and neat, I decided to cut the edges of each leaf flush before chopping it into 4 pieces.
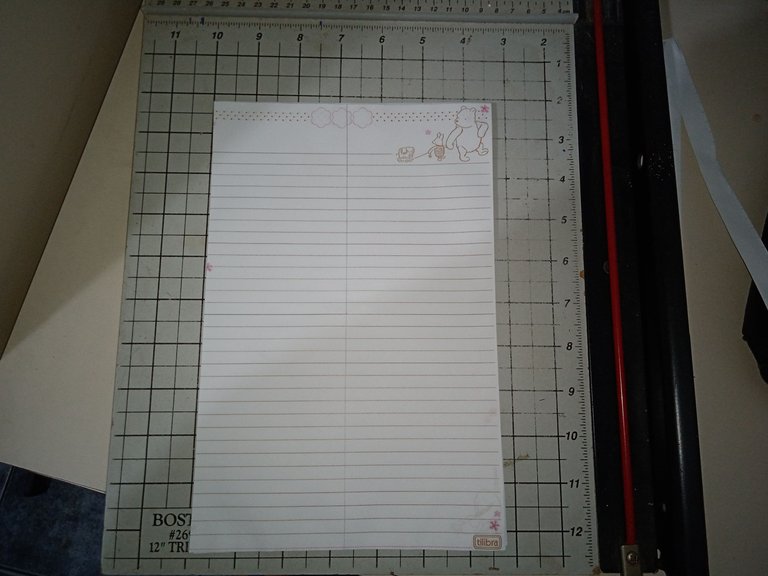
Here I show how the leaves turned out with the edges trimmed on all sides. Now it's ready to be chopped into 4 pieces.
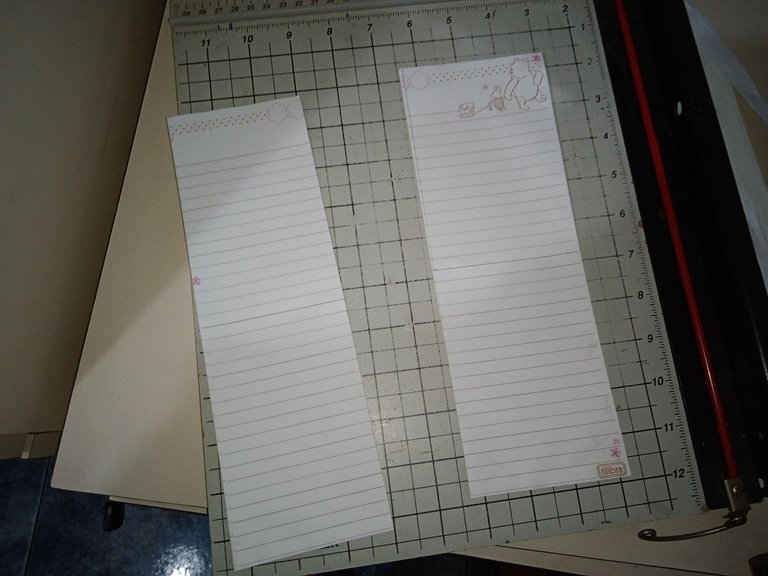
First, I chopped lengthwise and then widthwise, resulting in 4 mini leaves with different styles.
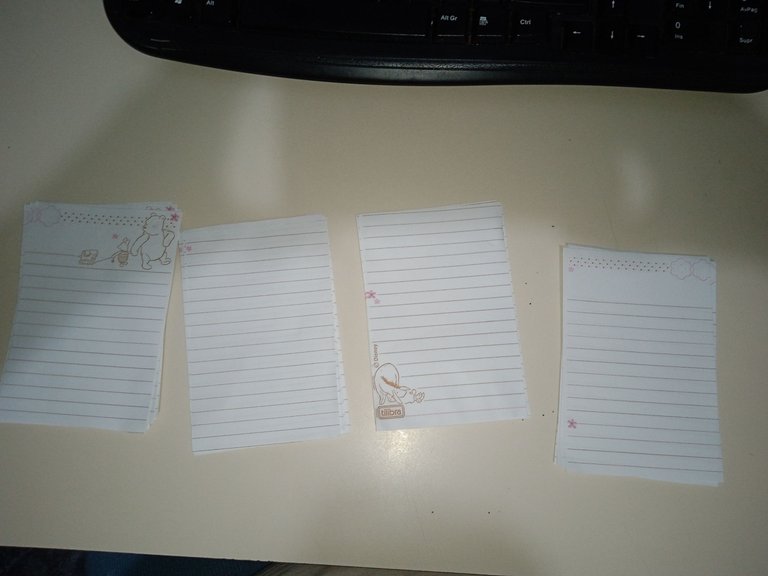
Having them chopped and grouped by their drawings or patterns, what I did was arrange them so that they had a sequence, that is, I didn't want them to be seen first all of one type, then another, and so on, but rather to see one of each one, mixed.
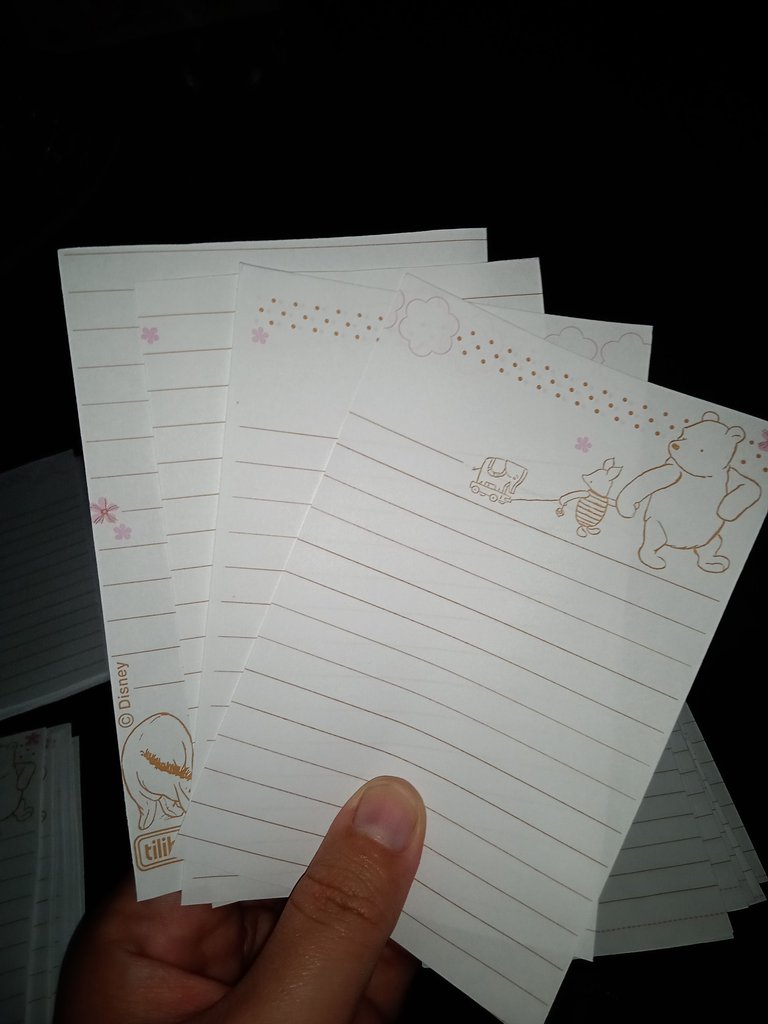
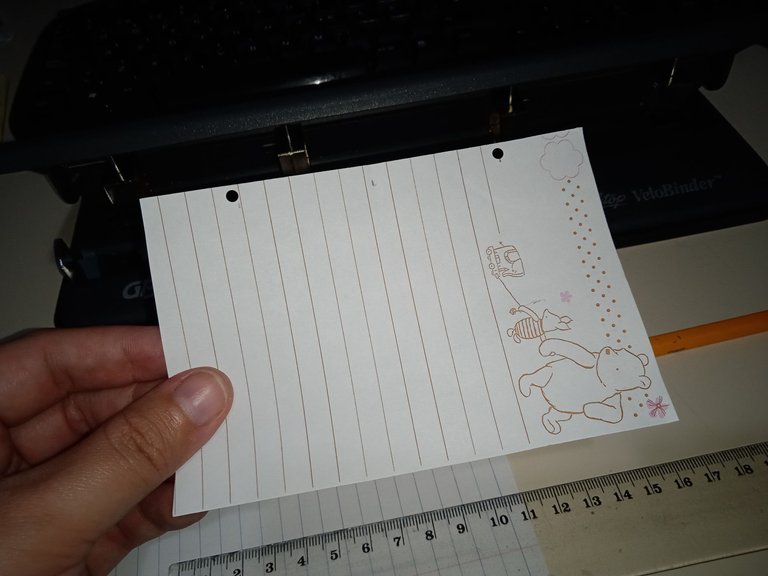
This is the order I wanted them to be. And after grouping them all together, I got a total of 64 Winnie the Pooh mini sheets. In total, I used 16 sheets from the notebook, which measured 200mm x 275mm.

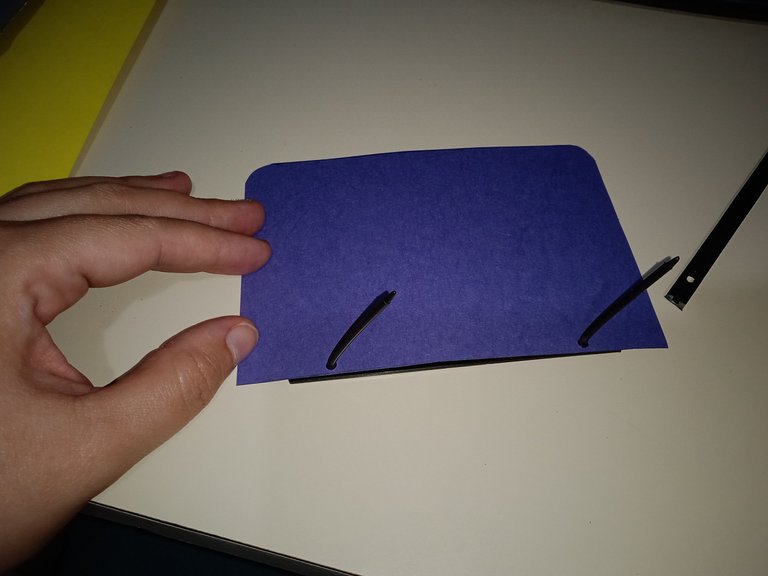
To make the cover for the mini notebook, I used a purple manila folder. It was either that or using chick-yellow construction cardstock. Since purple is my favorite color, I opted for the folder.
For this step, I measured one of the previously cut sheets and left an extra 2 mm on each side.
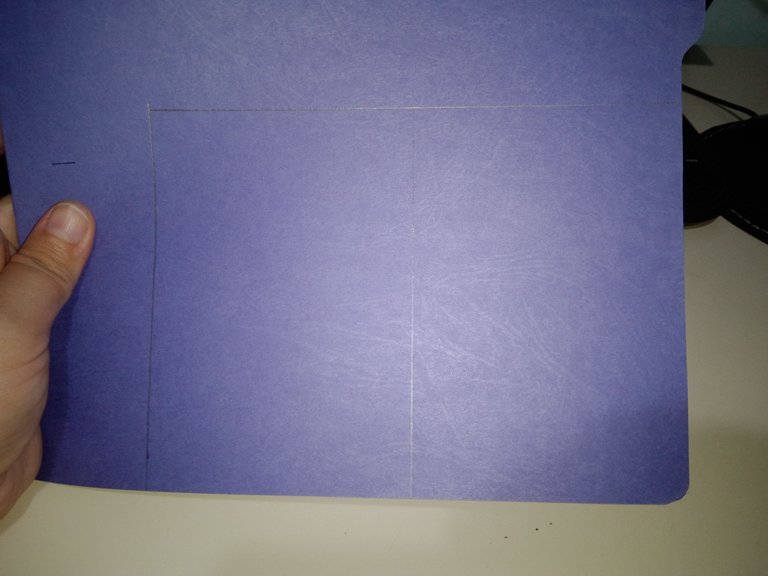
The measurements you can see in the drawing are 9 cm wide and 13.6 cm high. As you can see, I glued it together and then cut out the middle section.

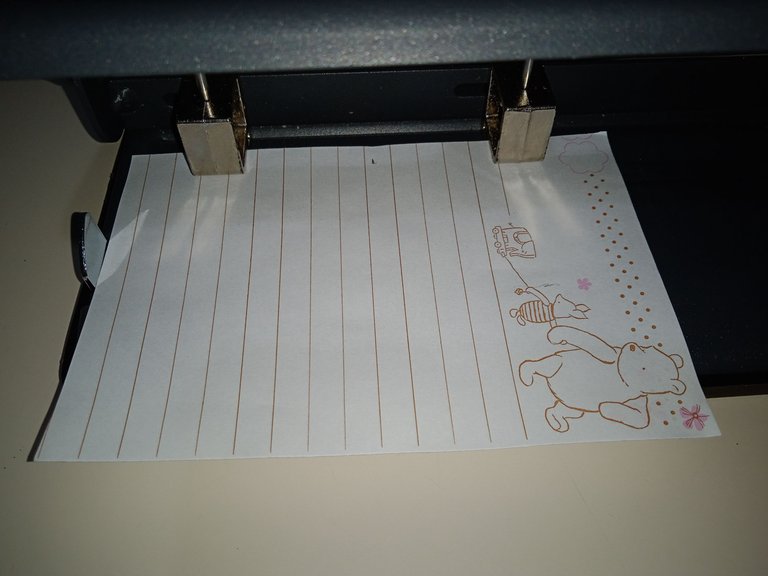
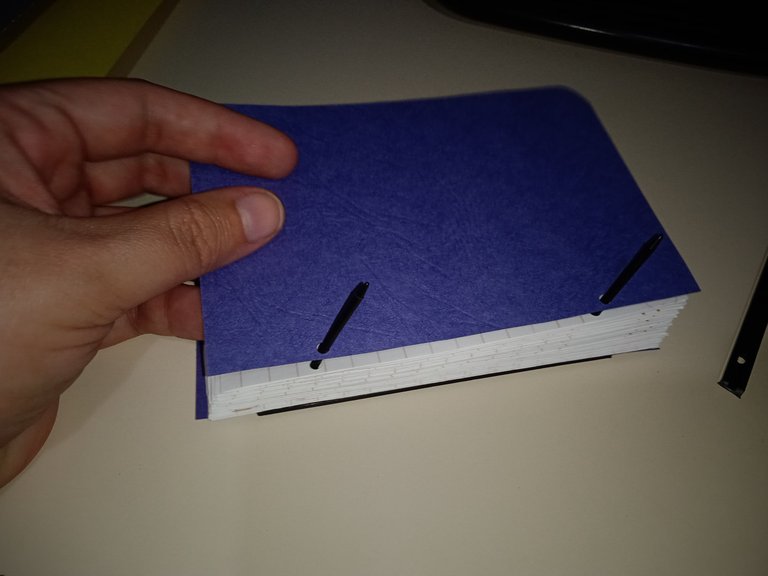
Now that I have everything pre-prepared, all that's left is to assemble the notebook. For the next step, I decided to use a binding machine we have at home. This was because the two-hole punch I have here was too wide for the mini sheets, and it would have been more difficult to punch out the holes.
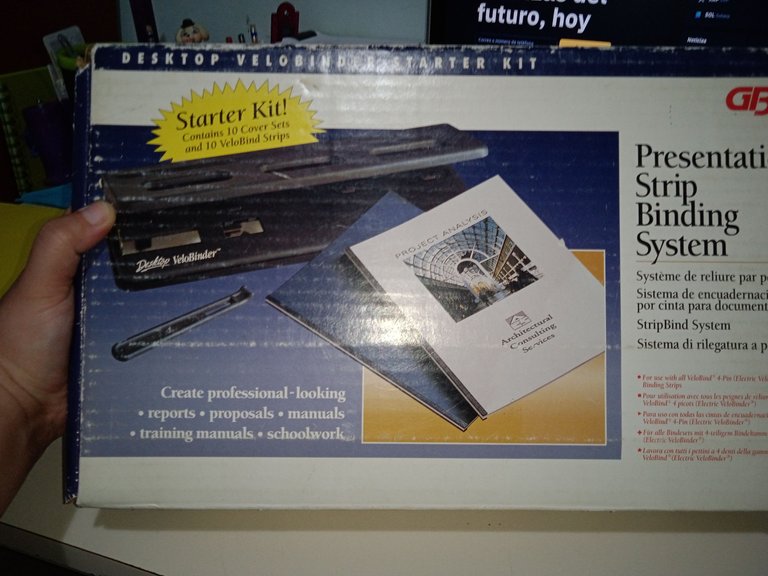
You could say it's just another hole-puncher, but in reality, the holes it makes are smaller and more precise. So the first thing I did was measure the blades to punch out the holes, 10 at a time.
 |  |
After I had the leaves ready, I did the same with the purple cardstock, keeping in mind that it was a little larger than the leaves. So, with everything ready, all I had to do was remember to trim the excess plastic bar that would hold the leaves together.
 |  |
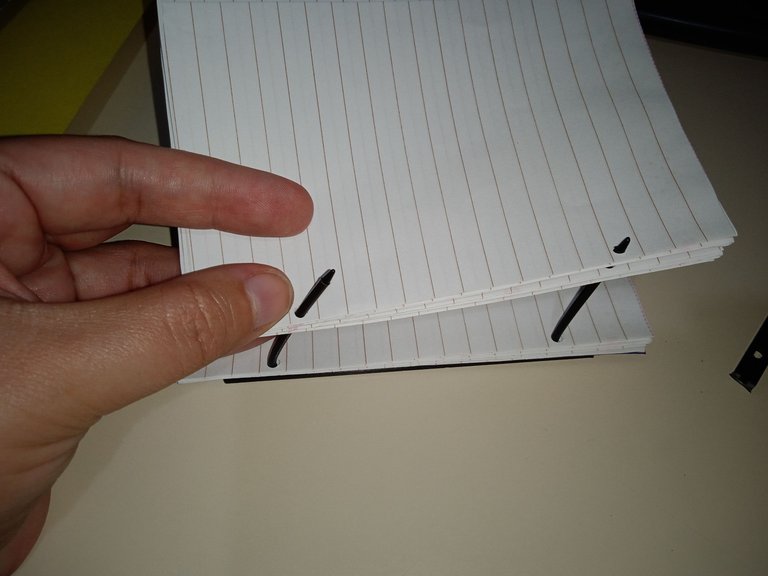 |  |
Well, the final piece is the plastic bar that presses the sticks shut. Since I cut out a large section of that space where the stick presses, I couldn't get it to close properly, so I had to improvise using glue and a piece of cardboard.
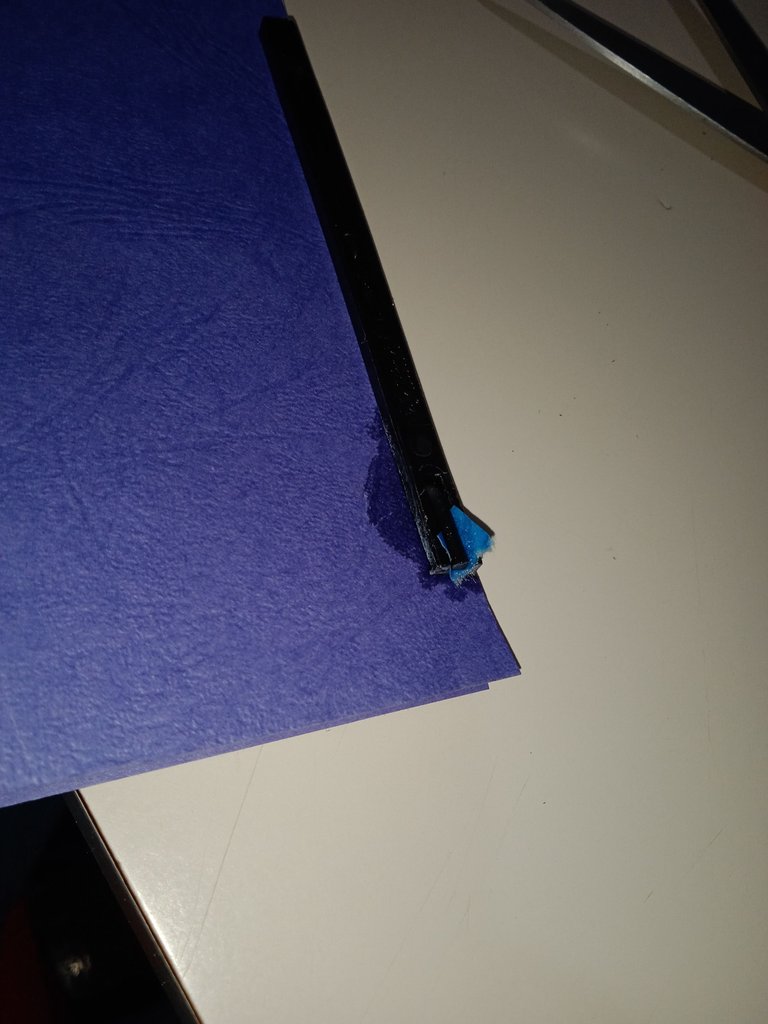
Although it looks tacky or ugly, that part is in the back, so I won't see it, relatively, and as long as it serves the purpose of allowing me to quickly jot things down in my room in a practical way, it's fine by me.
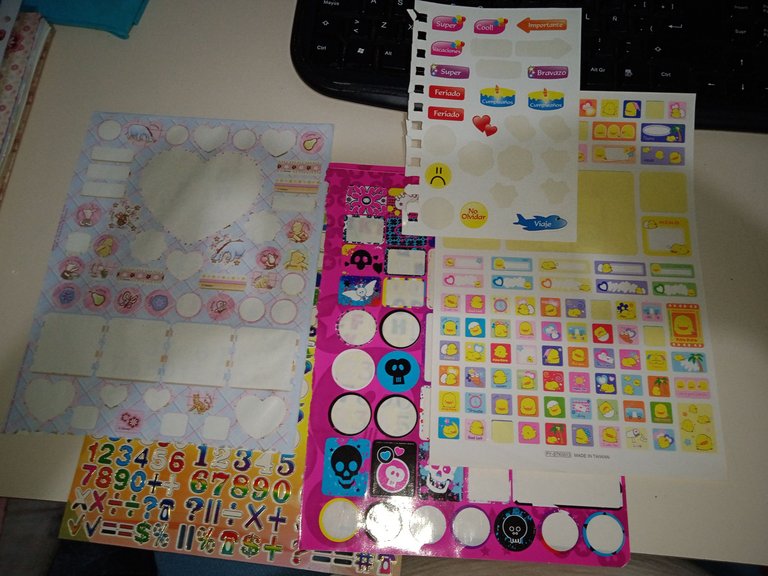
To decorate the cover, as I told you, I didn't feel like drawing anything, so I used my old stickers that I still have around. Since the sheets are Winnie the Pooh, I decided to use more of this one than the others.
𝐅𝐢𝐧𝐚𝐥 𝐑𝐞𝐬𝐮𝐥𝐭

What do you think of how it turned out? My mom liked it, and I loved it. I think it turned out, Coquette, and it's my favorite color. Let me know in the comments what you think. I'll be reading them! See you in my next post! 💚

Español
Saludos estimados Hivers de #HiveDIY. El día de hoy quise traerles algo diferente. No siempre me dan ganas de dibujar, por lo que la inspiración no fluye y busco manera de reinventarme pero a veces no me llega nada. Sin embargo, hoy fue la tercera vez que necesitaba algo para anotar en mi cuarto y no me quedó de otra que agarrar un cuaderno enorme para luego notar que no tenía lápiz a la mano en ese lugar. Así que decidí hacerme una pequeña libreta de notas.
𝐏𝐚𝐬𝐨 𝐚 𝐏𝐚𝐬𝐨
Revisé el cuaderno que tomé y noté que tenía pocas hojas disponibles para escribir así que decidí arrancarlas y darles un mejor uso para lo que necesito en realidad.
Así que después de arrancar las hojas, decidí limpiar el borde de cada una de ellas para quitarle ese sobrante mal cortado que tenía al inicio. Y bueno como pueden observar, las hojas son bastante lindas, así que valía la pena hacer algo bonito con ellas.
Tracé una cruz central a lápiz dividiendo la hoja en 4 partes. Pero para que me quedaran más Coquettes y prolijas, decidí cortarles el borde al raz a cada hoja antes de picarla en 4 partes.
Aquí muestro cómo quedaron las hojas con los bordes recortados en todos los lados. Ahora si está listo para picarlo en 4 partes.
Primero piqué a lo largo y luego a lo ancho, quedando como resultado 4 mini hojas con diferentes estilos.
Al tenerlas picadas y agrupadas por sus dibujos o patrones, lo que hice fue ordenarlas para que tuviera una secuencia, es decir no quería que se vieran primero todas de un tipo, luego otro y así sino que se viera una de cada una, mezcladas.
Este es el orden que quería que tuvieran. Y luego de agruparlas todas, dieron un total de 64 mini hojitas de Winnie Pooh. En total usé fueron 16 hojas del cuaderno cuyo tamaño era de 200mm x 275mm.
Para hacerle la portada a la mini libreta, usé una carpeta de manila morada. Era esto o usar una cartulina de construcción amarillo pollito. Como el morado es mi color favorito opté por la carpeta.
Para este paso, tomé la medida de una de las hojitas que recorté previamente y le dejé un extra de 2mm en cada lado.
Las medidas que medio se ven dibujadas son de 9cm de ancho y 13,6cm de alto. Como ven lo hice pegado y luego recorté la parte del medio.
Ahora que ya tengo todo previamente listo, sólo resta armar la libreta. Para el siguiente paso decidí usar una encuadernadora que tenemos en casa. Esto porque el abre huecos de 2 que tengo acá era muy ancho para las mini hojitas y se me iba a dificultar más abrirle los orificios.
Se podría decir que es un abre huecos más, pero en realidad los orificios que hace son mínimos y más precisos. Así que lo primero que hice fue tomarles las medidas a las hojitas para abrirle los huecos de 10 en 10 hojitas.
| |
Luego de tener las hojitas listas, hice lo mismo con la cartulina morada, tomando en cuenta que era un poco más grande que las hojitas. Así que teniendo todo listo, sólo me quedaba recordar el exceso de la barra plástica que uniría las hojas.
| |
| |
Bien, la pieza final es la barra plástica que cierra los palitos con presión. Como recorté un gran tramo de ese espacio donde se hacía la presión del palito, no lograba que cerrara bien, así que tuve que improvisar usando pega loca y un trozo de cartulina.
Aunque se ve burrero o feo, esa parte quedó por atrás, así que, relativamente no la veré y mientras cumpla la función de permitirme anotar cosas rápido en mi cuarto de manera práctica, para mí está bien.
Para decorar la portada, como ya les dije, no tenía ganas de dibujar nada, así que usé mis viejas calcomanías que tengo aún guardadas por allí. Como las hojas son de Winnie Pooh, decidí usar más de este que de los demás.
𝐑𝐞𝐬𝐮𝐥𝐭𝐚𝐝𝐨 𝐅𝐢𝐧𝐚𝐥
¿Qué les parece cómo me quedó? A mi mamá le gustó bastante y a mí me encantó, pienso que quedó Coquette y es de mi color favorito. Déjenme saber en los comentarios qué opinan? Los estaré leyendo! Hasta mi siguiente post! 💚


| 𝐄𝐥𝐞𝐦𝐞𝐧𝐭𝐨𝐬 (𝐄𝐥𝐞𝐦𝐞𝐧𝐭𝐬) | 𝐇𝐞𝐫𝐫𝐚𝐦𝐢𝐞𝐧𝐭𝐚𝐬 (𝐓𝐨𝐨𝐥𝐬) |
|---|---|
| Las Fotos Utilizadas a lo largo del Post son de mi galería (Photos used throughout the post are from my gallery) | Cámara del Teléfono Redmi Note 9A (Redmi Note 9A Phone Camera) |
| Contenido y Texto Original de mi Autoría (Content and Original Text of my Authorship) | DeepL |
| CANVA | |
| Grammarly |
Posted Using INLEO
Este post ha sido votado y curado por el equipo Hive Argentina | Participa en nuestro Trail de curación.
Únete a nuestro Trail Aquí.
Puedes hacerlo también en nuestros enlaces preconfigurados de Hivesigner:
| 10 HP | 25 HP | 50 HP | 100 HP | 250 HP | 500 HP | 1000 HP | 1500 HP | 2000 HP |
Muchas gracias por el apoyo! lo aprecio mucho!
Un excelente trabajo y una idea genial mi linda, supiste tomar los materiales que tenías a la mano y lo convertiste en esta genial libretita, algo que muchos podríamos hacer a bajo costo ❤️
Así es jejeje ayudando un poco al planeta también. Muchas gracias por pasar y comentar! saludos!
Esa es una manera muy buena de hacer este tipo de libretas de notas reciclando unas cuantas hojas de otras libretas. Me parece práctico porque es fácil de hacer y seguir el tutorial.
Si, también sirve grapándolas nada más, lo importante que quise mostrar fue una manera sencilla de reciclar. Gracias por pasar y comentar, un abrazo!