DIY : Fixing My Wall Socket // Arreglando mi enchufe de pared (ENG // ESP)
ENG
A wall socket is very necessary at home, and to be able to charge or make use of other electrical gadgets, you need a functional wall socket.
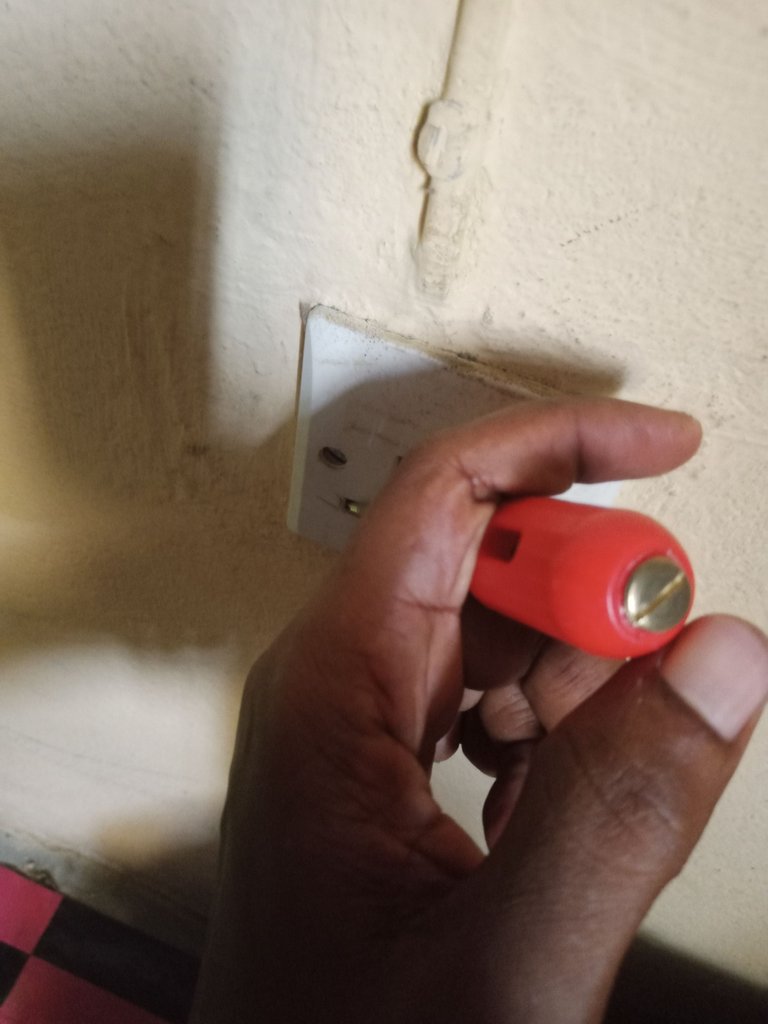
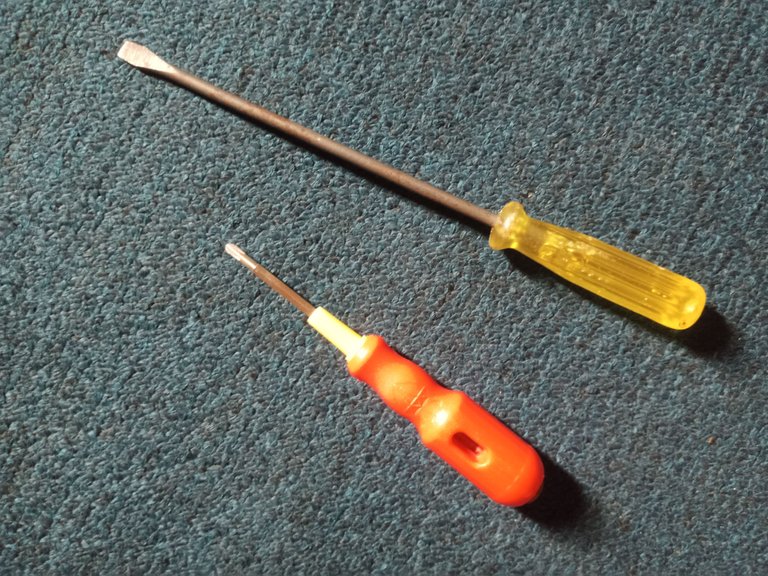
I noticed the wall socket in my room was faulty, but I was not ready to invite an electrician. So, I got my tools set and ready to fix the socket. The tools needed were just a tester and a screwdriver. My tools were ready, and to ensure safety, the first thing I did was to go to the changeover point and put the changeover switch in neutral to avoid stories that touch the heart, hahahahah.
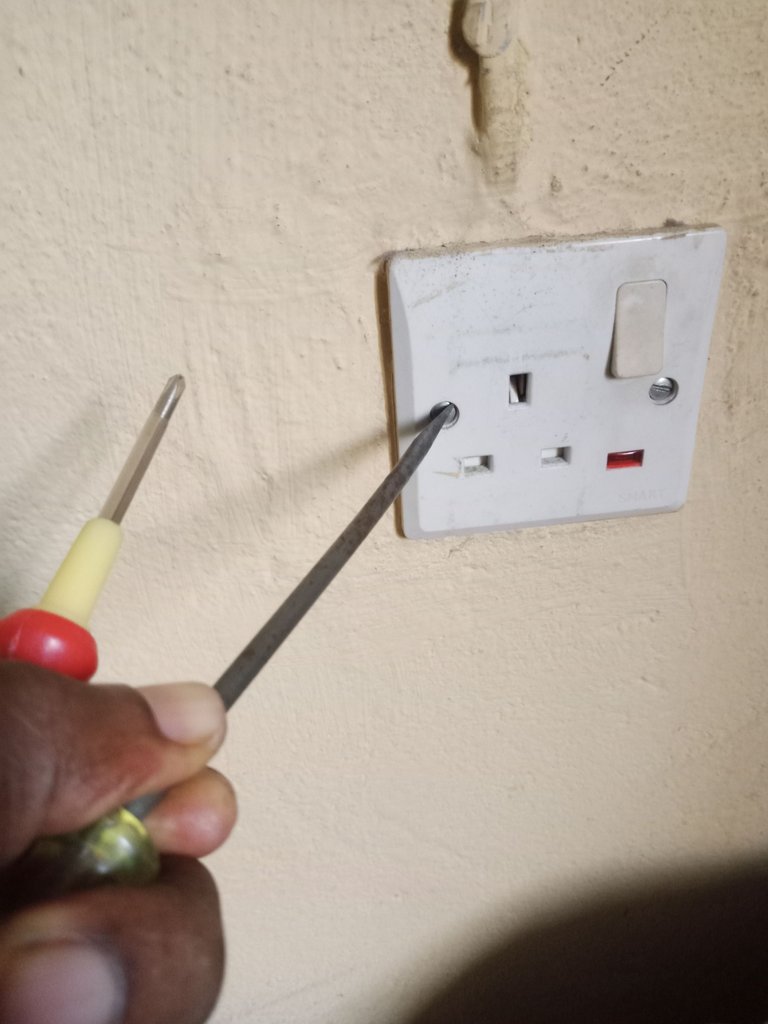
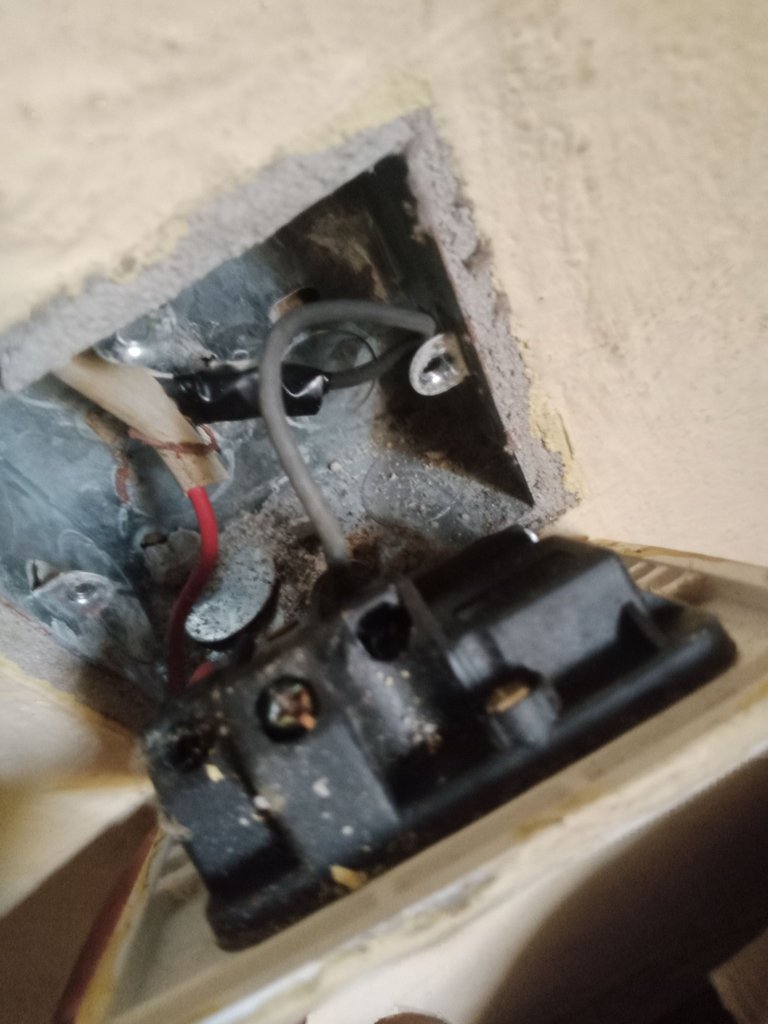
The steps I followed were simple. First, I used the tester to check and ensure there was no current in the socket. After confirming that, I loosened the screws holding the socket to the wall. When I opened the socket, I noticed one of the wires had burnt, so I needed to cut it, replace it with a new wire, and tape it well to avoid partial contact. After that, I pushed the socket back into the box where it was fixed, then tightened the screws again. The socket was now well positioned and that was it.
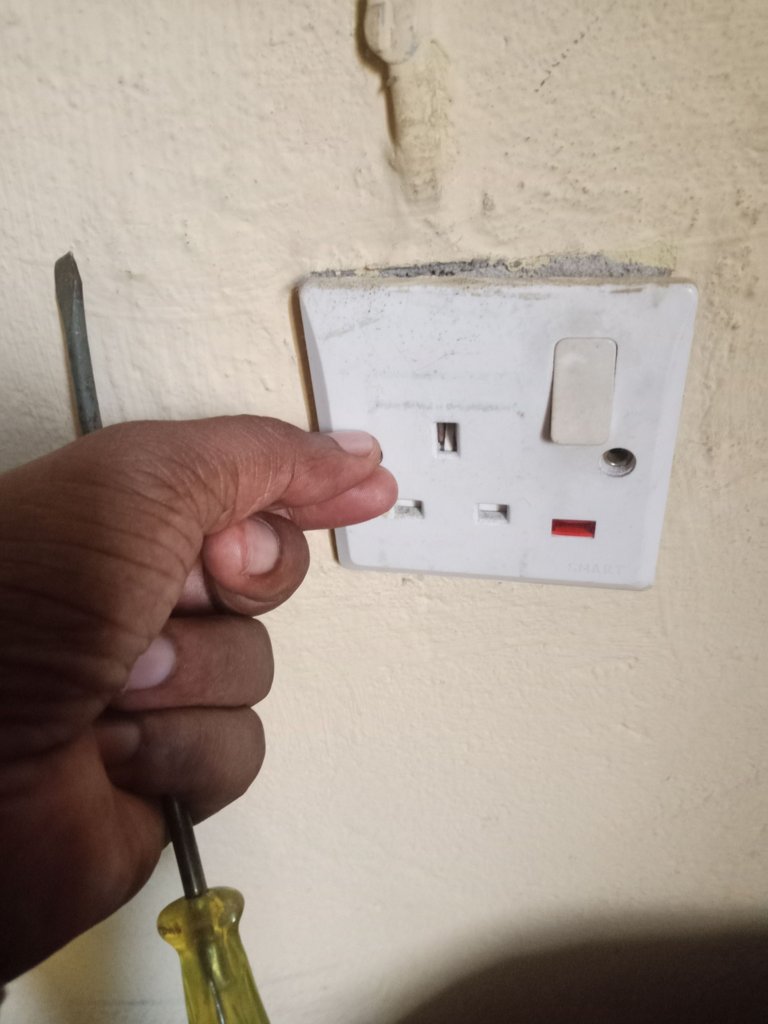
I went back to the changeover switch and returned it to the PHED position. Then I went back to the socket and turned it on. Indeed, my wall socket had come back to life. I plugged in my charger and it was charging.
No stress, no electrician, I fixed it by myself.

ESP
Un enchufe de pared es muy necesario en casa, y para poder cargar o utilizar otros aparatos eléctricos, se necesita un enchufe de pared funcional.
Noté que el enchufe de pared en mi habitación estaba dañado, pero no estaba dispuesto a llamar a un electricista. Así que preparé mis herramientas y me dispuse a arreglar el enchufe. Las herramientas necesarias eran simplemente un probador de corriente y un destornillador. Tenía las herramientas listas y, para garantizar la seguridad, lo primero que hice fue ir al punto de cambio y poner el interruptor de cambio en posición neutral para evitar historias que tocan el corazón, jajajaja.
Los pasos que seguí fueron sencillos. Primero, usé el probador para comprobar y asegurarme de que no había corriente en el enchufe. Después de confirmar eso, aflojé los tornillos que sujetaban el enchufe a la pared. Al abrir el enchufe, noté que uno de los cables estaba quemado, así que necesitaba cortarlo, reemplazarlo con un cable nuevo y encintarlo bien para evitar contactos parciales. Después de eso, empujé el enchufe nuevamente dentro de la caja donde estaba fijado, luego apreté los tornillos nuevamente. El enchufe ya estaba bien posicionado y eso fue todo.
Regresé al interruptor de cambio y lo devolví a la posición PHED. Luego volví al enchufe y lo encendí. En efecto, mi enchufe de pared había vuelto a la vida. Conecté mi cargador y estaba cargando.
Sin estrés, sin electricista, lo arreglé yo mismo.
Gracias por compartir, este tipo de cositas es súper útil en casa.
Gracias
muy útil información, gracias!
Gracias