How I Protected My Team in Collateral Damage Using Torhilo & Korjack !
Hello
Splinterlands Lovers !

Today, friends, I'll be sharing my Splinterlands battle with you. The rules and my strategy were fantastic. I used the same cards I always use, but the combination of my first and last cards was excellent, which is why I didn't lose a single card. If you watch my battle, you'll see how the first card set the tone for the entire battle and held its own against the opposing team. Both the first and last cards played a significant role in securing the victory. I can confidently say that my strategy worked perfectly.
|
|
Collateral Damage: All units have Reckless. Each successful attack also deals 1 damage to adjacent allied units. |
Torhilo the Frozen + Korjack ( Combination Statergy )
| Card | Description |
|---|---|
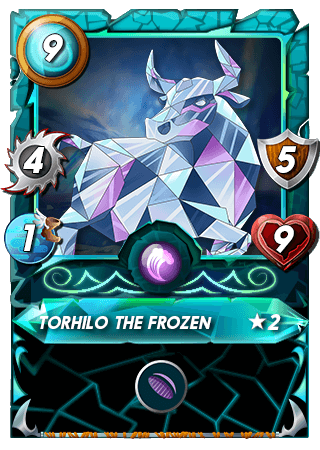 | Torhilo the Frozen – This card is called Torhilo the Frozen. I have this card at level 2. It's a melee attack card. This card has 4 attack power. It also provides 5 shields. It has 9 health and 1 speed. The advantage of placing this card in the first position is that when the Reckless rule is active, the shield will be very beneficial. Your health won't be attacked directly. |
https://d36mxiodymuqjm.cloudfront.net/cards_by_level/reward/Korjack_lv2.png) | Korjack – This card is the strongest Bubble Power card. It costs 6 mana. This card has 3 Bubble Power. I have this card at level 2. This card's ability is very good. It has the power to increase healing. It increases its own health. Another ability is that it is unaffected by earthquakes. Your health is protected. With the current rules where your cards take damage, this health-increasing ability comes in very handy. |
Short Discription ! ( Rulse + Card Statergy )
The rules state that when you successfully attack, the cards to the left and right of the attacking card will each receive 1 damage. If there are no cards on either the left or right side of the attacking card, then no damage will be dealt to those positions. A key aspect of these rules is that your cards only take damage when a successful attack occurs. Therefore, I chose cards that could increase health. The first card I used had a shield, which reduced the damage from bubble attacks. This made it the strongest card on my team, and it lasted until the very end. The card in my last position was a health-boosting card, which proved very useful in the battle. You can see how it dealt damage, increased its own health, and survived the game remarkably well despite taking damage according to the rules.
Battle Link

Conclution
The Splinterlands game is all about strategy. I've shared today's battle with you to show you my strategy. My goal here is to play battles every day according to the rules and share my experience, explaining which cards I used, where I placed them, and how I won the battle. I will continue to share my battles with you until the end of the season. Please let me know what you think of my battles.
Thank U
Congratulations @nexo0702! You have completed the following achievement on the Hive blockchain And have been rewarded with New badge(s)
Your next target is to reach 45000 upvotes.
You can view your badges on your board and compare yourself to others in the Ranking
If you no longer want to receive notifications, reply to this comment with the word
STOPCheck out our last posts: