🪡🧶 Making an embroidered patch from scratch/ Haciendo un parche bordado desde cero 🧶🪡
💓 Hello creative friends of the needle work community! 💓
I hope you are super well and have started this new year with the best energies! In today's post I come to show you how you can make an embroidered patch from scratch. I have other posts where we make patches, but this one is special, since it is my own design :)
💙 Sketches 💙
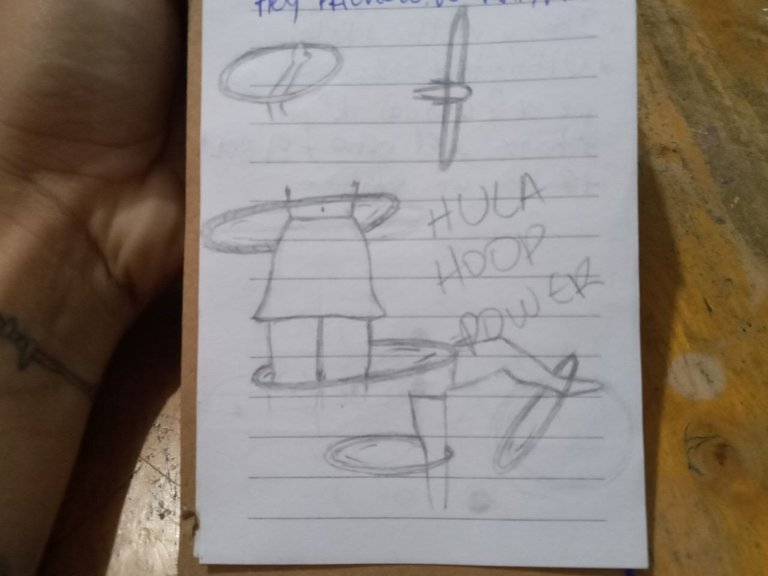
First of all we sketch what we would like to embroider, in this case days ago I had the idea of making a patch referring to the hula hoops, but being only a circular object it was a challenge .... That's how I ended up with this idea of showing them on the body, I have several sketches and this time I made the one of the girl dissociating with a hula on the knee and another one on the foot. Now that we have the design, we start with the embroidery!
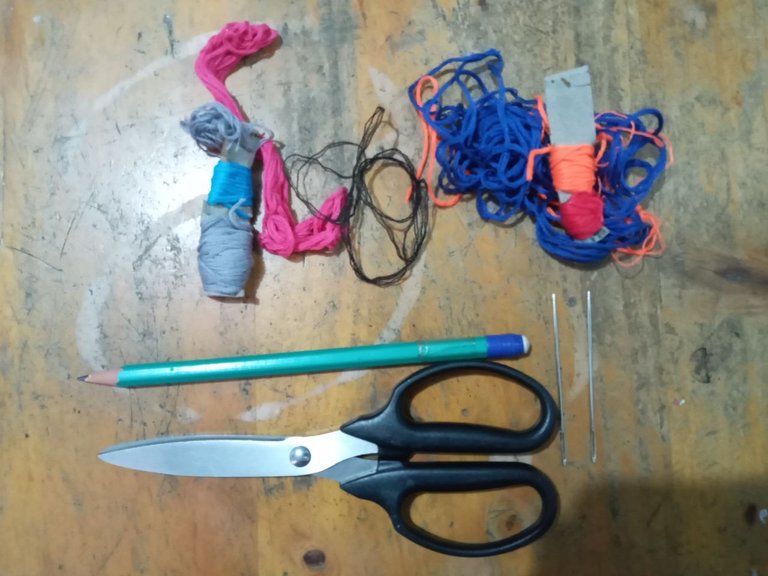
The materials we will need will be:
*Embroidery fabric.
*Embroidery frame.
*Threads of the color of our preference.
*Needles (they can be blunt or sharp point).
*Scissors, a pencil, nail polish (preferably transparent).
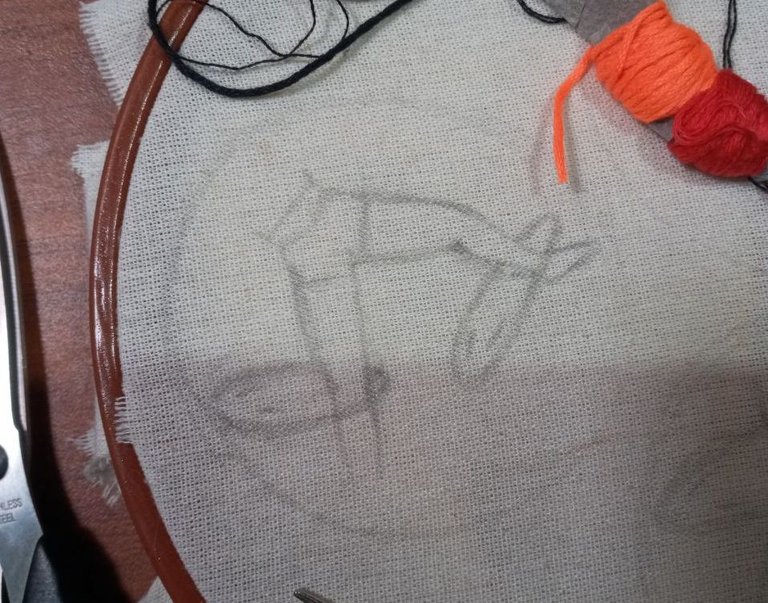
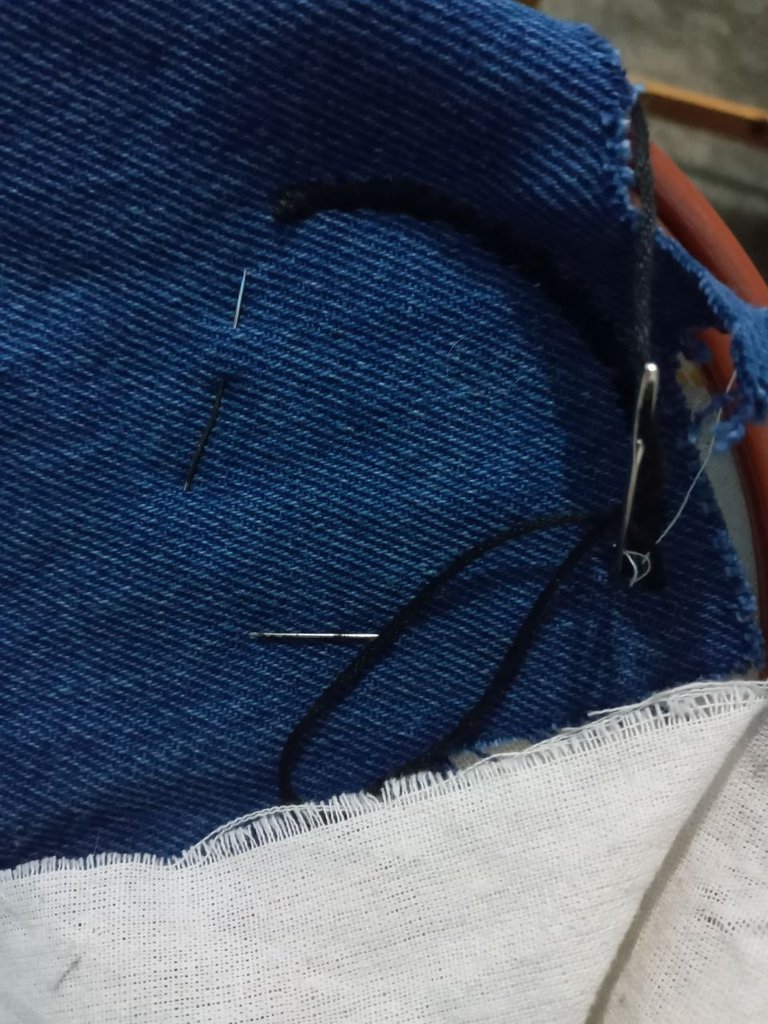
Now for the first step once we have our design we will pass it to the fabric with a pencil first and then with a pen we will mark it gently. We mount the fabric on the frame.
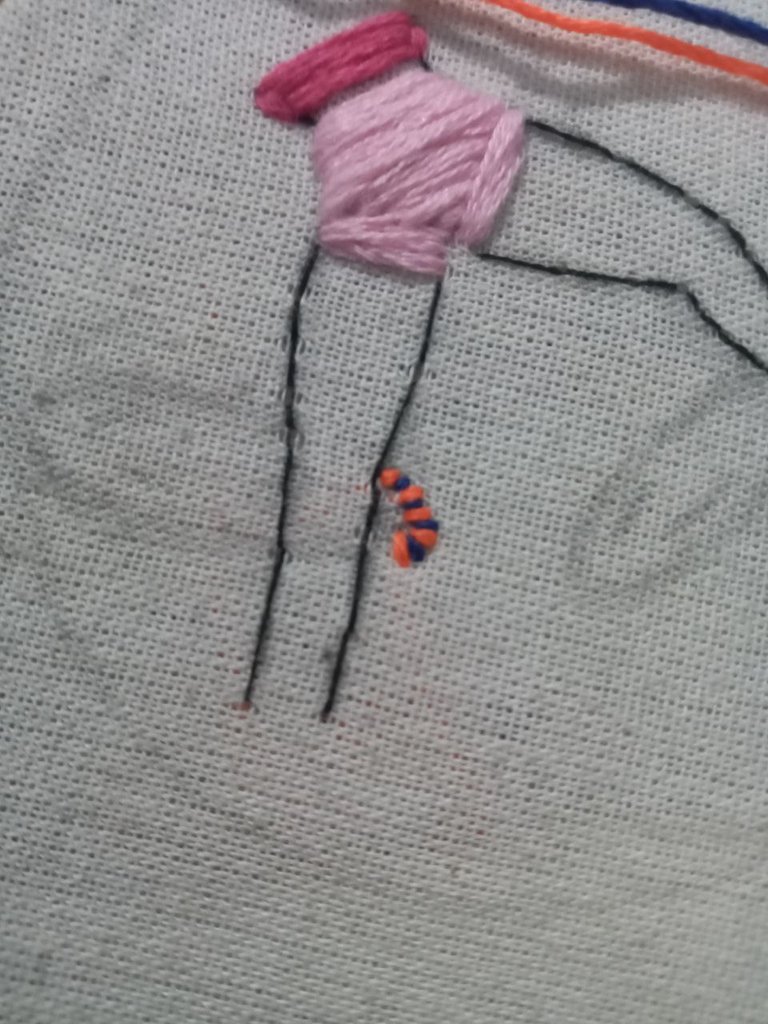
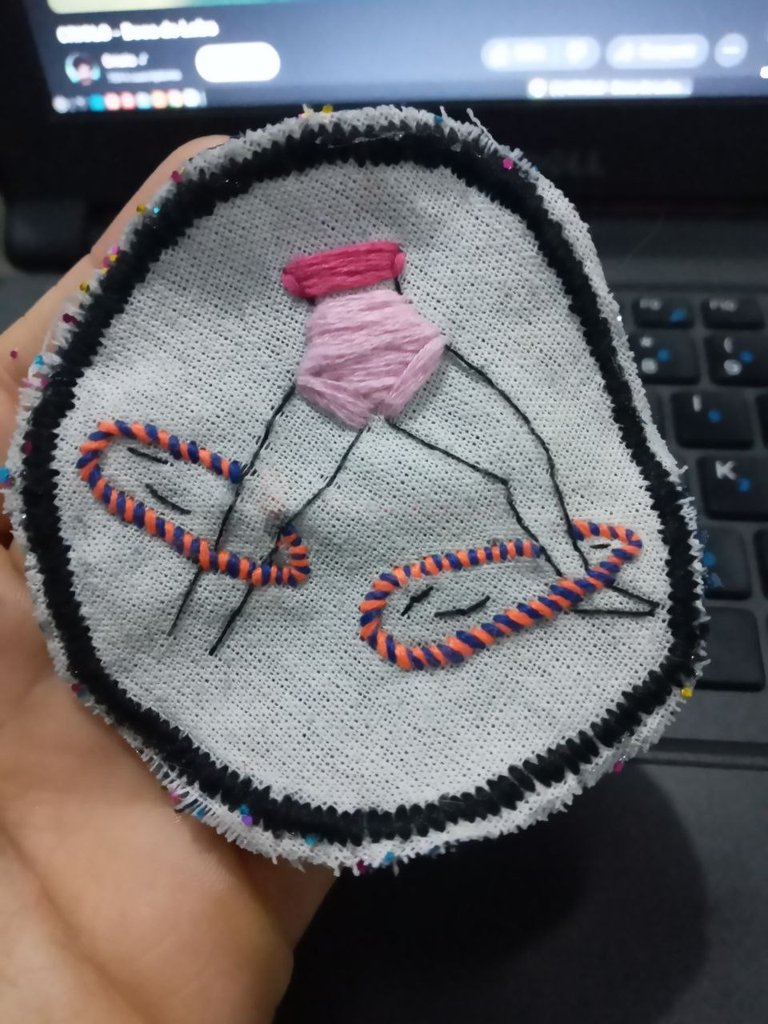
💙 this is what it looks like from behind 💙
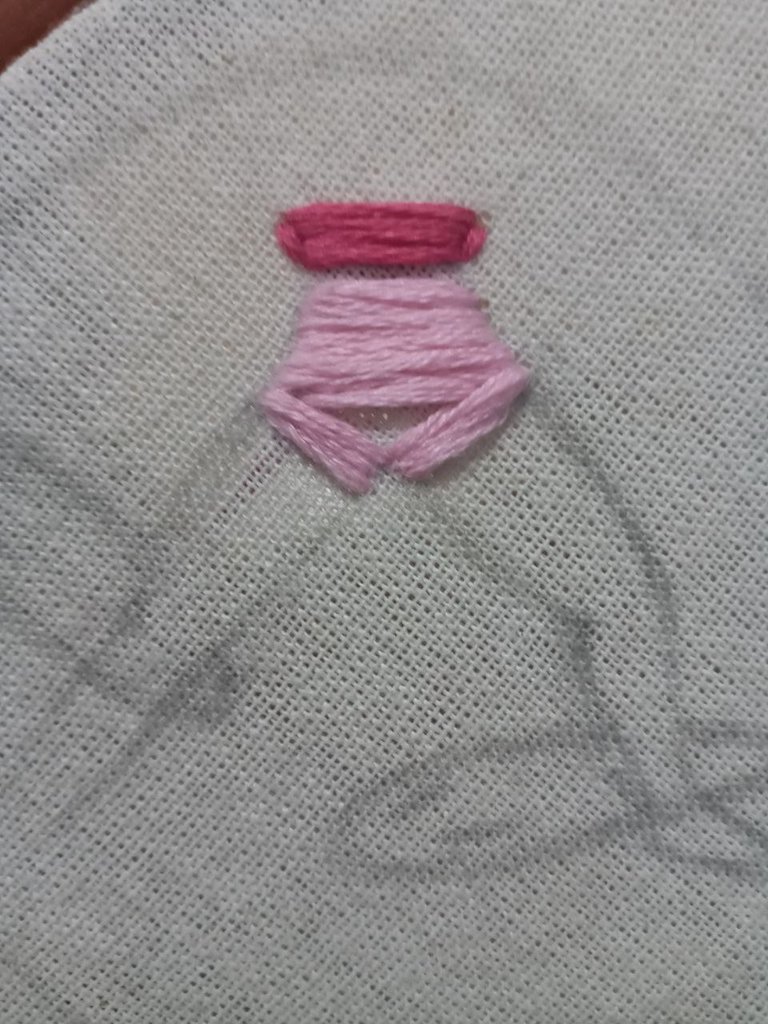

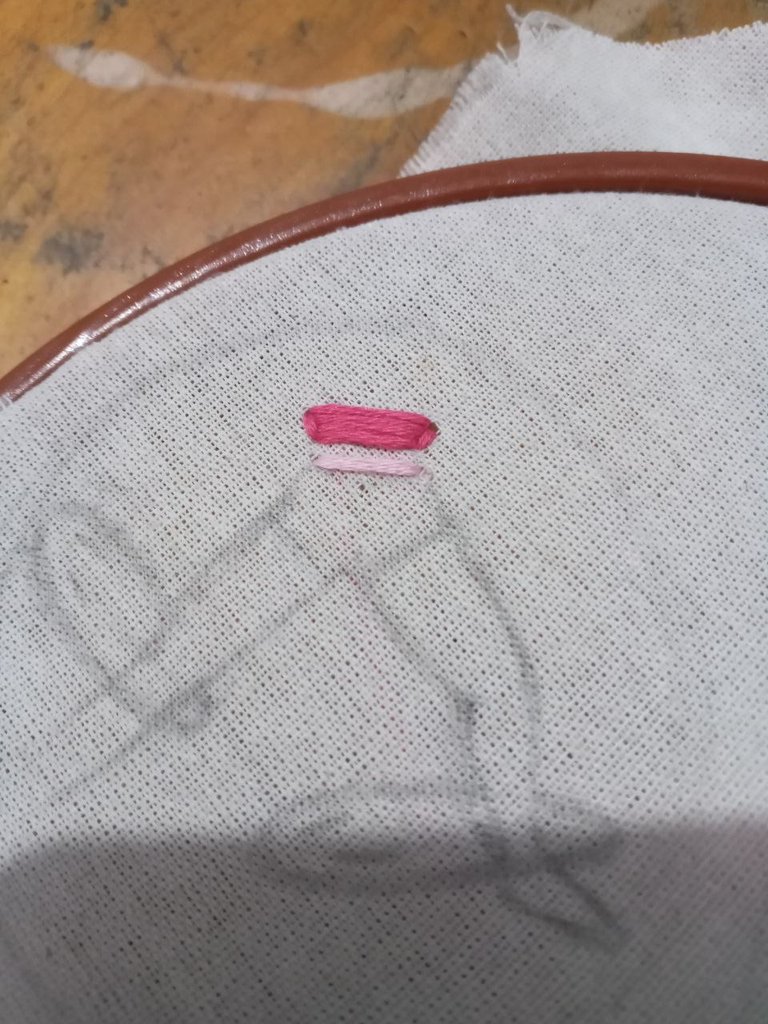
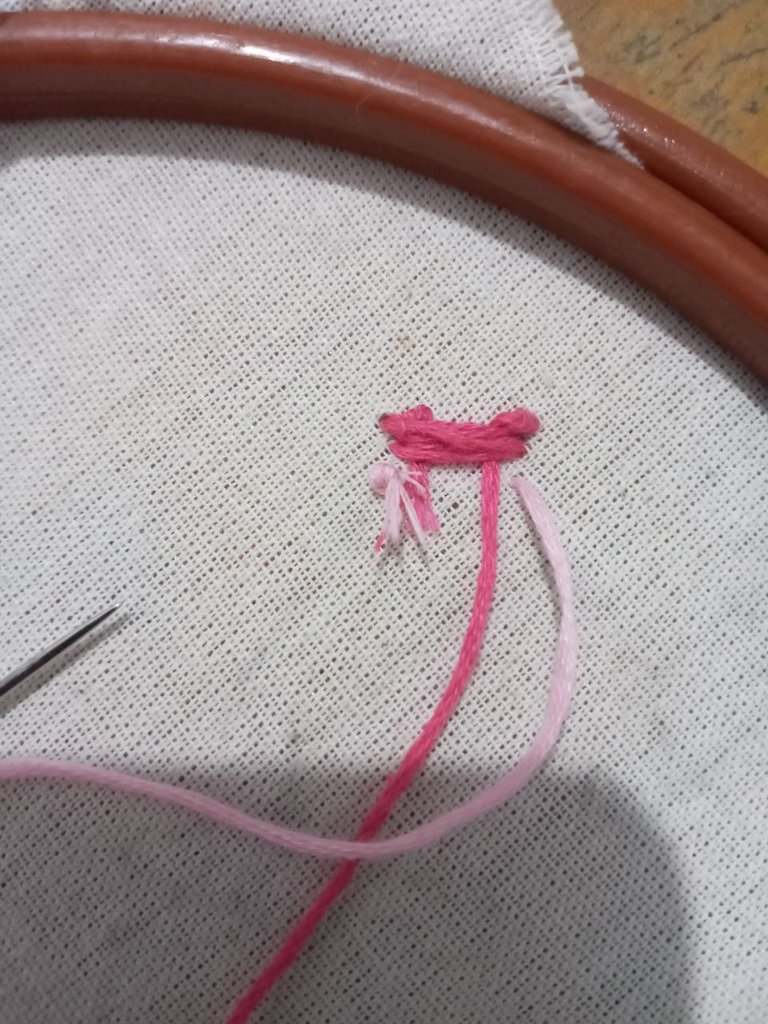
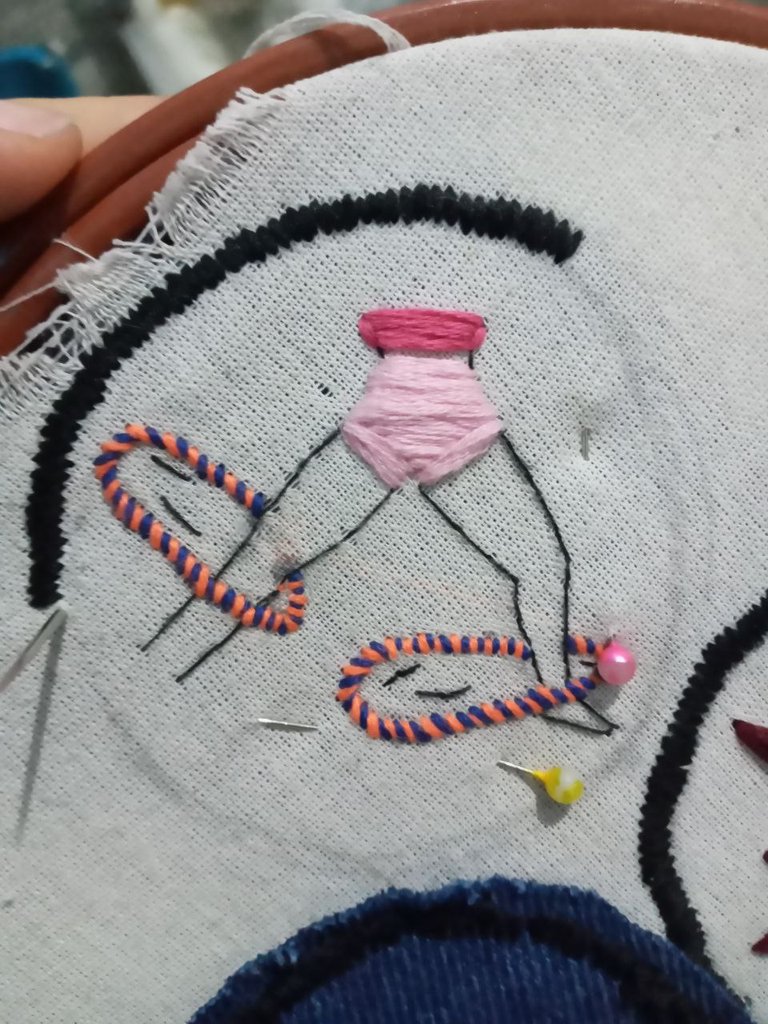
The first stitches I made in this case was with the pink and fuchsia thread to fill I bordered what would be the girl's clothes.
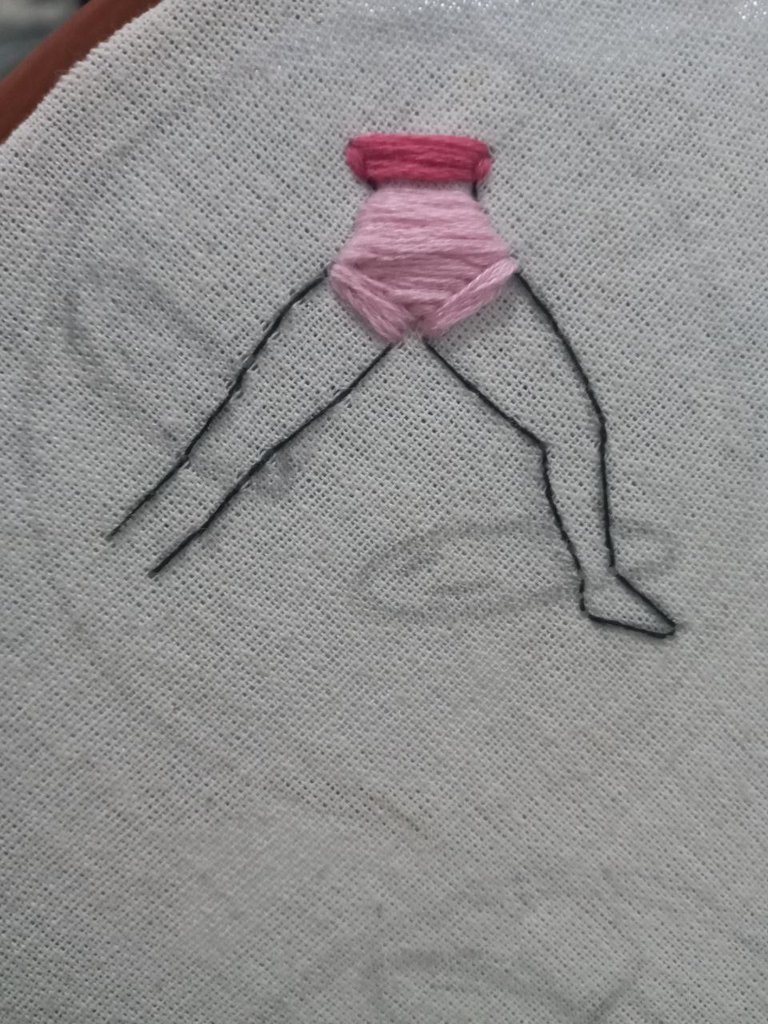
Then outline the contour of the body following my guide lines as precisely as possible, for this I only used one strand of black thread (for knowing how to iniciate in the hand embroidery i leave u this post).
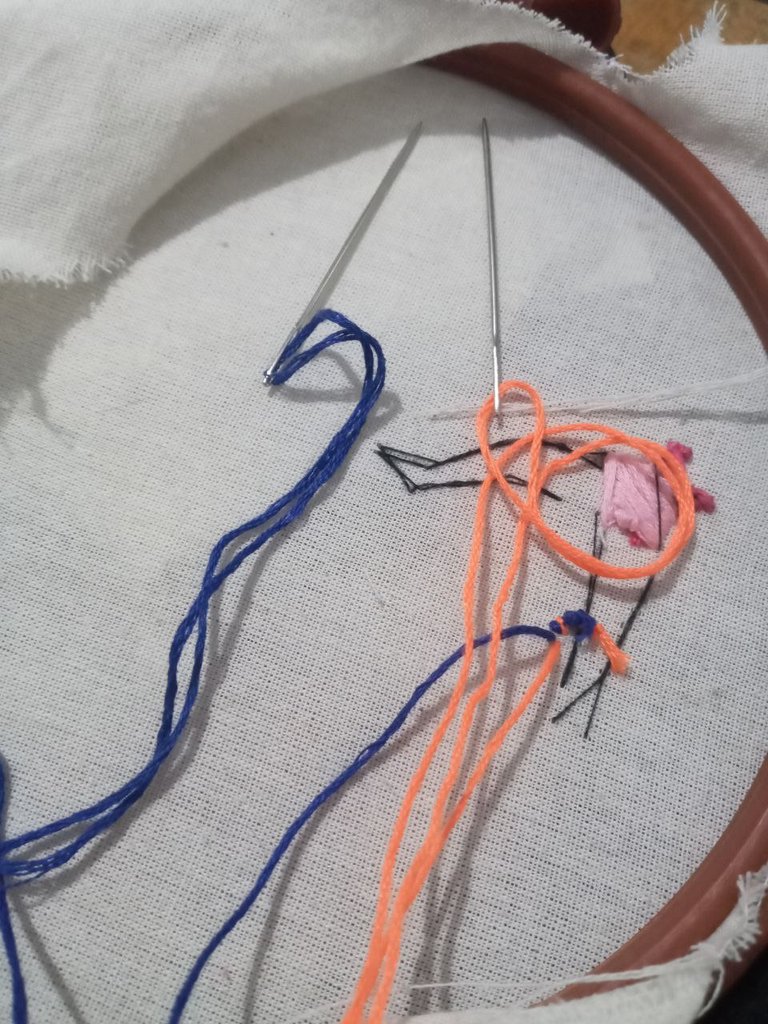
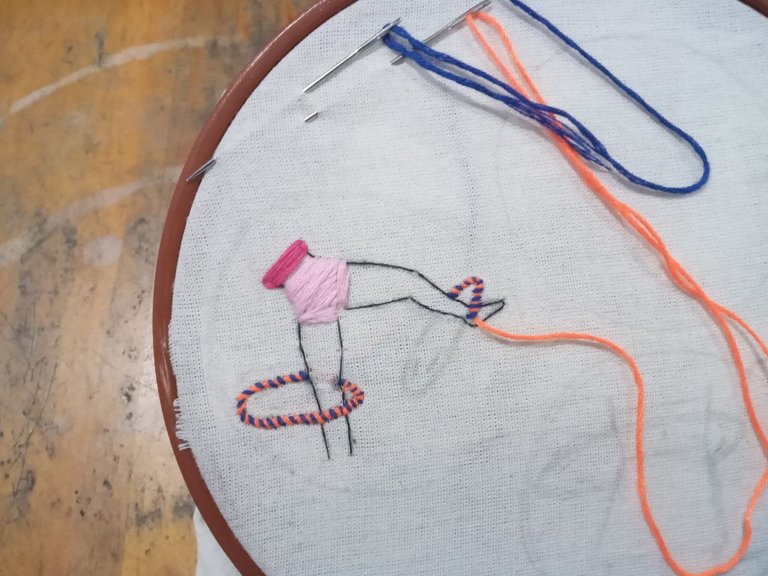
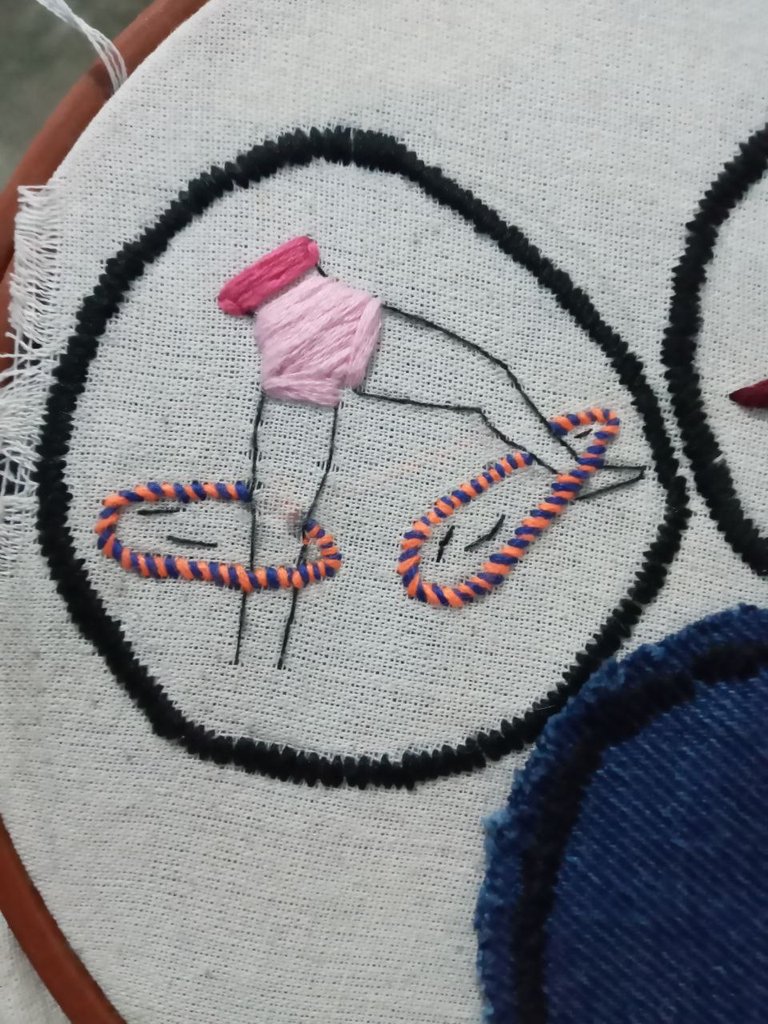
Now came the cool part haha At this point I wanted to represent the hula as I usually decorate it, with several ribbons of different colors. For this what I did was to assemble a needle with the orange thread and another with the blue thread, this allowed me to embroider a curve with each color and achieve that effect you see in the hula.
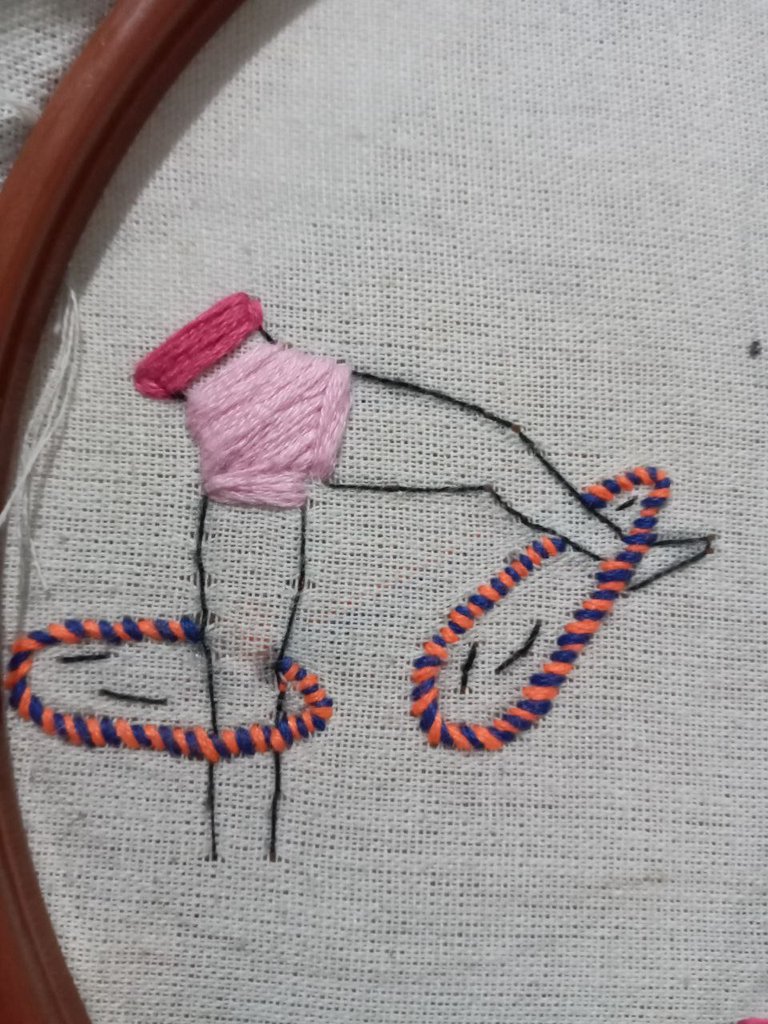

I finished the embroidery adding those curves of movement with just one strand of black thread and that's it, we finished the embroidery!
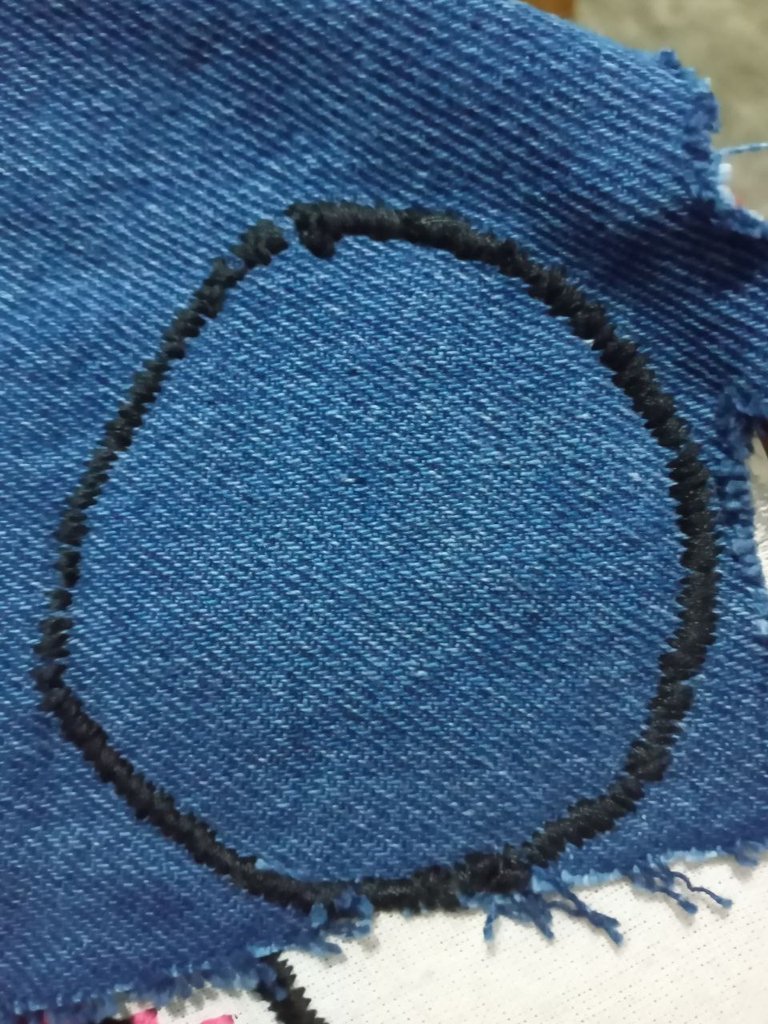
Now, it still needs to be a patch as such. For this I took some stiff jean fabric (that doesn't stretch, it's better) and placed it on the back with some pins to keep it in the same place, and started sewing with black thread.
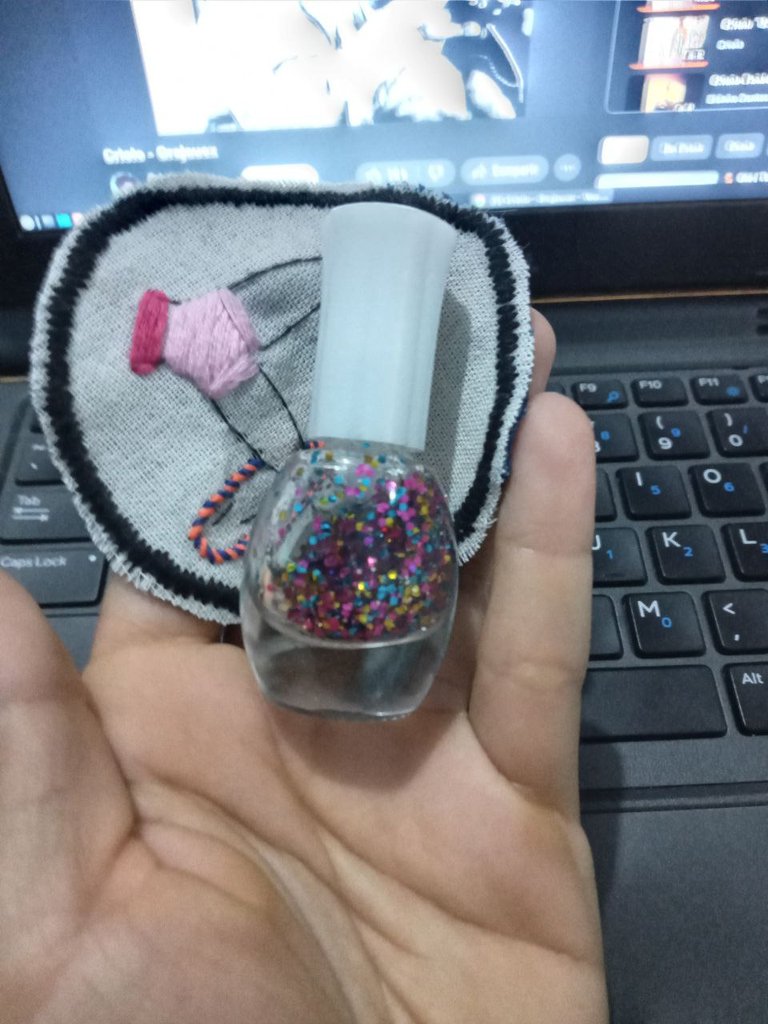
Cut it with carefull, dont cut the thread. At the end I like to give it a coat of nail polish to seal the fabric and prevent it from fraying, this time I used one that has colored glitter :) and our new patch is ready!
I hope you liked the idea and have a nice week! 💞 Hugs, kisses, drink water and brush your teeth! 💞
~ 💓 See you next post!! 💓 ~
💓 ¡Hola amigos creativos de la comunidad de needle work! 💓
¡Espero estén super bien y hayan comenzado este nuevo año con las mejores energías! En el post de hoy vengo a mostrarles como pueden hacer un parche bordado desde cero. Tengo otros post donde hacemos parches, pero este es especial, ya que es un diseño propio :)
💜 Bocetos 💜
Primero que nada boceteamos lo que les gustaría bordar, en este caso hace días tenía la idea de hacer un parche referente a los hula-hula, pero al ser solo un objeto circular era todo un reto... Así fue como pensando acabe con esta idea de mostrarlos en el cuerpo, tengo varios bocetos y en esta oportunidad hice el de la chica disociando con un hula en la rodilla y otro en el pie. ¡Ahora que ya tenemos el diseño, comenzamos con el bordado!
Los materiales que necesitaremos serán:
*Tela para bordar.
*Bastidor/ marco para bordar.
*Hilos del color de nuestra preferencia.
*Agujas(pueden ser de punta roma o afilada)
*Tijera, un lápiz, esmalte de uñas(preferiblemente transparente)
Ahora para el primer paso una vez tengamos nuestro diseño lo pasaremos a la tela con lápiz primero y luego con un bolígrafo remarcaremos suavemente. Montamos la tela en el marco.
💜 Así es como se ve por detras 💜
Las primeras puntadas que di en este caso fueron con el hilo rosa y el fucsia para rellenar borde lo que sería la ropa de la chica.
Luego delinear el contorno del cuerpo siguiendo mis lineas guia lo mas preciso posible, para esto solo use una hebra de hilo de color negro (para saber como iniciar en el bordado les dejo este post )
Ahora si vino lo chido haha En este punto quería representar el hula como yo suelo decorarlo, con varias cintas de colores diferentes. Para esto lo que hice fue armar una aguja con el hilo naranja y otra con el hilo azul, esto me permitía bordar una curva con cada color y lograr ese efecto que se ve en el hula.
Finalice el bordado agregándole esas curvas de movimiento con solo una hebra de hilo negro y listo! ¡Acabamos el bordado!
Ahora, aún falta para que sea un parche como tal. Para esto tome tela de jean rígida (que no se estire, es mejor) y la coloque por la parte trasera con unos alfileres para que se mantenga en el mismo lugar, y comencé a coser con hilo negro.
Cortenlo con cuidado, no corten el hilo. ¡Al finalizar me gusta darle una pasada de esmalte de uñas para sellar la tela y evitar que se deshilache, esta vez use uno que tiene brillitos de colores :) y listo nuestro nuevo parche!
Espero que les haya gustado la idea y tengan muy linda semana. 💞 Abrazos, besitos, tomen agüita y cepillense los dientes! 💞
~ 💓 ¡Hasta el próximo post! 💓 ~
Las imágenes fueron tomadas por mi.
La edición la hice en pc portatil, utilizando el editor BeFunky.
Congratulations @nattymitty! You have completed the following achievement on the Hive blockchain And have been rewarded with New badge(s)
Your next target is to reach 3500 upvotes.
You can view your badges on your board and compare yourself to others in the Ranking
If you no longer want to receive notifications, reply to this comment with the word
STOPCheck out our last posts:
Thanks hive buzz ♡ ill keep going :)
Thank you @nattymitty 😍
Que bonito te ha quedado. Te felicito por animarte con tu primer diseño, seguir tus propias líneas de diseño es algo muy valiente y es admirable. Lo has hecho divinamente.
Estos parches me recuerdan los tiempos en que los rotos en los pantalones no eran tan apreciados y mi mamá lo resolvía todo con un parche, ella aprovechaba etiquetas de camisas y otros y las guardaba para diseñar sus parches. Hoy día estos parches son más decorativos y pueden levantar una prenda y hacerla más llamativa y divertida.
Has hecho un hermoso trabajo.
Wow!las mamás si que son muy creativas haha siempre encuentran una linda solucion para todo ♡ muchas gracias por tu comentario!Disfrute mucho hacerlo y es posible que lo deje para mi haha
Hermosoo 😻😘
Oh wow your explanation makes it easy and you’re really good with sketches.
Thanks!im glad u like it ♡
You’re welcome
The time you put into this is definitely a lot. I love the fact that the piece is so detailed.
I love to embroider but yeah, takes a lot of time so i dont do it so often like i wanted to. This time i have some charges so it was the perfect oportunity to sit down and put all my energy into it, and i have so much fun 💜 Thanks for the cute comment and for reading 🤗