Reparación de bombillo led 7w//7w led bulb repair[ESP-ENG]
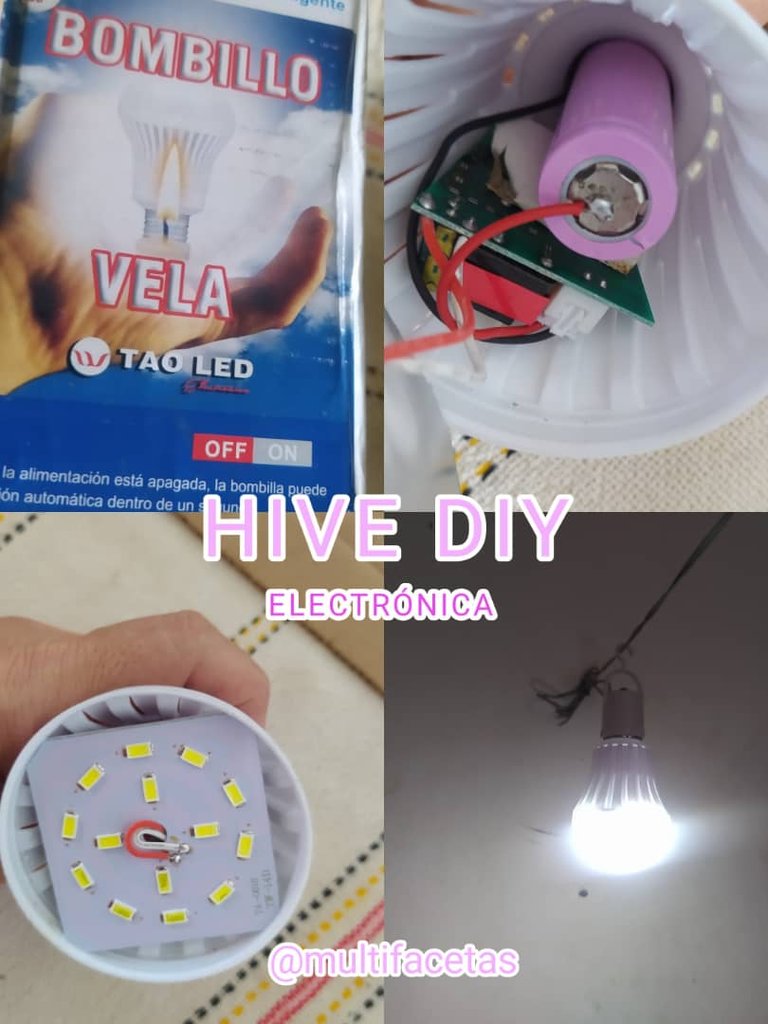
Bienvenidos a mi blog//Welcome to my blog

Hola queridos, nuevamente por acá, en la categoría de electrónica en #HiveDiy. Hoy tengo el placer de compartir una experiencia de este artículo esencial en la actualidad. Un bombillo leds recargable. Paso a detallar el análisis del tutorial.
Hello dear ones, here again, in the electronics category on #HiveDiy. Today I have the pleasure to share an experience of this essential item today. A rechargeable led light bulb. I'm going to detail the tutorial analysis.
Paso a paso//Step by step
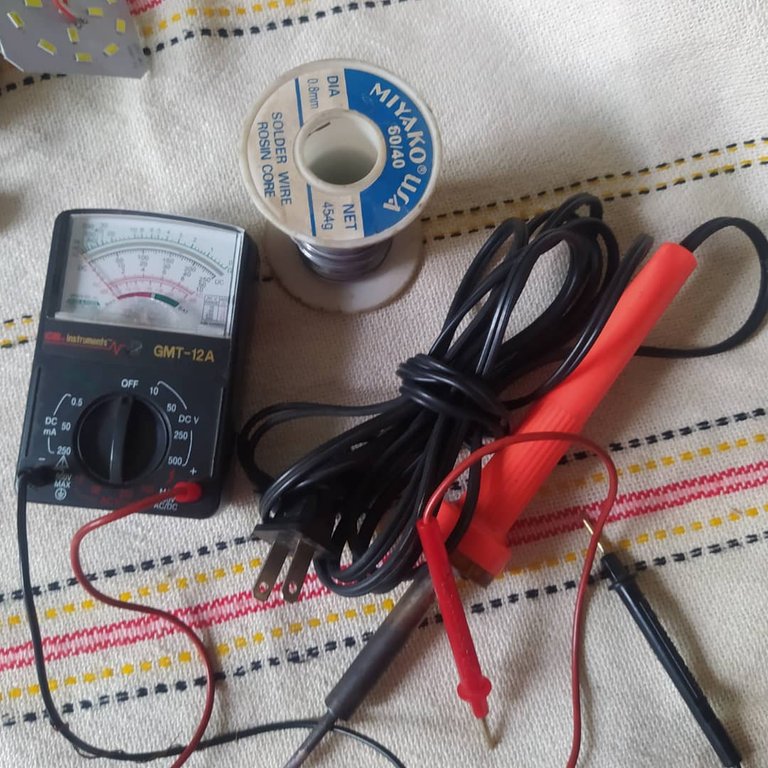
Herramientas//Tools:
- 01 voltiamperimetro.
- 01 cautin.
- Estaño.
- 01 voltammeter.
- 01 soldering iron.
- Tin.
Análisis
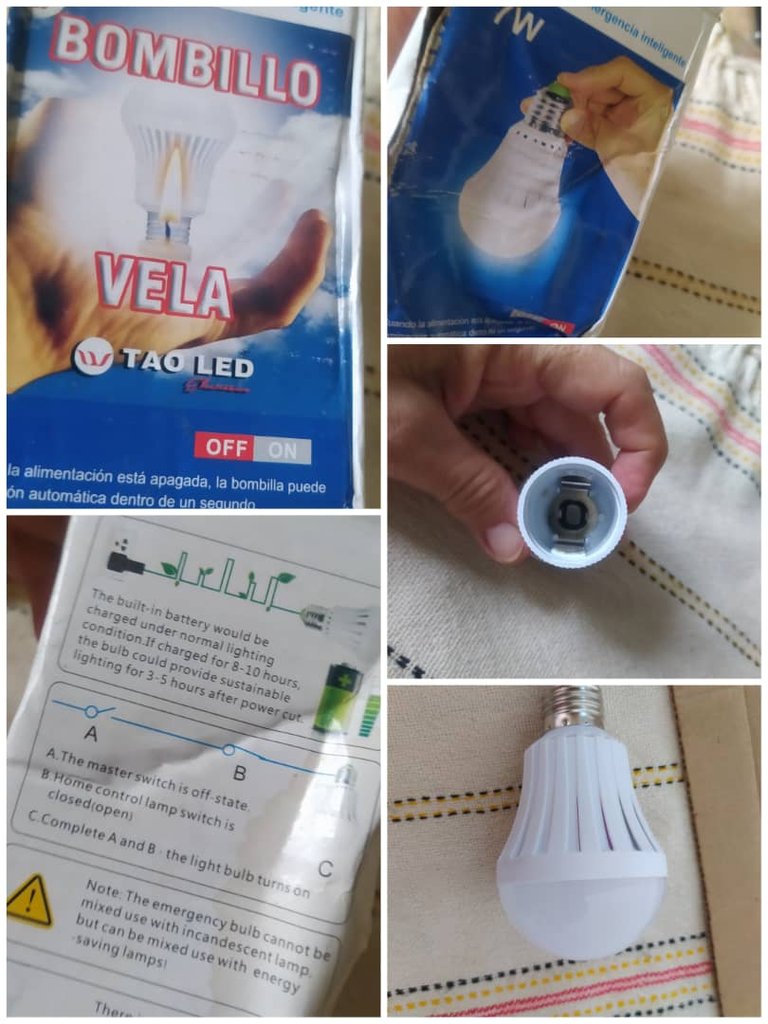
- Un bombillo led 7w
- Despues de ponerlo a cargar segun indicaciones.
- Se prueba su funcionamiento y no enciende.
Posibles fallas:
- Leds dañados.
- Bateria dañada.
- Un cable abierto.
- Sócate dañado.
Analysis
- A 7w led bulb
- After charging it according to instructions.
- It is tested and does not turn on.
Possible faults:
- Damaged LEDs.
- Damaged battery.
- An open cable.
- Damaged socket.
Proceso//Process:
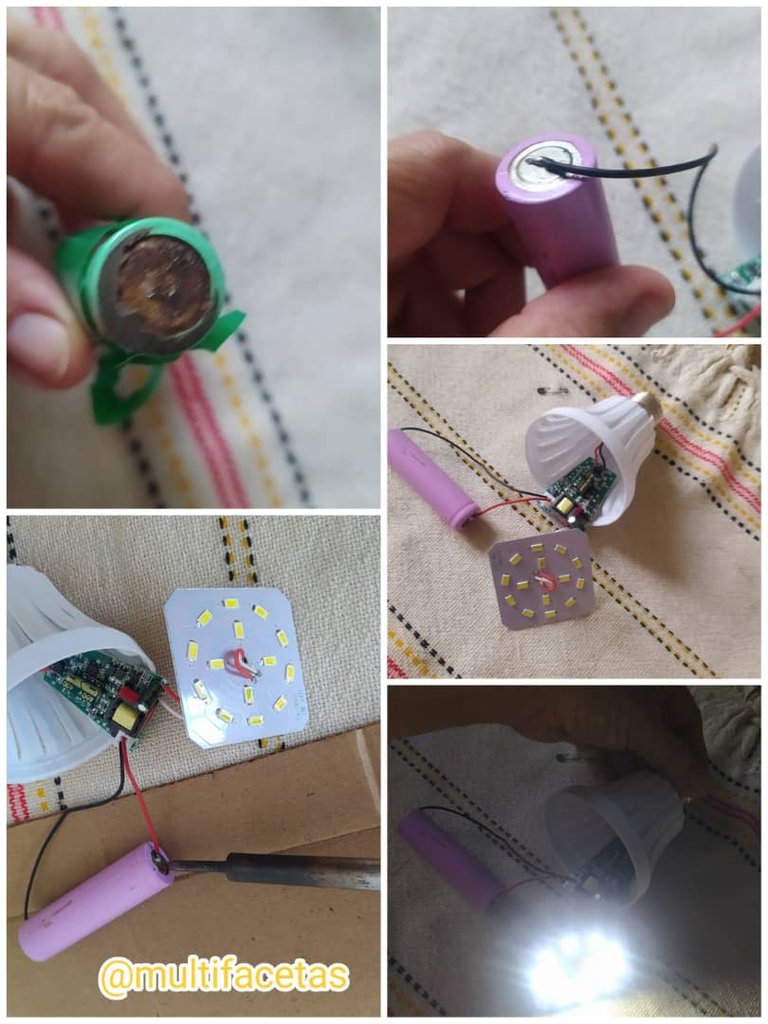
- Se procede a desarmar el bombillo, se extrae la tapa o pantalla plástica.
- Se extrae cuidadosamnete la tarjeta de los leds, aparentemente bien sin partes oscuras o quemadas.
- Se observa soldaduras y cableados en buenas condiciones.
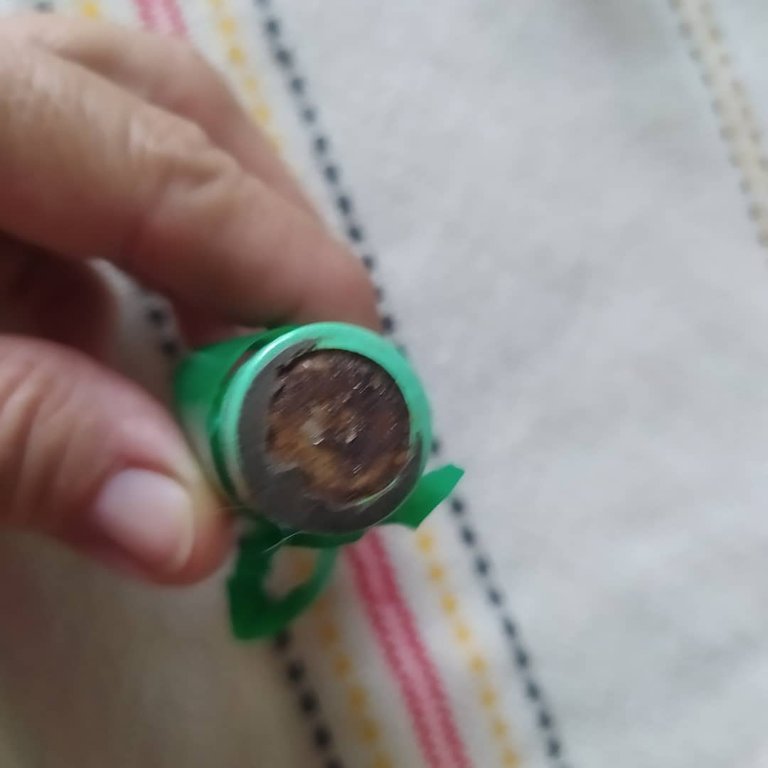
- La bateria tiene mal aspecto, componente deteriorado.
- El socate-swicth en buenas condiciones.
- Se desolda el cableado de la bateria, totalmente dañada.
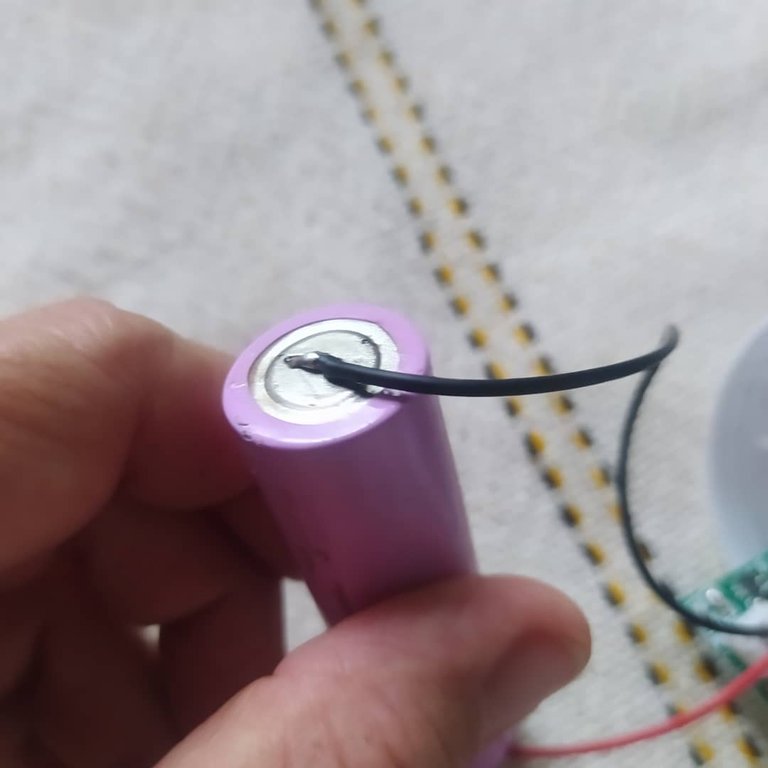
- Se reemplaza la bateria, casualidad tenia entre mi stock de material. Se hace la prueba tenia cierta cantidad de voltios.
- Se procede a soldar la bateria en su lugar.
- Hacemos una prueba, con un sócate, instalamos el sistema a 120 v (alimetación - tomacorriente), para cargar por 8-10horas.
- Despues de trascurrir el tiempo estipulado, lo retiramos del tomacorriente.
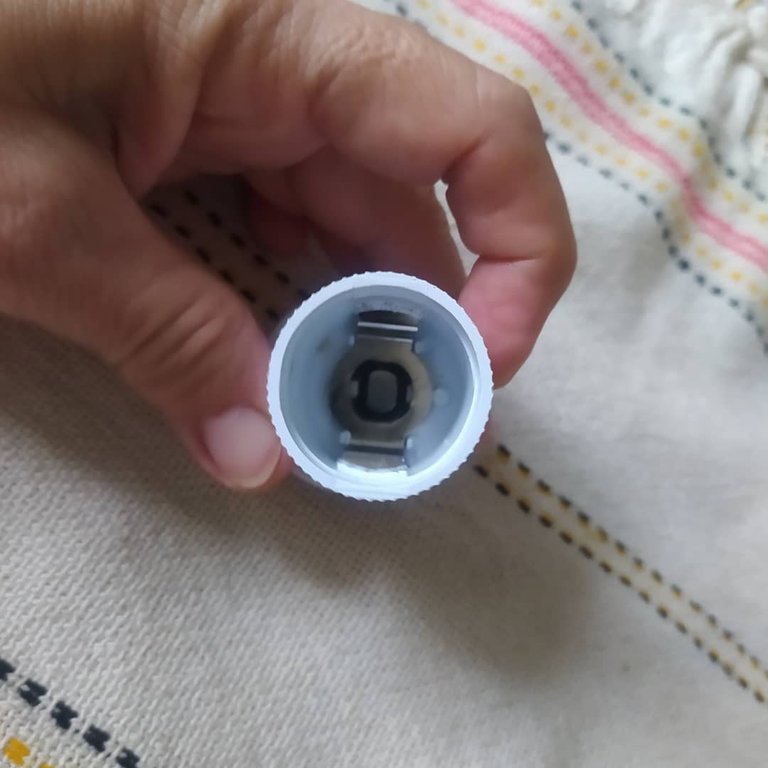
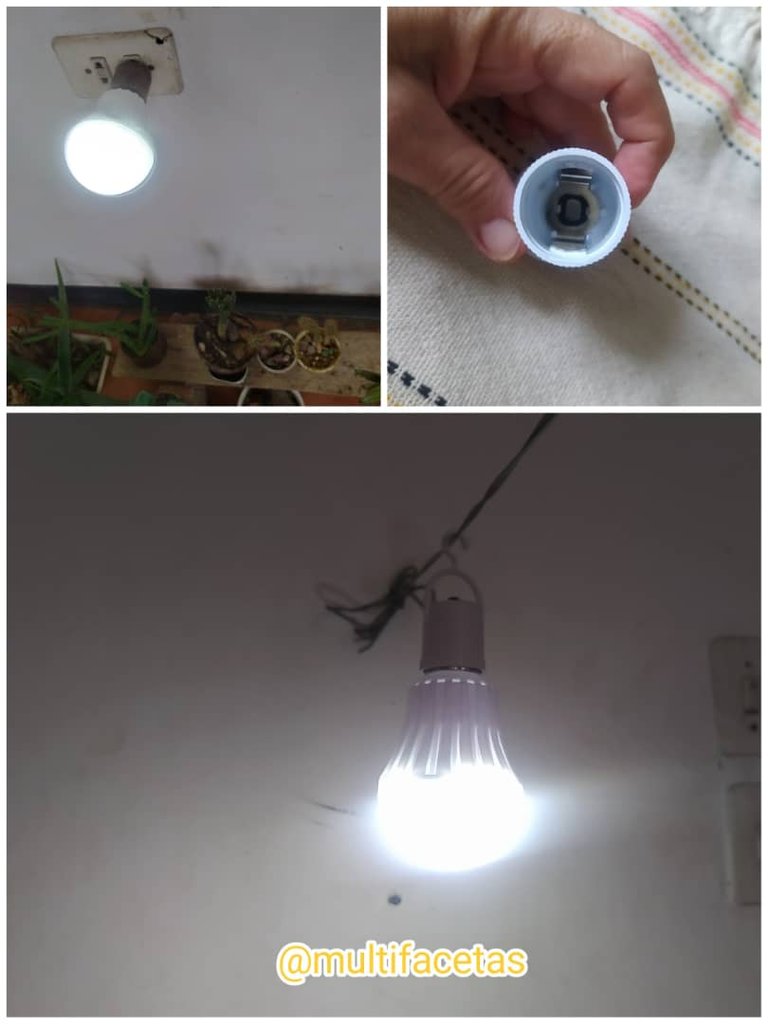
- Cuidadosamente hacemos contacto con el casquillo hacemos tierra y Wow, enciende perfectamente.
- En este caso se corrigió la falla fácilmente, reemplazando la bateria.
- The bulb is disassembled, the cover or plastic screen is removed.
- The led card is carefully removed, apparently without dark or burned parts.
- It is observed soldering and wiring in good conditions.
- The battery has bad aspect, deteriorated component.
- The socate-swicth in good condition.
- The wiring of the battery is desoldered, totally damaged.
- The battery is replaced, by chance I had among my stock of material. The test was done, it had a certain amount of volts.
- We proceed to solder the battery in place.
- We make a test, with a socket, we install the system at 120 v (power supply - outlet), to charge for 8-10 hours.
- After the stipulated time has elapsed, we remove it from the outlet.
-Carefully we make contact with the grounded socket and Wow, it turns on perfectly.- In this case the fault was easily corrected by replacing the battery.
Ensamblado//Assembly:
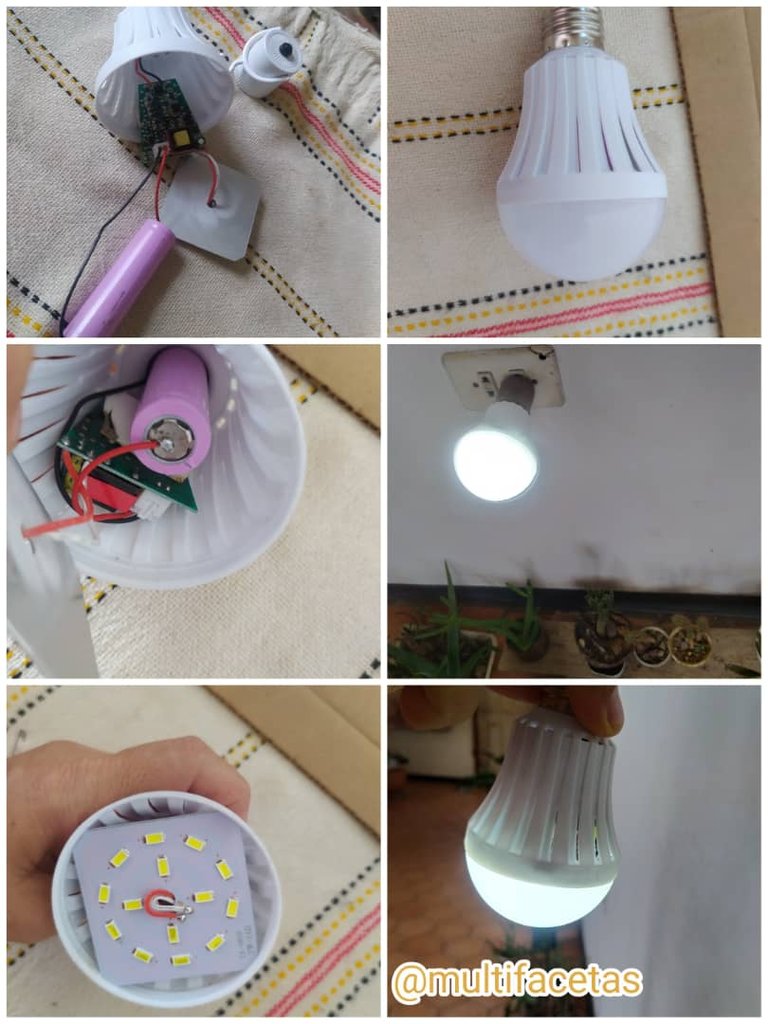
- Se procede al armado de la tarjeta principal, la bateria en el lugar respectivo.
- Se encaja la tarjeta de los leds entre unas pestañas.
- Se coloca la pantalla blanca.
- We proceed to the assembly of the main board, the battery in the respective place.
- The led card is fitted between some tabs.
- The white screen is placed.
... Y listo el bombillo led 7w reparado
Este bombillo me lo trajeron de colombia como obsequio, y muy feliz procedi a usarlo, lei las indicaciones de la caja, y luego cuando se cumplió el tiempo de carga de 8-10 hrs, no encendió. Muchas veces estos artefactos tienen mucho tiempo almacenados y lo sacan a la venta y uno encantado lo adquiere sin garantias, entonces pasa esto.
Hace poco a mi hija le sucedio con una linterna recargable que compró, cuando la usó el encendido era opaco, y se cargaba el tiempo estipulado y no duraba el tiempo de autonomia 3- 4 hrs, se revisó, bateria dañada. Se le adaptó una nueva y asi si funcionó adecuadamente.
This bulb was brought to me from Colombia as a gift, and very happy I proceeded to use it, I read the instructions on the box, and then when the charging time of 8-10 hrs was fulfilled, it did not light. Many times these devices are stored for a long time and then they are put on sale and one is delighted to acquire it without warranties, then this happens.
Recently it happened to my daughter with a rechargeable flashlight that she bought, when she used it the ignition was opaque, and it charged the stipulated time and did not last the time of autonomy 3 - 4 hrs, it was checked, damaged battery. A new one was adapted and it worked properly.
En otro tiempos esto no pasaba, habia un ente que protegia al consumidor. Muchas veces nos dejamos ir por la necesidad, ya que la electricidad está muy deficiente, y como deseamos tener 3- 4hrs iluminación. Entonces creemos que es barato adquirirlo, no es asi, si le sumamos el costo adicional de la bateria mas la mano de obra, no es nada barato. Cuando compramos con garantias, no funciona lo mas lógico es que lo cambien por otro articulo semejante y esto no sucede actualmente, lo prueban al momento de la compra y listo. Luego en casa se usa y no funciona, entonces la mayoria lo tiran a la basura, pero en mi caso me gusta investigar sobre ello y tratar de reparar. Y el 70% me ha funcionado. Claro cosas con mediana dificultad. Tambien porque se tiene algun conocimiento, es mi área de trabajo formal.
In other times this did not happen, there was an entity that protected the consumer. Many times we let ourselves go by necessity, since the electricity is very deficient, and as we want to have 3 to 4 hours of lighting. Then we believe that it is cheap to acquire it, it is not so, if we add the additional cost of the battery plus labor, it is not cheap at all. When we buy with warranties, it does not work the most logical thing is that they change it for another similar item and this does not happen today, they test it at the time of purchase and that's it. Then at home it is used and does not work, then most of them throw it away, but in my case I like to investigate about it and try to repair it. And 70% have worked for me. Of course things with medium difficulty. Also because you have some knowledge, it is my formal area of work.
Bueno, mis amigos espero que les haya gustado este post. Los comentarios son bienvenidos...
Well, my friends I hope you liked this post. Comments are welcome...
Bueno, mis amigos #HiveDiy que tengan ¡un bonito día!
Well, my #HiveDiy friends have a nice day!
💖💖💖Todo con AMOR se logra 💖💖💖
💖💖💖Everything with LOVE is achieved💖💖💖
Hasta aquí mi publicación. Gracias por leer.❤
So much for my publication. Thank you for reading.❤
Los textos y las fotos son de mi autoría.
Traducción con Deepl. Foto tomada con el Xiaomi Redmi Note 8.
Banner y separador de texto creado con Canva.
Texts and photos are my authorship.
Translation with Deepl. Photo taken with Xiaomi Redmi Note 8.
Banner and text separator created with Canva.

https://x.com/EglyQuintero/status/1810715007362965623
aha that is great you are amazing, keep up the good work. thanks for sharing the steps. have a great day and week ahead.
Thank you very much for your support🥰!. Happy day to you!
Muchas gracias por el tutorial me parece de gran utilidad para aprender a reparar esos bombillos que tenemos en casa .
Paz y bien!!
Me contenta que te haya gustado el post. 👍!
Que bien saber hacer estas reparaciones en casa, mi querida @multifacetas Gracias por compartir.
Me alegra que te sea util, gracias por tu ameno comentario. ¡feliz dia👍!
Gracias amiga!!