DIY: Steps to replace an Android broken screen.
Greetings everyone
How are you all doing today i hope you all are doing? pretty good,. If you care about me i am doing pretty good too. Today i am here to share with you guys a steps by steps on how to replace and android broken screen by your self successfully. This is really a simple process in which everyone here can give a try here and thank me later, because doing this by your self you will be able to save you self some money that you supposed to pay a technician.
When using Android phone the possibility of the screen to broke is 80% and you have no options to replace a new screen or sale it out to another person and get a new phone.
Most people don't like replacing their screen because it cannot be strong and the original one and the image quality will loss also but you need to manage it.
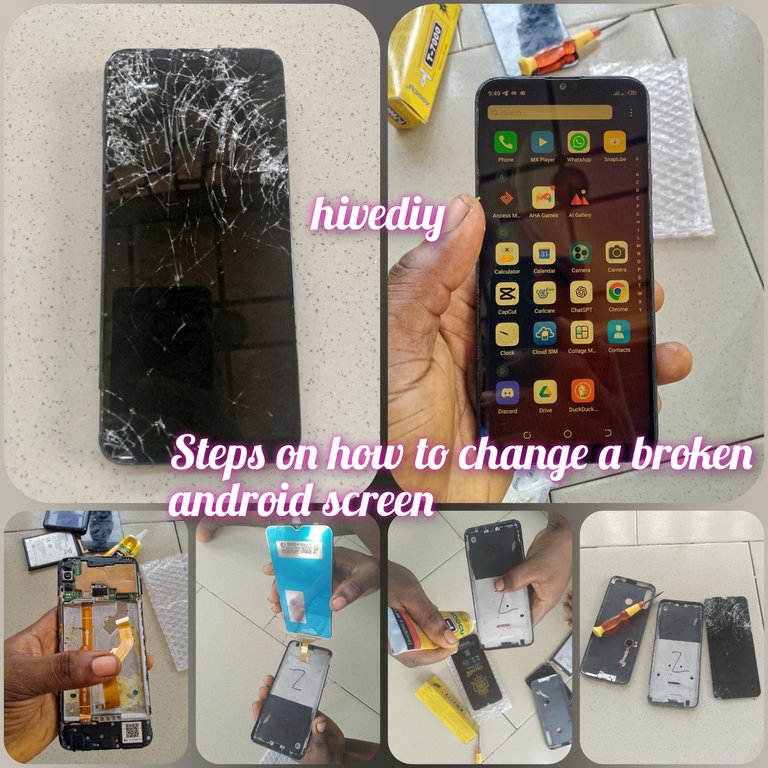
Here is my blogging phone that get broken.
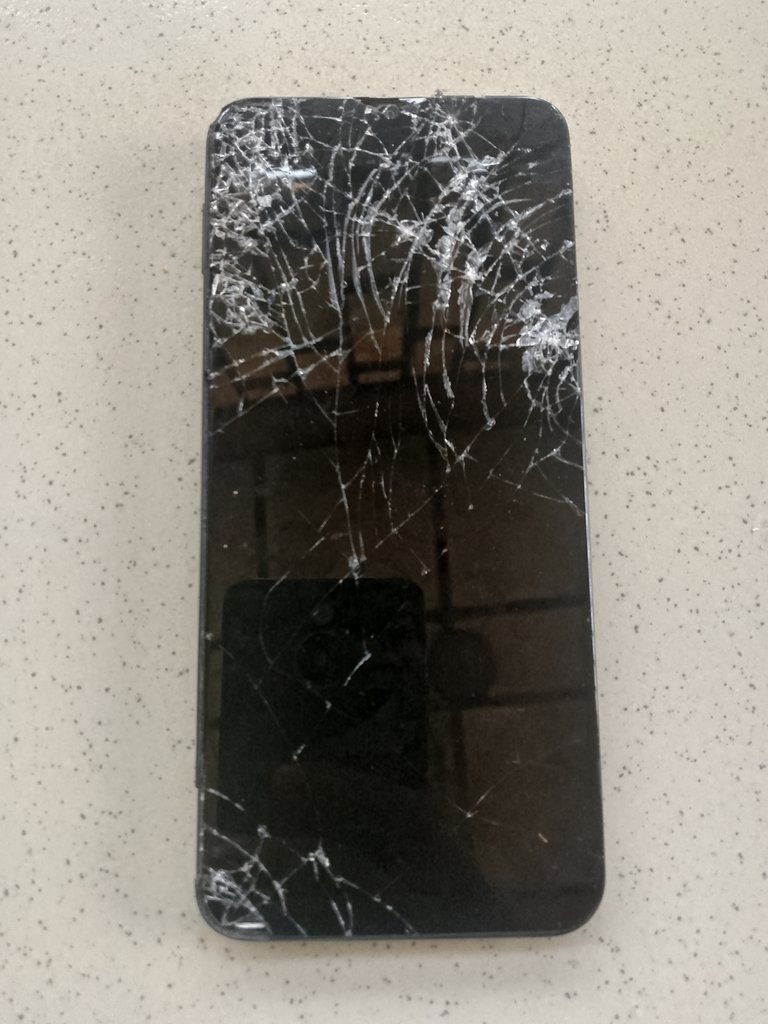
My phone was in my room and i was down stairs, so someone call me and my 1.8 years daughter pick the phone just to come and give, she saw me down stairs, she just throw the phone down and the screen just broken and i really thank God it only affects the screen only. She was laughing not knowing she did something very bad that will make me spend money i suppose to use and buy her food. I have no option to fix it back because the phone is very important to me.
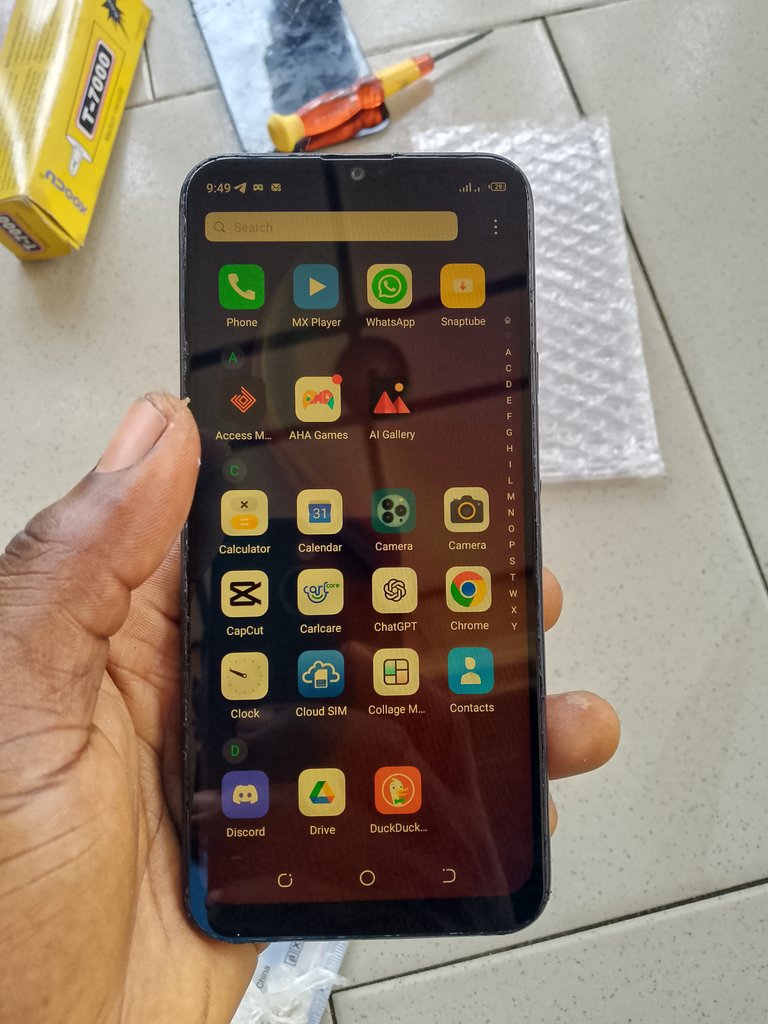
Let look at some steps on how i fix the screen
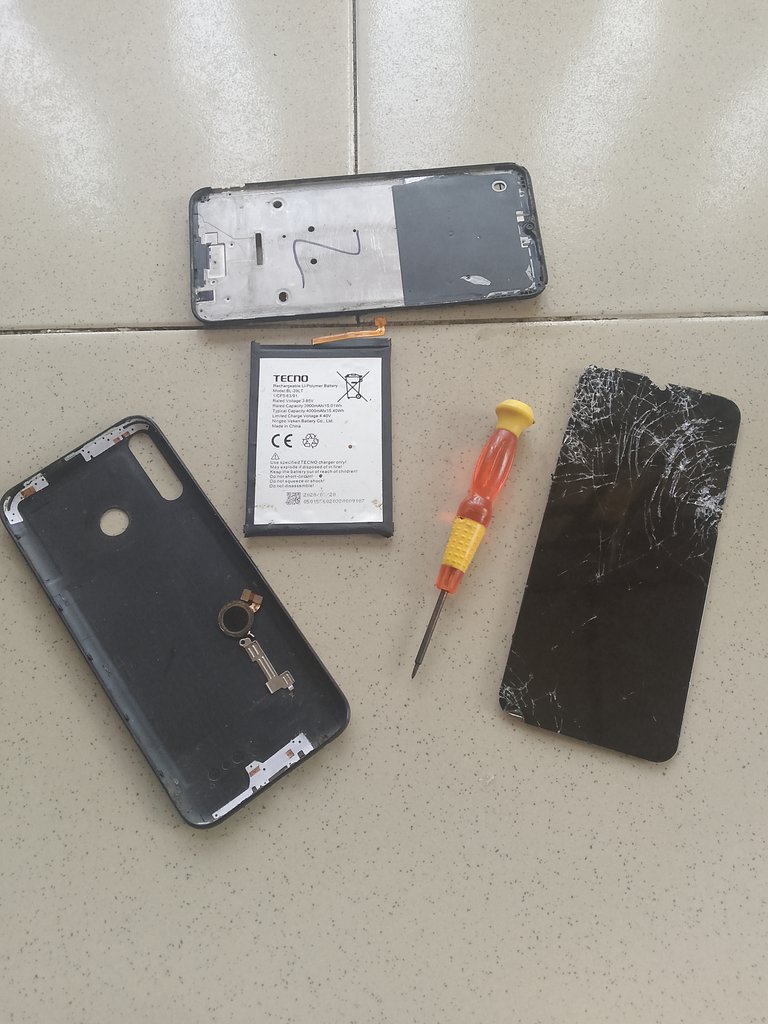
I loose the phone, remove the remove the battery and the old screen with the help of star screwdriver.
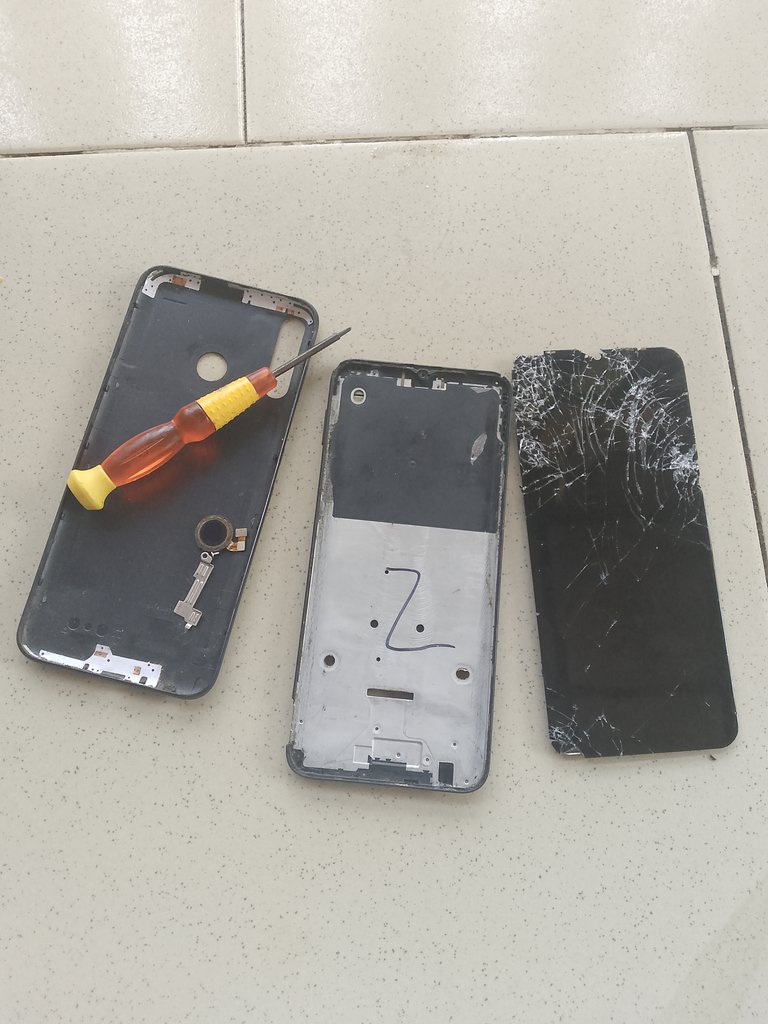
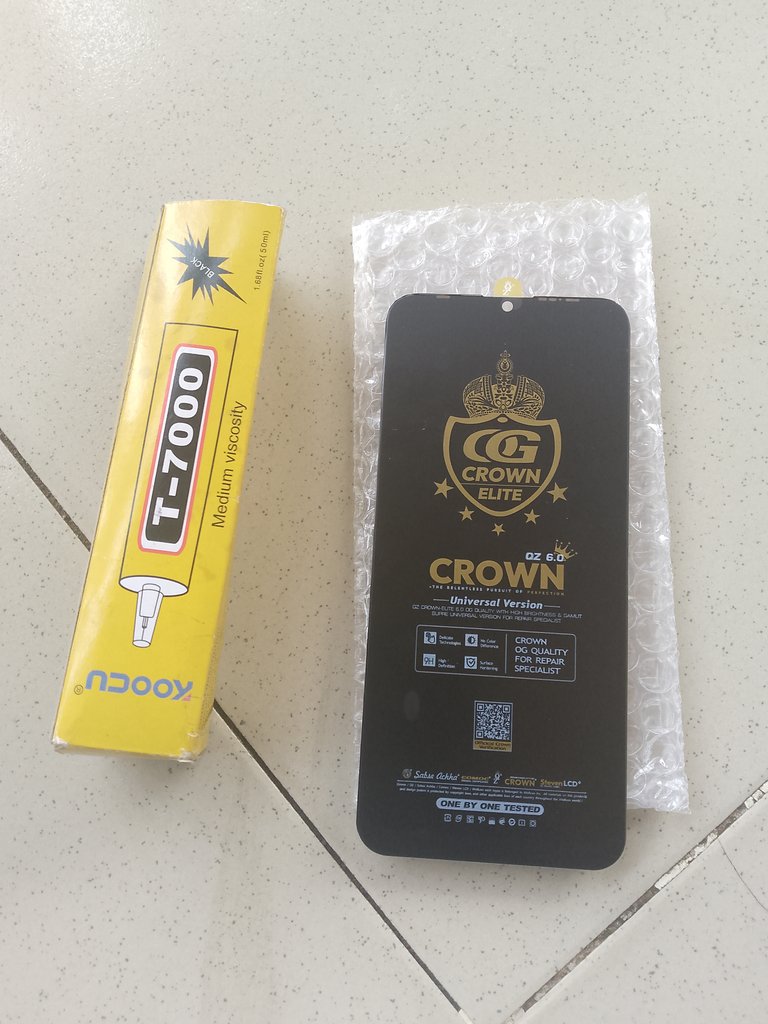
I then pick the phone to where i am going the new screen, just to test it first that is working very perfect before buying it, here is the new screen and the gum i will use to gum the new screen.
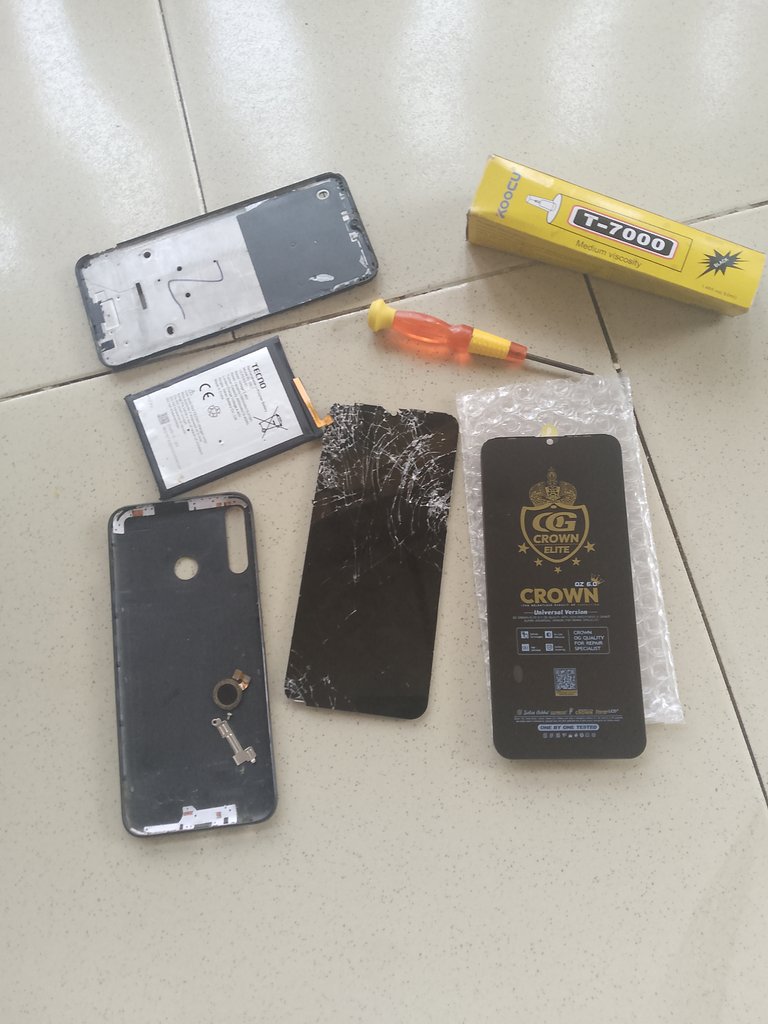
I then use my hand to remove the old gum so that i can have a smooth surface.
I then apply the gum round the screen area on the phone panel. See photos below.
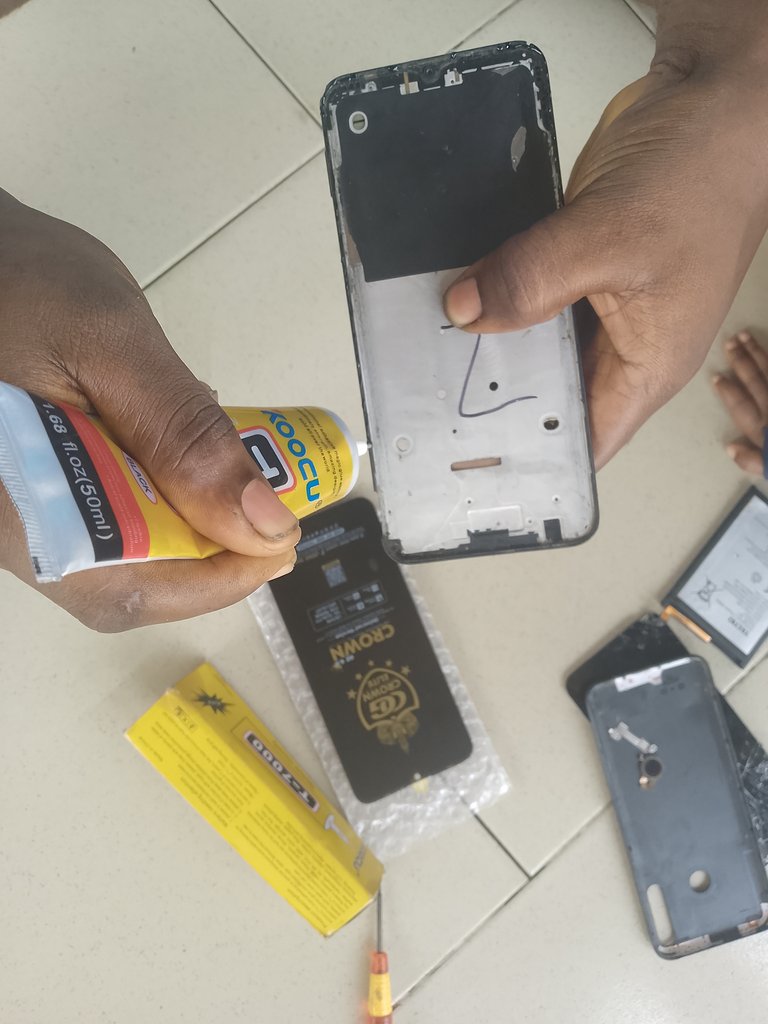
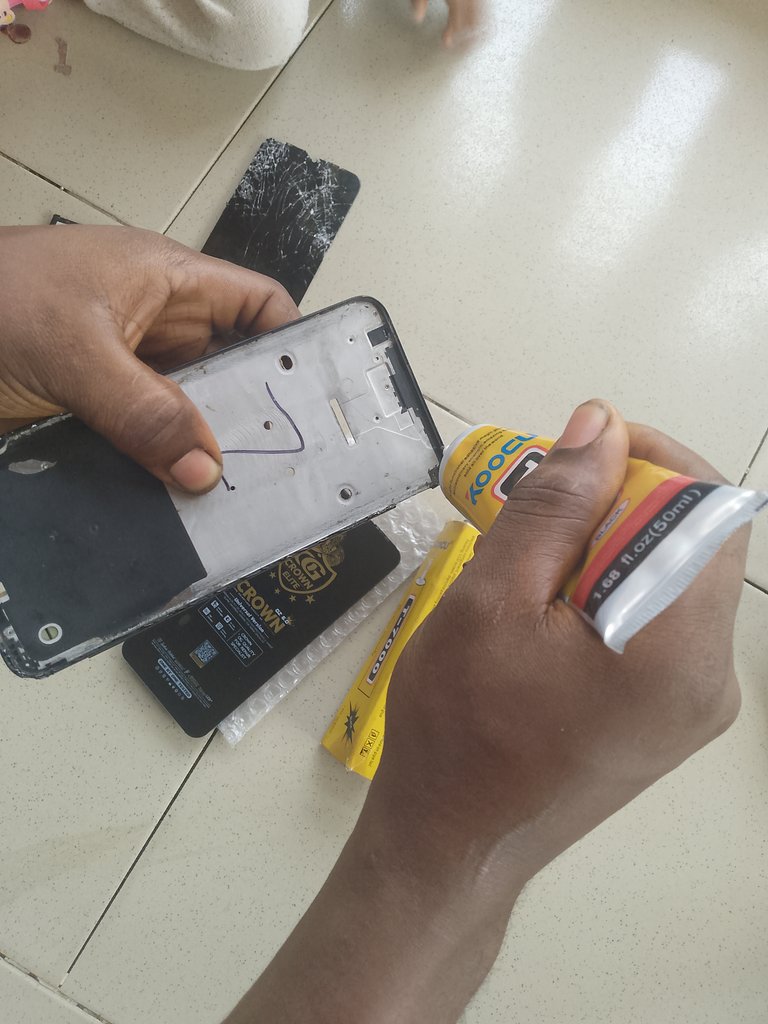
Note: I only apply gum on the phone panel not on the new screen.
After applying the gum i wait for 2 minutes for the gum to dry.
I The pass the flex of the screen through it position.
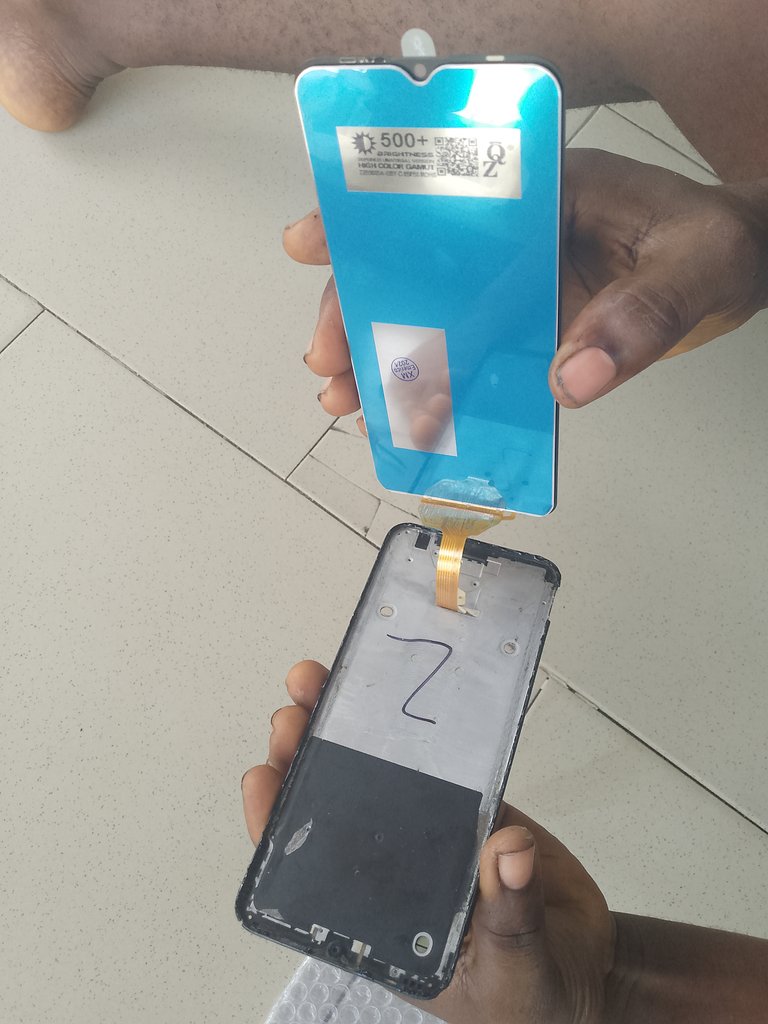
I then place the screen to the phone panel for it to gum it together carefully.
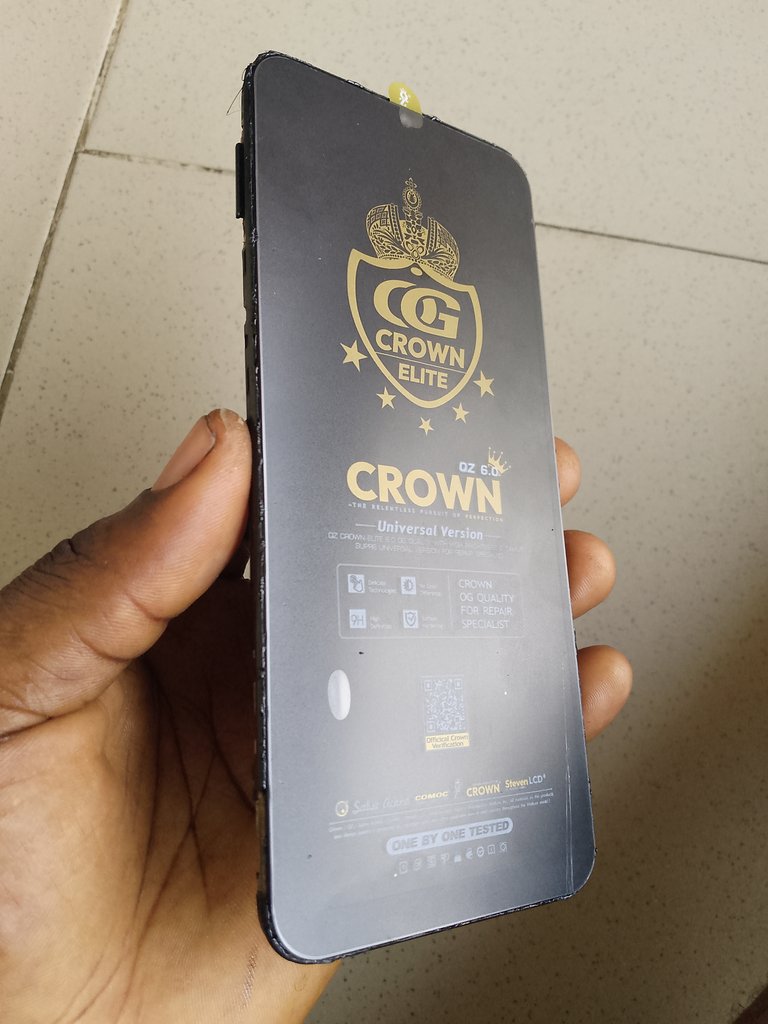
I then plug the screen flex.
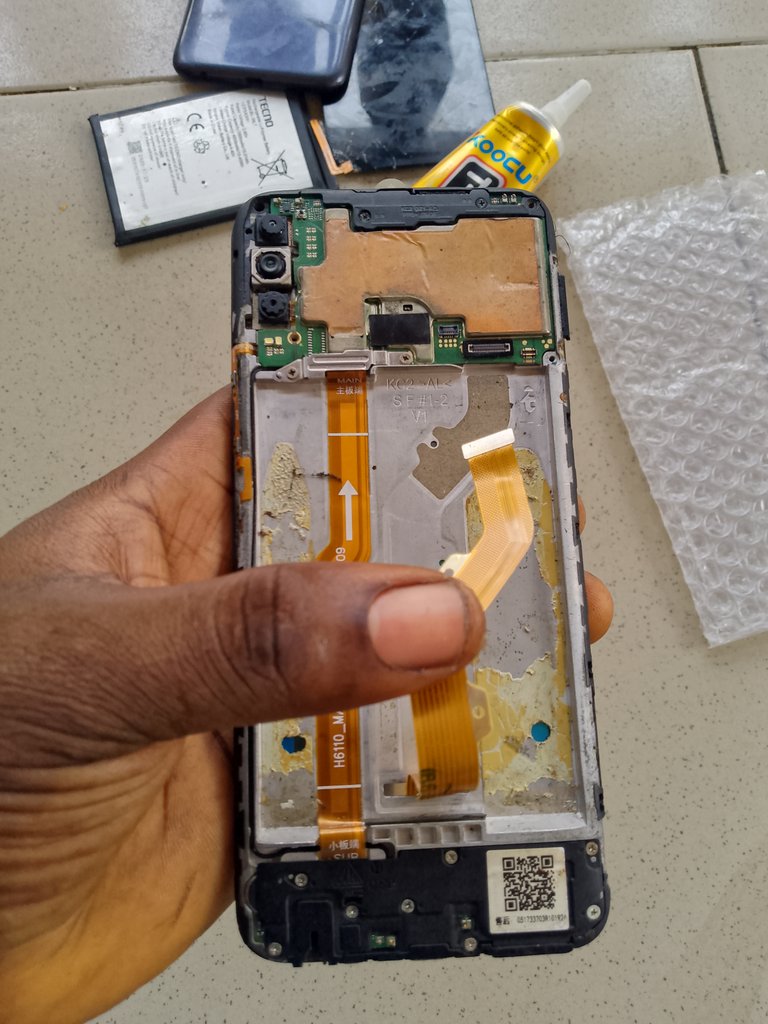
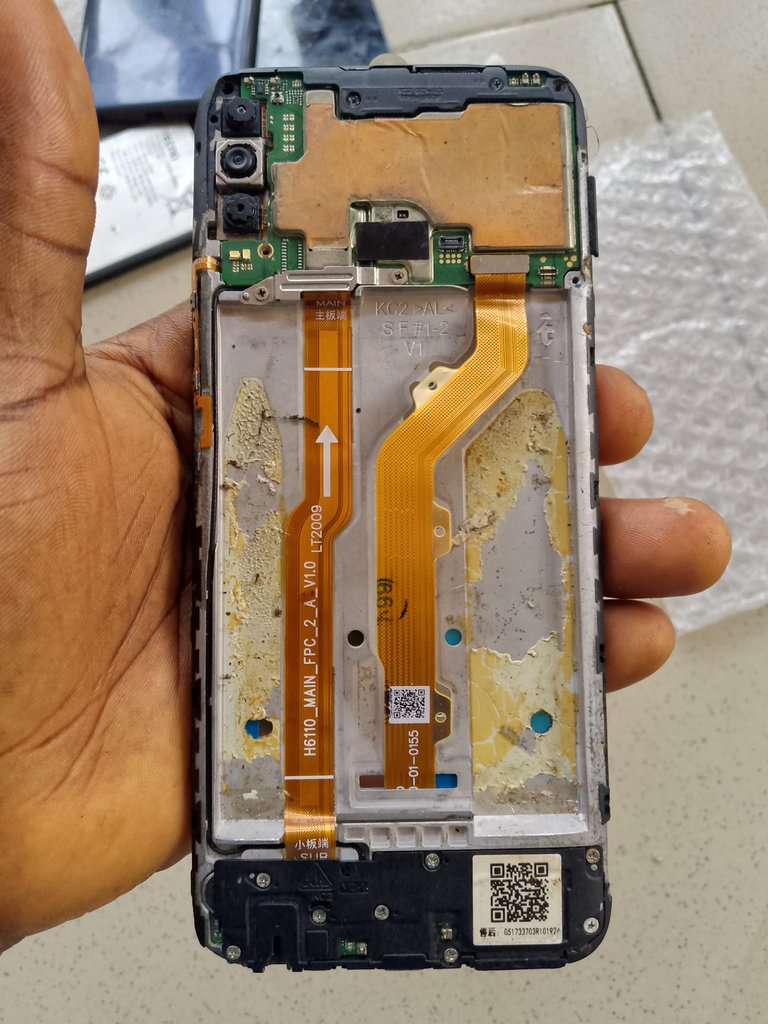
Plug the battery flex also.
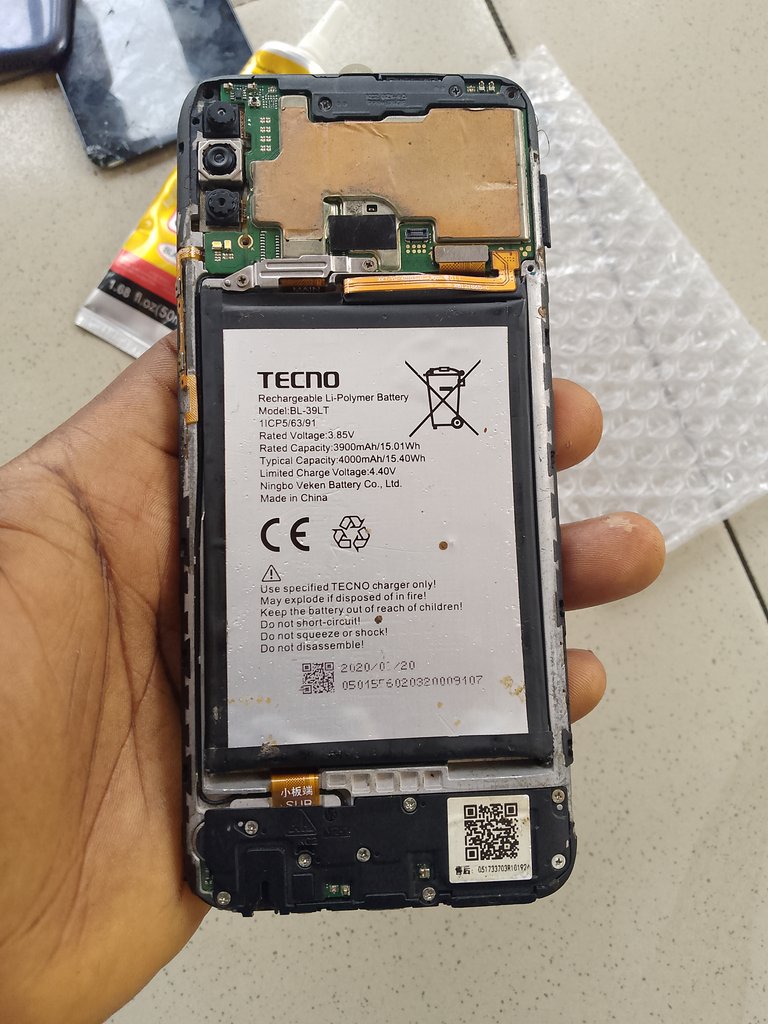
I the screw the phone back and clip the cover.
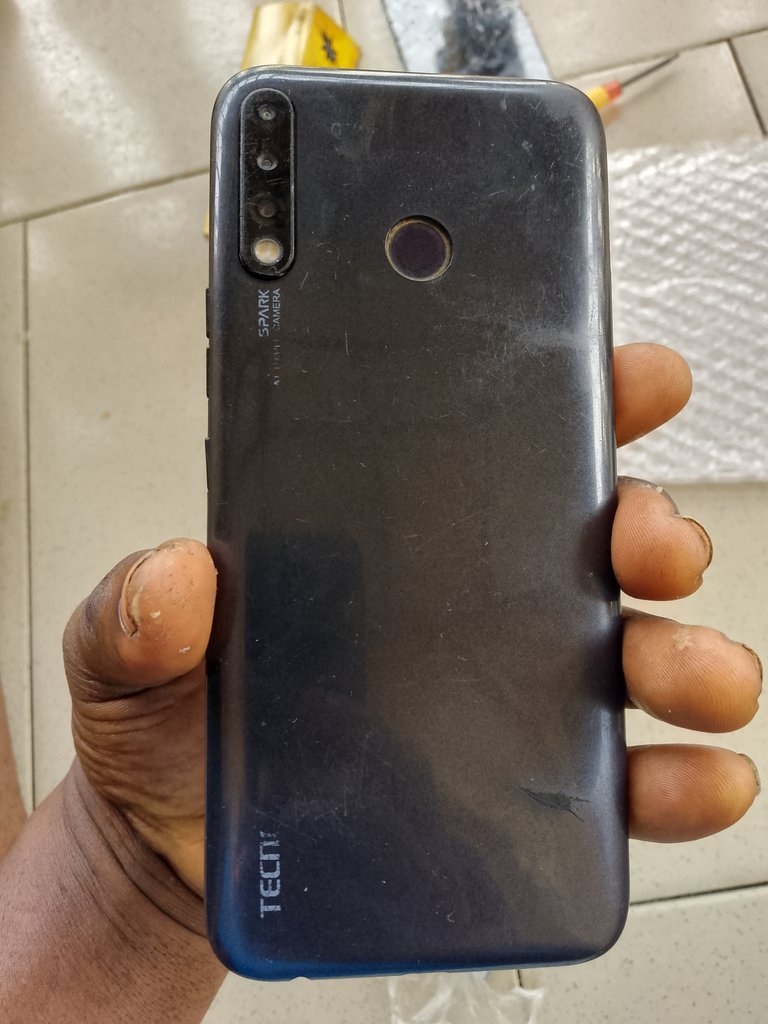
I then power on the phone and here we go.
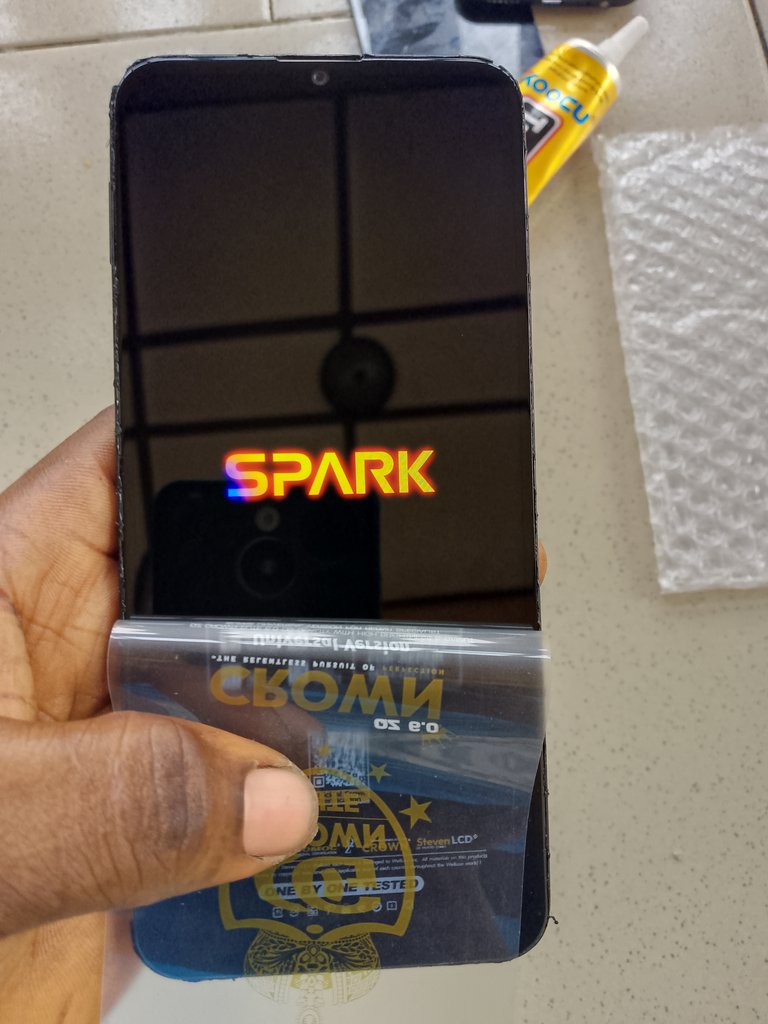
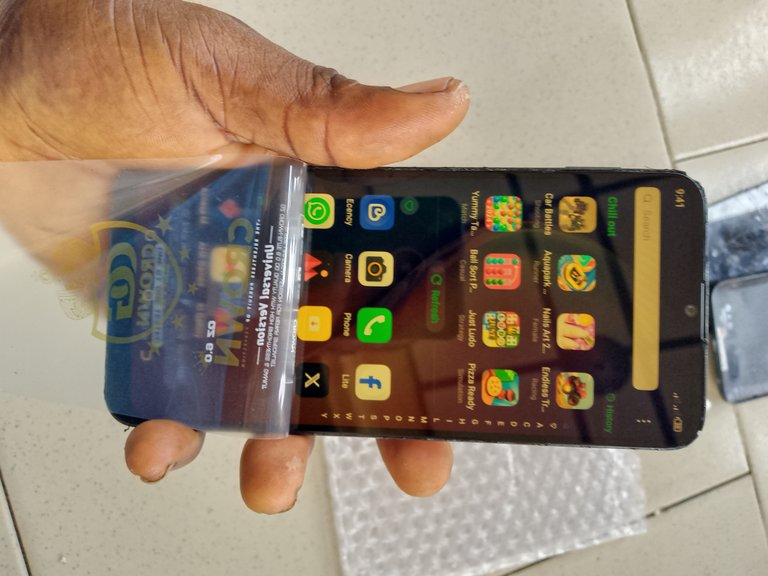

That is all to do, and everything work well and the process was successful.
Looking at the steps you can see is something very simple and you can give a try to it. Giving it out to technician, i will spend 14 dollars but doing it by self i spent 7 dollars and i have save my self 7 dollars wow. Congratulations to me.
Thanks for stopping by i hope you fine this post useful. Do well to support me. Thanks
Posted Using INLEO
Great content! Thanks for sharing it on Hive.
We’d love to see you join Block Horse Racing and start winning!
There’s a reward waiting in your wallet to kick off your journey in the BHR-Game multiverse !BHRT .
Let’s enjoy building a healthy movement together on the Hive Blockchain!
!BHRT