DIY process on how to repair a speaker/rebuilding the speaker cone
Greetings great people of #hivediy how are you doing doing this new week and new month? I hope you all are doing pretty good.
I am very happy to create this amazing diy post and its very interesting if you go through it. With this post u will be able to repair your speaker with stress and spending.
Today i will share with you guys a diy post on how I repair a speaker and also work on the speaker cone that was tear.
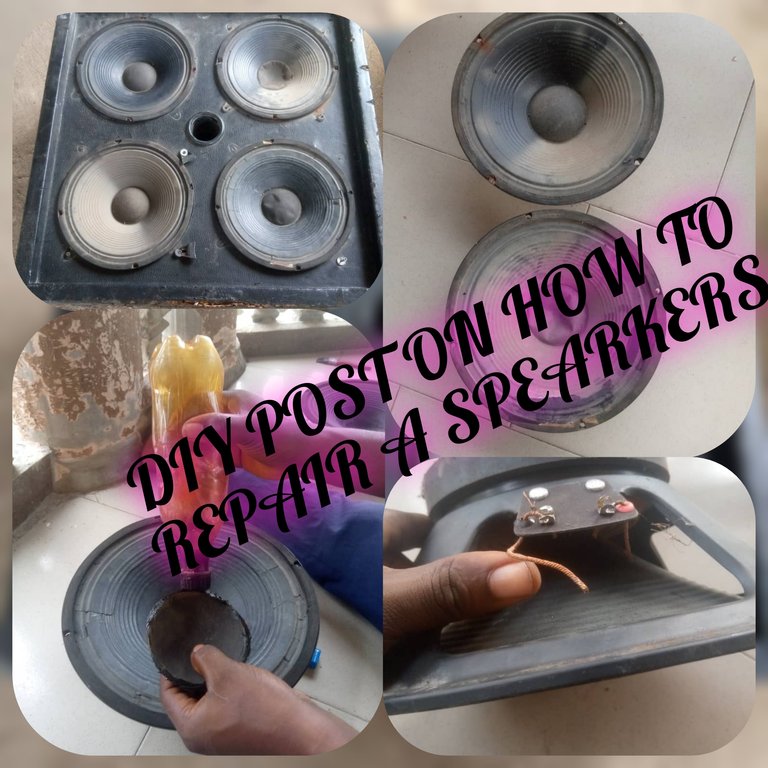
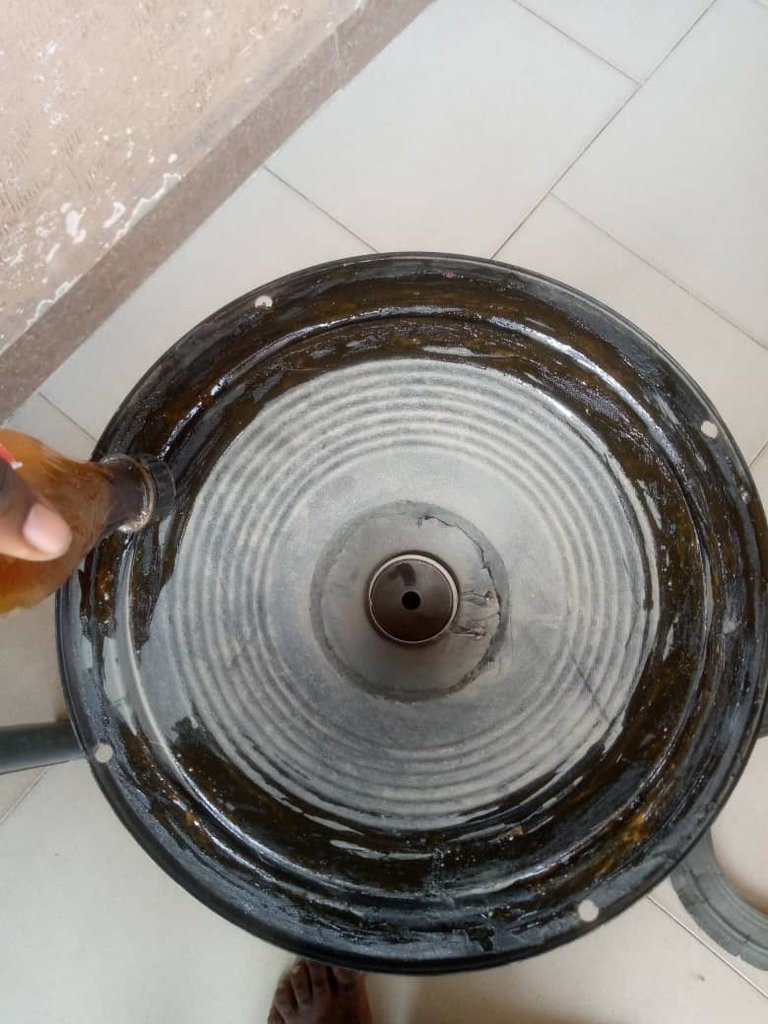
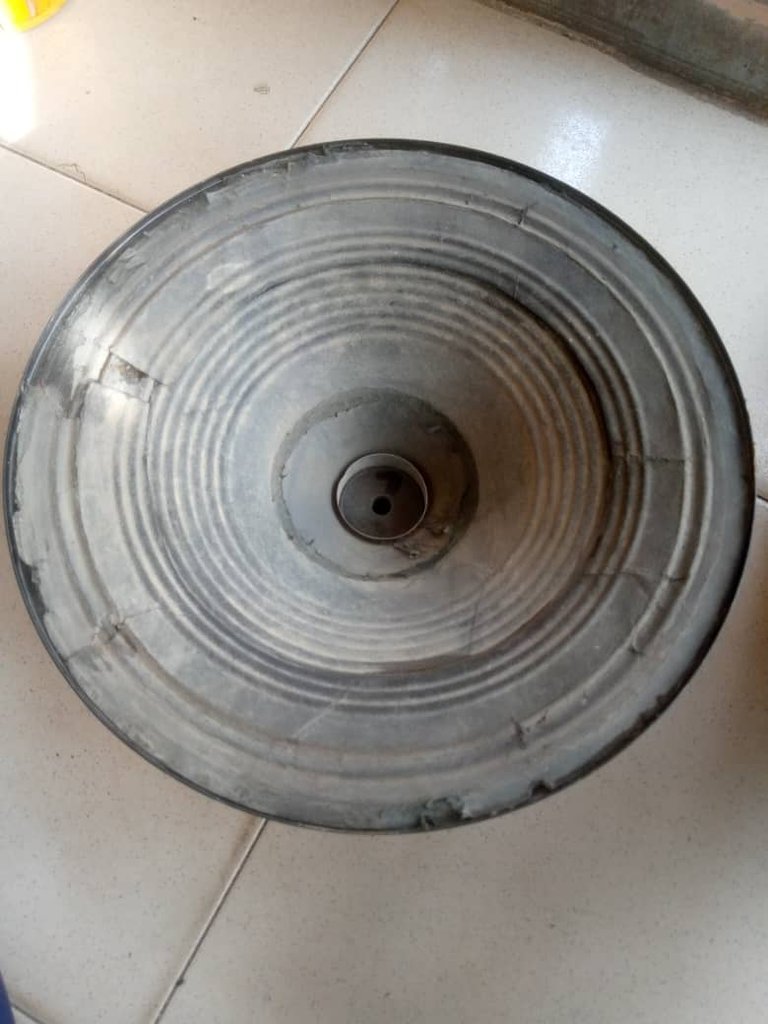
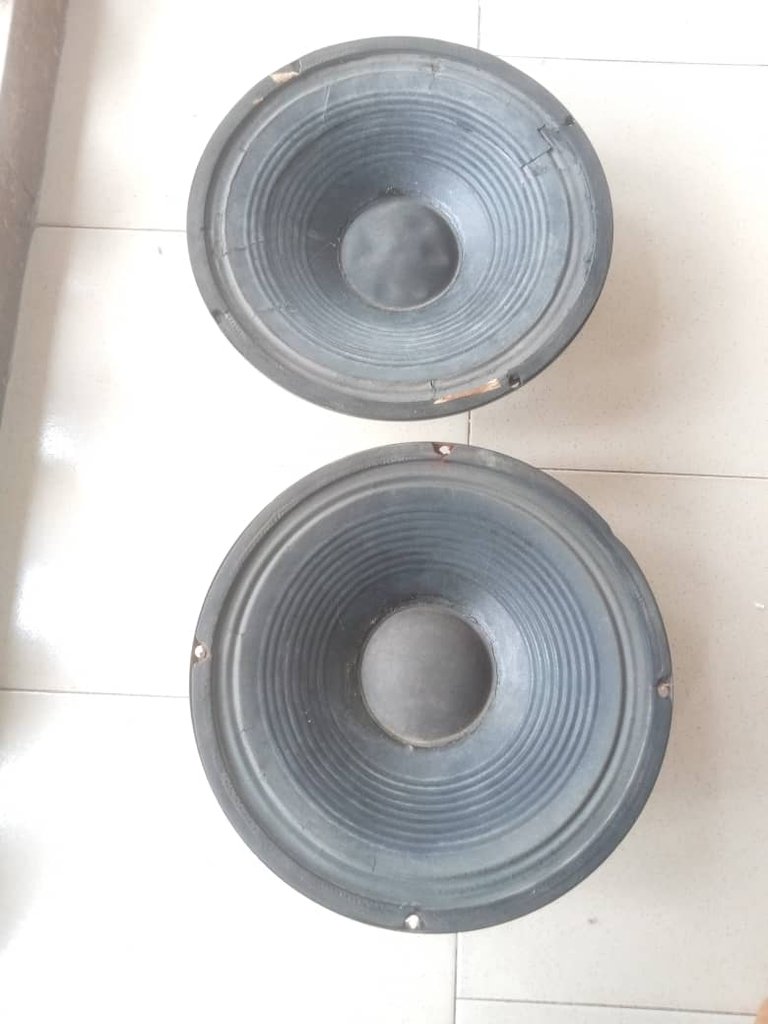
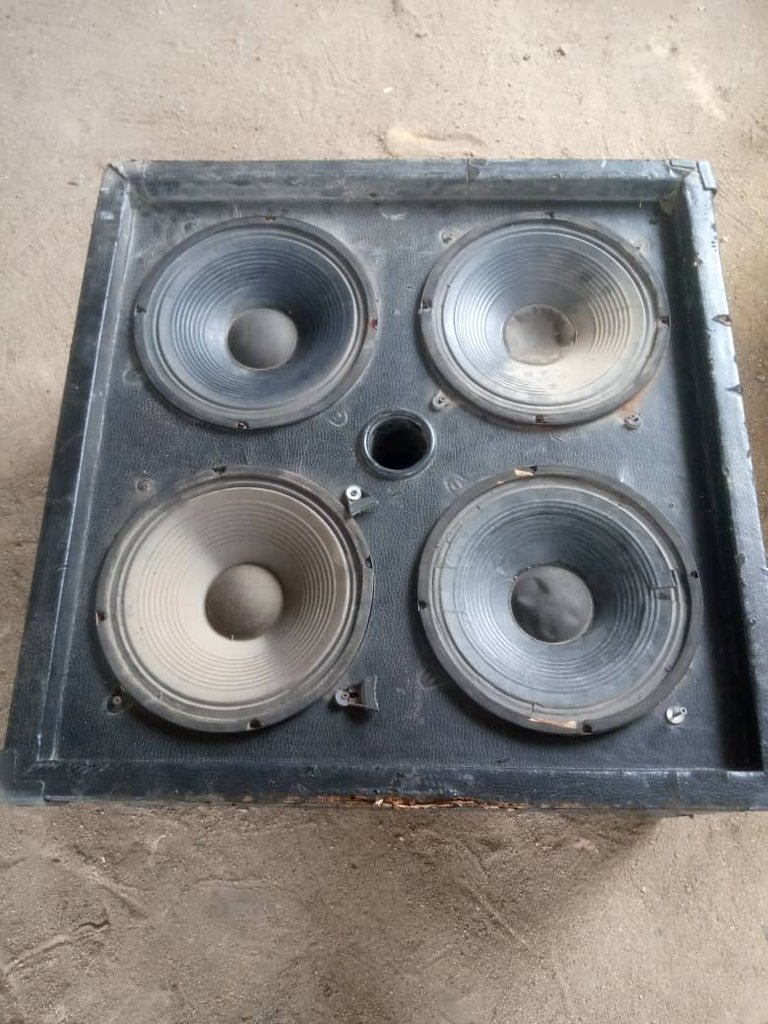
This is actually my church speaker, when we use it i discover the speaker is not compressing has before so i choose to loose it and check in after the other and i fine out two out of four is not playing. I then remove them to my house.
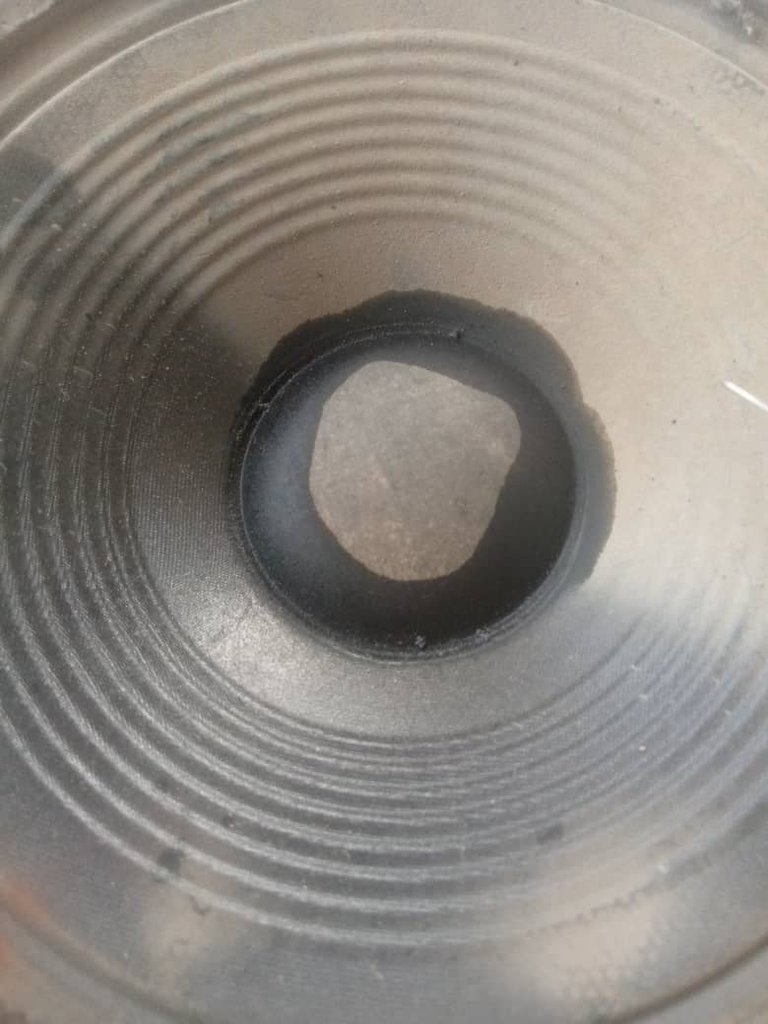
Checking on what is the problem i discover the wire has been cut and one of the cone has been tear also, so i then proceed to work on it.
When speaker stop working, the are two things that is the fault. The speaker has loose contact or the speaker coin has burn.
And i one cone of the speaker tear it will cause other speakers not to work well because it will be loud than ever other since the cone can't hold back the sound. In a situation like this, neither you repair it or disconnect the speaker.

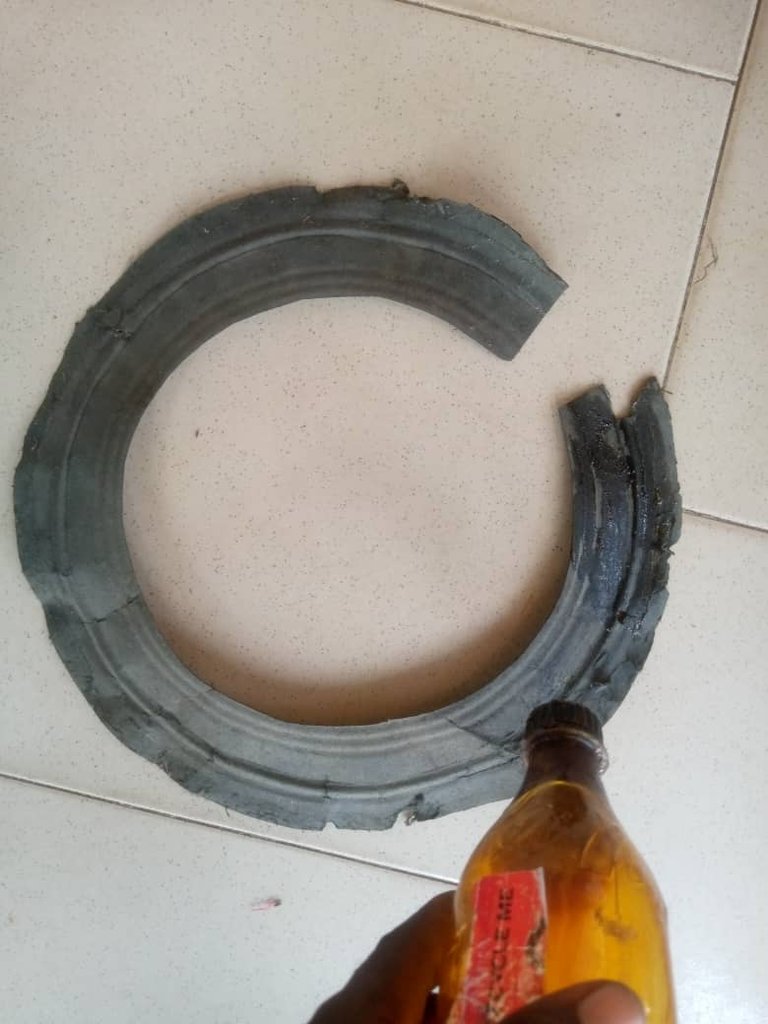
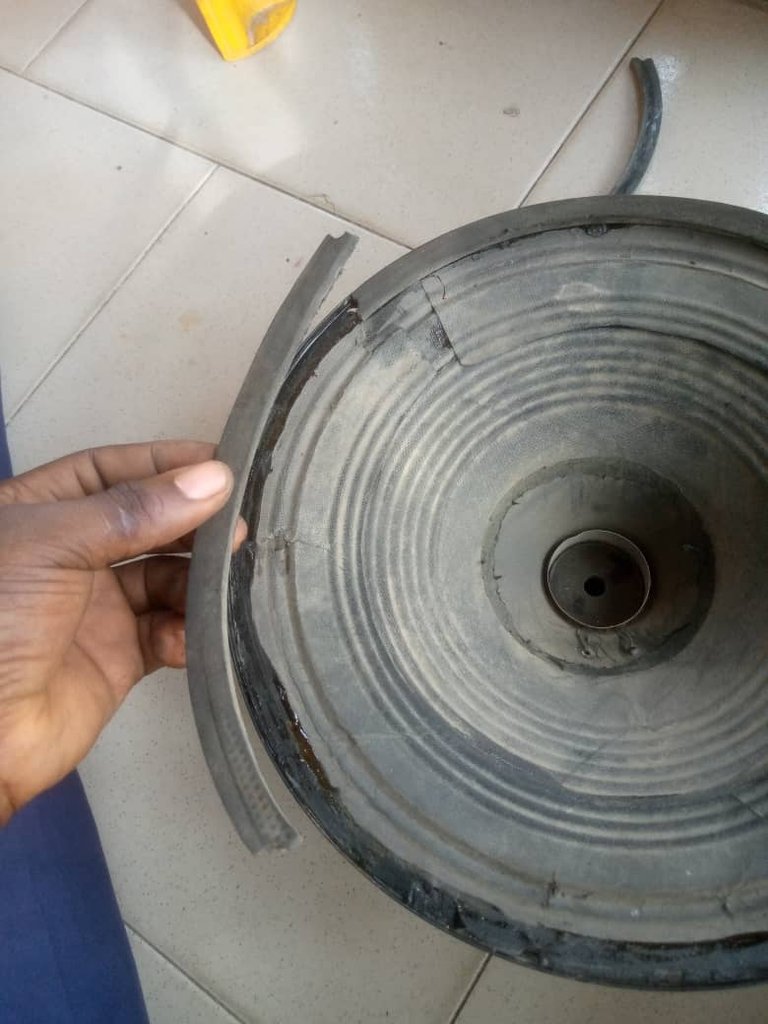
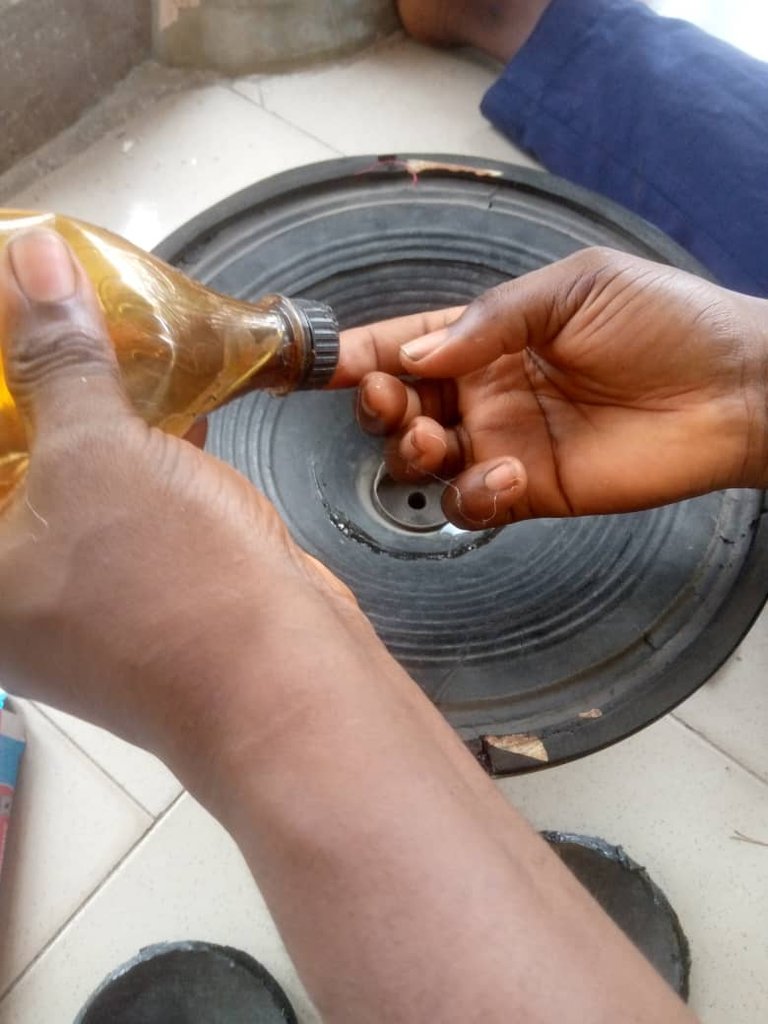
Firstly i need to loose the cone of the speaker so that i can have access to the inside, where i can connect the wire. To loose it you can only use fuel to wicked the gum.
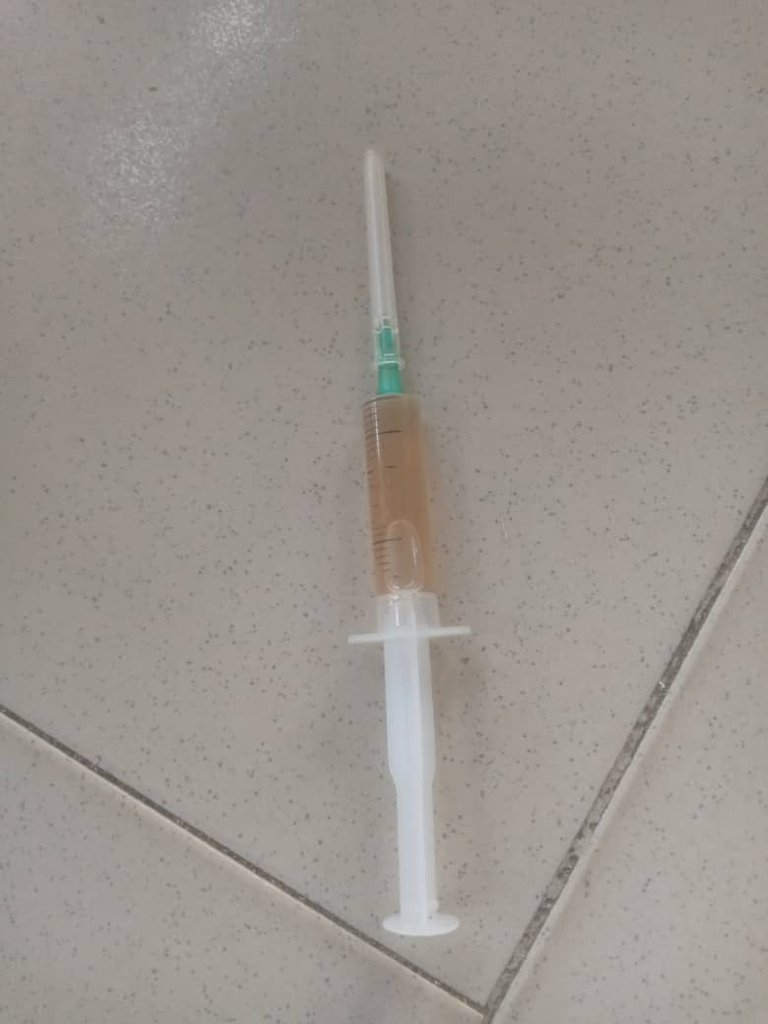
I then apply the fuel round the speaker cone and leave it for a minute.
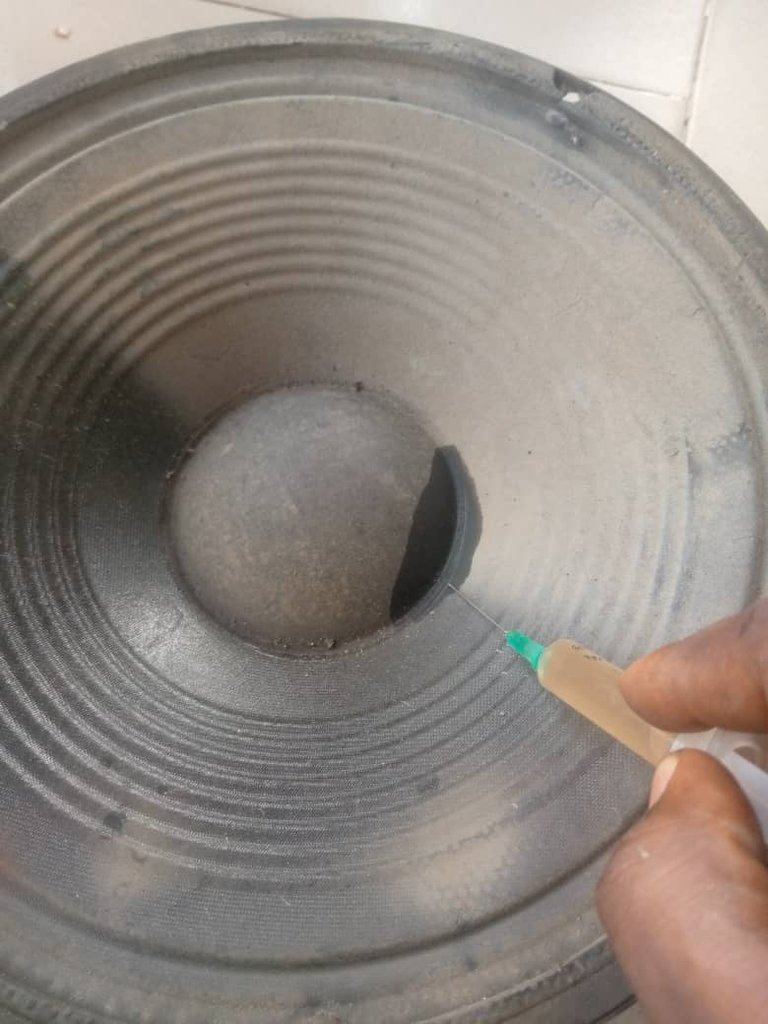
I then use knife to separate it so that it will not tear and position of the speaker.
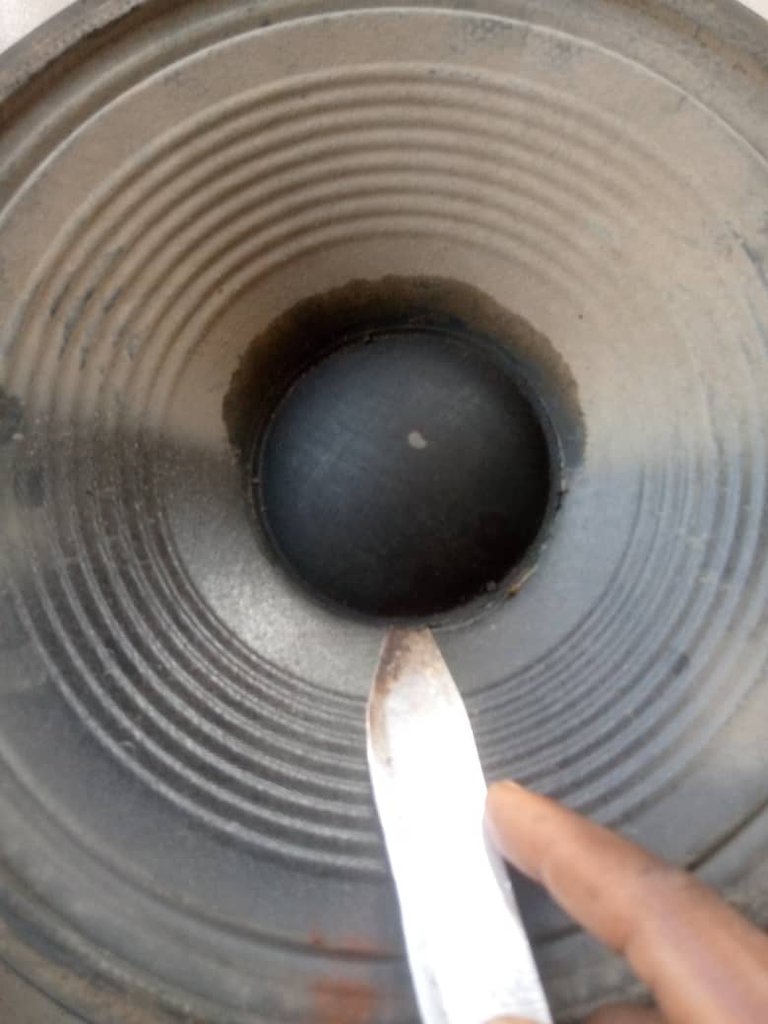
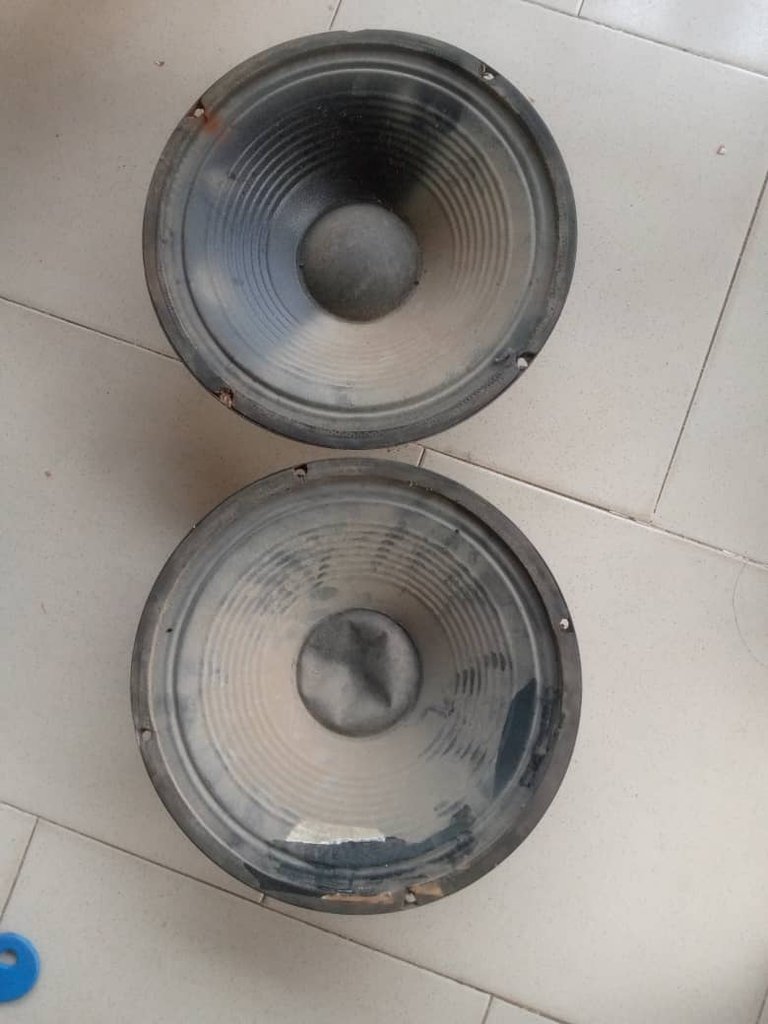
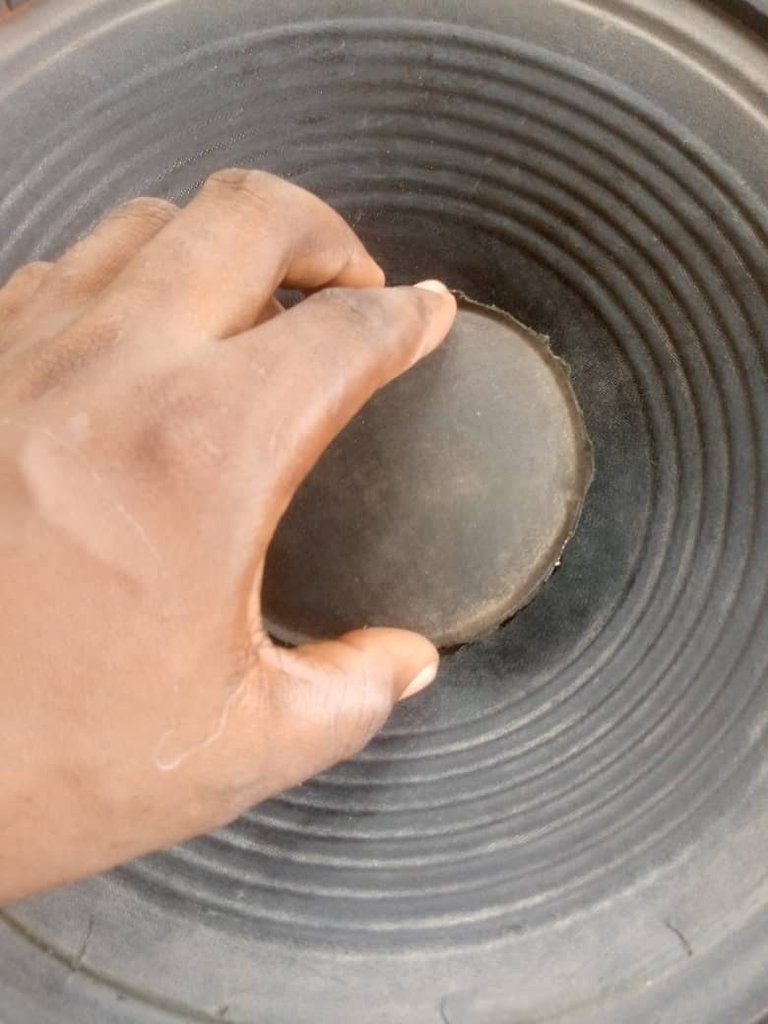
Done removing it.
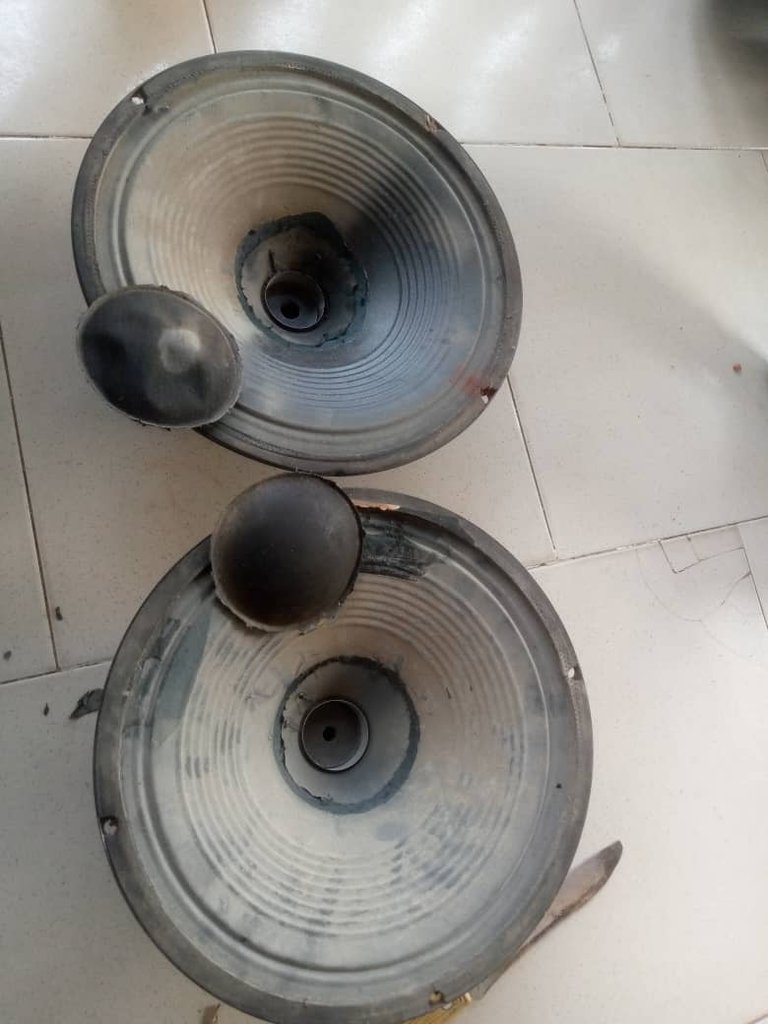
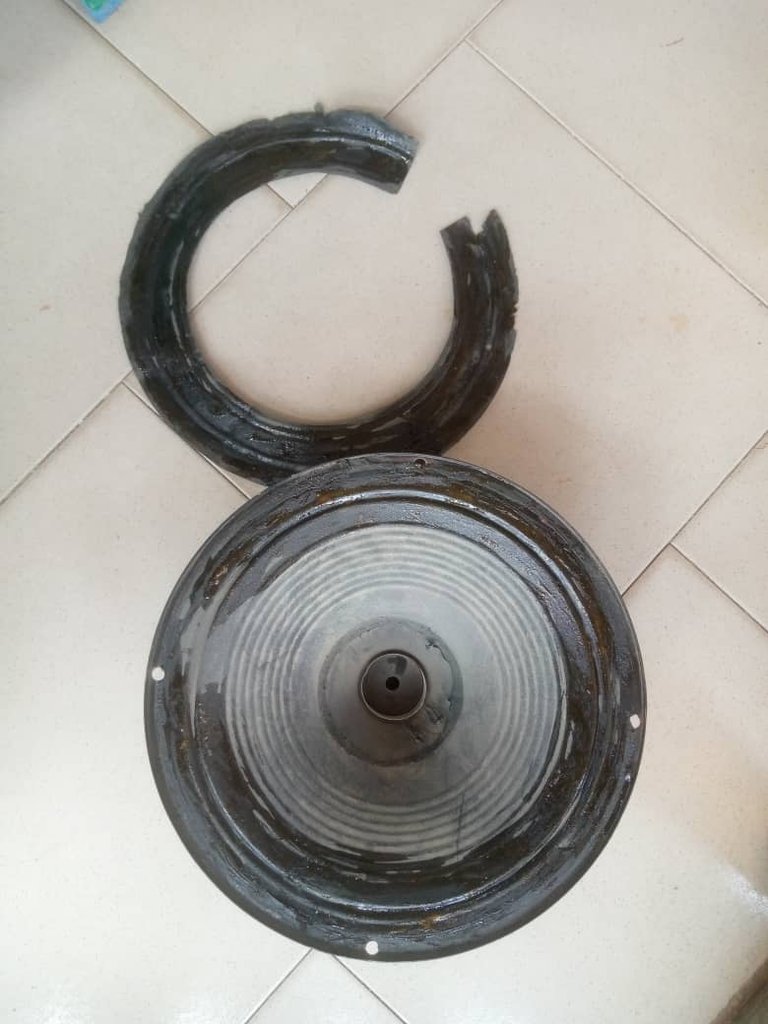
I choose to work on the spoil cone before preceding.
I was thinking of getting a new cone has once but the price was too high so look on another alternative. I remember i had a old cone the was not working again but join it together can make it strong and perfect so i give a try to it and the result was wow.
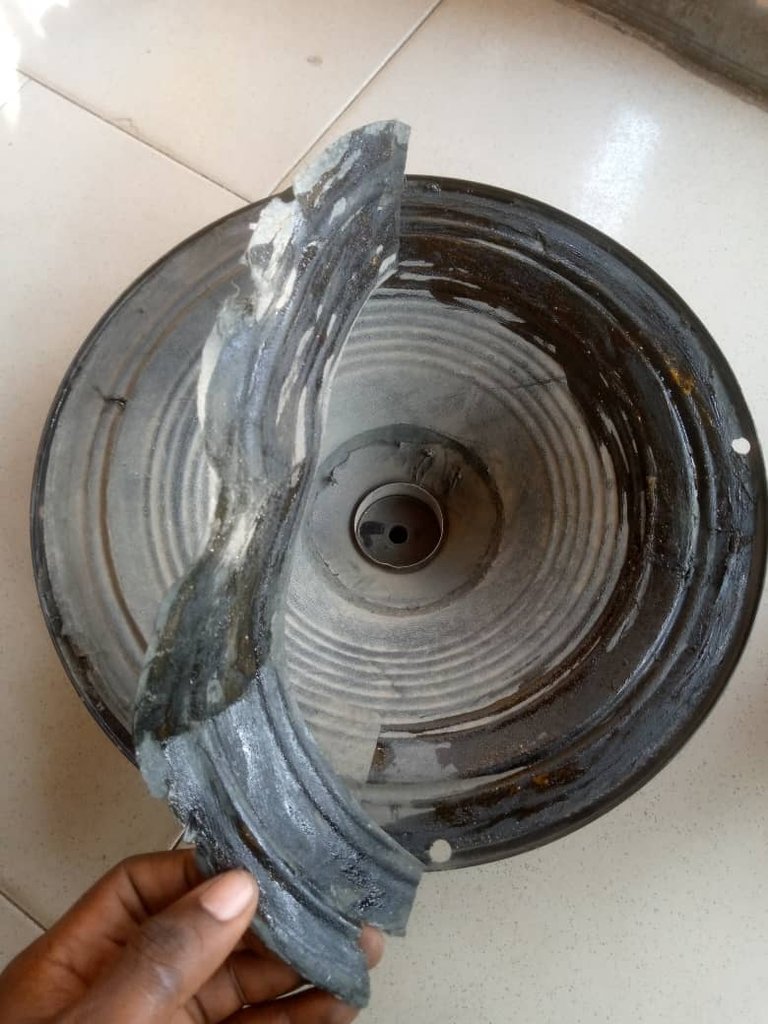
I cut the old cone round and then apply gum.
I also apply gum to the main cone.
Allow it to dry.
I then join them together carefully
I gum the cone holder too and nd here is the outcome result.
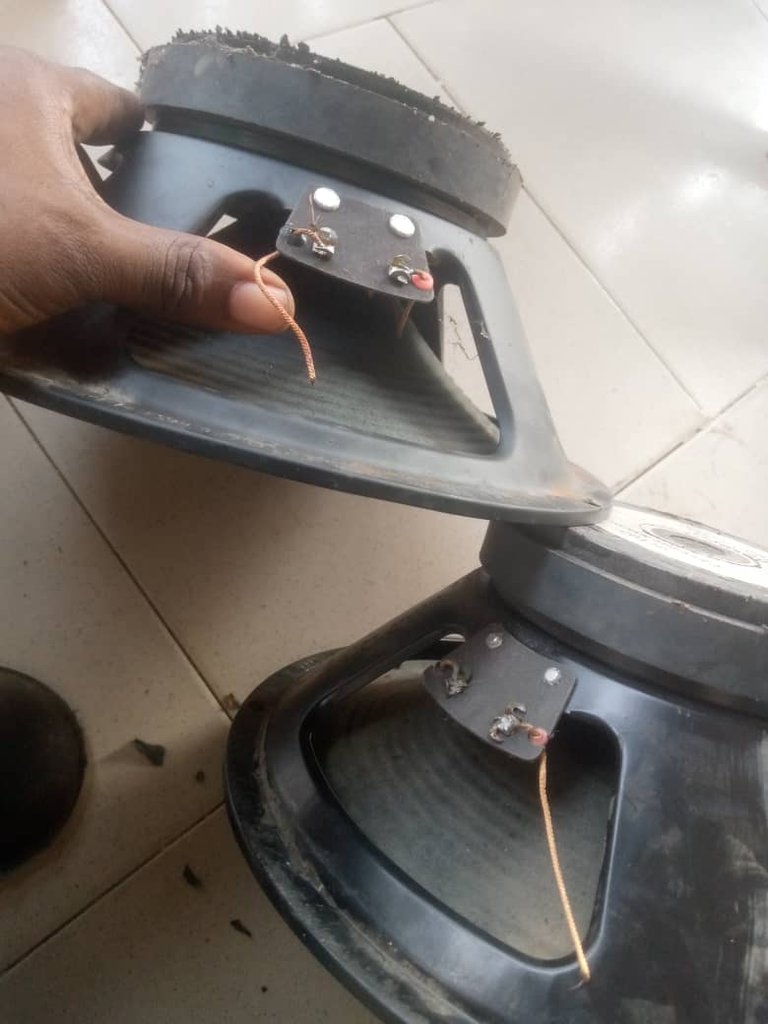
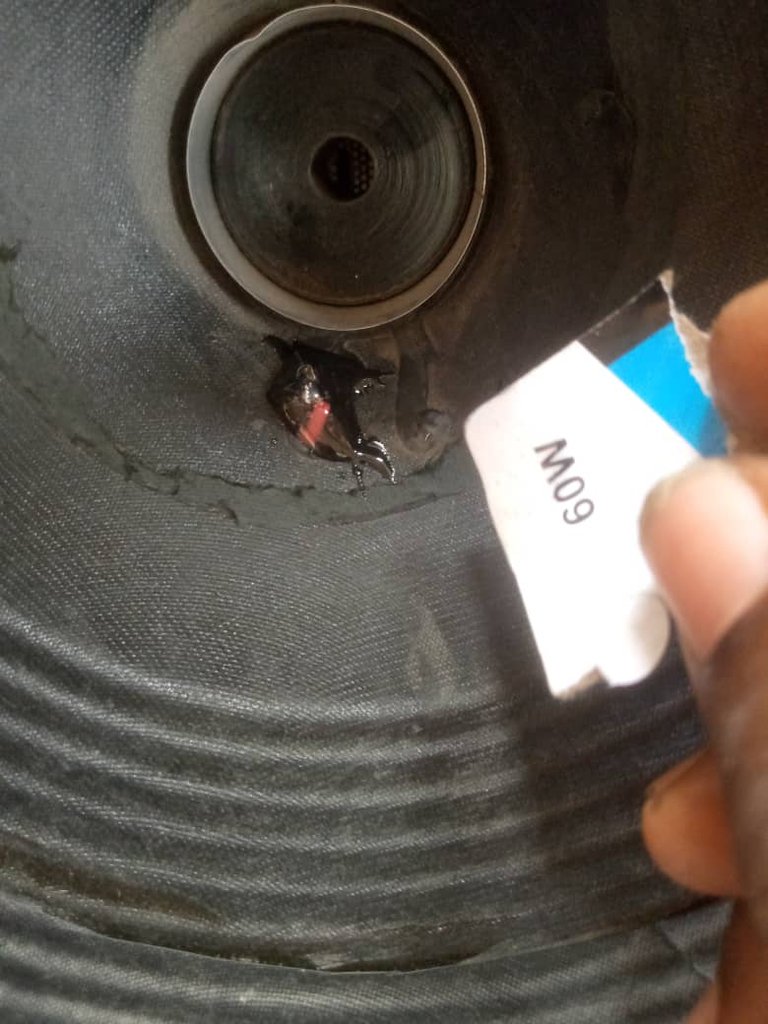
I then pass in a new wire and then connect it,
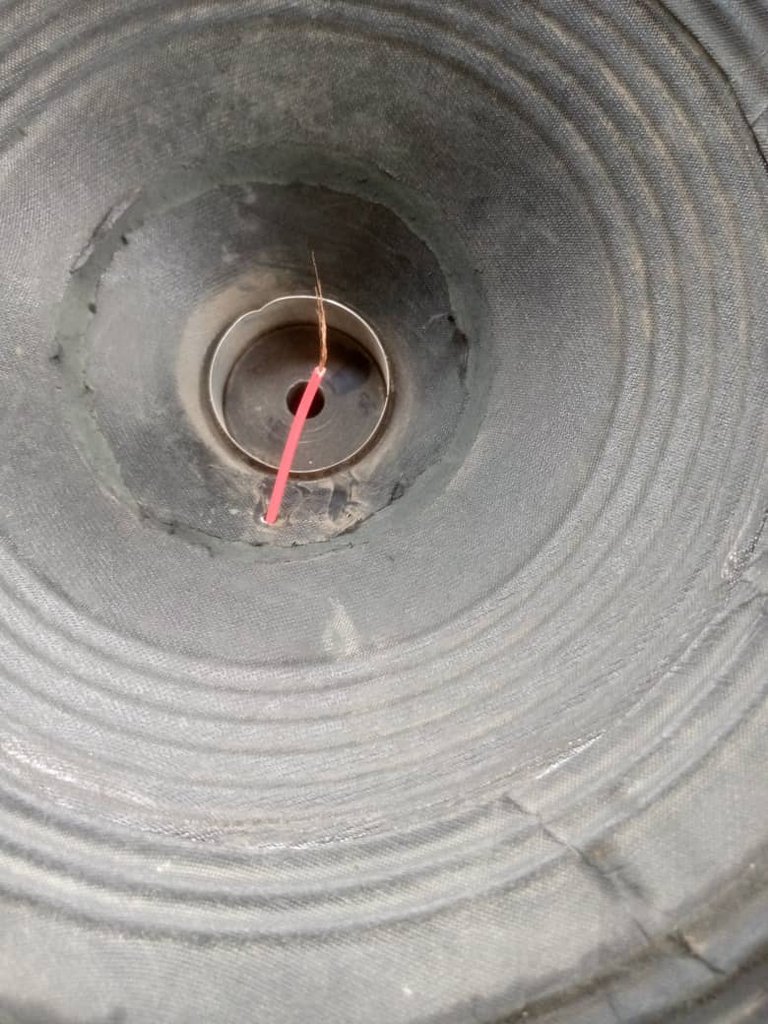
I then Mixed a four minutes gum
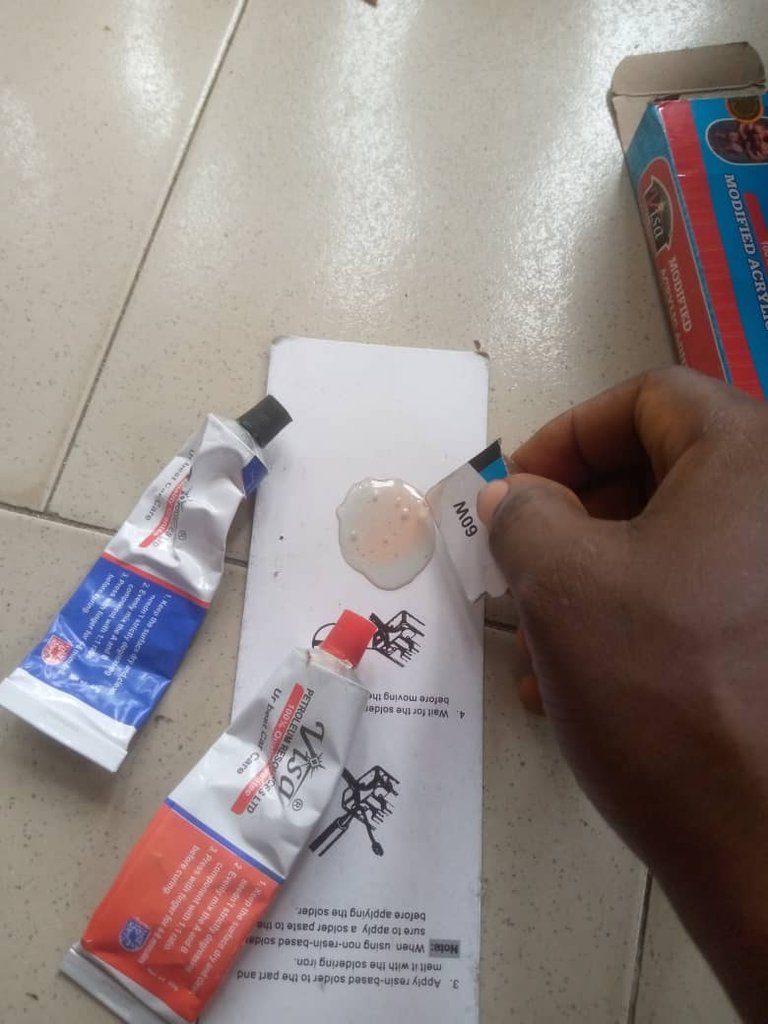
Pure in at where i join the wire so that it will not cut contact when play.
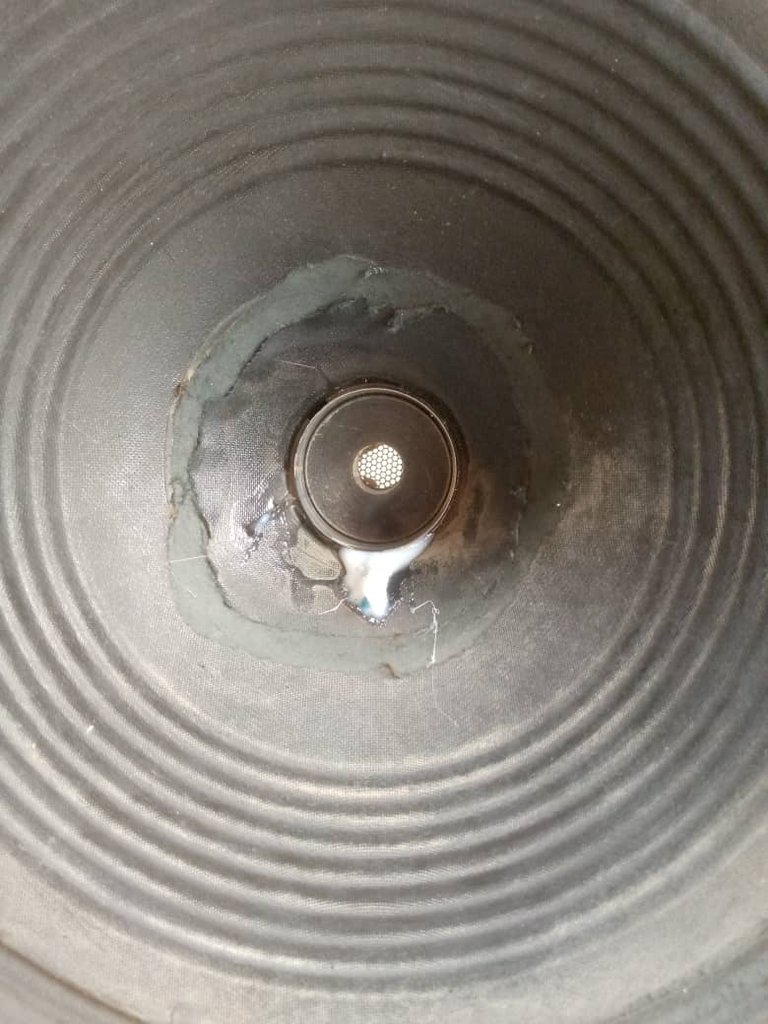
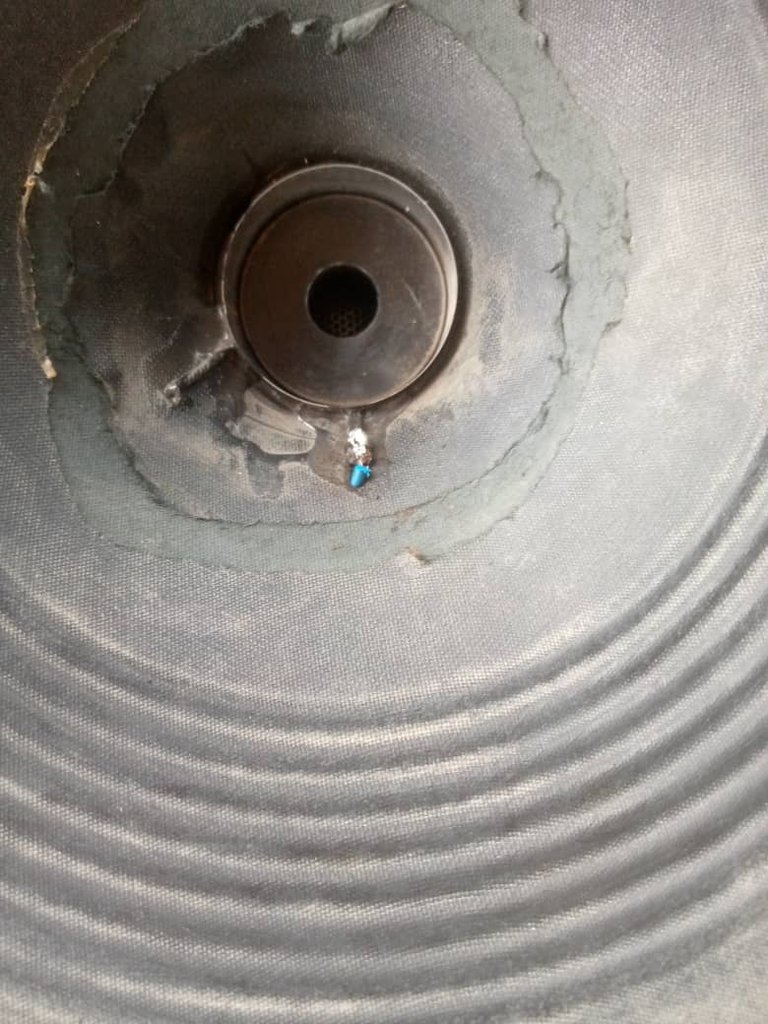
I then apply gum on the cone.
And also at where the cone cover will be.
I then gum them together.
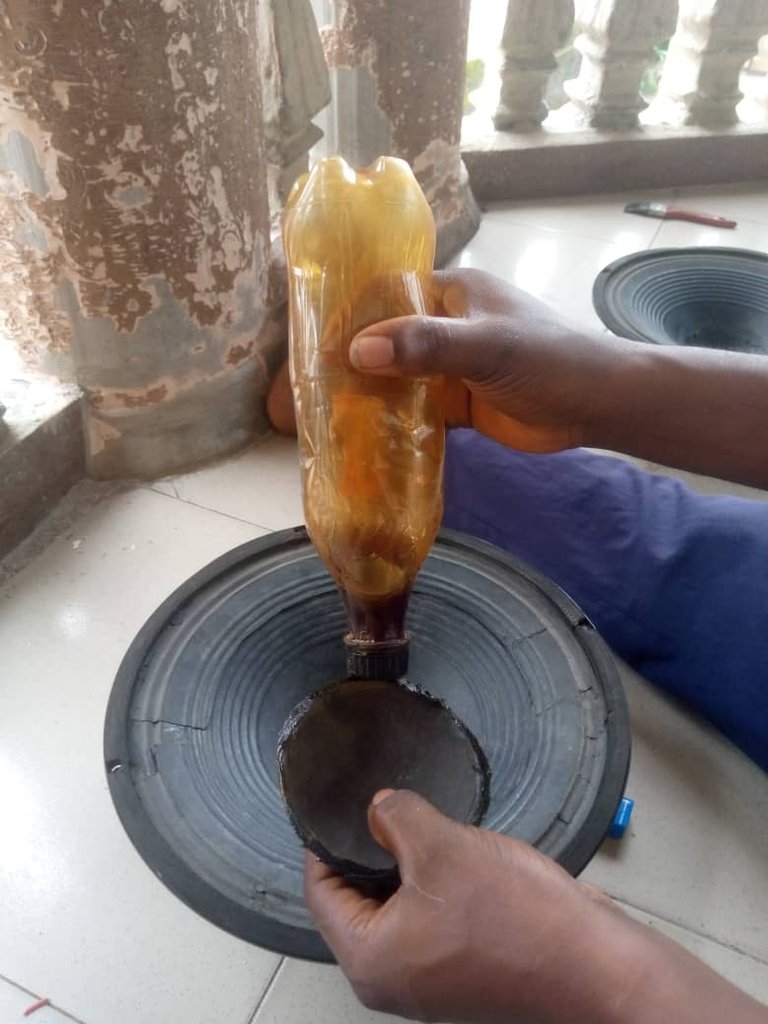
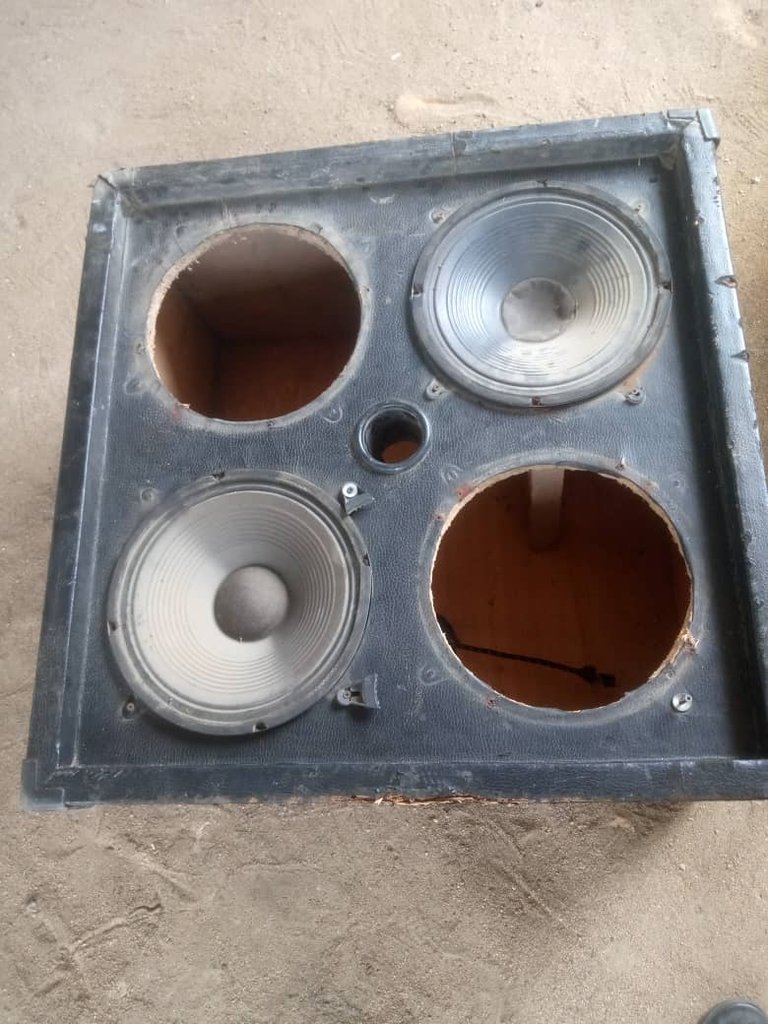
Finally the speaker is ready and is working perfectly.
I then tight the speaker to the box
The speaker play so where and i was praise for the good work being done.
Going through this post you can see you can work this speaker without stressing your self.
Hope learn from this post.
Thanks everyone for your time.
Posted Using INLEO
¡Qué guía tan detallada para reparar altavoces! Me impresiona lo meticuloso del proceso, especialmente cómo explicas el reemplazo del cono. Creo que este tipo de reparaciones no solo ahorran dinero, sino que también dan nueva vida a equipos que muchos considerarían perdidos.
What a detailed guide to repairing speakers! I'm impressed by how thorough the process is, especially how you explain replacing the cone. I think these kinds of repairs not only save money, but also give new life to equipment that many would consider lost.
Thanks for the tips on how to repair a speaker instead of disposing of it
That is a nice skill you've got keep up 👏👍
Thank you so much for sharing a detailed tutorial on how to repair a speaker, this would be helpful for anyone who wants to repair a speaker. Great work.
selected by @ibbtammy