DIY: How to recoin a speaker following some simple steps.
Happy Monday everyone
How are you all doing? I hope you all are doing well, and if you care about me, I am good too. I am very happy to write a post here in this community, and I hope my post will be considered. Today I am sharing a DIY post on how to recoil speakers following some simple steps that I am going to share with you guys. I know many people will be surprised how they go about the recoil of a speaker and after this post, you will have experience and also be able to do it
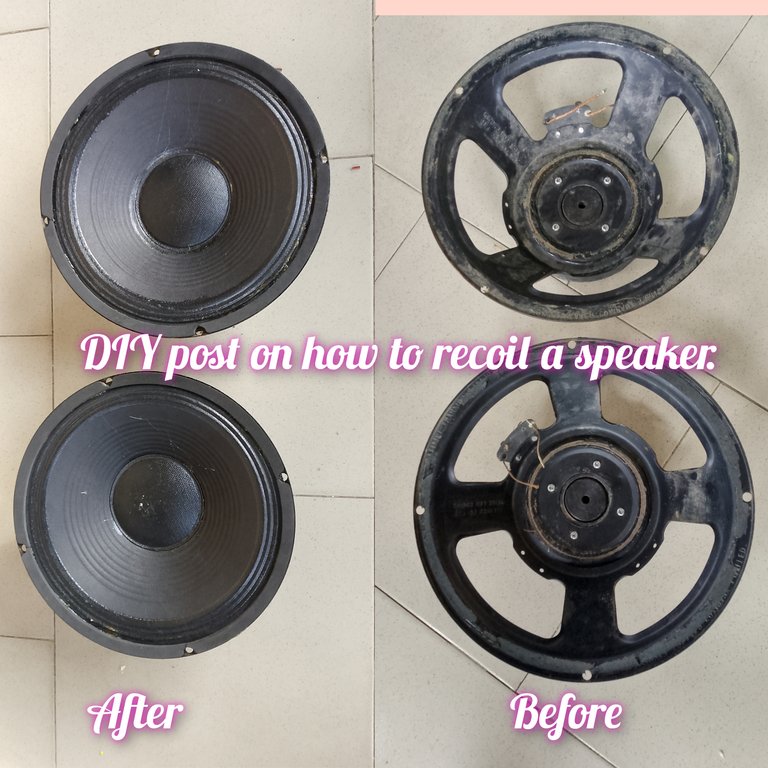
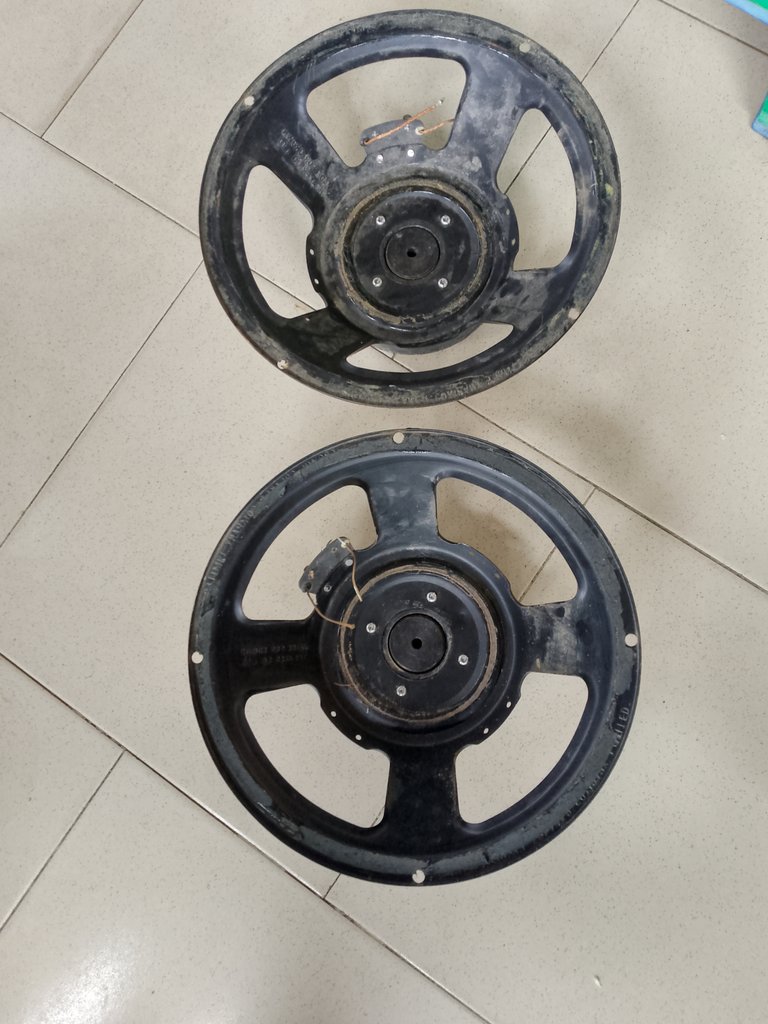
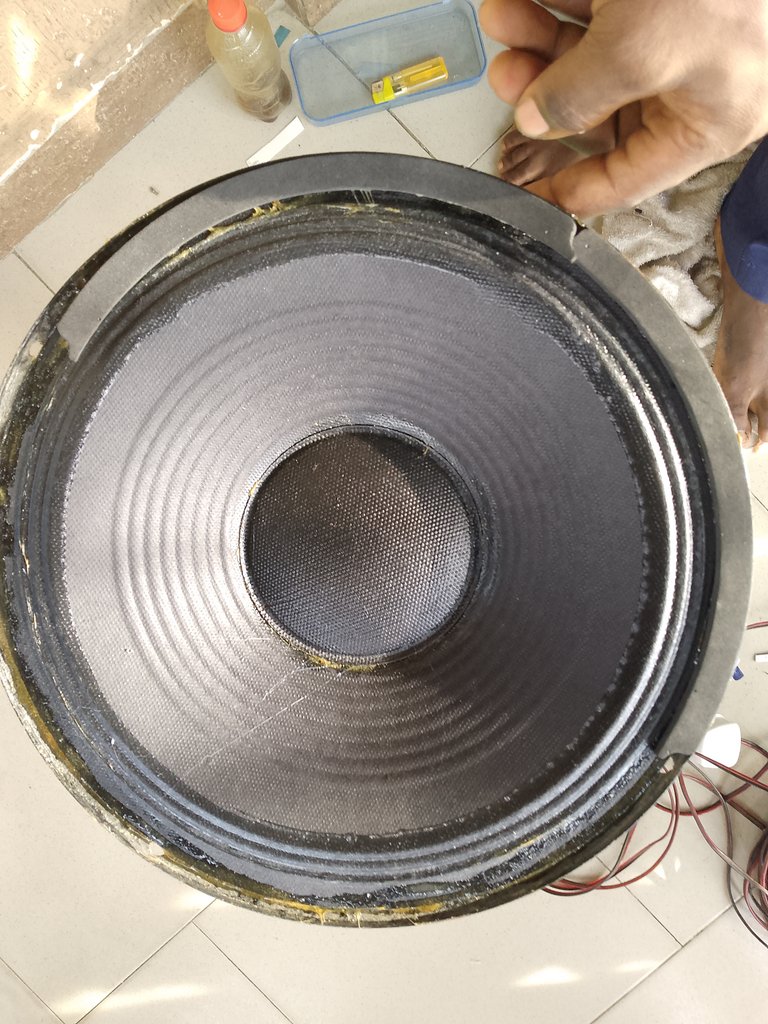
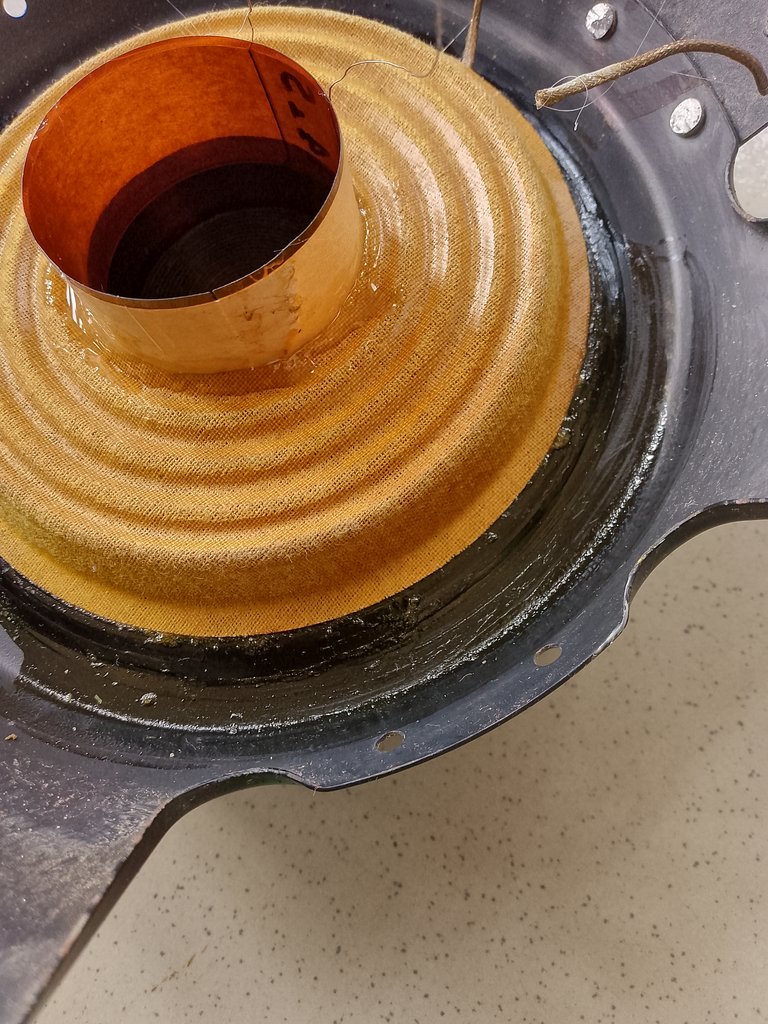
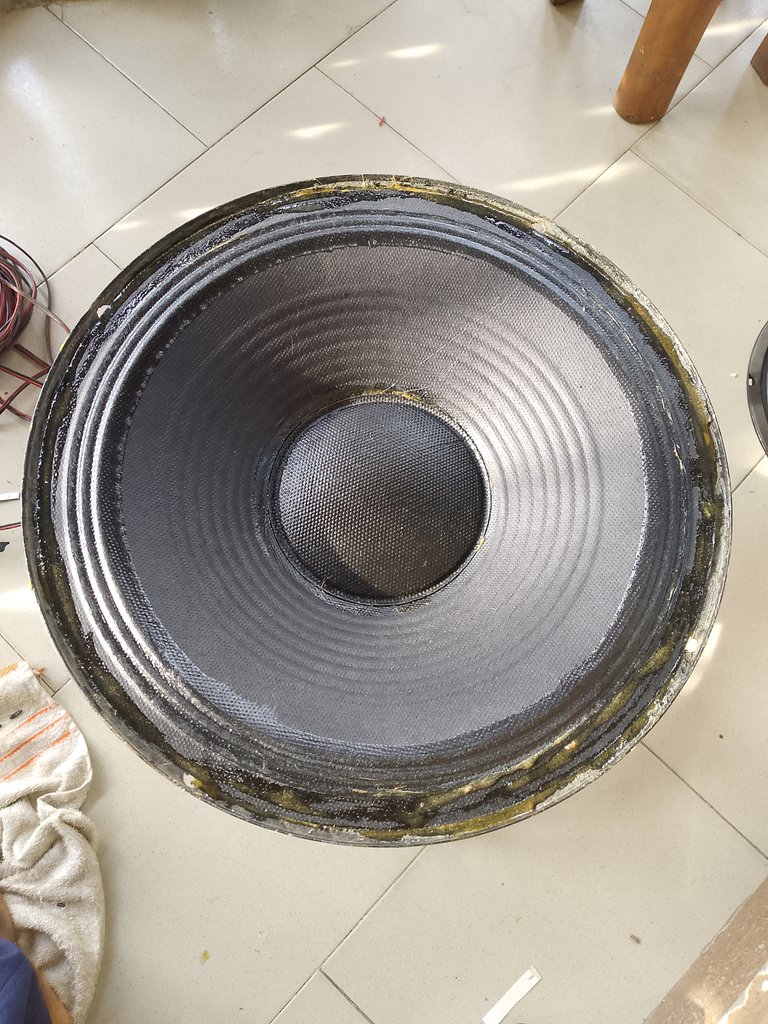
This is my church speaker that has not been used for almost 3 years because they have recoiled it about 2 times, and it didn't sound well, so because of that, when it spoiled again, we dropped it. I went to get a new speaker for my church, and the Price was high (30 dollars each), so someone advised me to work on that old speaker so it would sound good. So this time around, I chose to give it a try by myself, and you do not believe the speaker sounds good, like new. I now discover the guy that we give the speaker to recoil for us doesn't know the work well.
I learned it from YouTube and understand some tricks that are involved, which I will share everything in detail here.
Before
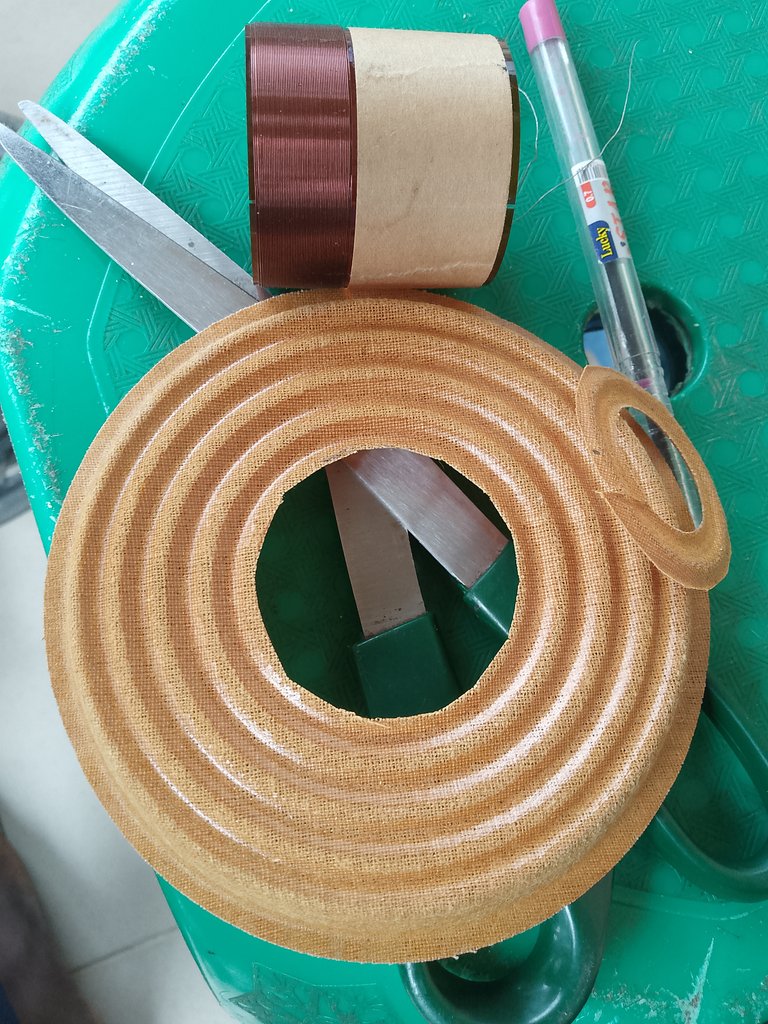
Materials needed
- 4 minutes gum
- upholstery gum
- voice coil
- suspension
- dust cap
- diaphragm etc
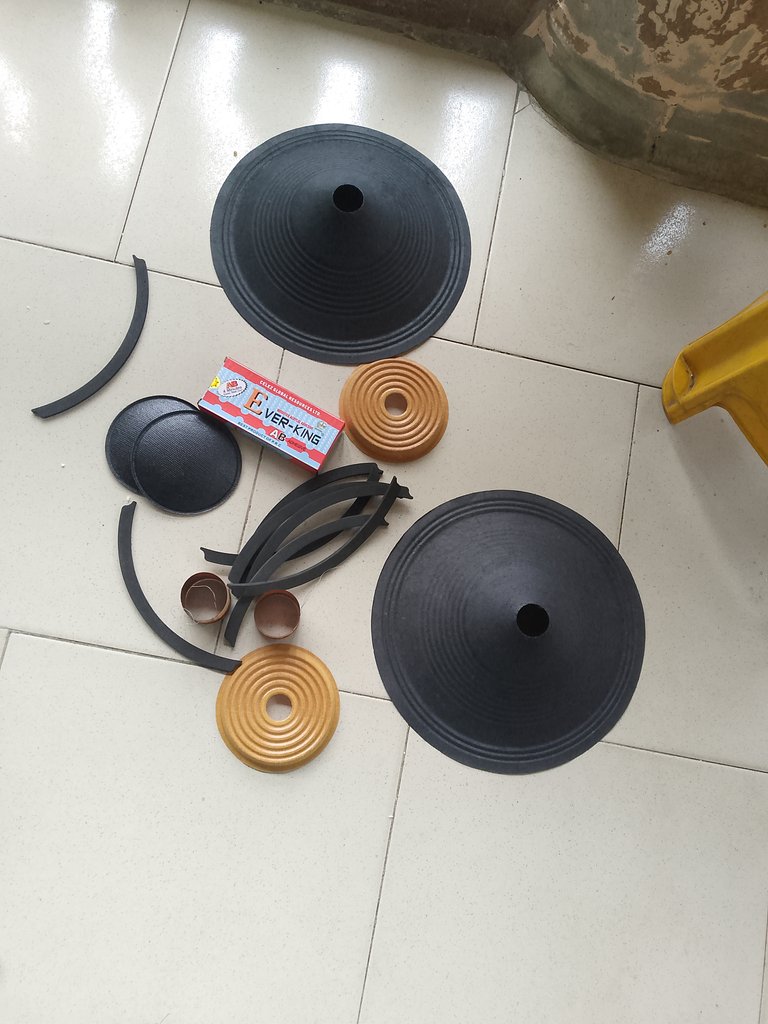
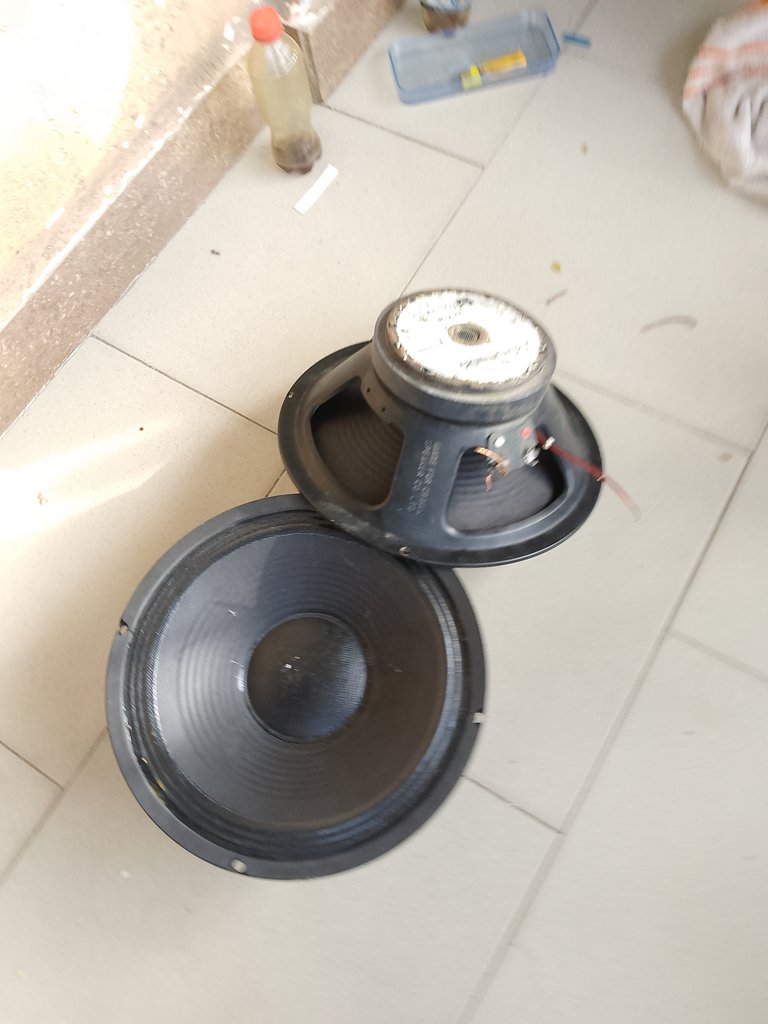
It is always advised to go along with the speaker to where you are buying the voice coin so that you can get the one that will be free when installed.
Steps to follow
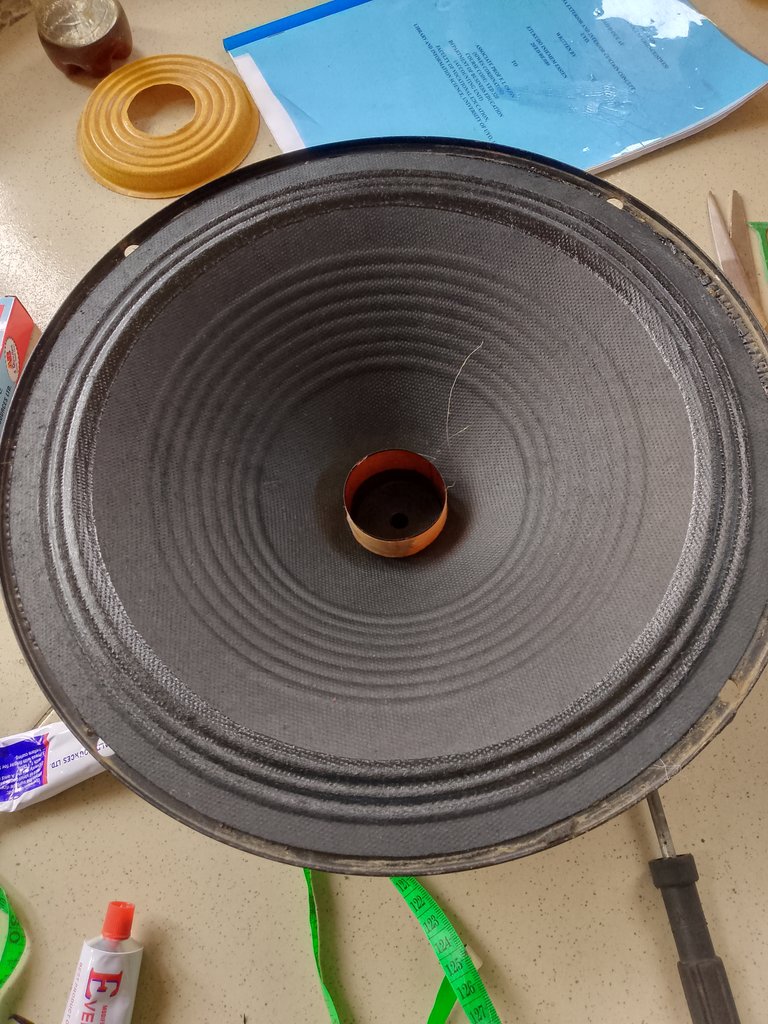
Place the coin on the suspension paper and mark it round.

Then, cut it out so that the coin can be passed in free, not too free.
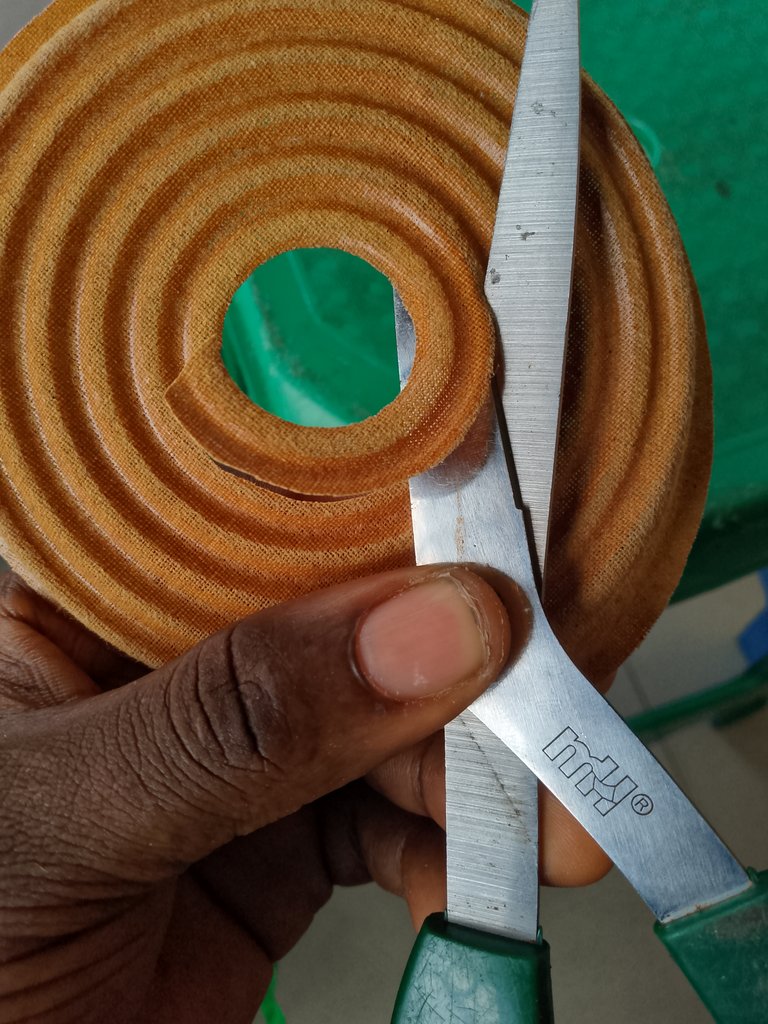
Also, do the same to the diaphragm paper.
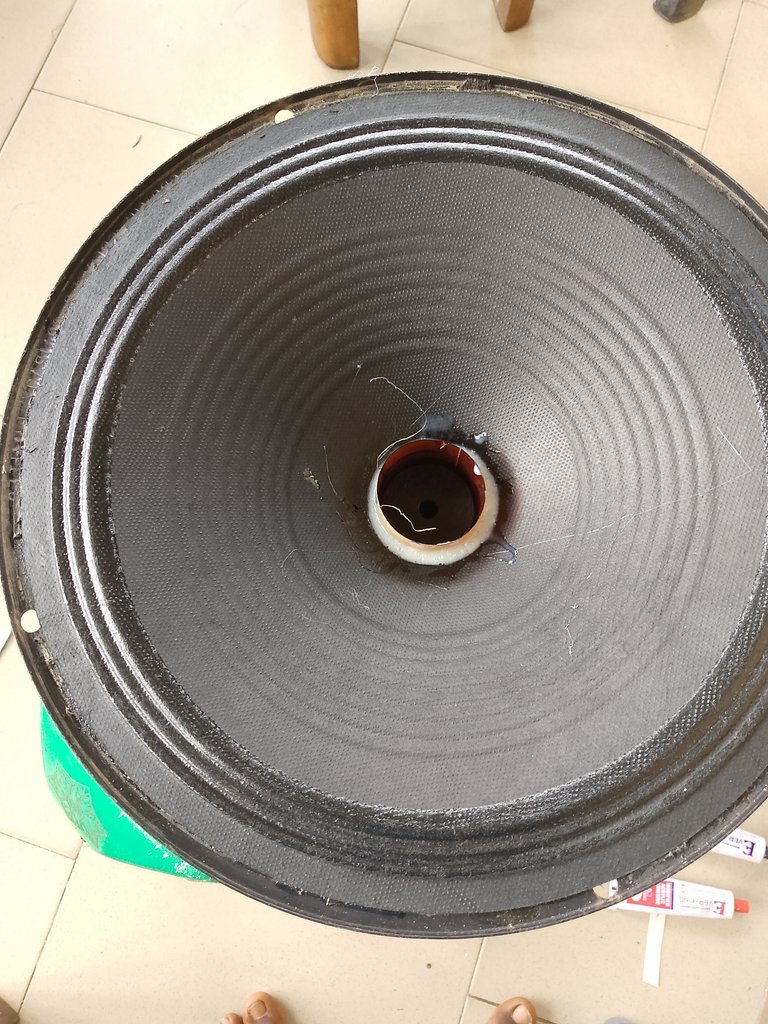
After doing that, is for you to apply gum on the down part of the speaker where the suspension paper will rest.
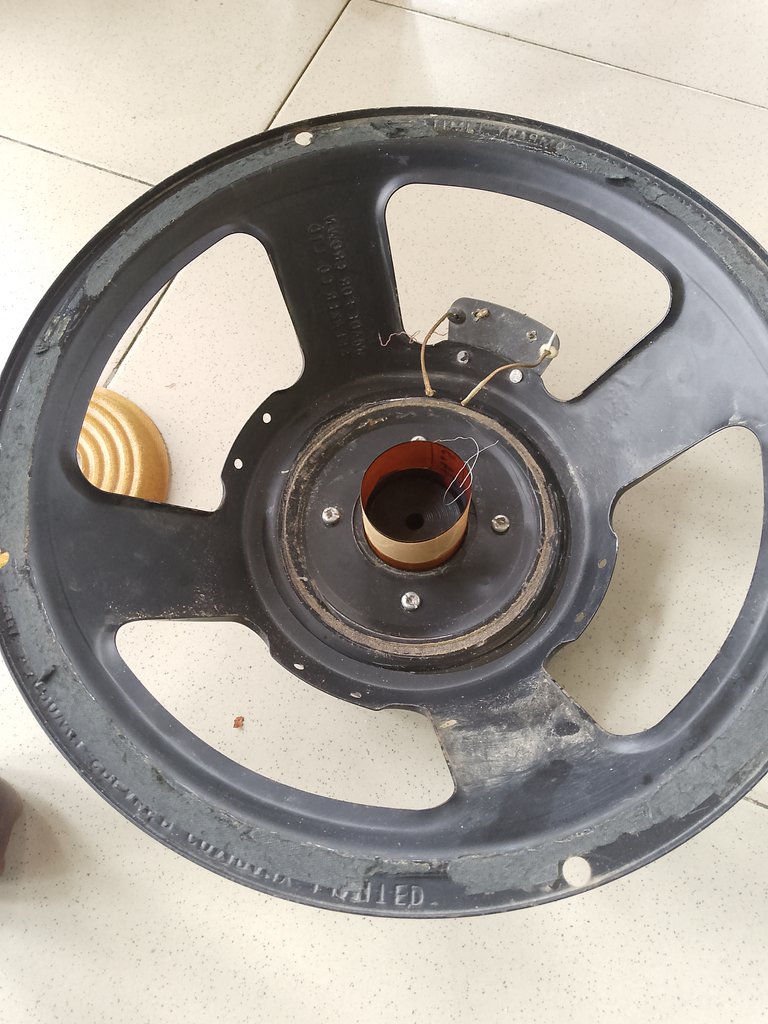
Pass the coin through the suspension paper, then to the magnet. Note you have to make sure the coil goes in the magnet by only 1/4 inch and it is well centered. To center it you can insect paper round to hold the coil tight and stable.
After setting the coil, you then apply the 4-minute gum between the suspension paper and the coin.
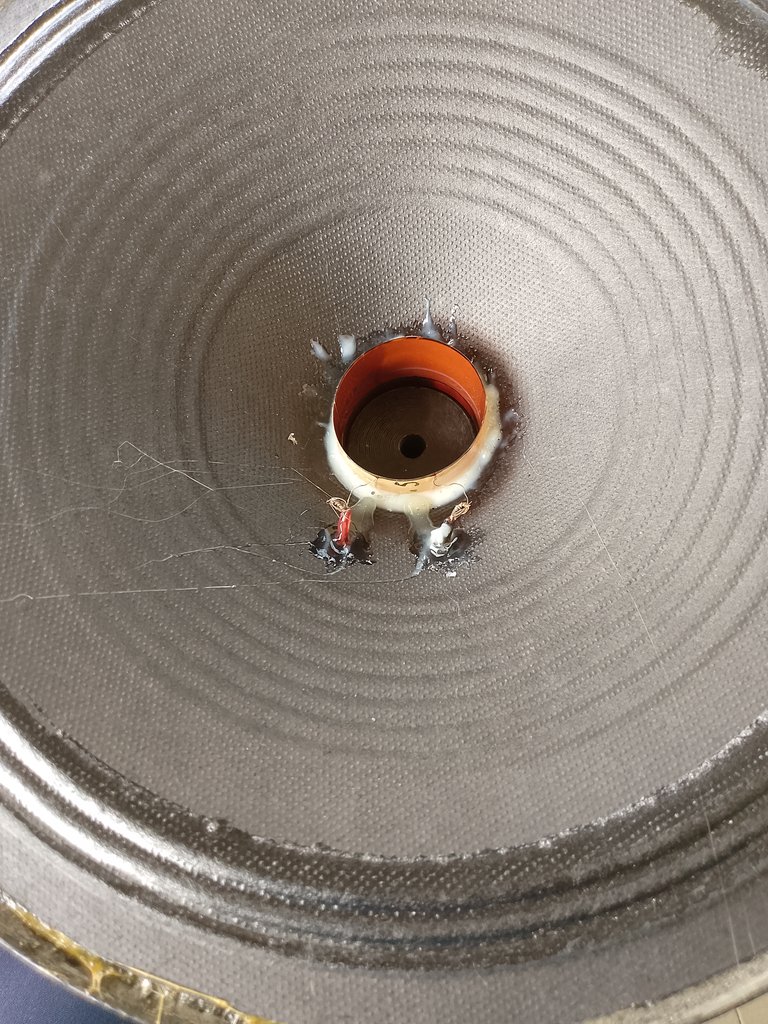
The next step to follow is to gum the diaphragm paper by applying upholstery gum on the top of the speaker and also the diaphragm itself.

Then a lot of it to dry, gum it together.
I apply the 4 minutes gum around the coin so hold it strong when used.
I then connect the coin wire outside so that they can join it anytime they want to use it.
Finally, cover the speaker with a dust cup with the help of gum.
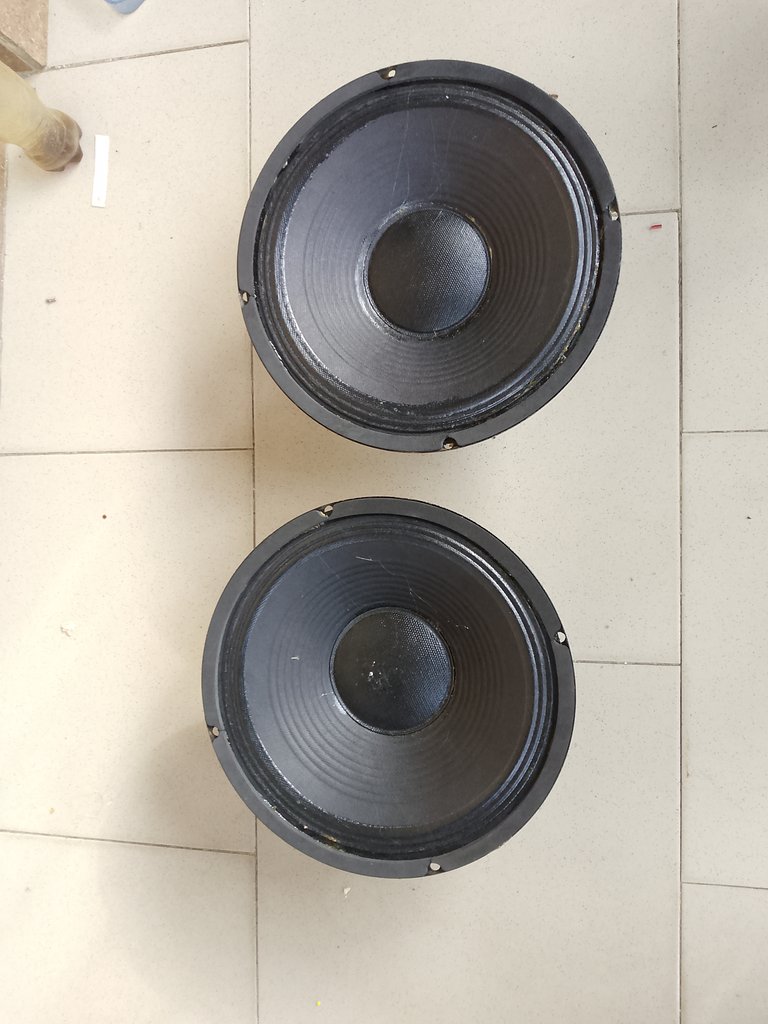
I follow the same process to recoil the second speaker, and finally, the speaker turns new and is ready.
I asked someone to renew the speaker for me, as I did; he told me he would collect 15 thousand (8 dollars) and for the two 30 thousand (16 dollars), but after working on everything for both speakers, I ended up spending only 5 dollars. I was able to save 3 dollars and also do neat work for my church.
All bills are from my pocket.
Hope I try and you understand the simple process.
Posted Using InLeo Alpha
Congratulations @mosupholstery! You have completed the following achievement on the Hive blockchain And have been rewarded with New badge(s)
Your next target is to reach 25000 upvotes.
You can view your badges on your board and compare yourself to others in the Ranking
If you no longer want to receive notifications, reply to this comment with the word
STOPCheck out our last posts: