DIY: Finally completion of the Hilux seat.
Virtual greetings everyone.
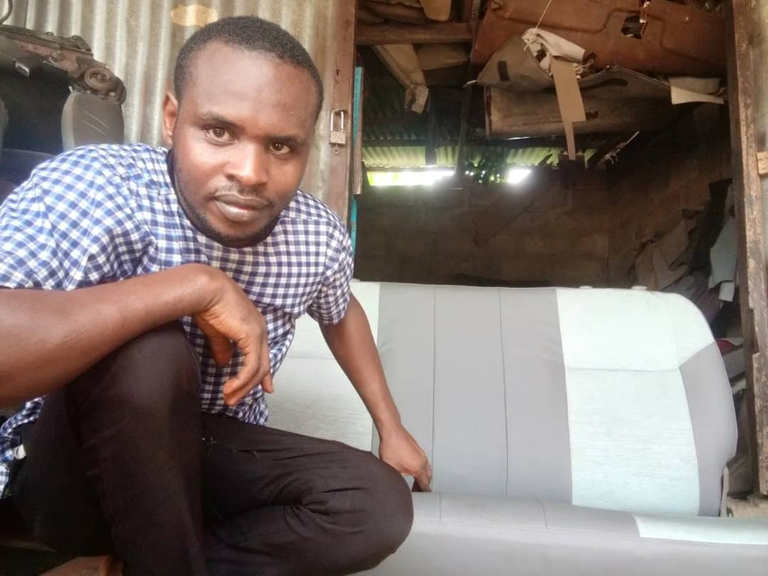
How are you all doing today? I hope you all are doing well. I am very happy to share a post here with you guys. Today I am sharing about the completion of a Hilux seat I have been sewing since last week. In my last post here, I share with you guys the sewing of the two front seats and today is the completion of the back seat. A Hilux car comes with three seats, two at the front and one long seat at the back.
I have been in this system of upholstery for many years now and I am a master of it. I love doing it because it is the source of my income.
The outcome of the seat was so beautiful, and me my self I love it.
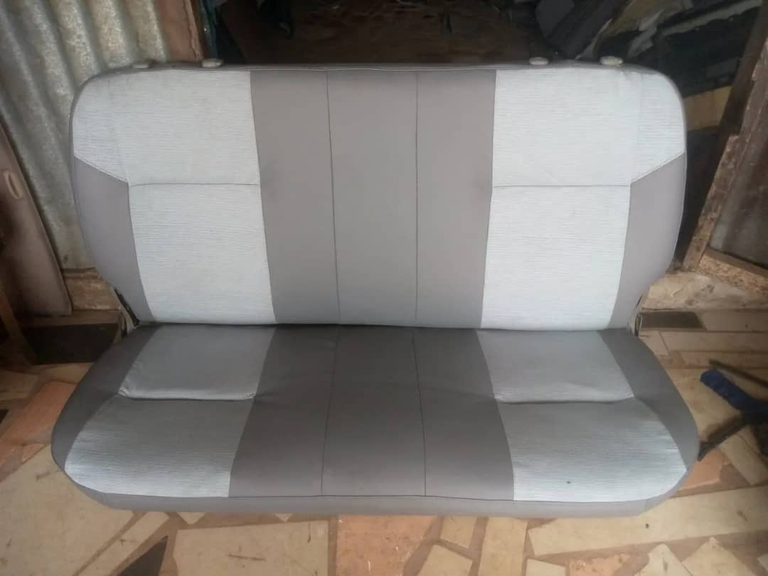
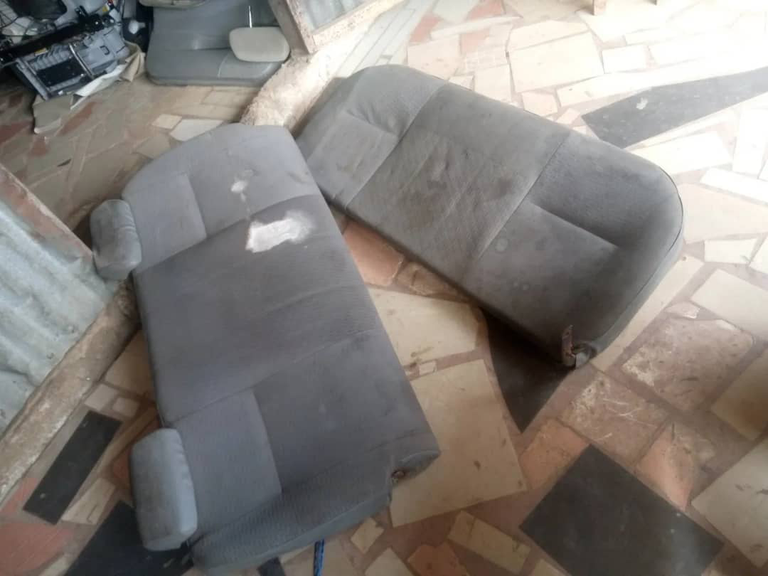
Look at the two photos below, I have there, the finished work and the seat before, and if you compare them you will see how good I am.
After
Before

To make this seat come out this way, the are some steps I took and I would love to share them with you guys if you follow me, you will find it very simple to give it a try and I can always be with you to answer you any questions you wish to ask.
Firstly, I begin by losing the back seat from the main seat with the help of spanners that fit with the nut.
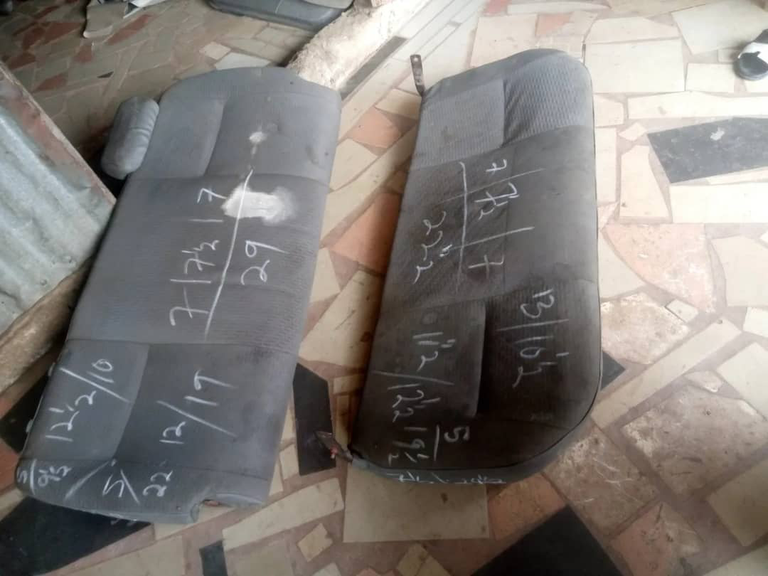
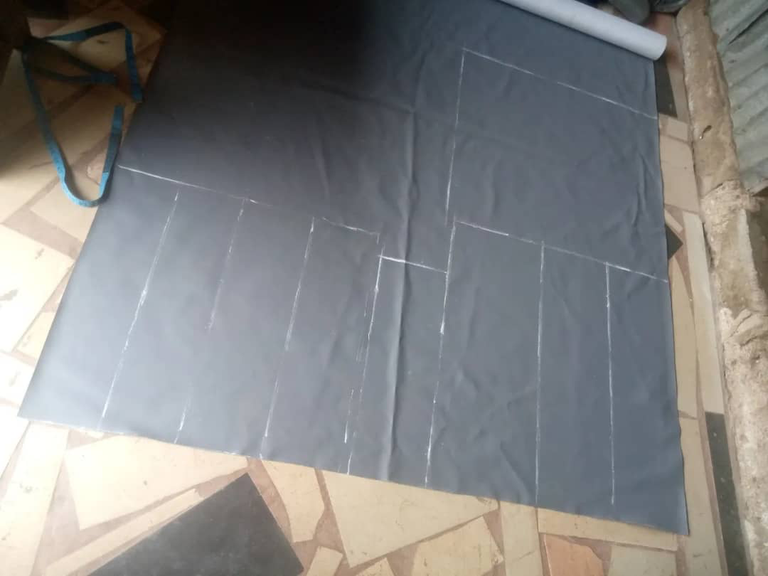
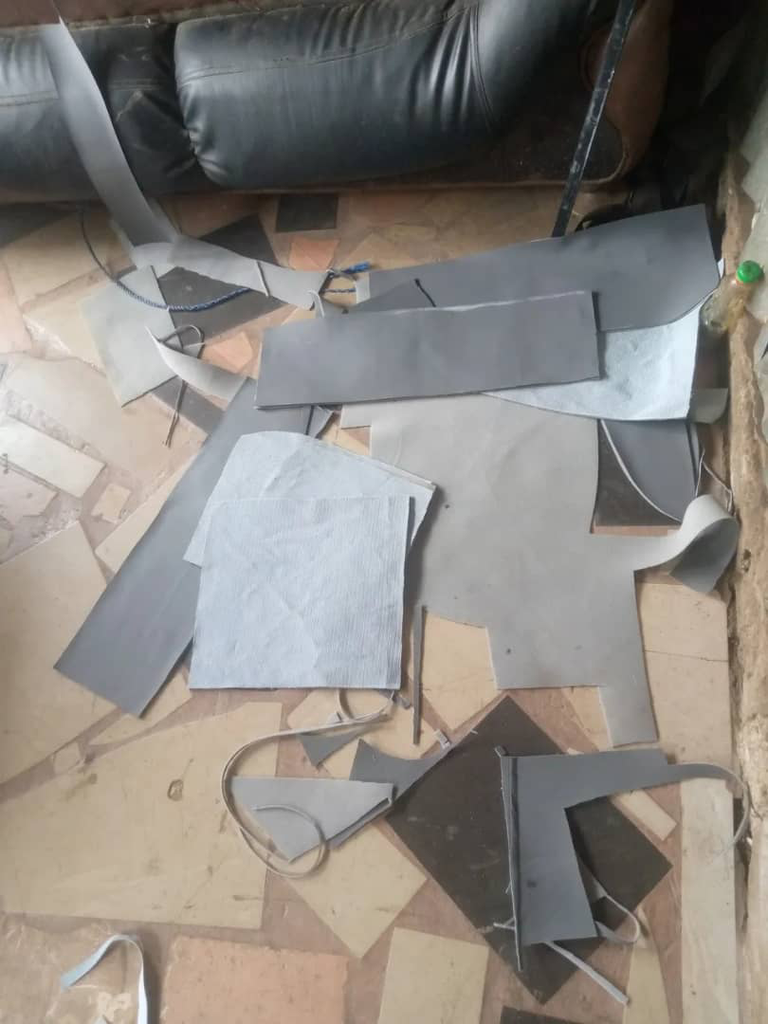
After losing the seat, I then proceeded to take the measurements of the seat so that I could cut it into a new leather. With the help of tape, I took the measurements of each pattern on the seat and then wrote it down on the seat.
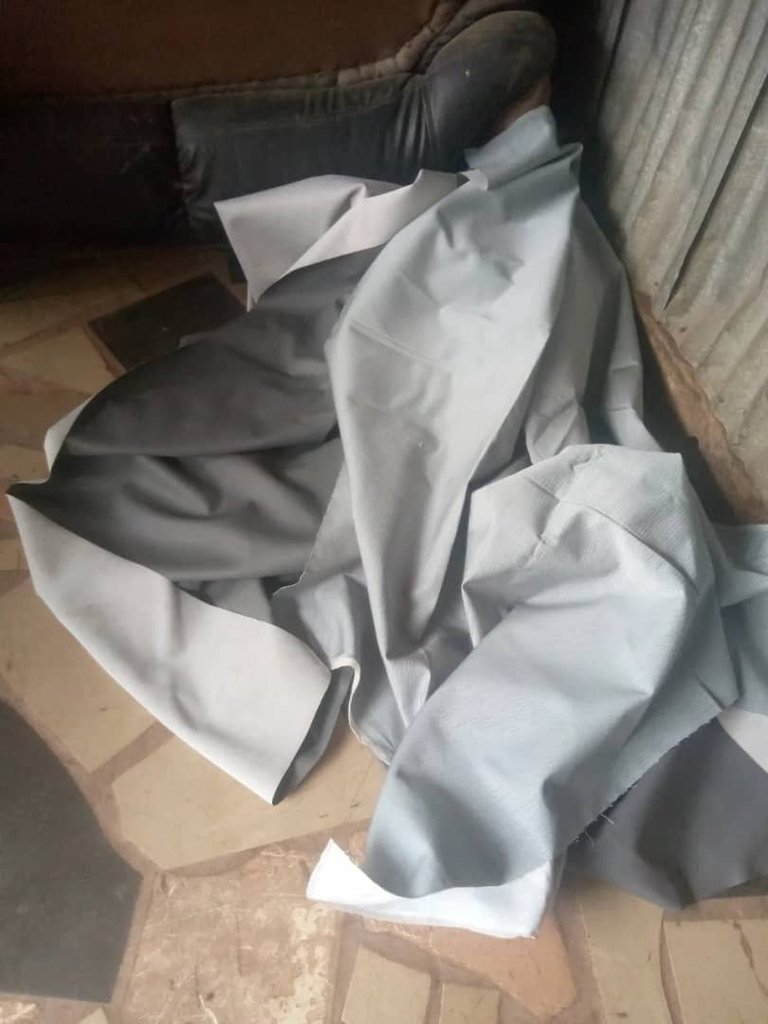
I have already gotten the material I am using for the work and here is it.
I then transfer the measurements to the new leather and then use long range to connect each point mark.
After marking it, I then cut it out with the help of scissors.
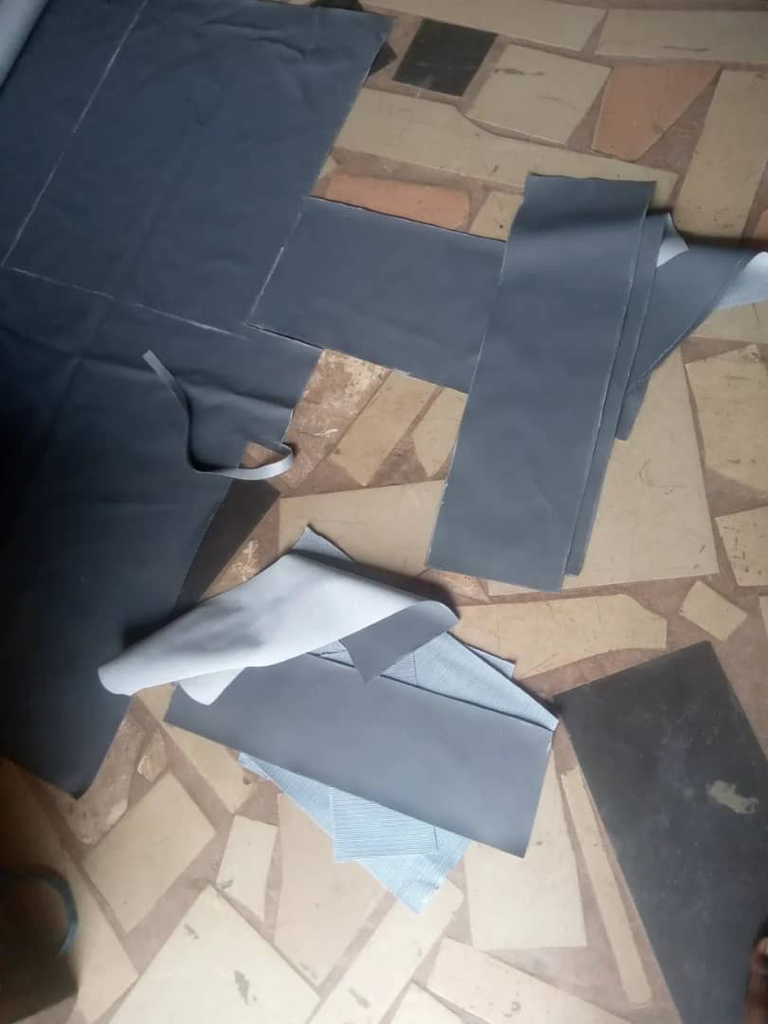
I then proceed to form the Working pattern, by placing the cut material on its position and then drawing out the shape and cutting it out. Thereafter, I then place the new pattern on a roofing material to make it smooth and think when sewing.
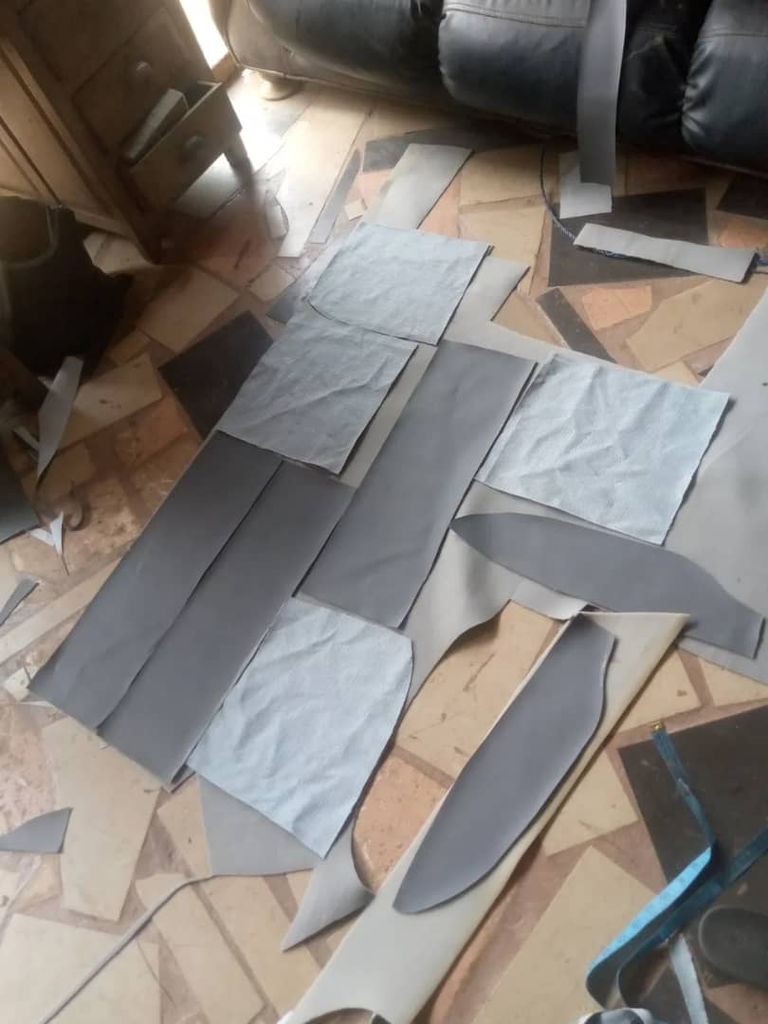
I then cut it out for the sewing process. The pattern is ready to be worked with.
I then use a sewing machine to sew those patterns together, making sure it enters as I mark it.
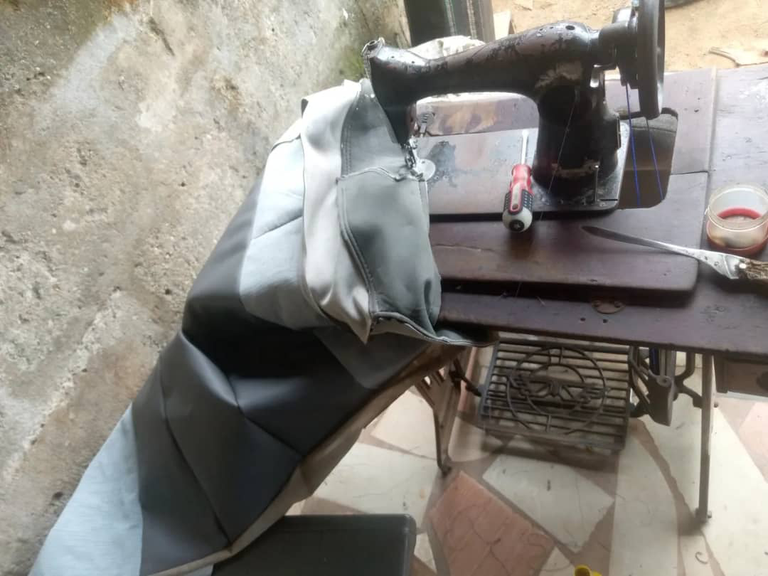
Finally, I sewed the new seat cover. I then proceed to clip the new seat cover to the old seat.
I used plain to clip it to sit at the center so that those designs could come out.
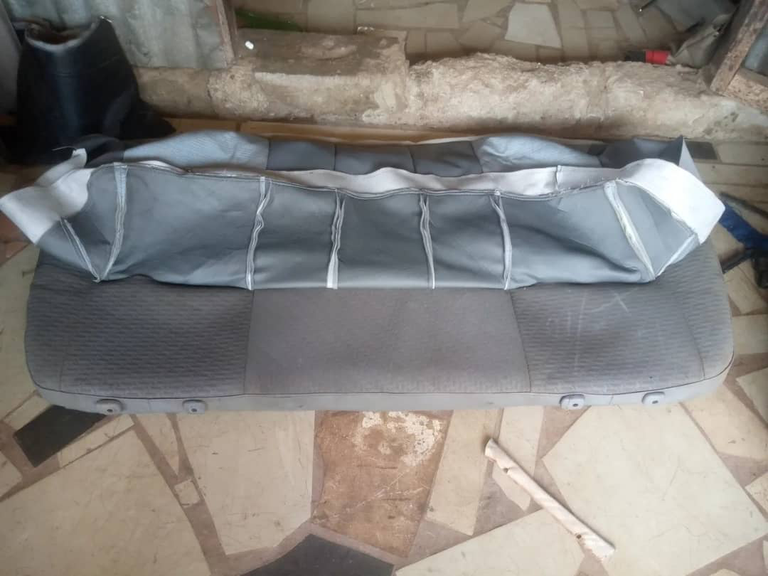
Finally, here is the outcome after clipping the new seat cover to the old seat.

Finally, I then tight it back as it was, and here is the finished work.
Wow, this is looking beautiful in my view. In your view what does it look like?
I appreciate your time, please do well to support my project.
Thanks so much and God bless you.
Posted Using InLeo Alpha
Great job dude! The seat looks new :)
This is for a Toyota Hilux pickup? I love that truck.. we need more small diesel trucks in the US.
As usual, you did an amazing job with the car seat.
!DIY
You can query your personal balance by
!DIYSTATS