The art of Making Keychain
Hello Hive friend! It's me masterzarlyn28 in the hive! For this blog, I will show you the step-by-step process of how you can create a keychain. My friend nearby who is only in Grade Six wants to sell Keychain to her classmates because according to her, they love Korean Pop Artists, especially Black Pink, BTS Army, and Enhypen. After hearing this I checked my materials if it is available then I started searching on Google and found solo pictures of artists on Pinterest. At first Im having a hard time since Im not really familiar with some other Artist, but with the health of Google I was able to familiarize their face and help me to have a high quality photo. After searching for their solo Picture, I search them as a group so that I will add this at the back of my keychain. I tried to search 3 to 4 pictures so that I can freely chose or print all of them that will serve as backing of the item. So lets go, as a I will teach you the step by step procedure. Below are the materials needed
Materials Needed:
Acrylic Keychain
Photopaper
Packaging - Optional. Sliding Cutter or Scissor
Printer
Ruler
Step 1
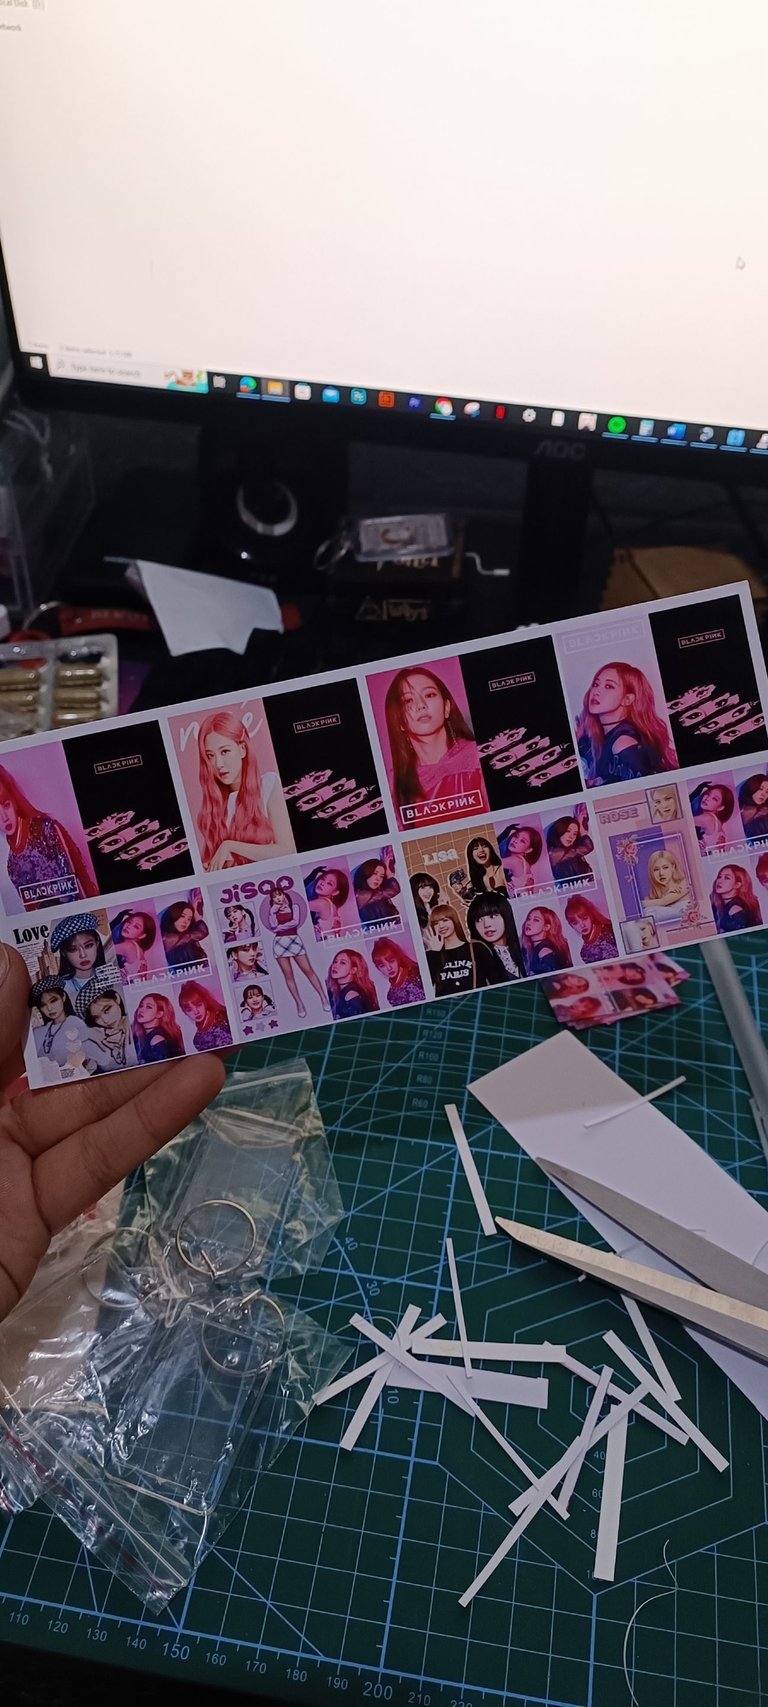
Print your desired picture and the size should be depends on your acrylic keychain. So I use ruler to measure the inside frame of the keychain. I used the trial error method until I get the exact size of the picture.
Step 2
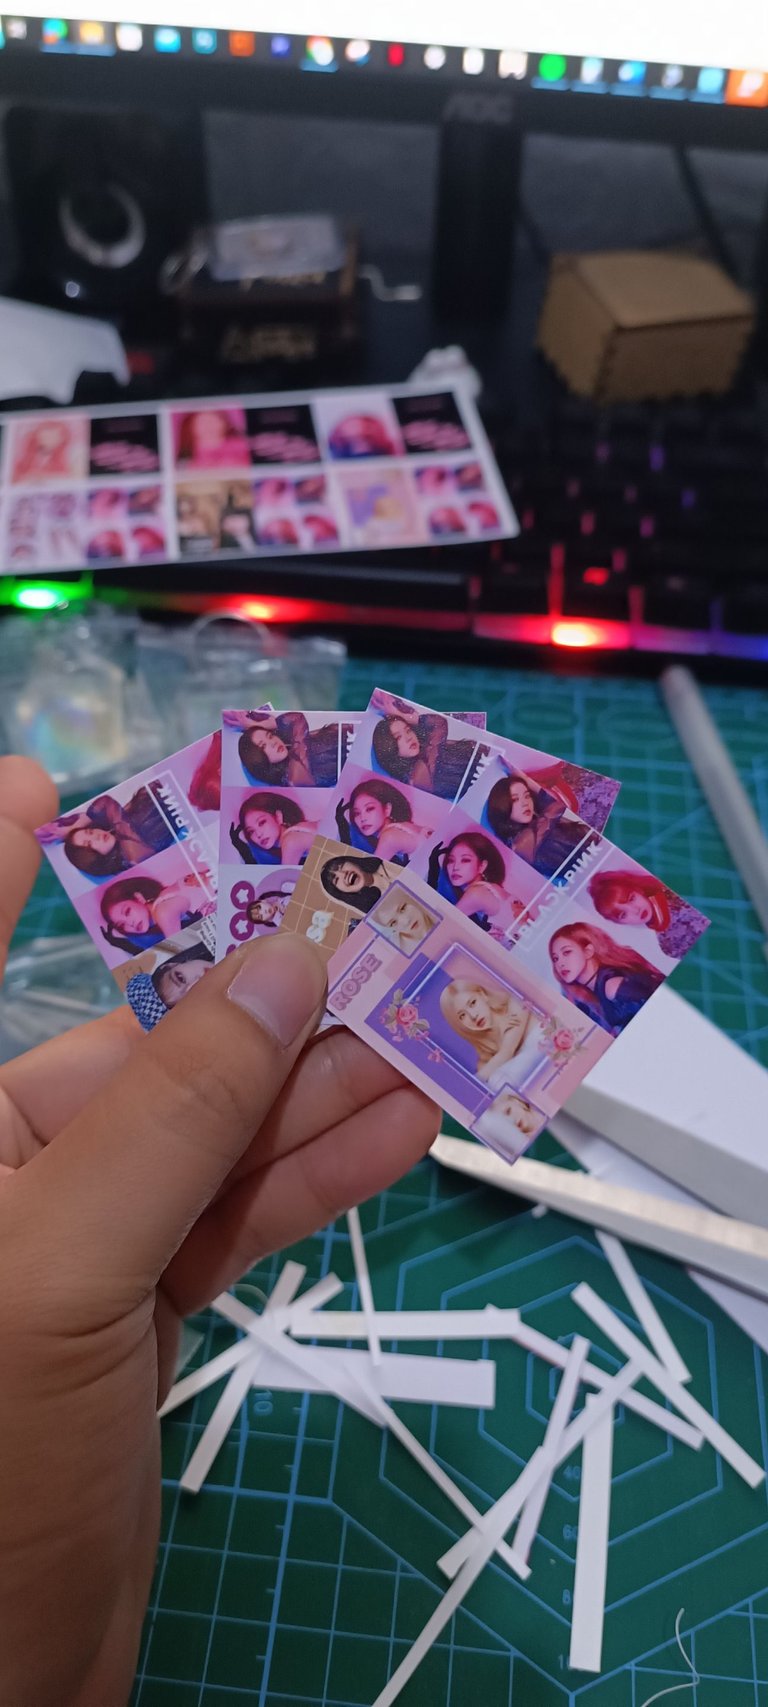
Cut the printed materials. I used two design (front and back). Fold the design, so that the design will be in the front and the other one at the back
Step 3
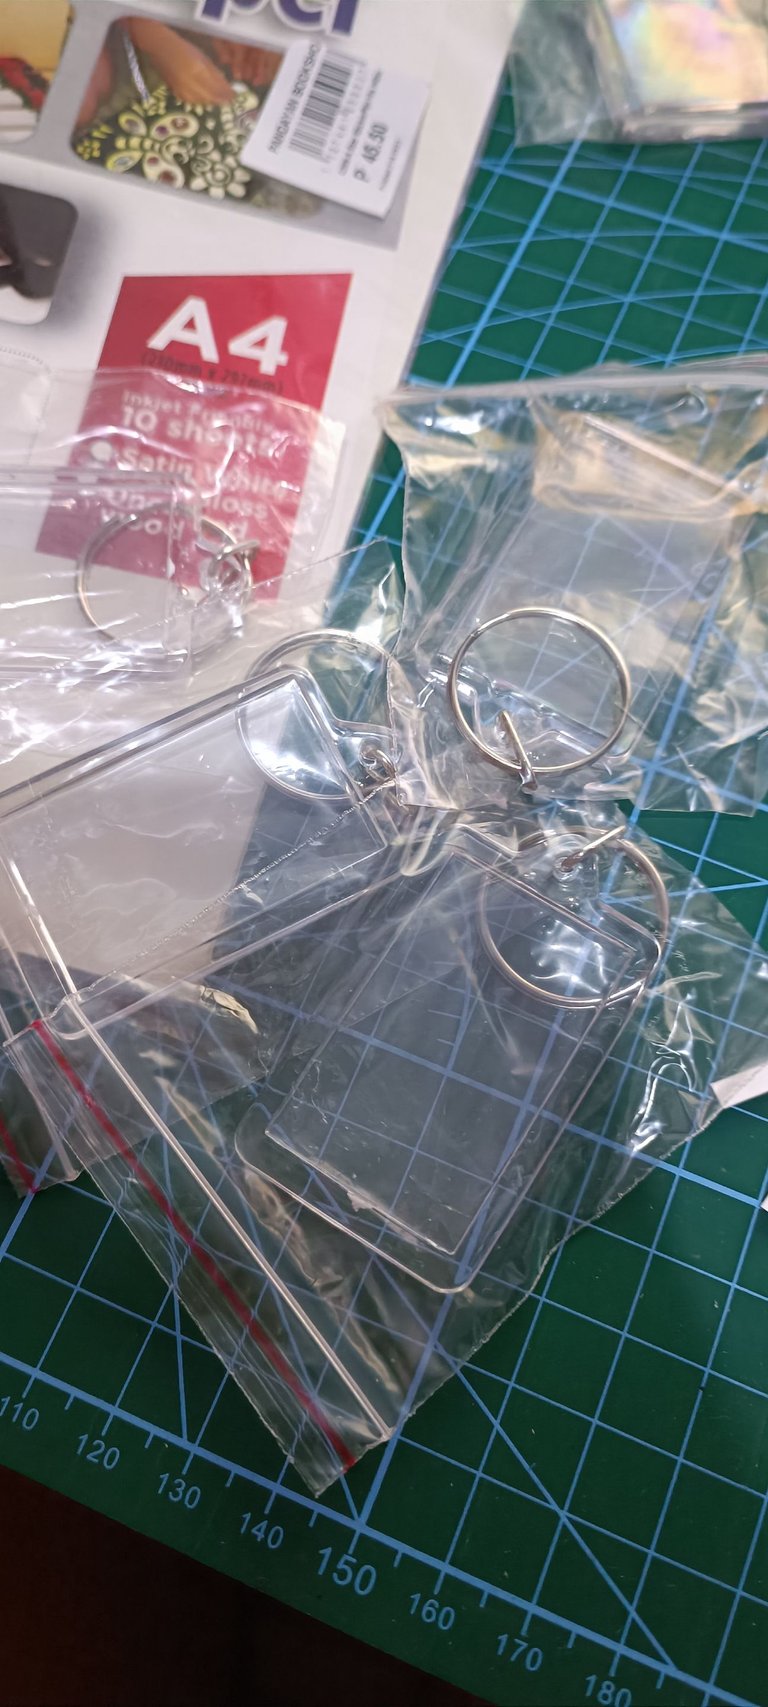
Insert the print and cut materials in the acrylic keychain. Im having a hard time in this process since some cover of the acrylic is not perfectly fit. I always cut the excess part of ti (just a little bit cut) for me to fully lock it. There are times that iw will not be lock so you need to insert a lillte bit glue so that the materials and design will not be destroyed.
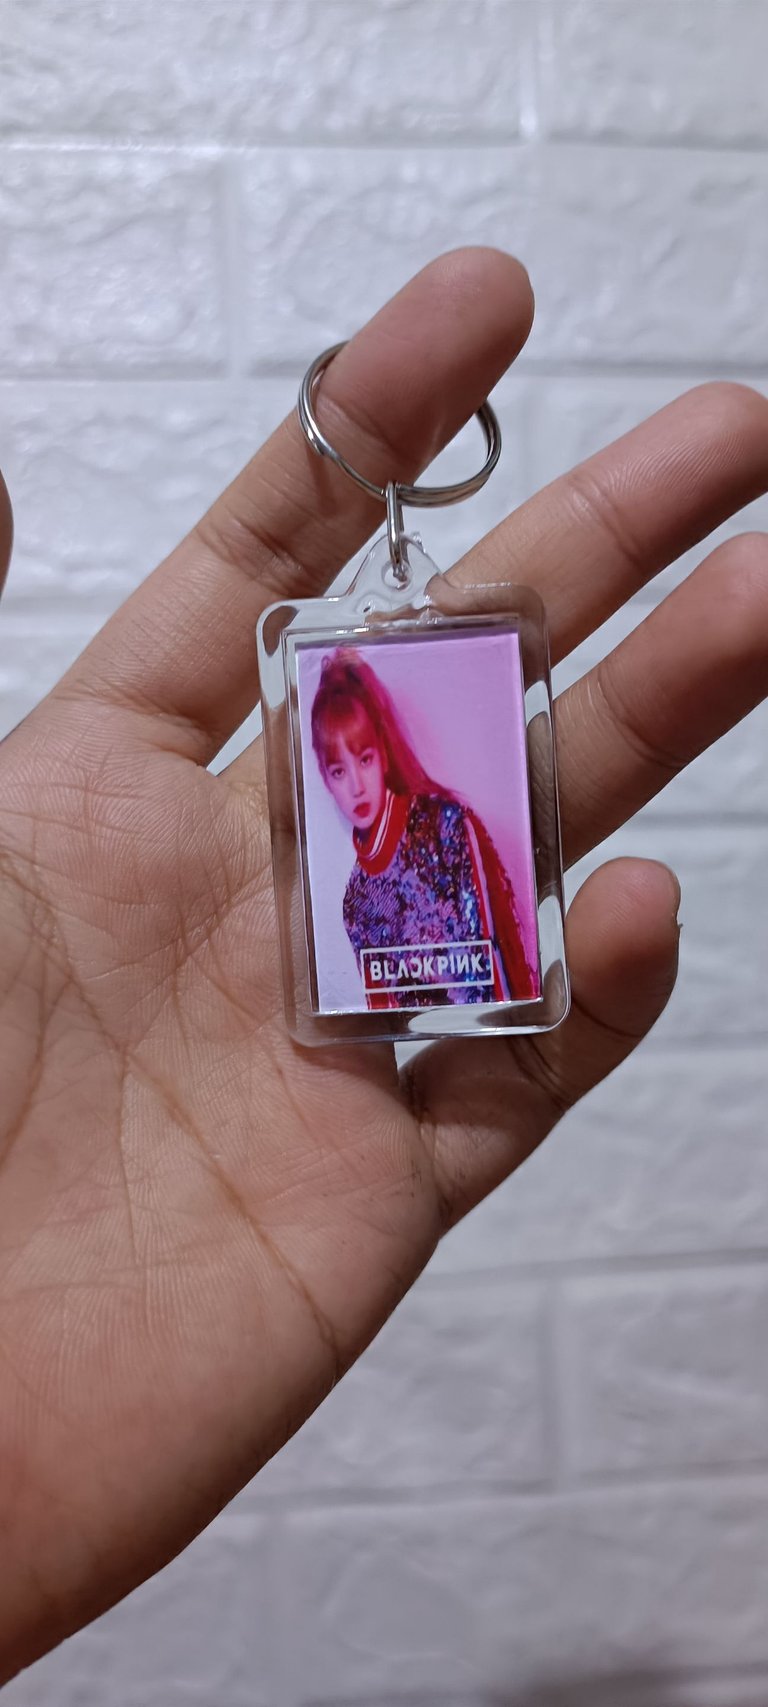
Below is the inserted design.
FRONT DESIGN
BACK DESIGN
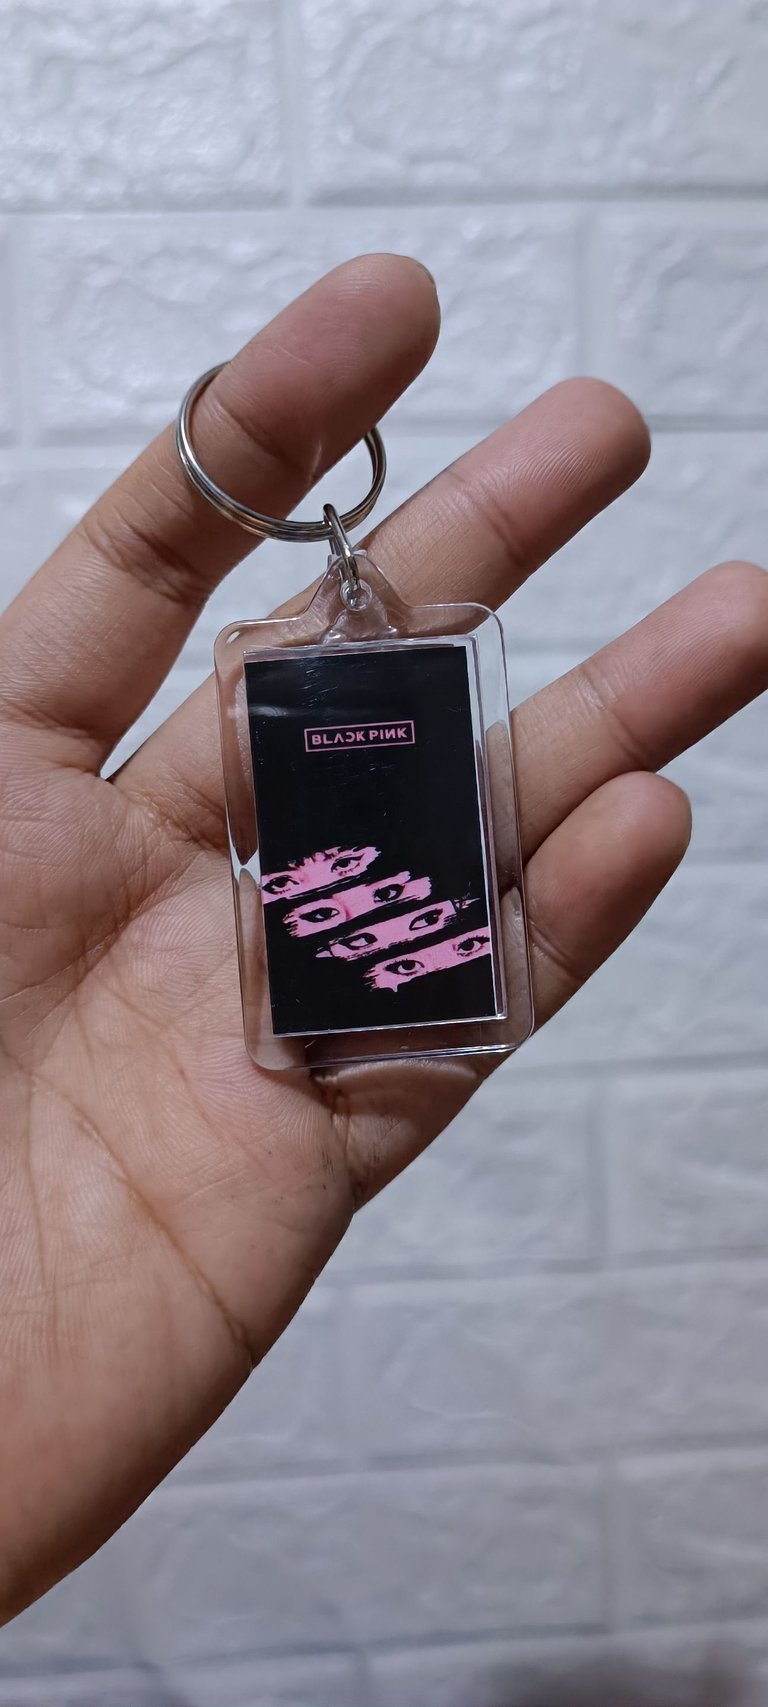
Then the last step are optional. I only do this step since Im selling this items on my friends and to students who really love Korean Pop or KPop.
Step 4
Print and cut materials that will serve as backing but with design. So that the items to be sold will be presentable to buyer.
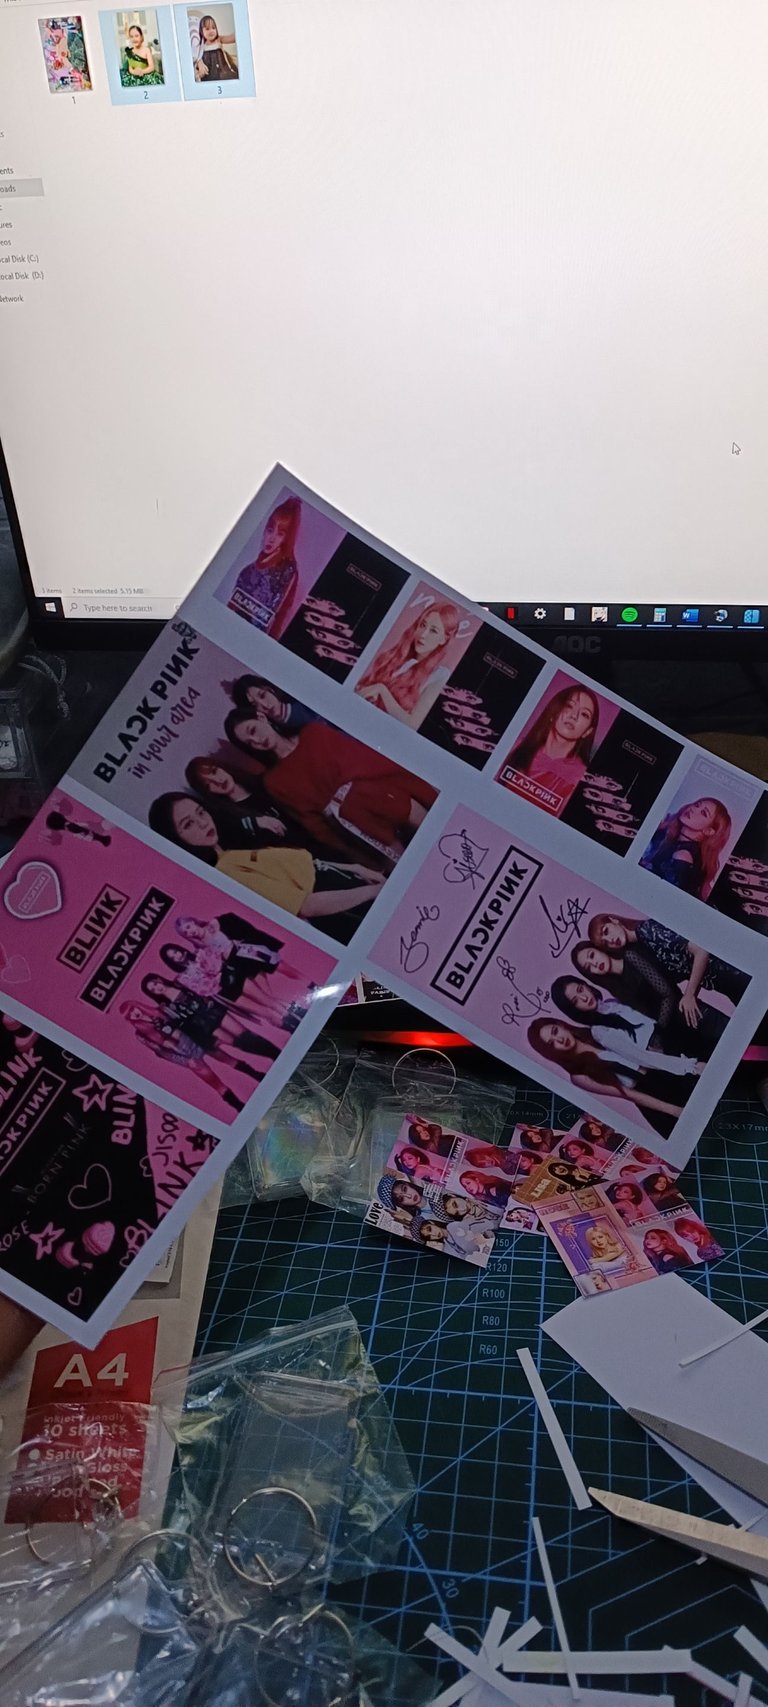
Step 5
Insert the backing to packaging then insert the keychain.
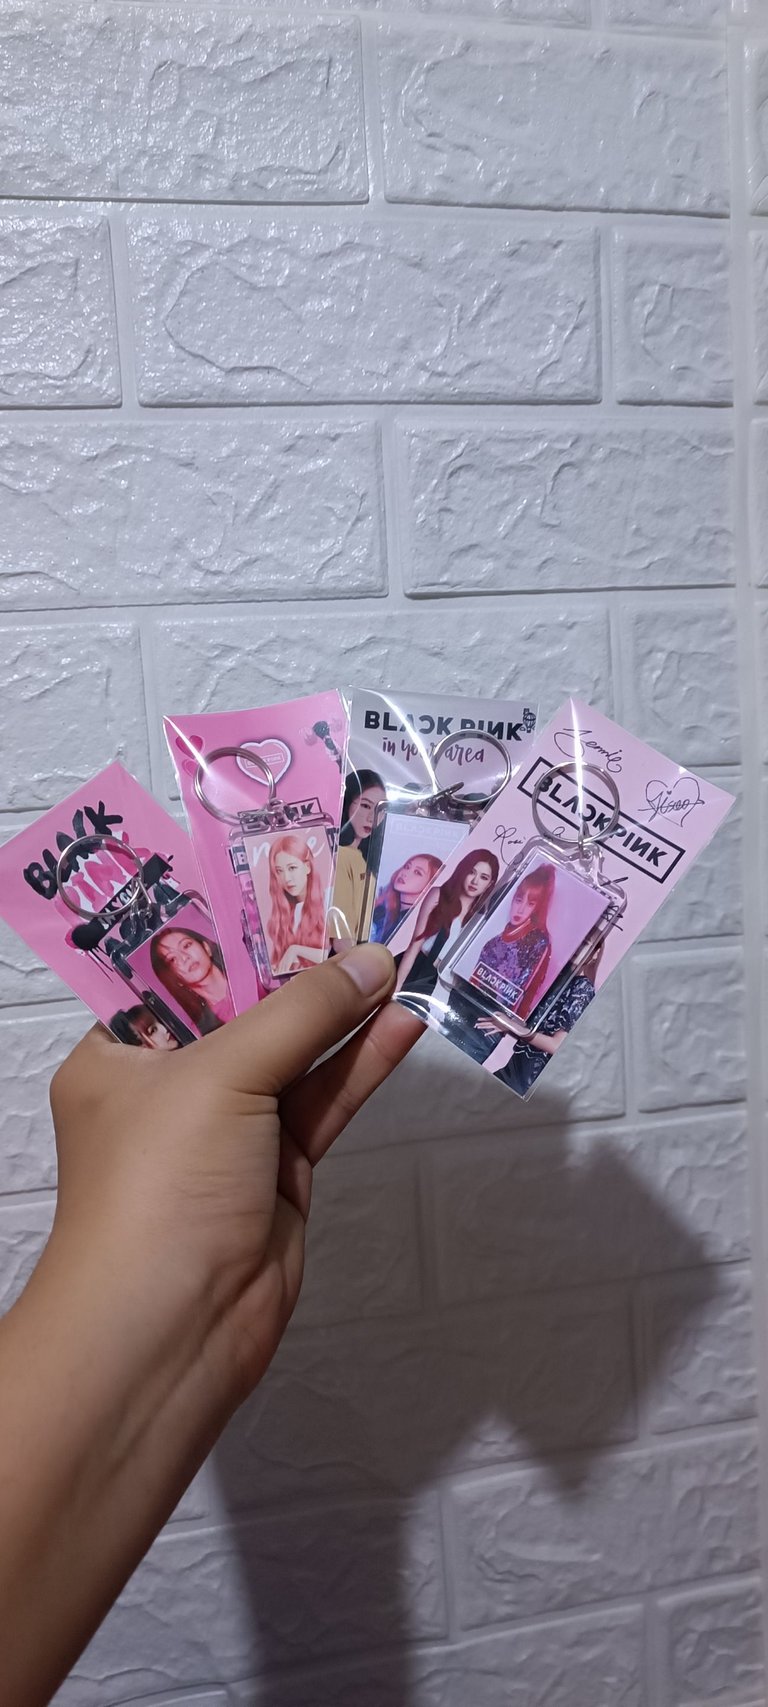
Here is the Finished Product!
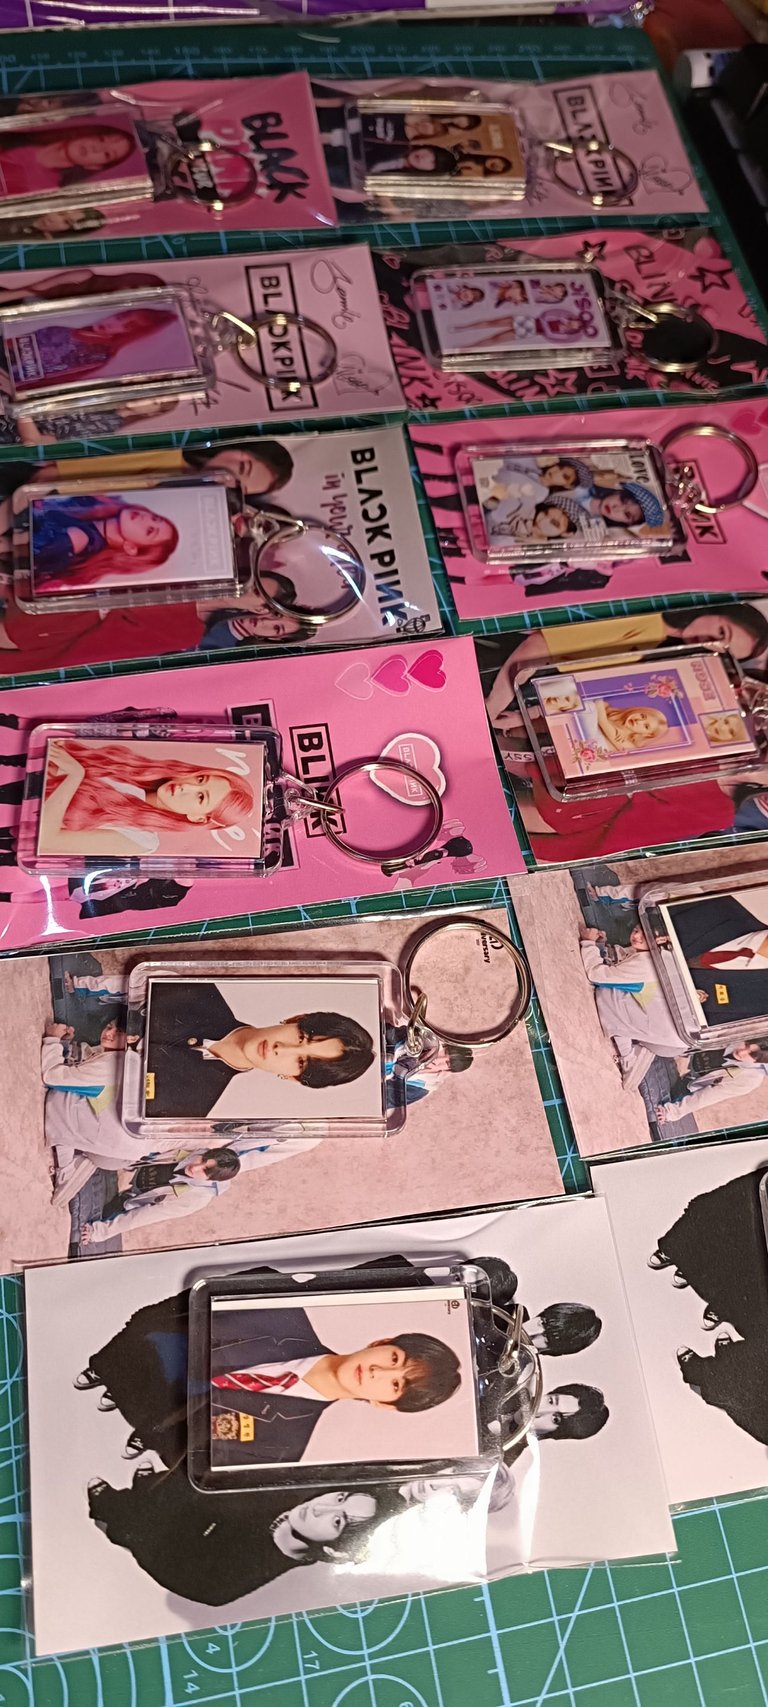
I made a total of 15 Acrylic Keychains! Hooray! But it was not easy as I encounter errors and rejects while doing it. But I learned a lot from this mistakes.
Hope you learned a lot from my Blog :) I will be posting more tutorials on arts and crafts.
Keep Posted! Thank you so much hive friends! See you on my next blog! :)
Acrylic Keychain
Photopaper
Packaging - Optional. Sliding Cutter or Scissor
Printer
Ruler
Step 1
Print your desired picture and the size should be depends on your acrylic keychain. So I use ruler to measure the inside frame of the keychain. I used the trial error method until I get the exact size of the picture.

Step 2

Step 3

Below is the inserted design.
FRONT DESIGN

BACK DESIGN

Then the last step are optional. I only do this step since Im selling this items on my friends and to students who really love Korean Pop or KPop.
Step 4

Step 5

Here is the Finished Product!

I made a total of 15 Acrylic Keychains! Hooray! But it was not easy as I encounter errors and rejects while doing it. But I learned a lot from this mistakes.
Hope you learned a lot from my Blog :) I will be posting more tutorials on arts and crafts.
Keep Posted! Thank you so much hive friends! See you on my next blog! :)