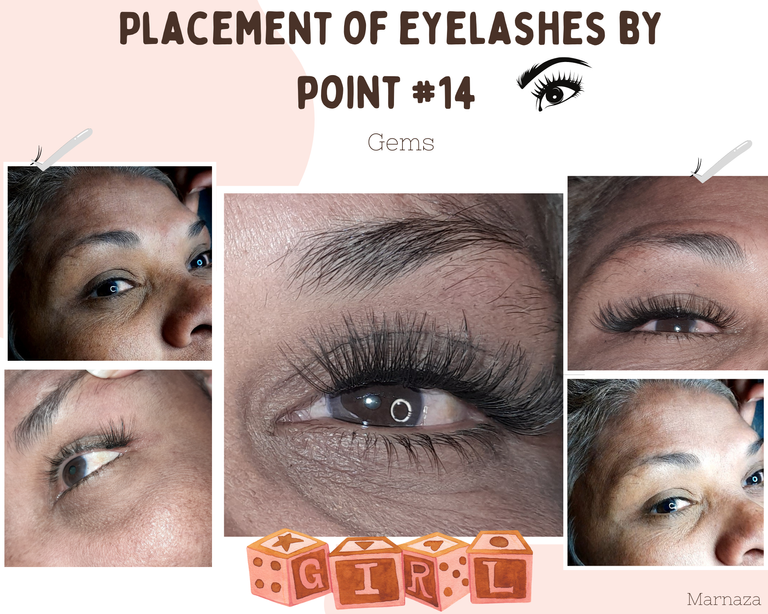
Placement of eyelashes by point #14
¡Welcome to my Blog!💞
Hello friends, happy day to all. Always wishing you all well, and of course enjoying good health with lots of love and prosperity in your lives.
I had a long time without working on applying eyelashes and yesterday my husband's aunt asked me if I could do some eyelashes for her because today she had a special event at work, it was 8:00 pm when I started applying the eyelashes.
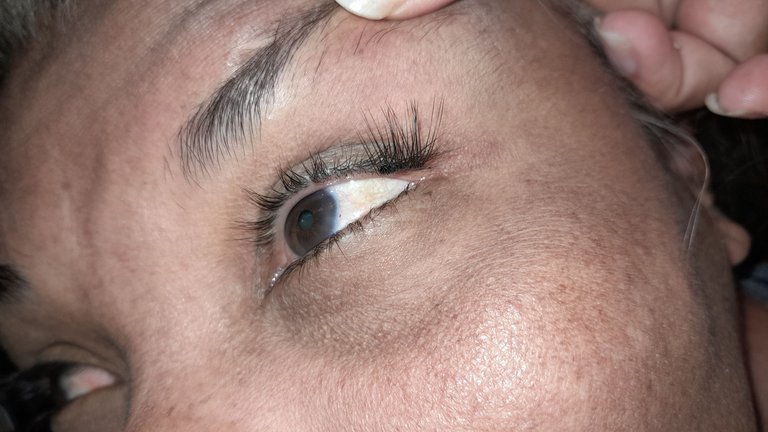
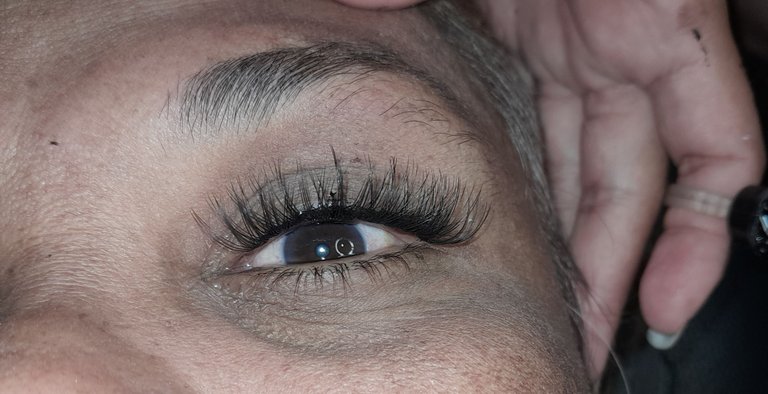
I started applying the lashes from the corner of the eyelashes to what would be the beginning of the lashes.
I put glue on my ring and with a dot eyelash applicator I grabbed the eyelashes and moistened them only on the part where they would be glued from eyelash to eyelash and I removed the excess by passing it through my hand so that the dots would be small and not clumpy because that could bother me a lot and being very careful when gluing them leaving the right space.
Continue placing one next to the other and when I was in the middle of the eye, I seal them by pressing with the tweezers until I reach what would be more or less close to the tear trough and seal again.
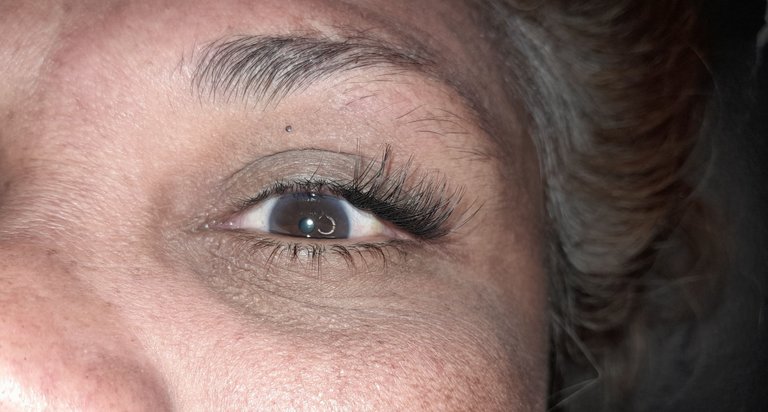
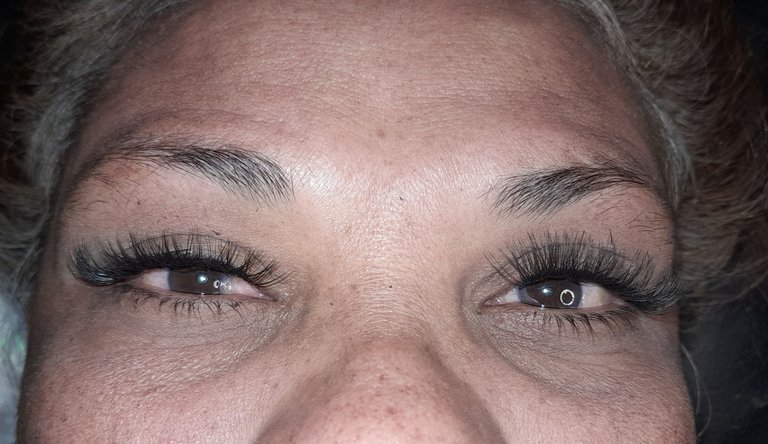
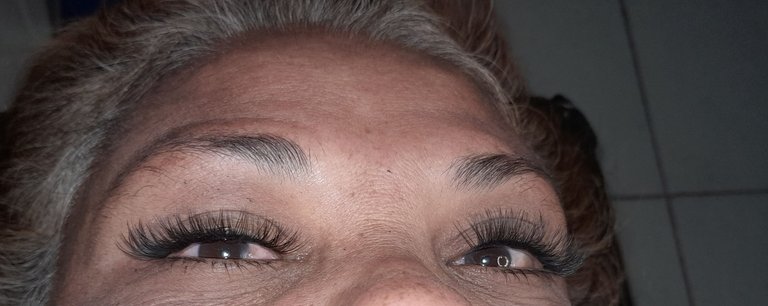
This is how beautiful these eyelashes I made for my dear aunt sther so that today she would be super beautiful at her work meeting.
¡Bienvenidos a mi Blog!💞
Hola amigos, feliz día para todos. Deseando siempre que estén muy bien, y porsupuesto gozando de buena salud con mucho amor y prosperidad en sus vidas.
Tenia mucho tiempo sin trabajar colocando pestañas y ayer la tía de mi esposo me dijo si le podía hacer unas pestañas porque hoy tenia un evento especial en el trabajo, eran las 8:00 pm cuando comencé a colocarle las pestañas.
Comencé aplicando las pestañas desde la comisura hacia lo que sería el principio de las pestañas.
Coloque pega en mi anillo y con una pinza de colocar pestañas por punto agarre la pestañas y la humedeci solo en la parte donde se pegará de pestaña a pestaña y el exceso lo retiro pasando por mi mano para que los puntos sean pequeños y no grumosos porque eso podría molestar muchísimo y teniendo mucho cuidado a la hora de pegarlas dejando el espacio correcto.
Continue colocando una al lado de la otra y cuando iba por la mitad del ojo aprocho a sellar haciendo presión con la pinza hasta llegar a lo que sería más o menos cerca del lagrimal y volver a sellar.
Así de bonitas quedaron estas pestañas que le realicé a mi querida tía sther para que hoy estuviera super hermosa en su reunión de trabajo.

Thanks for visiting my Blog
Credits:
•Photography: (@marnaza)
•Translator: (With the app Deepl)
•Banners: (Canva)
•Splitters: (Canva)
Gracias por visitar mi Blog
Créditos:
•Fotografía: (@marnaza)
•Traductor: (Con la app Deepl)
•Banners: (Canva)
•Separadores: (Canva)