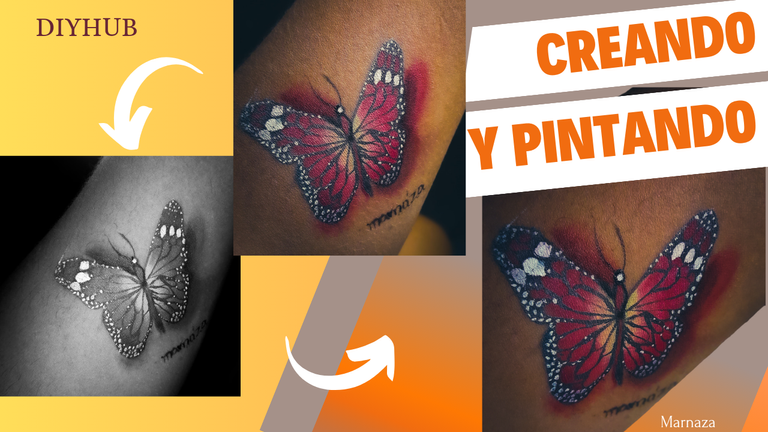
Creating and painting tattoo style: Butterfly

¡Welcome to my blog, friends of Hive!💞
Hello art friends, happy evening to all. Always wishing you all well, and of course enjoying good health with lots of love and prosperity in your lives.
Today I'm going to show you how I created and painted a butterfly on my arm tattoo style.
¡Bienvenidos a mi Blog amigos de Hive!💞
Hola amigos del arte, feliz noche para todos. Deseando siempre que estén muy bien, y porsupuesto gozando de buena salud con mucho amor y prosperidad en sus vidas.
Hoy les voy a mostrar como cree y pinte una mariposa en mi brazo al estilo de un tatuaje.
Several months ago I had stopped painting, drawing and doing makeup because of my work but now I have a little more time and I decided to take up again what I love so much which is art. Today I decided to paint on my arm a nice butterfly with a tattoo style using my make up.
For this occasion I didn't need a lot of materials to make a nice butterfly:
-Body paints
-Brushes
-Micellar water
-Cotton
-High sticks
-Baby powder
Hace varios meses había dejado de pintar hacer dibujos y maquillarme por mi trabajo pero ahora tengo un poco más de tiempo y decidí retomar lo que tanto me gusta que es el arte. Hoy decidí pintarme en mi brazo una linda mariposa con estilo de tatuaje usando mis maquillajes.
Para esta ocasión no necesite de muchos materiales para realizar una linda mariposa:
-Pinturas corporales
-Pinceles
-Agua micelar
-Algodón
-palitos de altura
-Talco para bebés

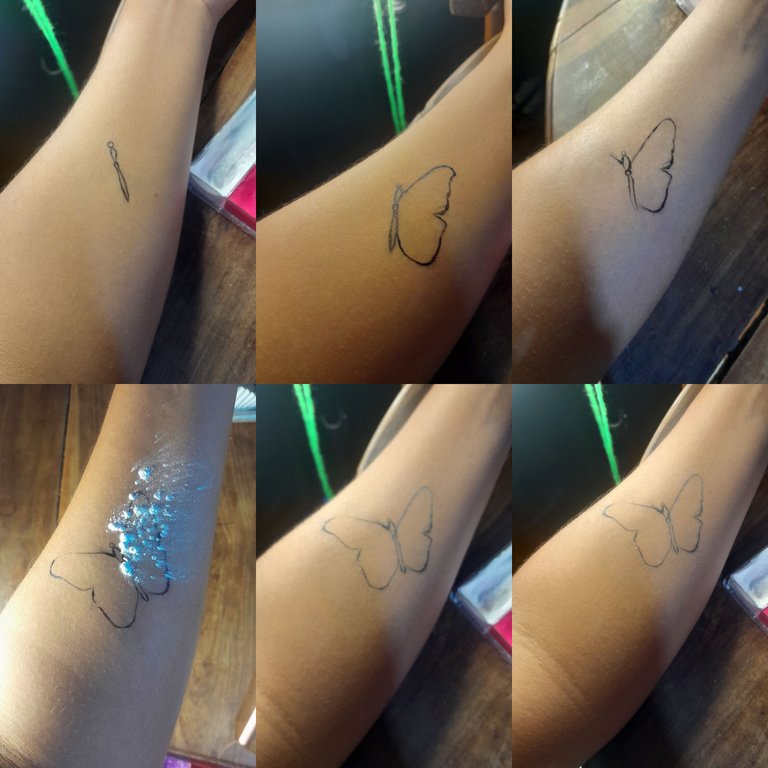
Part I
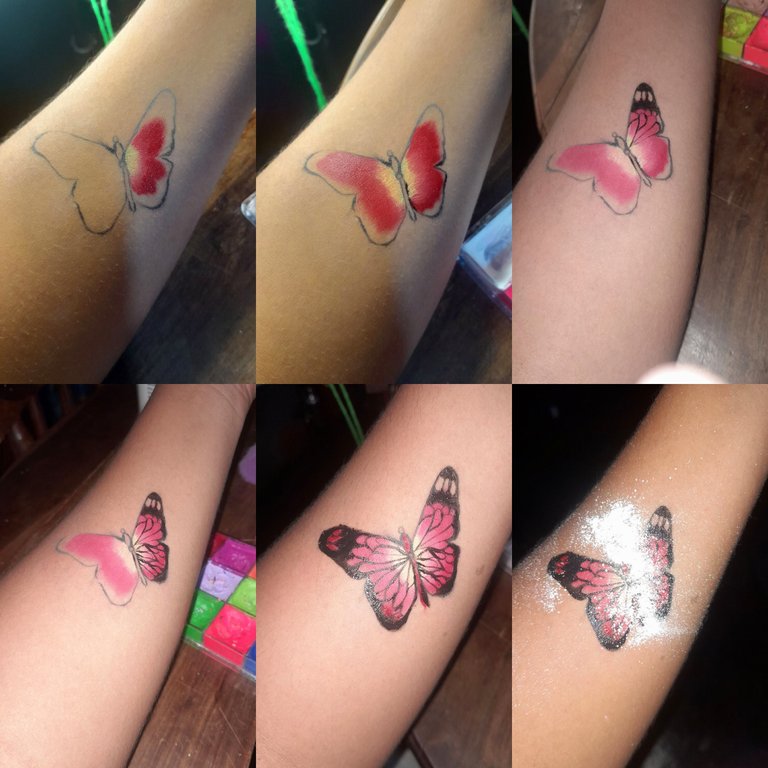
The first thing I did to make the butterfly was to draw the sketch of its wings with black body paint and an outlining brush, I used this type because the lines must be very thin and it is very practical to use it. Apply talcum powder with a large brush to seal the lines.
Parte I
Lo primero que hice para realizar la mariposa fue dibujar el boceto de sus alas con pintura corporal en color negro y un pincel de hacer delineados, use de este tipo porque las lineas deben ser supee delgadas y es muy práctico usarlo. Aplique talco con una brocha grande para sellar las líneas.
Part II
With a shadow and depth brush I used it to apply the yellow body paint and then I blended it with the red body paint. I used talcum powder to seal and then drew the lines inside the butterfly's wings and applied some more black paint in some places, and sealed with talc again.
Parte II
Con una brochita de aplicar sombras y dar profundidad la use para aplicar la pintura corporal de color amarillo y luego fui difuminando con la pintura corporal de color rojo. Use talco para sellar y luego dibuje las líneas dentro de las alas de la mariposa y aplique en algunos lugares más pinturas de color negro, y selle con talco otra vez.
Part III
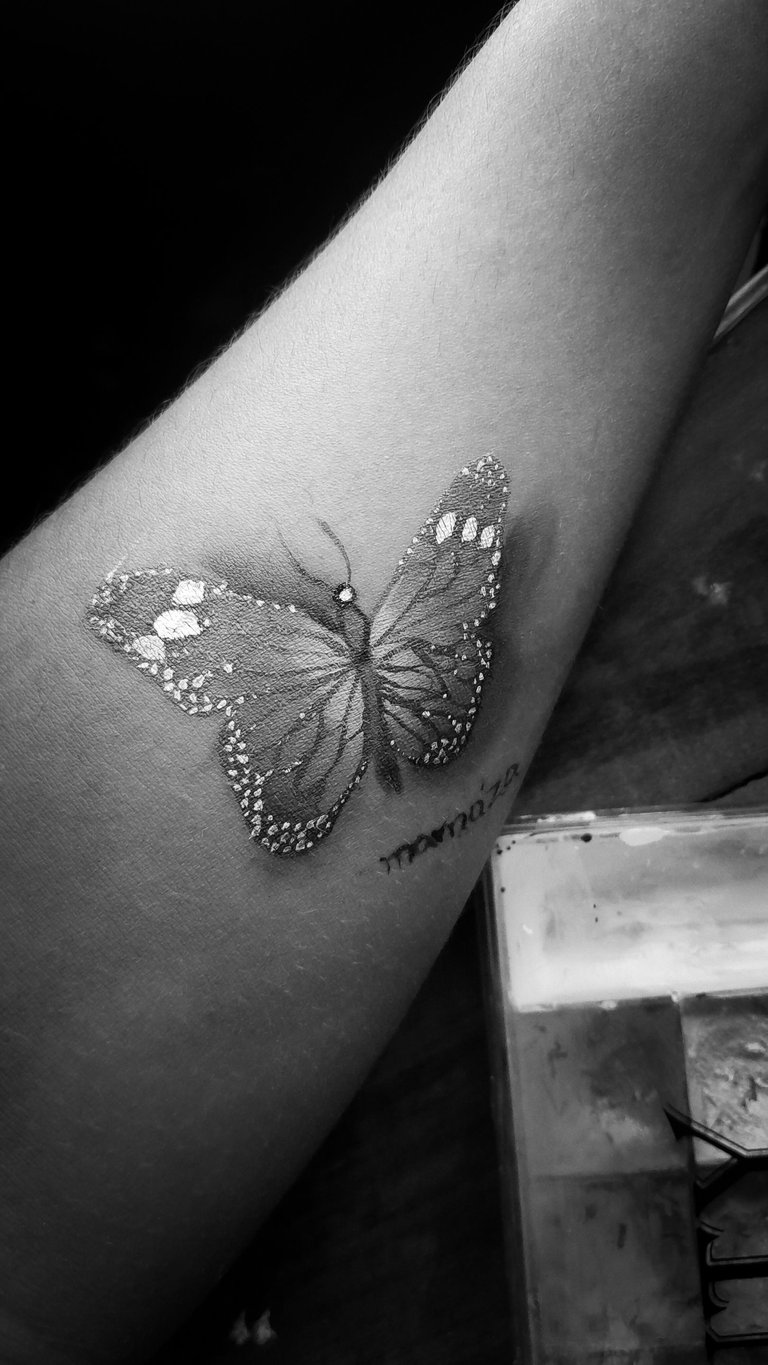
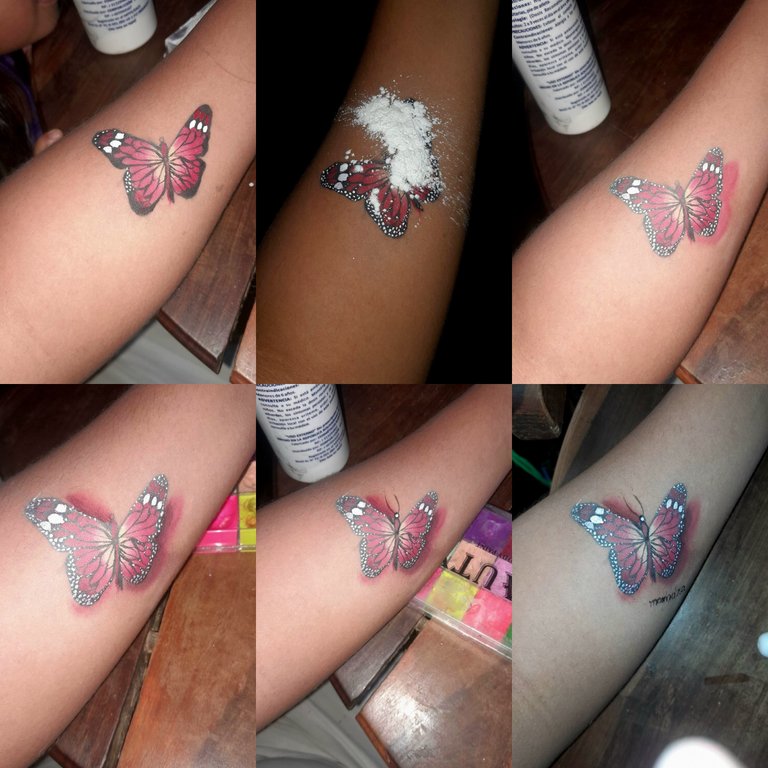
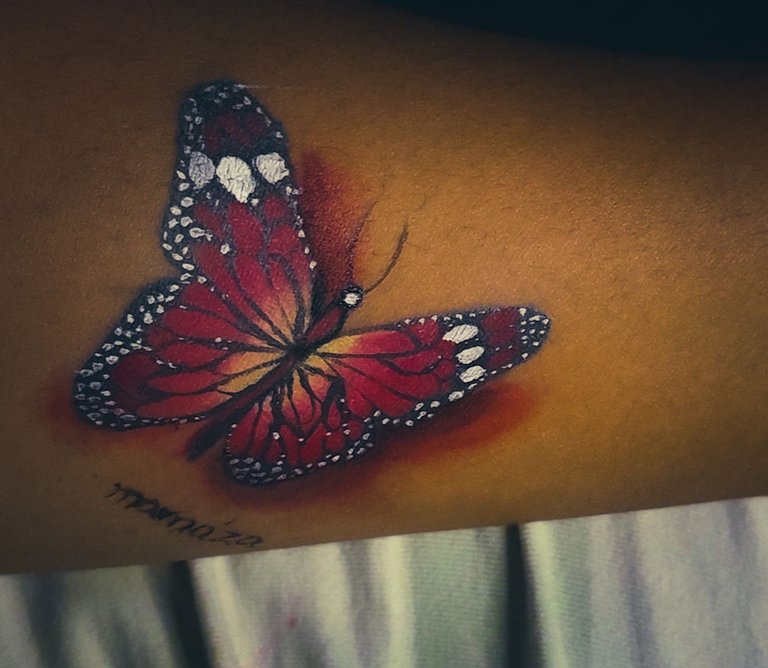
To finish this nice and simple butterfly in the places where I applied more black color I used a thin brush to make the white dots all over the butterfly and I sealed again with talcum powder, I usually seal after applying the paint to avoid staining and damaging the drawings on my skin.
I used the micellar water, absorbent cotton and height sticks to remove any lines that came out wrong and some spots to start over.
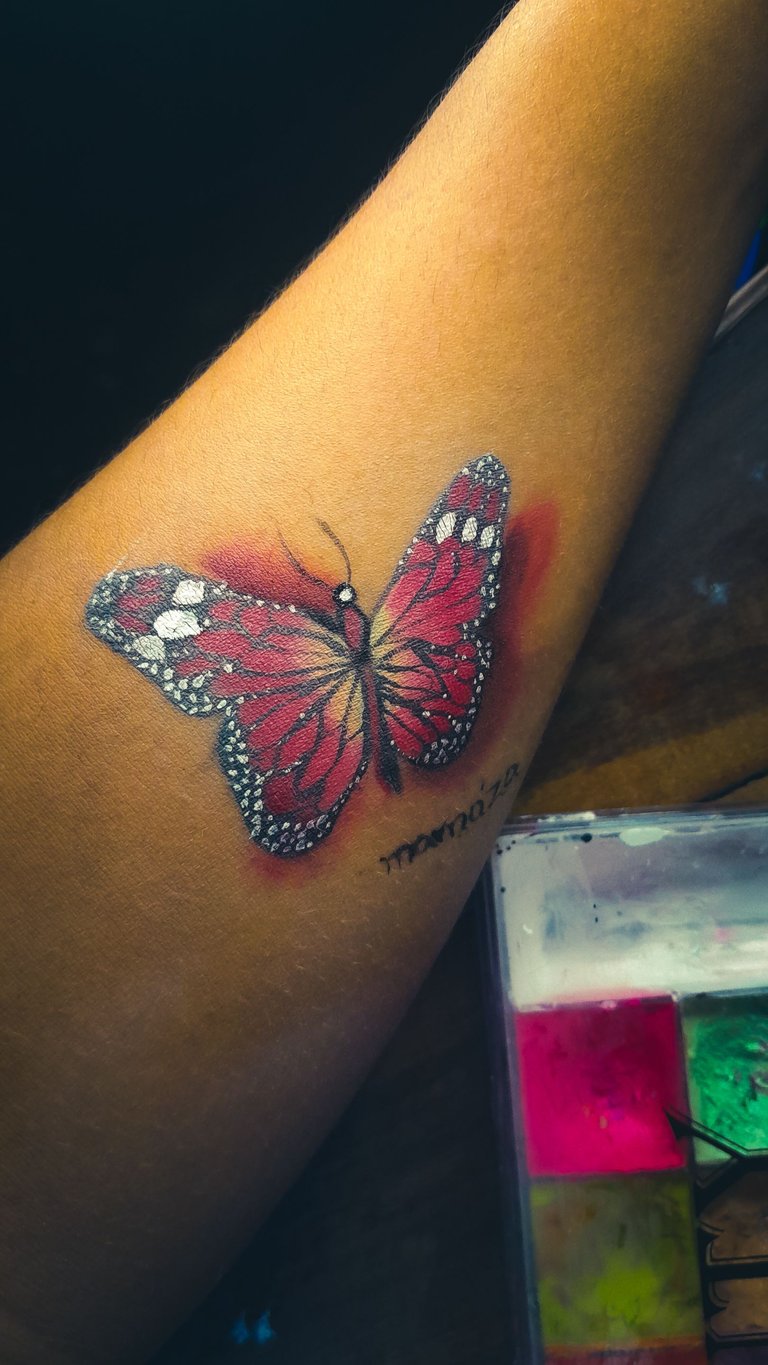
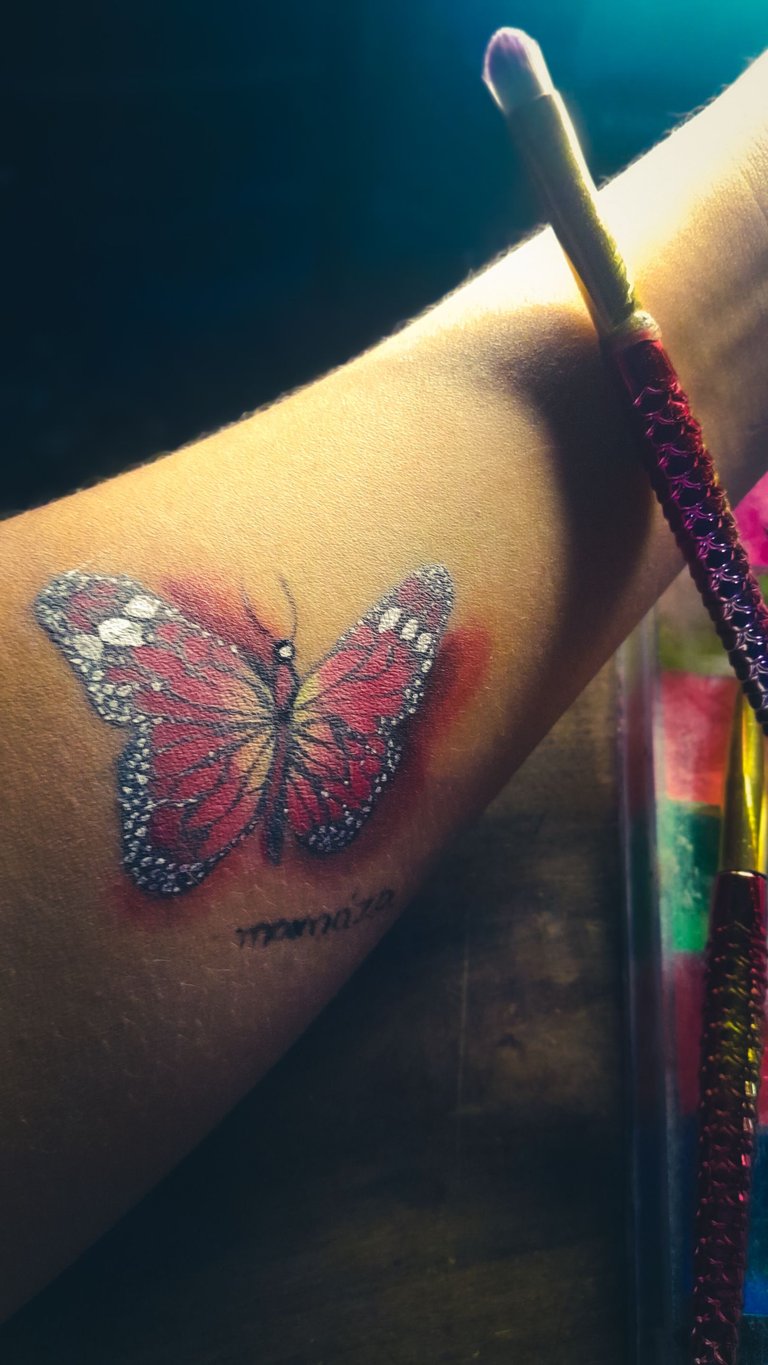
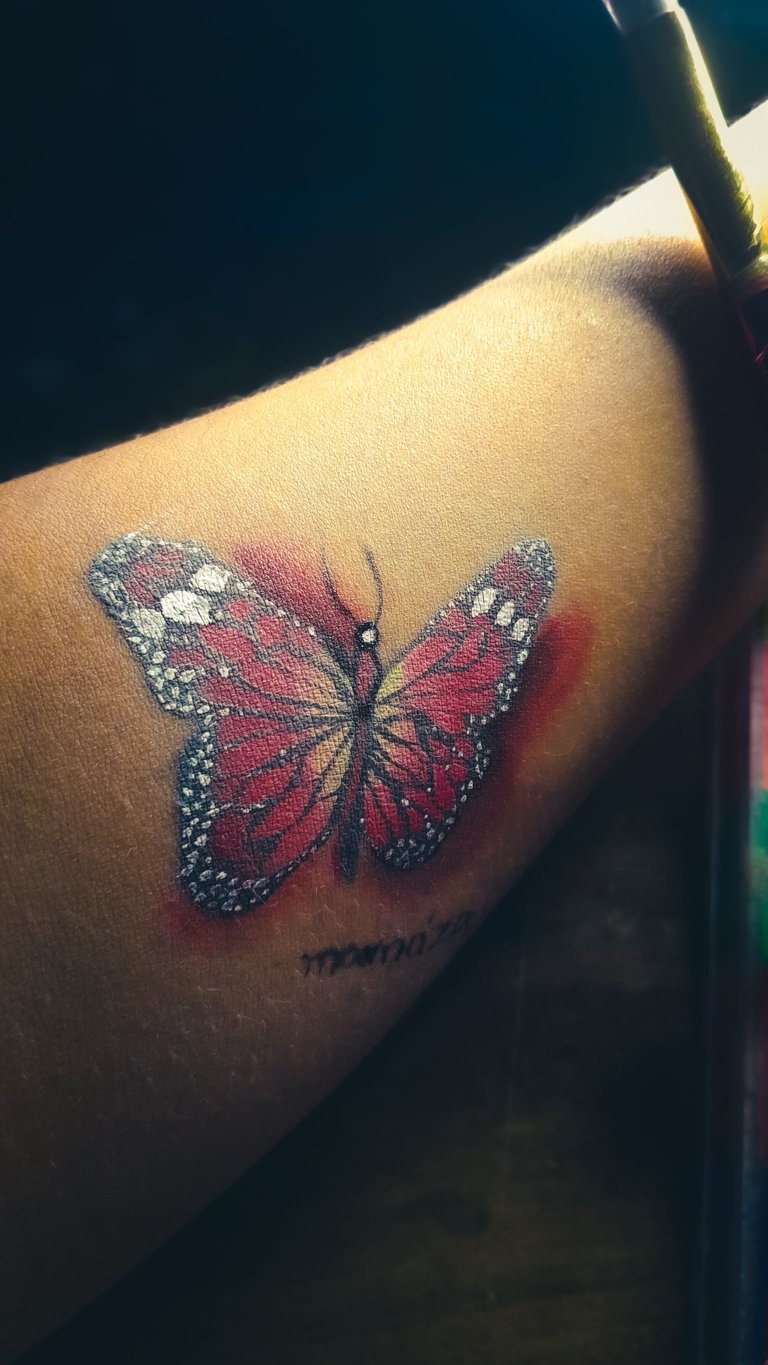
Finally hat around the butterfly with red paint and then I blurred it so that the color is not so strong and then apply black paint around the edges to make the shadows and my butterfly get the tattoo effect.
I hope you like it friends.
Parte III
Para finalizar esta linda y sencilla mariposa en los lugares donde aplique más color negro use un pincel delgadito para hacer los puntos blancos por toda la mariposa y volví a sellar con talco, acostumbro a sellar después de aplicar la pintura para evitar manchar y dañar los dibujos en mi piel.
El agua micelar,algodón y palitos de alturas los usé para quitar alguna línea que salga mal y algunas manchas para volver a empezar.
Por último sombrero alrededor de la mariposa con pintura roja y luego la difumine para que el color no quede tan fuerte y después aplique pintura negra por las orillas para hacer ñas sombras y mi mariposa obtenga el efecto de tatuado.
Espero les guste amigos.
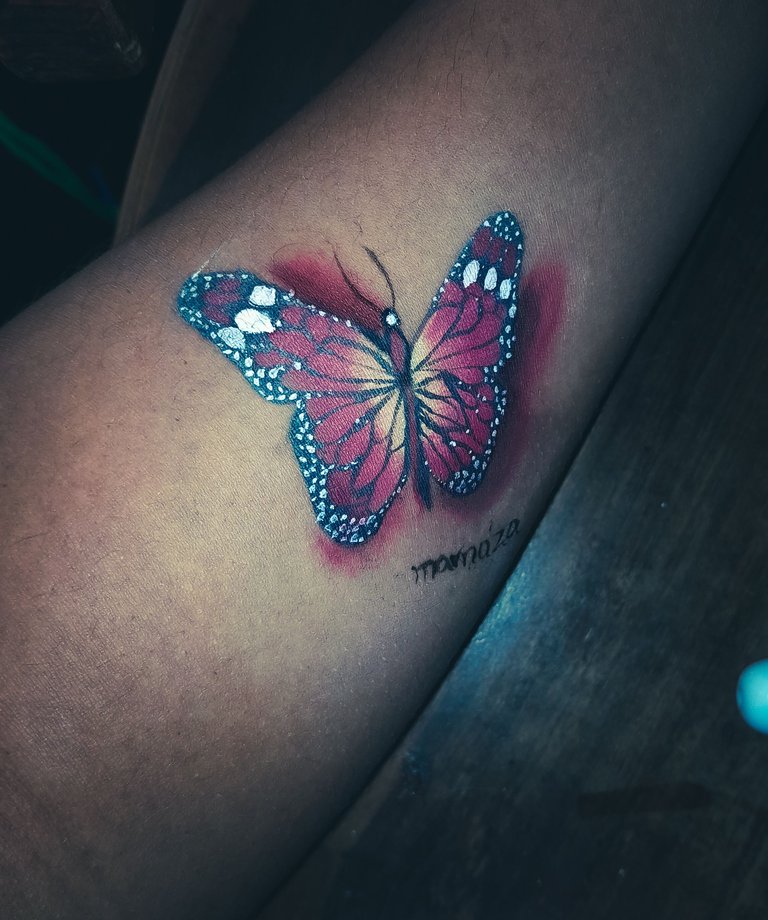
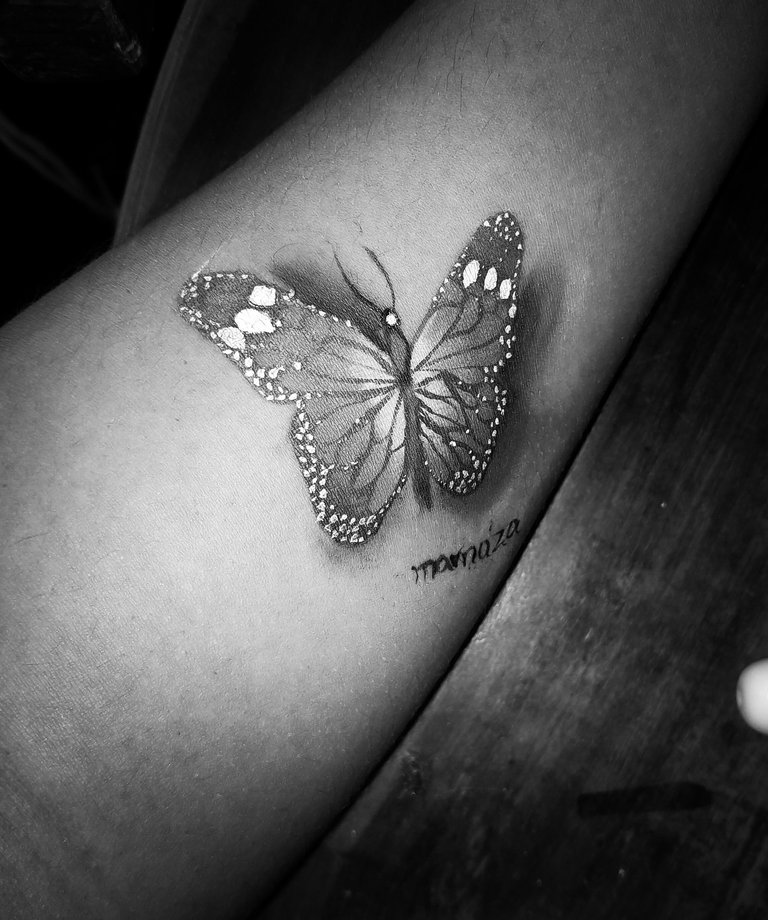
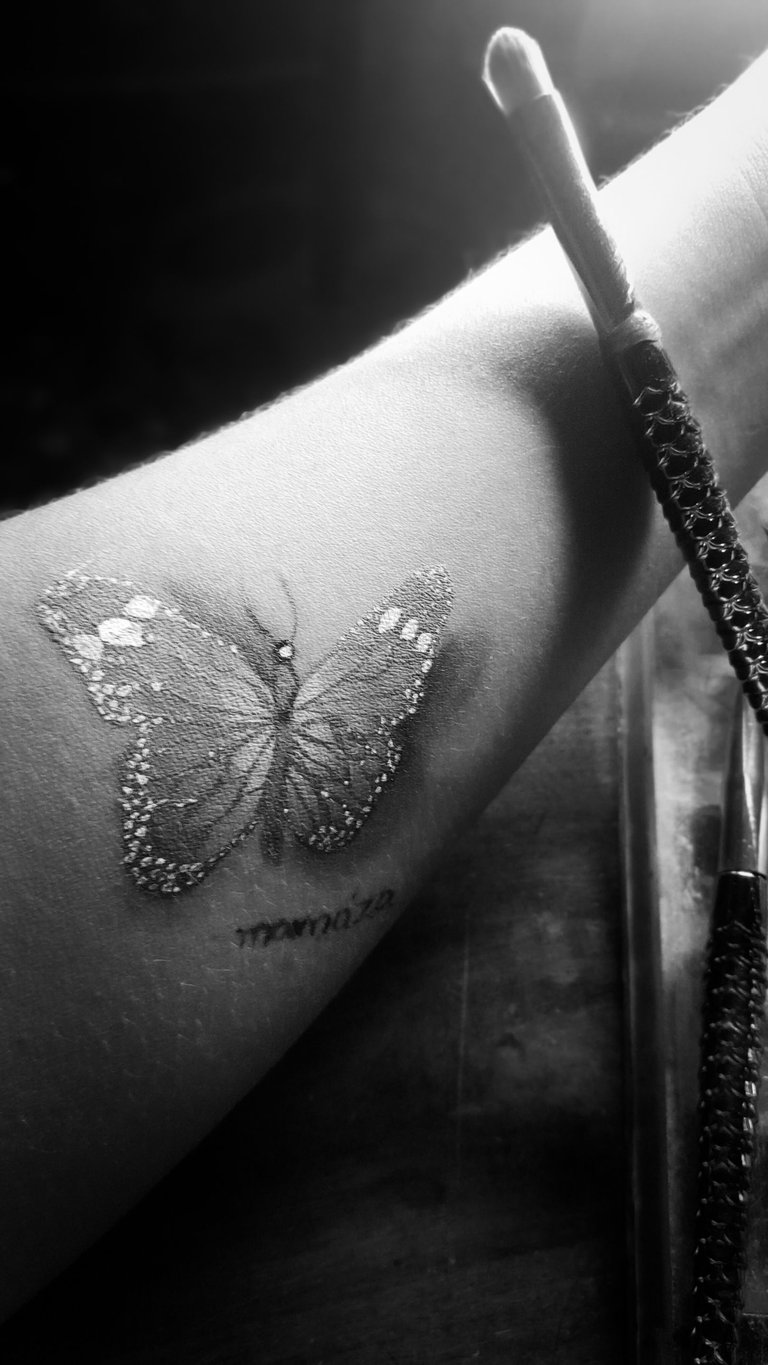
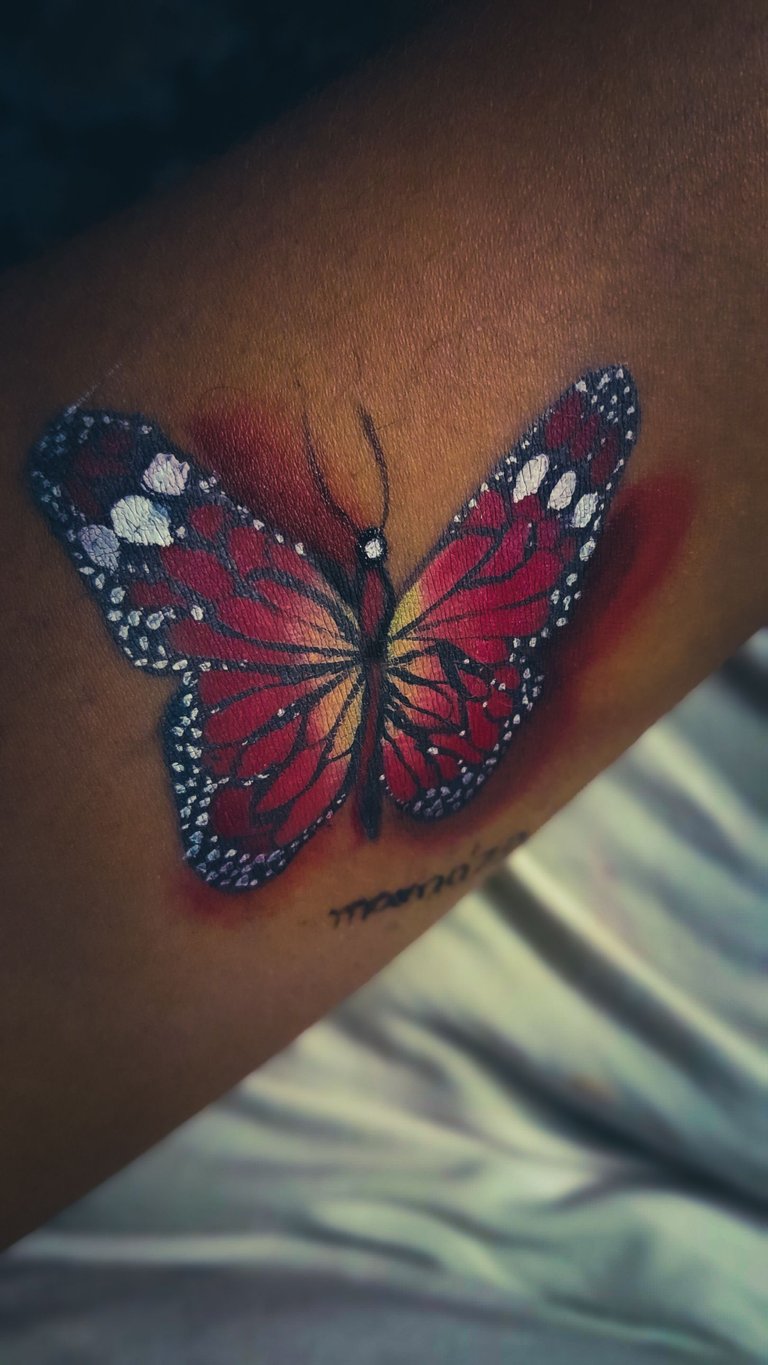
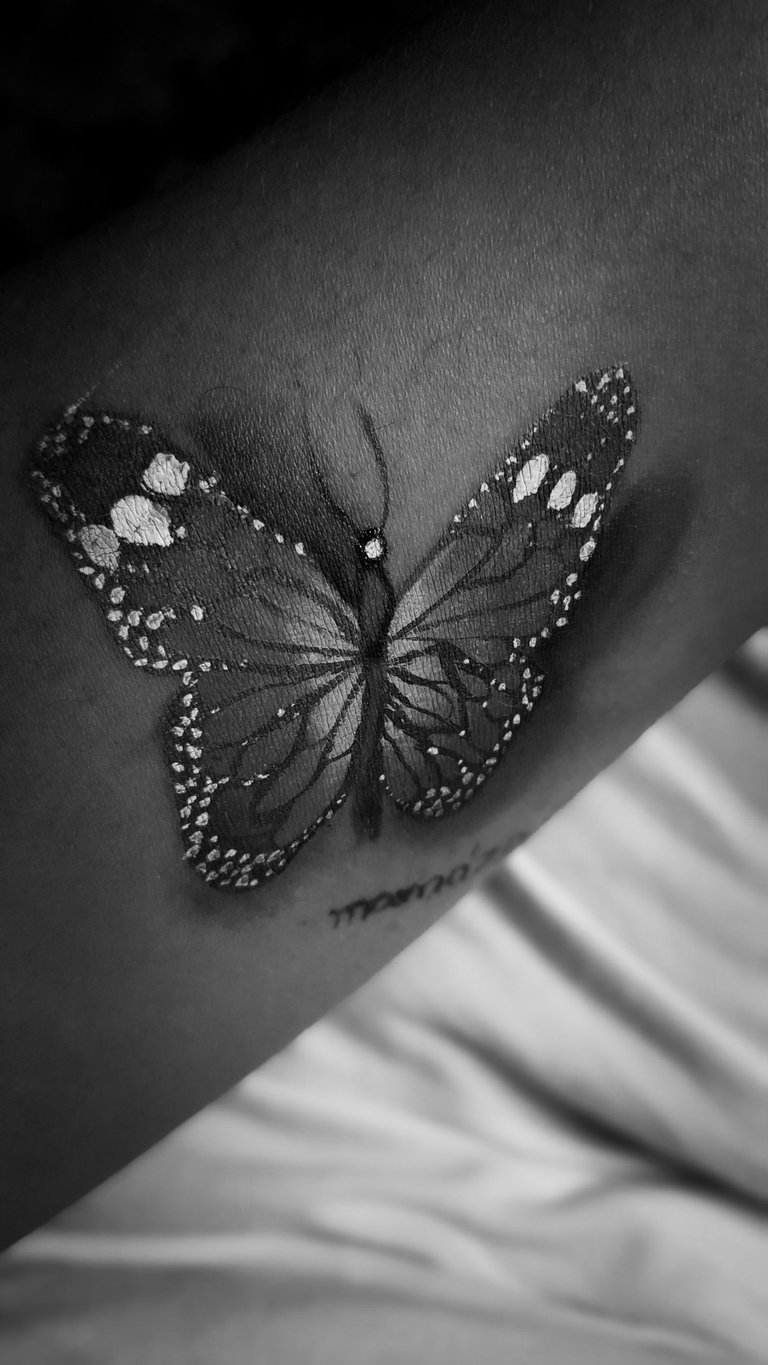
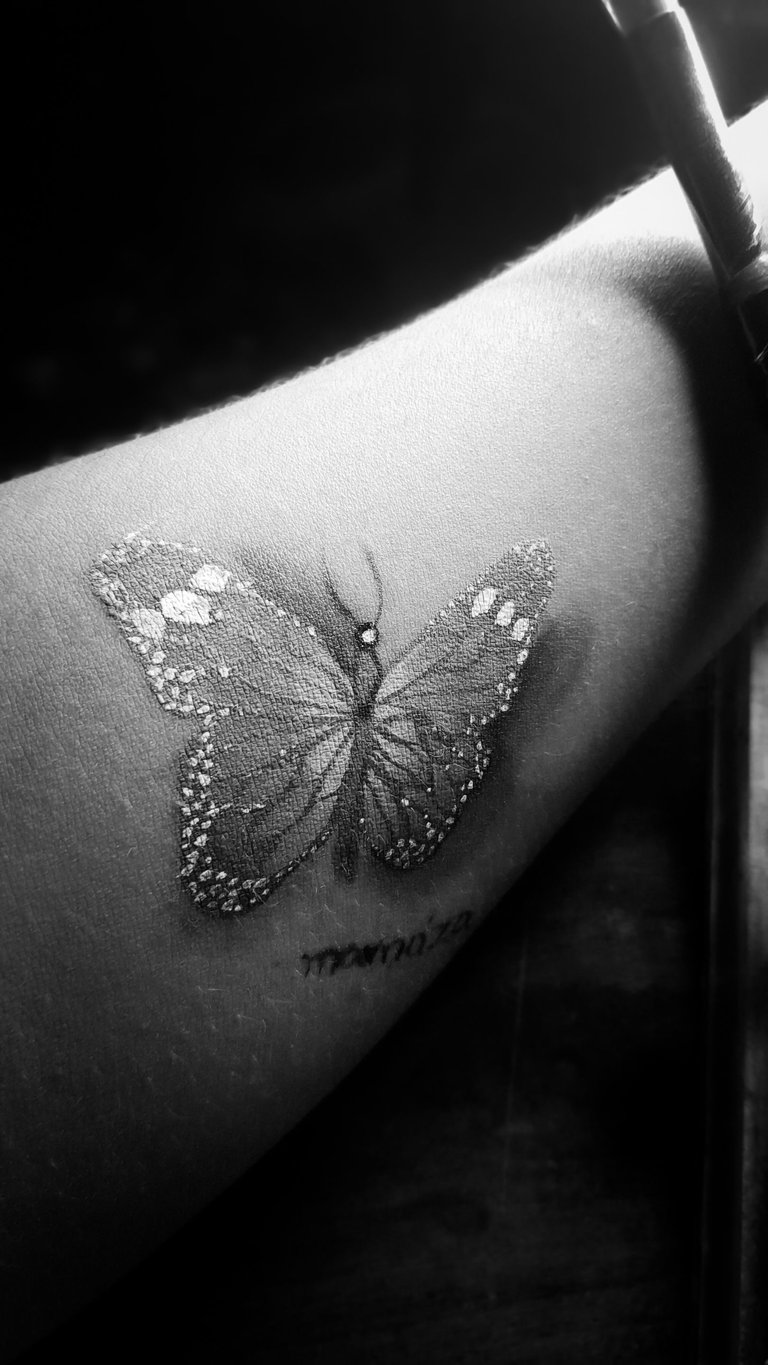
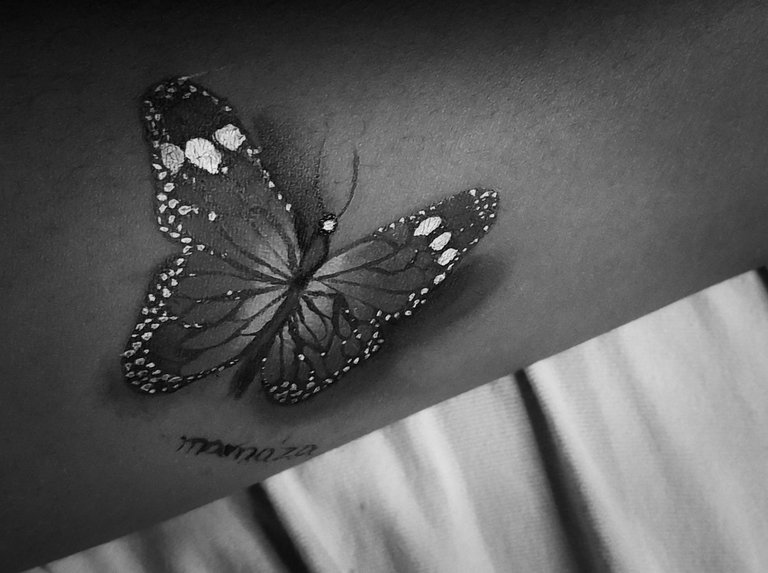
Final result
Resultado final

*Thanks for visiting my Blog
Credits:
•Photography: (@marnaza)
•Translator: (With the app Deepl)
•Banners: (Canva)
•Splitters: (Canva)
Gracias por visitar mi Blog
Créditos:
•Fotografía: (@marnaza)
•Traductor: (Con la app Deepl)
•Banners: (Canva)
•Separadores: (Canva)
!giphy wow
@sagarkothari88 reward 0.05 HP
Via Tenor
💐 🎁 Gift 🎁 💐
Empowering DIYHub
Upvote This Comment
Please 🙇♂️ Support Me Back 🙏 - Vote for me
Thank you 🤗
Hey @marnaza
I send HivePower ➡️ to many Hive ♦️ users (just like I've sent you 🎉) to motivate content-creators 😇
By supporting many communities 🤝 by upvotes 👍 & distributing Hive Power as Gift 🎁, I help them to grow 💝 on Hive.
I request you please support me back by clicking here & vote me as witness
Thank you 😌
welcome
Hola amiga, quedó muy bella la mariposa, me asombra como lograste hacerla solo con los materiales que describes, eso demuestra tu talento en la pintura y la dedicación que le pusiste, viendo tu destreza para pintar tu cuerpo con materiales cosméticos imagino que debes tener bien dominado el arte del maquillaje jjjj. Bueno nada, felicidades, te quedó muy bien el efecto de tatuado. Saludos
Hola me alegra que me guste mi mraiposita 🤗
El maquillaje social, artísticos y corporales después de años de prácticas podría decir que puedo dominarlos y me gusta mucho hacerlos. Te invito a revisar mis post y podrás disfrutar de una variedad de maquillajes.
Wow amiga!!! Que increíble quedó!!! si no mencionabas que era pintado de verdad me creía que era un tatuaje 😍. Tienes un gran talento, espero que los sigas cultivando y le saques mucho provecho en el futuro. Saludos, bendiciones y éxitos ❤️
Gracias bella, en eso andamos perfeccionando algunos detalles.
Me alegra que te guste.❣️❣️