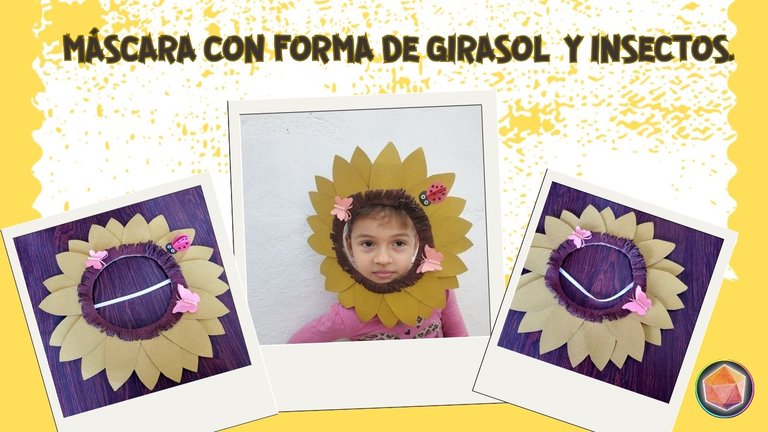
Mask in the shape of sunflower and insects [Eng/Esp]
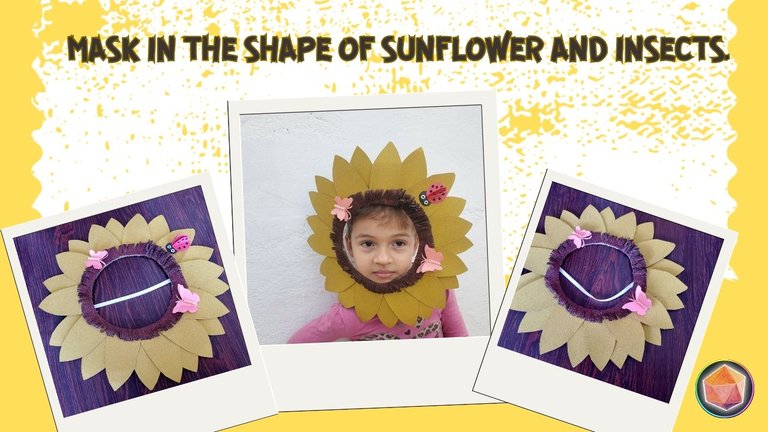
Greetings community, today I am here again with a craft that I wanted to share with you its creation. It is a mask alluding to a flower that is the sunflower, I bring you this one taking advantage that it is carnival.
It is a good time to dress up and wear a nice mask to be in tune with the celebration that takes place every year or you can do it for another event.
This craft is easy to make, read the step by step.
Materials:
- Cardboard.
- Compass.
- Gold-colored frosted cardboard.
- Pink, red, black and white construction paper.
- Pink pearls.
- Black marker.
- Ruler.
- Pencil.
- Silicone gun.
- Scissors.
- Silicone stick.
- Brown frosted Foami.
- Rubber band.
- Hole punch.
Procedure:
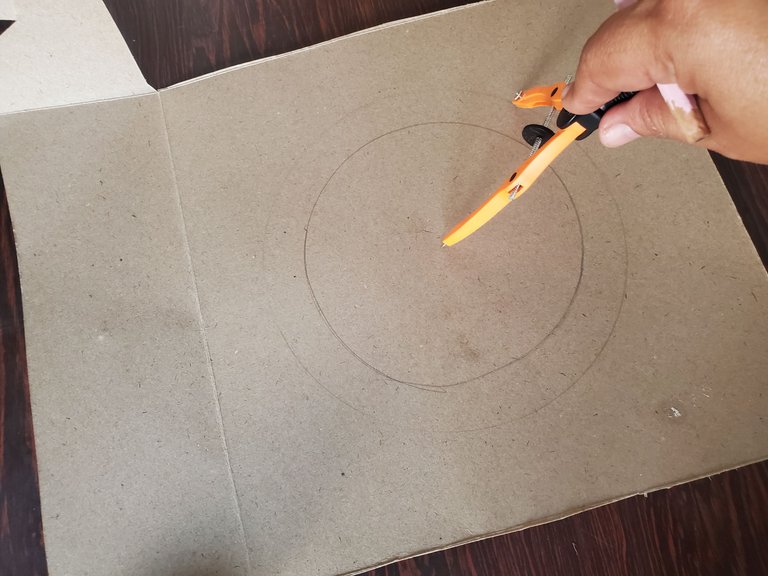
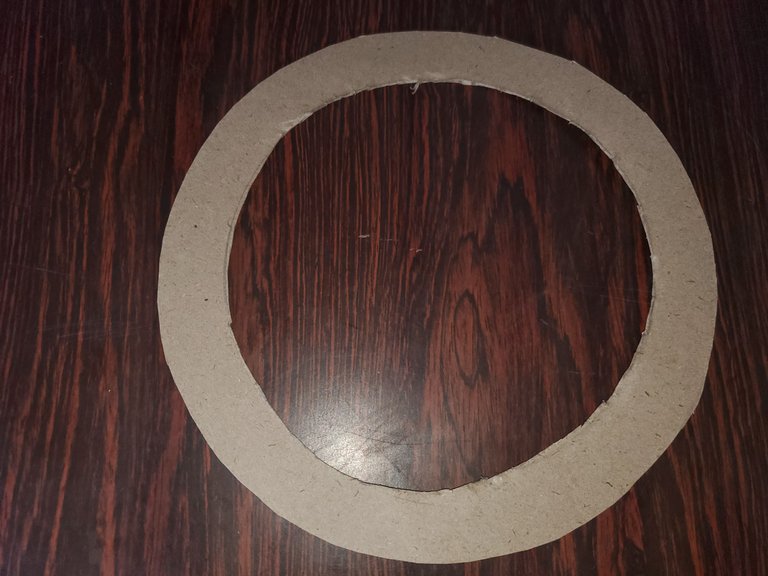
On a piece of cardboard, make a circle of 15 centimeters and another of 18 centimeters. I should note that the size of the circle will vary depending on the size of the head of the child or adult.
So the size of the circle is the right size for my daughter who is going to wear it.
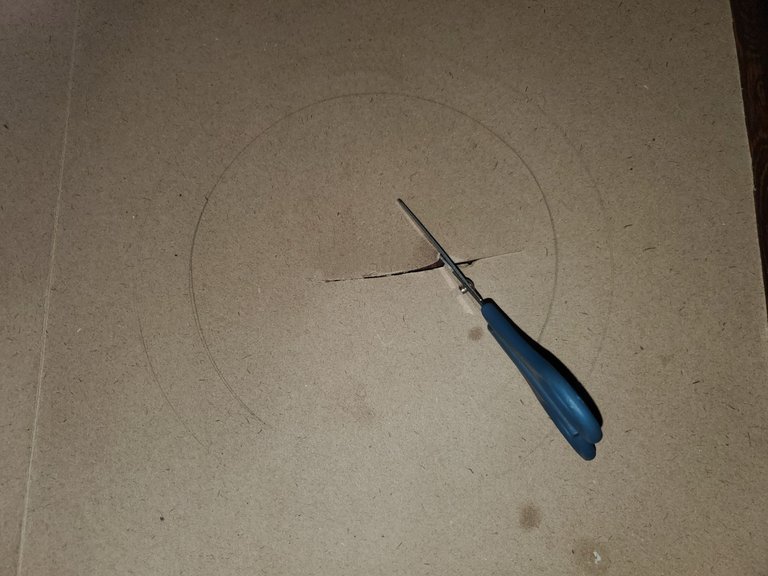
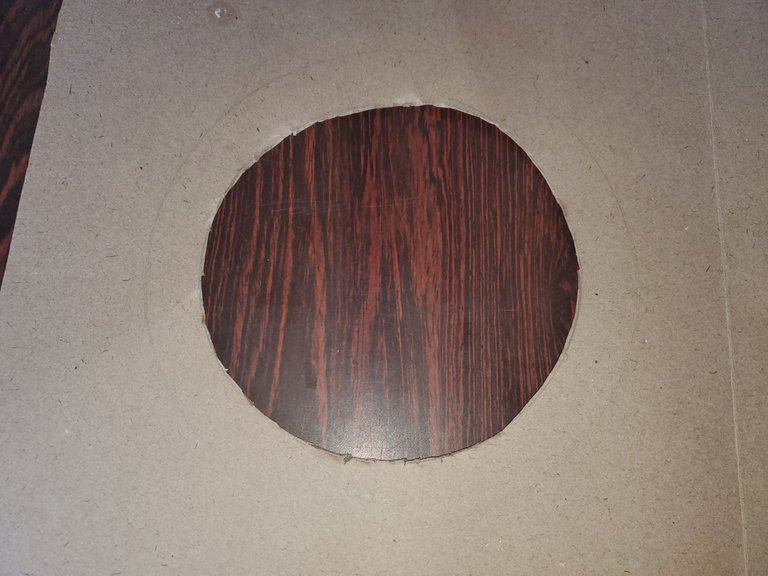
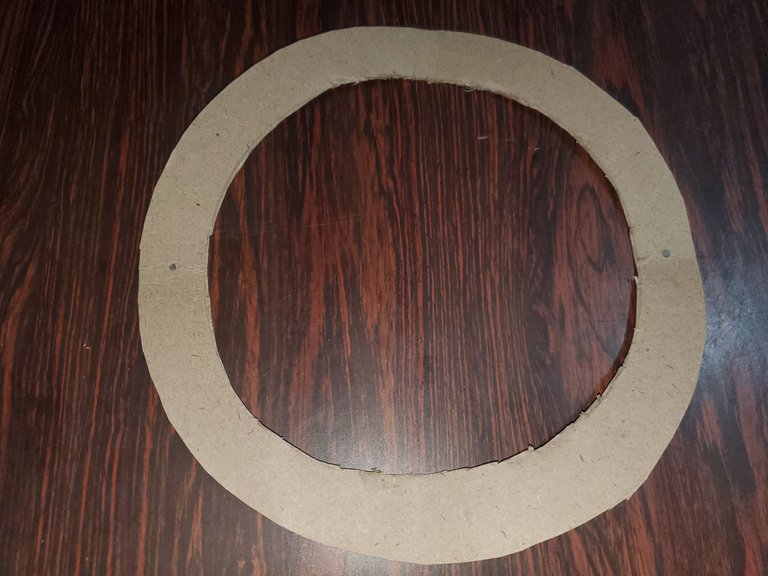
The circumference is cut with the scissors on the inside and outside as shown in the image. The result is as follows.
 |  |  |
|---|
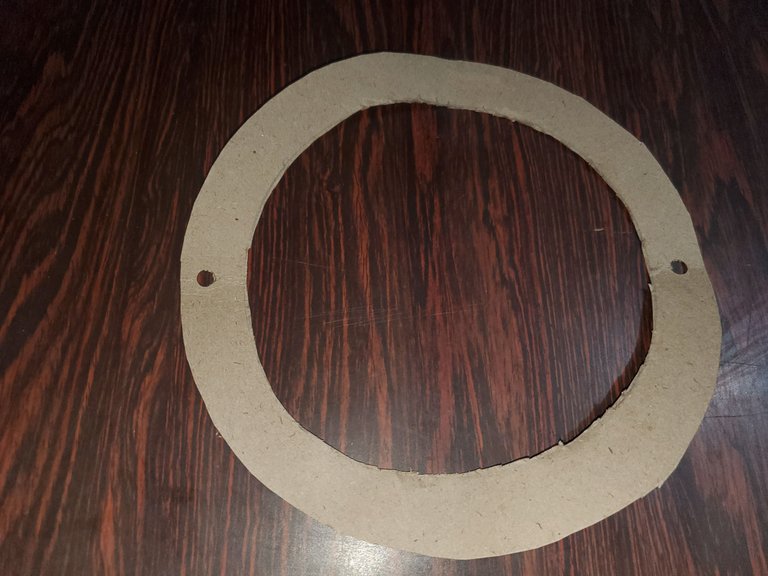
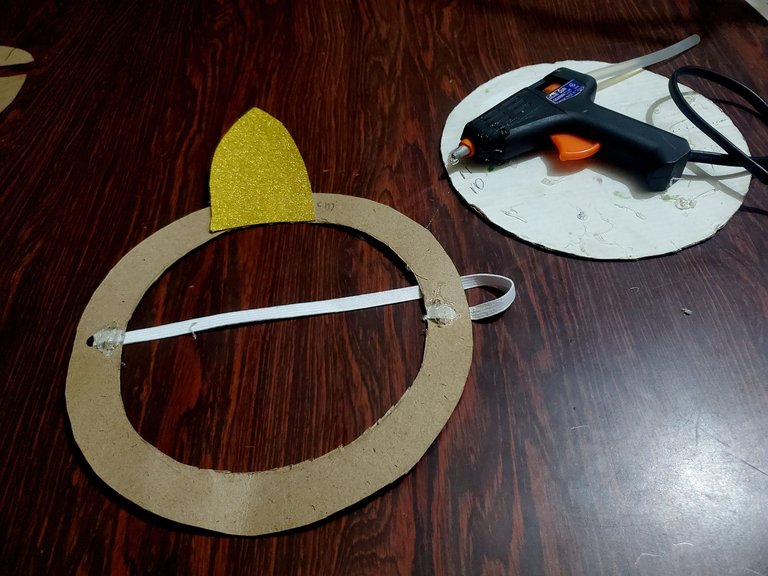
Then you fold the circumference in half to have a guide to mark with the pencil a point at both ends. With the hole punch, you open the holes.
 |  |
|---|
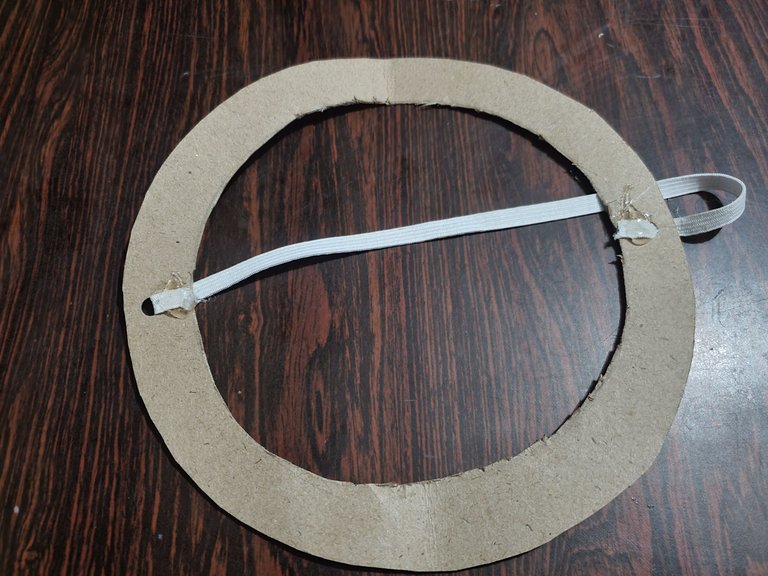
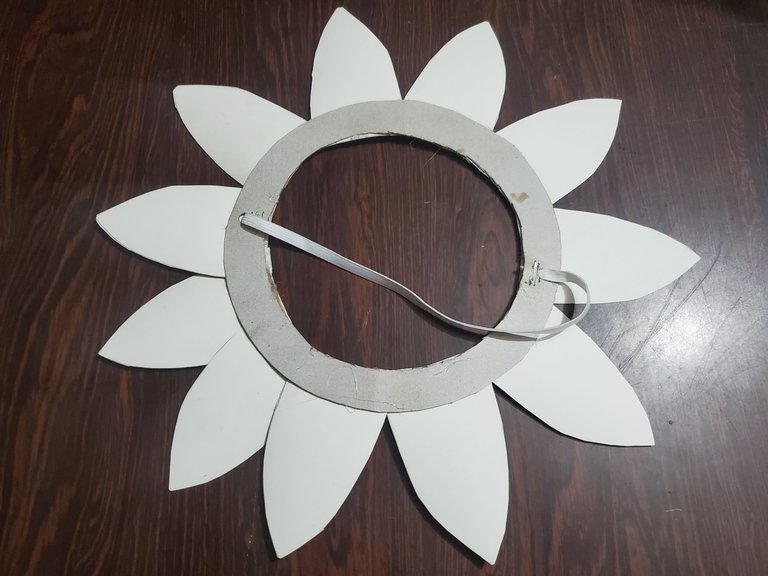
An elastic band is placed through each hole to hold the mask to the girl's head. This is glued with hot silicone and reinforced so that it is strong and resistant and the elastic band does not come off.
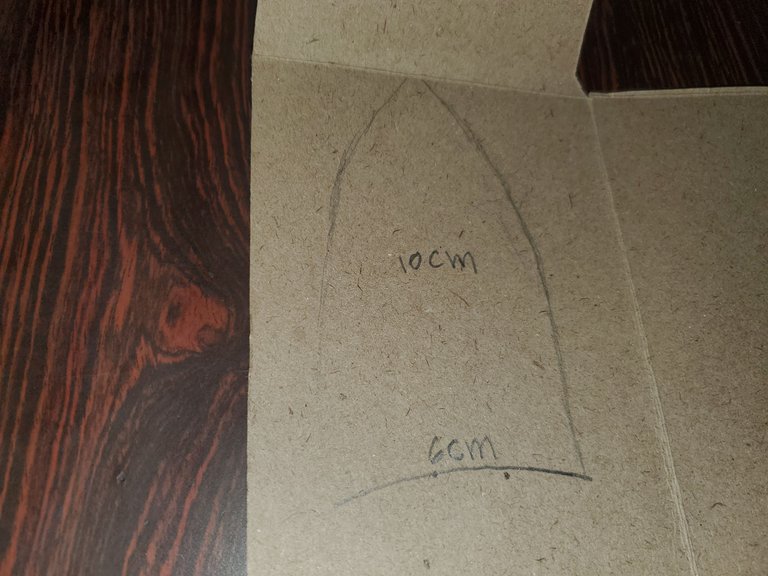
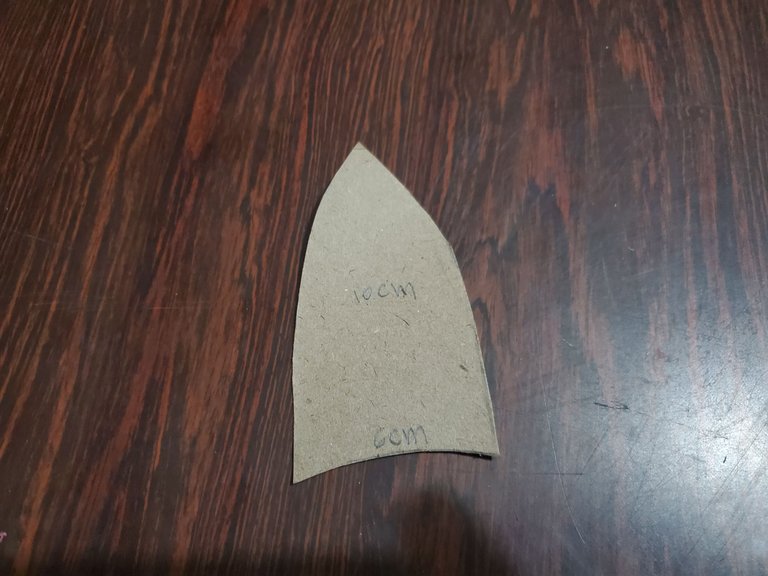
Once the base where the petals will be added is ready, the petal mold is made in the cardboard with a 6 centimeters base and 10 centimeters height. We proceed to cut the petals in this way.
 |  |
|---|
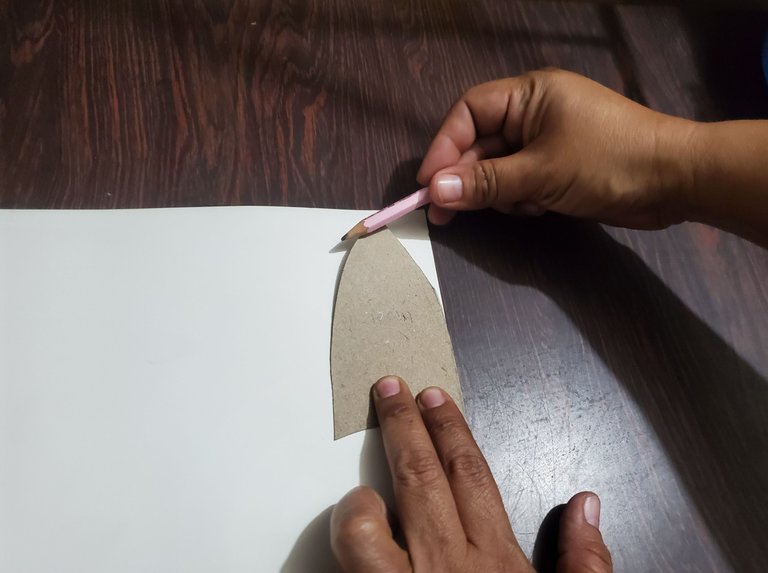
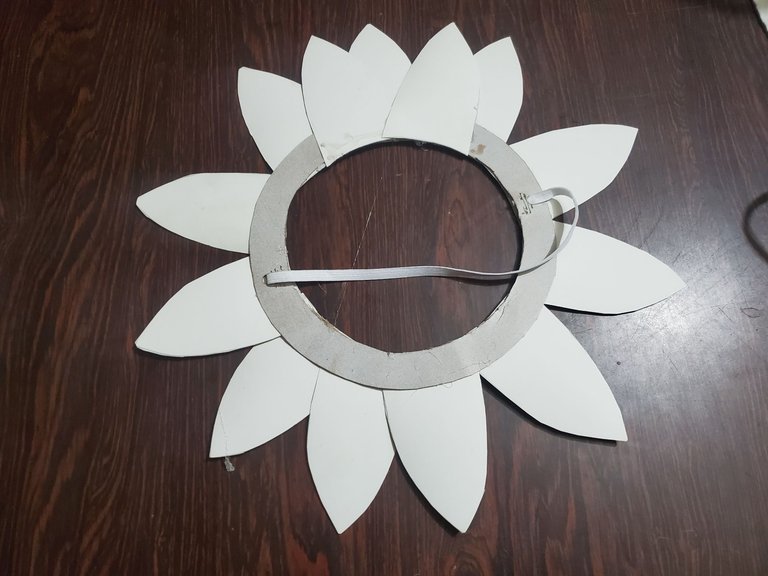
Mark the 11 petals to be used on the front side of the frosted cardboard with the petal mold, cut them out and glue them to the base, covering them with petals.
 |  |  |
|---|
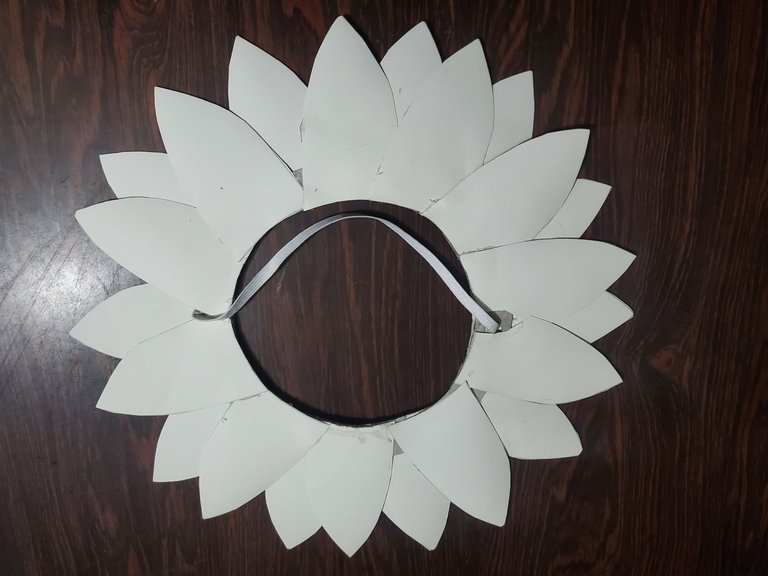
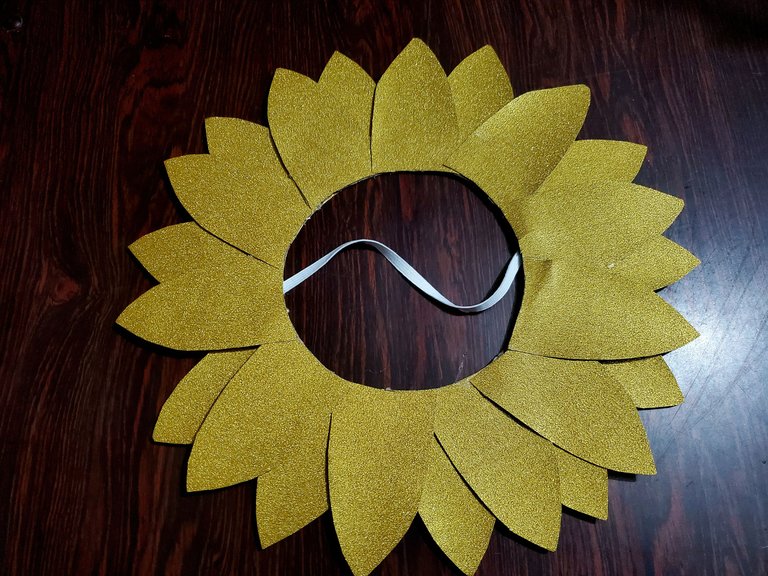
The sunflower is turned over at the back and where there is space, petals are placed to fill the flower, the same amount as at the front.
 |  |  |
|---|
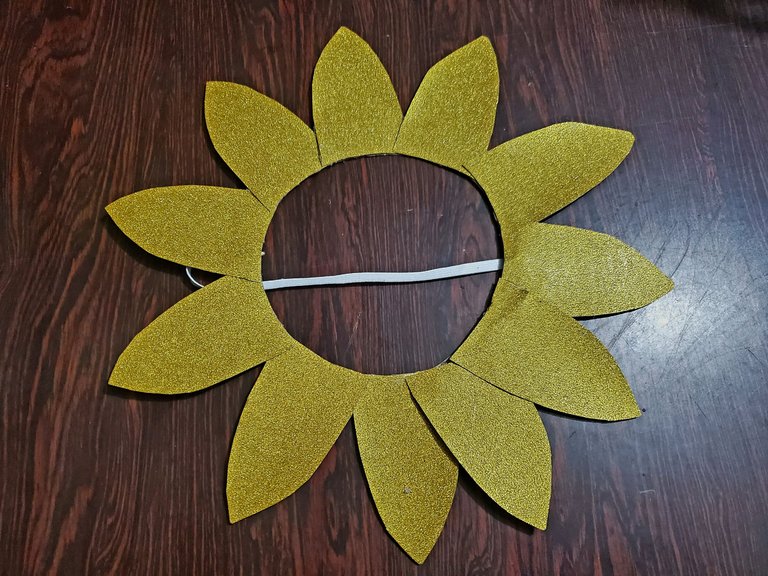
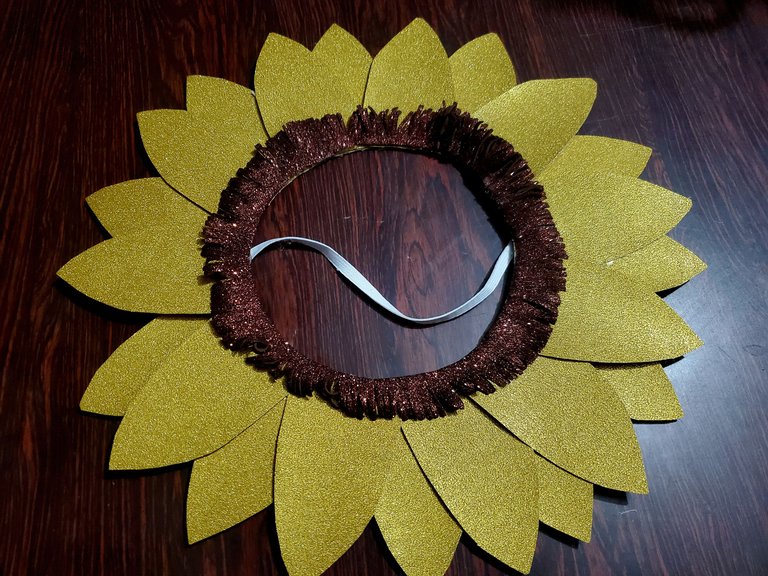
You can see how the sunflower is covered with petals on the front and back. To make the sunflower more attractive, I am going to make the pollen where the insects will land.
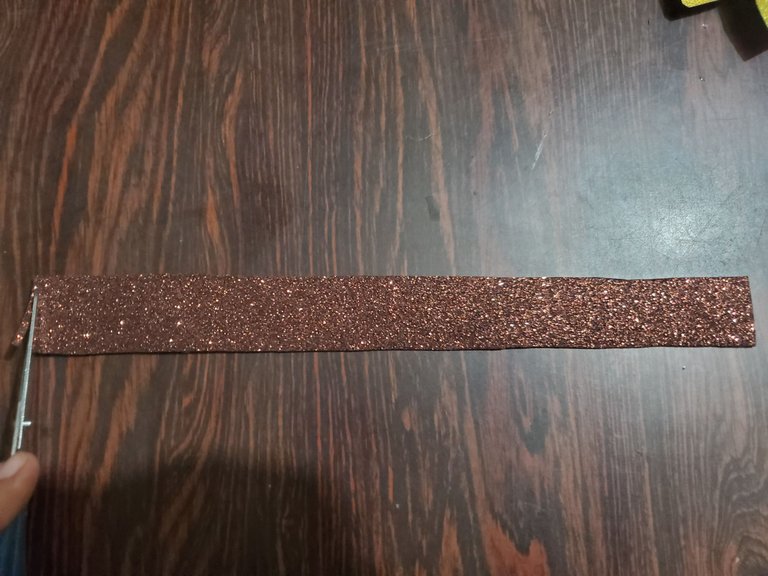
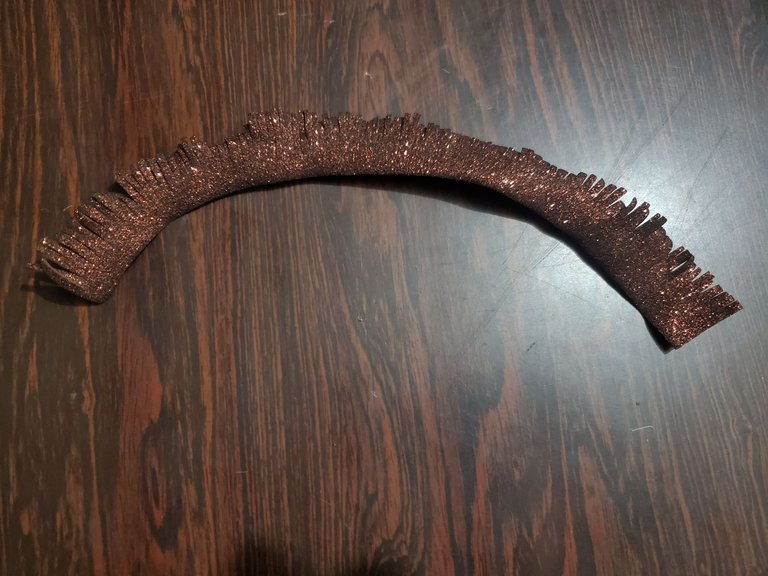
From the brown frosted foami I cut two strips of 28 centimeters long by three centimeters wide, each one, with the scissors. I began to cut thin strands making the similarity of a comb, I reached the end of the foami strip and passed it through the hot iron, obtaining a special shape.
 |  |
|---|
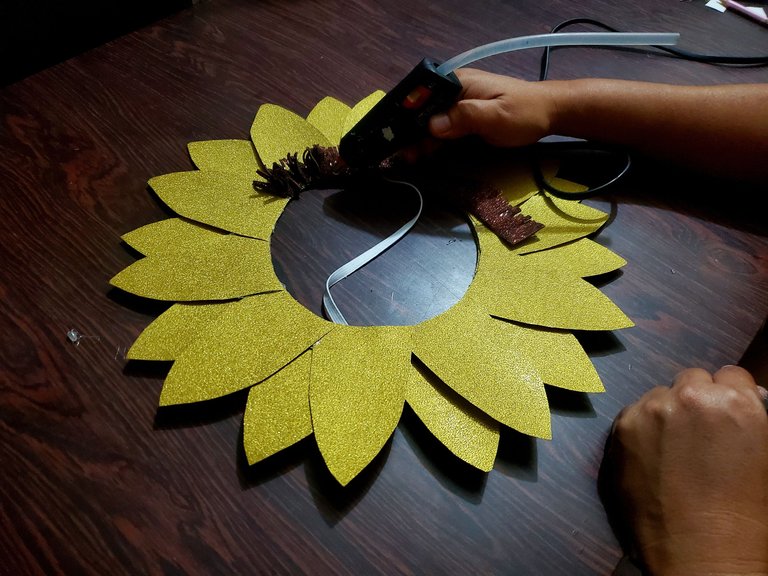
The foami strip was glued to the mask, leaving the sunflower with its pollen ready.
 |  |
|---|
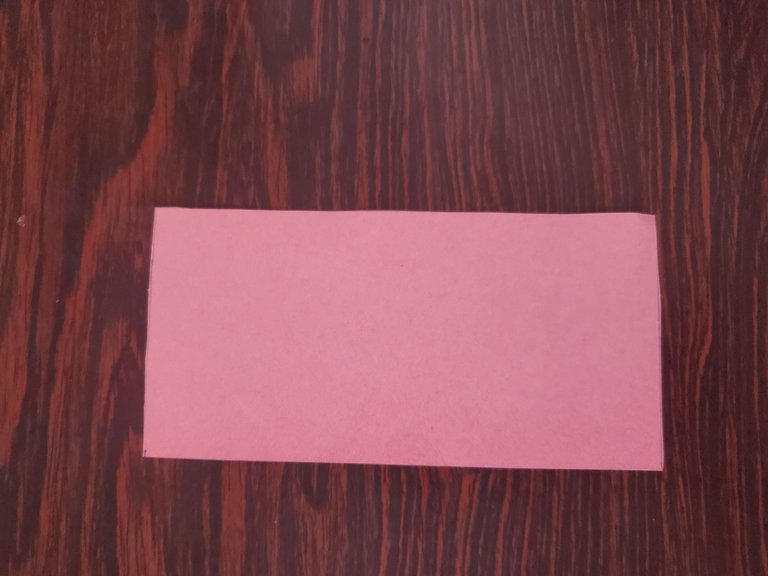
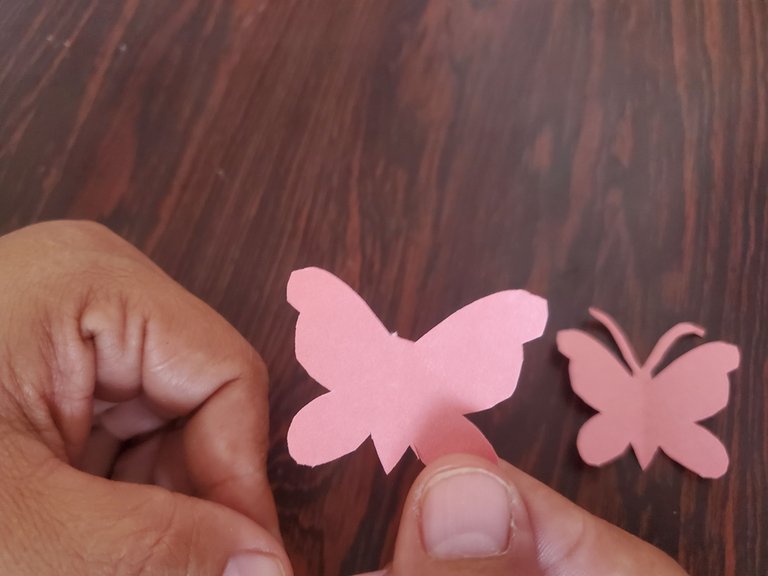
Finally, I will make two butterfly insects and a ladybug to embellish the mask. On a sheet of pink construction paper I cut a strip of 4 centimeters by 12 centimeters.
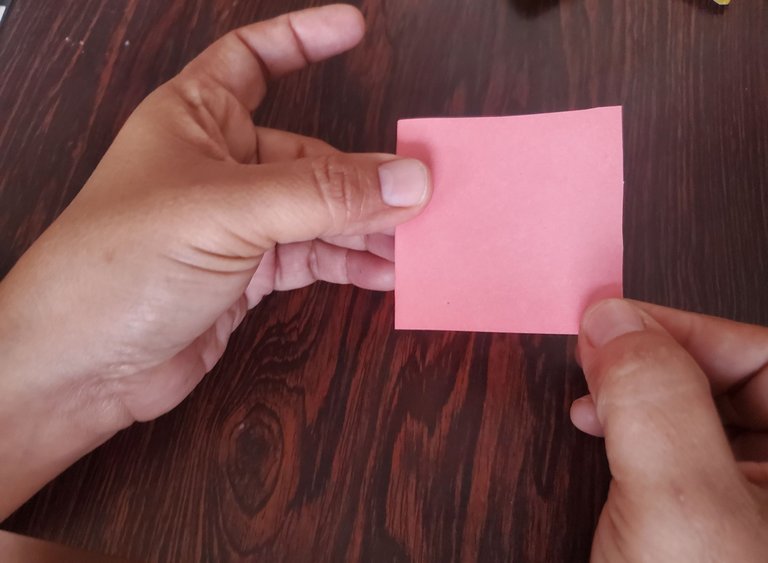
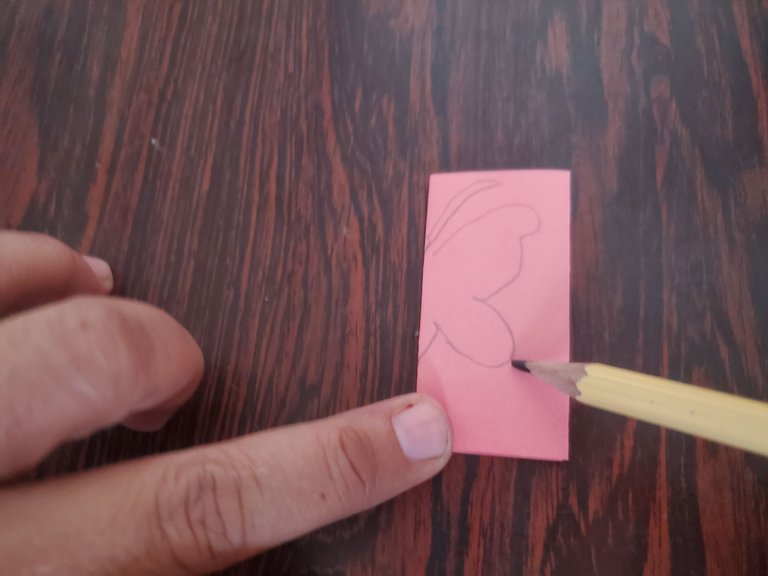
Fold the rectangle in half and continue folding it in half and draw half of the butterfly silhouette on it.
 |  |  |
|---|
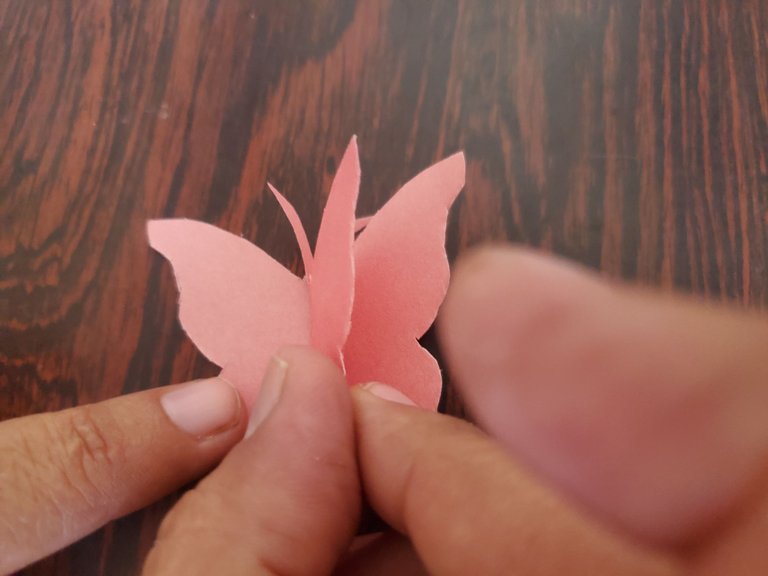
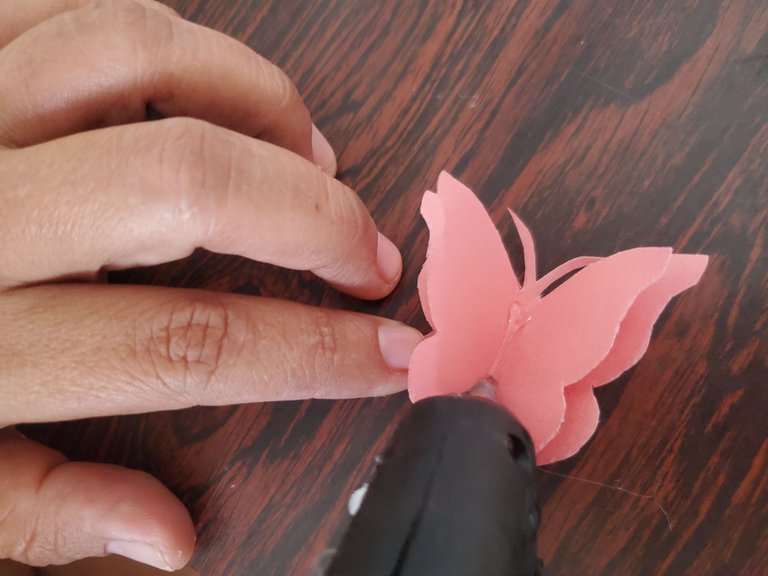
Carefully cut out two butterflies, one of them I cut off the butterfly's antennae and glued it on top of the other.
 |  |
|---|
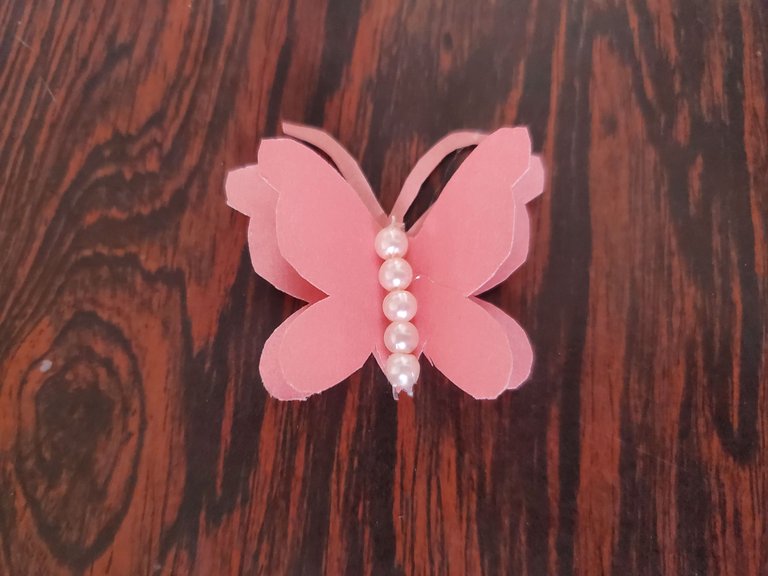
I represented the body of the butterfly with five pink beads, and glued them with hot silicone. This is how the butterfly turned out, I made another one with the same procedure.
 |  |
|---|
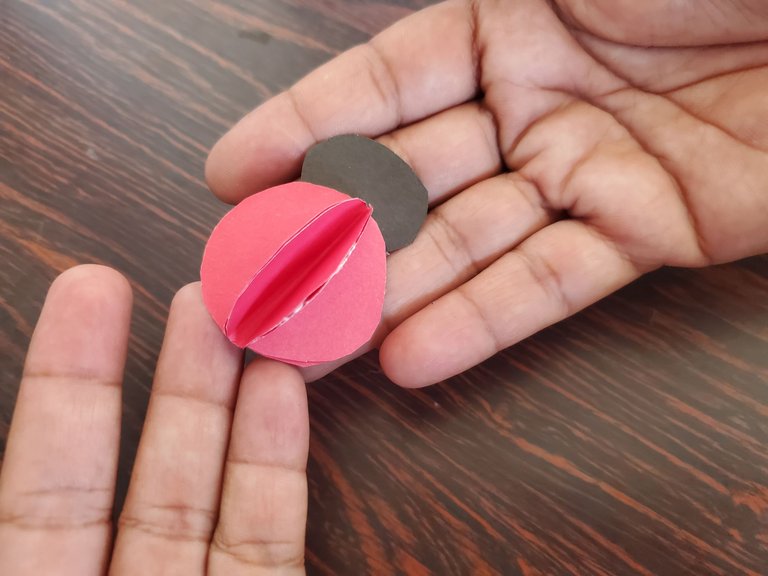
The ladybug is made with a sheet of red construction paper, mark four circles of 3.5 centimeters in diameter. They are cut out, three circles are folded in half and glued, then the whole circle is glued and serves as a base.
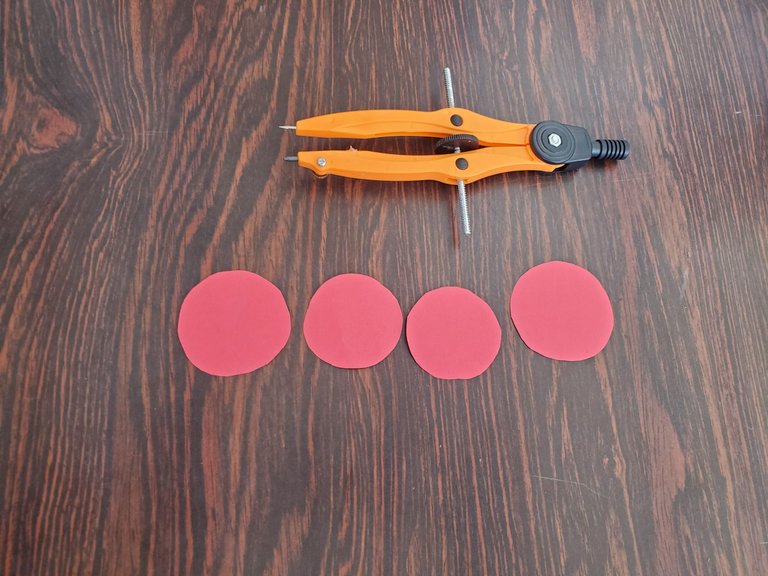
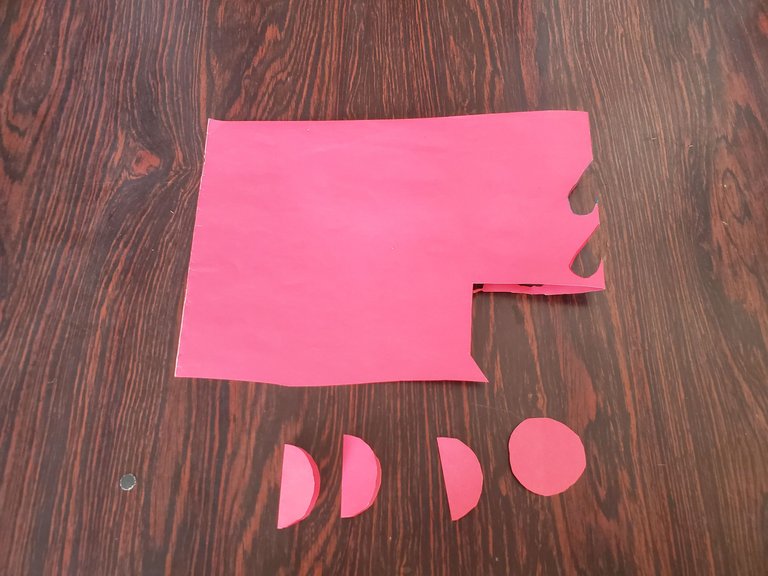 | 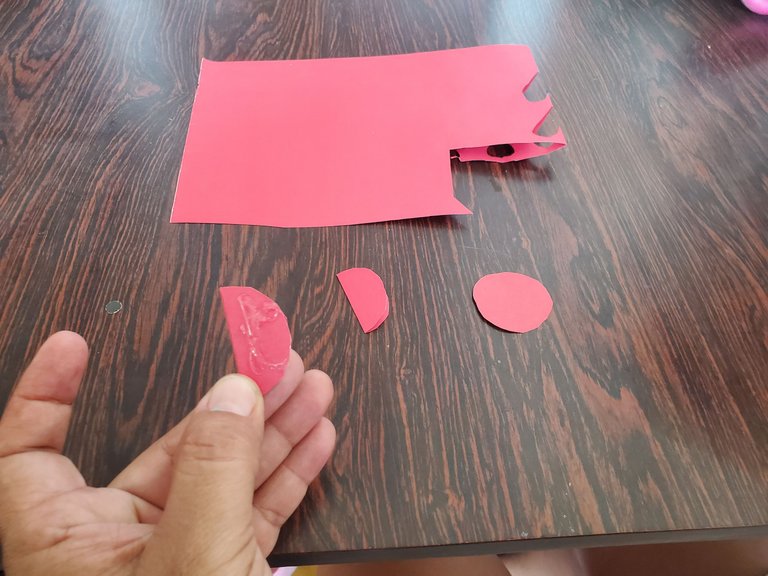 | 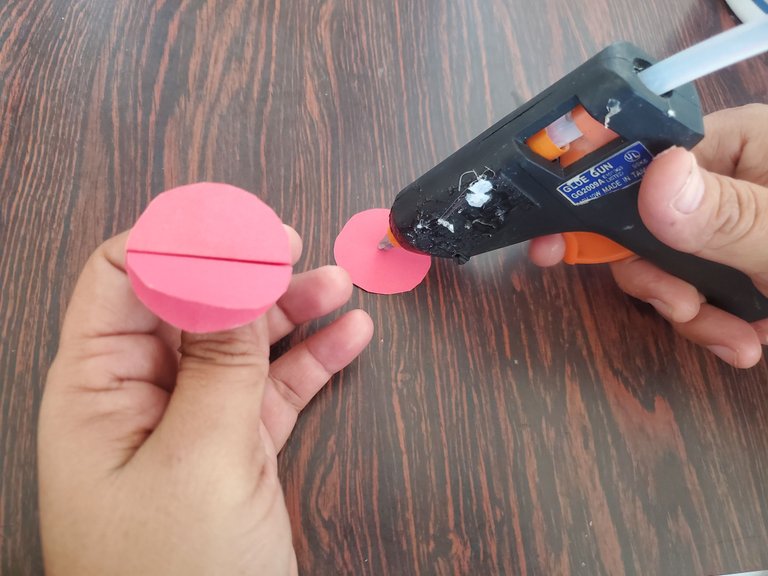 |
|---|
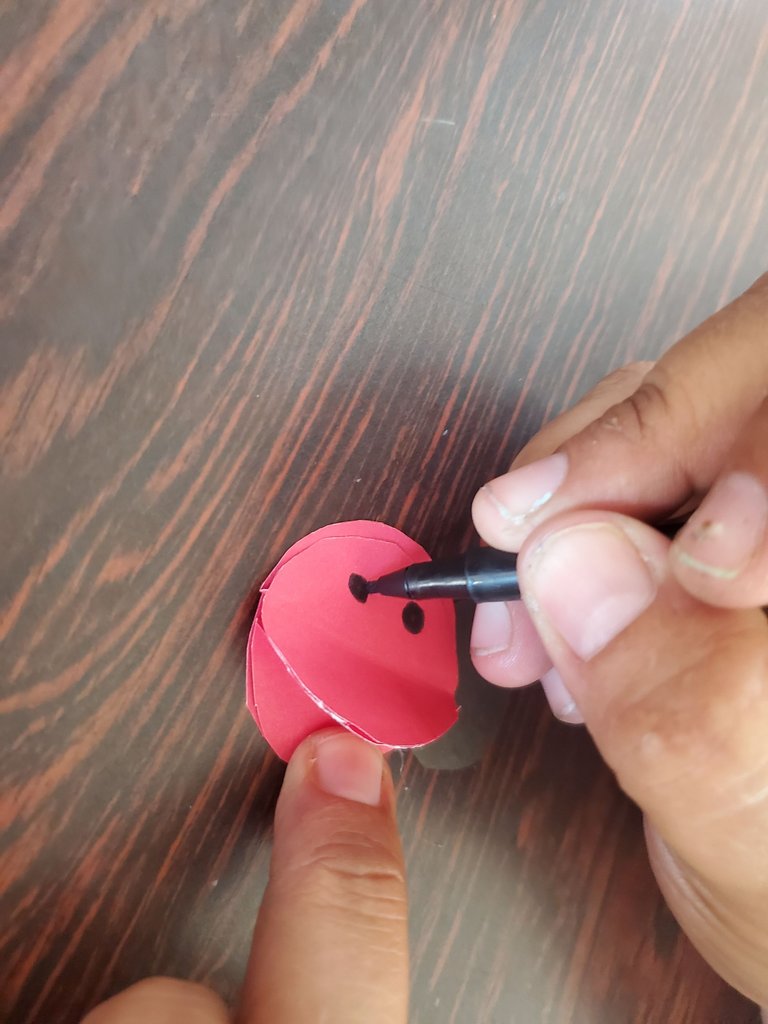
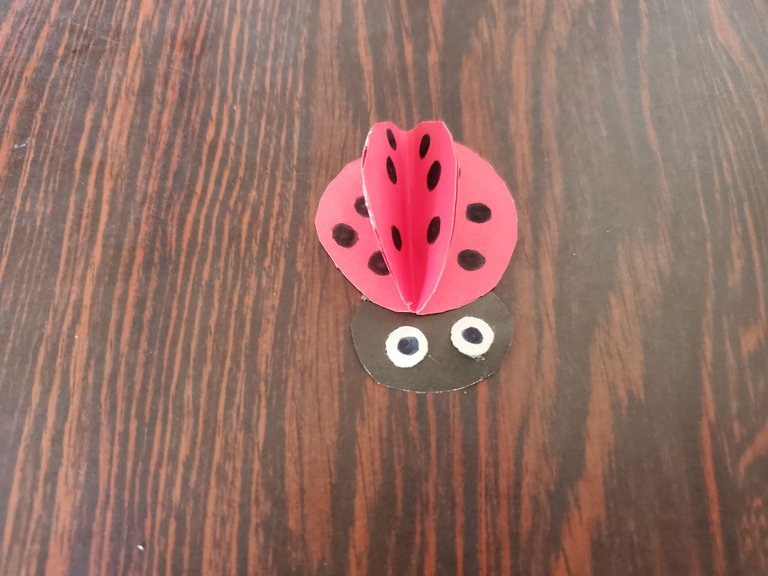
The head of the ladybug was made with black cardboard, the size was 2.5 centimeters in diameter, it was glued to the body. Black dots characteristic of its anatomy were made on its wings, and white construction paper was used for the eyes.
We used a hole puncher to open holes and marked both eyes with a black marker.
 |  |  |
|---|
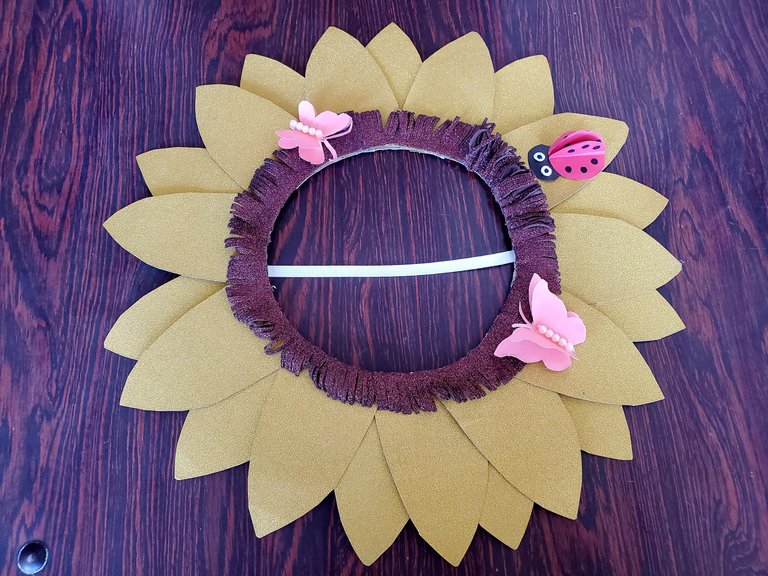
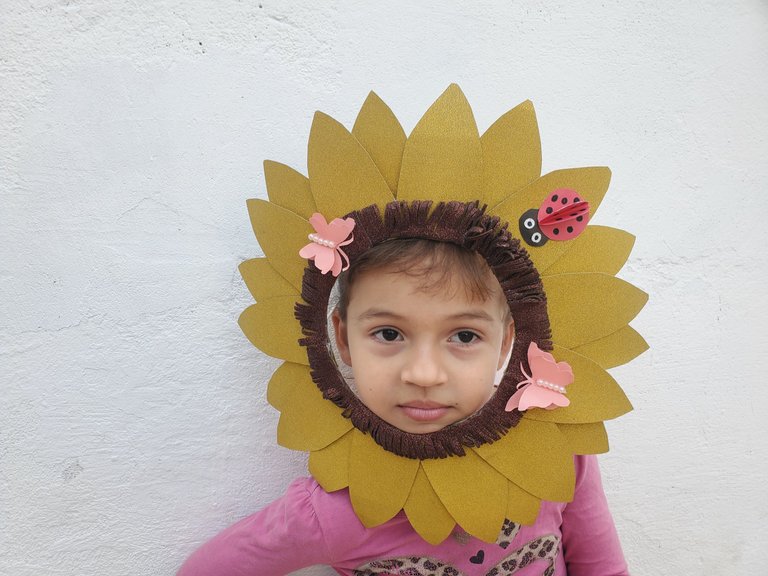
Once the insects were ready, I glued them to decorate the mask in the shape of a sunflower, which finally looked like this. This is what my daughter's mask looks like.
 |  |
|---|

The photos are taken with my Samsung Galaxy S10+ cell phone and belong to me.
Editing, banner and divider made with Canva.
Logo of the DiyHub community.
Translation with DeepL.com (free version).

Máscara con forma de girasol y insectos.
Saludos comunidad, hoy estoy aquí nuevamente con una manualidad que quise compartir con ustedes su creación. Es una máscara alusiva a una flor que es el girasol, traigo esto aprovechando que se está en carnaval.
Es un momento propicio para disfrazarse y usar una linda máscara para estar a tono con la celebración que se hace cada año o lo pueden realizar para otro evento.
Esta manualidad es fácil de hacer, lee el paso a paso.
Materials:
- Cartón.
- Compás.
- Cartulina escarchada color dorado.
- Cartulina de construcción rosada,rojo, negro y blanco.
- Perlas rosadas.
- Marcador color negro.
- Regla.
- Lápiz.
- Pistola de silicón.
- Tijera.
- Barra de silicón.
- Foami escarchado color marrón.
- Goma elástica.
- Perforadora abre huecos.
Procedure:
En un cartón se hace una circunferencia de 15 centímetros y otra de 18 centímetros. Debo acotar que el tamaño del círculo variará dependiendo del tamaño de la cabeza del niño o adulto.
Así que el tamaño del círculo es el adecuado para mi hija que la va a usar.
Se procede a cortar la circunferencia con la tijera por dentro y por fuera como se ve en la imagen. Quedando de esta manera.
| | |
|---|
Luego doblas la circunferencia a la mitad para para tener una guía para marcar con el lápiz un punto a ambos extremos. Con el perforador abre huecos, se abre los orificios.
| |
|---|
Por cada orificio se coloca liga elástica que sujetará la máscara a la cabeza de la niña. Esta se pega con silicón caliente y se reforzó para que esté fuerte y resistente y no se salga la liga elástica.
Ya listo la base donde se añadirán los pétalos, se hace el molde del petalo en el cartón con medida 6 centímetros base y 10 centímetros de altura. Se procede a cortar quedando de esta manera.
| |
|---|
En la cartulina escarchada se marca con el molde de pétalos, los 11 pétalos a utilizar por la parte del frente y se recortan y se pegan en la base cubriéndose por pétalos.
| | |
|---|
Se voltea el girasol por detrás y donde hay espacio se colocan petalos para rellenar la flor, la misma cantidad del frente.
| | |
|---|
Ya el girasol lo pueden apreciar como quedo cubierto de petalos por delante y por detrás. Para hacer el girasol más atractivo, le voy hacer el polen donde van a posar los insectos.
Del foami escarchado color marrón corté dos tiras de 28 centímetros de largo por tres centímetros de ancho, cada una, con la tijera. Empecé a cortar delgados hilos haciendo la similitud de un peine,llegué hasta el final de la tira de foami y la pasé por la plancha caliente, obteniendo una forma especial.
| |
|---|
Se le pego la tira de foami a la máscara, quedando listo el girasol con su polen.
| |
|---|
Para finalizar voy hacer dos insectos mariposas y una mariquita para embellecer la máscara. En una hoja de cartulina de construcción color rosado corté una tira de 4 centímetros por 12 centímetros.
Doble el rectángulo a la mitad y esté lo seguí doblando a la mitad y en ella dibuje la mitad de la silueta de la mariposa.
| | |
|---|
Recorte con cuidado, salieron dos mariposas, a una de ellas le corte las antenas de la mariposa y la pegué sobre la otra.
| |
|---|
El cuerpo de la mariposa lo represente con cinco perlas de color rosado, y las pegue con silicón caliente. Así quedo la mariposa, hice otra con el mismo procedimiento.
| |
|---|
La mariquita se hace con hoja de cartulina de construcción color rojo, se marcan cuatro círculos de 3,5 centímetros de diámetro. Se recortan, se doblan tres círculos por la mitad, y se pegan, luego el círculo completo se pega y hace la función de base.
| | |
|---|
La cabeza de la mariquita, se hizo con cartulina color negro, el tamaño fue 2,5 centímetros de diámetro, se pegó al cuerpo. Se procedió hacer puntos negros característico de su anatomía a sus alas, se utilizó cartulina de construcción color blanco para los ojos.
Se hicieron con perforadora abre huecos y se marcó con el marcador negro ambos ojos.
| | |
|---|
Ya listos los insectos, se los pegué para decorar a la máscara con forma de girasol, quedando finalmente de esta manera. Así luce mi hija su máscara.
| |
|---|
Las fotos son tomadas con mi celular Samsung Galaxy S10+ y me pertenecen.
Edición, banner y separador hechos con Canva.
Logo de la comunidad de DiyHub.
Traducción con DeepL.com (versión gratuita).
I stay very pretty and explained very in detail, you are a professional of the crafts, I liked it a lot I will put it into practice, greetings
Thanks, it is easy to make, the good thing is that you can substitute the materials for others, use it in your activities, it would be great.
I love how this sunflower mask turned out, I especially liked the butterfly and ladybug appliqués.💚🌻
Thank you for your valuable comment, these details make the mask stand out more, and they are easy to do.
I wish I could make these beautiful butterflies, I will put it into practice to make some like these.
It's a pleasure to see your ideas.
And for me a pleasure that you want to put it into practice, with a rectangle you fold it in half and fold it again and draw the butterfly and that's it, it's easy.
Thanks friend, I'm going to do it.😊
Hope to see you soon, happy nohe.
Thank you!!! happy evening!!!!
A really cool costume to wear at carnival
Thanks
A cute mask, also good for student costumes during art performances
Yes you are right, this mask is suitable for any activity. Thanks for your comment, I'm glad you like it.
This mask is very clever, it looks great on you. Thank you for sharing your creative process with us...
Muy ingeniosa esta máscara, te quedó genial. Gracias por regalarnos tu proceso creativo...
!discovery 30
Thank you friend for appreciating my work, I made it with dedication for my daughter. And to be able to present it here.
A very creative mask that you made for this carnival. Very good work. Thank you for leaving our community's creative process.
A lovingly made mask that can inspire others. It is a pleasure to be here with you.
Thanks
Espectacular. Que bonito y sencillo de hacer. Gracias
Cheer up, a nice handicraft can come out of you.
@mariiale1979 Hello queen, your work is beautiful, done with dedication and love, spectacular... a big hug
the results are extraordinary, you are very creative.
thanks,I like that you praise my work.
Yes, you're welcome, have a nice day.
Perfect for taking photographs. Very creative. The process also looks simple to follow.
Wow, how nice, this was a perfect job for these carnival times we are living. Everything is of great quality here, the creative process, the pictures, the beautiful model, congratulations. Thank you for choosing DIYHub to share it, I wish you a great day! ✌️
Thanks to you for seeing my beautiful work, I worked hard to make it and present a quality craft, it was a special moment, thanks for reading me, greetings @jesuslnrs
¡Felicidades! Esta publicación obtuvo upvote y fue compartido por @la-colmena, un proyecto de Curación Manual para la comunidad hispana de Hive que cuenta con el respaldo de @curie.
Si te gusta el trabajo que hacemos, te invitamos a darle tu voto a este comentario y a votar como testigo por La Colmena.
Si quieres saber más sobre nuestro proyecto, te invitamos a acompañarnos en nuestro servidor de Discord.
Thank you for supporting my publication, I am happy.
muy lindo y creativo! excelente quedo!
very nice and creative!
Thanks
Esta manualidad quedó genial. Me encanta el detalle de las mariposas.
Un abrazo muy grande, @mariiale1979.
Que maravilla @mariiale1979 te quedó espectacular amiga, te felicito de verdad. 🎉🤗
Me gustó como quedó de verdad que bello 😻
How nice that you appreciate my handicraft, thanks.
¿Sabías que delegar tu HP a @midnight-studio no solo apoya increíbles proyectos, sino que también te recompensa con Tokens NEON cada semana?
Thanks
Que bonita te quedó, muy creativo amiga. Bien hecho @mariiale1979
Thank you for appreciating my beautiful work.
Thanks for sharing your talent
Thanks to you for watching.