Hand puppet of the rabbit animal [Eng/Esp]
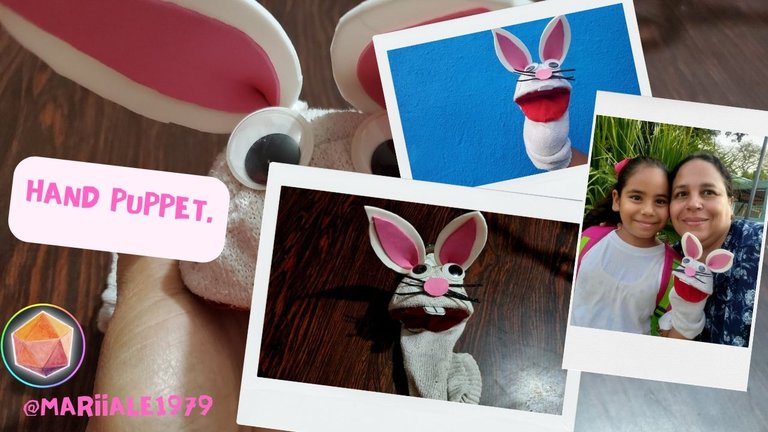
Greetings community, a few days ago my daughter and I created a story for a school activity, and one of the characters was a rabbit, so we needed to make a puppet. It occurred to me to do it with a sock that is left alone at home, easy to get material.
I want to share with you how I did it, since it may be useful for you to know how to do it at any given moment. Making it fills me with satisfaction because of how beautiful it is, keep reading, you will love it....
Materials:
- Cardboard.
- White stocking.
- Scissors.
- Silicone gun.
- Silicone stick.
- Black foami.
- White foami.
- Pink colored foami.
- Movable eyes.
- Graphite pencil.
- Red cloth.
- Cup of a beverage container.
- Black marker
Procedure:
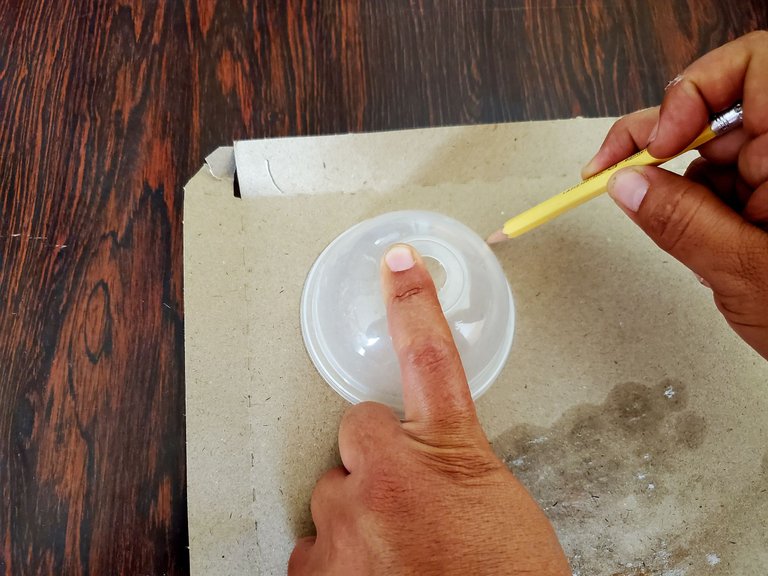
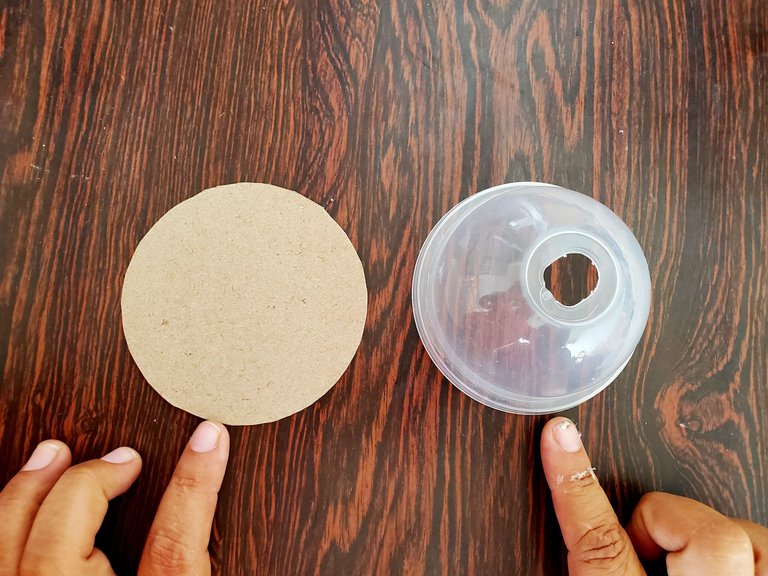
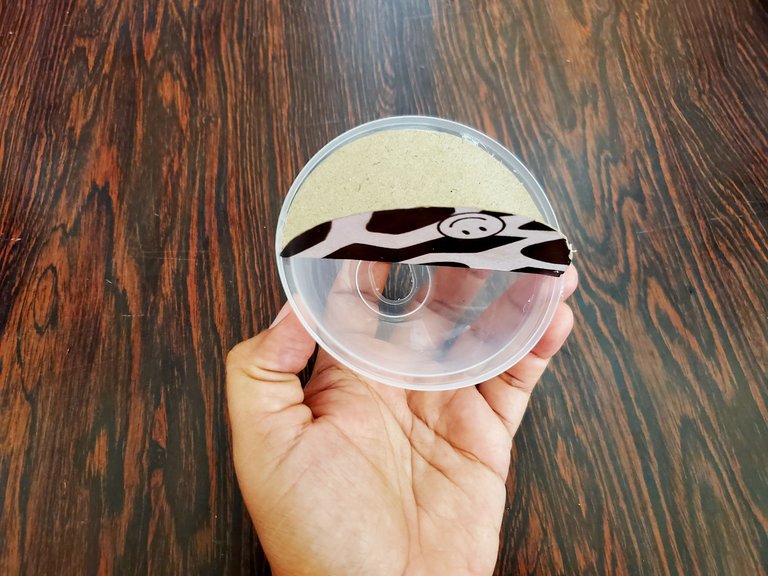
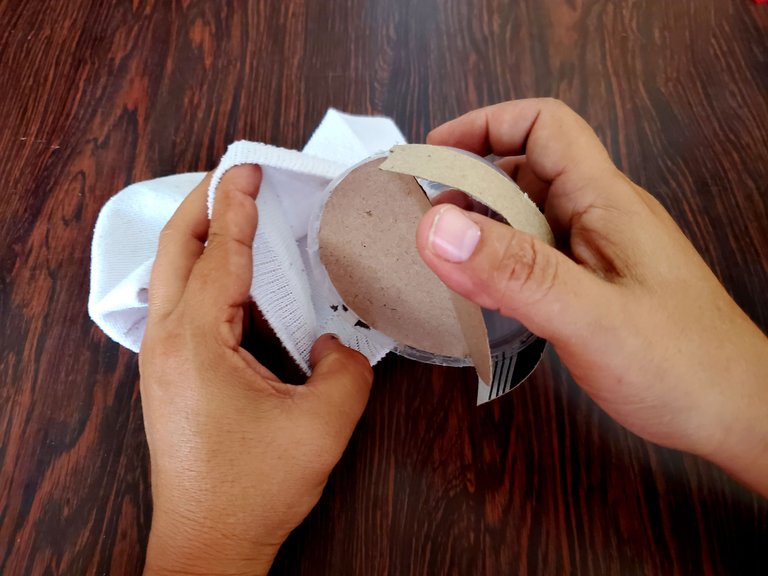
To make the puppet, I started by making the head, it is made with the cup of a beverage container, tub and yogurt that is empty, it is placed on a cardboard and the circumference is marked. The circle is cut, and having the circumference, it is folded in half and glued with hot silicone on the cup mentioned, this is done so that the puppet opens and closes the mouth by hand.
 |  |  |
|---|
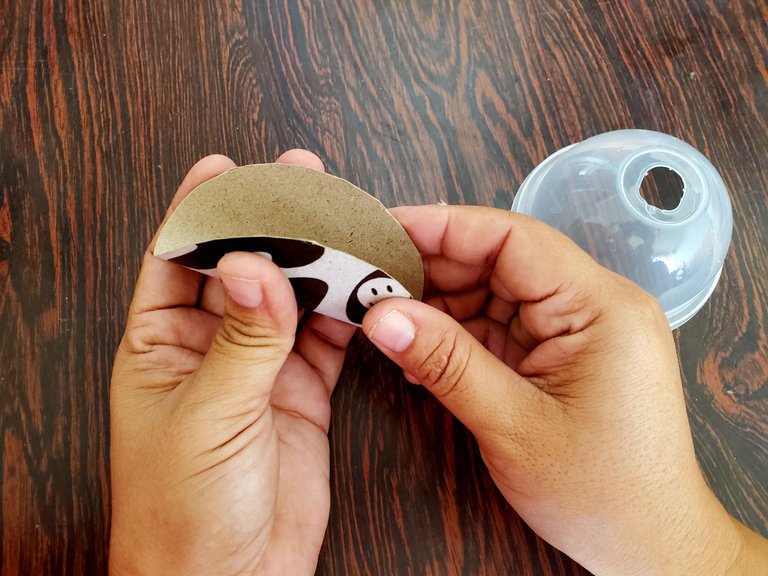
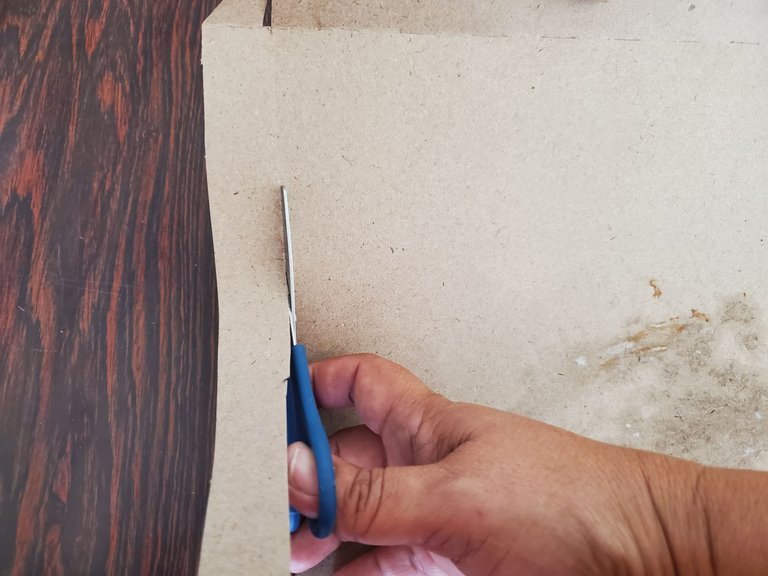
Then, to the back of the head that is uncovered, a strip of cardboard 15 cm long by 2 cm wide is glued; this is optional.
 |  |  |
|---|
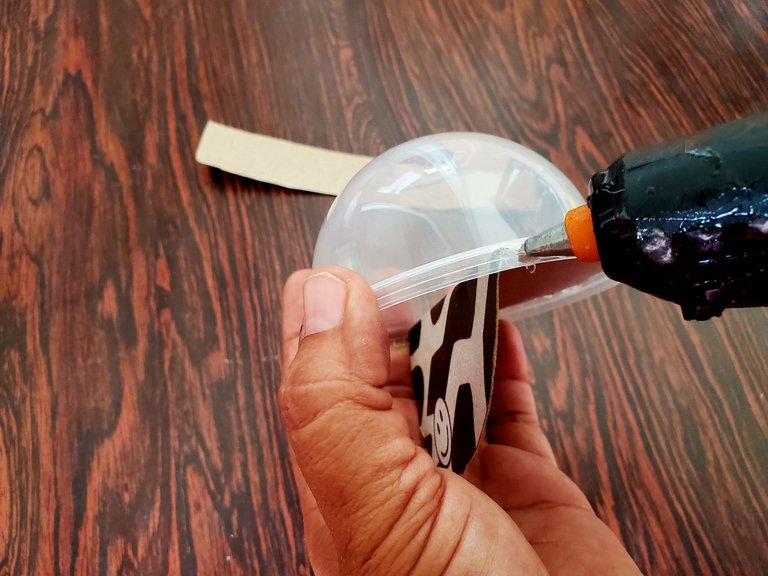
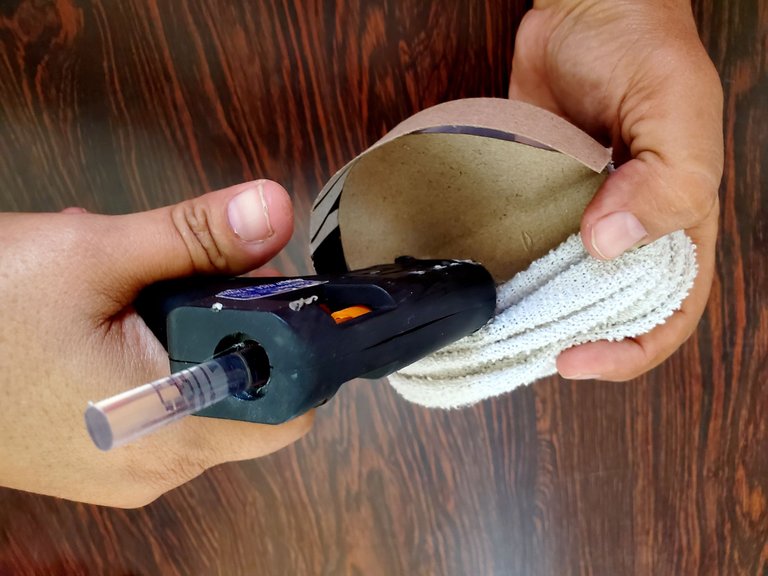
I put the cup of the container inside the stocking, put hot silicone on the cardboard to fix it and prevent the stocking from rolling.
 |  |
|---|
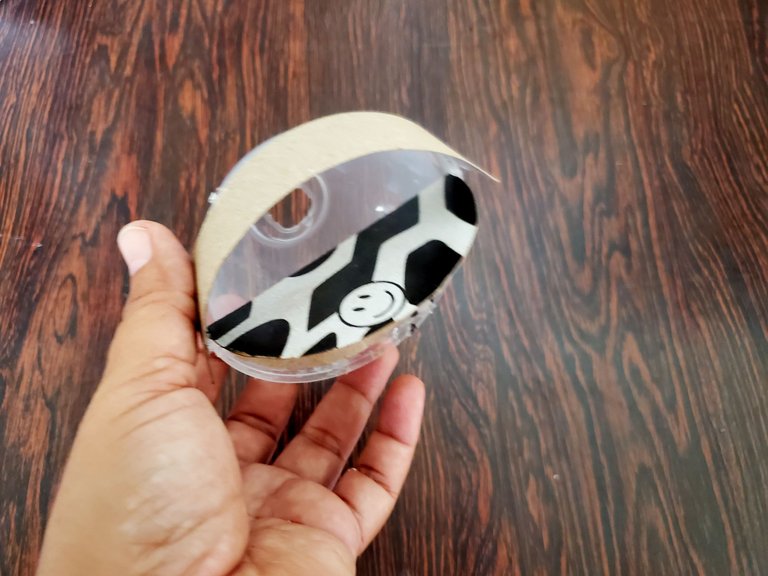
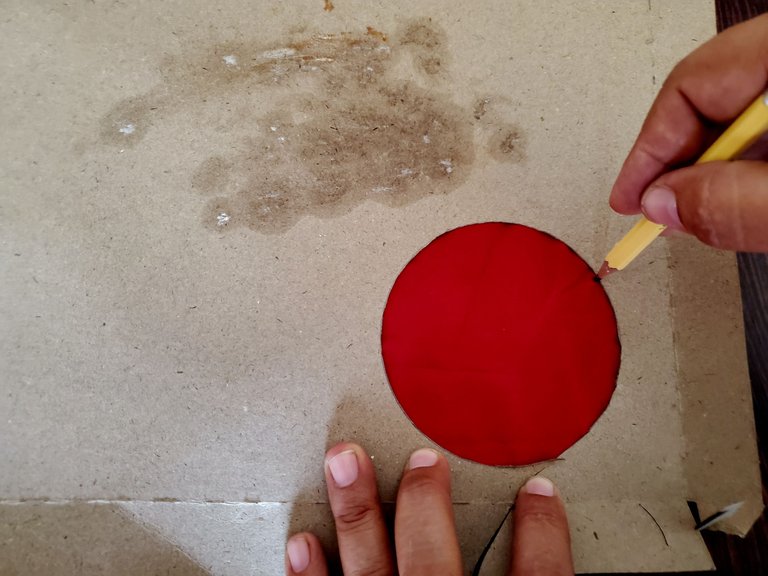
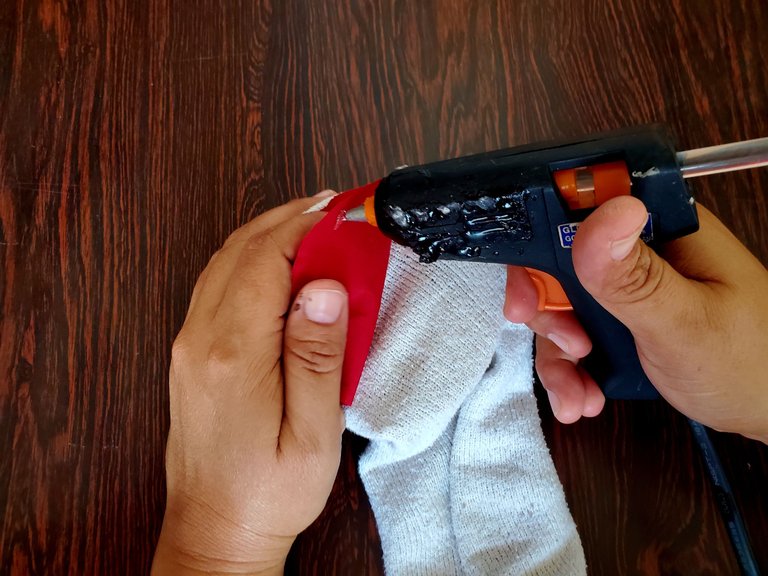
I mark a circle on the red fabric the same size as the container cup, cut it out and glue it to the puppet's mouth.
 |  |  |
|---|
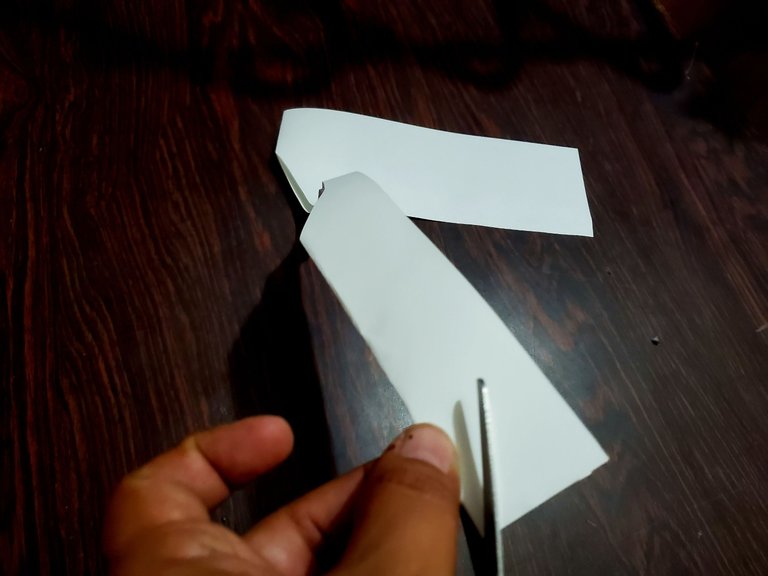
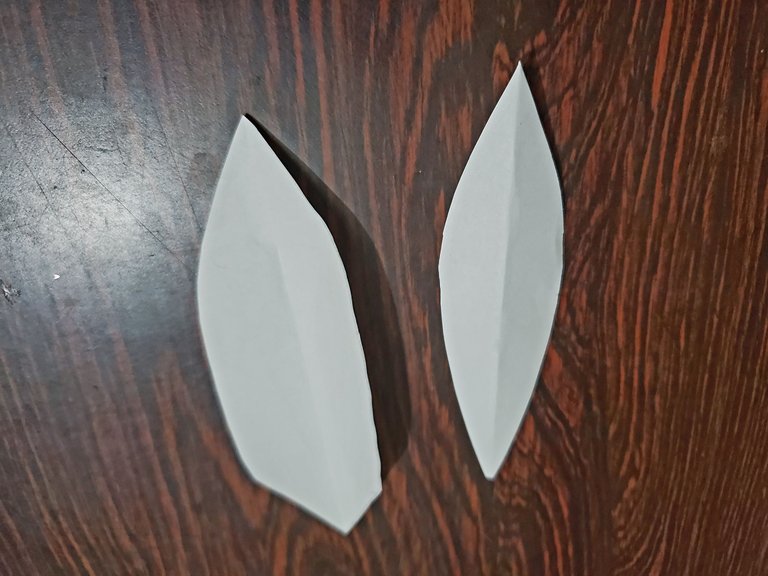
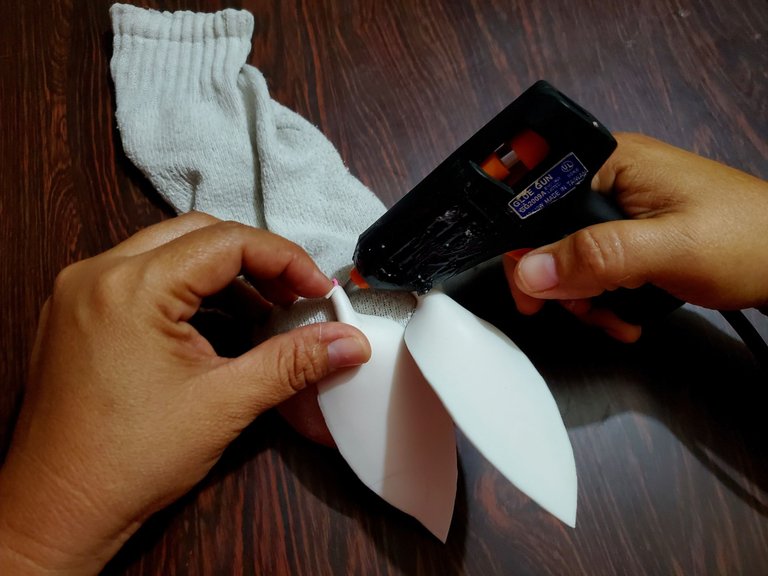
Without having the exact size of the rectangle of the leaf, I folded it in half and cut it with the scissors making the shape of half a plant leaf. When I opened it, the whole leaf came out, which represents the ears of the rabbit, with the molds that I shared with you, I will take two molds to do it: in white foami the external part of the ears and in pink foami the internal part of both ears.
 |  |
|---|
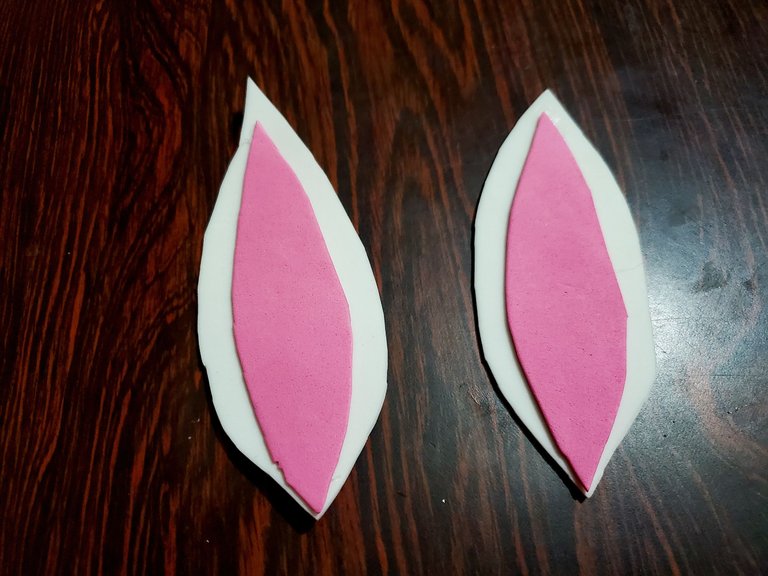
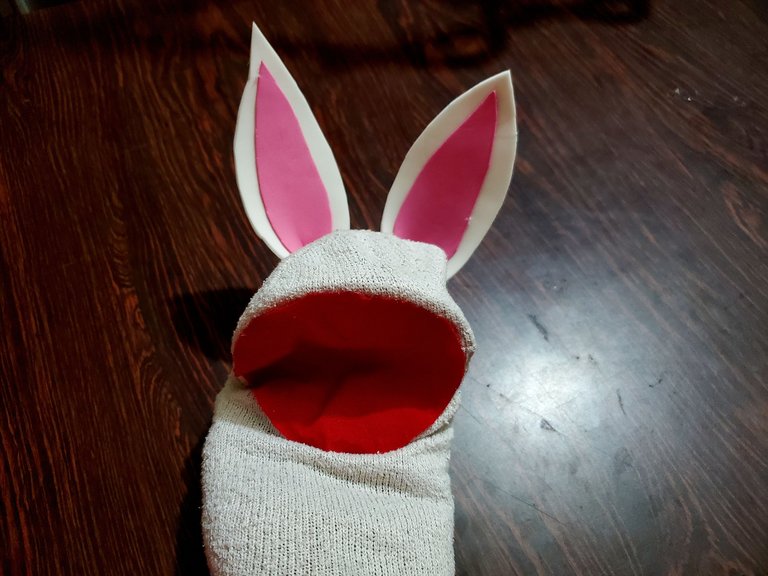
Here I share with you how the ears turned out with the two colors of foami I mentioned, they are adhered one to the other. Then hot silicone is placed on the lower part of the ear and pressure is applied with the fingers.
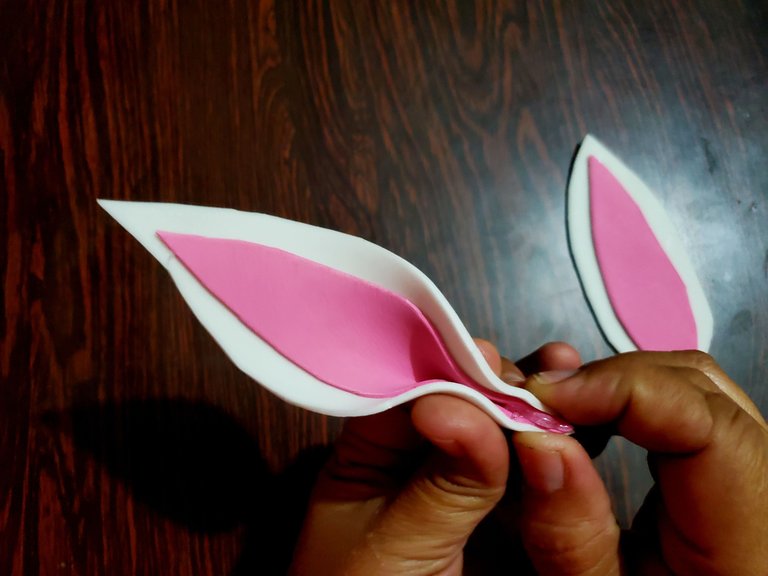
This way the ears are ready to be glued to the back of the rabbit's head.
 |  |  |
|---|
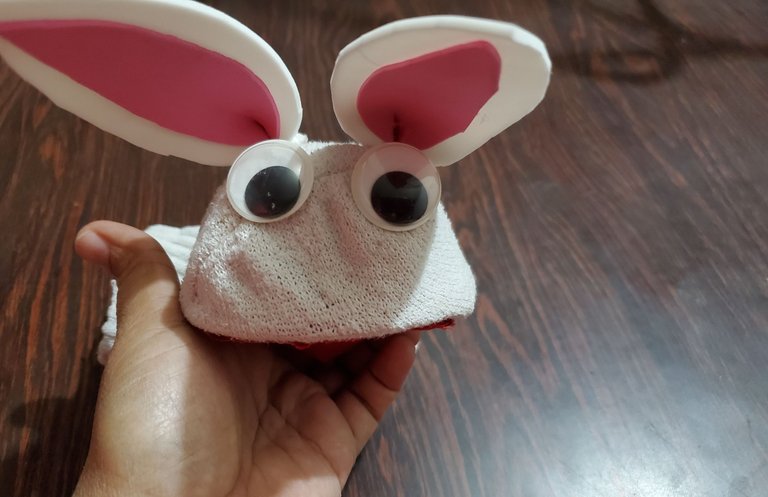
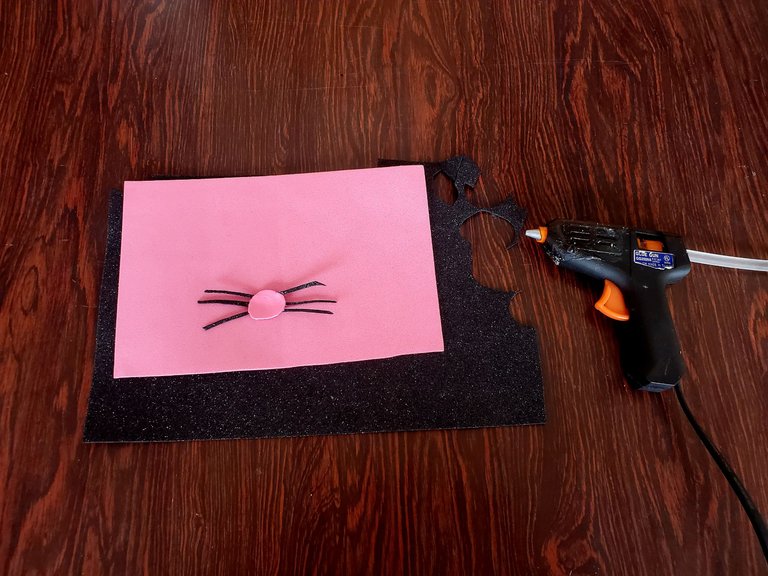
Now I will place the eyes, I decided to use some mobile eyes that I had at home that are normally used for crafts. I added the nose along with the whiskers and the teeth in the mouth area, looking beautiful.
 |  | 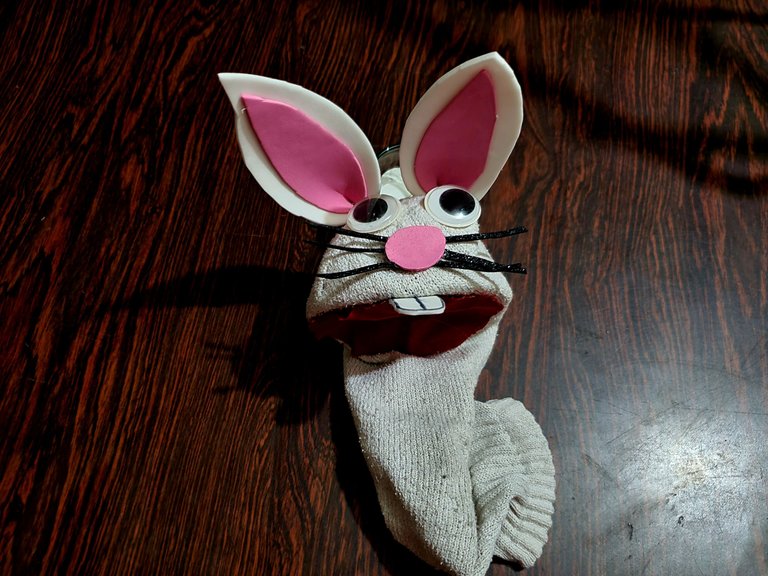 |
|---|
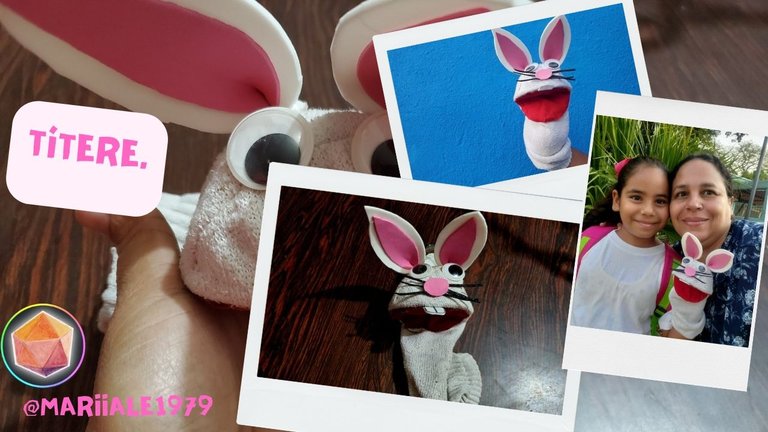
I am happy with the result and proof of that is the photo with my daughter. See you next time.


The photos are taken with my Samsung Galaxy S10+ cell phone and belong to me.
Editing, banner and divider made with Canva.
Logo of the DiyHub community.
Translation with DeepL.com (free version).

Títere de mano del animal conejo.
Saludos comunidad, hace días junto a mi hija se creó un cuento para una actividad escolar, y uno de los personajes era un conejo, así que se necesitaba hacer un títere. Se me ocurrió hacerlo con una media que queda sola en el hogar, material fácil de conseguir.
Quiero compartir con ustedes como lo hice, ya que les puede servir el saber hacerlo en un momento dado. El elaborarlo me llena de satisfacción por lo hermosa que queda, sigue leyendo, te encantara...
Materials:
- Cartón.
- Media color blanco.
- Tijera.
- Pistola de silicón.
- Barra de silicón.
- Foami color negro.
- Foami color blanco.
- Foami color rosado.
- Ojos moviles.
- Lápiz de grafito.
- Tela color rojo.
- Copa de envase de una bebida.
- Marcador de color negro.
Procedure:
Para hacer el títere, empecé por hacer la cabeza, se hace con la copa del envase de una bebida, tina y yogur que se encuentre vacío, se coloca en un cartón y se marca la circunferencia. Se corta el círculo, ya teniendo la circunferencia, se dobla por la mitad y se pega con silicón caliente en la copa mencionada, esto se hace para que el títere abra y cierre la boca por medio de la mano.
| | |
|---|
Luego, a la parte posterior de la cabeza que está descubierta, se le pega una tira de cartón de 15 cm de largo por 2 cm de ancho; esto es opcional.
| | |
|---|
Meto la copa del envase dentro de la media, se le coloca silicón caliente al cartón para fijar y no se ruede la media.
| |
|---|
Marco un círculo en la tela roja del mismo tamaño de la copa del envase, lo recorto y lo pego a la boca de la marioneta.
| | |
|---|
Sin tener la medida exacta del rectángulo en la hoja, lo doble por la mitad y corte con la tijera haciendo la forma de la mitad de una hoja de planta. Al abrirlo salió la hoja completa, eso representa las orejas del conejo, con los moldes que les compartí, sacaré dos para hacerlo: en el foami color blanco la parte externa de las orejas y en foami color rosado la parte interna de ambas orejas.
| |
|---|
Aquí les comparto cómo quedaron las orejas con los dos colores de foami que mencioné, están adheridas una a la otra. Luego se le coloca en la parte inferior de la oreja silicón caliente y se le hace presión con los dedos.
De esta forma quedan listas las orejas para ser pegadas en la parte posterior de la cabeza del conejo.
| | |
|---|
Ahora colocaré los ojos, decidí que fueran unos ojos móviles que tenía en casa que normalmente se usan para manualidades. Agregué la nariz junto con los bigotes y los dientes en el área de la boca, quedando hermoso.
| | |
|---|
Feliz estoy con el resultado y prueba de ello es la foto con mi hija. Hasta la próxima.
Las fotos son tomadas con mi celular Samsung Galaxy S10+ y me pertenecen.
Edición, banner y separador hechos con Canva.
Logo de la comunidad de DiyHub.
Traducción con DeepL.com (versión gratuita).
Que hermoso, y que paso a paso tan lindo.. Y la foto con tu hija super linda, te felicito
How beautiful, and what step by step such a nice step .. and the photo with your daughter Super Linda, I congratulate you
Thank you, I made it with a lot of dedication for my readers, so they can see that a puppet is very easy to make.
Sending Love and Ecency Curation Vote!

Thanks
You're welcome! :)
Me hizo acordar a un títere de mi infancia que pasaban en el programa del Circo de Los Valentinos ( cédula al piso) había un mago que tenía un conejo parlante que saludaba a todos los niños:
¡HOOLAAA COCHINONEEEESSS! y los chamitos le respondían, era un vacilón, el mago apenado decía que como los iba a saludar de esa manera, ¡eso no se hace! y el conejo decía : ok está bien, lo siento, voy de nuevo:
¡Hoooolaaaa señorit@s cochinoneeeeeesss!😆😆😆😆😆
Me alegro le hayas dado vida a la media sin pareja.
Cuando niño eso de los circos y lo que hacen, le causa risa a uno,que vueltas da la vida, te traeje un recuerdo guardado en tu memoria,que te hizo feliz en su momento, saludos.
Mi pequeña Yen siempre está atenta a todo.
This is so adorable and the smile on her face says it all. She loves her puppet and she is proud of her Mummy. Great job Lady, you rock!
selected by @ibbtammy
If she likes that I help her with her work, and she makes it known, thank you for your words.
@mariiale1979 hola cariño, felicidades por ese post tan lindo, felicidades a tu hija..buen trabajo educativo y pedagògico..un fuerte abrazo.
Gracias.
Great beautiful muy lindo te quedó ...
Thanks.
What a creative and innovative project, it looks lovely and you did a great job well done
Que linda marioneta, me hizo recordar un teatro de títeres que visité en mi infancia, gracias por compartir el proceso de elaboración bien explicado.
Saludos!
Que bueno que te haya hecho recordar, una manualidad muy util para ese tipo de actividades.
Congratulations @mariiale1979! You received a personal badge!
You can view your badges on your board and compare yourself to others in the Ranking
Check out our last posts:
Te quedó muy hermoso, tu niña feliz, eso es lo mejor, saludos cordiales
Gracias, eso es lo importante, la felicidad de la no tiene precio, saludos.
I don't think I'll ever think of making a rabbit, but thanks for the step-by-step and for showing how with imagination and skill you can take advantage of many things to create new ones.
By the way, I liked the rabbit And your daughter's smile.
Big greetings @mariiale1979.
Sorry for not answering, seeing my daughter happy captivates me, that's why I help her, well you won't, maybe it serves your neighbor.
Excelente!!!! 👏🏻👏🏻👏🏻👏🏻
Gracias.
No las merece. Muy buen post y muy buen trabajo