[ESP/ENG] Maquillaje escarchado angelical usando la esquina inferior del ojo paso a paso✨️ || ✨️🪽Angelic frosted makeup, using the lower corner of the eye, step by step
Paso a paso ✨️🪽
Step by step

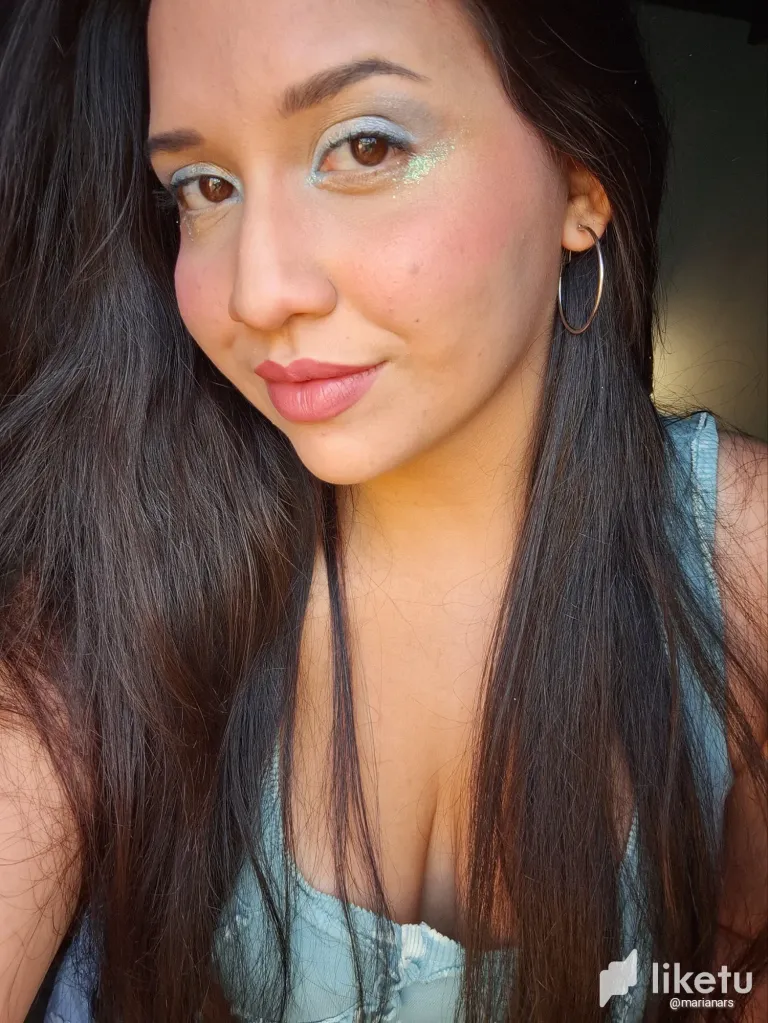
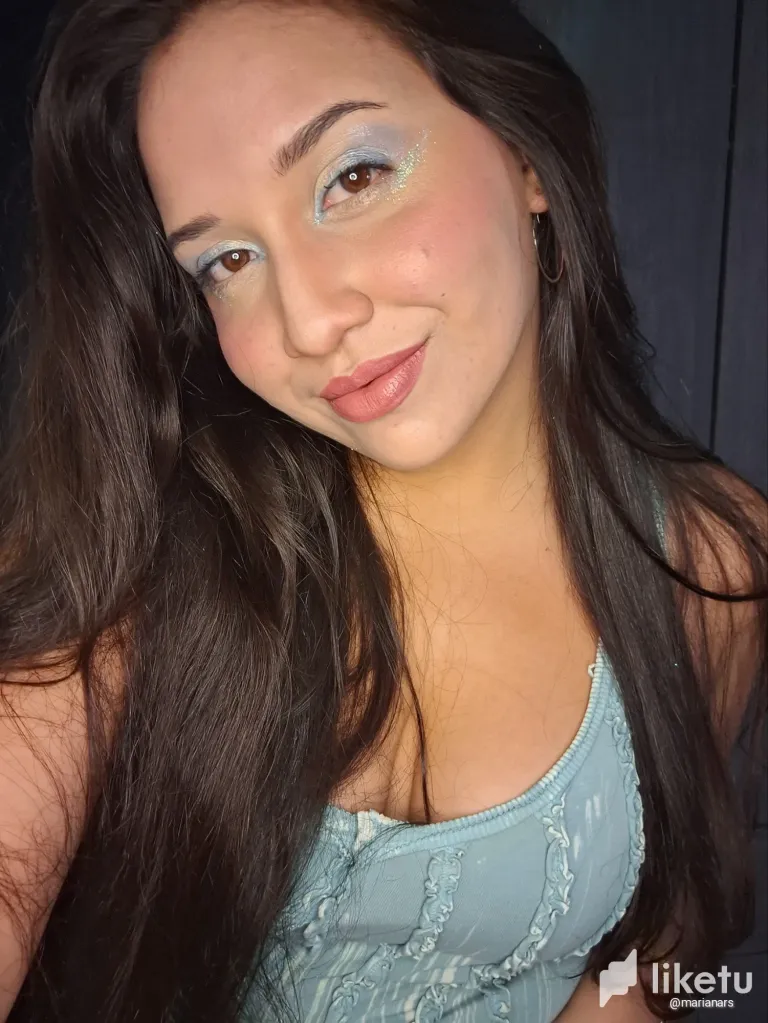
Hola amigos de esta linda comunidad, hoy les presento un maquillaje escarchado, creativo, fácil de hacer y que te hará brillar.
Hey friends of this beautiful community, today I present you with a creative, easy to do, frosted makeup that will make you shine.
Paso a paso
Step-by-step
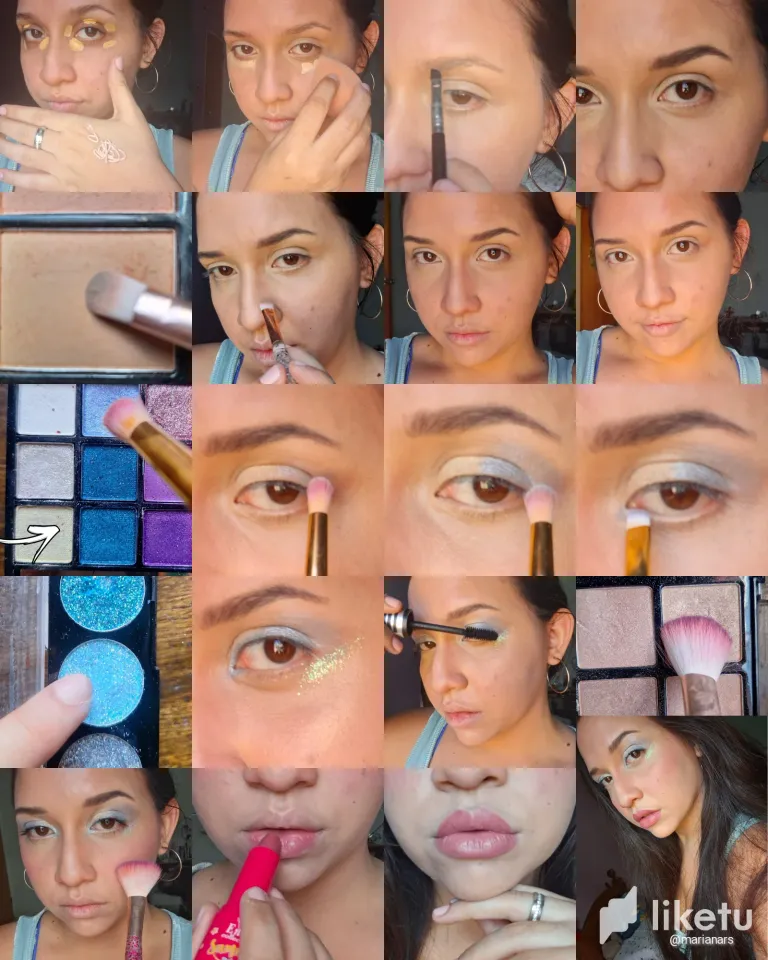
- Primero aplicamos el corrector de ojeras en la zona de los ojos, procedemos a poner la base con una esponjita húmeda a toquesitos. Primero añadimos la base sobre la mano y añadimos producto en la esponja y luego le damos toquesitos al rostro.
- First we apply the concealer on the eye area, then we proceed to apply the foundation with a damp sponge and dab it on the face. First add the foundation on the hand and add product on the sponge and then dab it on the face.
- Vamos con las cejas, esta vez nos pondremos sombra gris y negra, con una brocha agregamos producto y vamos peinando. La parte más oscura al final de la ceja y al principio la dejamos más clara.
- Let's go with the eyebrows, this time we will put gray and black shadow, with a brush we add product and combing. The darkest part at the end of the eyebrow and at the beginning we leave it lighter.
- Contorneamos la nariz, yo lo hago con pincel y una paleta marrón de color en polvo (no tengo contorno en barra). Aplicamos un poco de corrector en la punta de la nariz y difuminamos.
- Contour the nose, I do it with a brush and a brown powder palette (I don't have a contour stick). Apply a little concealer on the tip of the nose and blend.
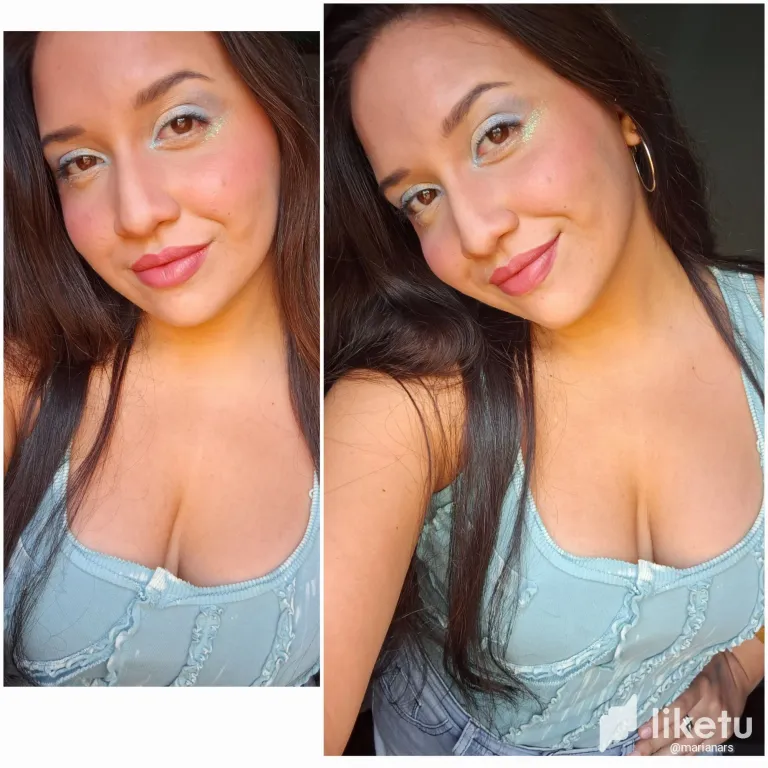
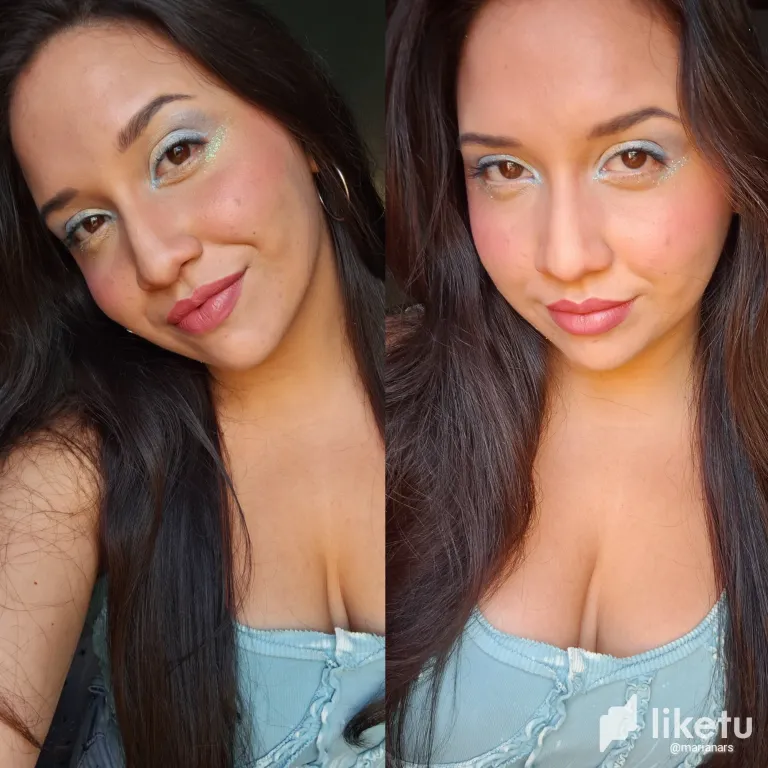
- Vamos con los ojos, aplicamos un color claro al principio del párpado móvil, yo escogí un blanco amarilloso y hacemos la transición con el azul claro que pondremos en la cuenca y difuminamos en dirección al párpado fijo, también aplicamos sombra azul brillosa en la zona del lagrimal con una brocha plana biselada. Con una brocha grande aplicamos iluminador claro sobre el pómulo, Ahora vamos con el brillito que será la magia del maquillaje, lo tomamos con el dedo y aplicamos en la esquina inferior del ojo, y nos ponemos máscara de pestañas.
- Let's go with the eyes, we apply a light color at the beginning of the mobile eyelid, I chose a yellowish white and we make the transition with the light blue that we will put in the basin and blend in the direction of the fixed eyelid, we also apply shiny blue shadow in the area of the tear with a flat beveled brush. With a large brush we apply light illuminator on the cheekbone, now we go with the glitter that will be the magic of makeup, we take it with the finger and apply it in the lower corner of the eye, and we put mascara.
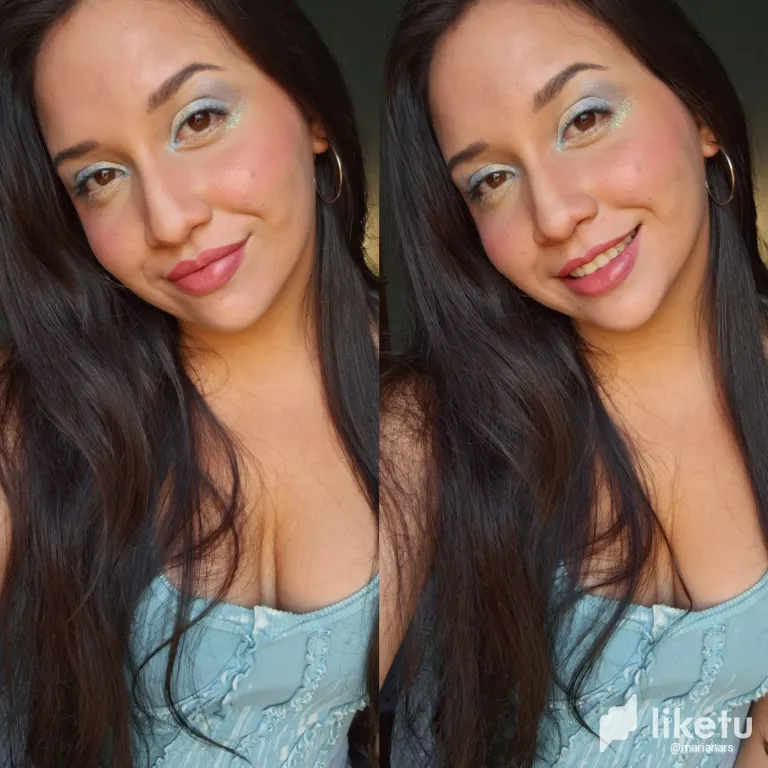
- Agregamos un colorete al gusto, (yo me pinté con rubor rosa) y lo aplicamos en el pómulo en forma ascendente, con una brocha para blush.
- Add a blusher to taste, (I painted with blush pink) and apply it on the cheekbone in an ascending way, with a blush brush.
- Vamos con los labios, usaremos un color nude oscuro, y uno más claro en el centro de los mismos.
- Let's go with the lips, we will use a dark nude color, and a lighter one in the center of the lips.
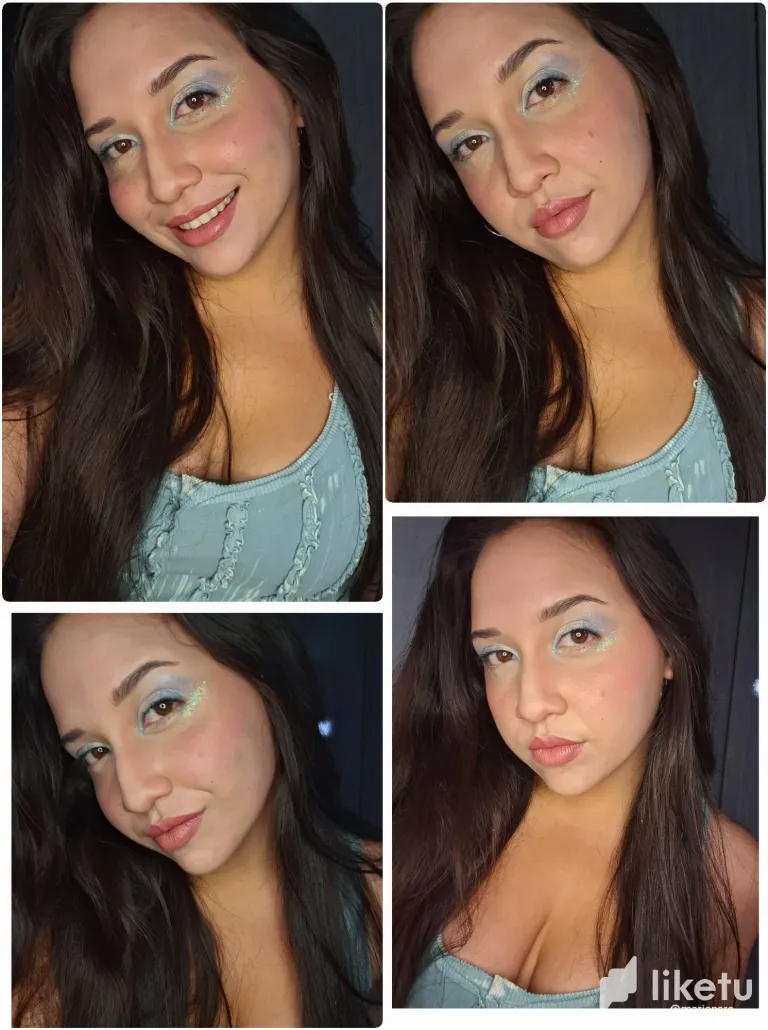
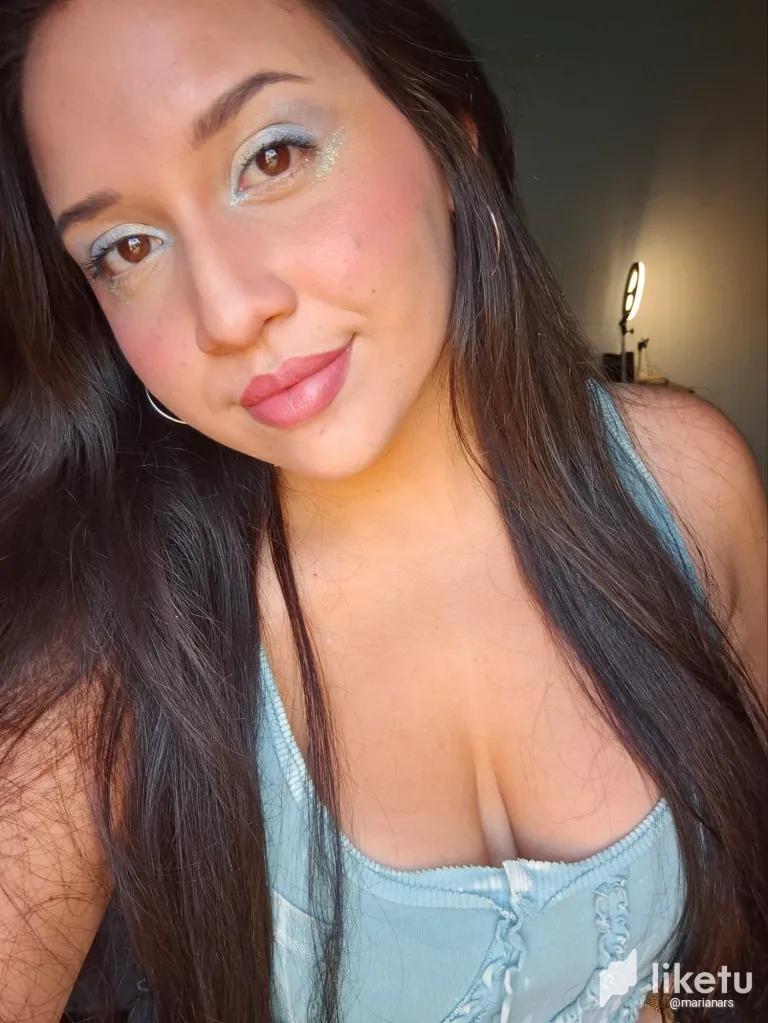
Y listo 🥹 así quedo nuestra imagen de ojos angelicales con brillitos, es muy sencillo y llama la atención cuando la luz ilumina nuestra piel.
And that's it 🥹 that's how our angelic eyes with glitter look, it's very simple and catches the eye when the light illuminates our skin.
.
.
.
• Traductor/translator: DeepL.
• Collage Editor: Polish.

For the best experience view this post on Liketu
0
0
0.000
!LOL
Posted using Hive Images
lolztoken.com
To prove he wasn’t a chicken.
Credit: marshmellowman
@marianars, I sent you an $LOLZ on behalf of hivephoto
(4/10)
Quedo superlinda amiga 😍, los colores que usaste están preciosos y esa sombra brillante está hermosa, me gusta la forma en que explicase el paso a paso. Me encanto el maquillaje.😘
Muchas gracias, me alegra que te haya gustado 😊