[ESP\ENG] 💀 Halloween Makeup 2 “open wound” 💀
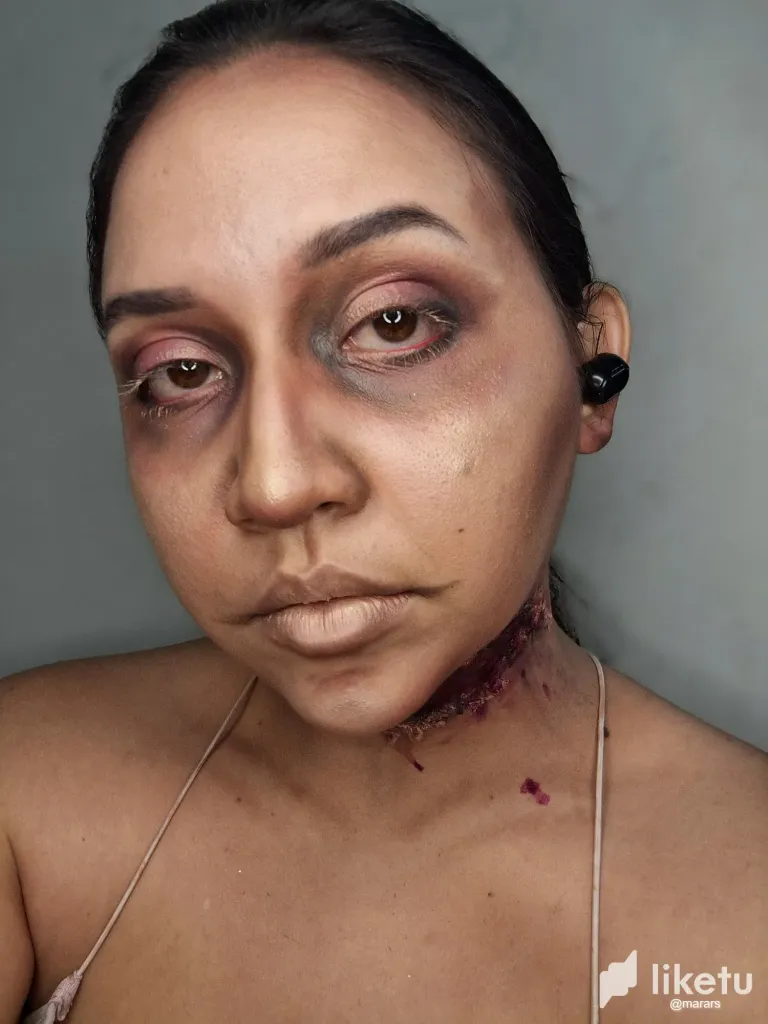

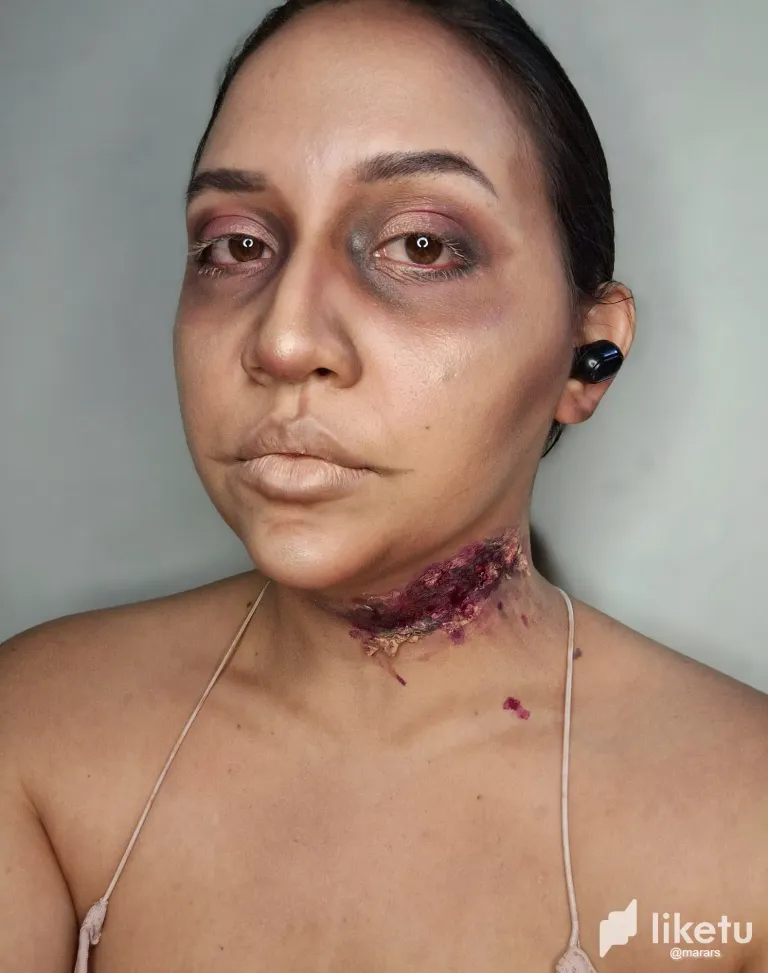

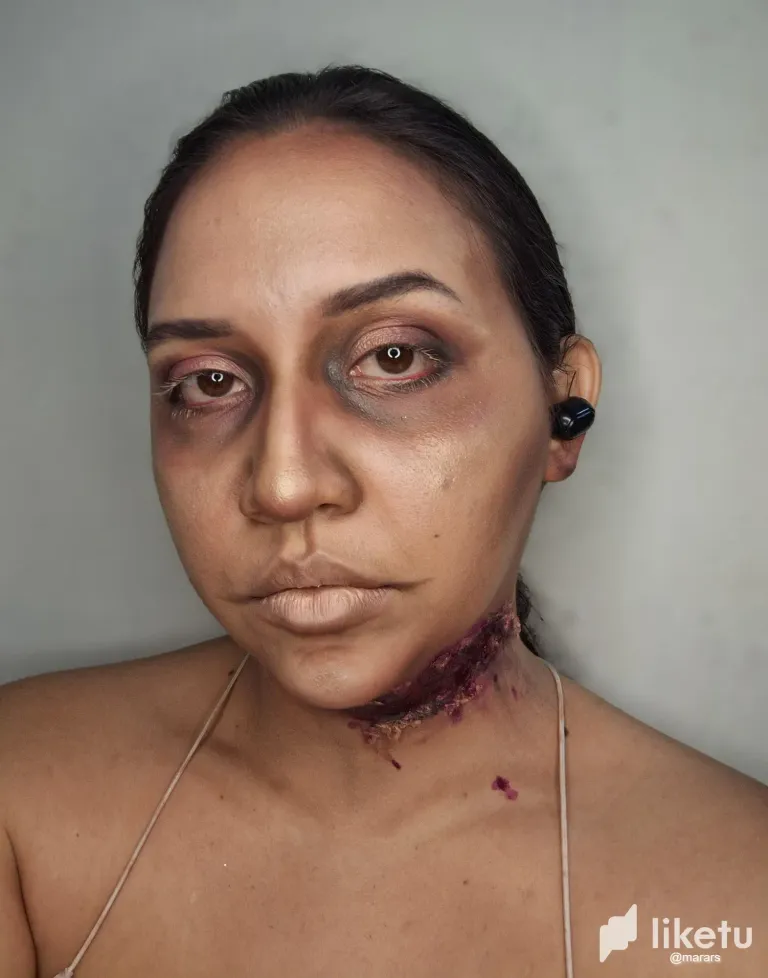
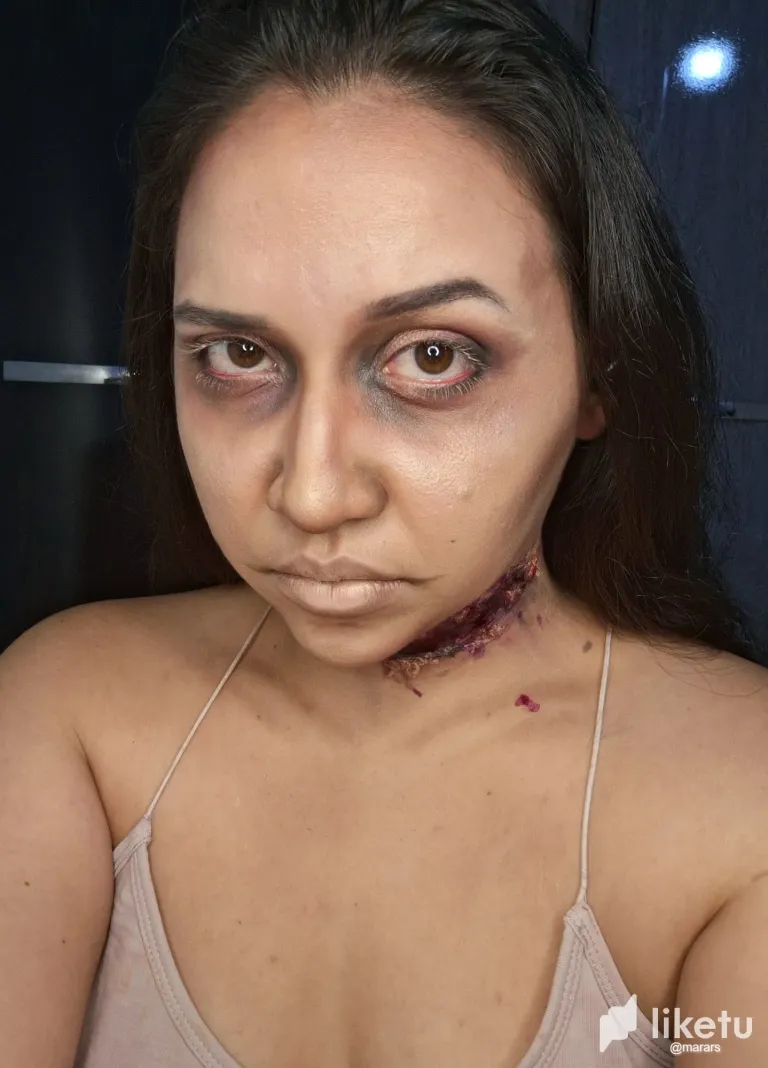


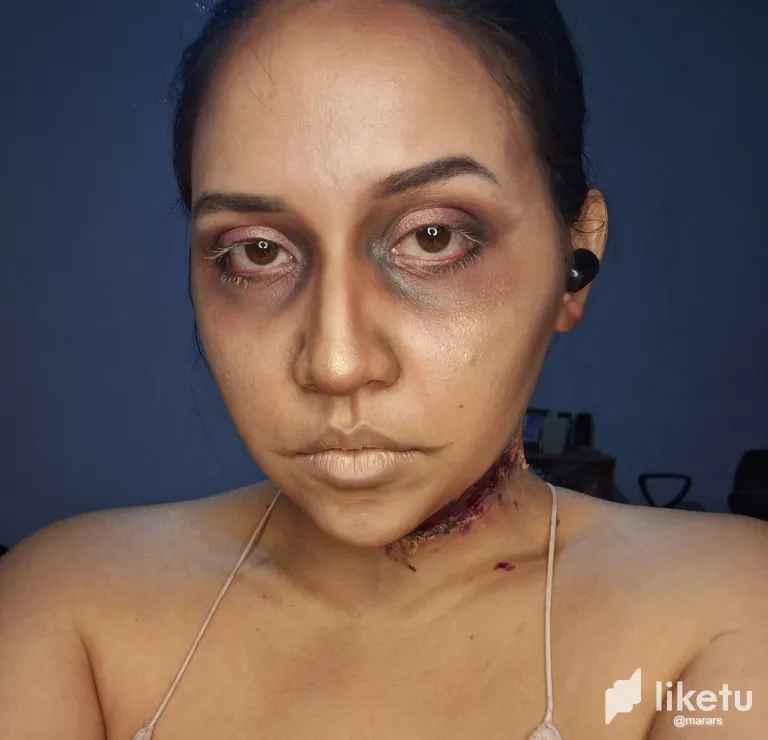
Hola amigos, ¿Cómo se preparan para Halloween?, me he propuesto a traer varios maquillajes con la temática del día de brujas hasta que llegue el susodicho día, como saben amo el terror, el horror artístico y las pelis de esta temática, así que octubre es uno de mis meses favoritos.
Hi friends, how are you getting ready for Halloween, I've decided to bring you some Halloween themed makeovers until Halloween arrives, as you know I love horror, artistic horror, and movies with this theme, so October is one of my favorite months.
Hoy les muestro el paso a paso:
Today I show you the step by step:
- Empecé Lavando mi rostro y apliqué primer.
- I started by washing my face and applied primer.
- Empecé aplicando corrector en la zona de ojos como de costumbre, después tomé una base clara y la apliqué con el sobre el rostro a toque con la esponja húmeda.
- I started by applying concealer on the eye area as usual, then I took a light foundation and applied it to the face with a damp sponge.
- Empecé por las cejas pintando con lápiz negro, las difuminé con en peine en el comienzo de las mismas, proseguí con el pintado de ojos, para esto usé una sombra en tono oscuro de rosa y sombreé mí parpado móvil y en la cuenca del ojo apliqué marrón justo al final del parpado difuminé con este color, apliqué lápiz rojo en la línea de agua, un poco de marrón claro en la zona del principio del parpado y lo extendí hasta el tabique, haciendo un contorno de nariz pronunciado, profundicé las ojeras con sombra rosada, marrón y apliqué lápiz negro al final del párpado superior y al principio de este lo llevé hasta las ojeras difuminé muy bien y apliqué sombra negra por encima de este, también lo difumine, siguiendo el patrón de la ojera.
- I started with the eyebrows painting with black pencil, I blurred them with a comb at the beginning of them, I continued with the eye coloring, for this I used a dark shade of pink and shaded my mobile eyelid and in the eye socket I applied brown just at the end of the eyelid blended with this color, I applied red pencil in the water line, a bit of light brown in the area of the beginning of the eyelid and extended it to the septum, making a pronounced nose contour, I deepened the dark circles with pink shadow, brown and applied black pencil at the end of the upper eyelid and at the beginning of this I took it to the dark circles blended very well and applied black shadow on top of this, I also blurred it, following the pattern of the dark circles
- Proseguí haciendo un contorno definido de marrón bajo pómulos, en la línea de cabello, en la línea de los labios, la nariz, cuello y clavícula, lo difuminé con cuidado, también le di más palidez a la piel con sombra blanca y una brocha.
- I proceeded by making a defined outline of brown under cheekbones, in the hairline, on the lip line, nose, neck and collarbone, I blended it carefully, I also gave more paleness to the skin with white shadow and a brush.
- Así hice mi prótesis improvisada, tomé un poco de papel sueve y lo puse sobre parte de mi cuello siguiendo una línea sombreada que había hecho previamente, luego de pegar el papel con pegamento de pestañas (no tenía otro pegamento), luego de que seco apliqué base sobre esta y al terminar de secar la base apliqué delineador negro, después labial rojo a base de agua y labial morado, los detalles los hice con pincel, sombra marrones y morados.
- This is how I made my improvised prosthesis, I took some smooth paper and put it over part of my neck following a shaded line that I had previously made, after gluing the paper with eyelash glue (I didn't have any other glue), after it dried I applied foundation over it and when the foundation was dry I applied black eyeliner, then red water based lipstick and purple lipstick, the details were made with a brush, brown and purple shadows.
- Por último, hice detalles con iluminador sobre la punta de la nariz, labios y parte del ojo, además, apliqué base para aclarar para las pestañas y sobre los labios para retocar.
- Lastly, I made details with highlighter on the tip of the nose, lips and part of the eye, in addition, I applied lightening base for the eyelashes and on the lips for retouching.
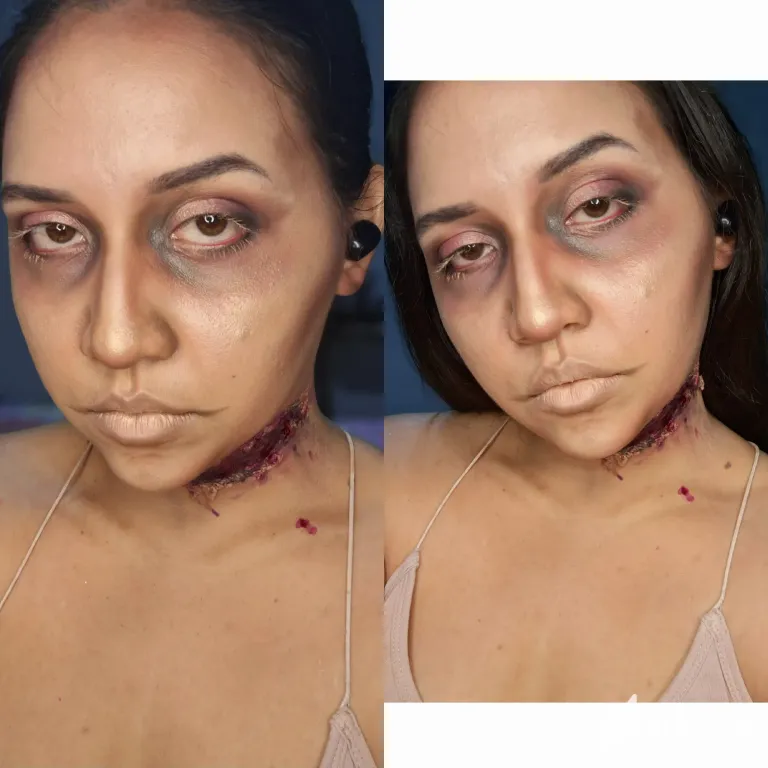
Y así quedó este macabro maquillaje, ¿Qué les parece?, a mí me encanto el resultado, me costó difuminar, pero eso se mejorará con el tiempo.
And that's how this macabre makeup turned out, what do you think, I loved the result, it was hard to blend, but that will get better with time.
.
.
.
• Photos taken of a galaxy A54.
• Traductor/translator: DeepL.
• Collage Editor: Samsung Galaxy editor and Canva.
Thank you for reading
Best wishes to you
❤️
For the best experience view this post on Liketu
Te quedó increíble, muy bueno este maquillaje ✨
ay gracias amiga 😊