Two little bunnies- paper table puppets/ Dos pequeños conejitos- marionetas de mesa de papel (TUTORIAL) [ENG-ESP]
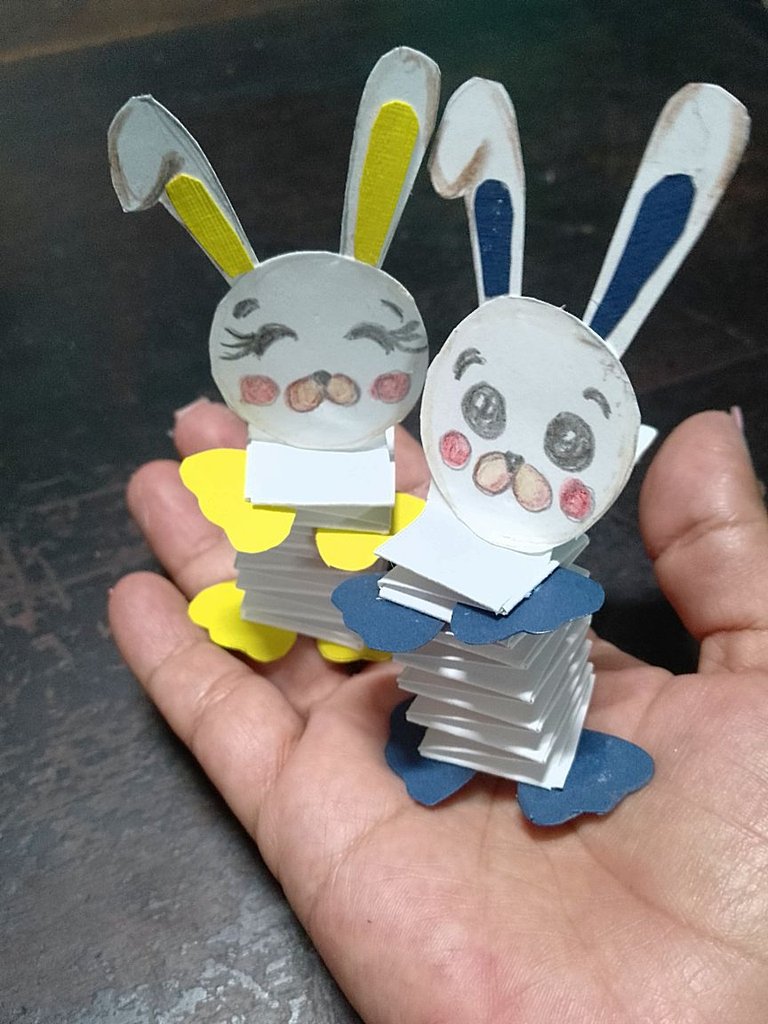
Hello, community !!!
It is a pleasure to get to this space to share with you a simple way to cheer up the kids.
When working with and for children it is essential to generate a visuality that attracts them and contributes to channeling the educational purpose of any action.
This proposal is designed, precisely to create a resource of simple invoice and with waste materials, in this case cardboard of cardboard.
I invite you to follow a few steps. But before, let's know the materials:
Materials
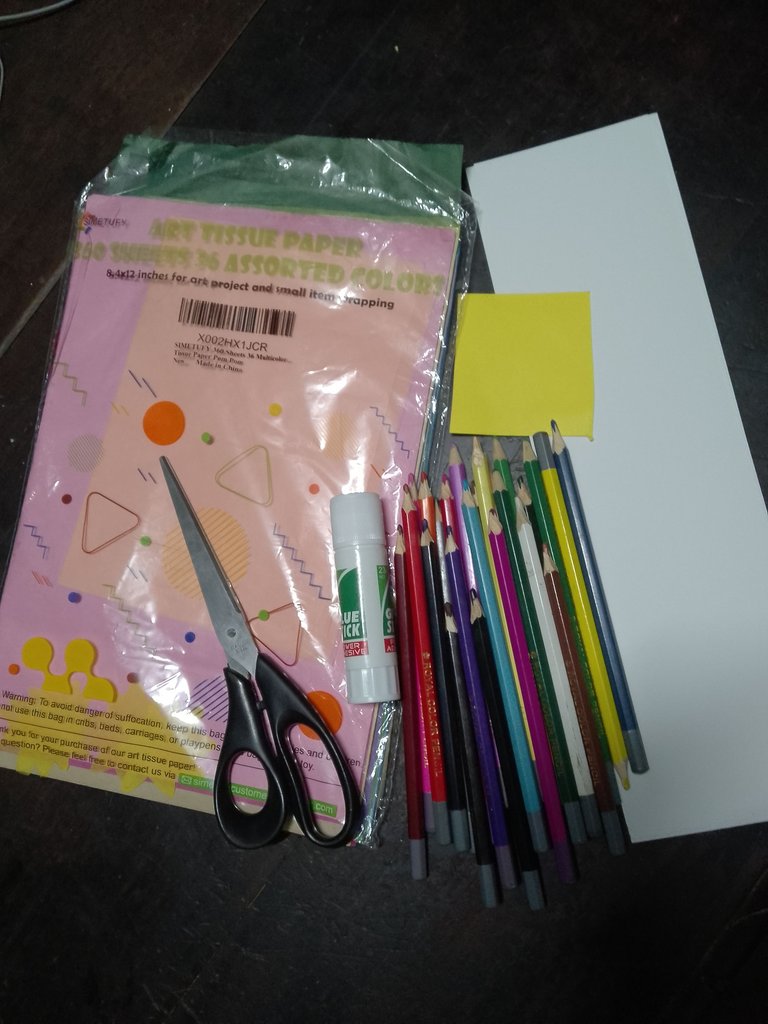
Cardboard or paper cutterry
Bar glue
Scissors
Crayons
The process
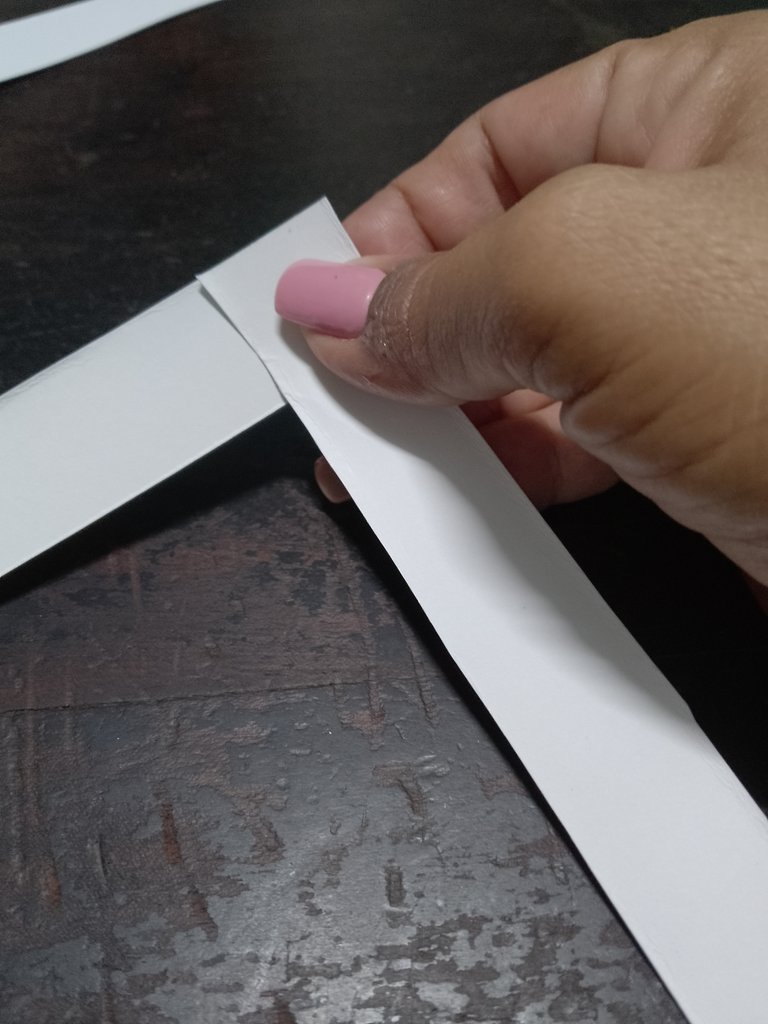
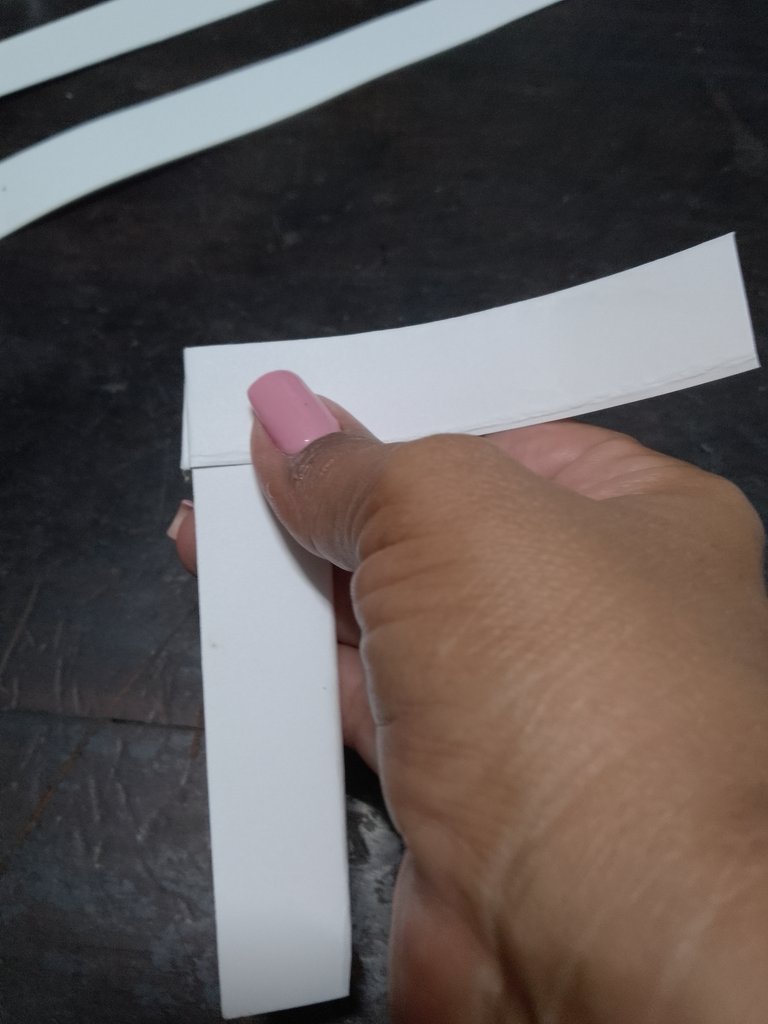
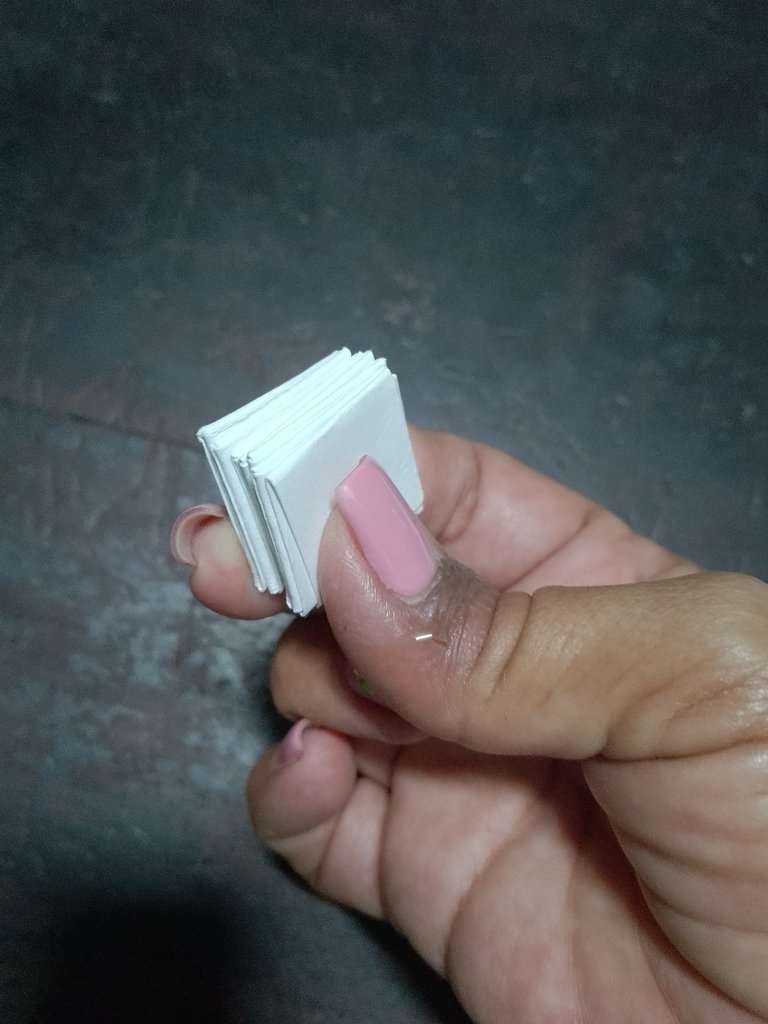
We take a piece of cardboard, we mark and cut, along, 4 lists of 1.5 cm wide.Take two cardboard slats and, folding one over the other, we will generate a kind of accordion.We repeat the process with the other two slats.Thus we will be creating the body of our bunnies.The accordion structure is ideal to achieve the illusion of the jump when manipulating our puppets.
 |  |  |
|---|
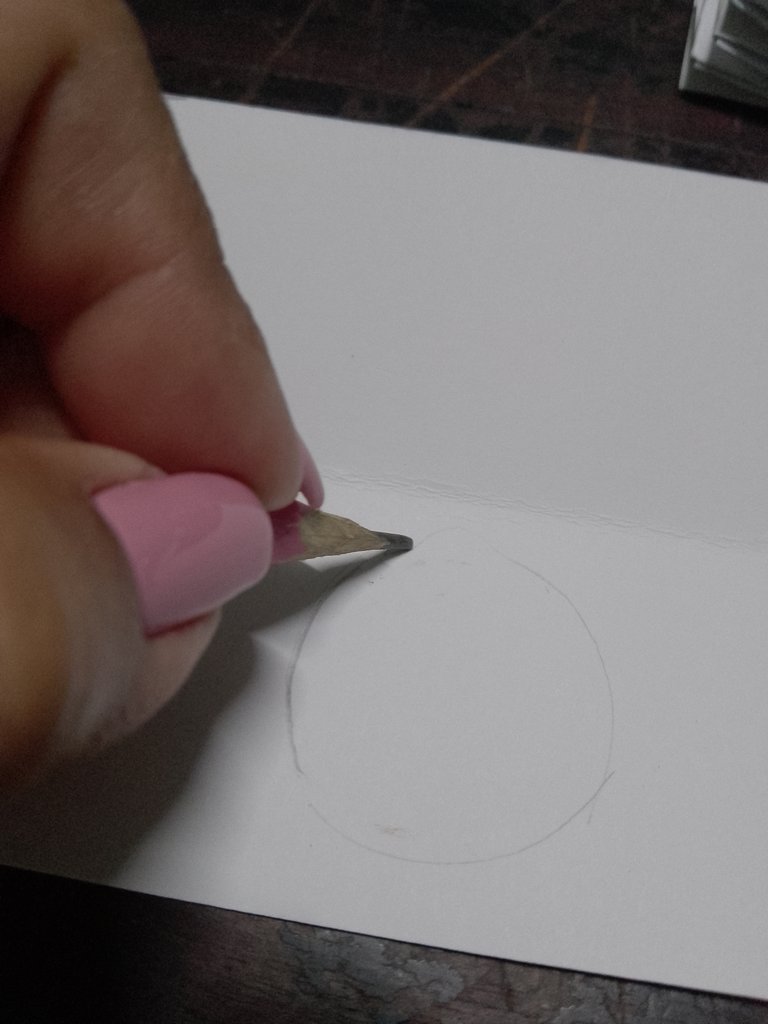
We mark two cardboard circles, those pieces will be the heads of our bunnies.
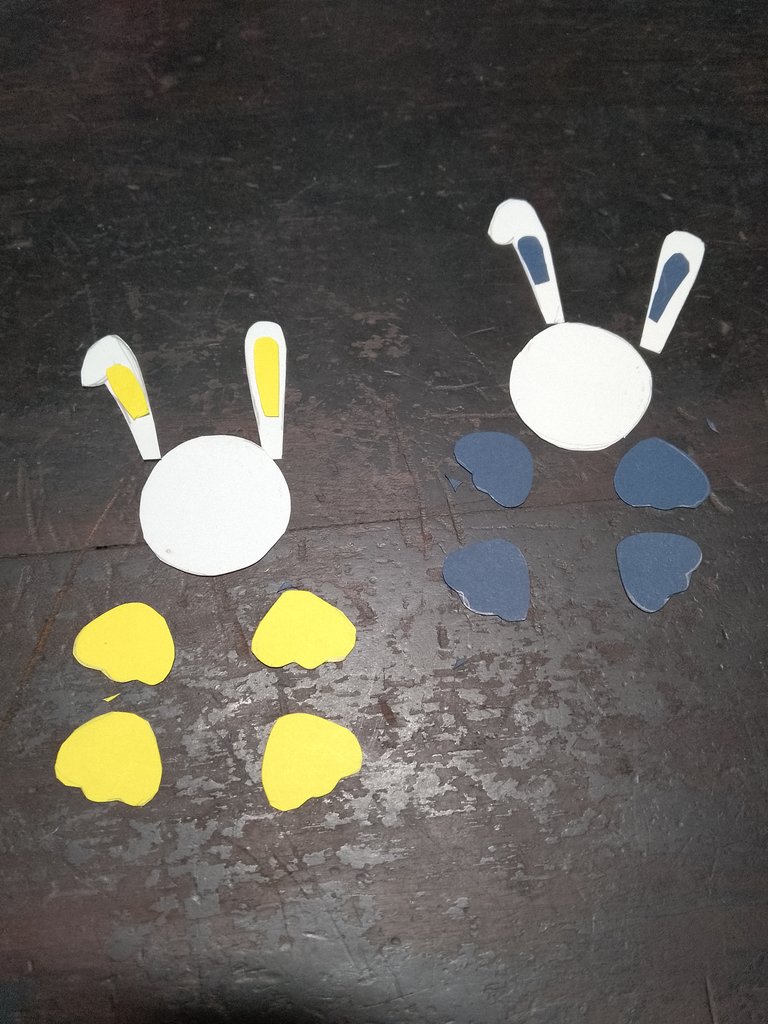
We also mark the shapes of the legs (8 pieces) and the ears (4 pieces)
 |  |
|---|
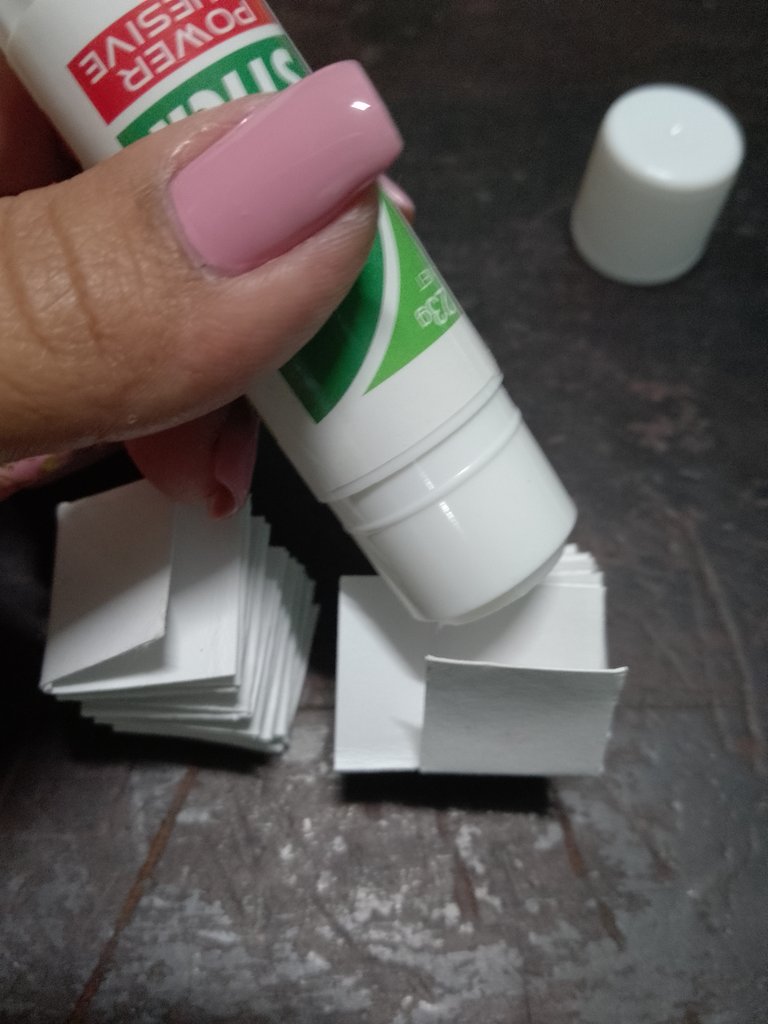
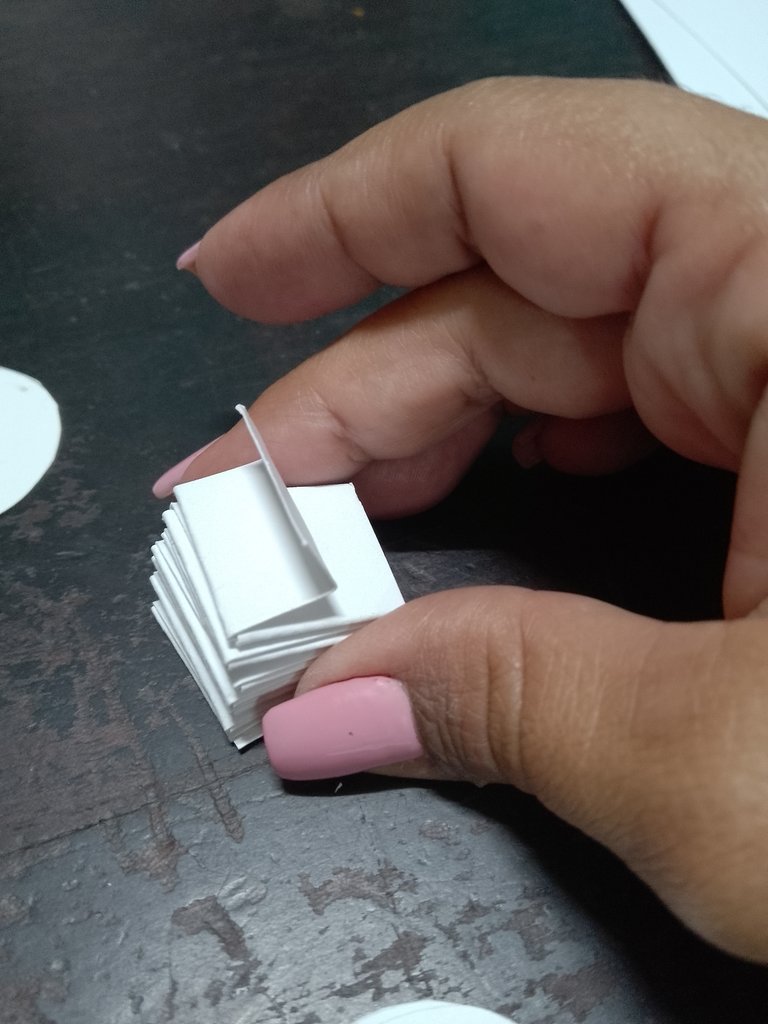
We paste the ends of the accordions, one of them only halfway.The other half will bend it to be the support of the head.
 |  |
|---|
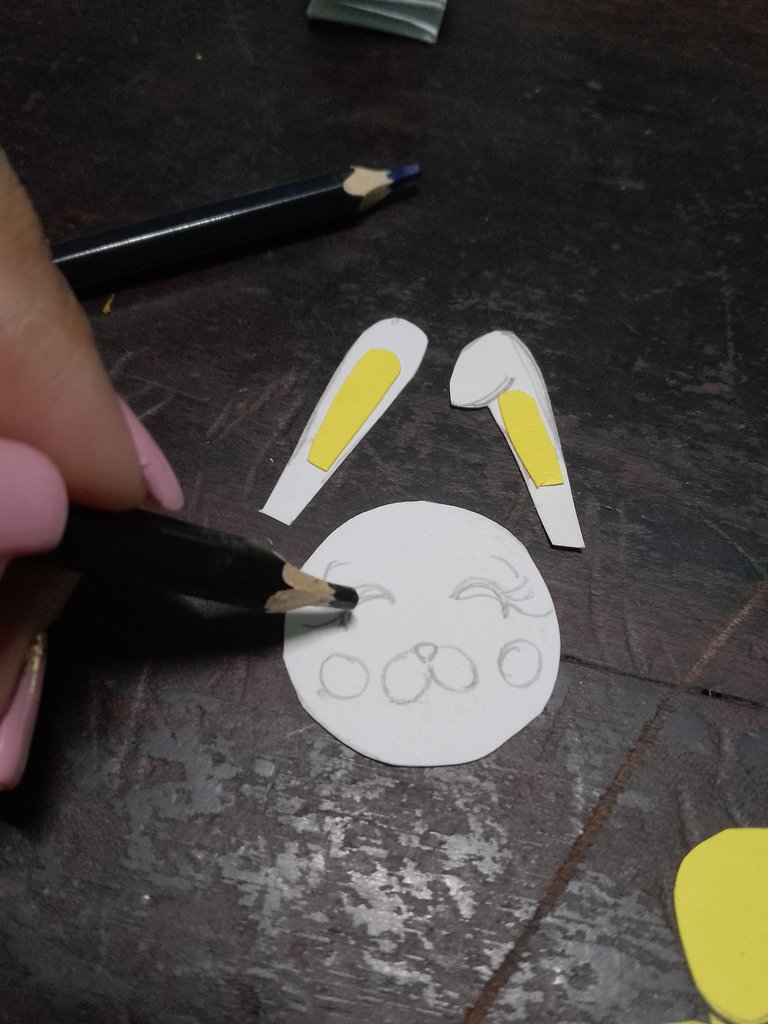
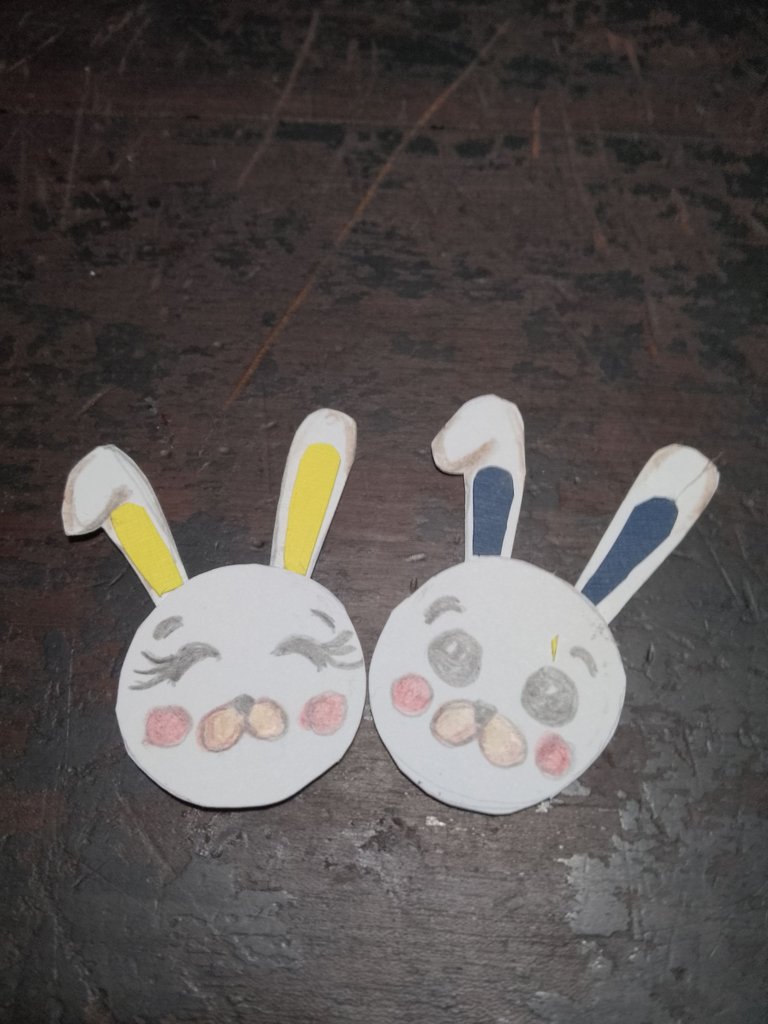
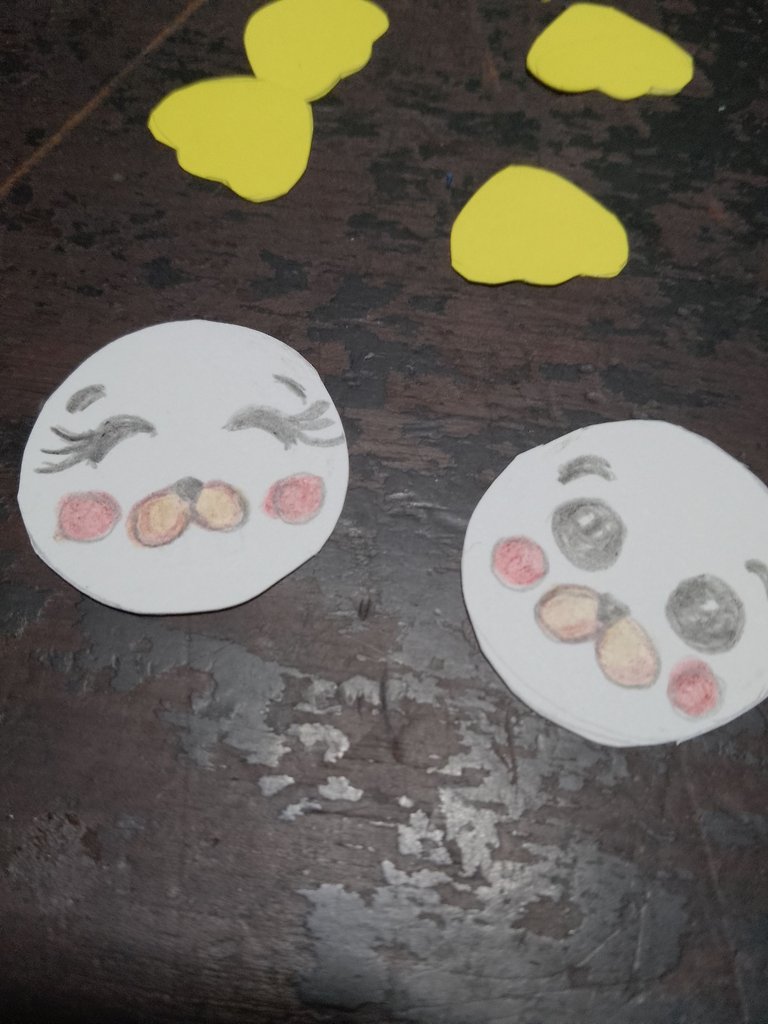
We decorate the heads with colored pencils.In this case I took what I had at hand, but there is freedom to use the pigment we want to achieve greater beauty in our puppets.
 |  |  |
|---|
We glue the pieces.
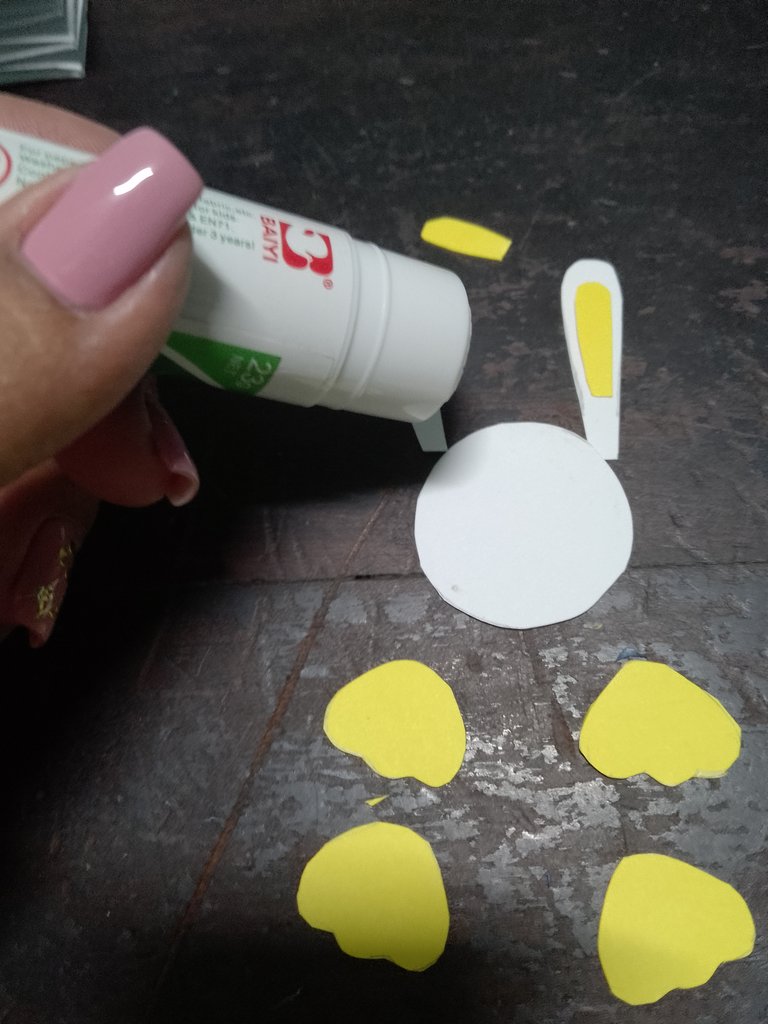
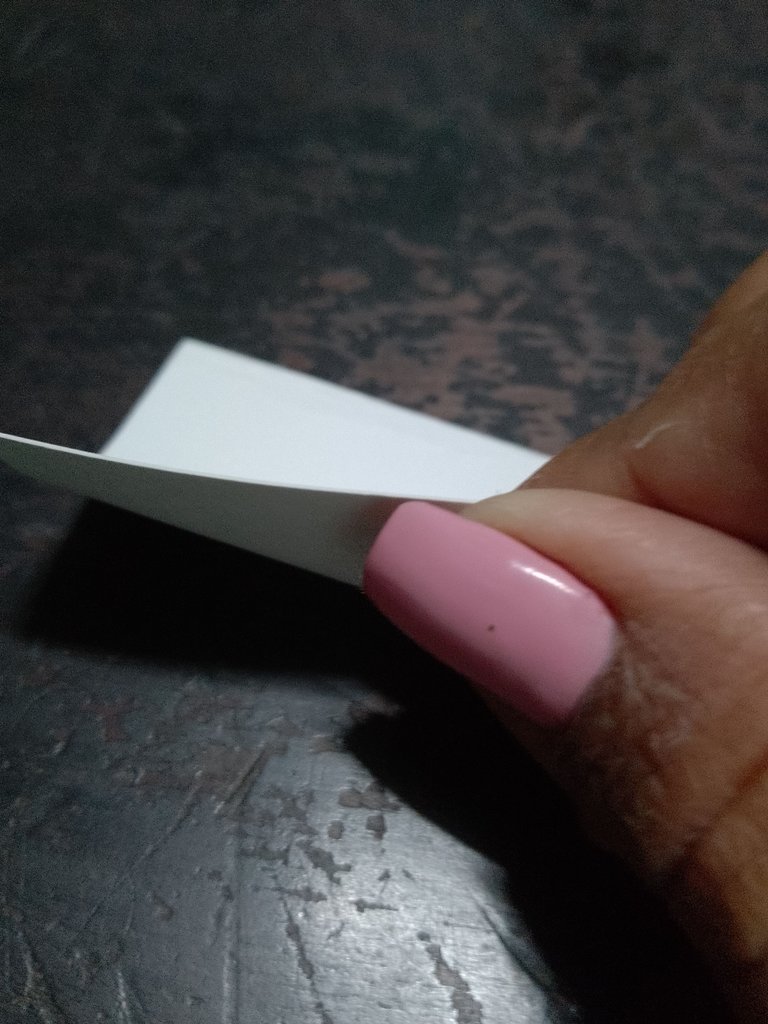
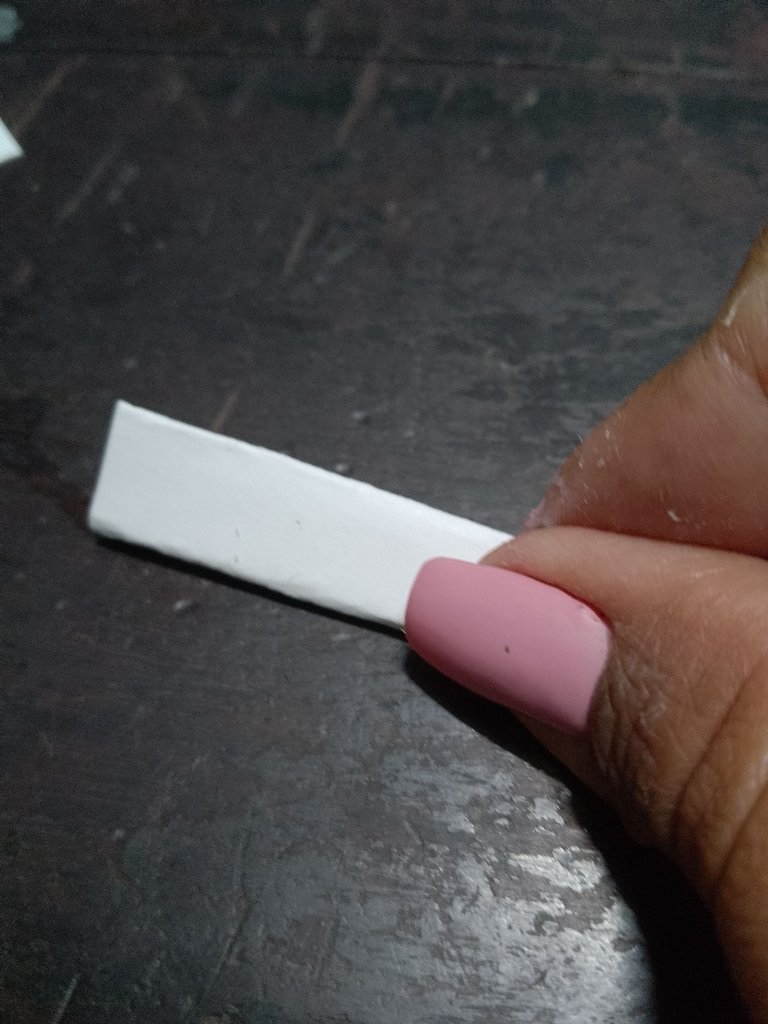
Then let's take two leftover cards of cardboard and fold them in half again and again.This piece will be the command with which we will move our puppet.It is about applying the technique of table pelele that is manipulated with a controls in the head and hip of the puppet.But, given the dimensions and application that little bunnies will have, only one command will be necessary to favor the idea of the jump, its main movement.We stick the mangoes and our characters are ready.
 |  |
|---|
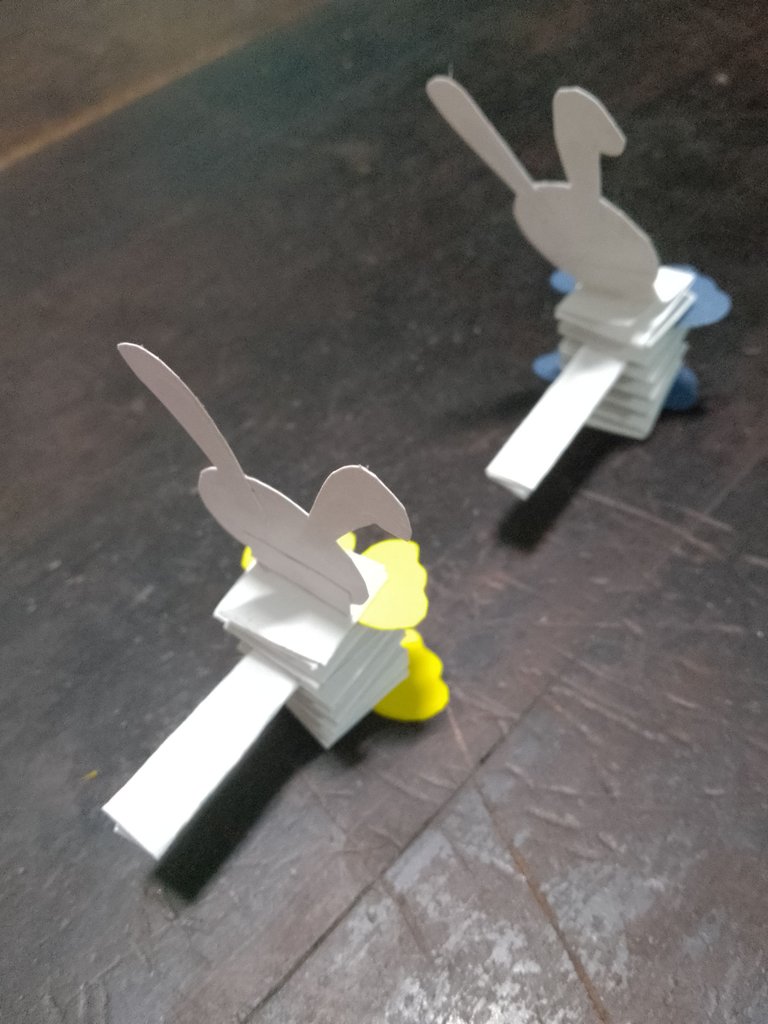
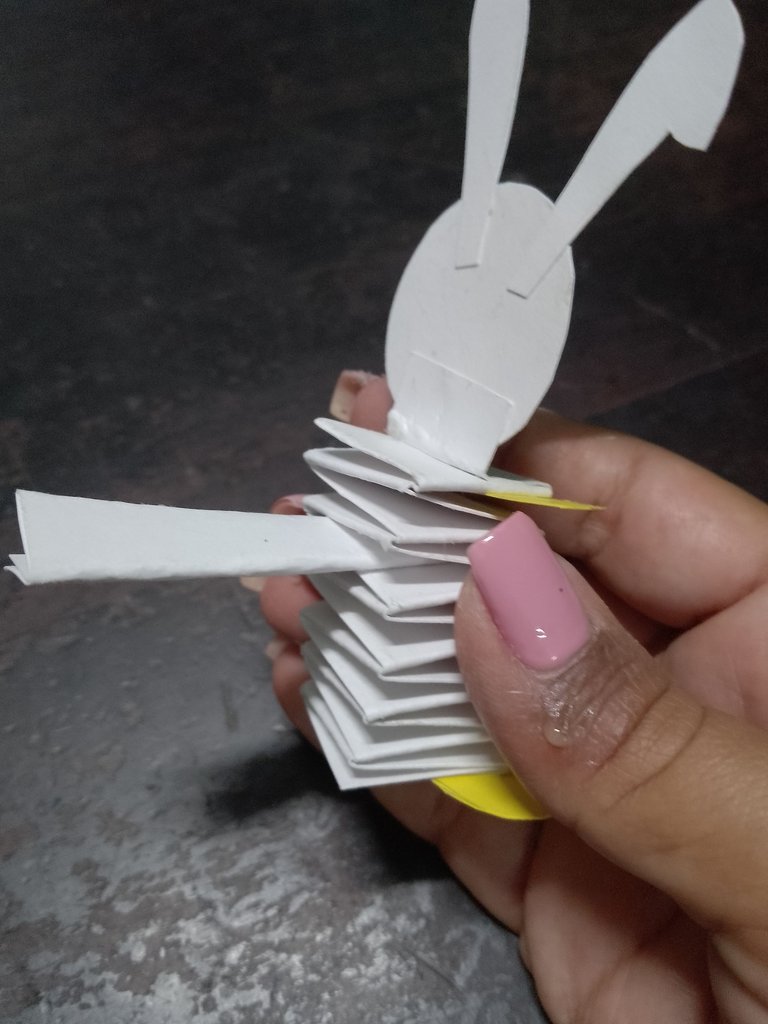
Puppets of this type are recommended for dialogue with children through shows of small oral narration format or simply as play.In any case, it is a good way to reuse those materials that are left over with works with greater emberger and give them a new utility reason.
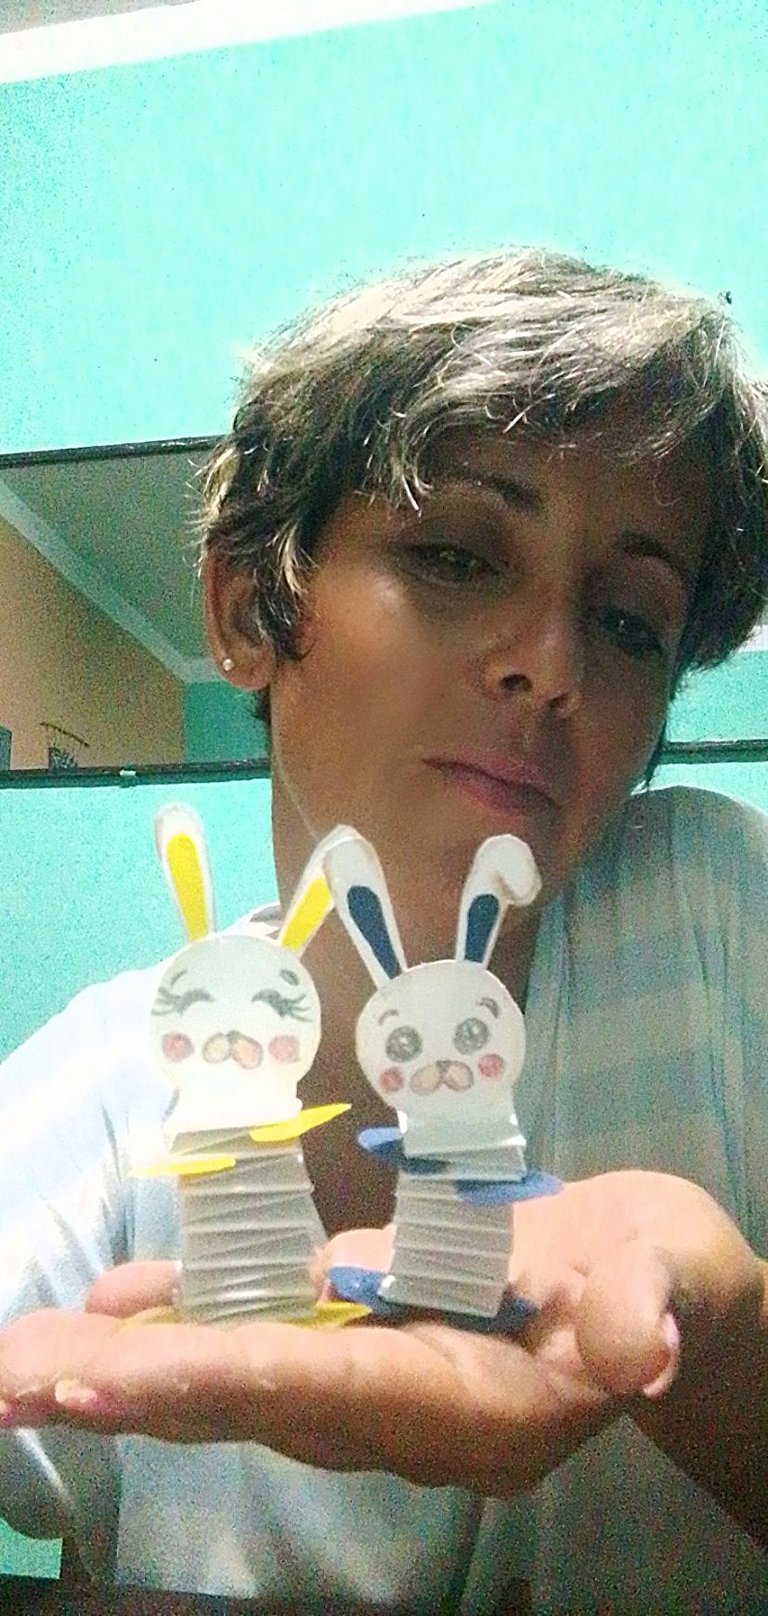
I hope this post has pleased you and, if you wish, leave me your impressions.They will be highly appreciated.
To another creative adventure.Nice day and good ideas are not missing.
all the rights reserved


Hola , comunidad !!!
Es un placer llegar a este espacio para compartir con ustedes una manera sencilla de alegrar a los peques.
A la hora de trabajar con y para niños es imprescindible generar una visualidad que les atraiga y contribuya a canalizar el propósito educativo de cualquier acción.
Esta propuesta está pensada , precisamente para crear un recurso de sencilla factura y con materiales de desecho, en este caso recortería de cartulina.
Les invito entonces a seguir unos pocos pasos. Pero antes, conozcamos los materiales:
Materiales

Recortería de cartulina o papel
Pegamento en barra
Tijeras
Lápices de color
El proceso
Tomamos un trozo de cartulina, marcamos y cortamos, a lo largo, 4 listas de 1.5 cm de ancho.
Marcamos dos círculos de cartulina, esas piezas serán serán las cabezas de nuestros conejitos.

Tomamos dos listones de cartulina y, doblando uno sobre otro, vamos a generar una suerte de acordeón. Repetimos el proceso con los otros dos listones. Así estaremos creando el cuerpo de nuestros conejitos. La estructura de acordeón es ideal para lograr la ilusión del salto a la hora de manipular nuestras marionetas.
 |  |  |
|---|
También marcamos la formas de las patas (8 piezas) y de las orejas ( 4 piezas)
 |  |
|---|
Pegamos los extremos de los acordeones, uno de ellos solo hasta la mitad. La otra mitad la doblaremos para que sea el soporte de la cabeza.
 |  |
|---|
Decoramos las cabezas con lápices de colores. En este caso tomé lo que tenía a mano, pero existe libertad para usar el pigmento que deseemos en pro de lograr una mayor belleza en nuestras marionetas.
 |  |  |
|---|
Pegamos las piezas.

Luego tomemos dos trozos sobrantes de cartulina y los doblamos a la mitad una y otra vez . Esta pieza será el mando con el que moveremos a nuestra marioneta. Se trata de aplicar la técnica del pelele de mesa que se manipula con un mandos en la cabeza y la cadera de la marioneta. Pero, dadas las dimensiones y la aplicación que tendrán los pequeños conejitos, solo será necesario un mando para favorecer la idea del salto, su movimiento principal. Pegamos los mangos y ya están listos nuestros personajes.
 |  |
|---|


Las marionetas de este tipo son recomendables para el diálogo con los niños mediante espectáculos de pequeño formato de narración oral o simplemente como jueguetes. En cualquier caso, es una buena manera de reutilizar aquellos materiales que sobran de trabajos de mayor embergadura y darles una nueva razón de utilidad.

Espero les haya agradado este post y, si lo desean, me dejen sus impresiones. Serán muy apreciadas.
Hasta otra aventura creativa. Lindo día y que no falten las buenas ideas.
Todos los derechos reservados
Qué bonitos!!! Qué bueno que confecciones manualidades. Un abrazo.
Gracias , corazón. Es que soy diseñadora escénica y titiritera
Eeeee que bello, ya tengo tarea con Dylan, le va a encantar. Gracias
Tengo más jjjj
Pues estaré pendiente
❤️🌻🤗
Nice
🤭😁
It's impressive how you put your heart into all the content you share on Hive, whether it's created with your hands, your voice or your soul. You are an example to follow and your presence is very important on DIYHub. Thank you for being here.
selected by @jesuslnrs
I really appreciate this comment.It fills me with emotion that they have me in that concept.I only do what I know and what I love and share it with much pleasure with all of you.Thank you, thanks, thanks.
But you do everything very well, I admire you very much. I hope to see you always on our DIYHub. I moderate here and I still don't dare to show my crafts hahaha...
Jajajaja.
Sure!!! It is my Home now
They are so cute and easy compare to other origami art. :)
Yes, Indeed !!!!
¡Ahí veo a tus niños brincando y sonriendo felices!
¡También nos veo a ti y a mí en ambos conejos brincándonos hapices and hippies!
¡Bravo!
🤭🤣😜 siiiiii !!!!
!DIY
Muaaaa
❤️
❤️
These are undeniably cute crafted by those beautiful hands. I will give it a nice try😍
¡Felicidades! Esta publicación obtuvo upvote y fue compartido por @la-colmena, un proyecto de Curación Manual para la comunidad hispana de Hive que cuenta con el respaldo de @curie.
Si te gusta el trabajo que hacemos, te invitamos a darle tu voto a este comentario y a votar como testigo por La Colmena.
Si quieres saber más sobre nuestro proyecto, te invitamos a acompañarnos en nuestro servidor de Discord.
Gracias siempre por su apoyo ❤️🌻🙏🏻