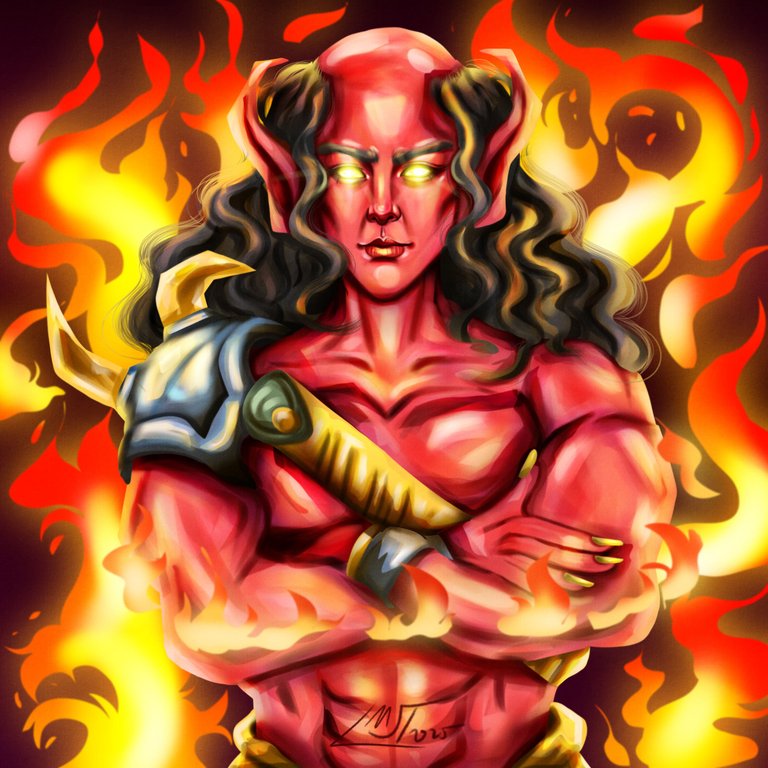
Molten Ogre Splinterlands Weekly Art Contest Entry
Hello, how are you? Before I started to draw in the morning, I decided to clean and organize some parts of our home, and I did not regret any second of it. I'm planning on doing it again tomorrow, honestly, it clears my mind like I have the energy to live that day LOL.
Imagine looking at a home clean and organized. The downside of it I need to draw at night, which I rarely do now since I started walking routine, and I have a lot of things I am thinking this week, so I need a lot of distraction.
I was loving my graphic tablet lately, and I have a lot of second thoughts on whether I should upgrade my gear this year or not. LOL, I told my cousin about it, and he said he is going to inherit my precious graphic tablet.
By the way, for my entry for this week, I chose Molten Ogre for my entry. While I was watching some YouTube art vlog, I saw someone do this rendering technique, which made me curious, so I tried to apply that rendering technique. I've been loving drawing fire characters in the past week, so maybe next week I'll change it, LOL.
The Process:
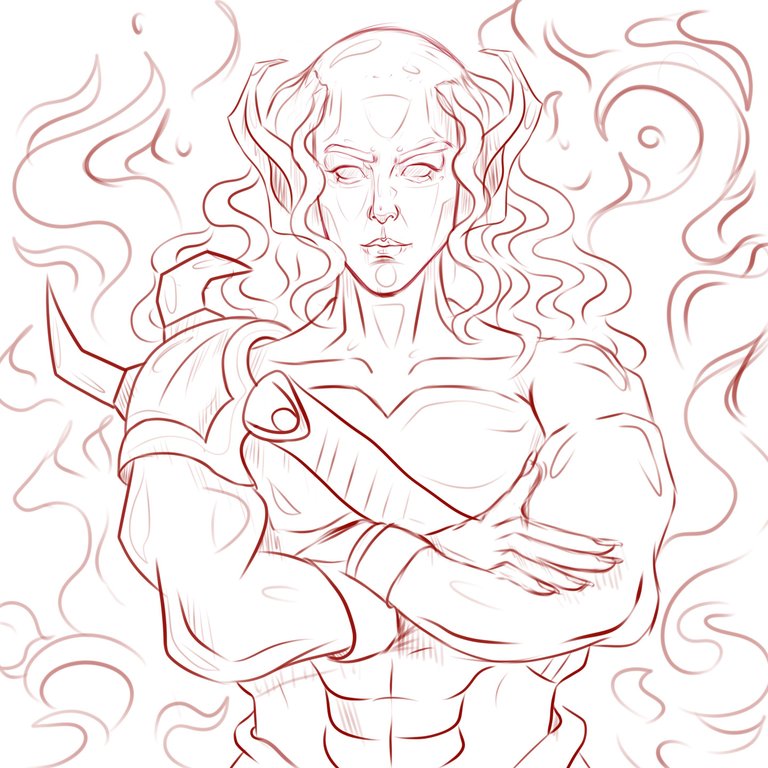
For the line art, I challenge myself to draw more body parts, so I decided to literally challenge myself. It took me hours to perfect the line art. For this part, I used the detail marker and adjusted the stabilization to make the line art cleaner. I like to add shapes where I want the shadows and highlights, which helps me a lot.
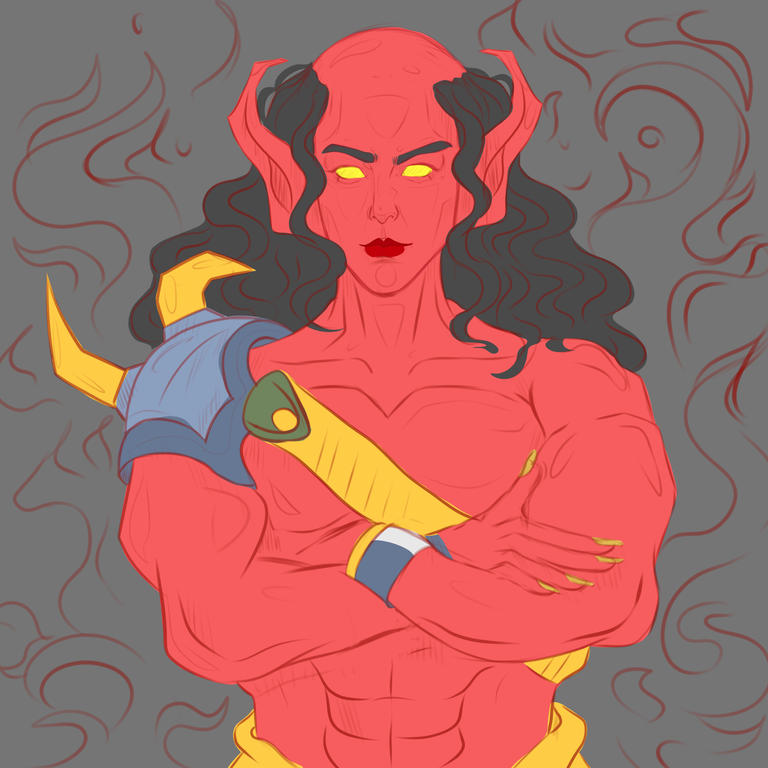
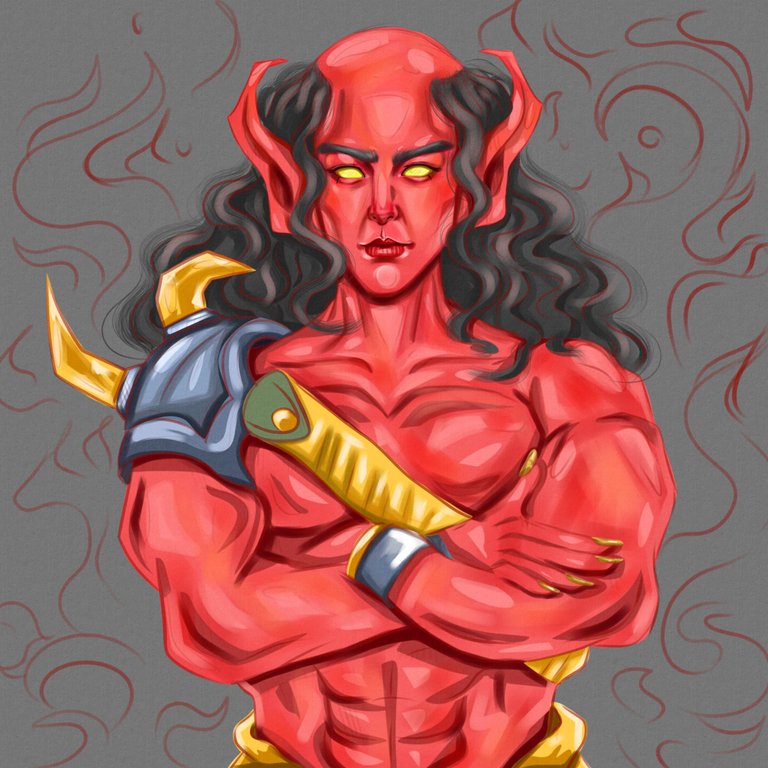
For this part, I am going to start rendering by doing the base color first. Before I do that, I fill the background with dark gray to tone up the canvas, and then I use the brush shape fill tool, which I love to make my life easier, and by the way, I like them to have their layer, each part of the character, to make the rendering easier later.
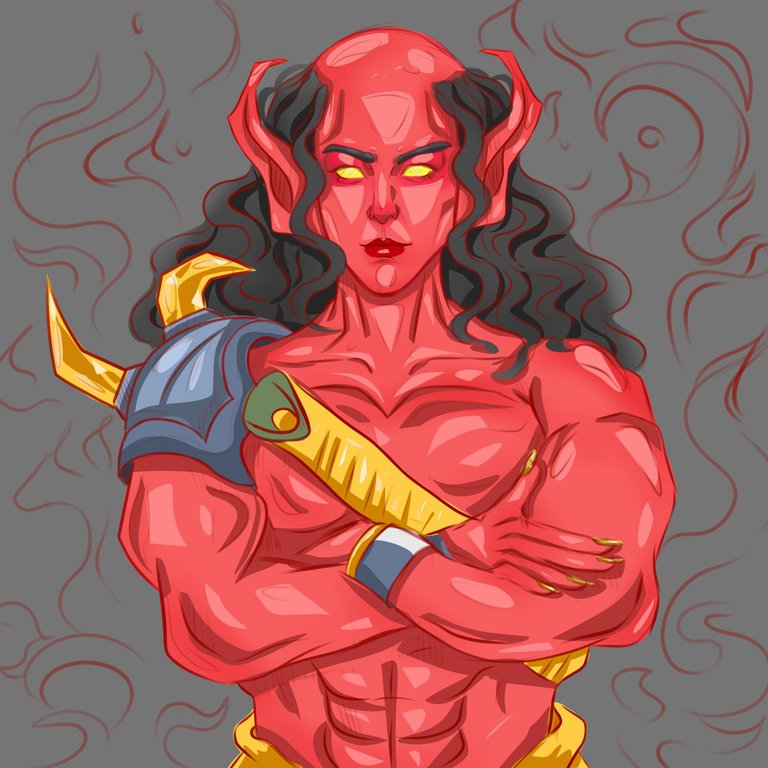
For the next step, I still used the shape fill tool to add the shadows and highlights. The ones I shaped, I drew from the line art, which was so much help for me to distinguish where to add the highlights and shadows.
For this part, I add texture to the canvas to add a more unique twist to it. And for this part, I used back-and-forth brushes like basic flow and airbrush. Basic flow brush makes shapes, and then the airbrush blends them. One thing I do is I blur parts to smooth out the strong outline. The name of the filter is "Gaussian Blur".
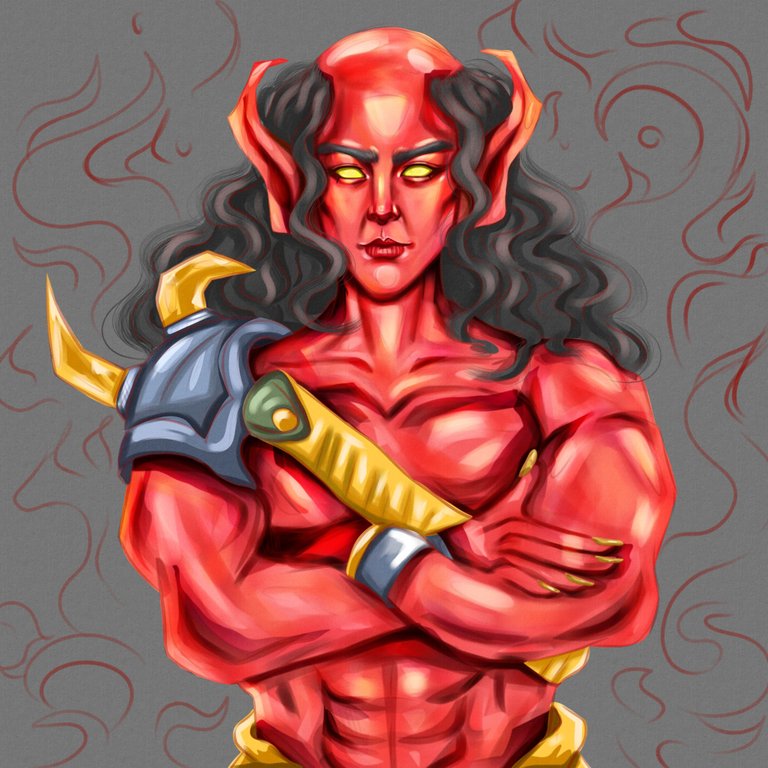
For this part, I lowered the line art of the character so that I could see some of the parts that needed some minor fixes. Same as the earlier rendering, smoothen and strengthen the shadows and highlights.
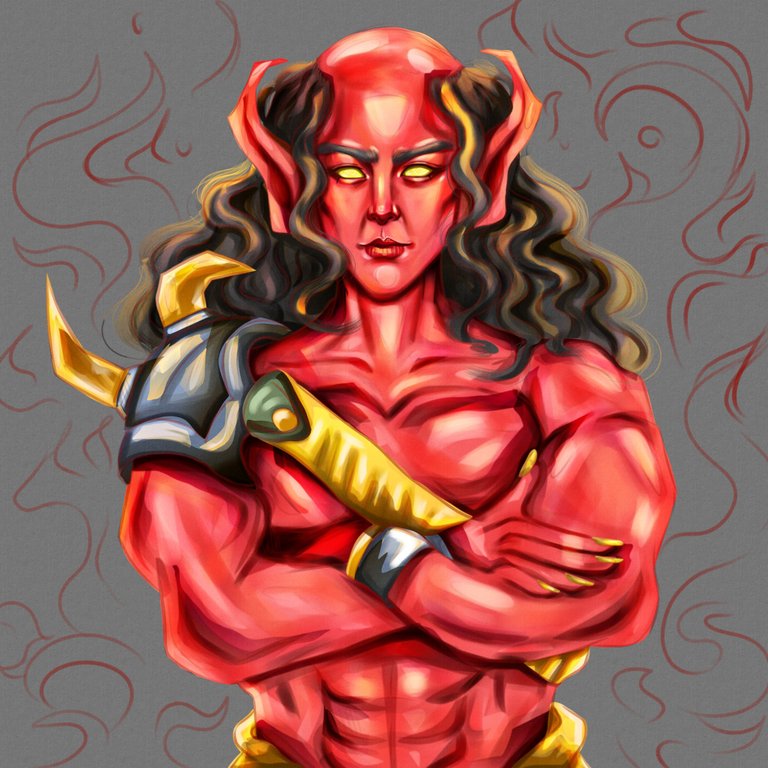
His power is fire, so I decided to add a fire background design. While I am still thinking about how I am going to execute that, I just imagine a reflection of light behind him, so I added more fire reflection highlights.
The one I saw from an art vlog was them rendering, they used freehand selection tools to add the shape of a shadow, and then she selected a gradient, and added a gradient to that shape. Make it look like a gradient effect of shadows, and then layer it to make it more intense. I like it, so maybe I am going to do it again next time.
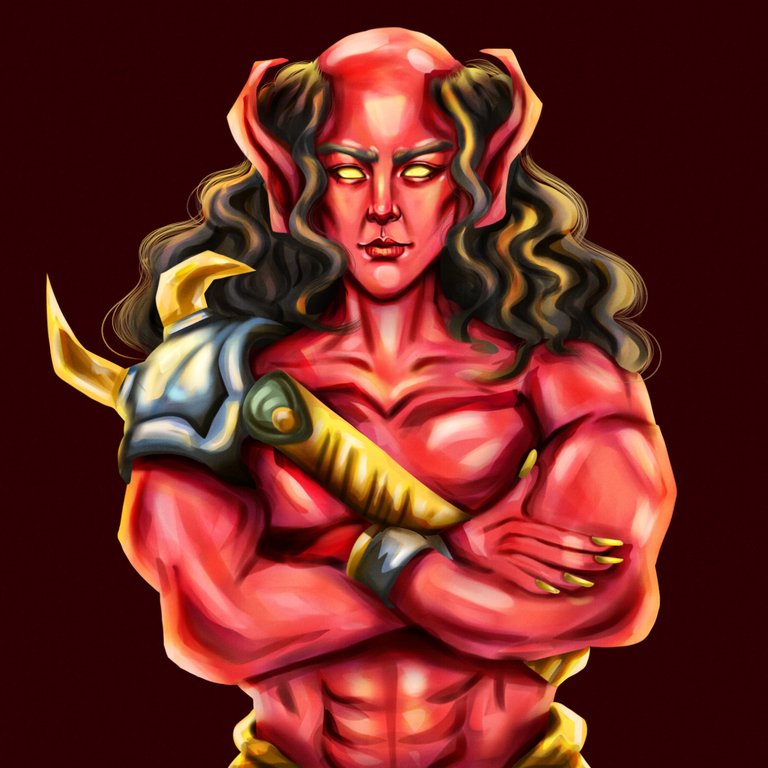
For the final process, I added a fire background design behind him, and I added more in front of him, and then I added more detail to him.

Thank you for visiting. See you on my next blog. :D
Please take care of your mental health as well.
I hope you are okay today :))
Materials:
Gear: XP-Pen Deco 1 v2
Program: Krita
Duration: 5 hours

Thanks for sharing! - @cieliss
