I Made A New Stickers I Am Into Dried Sunflower Vibe

Hello! How are you guys? Since our printer returned home, I can finally print many stickers again, yehet! which I feel excited about. The last time I made a sticker in the last few months I printed the sunflowers I made which are all gone because my cousin gave them to his friends as a remembrance of their graduation which makes me feel happy because he liked the sunflower sticker I made hehe.
I decided to draw a design again I am really into dried flowers which I lowkey drew before the weather here felt gloomy and it is perfect weather to just sit and cut stickers.
Materials I Used:
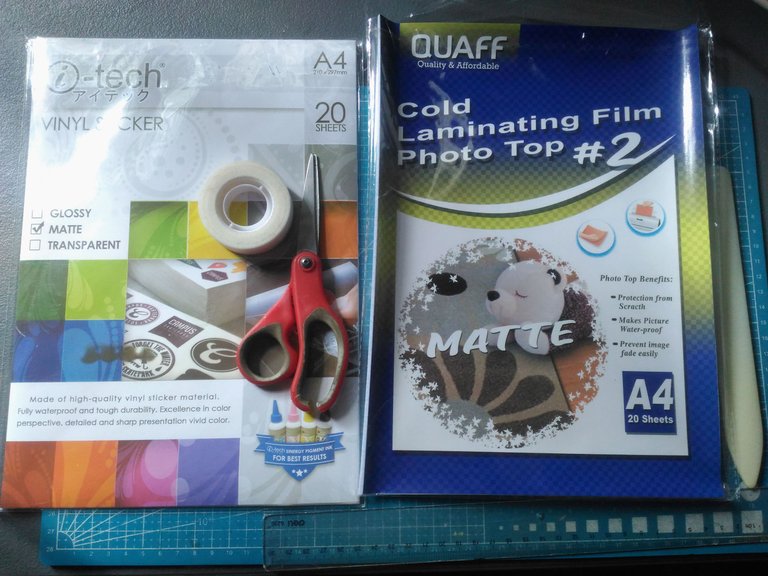
- Vinyl Sticker Matte
- Cold Laminating Film Matte
- Tape
- Cutting Mat
- Scissors
- Ruler
- Bone Folder
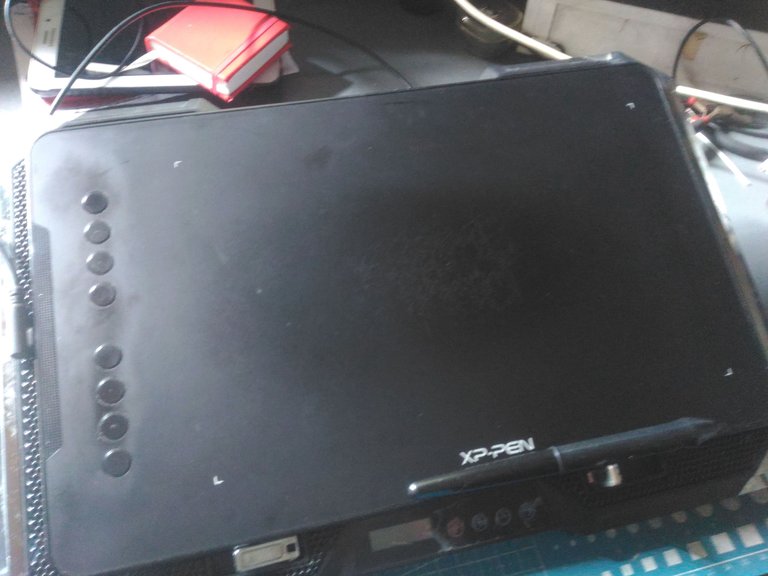
- Graphic Tablet
- Laptop
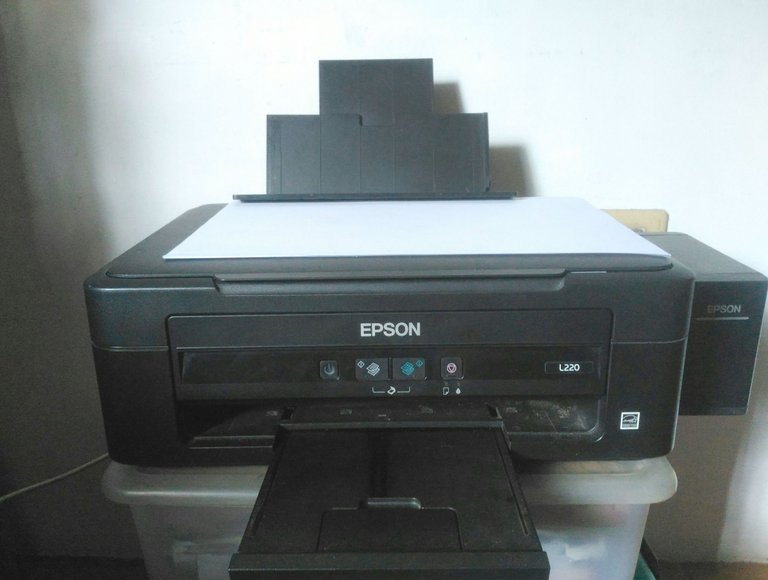
- Printer
Time to Print:
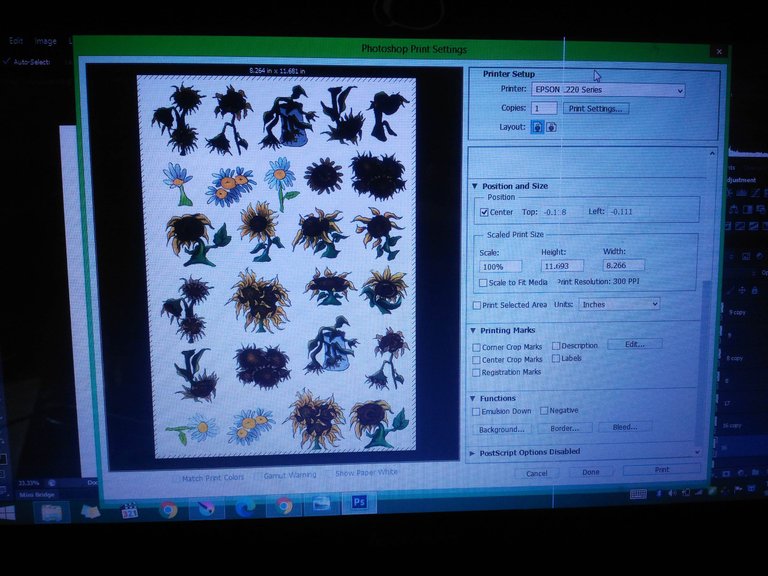
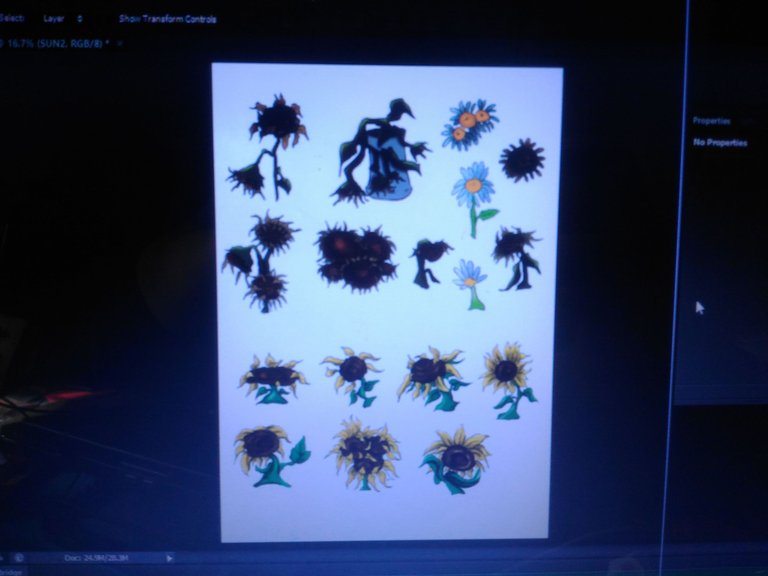
After I finished drawing all the designs I wanted, I used Photoshop as the program to use to print my stickers. I just make sure that the size of the paper, and the type of paper are right as the sticker paper I will use and make sure that the quality of the print is high. And it is ready to go.
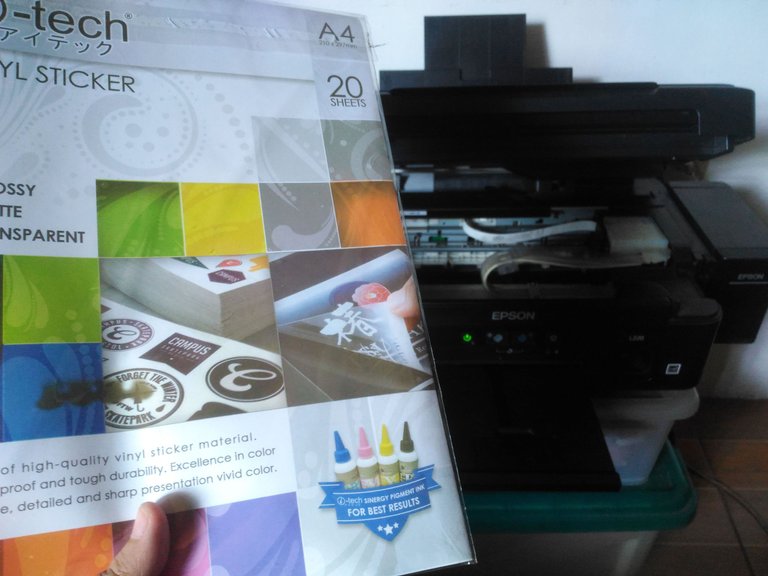
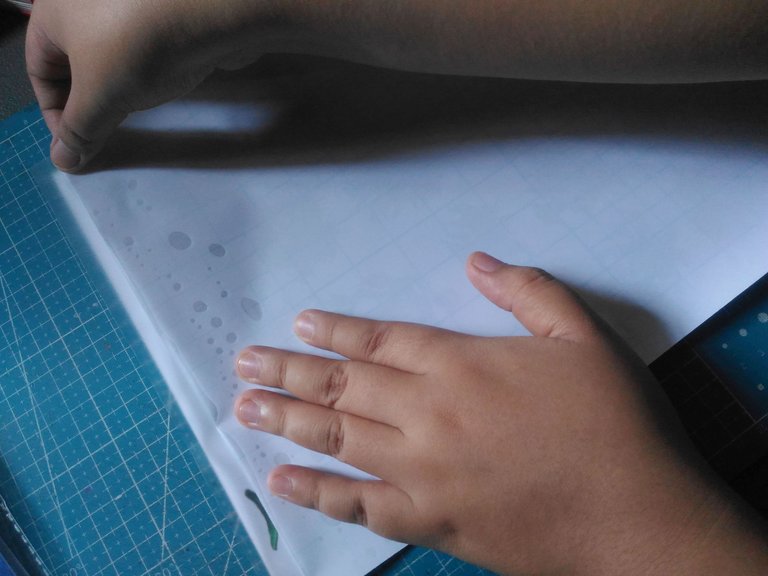
I use this vinyl sticker to print my stickers. I make sure to clean my hand before holding the paper fine dust is the number one enemy when it comes to printing stickers.
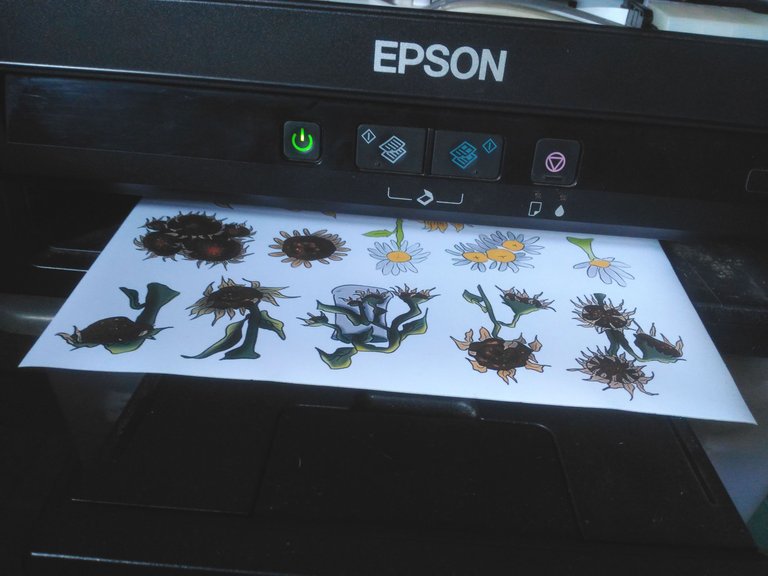
It will take 5 to 10 minutes to print the stickers.
The stickers are ready to be laminated. I make sure to dust off any debris of dust on the paper before applying the lamination.
Lamination Time:
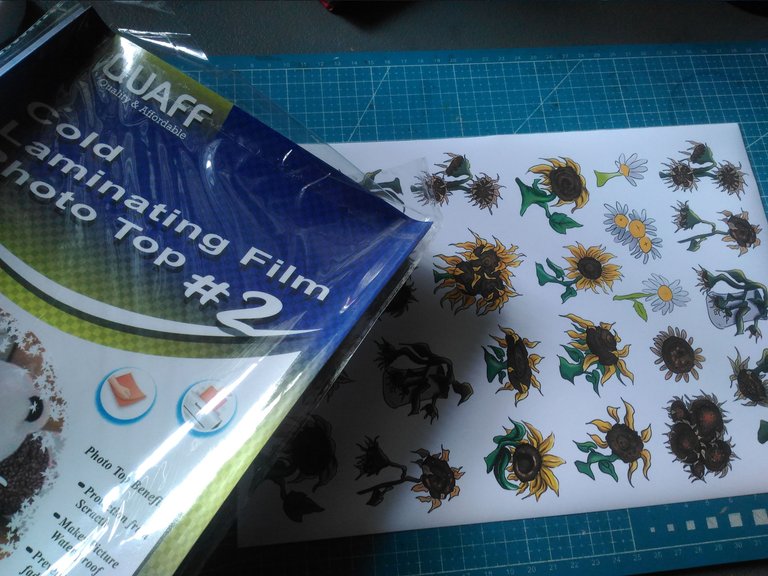
The lamination I use is a matte finish, I like the texture of it.
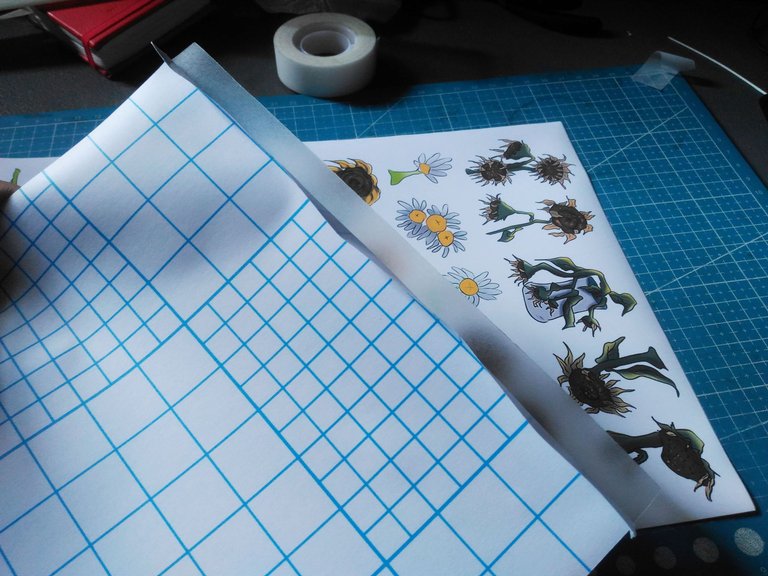
Before putting the lamination I first tape the paper down so it does not move when applying the lamination and then I peel half an inch to expose the adhesive part and fold the backing of it.
I make sure to eyeball the part where I am going to apply the lamination, what I do is I use half of the exposed adhesive and apply it past the sticker paper. It will serve as the extra tape when I apply the top coat.
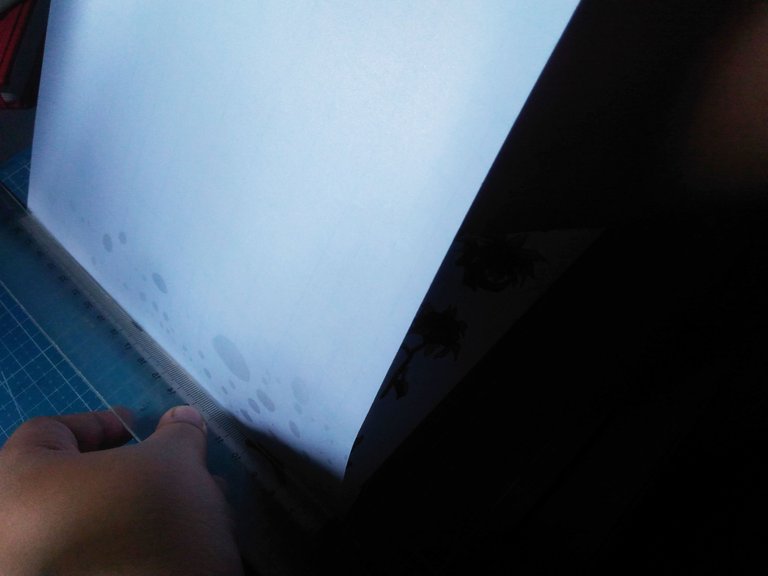

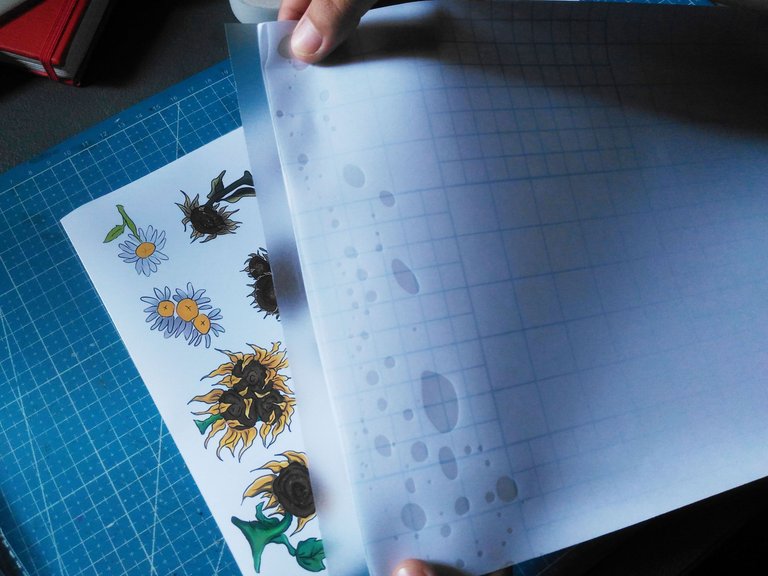
Using the ruler I carefully press down to the edge of the sticker while I press down I slowly peel off the backing of the lamination. Make sure no bubbles form when doing it.
Some of the parts created bubbles so I first do is I gently used my finger to carefully circle the bubble until it disappeared.
After pressing down the bubbles, I use the bone folder to press down more the topcoat.
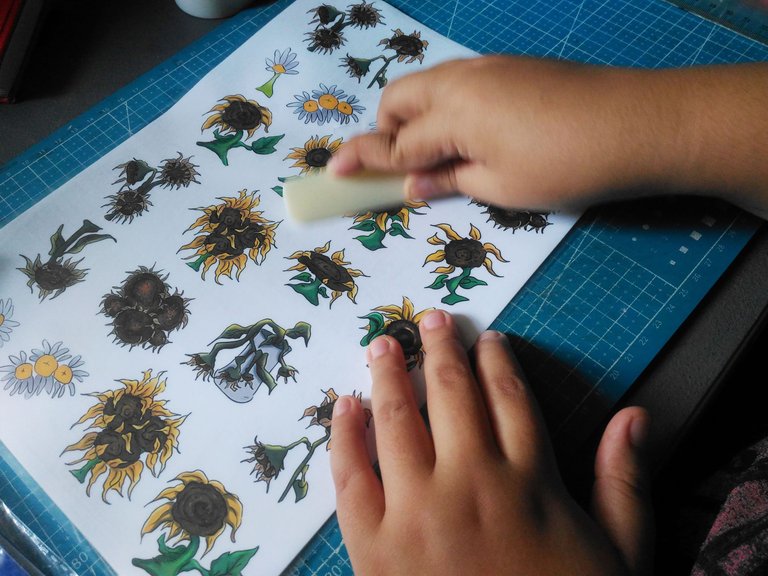
Cutting Time:

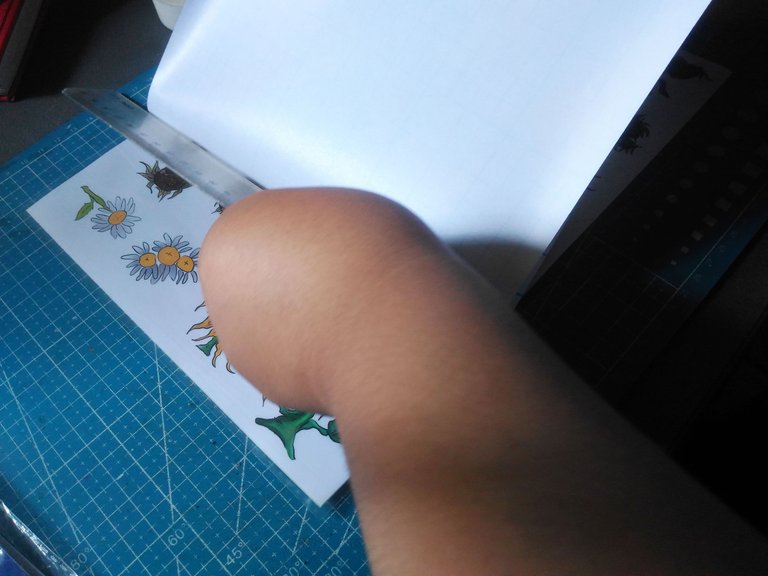
It is time to cut the stickers I make sure the scissors I use are clean and very sharp.
I first cut the sticky part to expose the lamination and then I cut it in parts of the group.
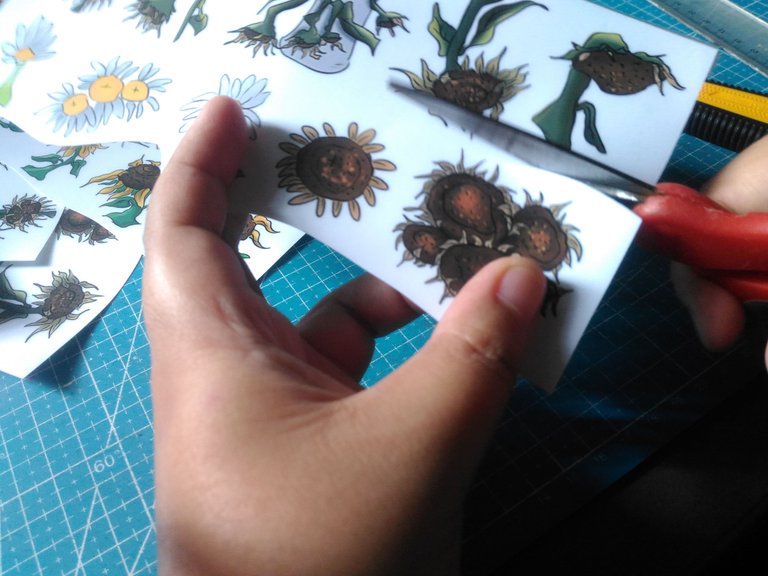
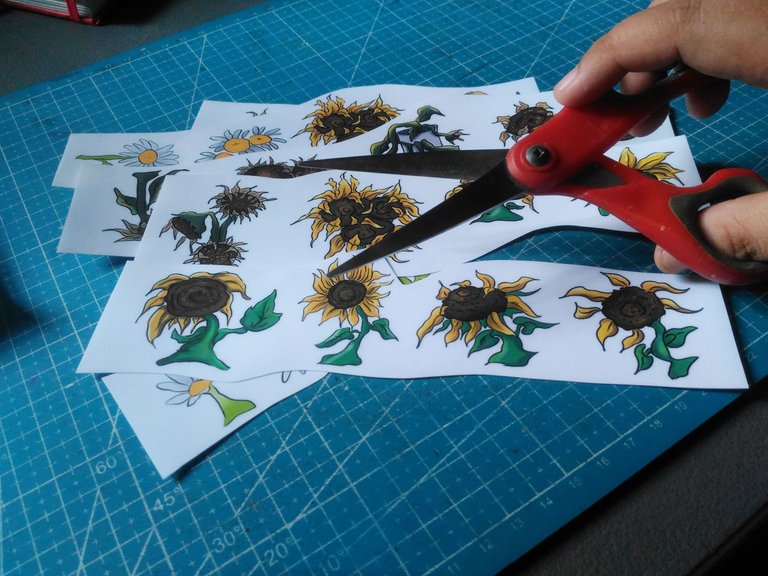
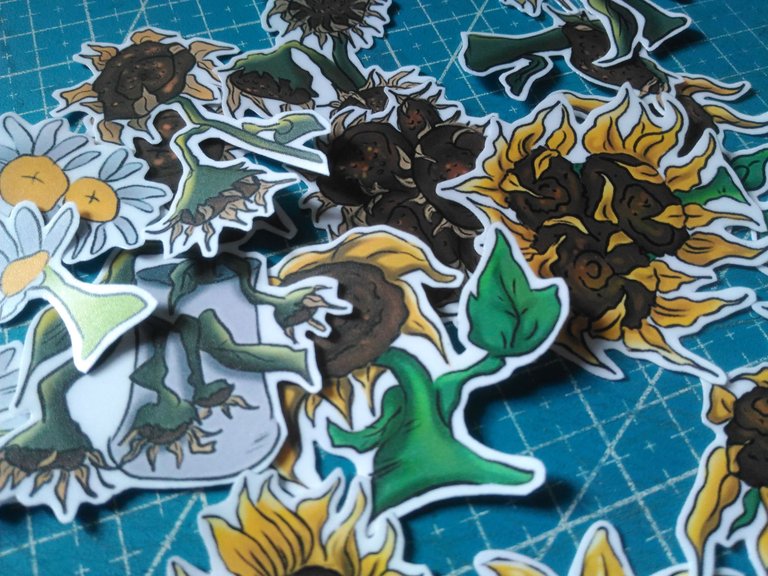
And then one by one I cut each carefully.
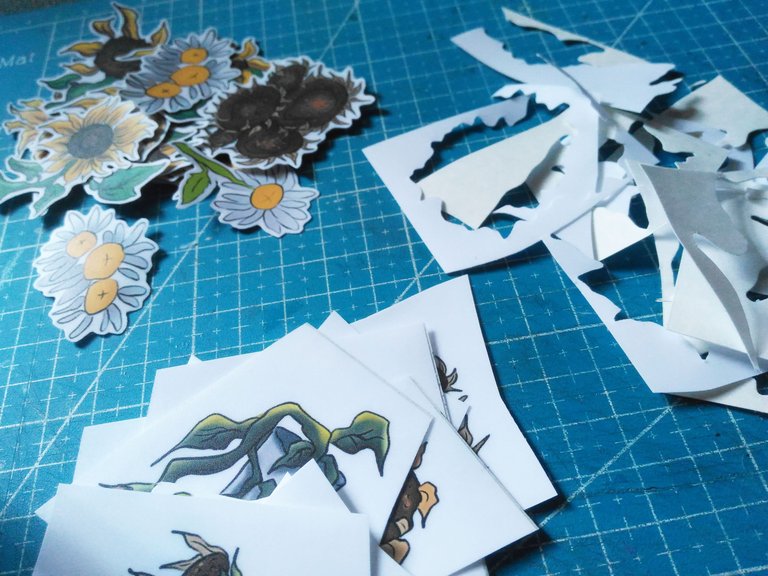
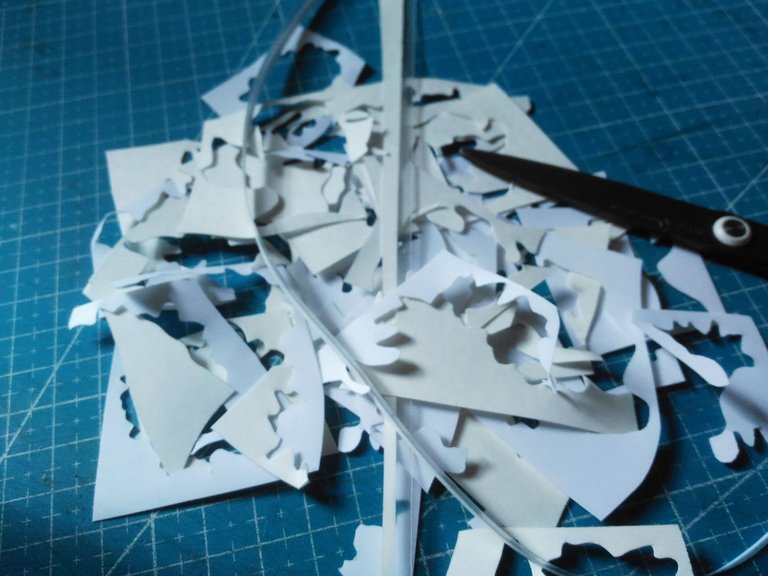
All the cut parts of the sticker are flying everywhere. LOL
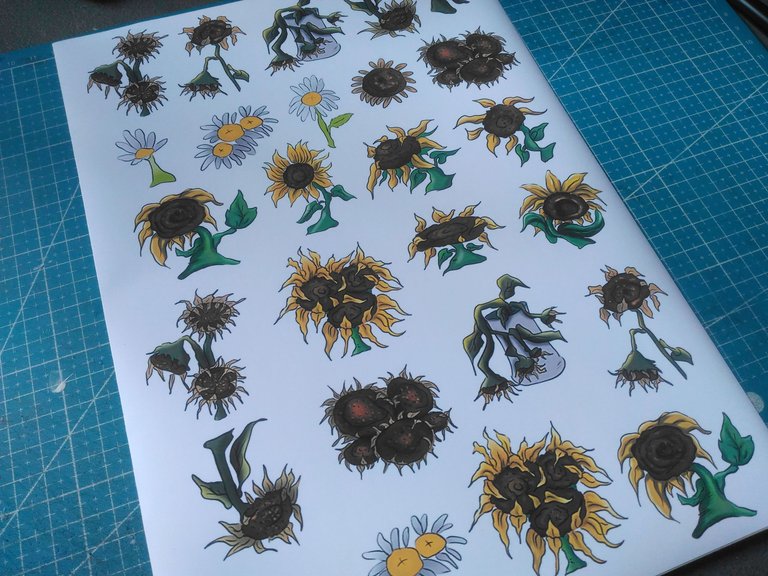
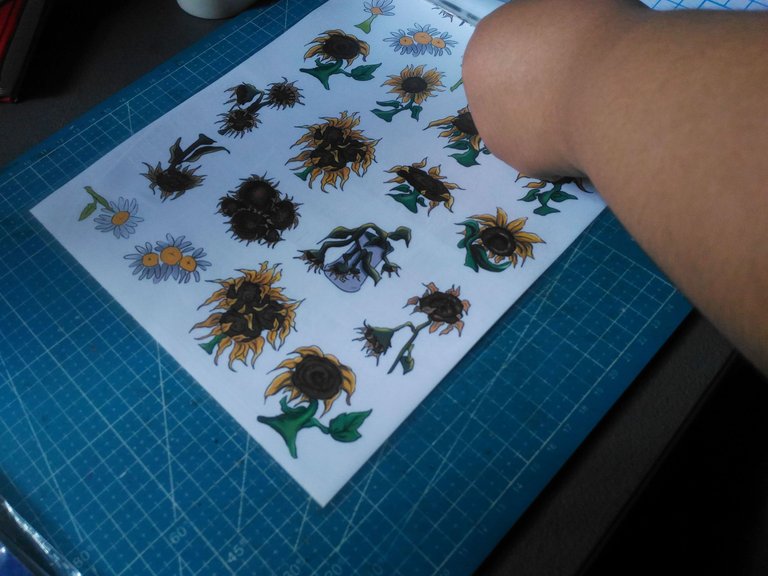
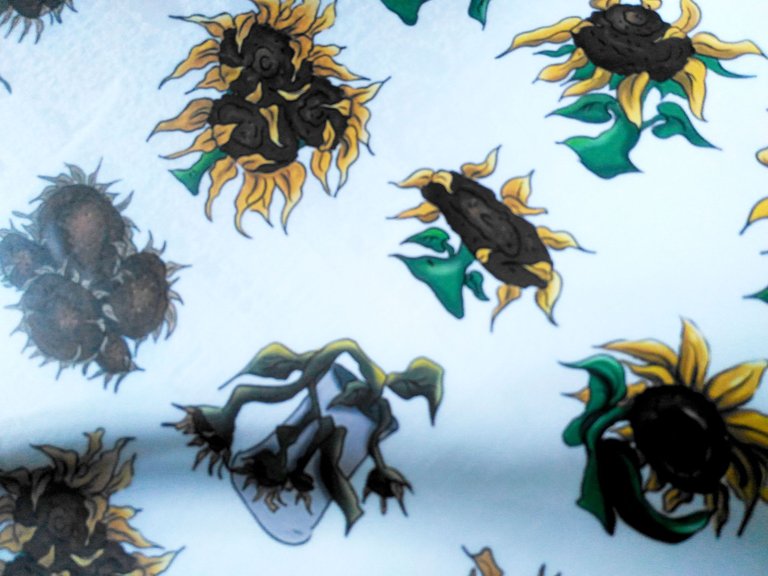
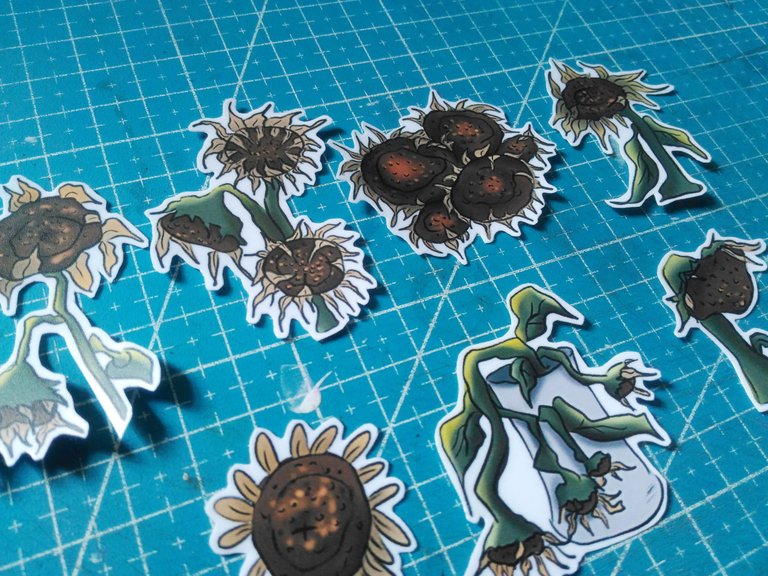
New Sunflowers:
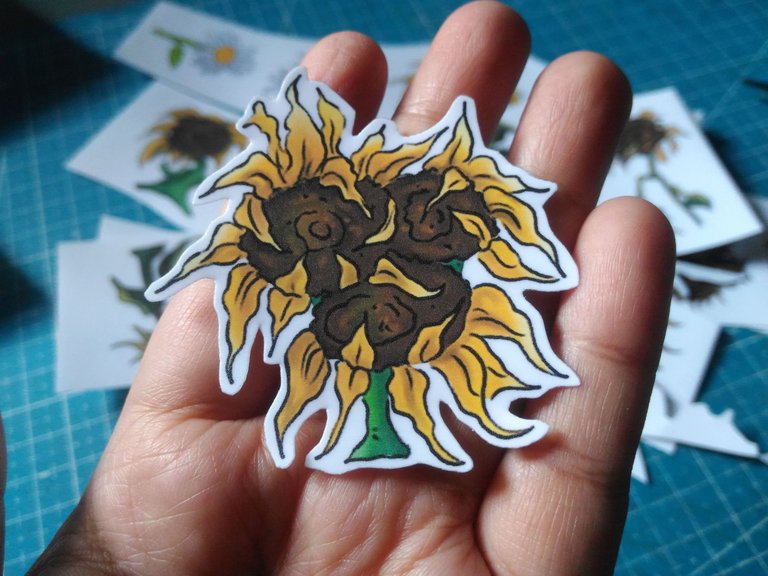
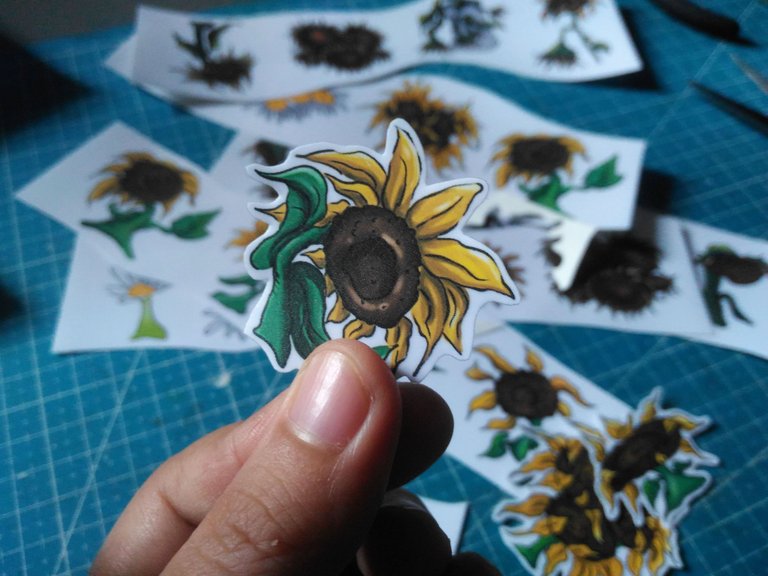
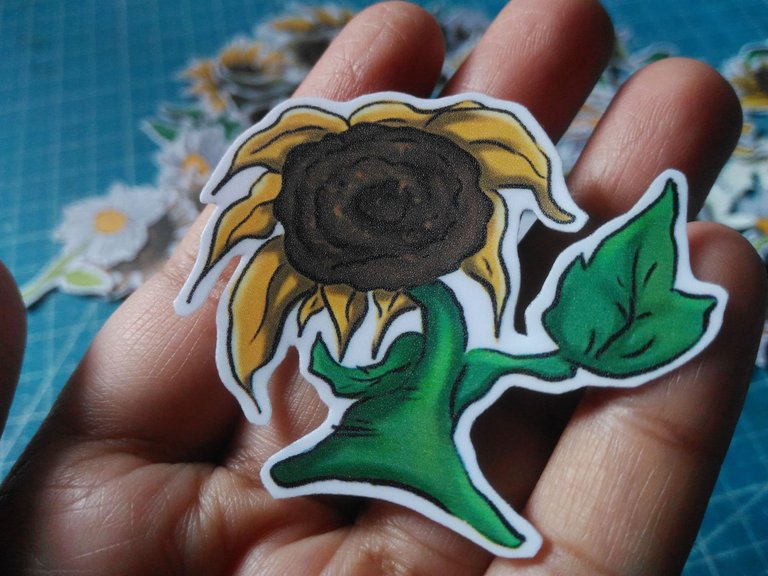
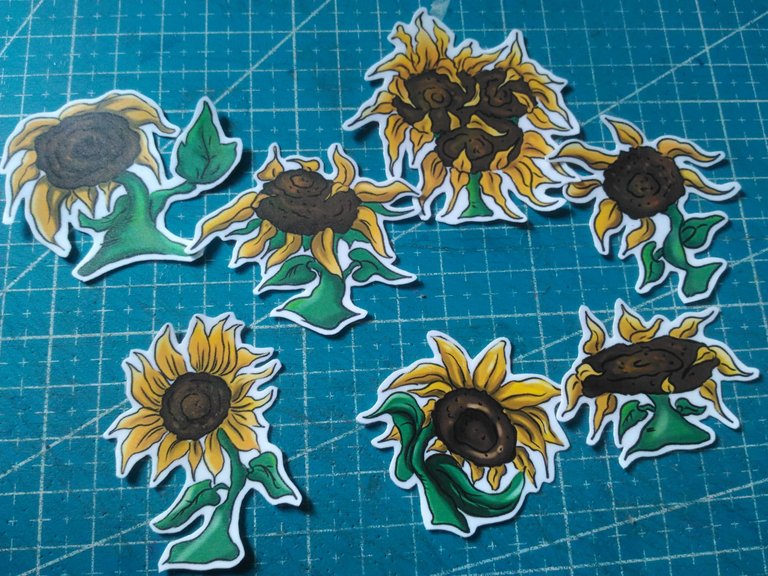
Those first three are my favorite sunflowers I drew. And these are all the new sunflowers I drew.
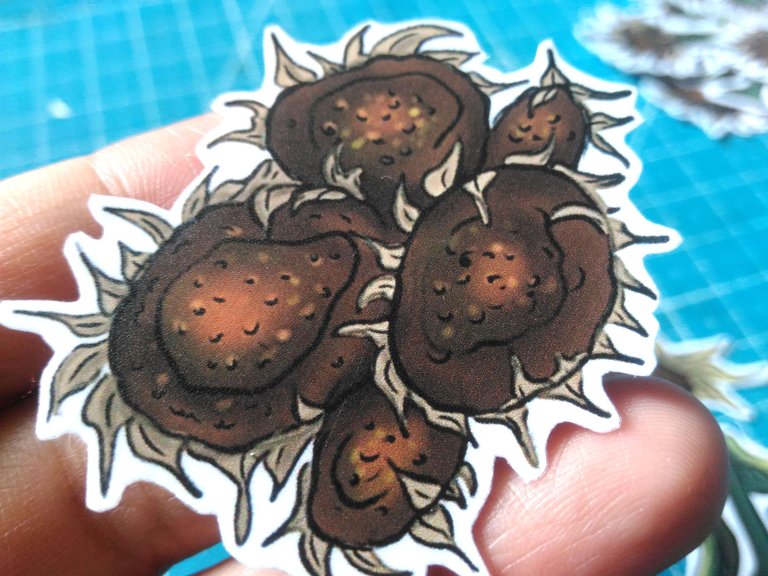
New Dried Sunflowers:

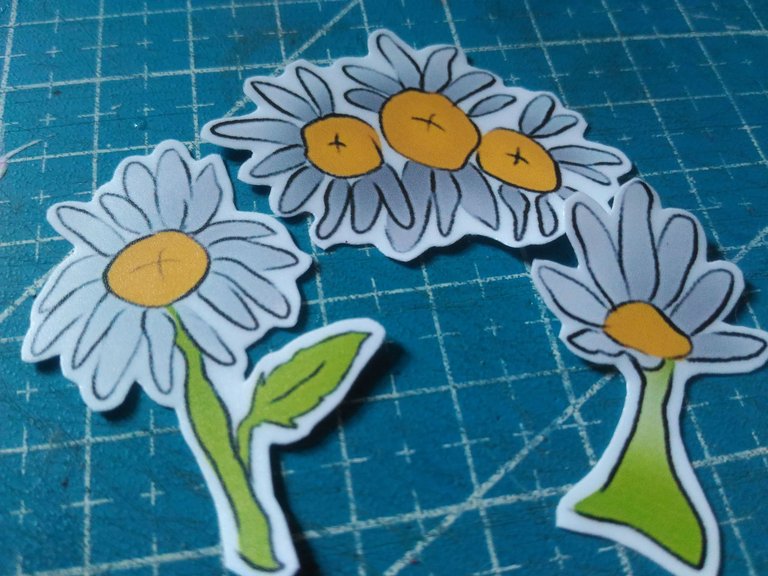
Daisy Stickers:

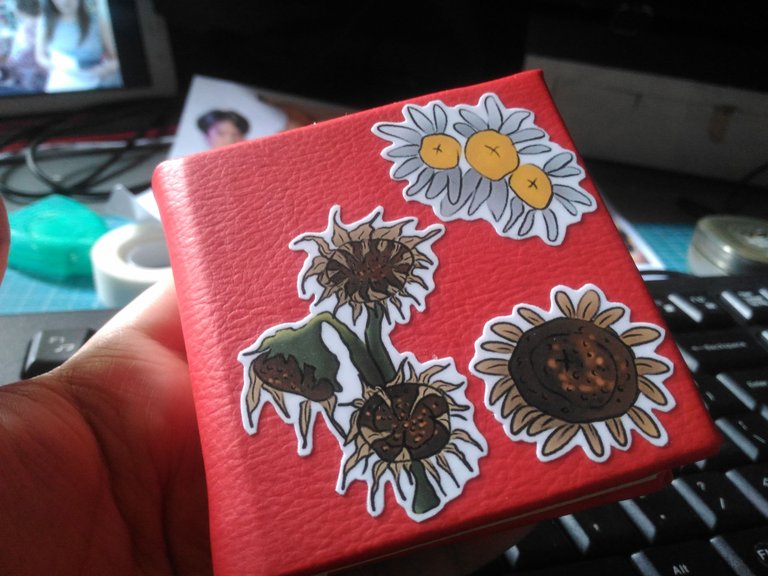
I put three of the stickers on my handmade mini sketchbook.
Thank you for visiting, see you on my next blog! :D
Te quedaron muy lindos.
!DIY
You can query your personal balance by
!DIYSTATSThank you :D
I love this! And I super love sunflowers! I've always wanted to make my own stickers...currently learning how to draw digitally and it's hard. hehe
Thank you :D Mee too <3 hehehehe yeah, I said the same too before I just practiced and practiced, and now that I have all the materials I invested whala~ hehehe. yeah digital is hard it drains my brain so much but it is fun hehehe.
Omg, really so cool and cute. You can even make this into a business selling your stickers, surely there are people out there who will like this too 🤩🤩
thank you! yeah I did sell stickers before in the future I will ~ thank you thank you :D
They came out so nice ...i love sun flowers too.