CRAFT BLOG: Handmade with Purpose, Box Packaging
Hello, how are you? Whenever we go grocery shopping, we always ask for a cardboard box for the products we bought because it is more environmentally friendly, and we don't want to have a lot of plastic bags in the house because it stresses me whenever I see something flying around, but we sometimes recycle them, like we use them for trash.
Back when I was still selling my handmade crafts, I always loved to use recycled materials for my packaging to save money and to recycle, too. I decided to make one because the courier company treats parcels like trash. This one-time customer ordered a pin for me, and they delivered it damaged.
And that thing makes me sad, so yeah, I do my research on how to make a packaging box, and I saw one, and at first it is confusing how to do it, but from time to time I can make it with closed eyes hehehe, just kidding.
So if you're starting a small business, this is the perfect DIY to make when the budget is still budgeting.
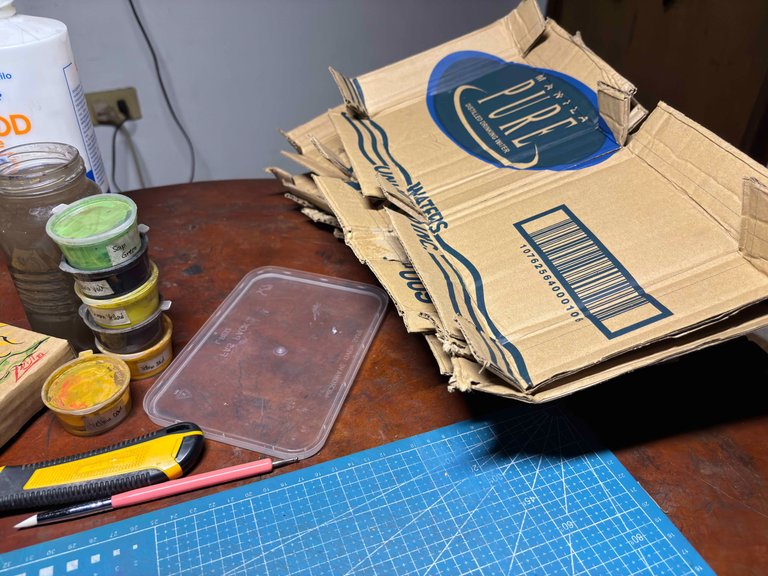
Materials I Used:
Materials I Used:
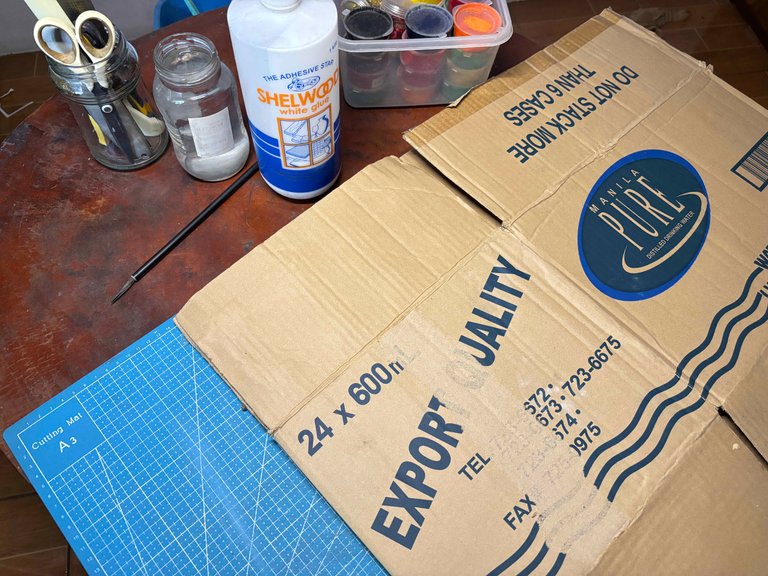
- Cardboard Box
- Cutter
- Pencil
- Jar with Water
- Cutting Mat
- Metal Ruler
- Glue
- Gouache Paint
- Paint Brush
Let's Make a Packaging Box:
Let's Make a Packaging Box:
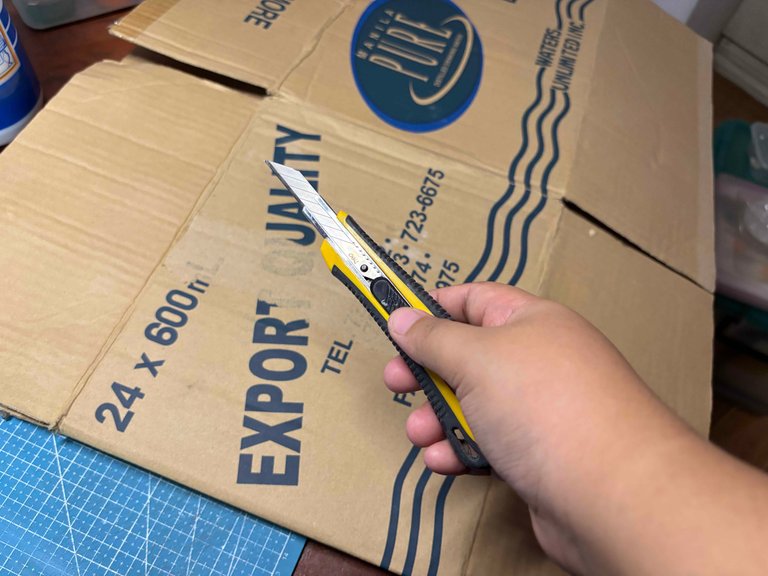
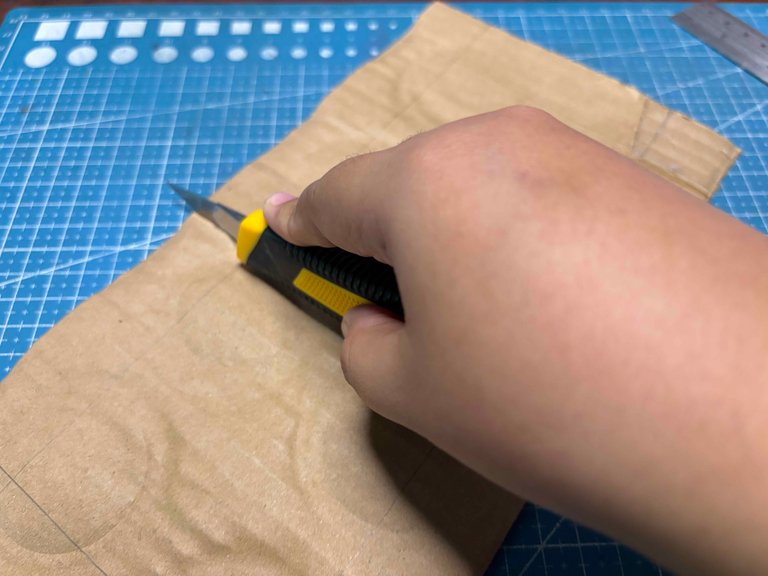
First is I use a cutter to cut and separate the parts of the cardboard box. Make sure to use a cutting mat because we don’t want to mess up our table. So investing in one is recommended.
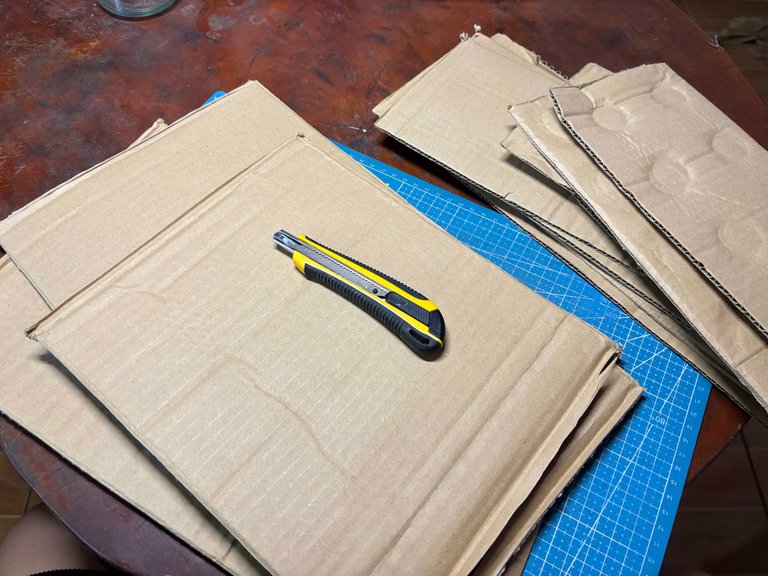
Carefully cutting them, so if you’re not confident enough to cut straight, use a ruler for this part so that they will be evenly cut, and using metal ruler is needed. And after cutting them off all I group them by their sizes.
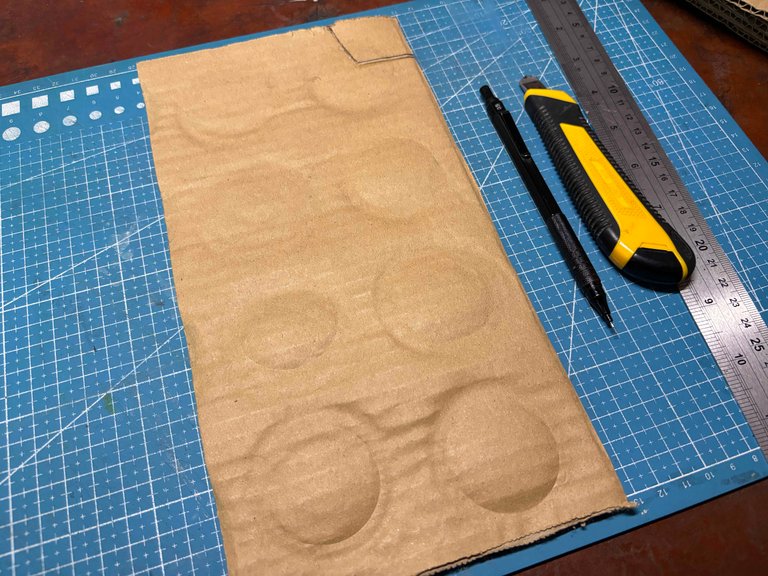
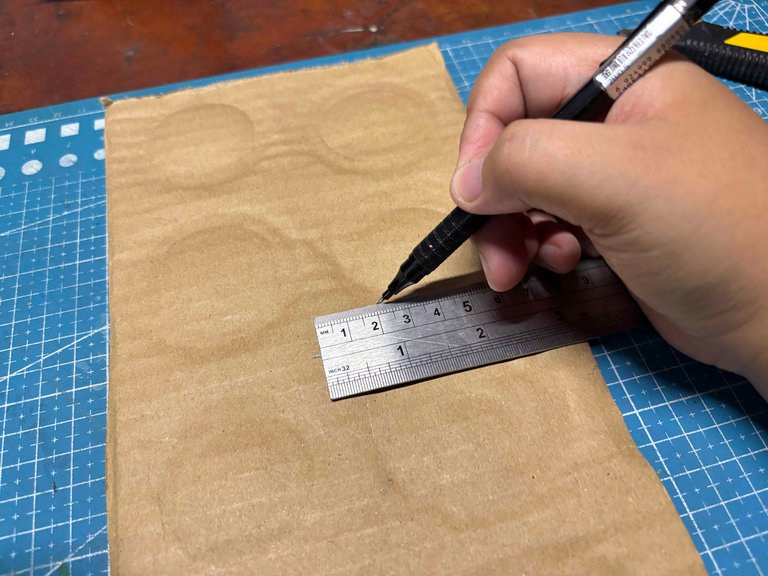
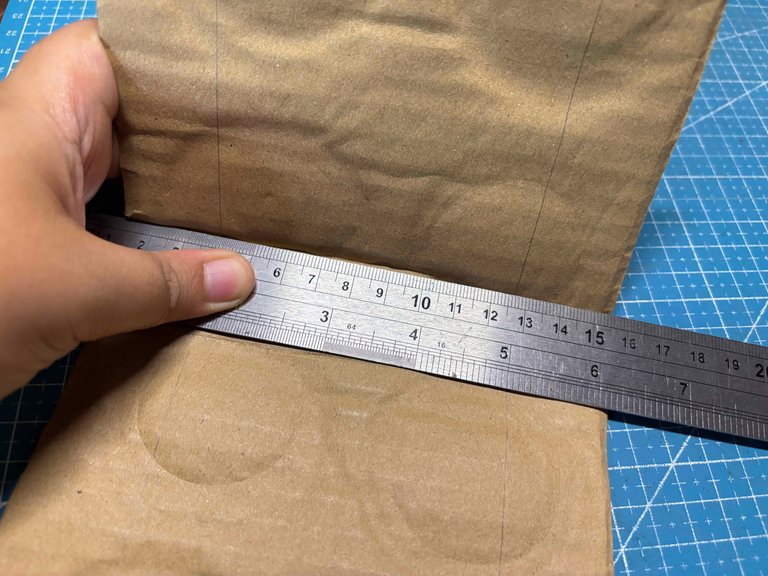
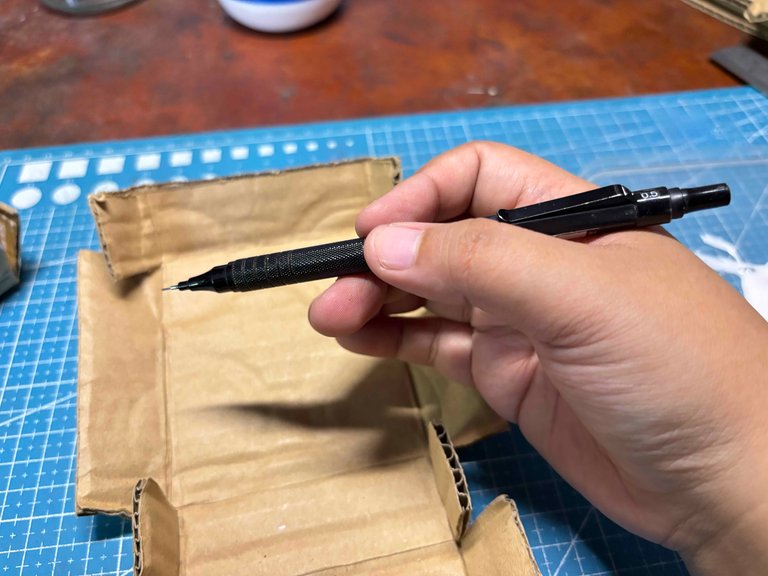
For this part of the process, I grab the one cut part of the cardboard, and then I will need a pencil, a cutter, and metal ruler for this part of the process. What I do is measure the length of the cardboard.
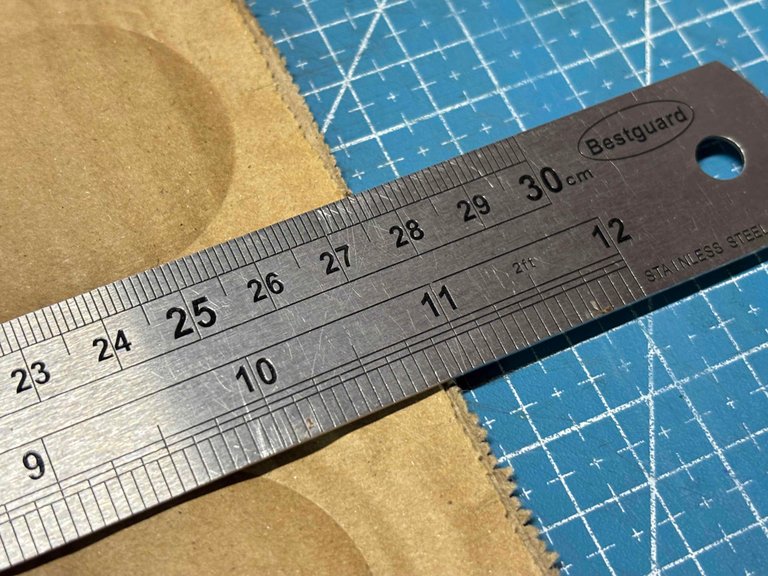
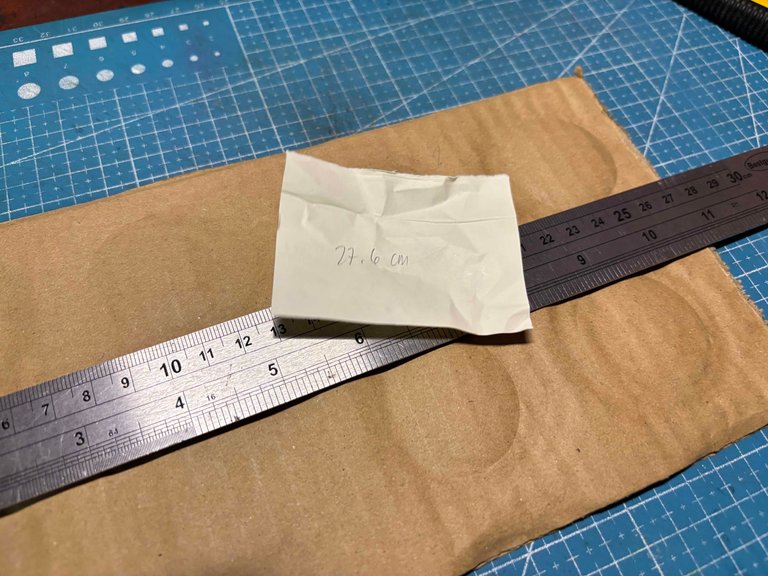
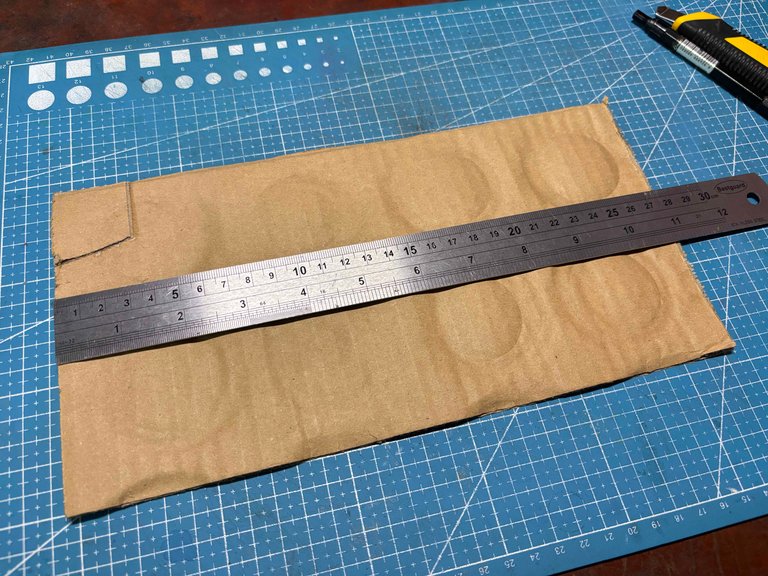
As the ruler reads, it is 27.6cm in length
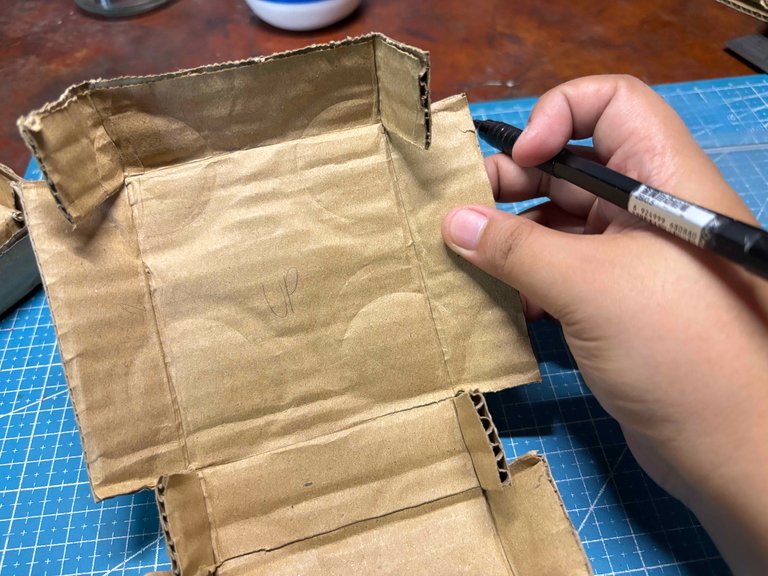
And that length, I use a calculator to divide that measurement by two, and the middle of that two is where I mark it with a pencil.
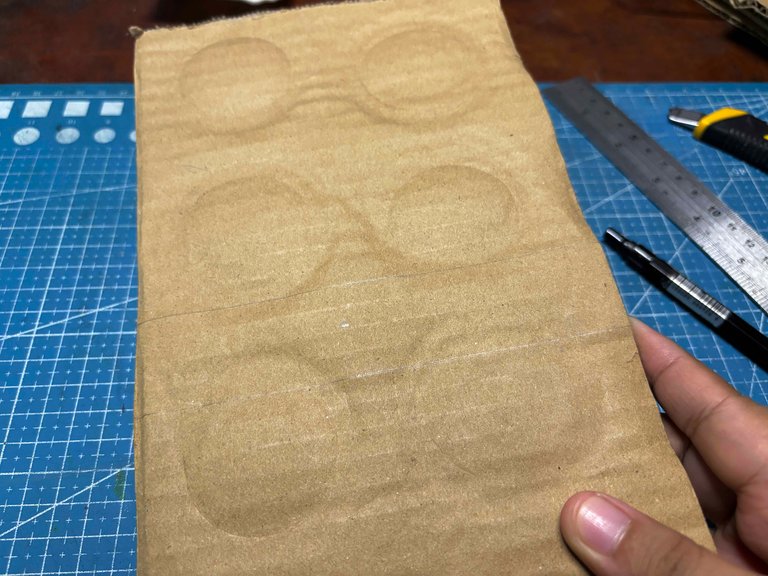
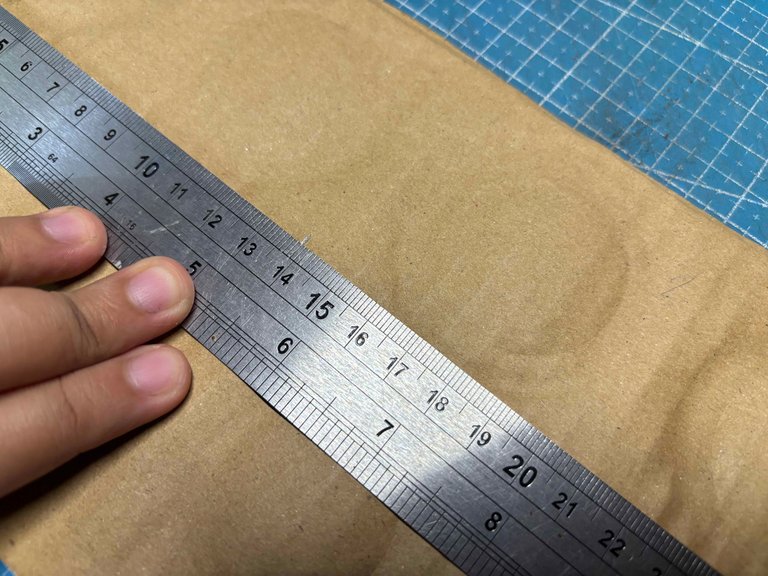
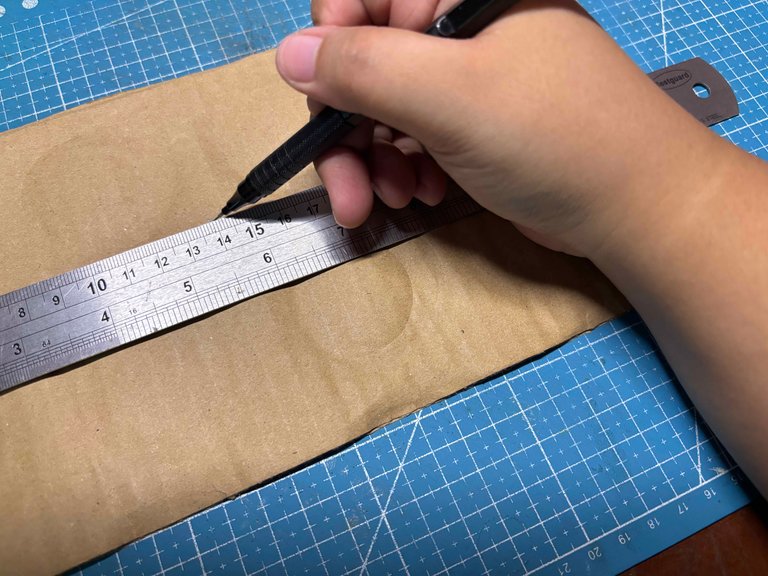
And then I used the width of the ruler as how thick the cardboard I am going to use is, so it is up to you how thick you want your cardboard box to be, but the consequence the thicker the cardboard is, the smaller the size the inside can accommodate. So the mark I put earlier is to make more easier to figure out the middle of the cardboard, so that the cardboard is equally sized.

After that, I do the same thing on each side of the cardboard. Marking it with a pencil, too.
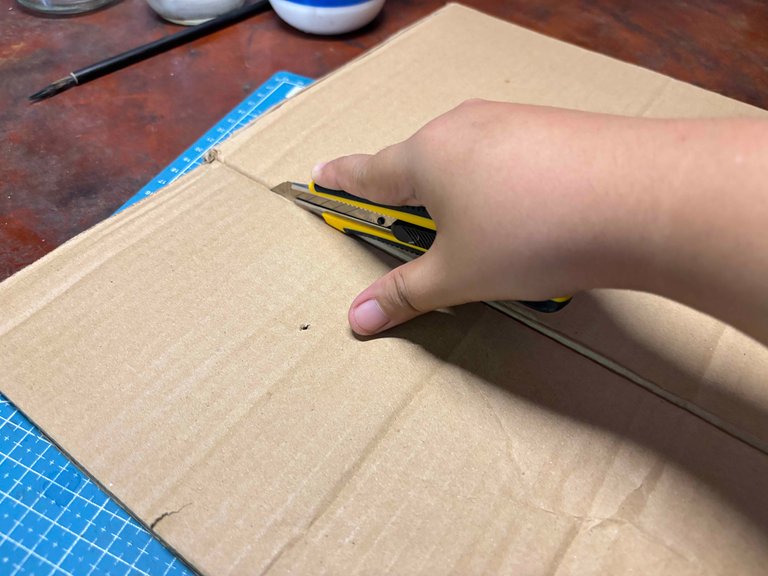
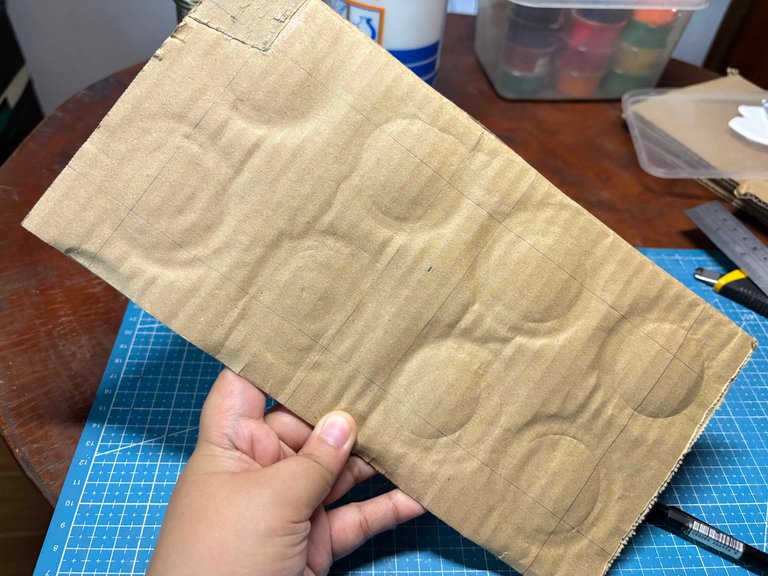
Using the back of the cutter, I carefully and lightly scorch the cardboard where the lines I put earlier are. Please do it lightly, if not, the cardboard will be ruined and will not be usable.
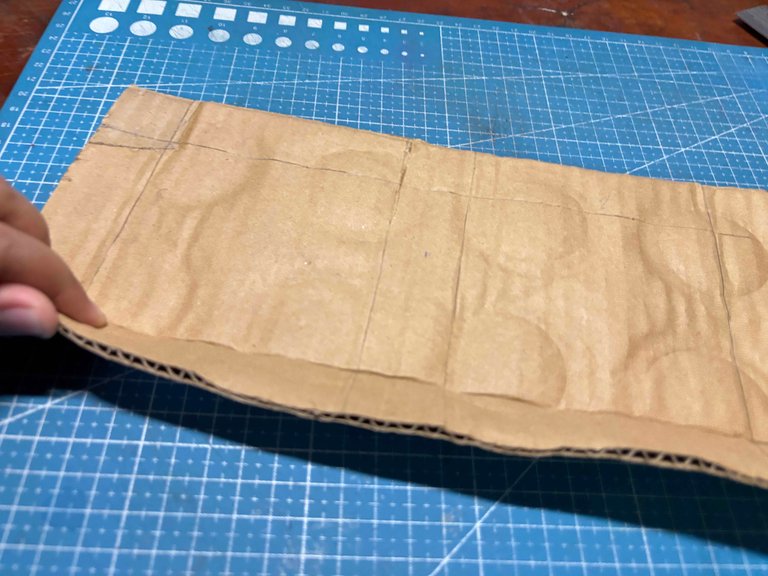
After that, I fold the scorch part using the metal ruler, doing this makes everything easier.
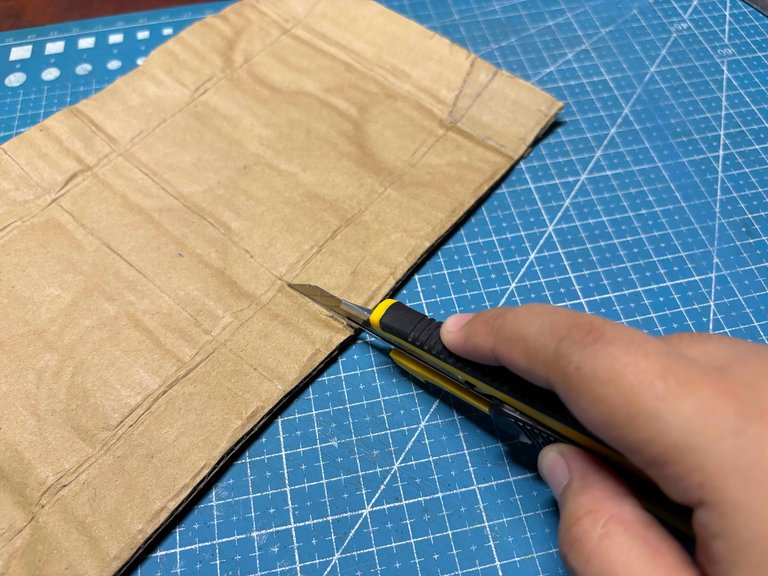
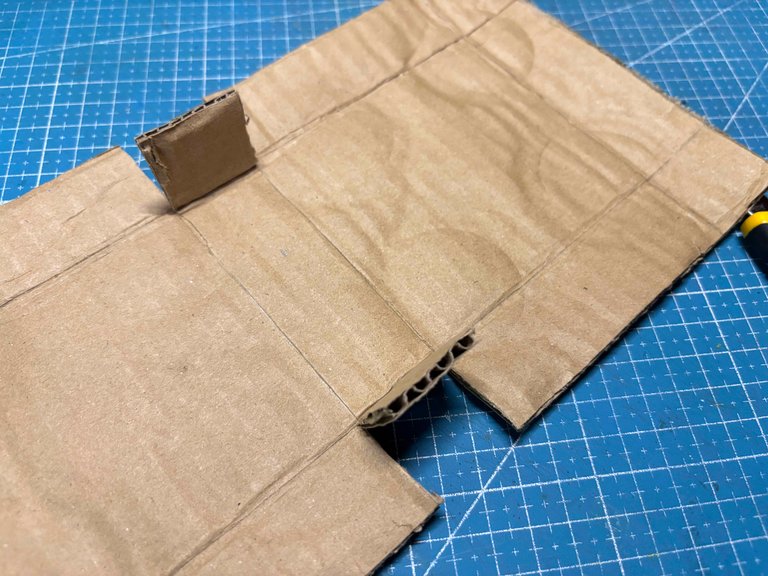
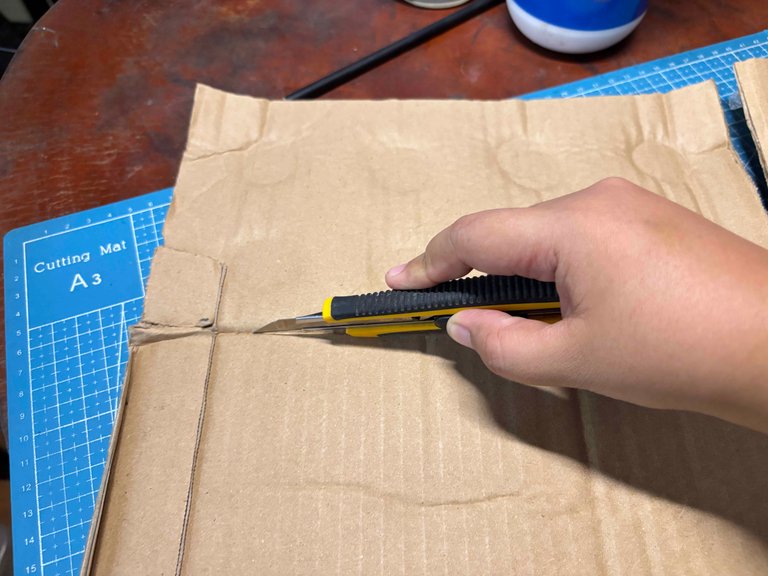
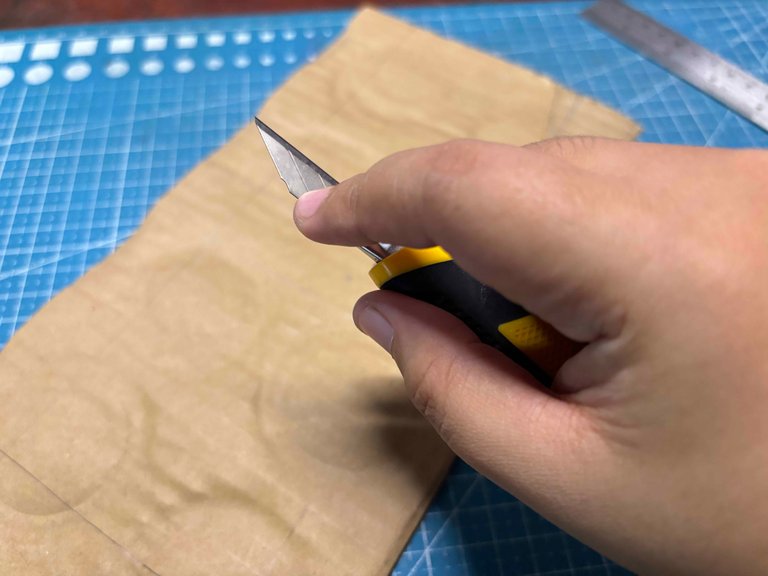
After that, using the cutter, I cut the side of the cardboard just like I did to the photo, only the side.
This is what it looks like when the sides are cut.
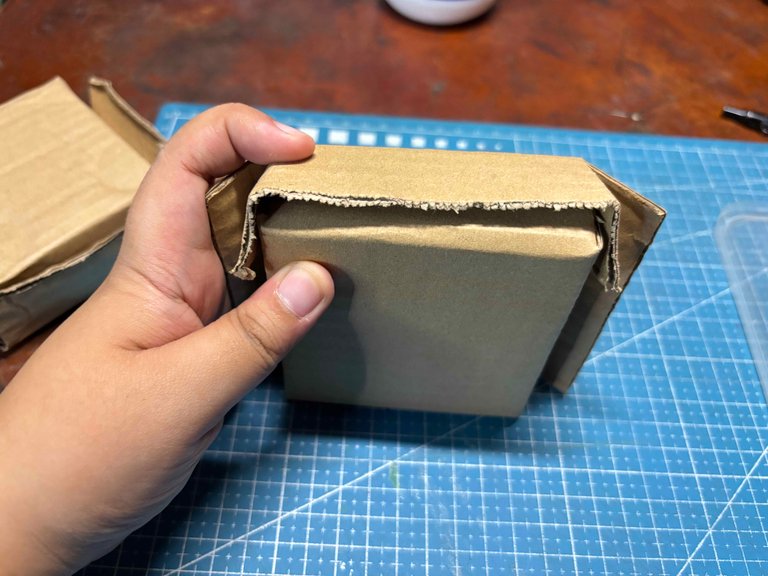
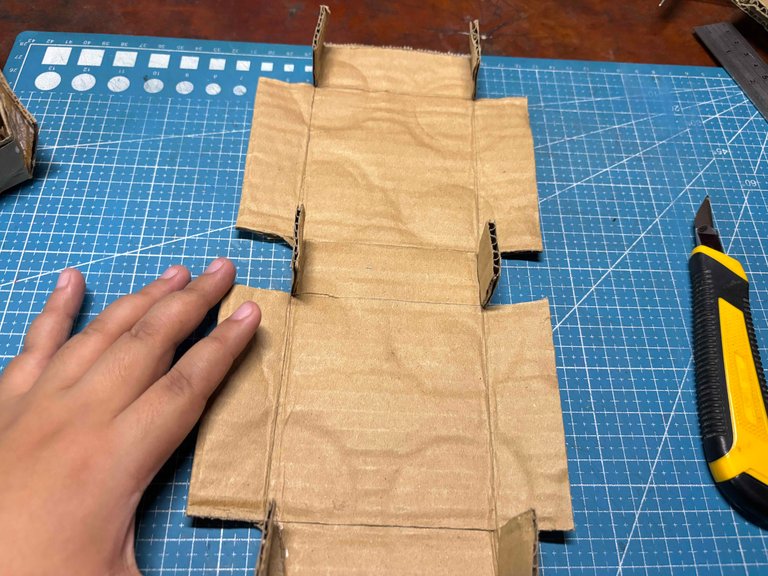
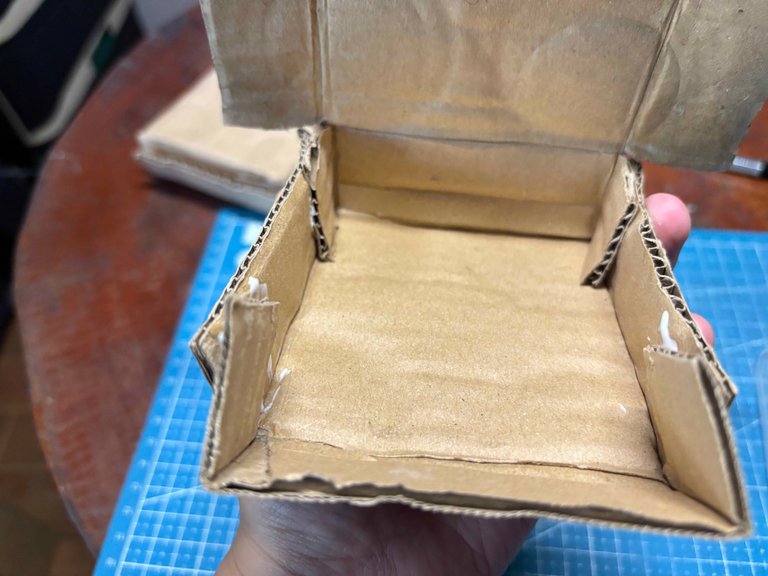
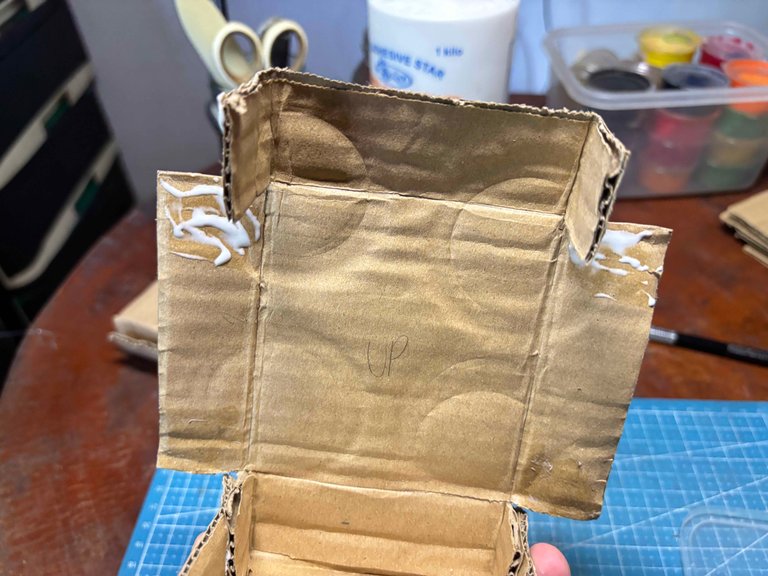
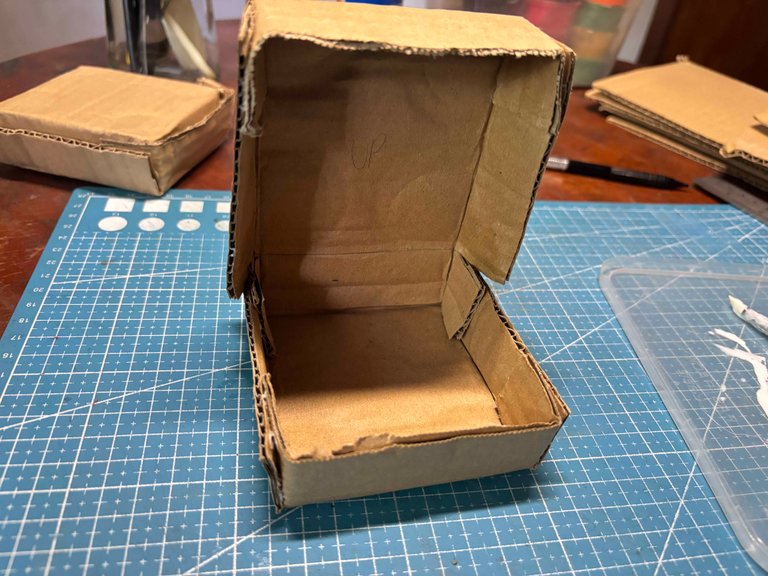
Then I assemble the cardboard by folding it just like the photo to test if everything fits well. I start by folding the top part through the middle and the cut side into the sides, and do the same thing to the other part.
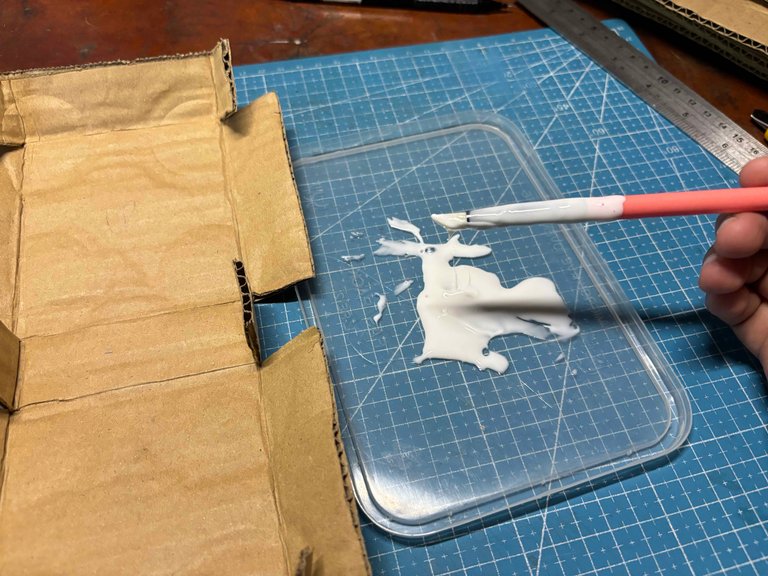
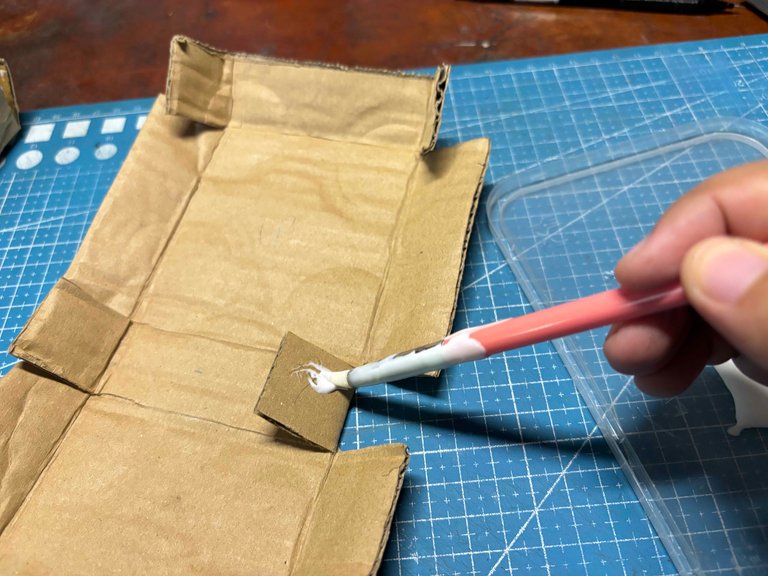
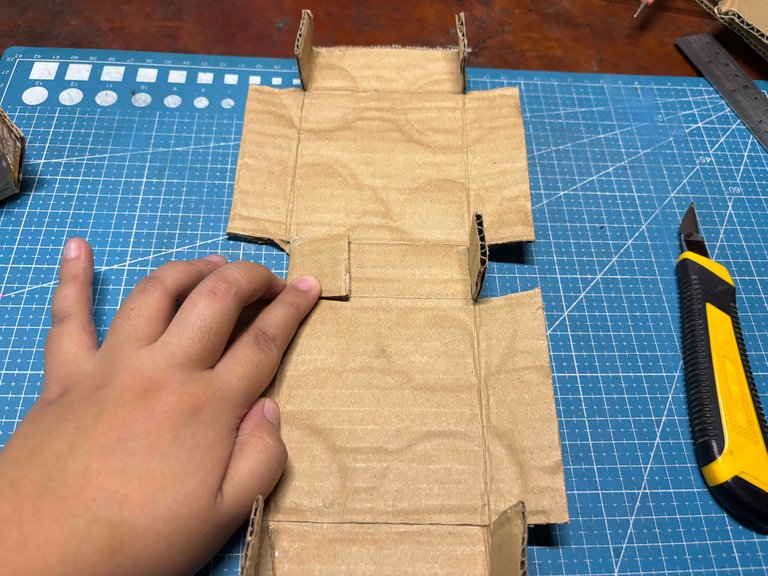
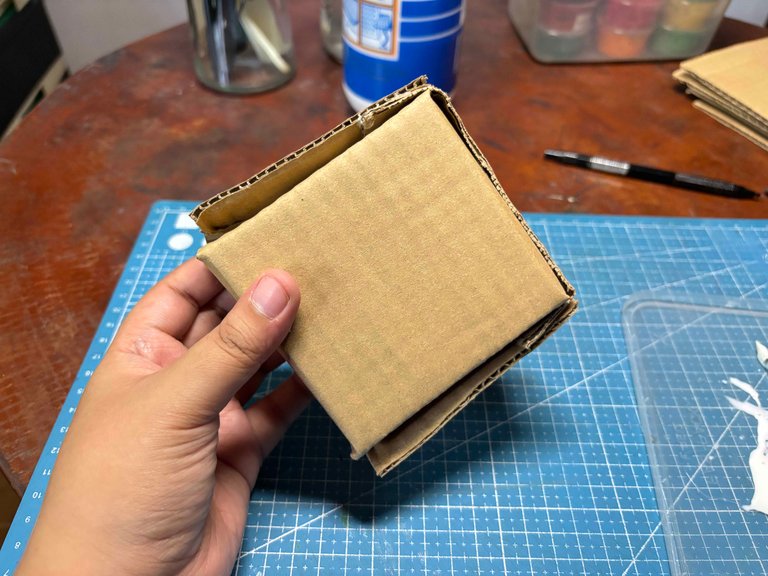
Now everything is good and ready to go, I started to glue the cut part to the outside part of it, just as I did in the photos
Let it sit for about a minute, and then start gluing them together. I did the middle part first, making sure to press them together hard so that they can stick together really well.
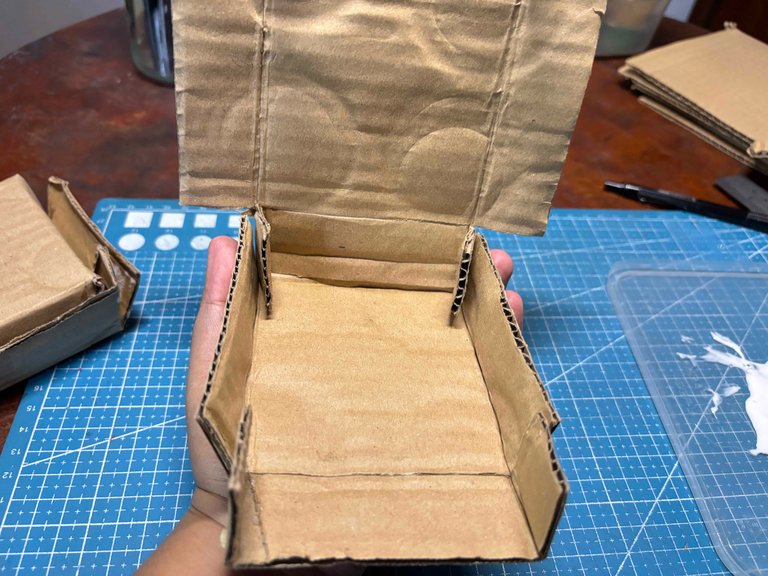
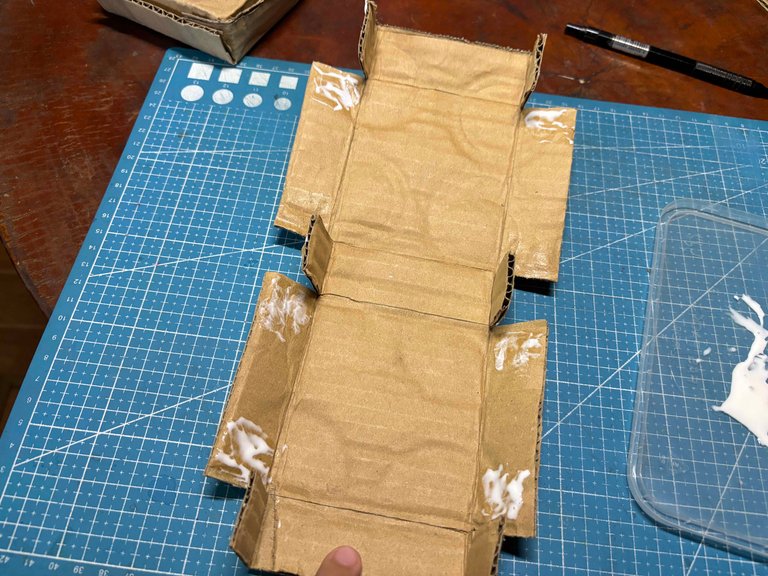
And then the top and bottom parts. This is how it should look. It is normal that the glue doesn’t stick at the first try, but the more it dries, the it sticks, so that is why you need to let it sit for a moment after adding the glue.
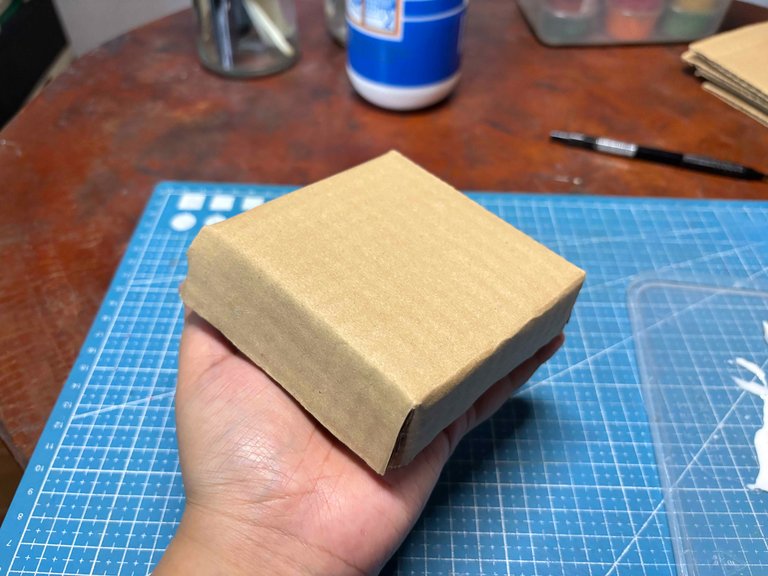
And this is what it looks like. Let it dry for a moment, and I am going to proceed to the next step, which is painting it, my favorite part of the process.
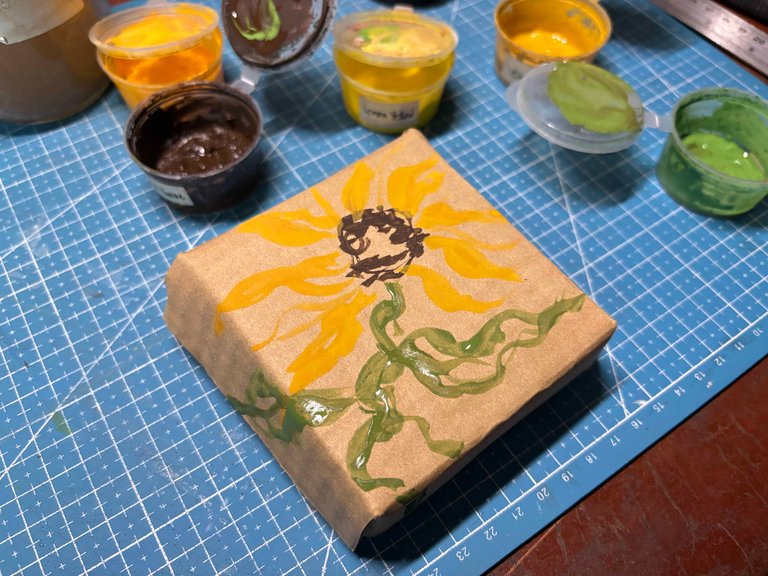
Painting The Packaging Box:
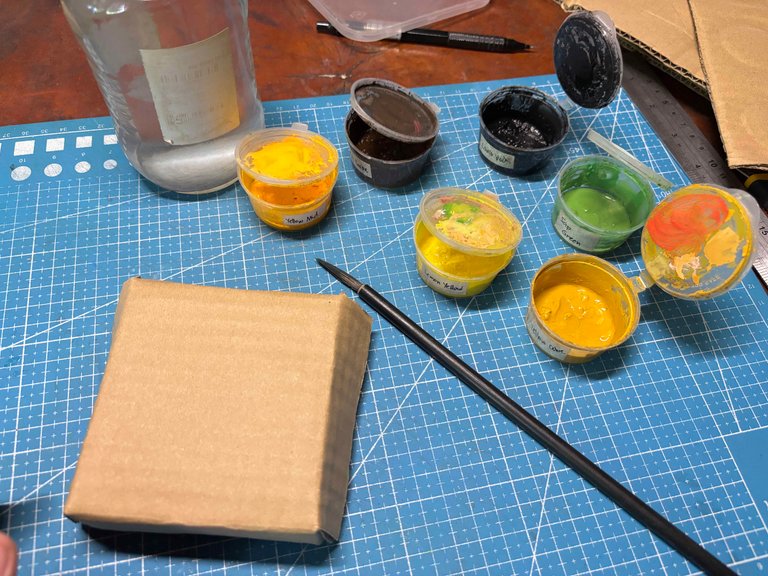
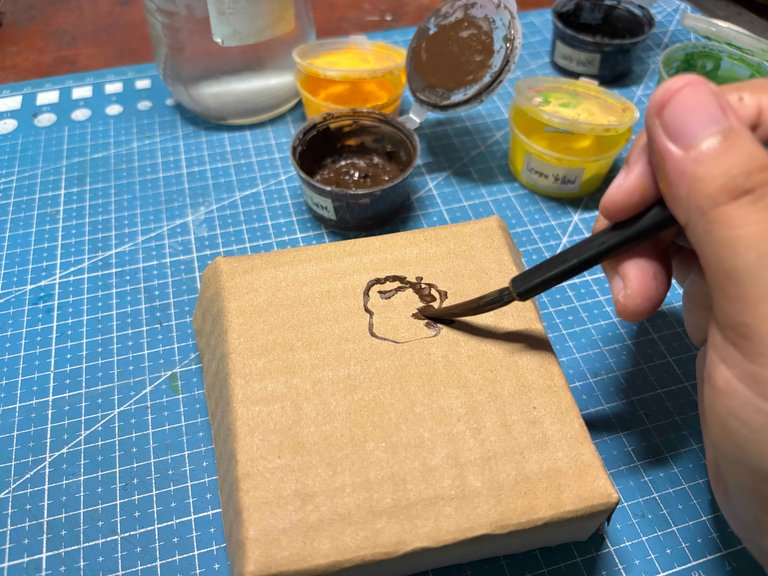
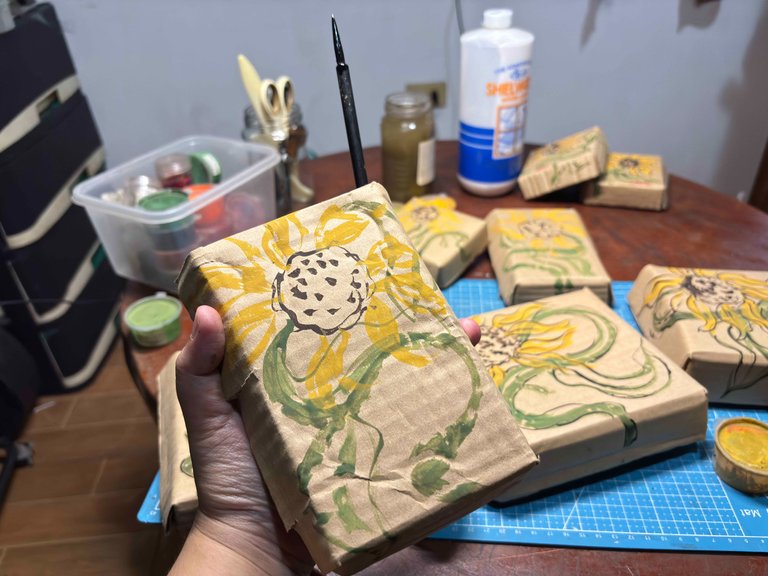
For this part, I am using gouache as my medium, and I like to paint a specific flower for the design, and that flower is a sunflower. I start with the middle part of it.
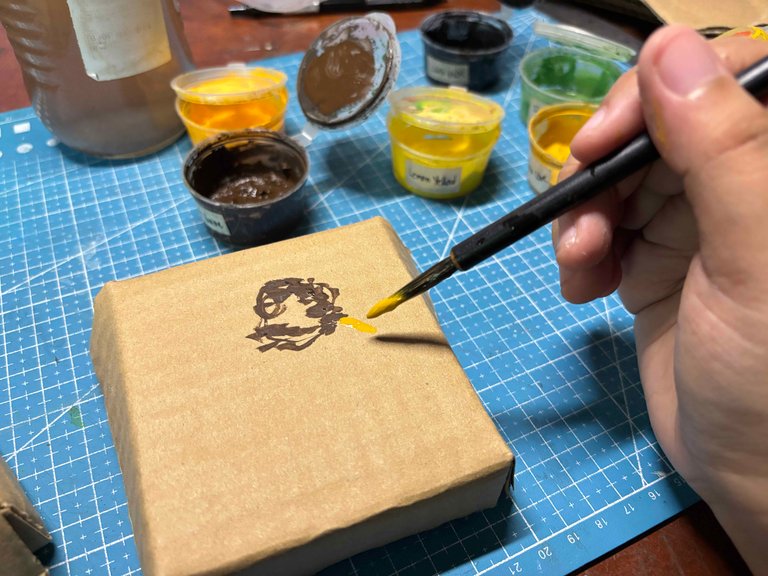

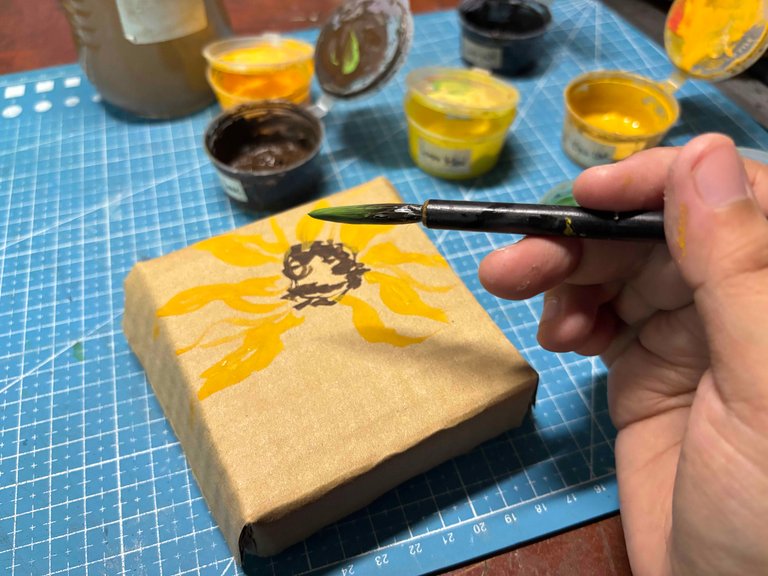
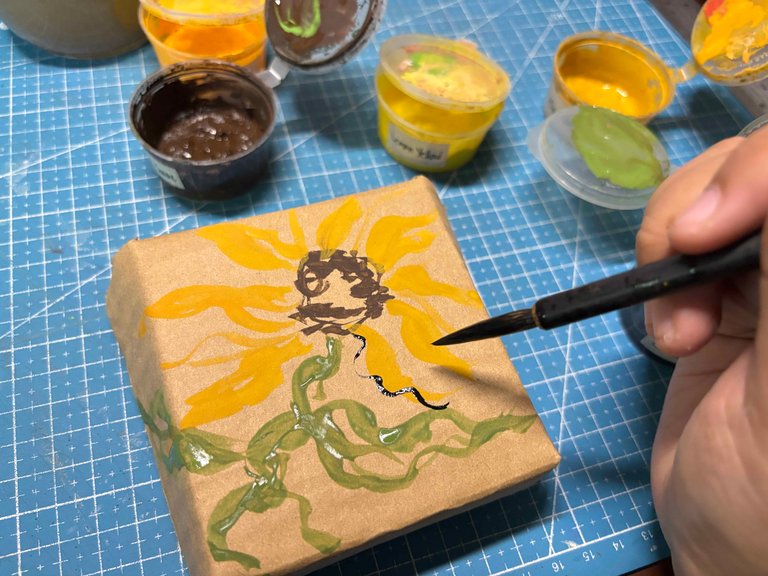
Then the petals, I love using gouache because it is easier to work with.
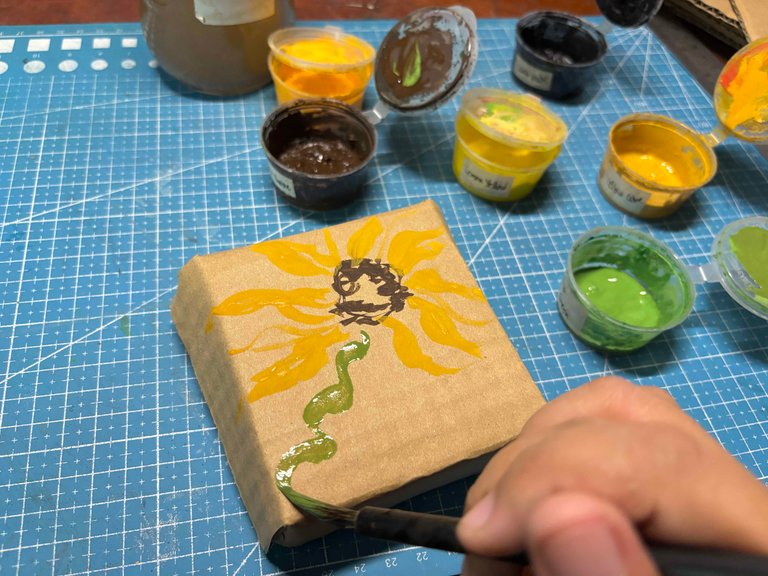
And then the stem and just do it freely, no pressure.
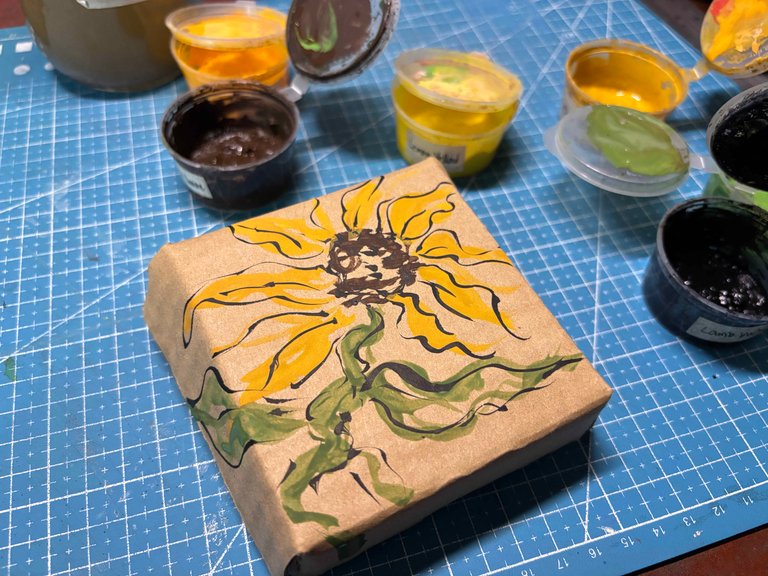
I love to finish it with black line art, and then I like to add my signature too.
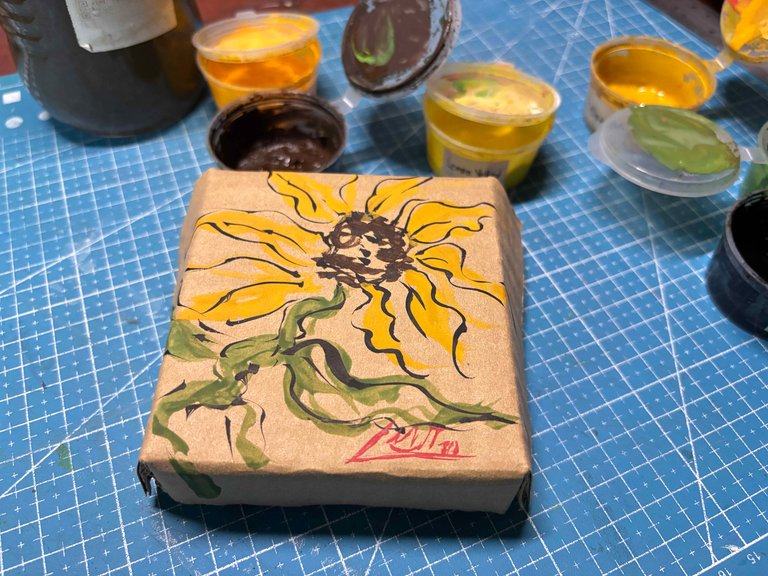
Just let it dry and be done.
Making the Other Cardboard:
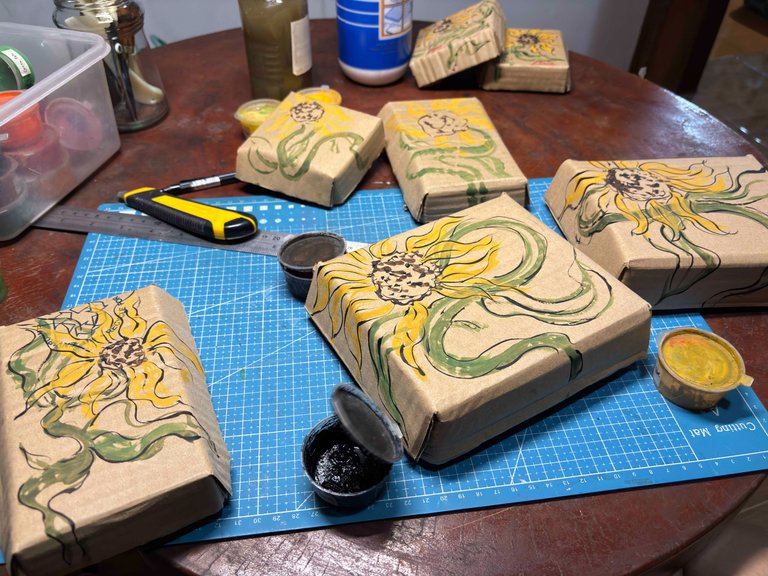
After that, I start making the other cardboards I cut earlier and just do the same thing I did earlier.
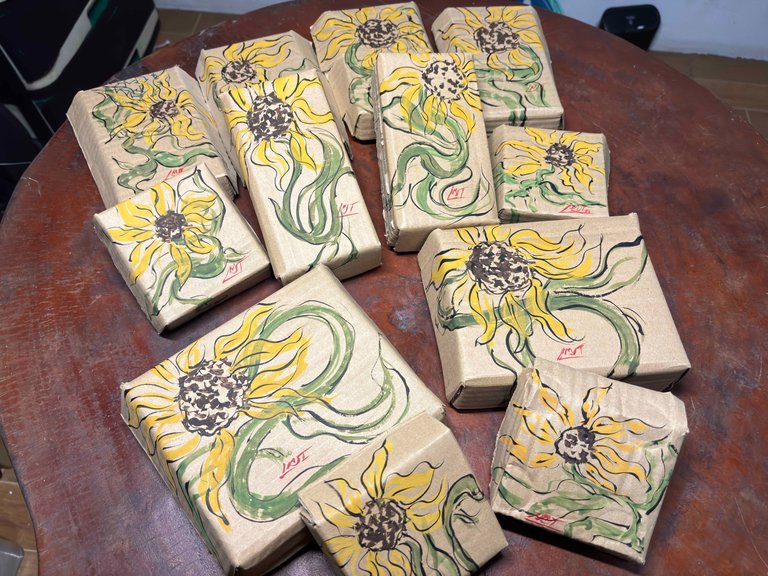
Paint them and arrange them in sizes.
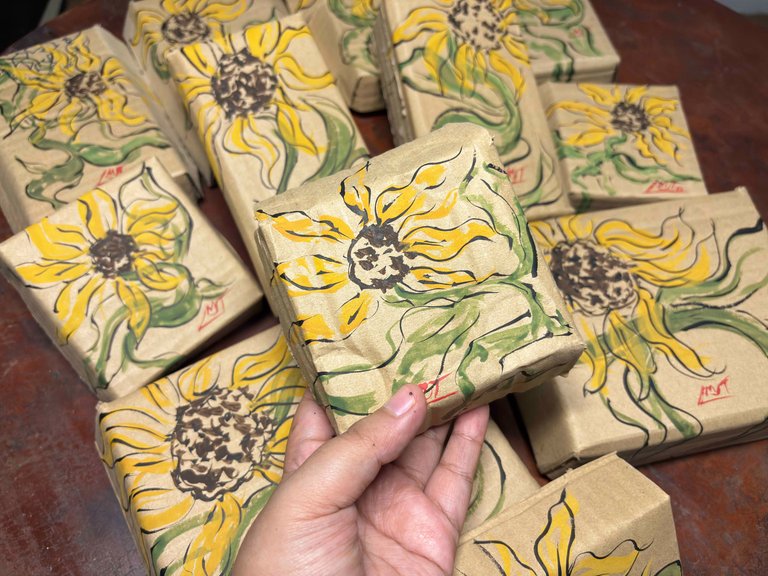
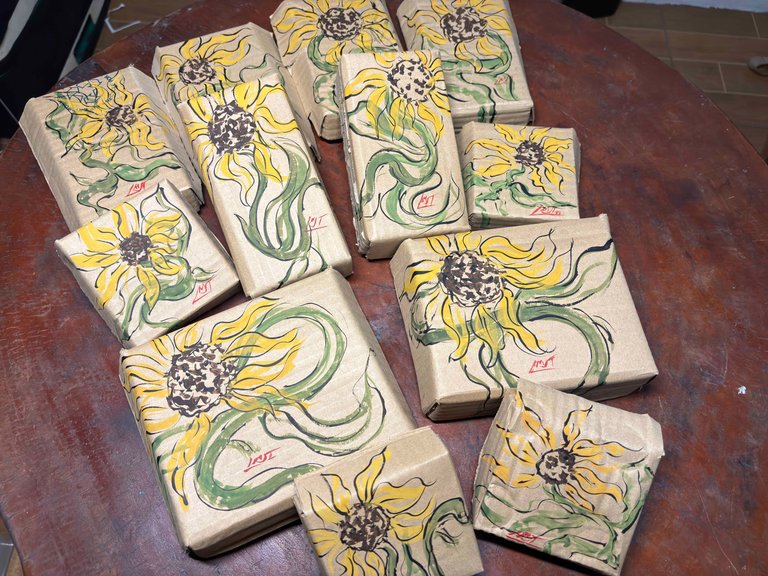
And did a little photoshoot, hehe.
Thank you for visiting, see you on my next blog. :D
Please take care of your mental health as well.
I hope you are okay today :))
Please take care of your mental health as well.
I hope you are okay today :))

Wow1 This is so creative and inspiring! I like how how you used recycled materials for packaging, it saves money and helps the environment and still looks so beautiful.
Thank you 😁
Your idea is cool in creating something extraordinary. The packaging is very beautiful.
Thank you 😊
Working in cardboard is not always easy, but your work turned out great even though you had to make many and repeat several times.
!discovery 25
Thank you 😁
This post was shared and voted inside the discord by the curators team of discovery-it
Join our Community and follow our Curation Trail
Discovery-it is also a Witness, vote for us here
Delegate to us for passive income. Check our 80% fee-back Program
¡Hola, Leann! Me encanta tu enfoque en el empaquetado artesanal con propósito. Es una manera tan creativa de hacer que los productos se sientan especiales y únicos. Además, el uso de materiales reciclados es una excelente manera de ser más sostenible. Gracias por compartir tus ideas.
Hi, Leann! I love your focus on purposeful handmade packaging. It's such a creative way to make products feel special and unique. Plus, using recycled materials is a great way to be more sustainable. Thanks for sharing your ideas!
Meron ako nyan 💕 hahaha
Di ka na nagbebenta ng clay pins at keychains?