Happy Mother's Day! Decorate with me this special day
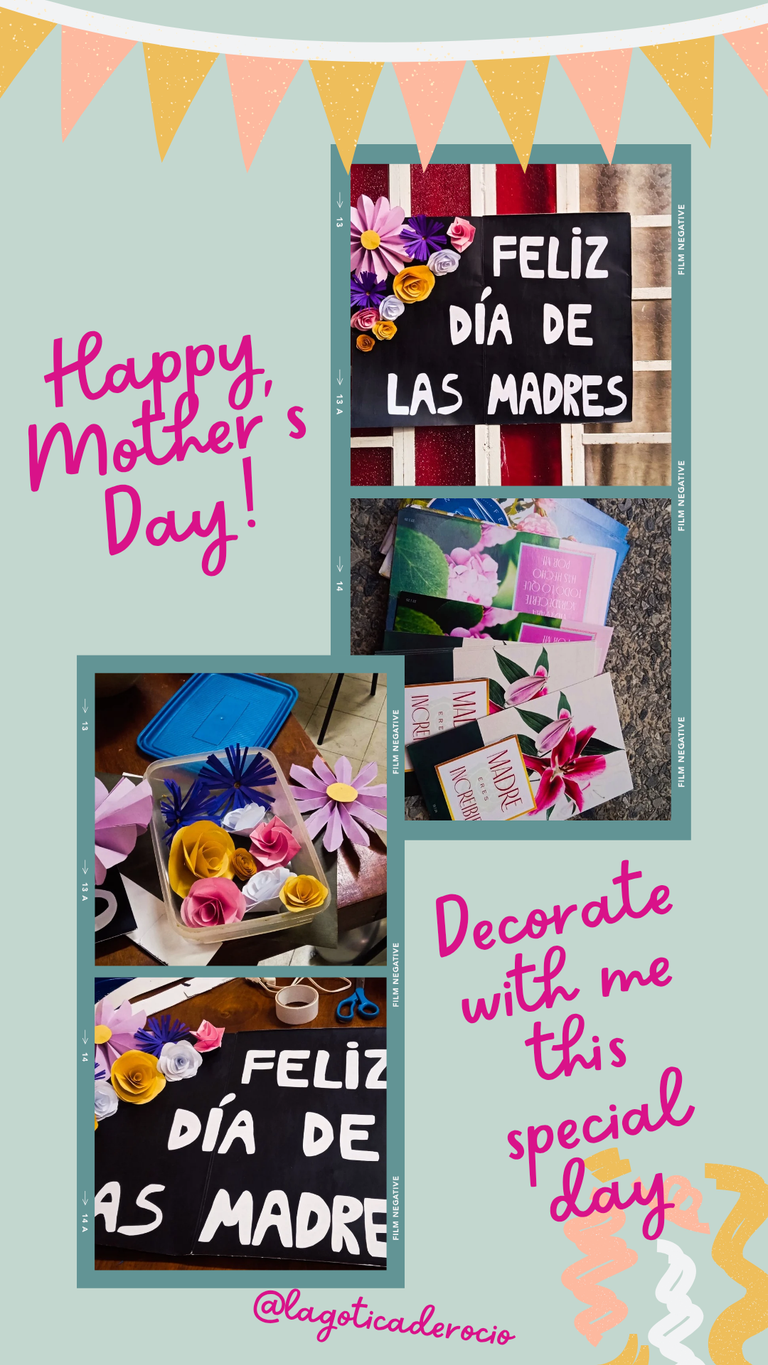
Hello everyone!!! Thank you for stopping by my blog and coming to visit. I wish you are having a blessed and special day. In many places around the world today we celebrate one of the most important dates in the calendar: Mother's Day. Those beings full of light who shed tenderness only with their gaze, and who at the same time are the strongest and bravest when it comes to defending their children. Today we celebrate those to whom we owe everything, even life.
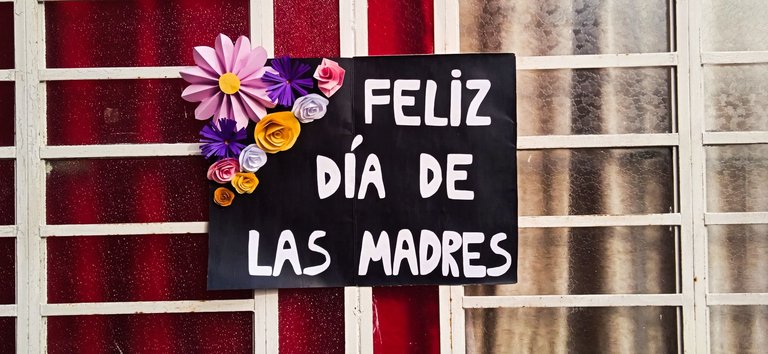
This time I bring you a tutorial on how we decorate my local church to celebrate this important date. Particularly I will focus on showing you the step by step of the sign we placed at the entrance. So, without further ado... Let's get to work!
Materials and instruments for the entry sign:
- Ruler
- Pencil
- Double-sided tape
- Silicone gun
- Scissors
- Glue stick
- Colored paper
- White sheets of paper
- Black acrylic paint
- Cardboard (70 x 50 cm)
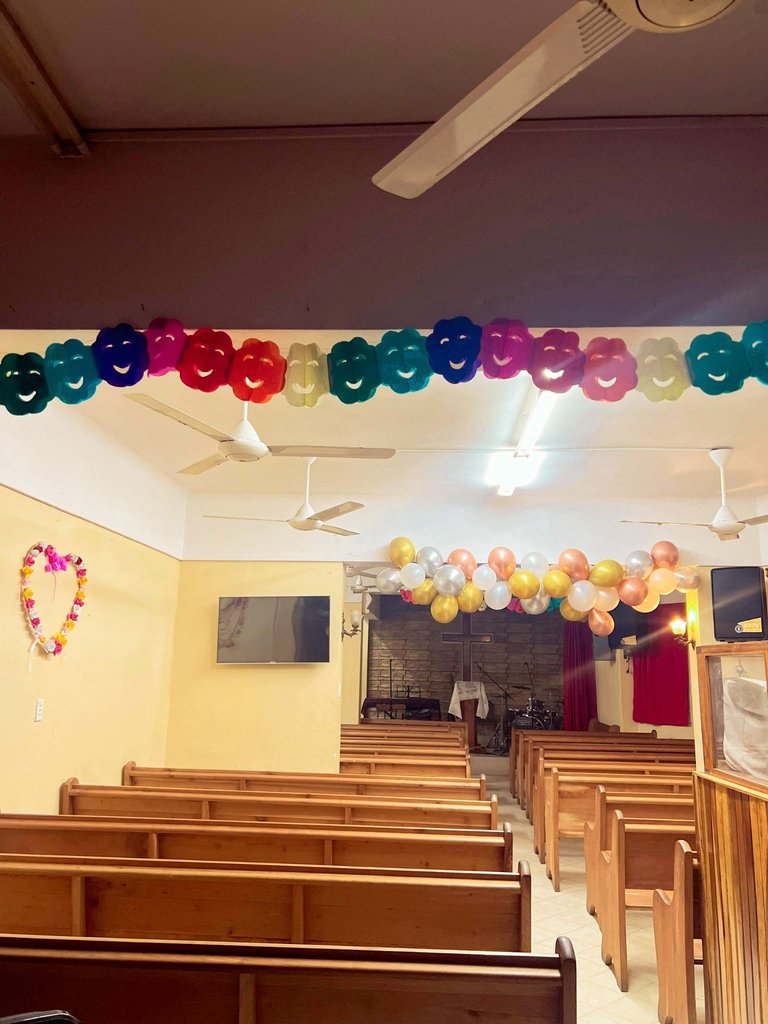
In addition, for the general decoration of the temple we use:
- 2 colored chains
- 10 pearly white balloons
- 10 pink pearl balloons
- 10 golden balloons
- 10 silver balloons
- Thread
- A foamy flower heart that was already made beforehand
Step by step
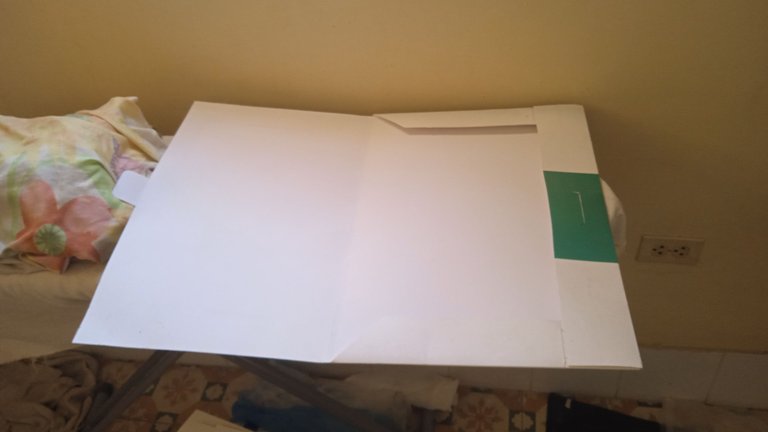
Step 1
Take the cardboard and paint it completely with black acrylic paint. Let it dry.
Step 2
Draw the letters in pencil to be able to say: "Happy Mother's Day". Cut out.

Step 3
Before placing the embossed flowers, it is essential to glue the double-sided tape to the back of the cardboard. This is my first time using this material and I can tell you that I loved it with all my heart.

Step 4
My friend Adry, who helped me make the poster, brought from home several paper flowers of different shapes, colors and sizes. This is essential, because this diversity is what will give the distinctive touch to our poster. So the next step was to superimpose the letters and flowers until the desired design was achieved.

Step 5
Glue the letters with glue stick and the flowers with the silicone gun.
Glue the letters with glue stick and the flowers with the silicone gun. It was also my first time using the silicone gun and I can tell you that I loved it. Silicone is a very clean and practical material.

Step 6
Remove the back of the double-sided tape that we glued to the sign. Attach the sign in the desired location. In our case, we placed it at the entrance of the church.
Result
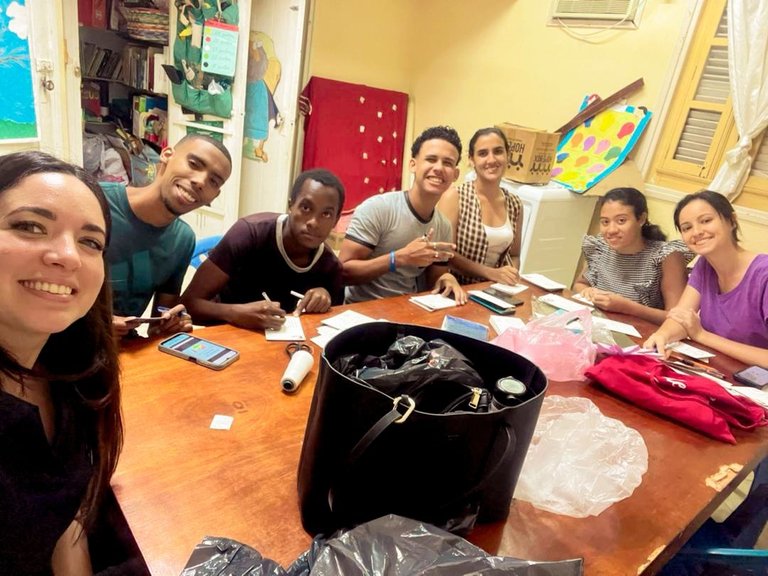
To finish decorating we placed the colored chains and made a chain with all the balloons. By the way, they had amazing colors. We also put a beautiful heart of foamy flowers that we found in the church. The creative process was a lot of fun and several young people worked together to achieve this beautiful result. We also dedicated some beautiful postcards to the mothers and gave them all our love.
Although we ended up a little tired I think it was worth the effort to honor one of the most valuable people we have: our mothers. A big hug to everyone!!! Thanks for reading me.

✍🏻 Original content by @lagoticaderocio🌺
📷 Photos edited by Canva and PicsKit📷
✨Translation by DeepL✨
very beautiful, loving decoration. happy mother's day.
Thank you very much for your nice words and for your support. A hug 🤗
You are welcome, friend.
!CURATE BY
@quiubi
Thank you for your contribution to the community🌍🐏
Remember to delegate to us or join the curation trail to participate in the weekly hbd prizes🥇🏅
Thank you very much for your nice words and for your support. A hug 🤗
It is a very original work, and the best thing has been to see so many people united to offer the best on this special day, congratulations and thank you for sharing it on DIYHub Community.
selected by @jesuslnrs
Thank you for the recognition and for your kind words. Small details make extraordinary days.