Harry Potter Amigurumi
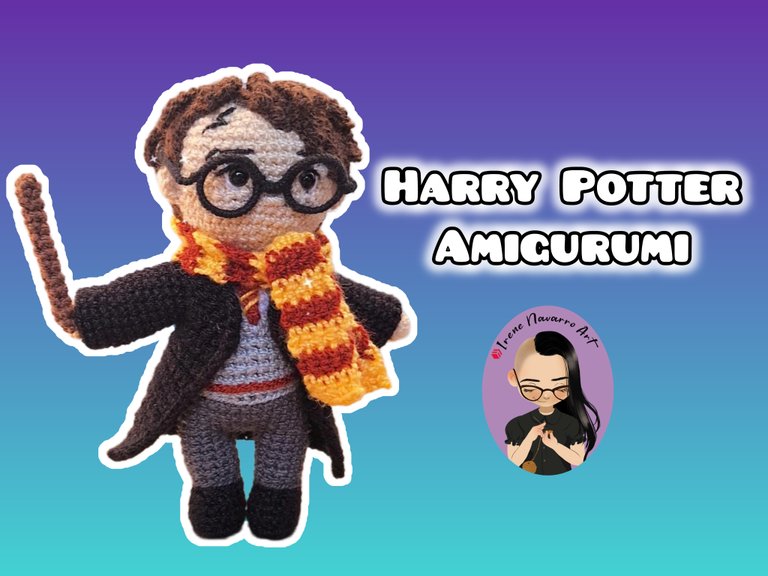
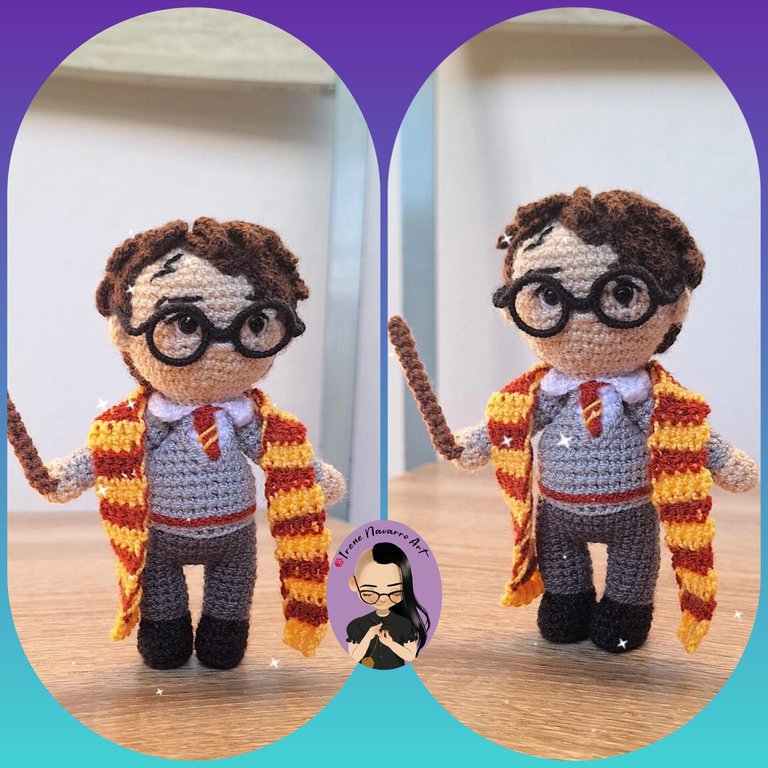
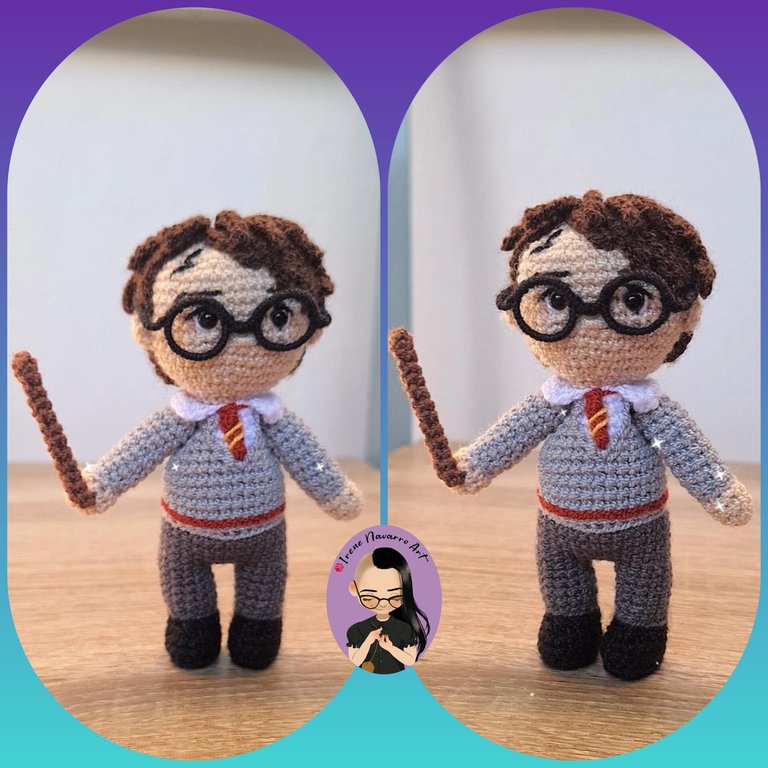
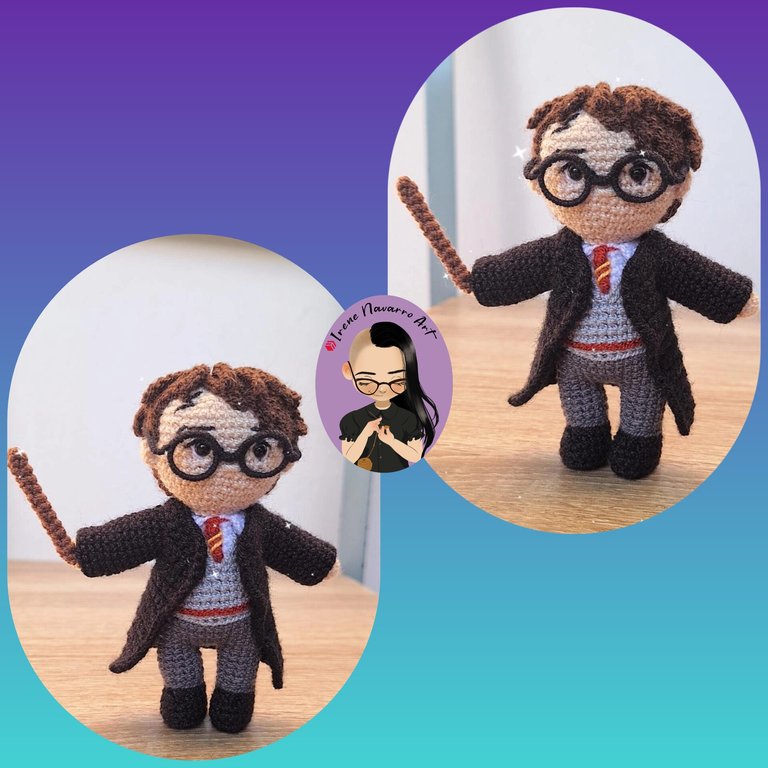
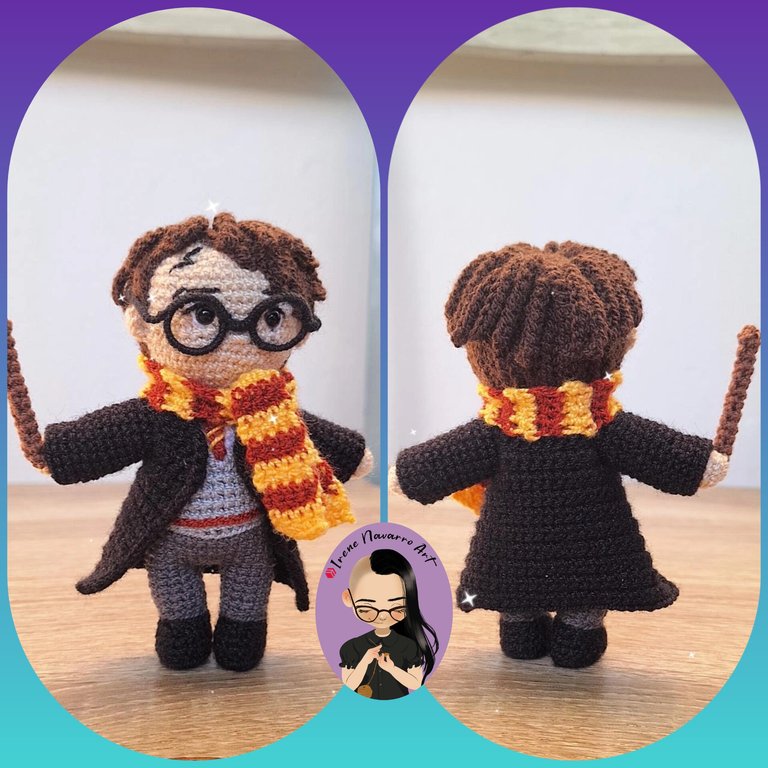
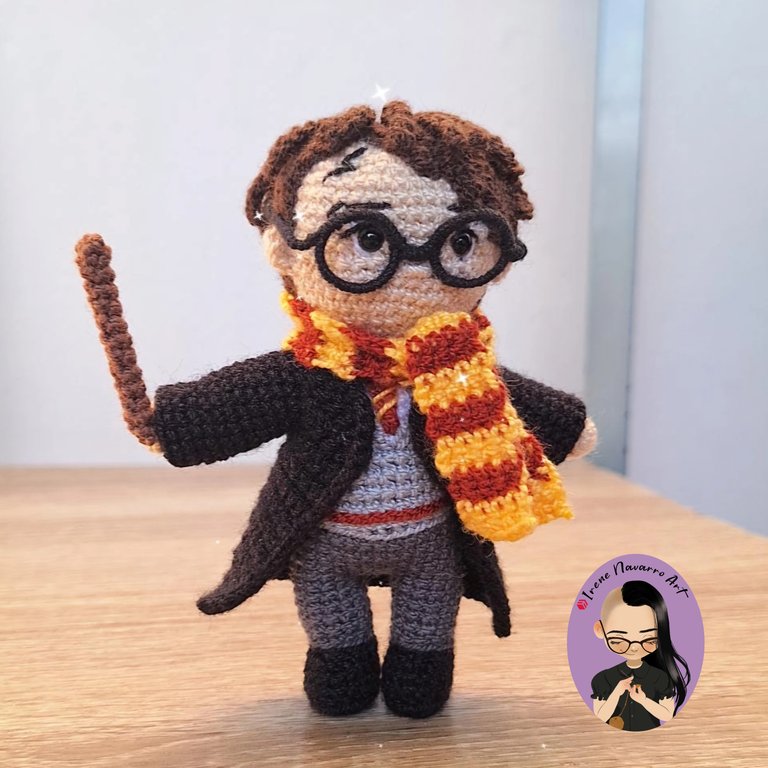
Saludos querida comunidad, espero se encuentren muy bien, hoy estoy feliz de compartir con ustedes mi primer proyecto del año, se tarta de un amigurumi del personaje Harry Potter, hacer este significó un reto para mi porque es primera vez que hago un amigurumi que tiene anteojos, así que estoy muy contenta con el resultado, espero les guste.
Greetings dear community, I hope you are all well. Today I am happy to share with you my first project of the year. It is an amigurumi of the character Harry Potter. Making this was a challenge for me because it is the first time I have made an amigurumi that has glasses, so I am very happy with the result. I hope you like it.

Proceso / Proceso
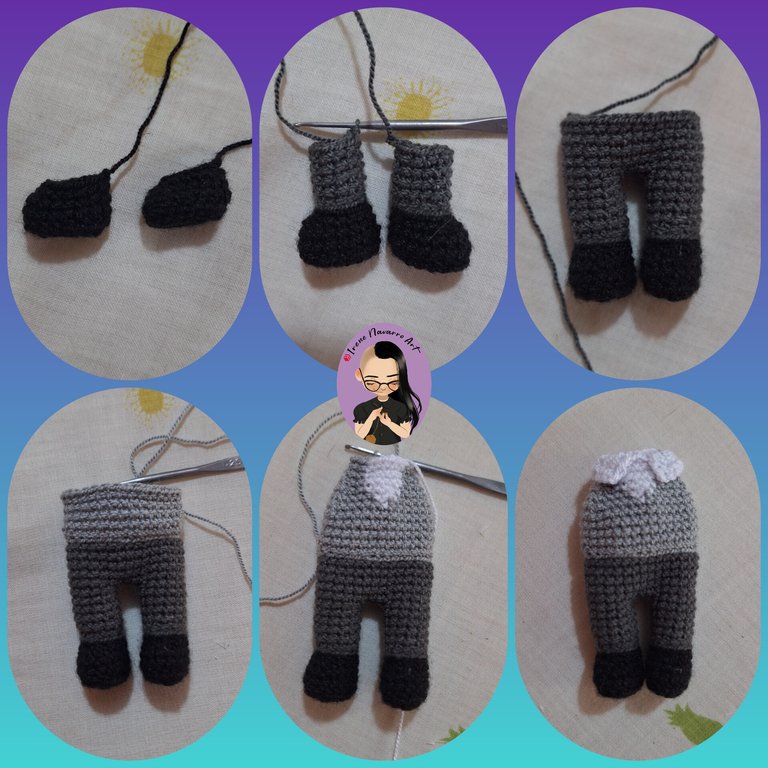
Esto no es un tutorial, sin embargo trataré de describir el proceso, esto es una de las cosas positivas de llevar un registro de mis trabajos en Hive, que permito a mi misma hacer síntesis de mis proyectos que me permitan mejorar en los siguientes, valiéndome de la experiencia de cada nuevo reto. Trabajé con hilo acrílico y ganchillo de 1.25mm, comencé desde los zapatos, haciendo una base de 4 cadenas, hice 4 aumentos en por dos hileras, hasta obtener un óvalo de 16 puntadas, subí con dos hileras de puntos bajos, luego hice 4 disminuciones para obtener 12 puntadas, cambia hilo gris oscuro para continuar la pierna, hice 5 hileras de puntos bajos, luego uní a la otra pierna por 3 cadenas que sustituiría por puntos bajos en las siguiente hilera para obtener 30 puntadas, hice 6 hileras más de puntos bajos.
Para el torso cambié a hilo gris claro, hice cinco hileras y luego en las siguientes seis hileras hice 1 disminución en cada costado, además de agregar el hilo blanco solo para las puntadas del centro, comenzando con 1 y aumentando hasta tener 5. Al finalizar la hilera de disminuciones con 18 puntadas hice el cuello de la camisa con el hilo blanco.
This is not a tutorial, but I will try to describe the process. This is one of the positive things about keeping track of my work on Hive, which allows me to summarize my projects to help me improve in the next ones, taking advantage of the experience of each new challenge. I worked with acrylic yarn and a 1.25mm crochet hook. I started with the shoes, making a base of 4 chains, I made 4 increases for two rows, until I got an oval of 16 stitches. I went up with two rows of single crochet, then I made 4 decreases to get 12 stitches. I changed dark gray yarn to continue the leg. I made 5 rows of single crochet, then I joined the other leg with 3 chains that I would replace with single crochet in the next row to get 30 stitches. I made 6 more rows of single crochet.
For the torso I switched to light grey thread, made five rows and then on the next six rows I made 1 decrease on each side, also adding the white thread only for the center stitches, starting with 1 and increasing until I had 5. After finishing the decrease row with 18 stitches I made the collar of the shirt with the white thread.

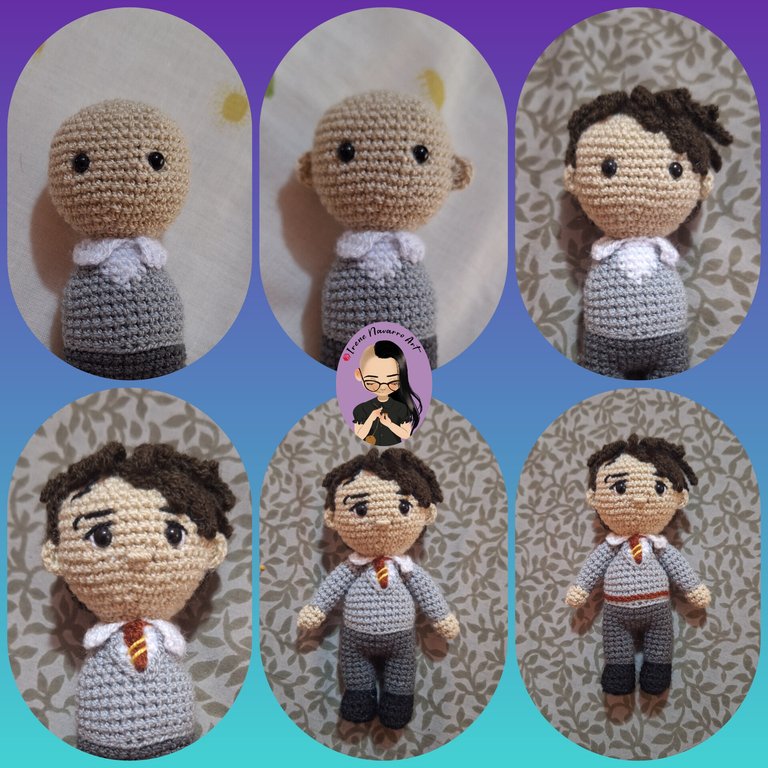
Para la cabeza cambié hilo beige, hice 6 aumentos por cuatro hileras hasta obtener 47 puntadas, hice 8 hileras sin aumentos, luego hice 6 disminuciones por seis hileras hasta cerrar, antes de cerrar coloqué los ojos de plástico y rellené con fibra, luego hice las orejas. Para el cabello con hilo marrón oscuro hice una base circular de 16 puntadas, luego en cada puntada hice 3 mechones de cabello alternando la longitud de los mismos entre 12, 9 y 6 cadenas, luego cosí el cabello a la cabeza, hice la nariz, bordé las cejas, también hice la corbata. Aparte hice los brazos, con beige hice 6 puntos bajos en un anillo, luego hice 3 aumentos en la siguiente hilera, hice dos hileras sin aumentos, cambié a hilo gris e hice nueve hileras y una hilera de disminución. Cosí los brazos y bordé la segunda hilera del suéter.
For the head I changed to beige yarn, I made 6 increases for four rows until I had 47 stitches, I made 8 rows without increases, then I made 6 decreases for six rows until closing, before closing I placed the plastic eyes and filled them with fiber, then I made the ears. For the hair with dark brown yarn I made a circular base of 16 stitches, then in each stitch I made 3 locks of hair alternating the length between 12, 9 and 6 chains, then I sewed the hair to the head, made the nose, embroidered the eyebrows, I also made the tie. Separately I made the arms, with beige I made 6 low stitches in a ring, then I made 3 increases in the next row, I made two rows without increases, I changed to gray yarn and made nine rows and one row of decrease. I sewed the arms and embroidered the second row of the sweater.

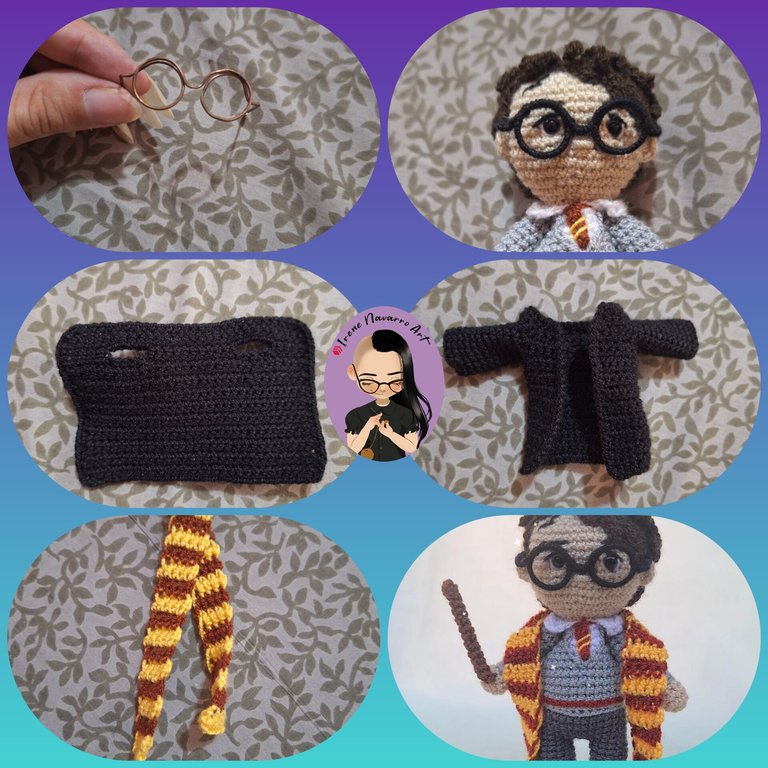
Para hacer los anteojos usé alambre y lo envolví con el hilo negro, para hacer la capa hice una base de 30 cadenas, hice dos hileras de puntos bajos, para los agujeros de las mangas a 5 puntadas de distancia del borde salté 5 puntadas y sustituí por 5 cadenas, luego hice 22 hileras de puntos bajos, para hacer las mangas levanté 16 puntadas e hice 12 hileras de puntos bajos. Para la bufanda hice una base de 4 cadenas y alterné dos hileras por color hasta obtener 29 franjas. Para la varita mágica hice un anillo de 4 puntos bajos y luego 12 hileras de puntos bajos.
To make the glasses I used wire and wrapped it with the black thread, to make the cape I made a base of 30 chains, made two rows of single crochet, for the sleeve holes 5 stitches away from the edge I skipped 5 stitches and replaced them with 5 chains, then I made 22 rows of single crochet, to make the sleeves I picked up 16 stitches and made 12 rows of single crochet. For the scarf I made a base of 4 chains and alternated two rows per color until I had 29 stripes. For the magic wand I made a ring of 4 single crochet and then 12 rows of single crochet.

Resultado / Resultado
Debo decir que no sentía mucha confianza al hacer este amigurumi, pero una vez que lo culminé me sentí bien con el resultado, espero seguir retándome a mí misma en el futuro, porque incluso con toda mi experiencia siempre puedo aprender algo nuevo 😊
I must say that I didn't feel very confident when making this amigurumi, but once I finished it I felt good with the result. I hope to continue challenging myself in the future, because even with all my experience I can always learn something new 😊
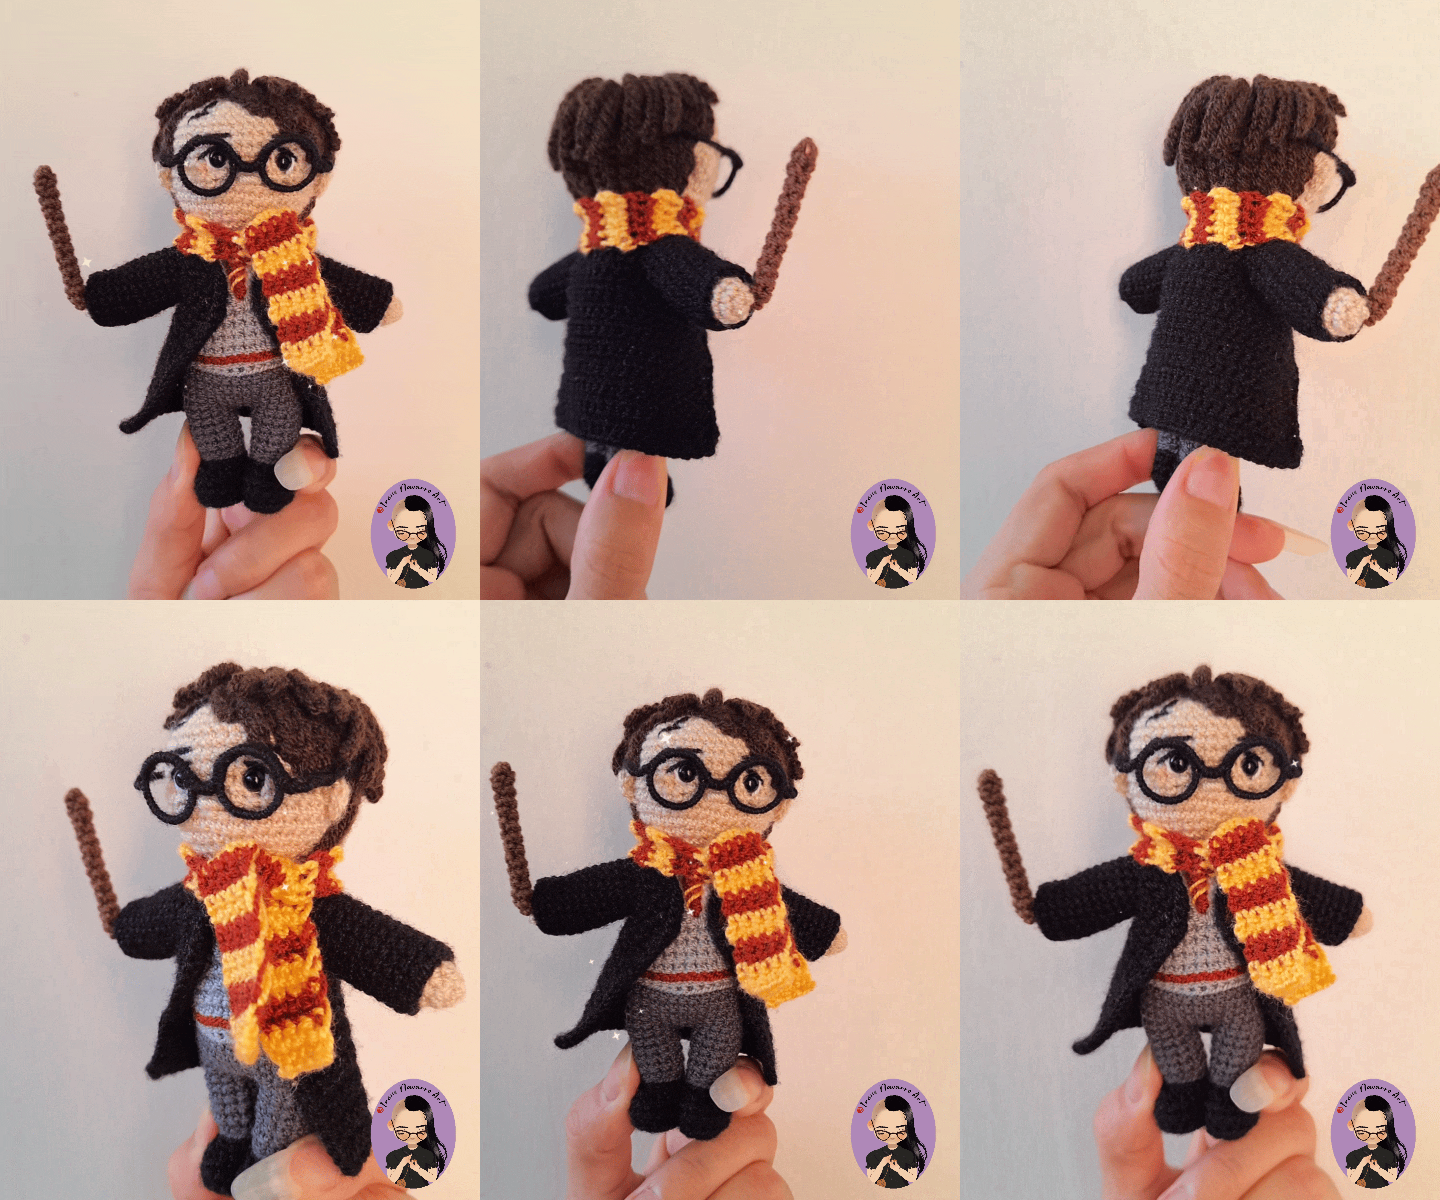

Imágenes tomadas con dispositivo Samsung A54. Portada editada en Inshot
Pictures taken with Samsung A54 device. Cover edited in Inshot
Espero les haya gustado. Les invito a leer mis próximas publicaciones y siempre estaré dispuesta a responder sus preguntas y comentarios, también pueden seguirme y contactarme en cualquiera de mis redes sociales. ¡Muchas gracias!
I hope you liked it. I invite you to read my next publications and I will always be willing to answer your questions and comments, you can also follow me and contact me on any of my social networks. Thank you!
Facebook
Twitter
Instagram
Ko-Fi
Discord: irenenavarroart#0361
Posted Using INLEO
https://www.reddit.com/r/blogger/comments/1hzbhno/amigurumi_harry_potter/
https://www.reddit.com/r/Brochet/comments/1lhlxtc/harry_potter_amigurumi/
This post has been shared on Reddit by @irenenavarroart, @arqyanedesings through the HivePosh initiative.
Adore a este Harry Potter a crochet, que belleza. Esta bien lindo y elaborado
Muchas gracias 🥰
Impresionante amiga, quedo precioso, espectacular, un Harry Potter super coqueto, los anteojos te quedaron perfectos, el traje, la barita hay no, todo está de ternura.
No pudo esperar nada menos de ti, la maga del amigurumis.😀 muchas felicidades y que sigan los éxitos querida @irenenavarroart 💙 💙 💙 💙 💙 💙
Ay tan bella 🥰 gracias por apreciar cada detalle
Amiga eres admirable, tienes mucha habilidad para desarrollar cada detalle. 💙🤗
Muchas gracias 💜 Abrazos
😊🤗
Hola amiga te quedó muy lindo tu Harry potter se nota que estás familiarizada con los amigurumi, exitos amiga
Muchas gracias 😄
The results of the artwork from handicrafts are very beautiful and quite interesting.
thank you 😊
que bonito que te quedo, has detallado a la perfección cada cosa. eres mi heroina del tejido, jejje
Ay muchas gracias Carolina. Un abrazo! 💜
Qué hermoso Harry Potter con ese nivel de detalles es súper hermoso, a mi hijo le encantaría porque es muy fan de ese personaje.
Como siempre la reina de las agujas en Hive
Muchas gracias bella, estaba un poco nerviosa por ser el primer amigurumi del año pero yo creo que agarré el hilo otra vez jeje. Abrazos 💜