Ghostwire: Tokyo Part #3
Hello friends of @hivegaming, the Chapter 2 problem in Ghostwire: Tokyo has put Akito, our protagonist, in a serious bind for a while. Some revelations about KK, our companion, have allowed us to unlock the full potential of his connection, and now it's time to continue exploring the city. What could that light be?
Pillar of Light
Rewards: XP +500
We have things to do right from the start. Remember, we're not going crazy with collectibles, just Shrines and side quests:
Purify Hirokawa Shrine.
Complete Oni.
Complete Disturbing Visions.
Complete Where Are You, Mom?
Complete Mismanagement.
We're going to move toward the marker, but to do so, we'll have to liberate Shrines. Start with Matsumi Shrine.
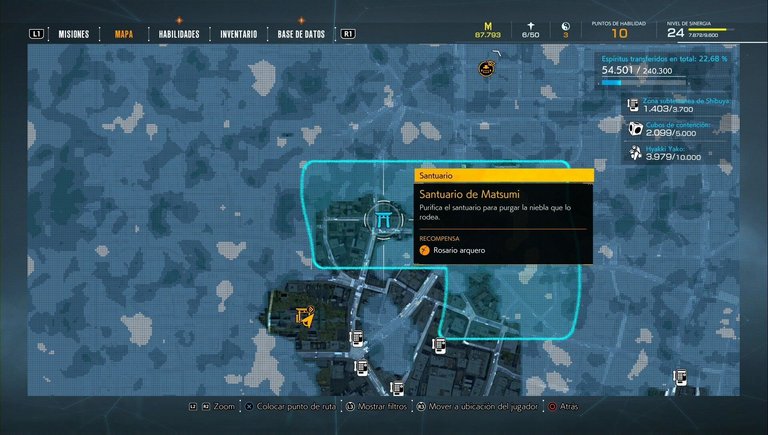
When you do, you'll see a cutscene. Three other secondary quests will have been activated:
Complete Bloodthirsty Flowers.
Complete A Grave Predicament.
Search the Area
If you went in the right direction, a new story marker should have been activated. You'll be directed to a telephone.
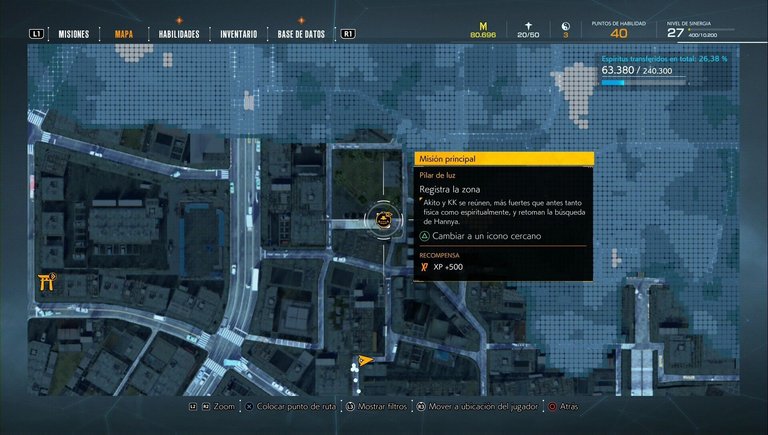
Go to the Sengoku Center building.
After answering the call, a marker will be activated to the east-southeast. When you arrive, use Spectral Sight.
Follow the Psychic Trail
You have to follow an afterimage trail, like on the subway. You'll circle the building to the west, to a door on the
south facade, and then go down a slope.
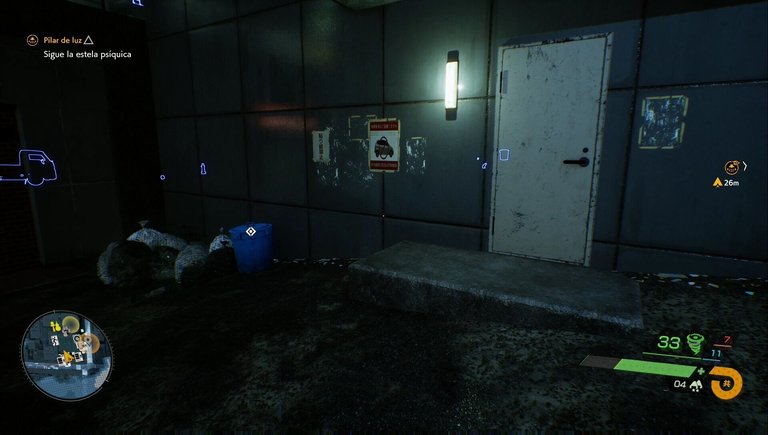
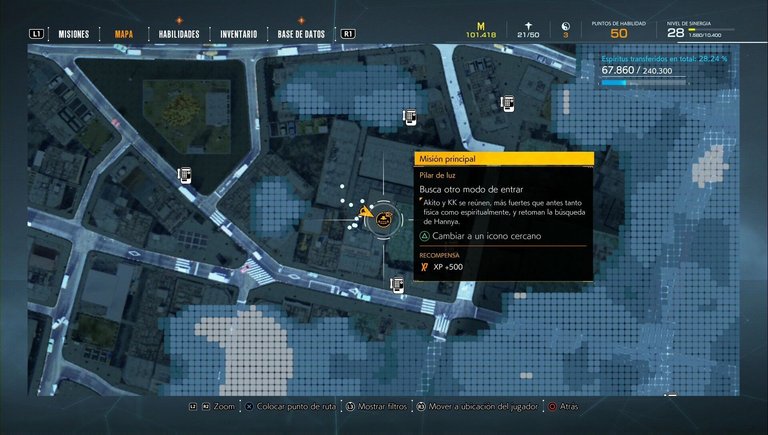
Find another way in.
After trying to open the door, look up. Climb to the roof using the tengu above you. If you don't want to waste time looking for the exact spot where you can enter the building, we'll show you how in the image below.
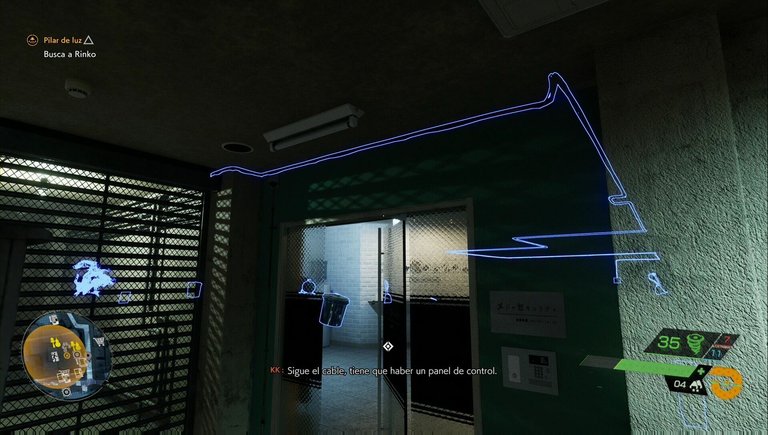
Find Rinko
Start your way down the building, absorbing spirits along the way. Going down a floor, you'll find some easily dispellable corruption. The way forward is obviously through there... but you can't break the second barrier. Use the switch on the left in the corruption hallway to raise the gate and go around. When you reach another gate, use Spectral Vision and follow the cable to the switch that will raise it.
In the next corruption area, you need to enter the office and use Spectral Vision to see a Nurikabe on the wall. You'll get a Magatama by doing so. From the next room, you can dispel the corruption, but you'll have to eliminate enemies before reaching the button and continuing down the hallway.
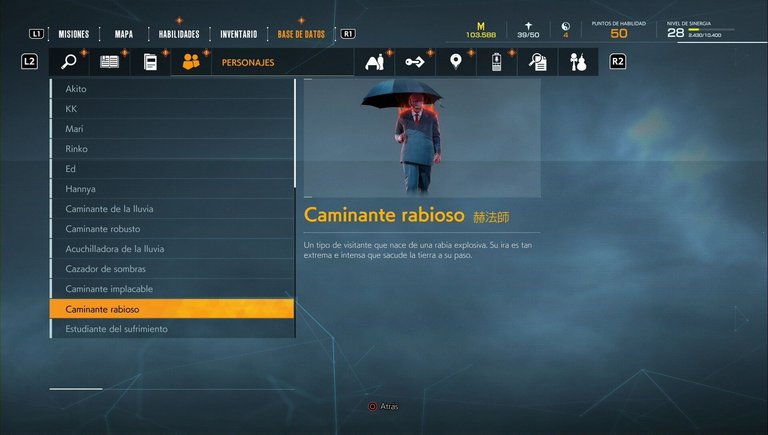
Traverse the vision areas and defeat the enemy at the end of the hallway, a Rabid Walker, a stronger version of the walker you've probably become accustomed to.
Continue along the only possible path (the side doors will be blocked) until you reach a large warehouse. Look for Rinko at the back, next to a machine. You'll have to defeat several enemies to be able to speak to her again.
The Bone of Contention
Rewards: XP +500.
As soon as you leave the building, the next quest in Chapter 3 will be activated.
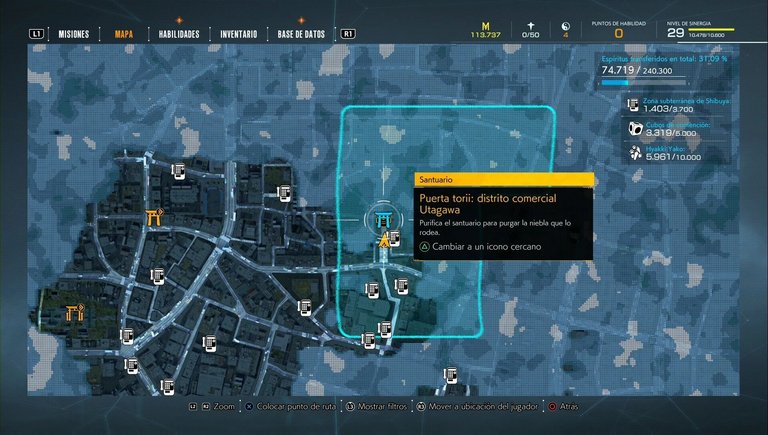
Find the Torii Gate
The area where the Utagawa Shrine is located will be marked. Go there and purify it.
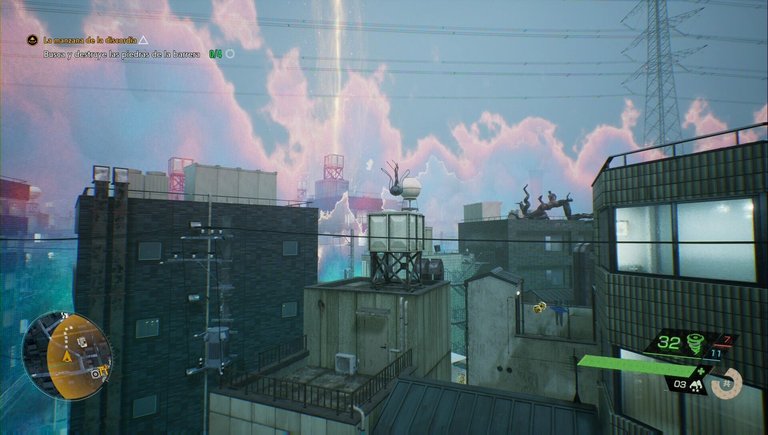
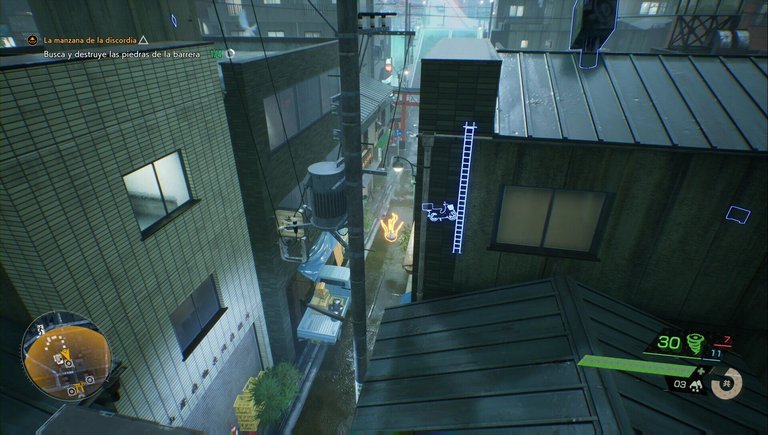
Find and Destroy the Barrier Stones
After purifying the shrine, you'll need to locate four stones in the search area. You'll find them in the following locations:
In the northwest area, on a rooftop, you can find the first stone.
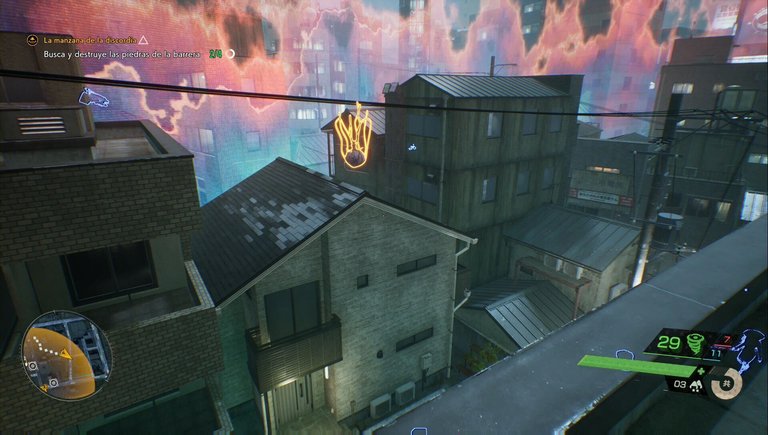
You should see the second stone in an alley to the north.
On a rooftop northeast of the area, you'll find the third stone.
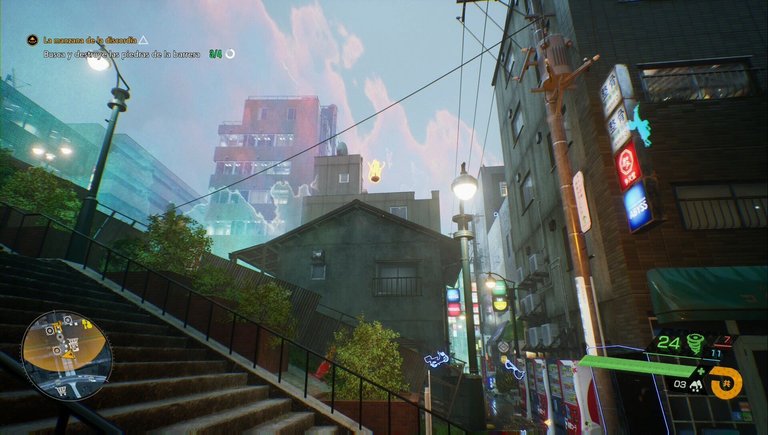
The fourth stone is in the southern part of the circle.
Find the Phone Booth/Find a Calling Card
Several secondary quests have been activated, but before you get to them, we recommend activating the phone booths. You're likely carrying a significant amount of spirit overload, and the nearest phone booths are in a bind. Use Spectral Vision in the southern part of the search area, and you should see markers to head to; go to the one to the east.
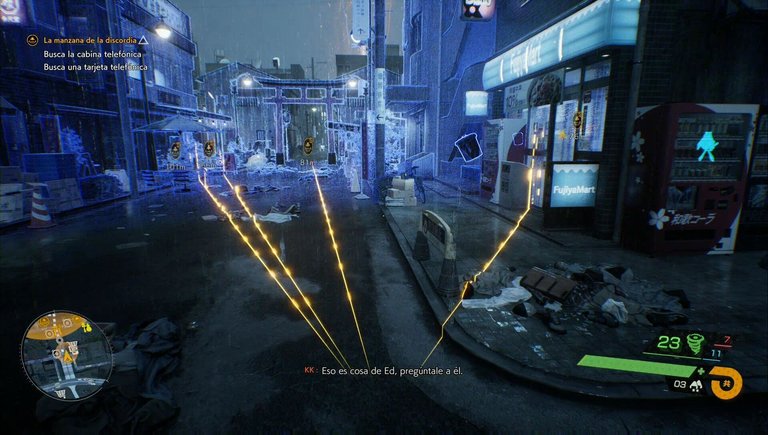
Upon arrival, on the left edge of the search circle, you'll see a spirit with a note "Message about a Lost Phone" at its feet. After reading it, four search points will be marked. You must go to the southwest point; it's an alley with a spirit, a van, and a dog. Feed the dog and follow it to get the Calling Card.
Finally, go east to the marker on the phone booth to use it and progress through the quest.
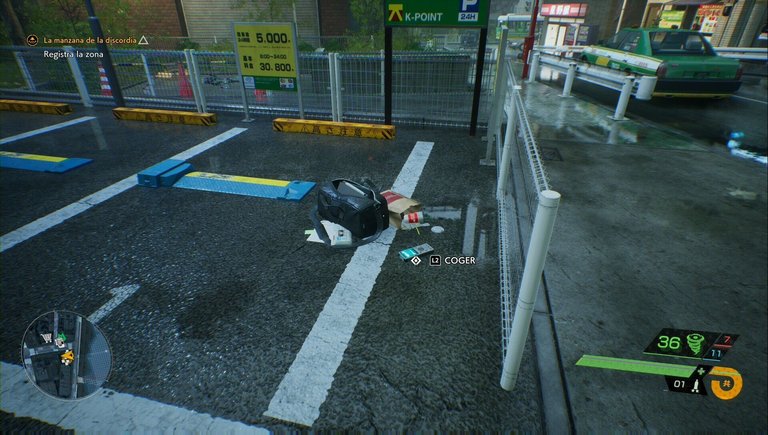
Look for the parking lot next to Jizo Street
Now, let's move on to the secondary schools in the area.
Complete Rokurokubi.
Complete Kodama.
Complete The Den of Evil.
You can now continue northeast of the Utagawa area, the search area marked for the main quest. Go to the far east, defeat the Lament, a new enemy type, clear the corruption, and pick up the recording on the floor.
After the conversation, new side quests begin.
Complete Next Station: The Void.
Complete A Passage to the Beyond.
After that, we return to the locker area.
When you open the locker, you'll find the key to Apartment 302 in Kirigaoka.
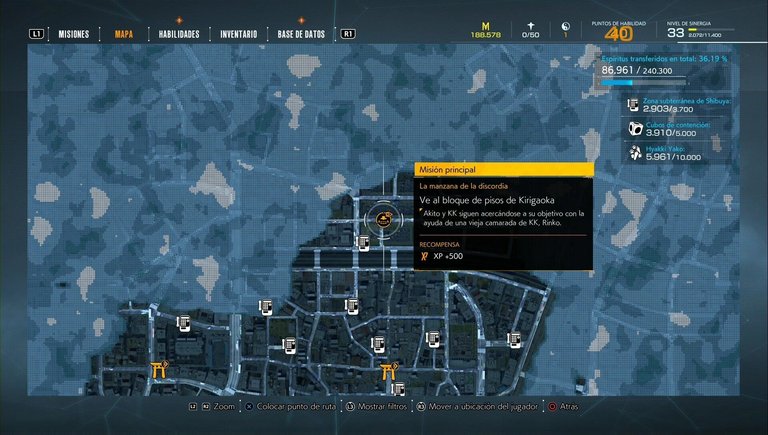
Go to the Kirigaoka Apartment Building.
After picking up the key, complete the Hide and Seek side quest and go to the marker north of Utagawa.
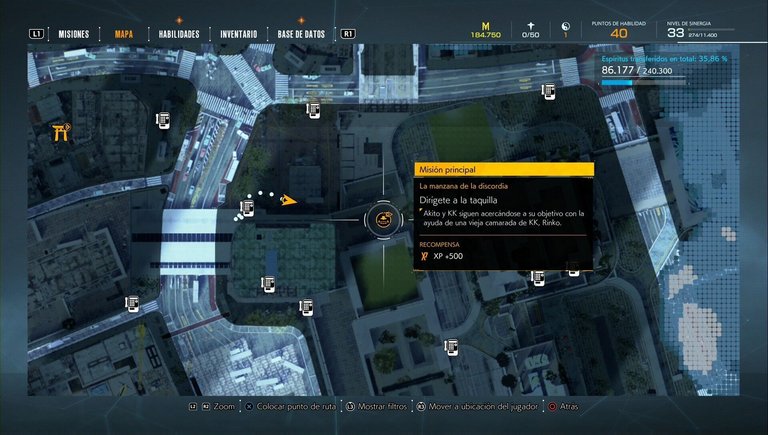
When you arrive, one of the phones will start ringing; pick it up.
Find Apartment 302 in Building C
As soon as you exit the booth, you'll be directed to Building C. Simply climb to the rooftop (from other rooftops, with a tengu...) and open the door to begin your investigation. You'll need to go down to the third floor. Clear the corruption and open the door to sneak in.
Search the Apartment
Go to the back of the apartment and use Spectral Vision to watch a sequence. Then, exit the floor.
Follow Rinko
Go to the end of the walkway, go up the stairs, and go right to find Rinko. Climb the blocks behind her, clear the corruption, and go up the escalator. The path is obvious... and quite mind-blowing. At the end, use a Hand Seal on Rinko.
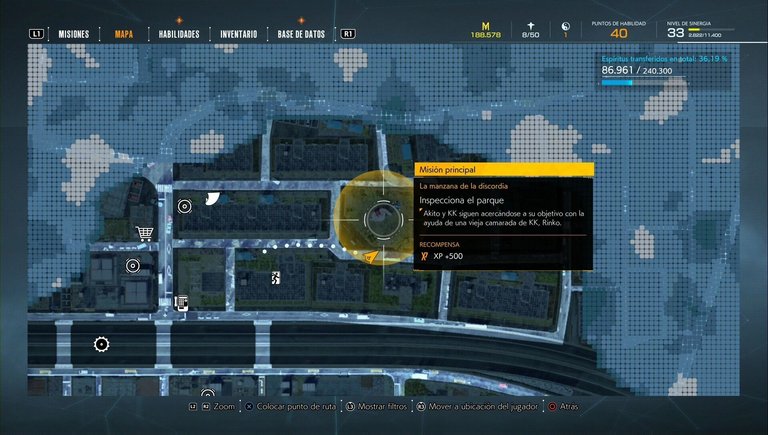
Inspect the Park
Go to the park in the search area and use Spectral Vision.
Examine the phone booth.
After a short cutscene, you'll need to pick up the ringing phone next to the park.
Agony
Rewards: XP +500, Music: Ko-omote.
As soon as you begin, several shrines will activate. We recommend purifying them all before moving forward:
Purify Yamaki Shrine.
Purify Hitani Shrine.
Purify Kirigaoka Shrine.
Purify Namihara Shrine.
Purify Toyoi Shrine.
Purify Hatsuike Shrine.
Go to the heart of the pillar of light.
The next objective will activate after purifying Kiragaoka. However, if you followed the guide, complete the available side quests before continuing the story.
Complete The Dreaming Jewel.
Complete The Masks.
Now head to the quest marker, in the northeast corner of the map, to advance the story. You'll see a cutscene when you enter the quest area.
Go to the path shrine
You'll find the next marker west of your position after completing the cutscene; it's straightforward. Interact with the rocks to find a tunnel. Follow it until you see another cutscene.
Defeat Ko-omote

As soon as you begin, you'll lose KK. To defeat Ko-omote, start by going into one of the low tunnels around the central structure. This will cause him to lose sight of you. Be careful, because if he sees you enter, he'll unleash a very damaging breath that affects the entire tunnel area. He can also use it occasionally while patrolling.
The idea is to use Quick Purge (a stealth attack from behind) three times. Our advice is to use decoy charms to lure her to a spot near one of the ducts, sneak up behind her, use Quick Purge, then escape and enter another tunnel to repeat. Once you've done this, you'll see a couple of cutscenes and move on to Chapter 4: Entanglement.


created blog gif
_____________________
All images were taken by me