Ghostwire: Tokyo Part #2
Hello friends of @hivegaming, how are you? Chapter 1: Beginnings of Ghostwire: Tokyo will end upon leaving the hospital. The story continues directly upon reaching the streets of Shibuya, where we entered the building.
KK
Reward: XP +500.
Pronounced "Queiquei," stop laughing. If you try to stray and explore, you'll take damage from a fog, so for now, focus on the story.
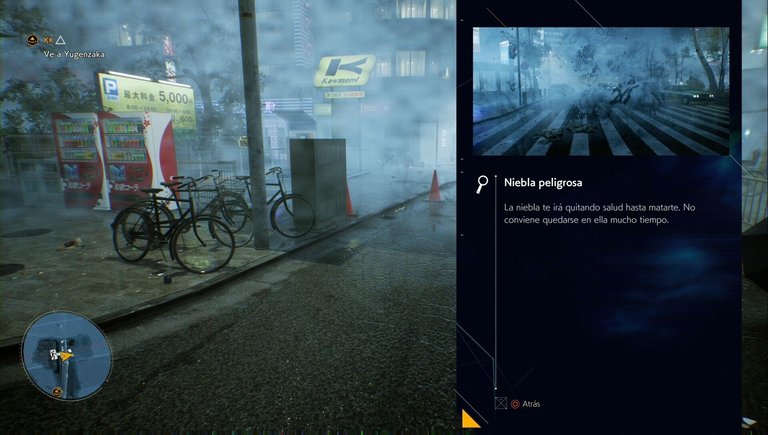
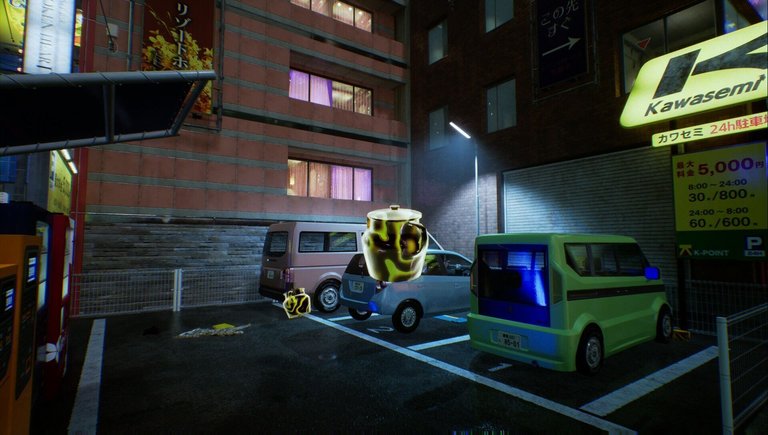
Go to Yugenzaka
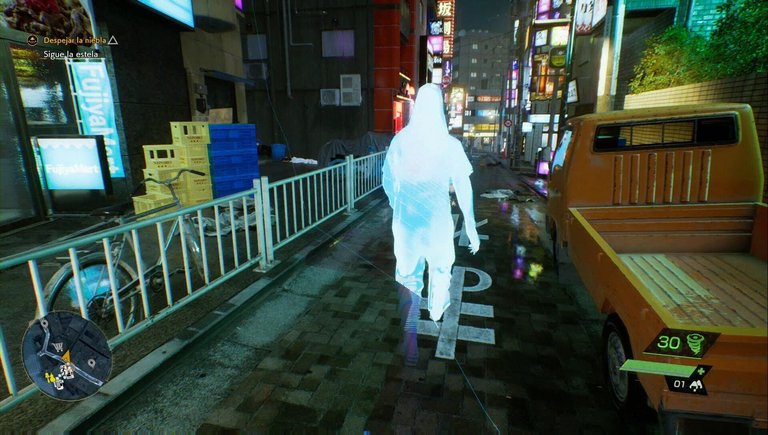
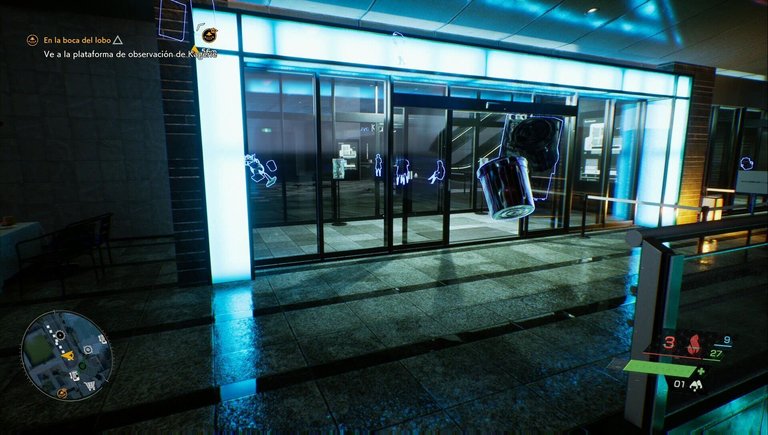
Head southwest down the street. Be careful because there are some foggy sections. If you see the lane you're passing through, move. There are some groceries along the way, which can restore some health. For now, you shouldn't see any enemies; the area is safe. Examine the torii gate. When you reach the alley, you'll see a couple of Visitors. Duck behind a car if you want, but you won't be able to sneak up on them from behind. Defeat them and then examine the torii gate.
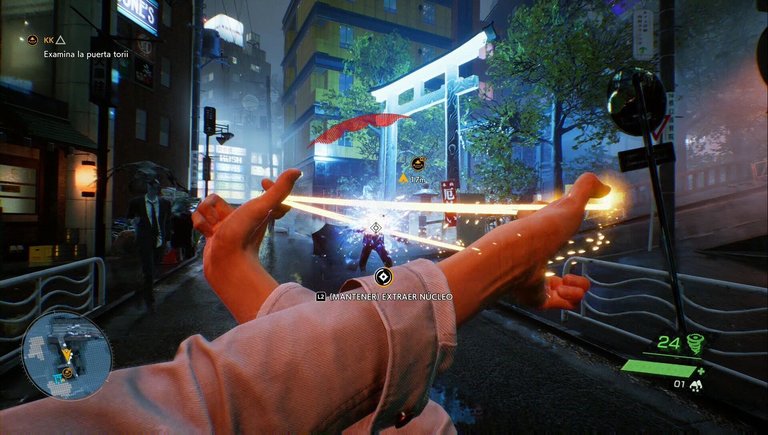
After purifying it, you'll see that it's the Akisawa Shrine, and it'll be our first torii gate (we won't get into collectibles just yet. Don't worry, though). Search the shrine.
Enter the shrine and pick up Katashiro x10. Save the spirits.
Continue west-southwest until you see a cutscene. You'll have to eliminate some visitors before they break the cube and then use a Katashiro on the spirits. This was the first containment cube, another collectible we'll get to soon.
Find a phone booth.
To complete the next objective, head west and northwest at the intersection (ignore the spirits; we'll get to them later). You'll find the phone booth after a bit.
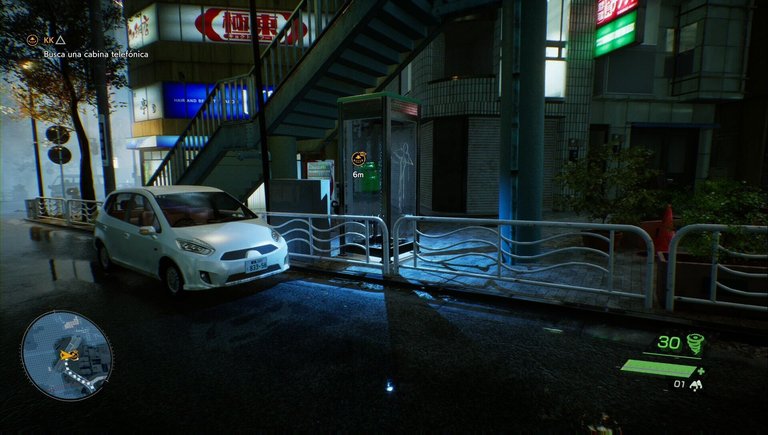
Interact with the booth and the phone to see a cutscene.
Go to Yugenzaka
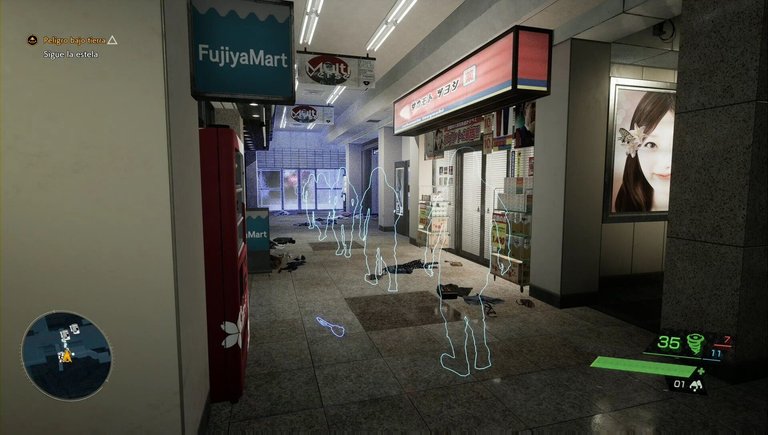
Back to the main objective. Follow the marker south through the streets, which should be fairly quiet. You'll now come across Yellow Aether Fragments, a type of jar containing meika, the game's currency. Break all of them.
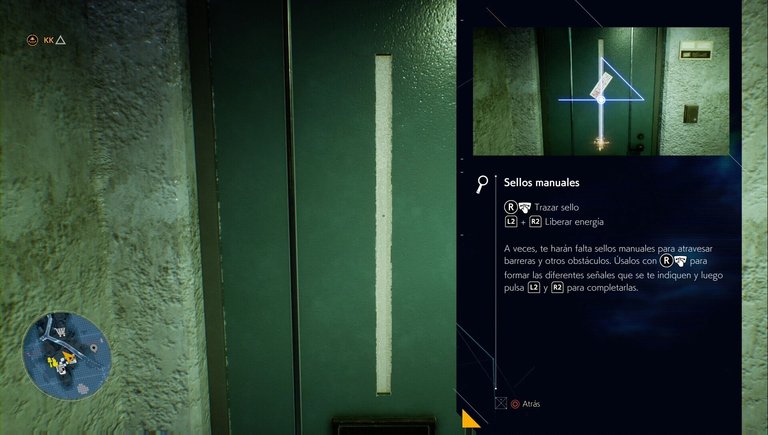
It won't take long to see Visitors, Landmarks, a Supermarket... we'll cover the entire area in detail soon. Keep moving toward the marker. When you get there, climb the ladder, interact with the door, remove the Hand Seal (you'll have to complete a QTE), and enter.
Clear the Fog
Reward: XP +500
The mission will begin as soon as you enter the apartment.
Search the Apartment
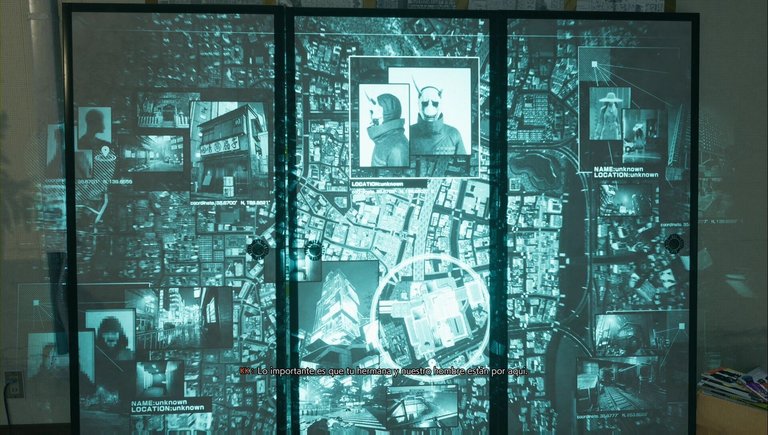
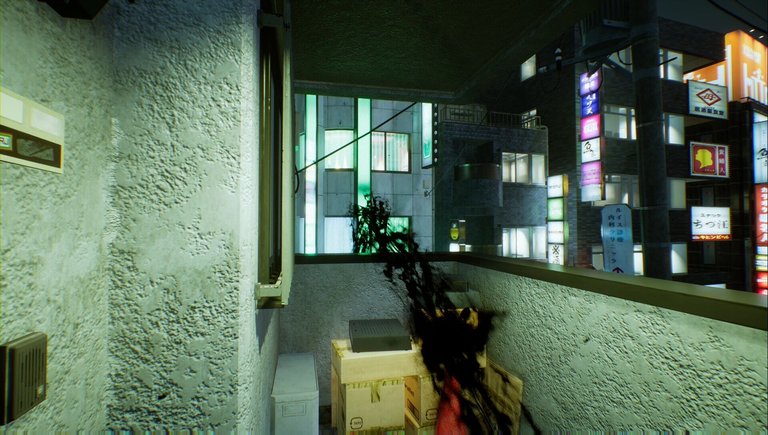
Go straight to the back and to the right to grab the photo under the computer screens and watch a cutscene. Just to the left of it is a briefcase that you must open to obtain a bow. Then, examine the projector in the center of the room to watch another cutscene.
We'll come back here later to collect things, when we get started on the collectibles. For now, leave the apartment. Find and destroy the source of the barrier.
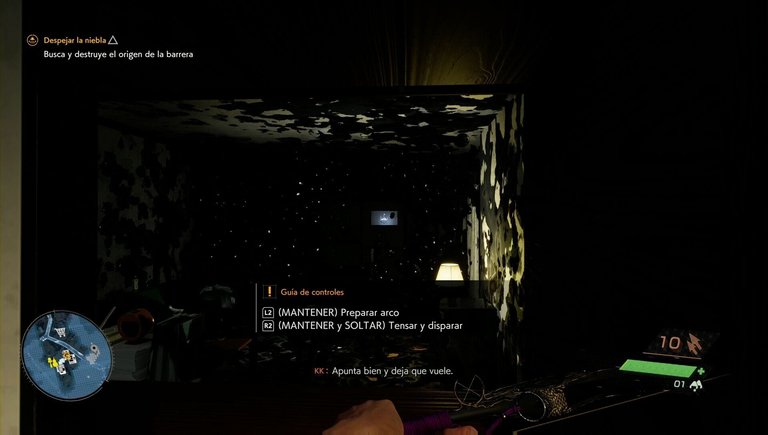
Go up the stairs and break the stone. On the next landing, go to the bottom and enter the apartment. You'll have to run through the hallway. At the end, you'll find a closet door. Open it, and you'll be shown how to use the bow.
After destroying the stone, leave the apartment and go up two floors to another apartment. Here, you'll have to alternate jumping and ducking along a less complicated path than it seems, to another stone hidden in a closet. Simply open closets to find the route when you see that you can't move forward. Leave the apartment when it returns to normal. Use spectral vision to search the area.
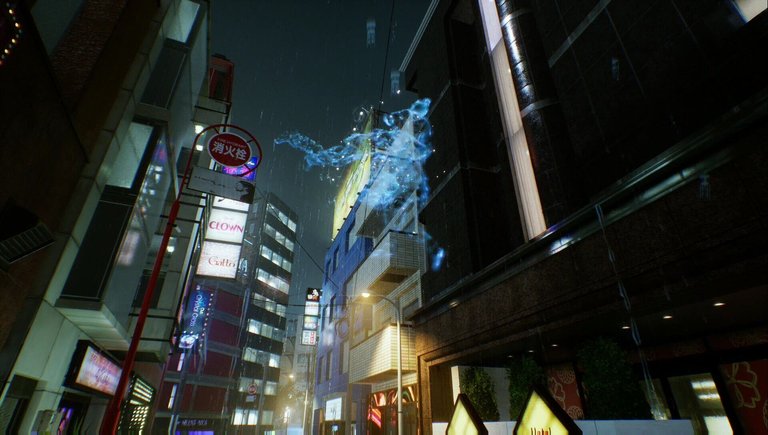
Go down to the alley and approach the light. You'll be shown how to use spectral vision. A silhouette will appear that you must follow.
Find a way to purge the corruption
The stele will drop you off at a tree; use Spectral Vision. You'll need to hit the core and then free it, just like with enemies. After doing so, you'll see a cutscene.
Into the Lion's Den
Reward: XP +500.
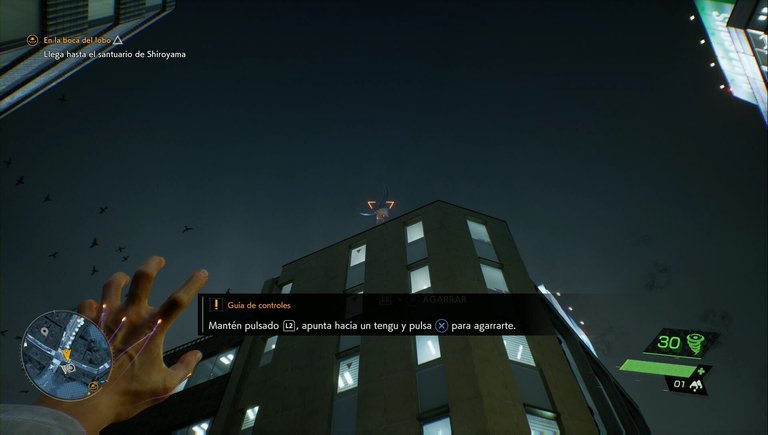
Head through the streets to the marker and you'll see a short cutscene. You'll be taught how to use Tengu to reach high places and glide.
Reach Shiroyama Shrine
The goal is to reach the torii gate on the rooftop and purify it, as you did before. You'll have to defeat some spirits near the gate before you can free it. After doing so and collecting the katashiros, the side quest tutorial will begin. This means that, for now, we're finally going to stop completing side content.
Complete Clean as a Whip.
Complete Zashiki-warashi.
Pray at the three Jizo Statues at Namita Shrine.
Collect the three voice recordings at Namita Shrine.
In general, for the purpose of this guide, we'll give you the locations of the side quests, leaving the collectibles for the final parts of each Chapter. The reason is that many areas are closed off by fog, making them difficult to reach. So, now continue towards the quest marker, Shiroyama Shrine.
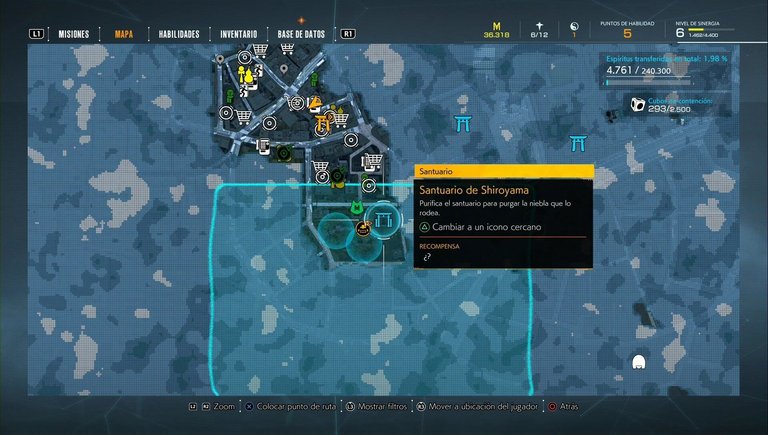
Purify Shiroyama Shrine
Upon arrival, you'll see that you need to purify three torii gates instead of one. You won't have too much trouble doing this, other than defeating the visitors protecting each one. After completing this, you'll unlock Fast Travel to any purified shrine, in addition to clearing more areas of fog. Look for something useful at the shrine.
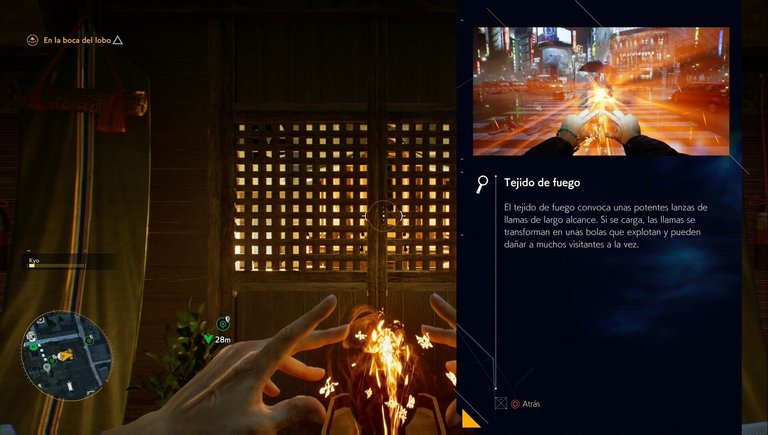
New side quests are available, but first, go to the shrine. Interact with the orb and you'll obtain the Fireweave, i.e., fire magic.
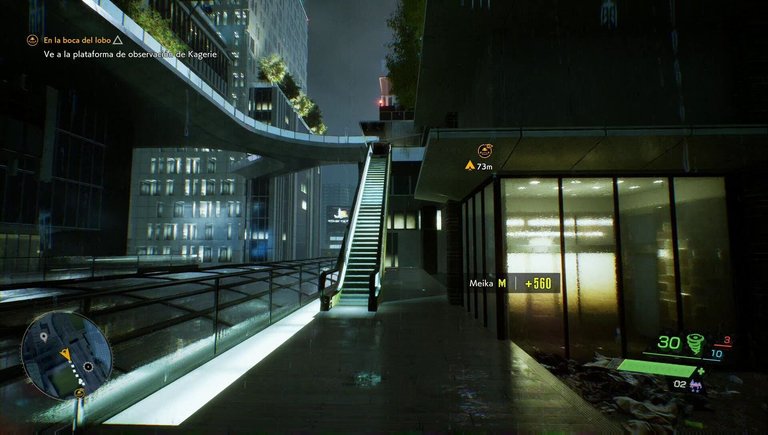
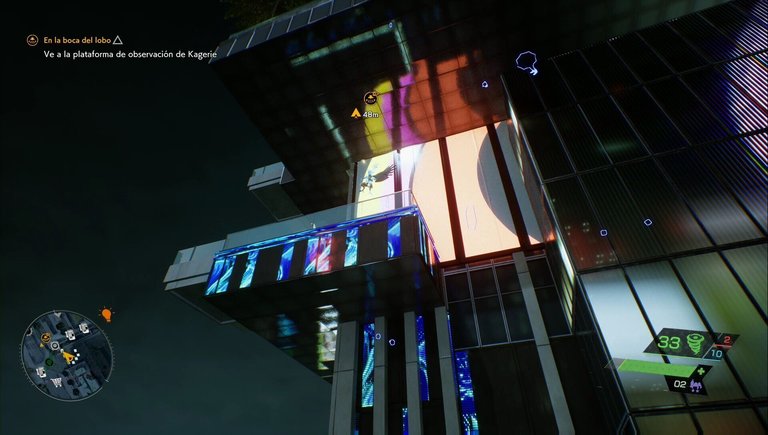
Go to the Kagerie Observation Deck.
Before continuing, even more secondary quests have been activated, so let's complete them before moving on:
Complete The Voice in the Wall.
Complete Karakasa-kozo.
Complete A Doll's Funeral Rites.
Complete The Hoarder's House.
Complete Tanuki Hunt.
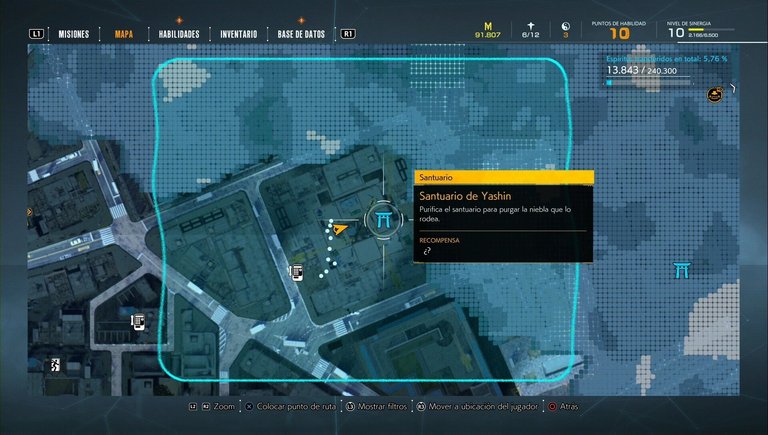
Now, head to Yashin Shrine, which you'll need to purify to track the target.
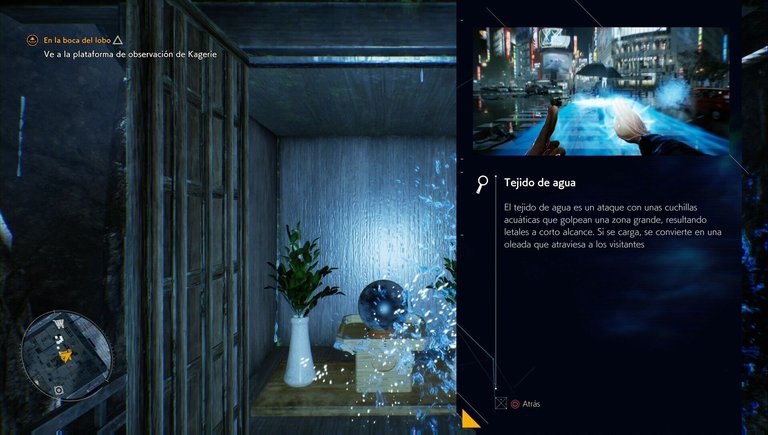
When you go to purify it, a visitor armed with scissors will appear. She's very tough, so we recommend using charged Fireweave to quickly finish her off. Then, purify the shrine. Doing so will give you the Waterweave, i.e., water magic.
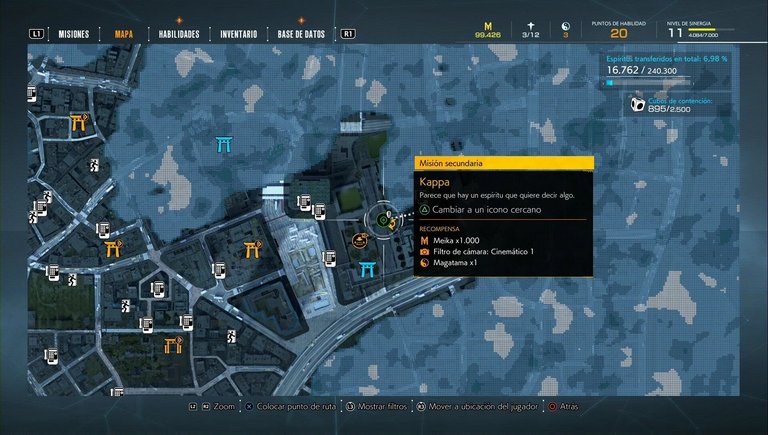
When you're done, go to the north corner, catch the spirits, and use the elevator to return to street level. Now head towards the mission marker. You'll need to go around a shopping mall, Shibuya Station, and up some stairs. Just before you climb the next flight of stairs to the main objective, complete Kappa.
Then go up the stairs and, in the area where the Kappa was, look west. You'll see that you can enter the building, where there will be visitors. Clear the area to continue your way to the rooftop.
On the next floor, you can take an elevator to P8. When you arrive, crouch down to grab the huge Relentless Walker from behind. You won't kill it in one hit, but you'll weaken it enough that it won't pose as much of a threat. Then, exit north to the rooftop. There are some loose enemies and a good number of spirits you can catch. When you want to continue, look for the escalator to the right of the door you came out of.
After going up, you'll see a group of enemies and a torii gate. Defeat them and purify the shrine. There's a phone booth nearby, just past the torii gate, so you can hand over all the trapped spirits before advancing into the temple and grabbing the Stunning Talisman. You'll be taught how to use it as soon as you exit, don't worry. Continue north-northeast from the rooftop. Circle the building northeast to find more stairs. Continue past another phone, climb more stairs, and when you can't see how to continue, look for the tengu above you.
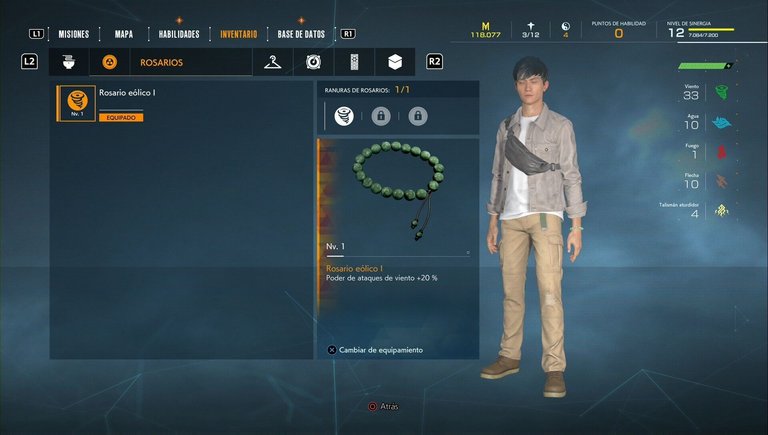
Continuing up, you'll eventually find Wind Rosary I. It's the first in a series of accessories that allow you to activate special effects. You'll get it as another collectible, don't worry.
Use the binoculars to search the area.
Now you'll need to move forward and use the binoculars to look. You need to focus down until you see X LOOK at the intersection. Then look north, you'll see a blue silhouette, and you'll have the option to look again.
Go to the Shibuya underground area
At this point, we're asked to pursue the enemy. However, this is the perfect time to complete the entire area. You'll also notice that several secondary content items have been activated that will allow you to improve your character. So, let's get to it:
Purify Morite Shrine (you should have already purified Akisawa, Namita, Shiroyama, Yashin, and Kuo).
Pick up the Archer's Rosary from the altar.
Pick up KK's Note: The Sewer Boy.
Pick up KK's Note: The Strange Case of the Urban Tengus.
Pick up KK's Note: The King of Interest.
Pick up KK's Note: The Headless Dancing Students (the second note for this shrine is collected later).
Discover the Landmarks of Akisawa Shrine.
Discover the Landmarks of Namita Shrine.
Discover the iconic sites of Shiroyama Shrine.
Discover the iconic sites of Yashin Shrine.
Discover the iconic sites of Kuo Shrine.
Discover the iconic sites of Morite Shrine (you can only find the first 3).
Find the lost tanuki at Akisawa Shrine.
Find the lost tanuki at Namita Shrine.
Find the lost tanuki at Shiroyama Shrine.
Find the lost tanuki at Kuo Shrine (you can only find the first one).
Find the lost tanuki at Yashin Shrine.
Find the lost tanuki at Morite Shrine.
Pray at the Jizo statue at Akisawa Shrine (you can only pray at the wind statue; the second one is currently inaccessible).
Pray at the Jizo statues at Shiroyama Shrine.
Pray at the Jizo Statues at Yashin Shrine (2).
Pray at the Jizo Statue at Kuo Shrine (you can only pray at the wind statue; the other one is currently unavailable).
Collect the first Akisawa recording (the second is currently unavailable).
Collect the Yashin Shrine Voice Recording.
Complete The Crimson Moon.
Complete Ittan-momen.
At this point, you should be around level 20. Your character will have a ton of skills and will be quite powerful, which was the goal. From here on, the guide will only cover Shrines, Side Quests, and the two missable enemies to achieve 100% completion. You can do everything else later, don't worry. Don't forget to collect all the spirits you can from the katashiros and head to the marker station to get to the subway.
Danger Underground
Rewards: XP +500.
Investigate the area with Spectral Vision. As soon as you go through the doors and down the stairs, you'll enter the subway and the next mission will be activated. Use Spectral Vision to see the target's afterimage and follow him, remembering to absorb spirits along the way.
Follow the Trail
The target will appear with a small orange circle on the minimap if you get lost.
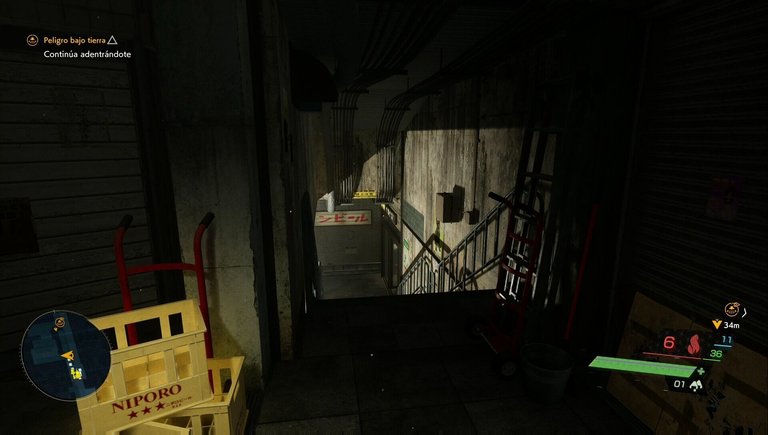
Go north from the entrance and go down the stairs. When you reach the platform, it will head west until you see a staircase leading north. Using Spectral Vision, you'll see enemies, so be careful.

Continue Deeper
After clearing the area, you'll see that you've lost the trail. Don't worry, there are some stairs leading down to the west, which you'll continue along. Be careful, not the ones on the platform, but the ones in the northwest corner, which lead you to a kind of alley with shops. Go north, eliminating enemies, until you find another set of stairs that take you even further down.
After another group of enemies, the stairs lead you next to a train and a tunnel. You'll see the orange sphere on the stele, indicating that you must go through the tunnel to follow its trail. Continue until you cross a gate on the left and then go up the north platform. The door you'll find leads you to an engine room.
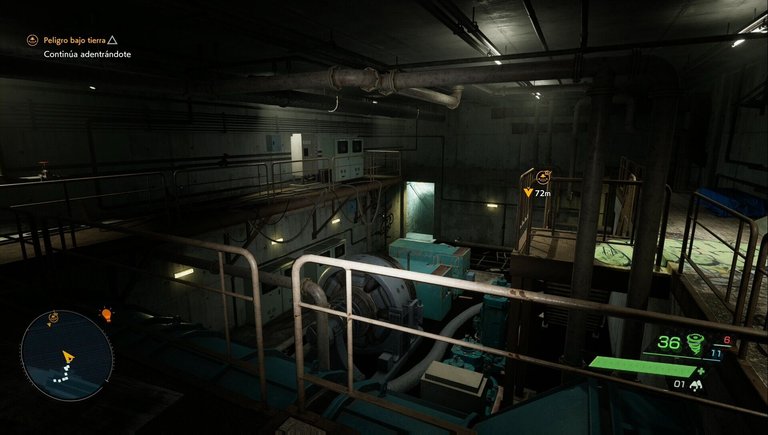
In the vision area, don't go up, except to collect the spirits. There's nothing but a dead end; continue towards the marker and you'll see a cutscene.
Defeat Yaseotoko
You're facing an enemy capable of using weaves, just like you. He'll use your same attacks, including charge attacks. This means you have to sidestep the air and flames and protect yourself from the water. He can also raise a defensive barrier, which you can easily destroy with arrows.
When you damage him enough, you can extract the core. It will be difficult, but a single attempt should be enough to defeat him and watch a cutscene.
Return to the Surface
You have no powers. As the tutorial clearly indicates, you can use a bow and arrow, absorb using Katashiros and Quick Purge (stealth elimination), but no tissues, tengus, or spectral vision.

If you go left after eliminating the schoolgirl and the woman, up the stairs, you should be able to avoid most of the enemies, except for a salaryman at the far end, whom you can eliminate from behind. From there, you'll reach the circular pit. Run up the stairs and throw a talisman on the ground to stop the spirits chasing you.
After the vision when you open the door, there are two more schoolboys in the next room. Kill them if you have arrows. If not, you'll find them when you go through the next door; they should be enough to kill them and the woman with the umbrella. Run up the stairs, kill another suited spirit, and open the door to reach the surface.
The Shadow of the Past
Rewards: XP +500, Tactical Jacket, Tactical Pants, Tactical Shoes (clothing is not listed as a reward).
Return to KK's Safe House
The objective is self-explanatory; simply return to KK's apartment. Remember, you can't do much without weaves, so avoid as many confrontations as possible, unless you can attack from behind. You'll see a cutscene when you enter the apartment. Leave the apartment when it's over.
Follow KK's trail
You'll clearly see a trail of black smoke that you should follow.
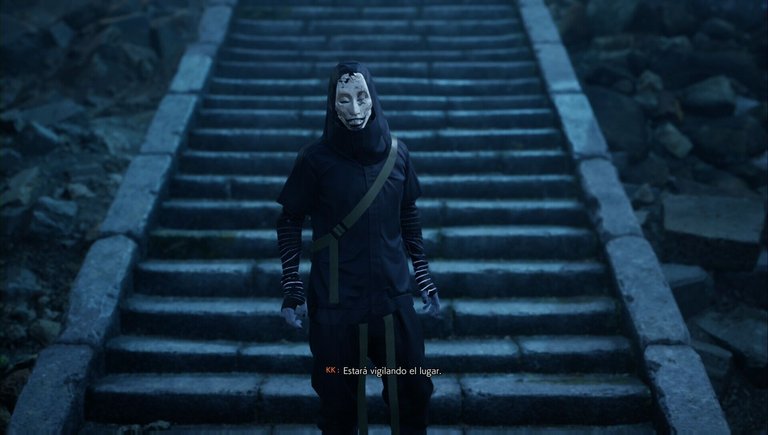
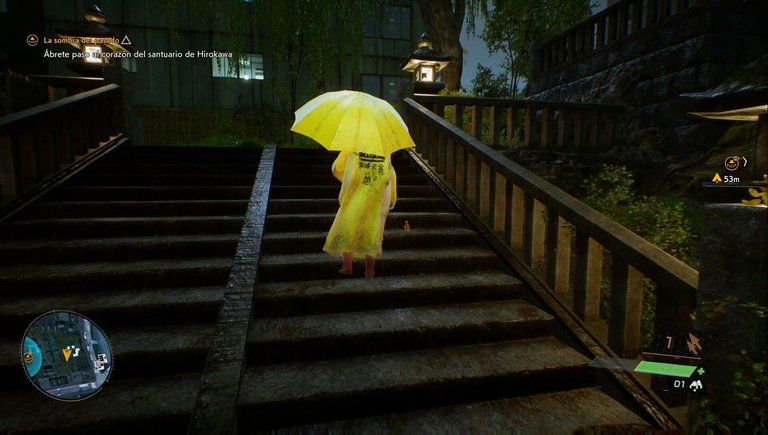
Most enemies will be scattered so that they have their backs to you, so take advantage of this opportunity to use Quick Purge. Be careful, not all of them will be looking the other way, so pay attention to the detection marker. When you're near Hirokawa Shrine, you'll see a cutscene. Make a manual save: that enemy in the yellow raincoat, Desolate, is missable: if he spots you, he'll sound the alarm and disappear.
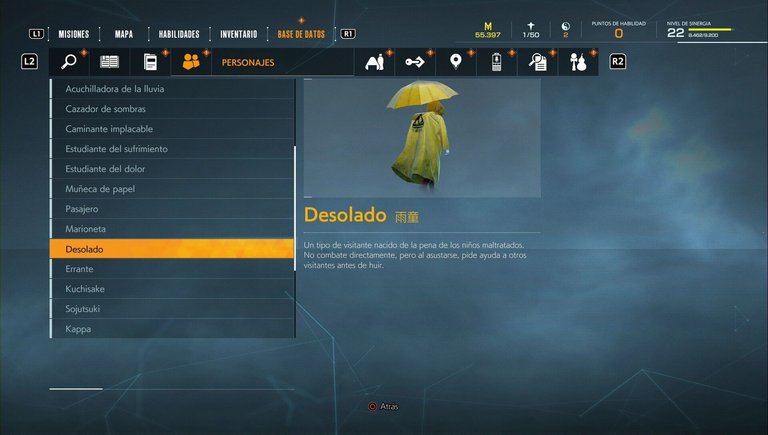
There are more to the game, but since you can get rid of him now... all the better. You might have already eliminated him if you've been wandering around. If for some reason it detects you and runs away, load your save and try again (if you haven't registered it yet, of course. If you already have, you can just skip it).
Make your way to the heart of Hirokawa Shrine
From where you are, you should be able to shoot arrows at the two schoolboys on the main path. One charged arrow should be enough to take out each of them, and nearby enemies won't notice. If you wait patiently, the Bleak will return to the main path, following a predetermined route. Wait for it to go left again to chase it down and use Quick Purge to eliminate it and register it in your database. One less missable content!
Up the stairs, on the left side, watch out for the woman patrolling from left to right. Wait for her back to turn and attack from behind to take her out without using arrows. Now you need to make sure you have at least three arrows, one for each salaryman near the torii gate. There are more arrows near the area, so replenish them, kill them, and go through the door (you can't purify the shrine).
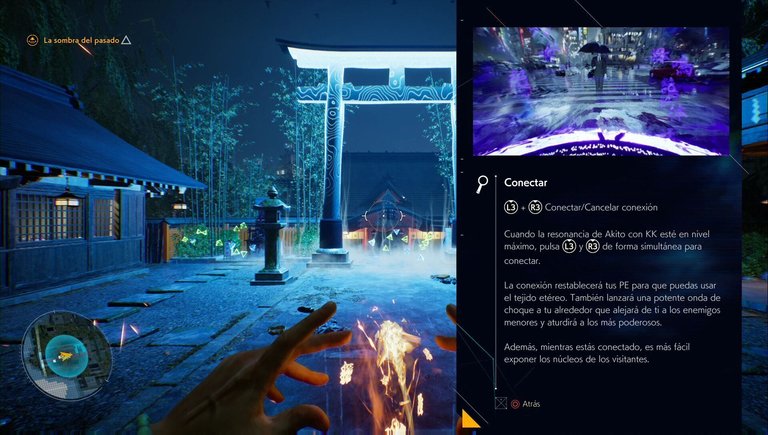
Defeat the Enemies
After completing the sequence, you'll have the Connect ability, which is basically a temporary overpower: weaker enemies will be exposed, stronger ones will be stunned, your HP will be restored, and enemies will be easier to eliminate. Super Saiyan Ultra God Instinct Mode Gear 5, for those in the know.
After a short sequence, you'll move on to Chapter 3: Connect.


created blog gif
.
.
Images taken by me
Congratulations @infinitelove14k! You have completed the following achievement on the Hive blockchain And have been rewarded with New badge(s)
Your next target is to reach 100 posts.
You can view your badges on your board and compare yourself to others in the Ranking
If you no longer want to receive notifications, reply to this comment with the word
STOPCheck out our last posts:
This game is really amazing. I really like this kind of adventure. Especially the graphics quality is very beautiful. Thank you for sharing such a beautiful gameplay with us.
So this is a story mode game? Can you play it with friends? Tbh the graphics are amazing but too scary.
I tried to play it when they put it on gamepass and, although at first I liked it and visually it is incredible, in the long run I ended up abandoning it because the combat became a little repetitive. Although I liked walking through those streets while it was raining, it was relaxing haha.