Winning Battles is the Best Way to Climb Leaderboard: One Way To Fight ‘Shade Of Gray’ Rule in Battles

‘Shade of Gray’ is a battle which requires specific monsters. It is a battle where only neutral monsters can be used. Neutral monsters are monsters that are available for any summoner in battles..
I used to be confused about which monsters to use whenever I was given ‘shade of gray’. This was because I love to use specific monsters in this battle. When I realized that only Neutral monsters can be used, I didn't stress myself searching for monsters to use.
There was a day I kept selecting summoners when I was given Shade of gray in a battle. I ended up selecting the summoner I don't like to use.
‘Shade of Gray’ is very sweet to fight when you know the best summoner and monsters to use.
There were times I used Dumacke Orc as the last monster because opponents were using Sandworm and other sneak neutral monsters to attack from behind. I continued using Dumacke Orc as the last monster; and it really helped me in several battles.
At times, it is good to use some kind of monsters to defend your battles from behind. That is the reason it is good to use monsters with protect ability, or summoners that give armor to friendly monsters.
In this battle I'm about to share, I did not use Dumacke Orc just like the way I have been using it in this kind of battle. This was because I sensed that my opponent would not use it.
Why do I change my strategy?
I told you, in the previous ‘shade of gray' I encountered, I kept on using Dumacke Orc because the majority of the opponents used sandworm. I knew using Sandworm in this battle would be very costly, this was because Sandworm is a 9 mana monster; therefore, I preferred to use other monsters.
It could be a difficult battle for Sandworm: it could be a difficult battle when an opponent uses a monster or summoner with protect ability; it would be twice for Sandworm to eliminate a monster in a battle. Therefore, it would be a threat to my lineup.
When an opponent uses a monster with dodge ability. For instance, there was a day I used Chao Agent as the last monster. Opponent’s Sandworm missed the attack till the battle ended. Assuming I player used a Chao Agent with backfire ability, that was how I would have damaged the units of the opponent's sandworm.
Therefore, I'm always conscious of my opponents using this kind of a monster against me in battles.
I have also encountered battles where my monsters were destroyed by the backfire ability of Chao Agent.
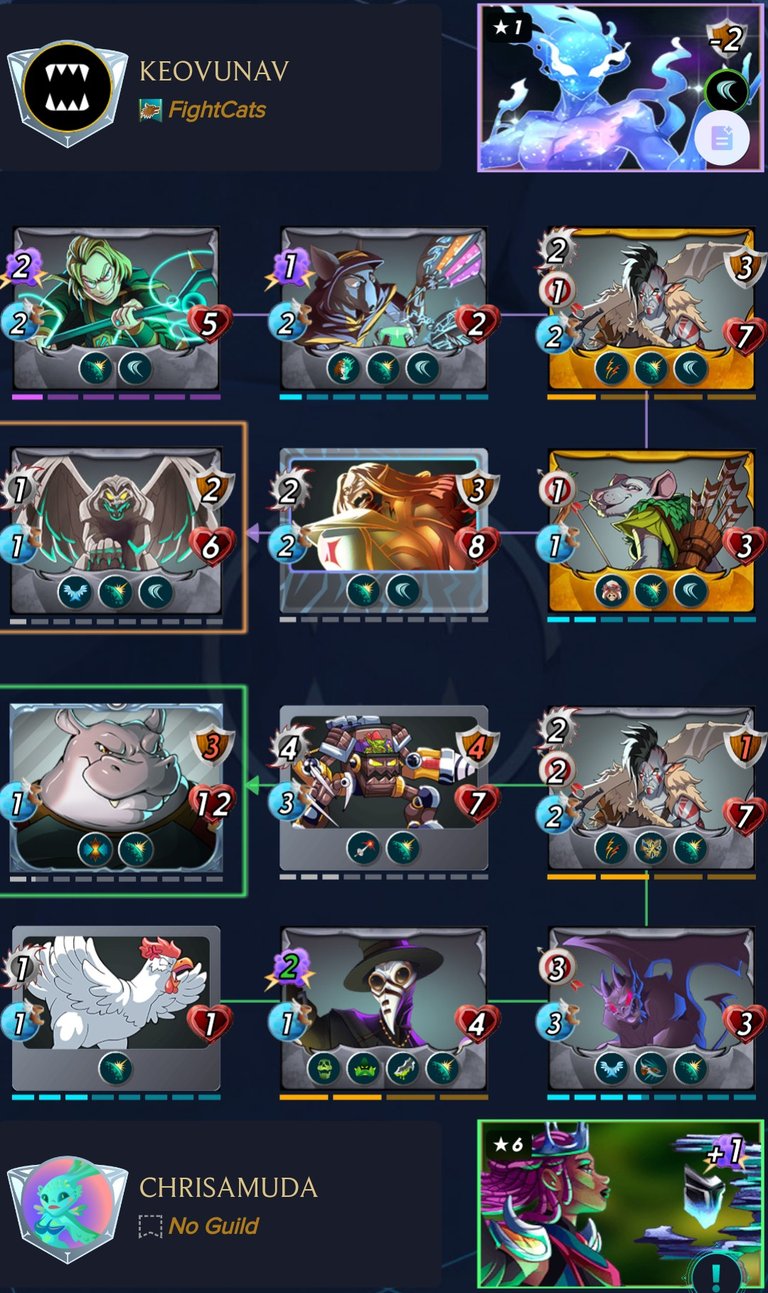
Rules off the battle
 Deflection Field
All units have reflection shield (0 damage from blast splash damage and punishment abilities abilities- corrosive ward, magic reflect, return fire and thorns).
 Shade of Gray
Only neutral monsters may be used.
Click here to watch the battle
Monsters Arrangement
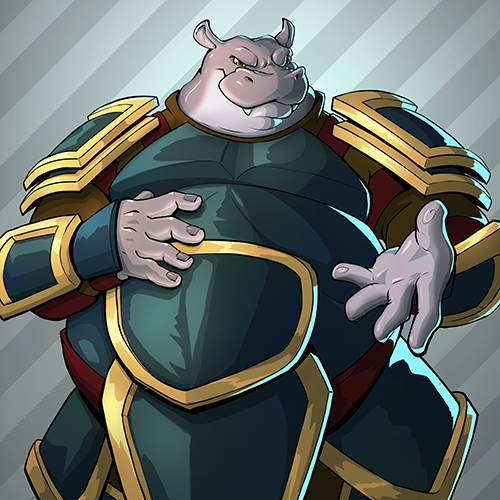 Ulunding Overseer
Splinter: Neutral
Level: 1⭐
Ability: Flank ☄️
Speed: 1⚡
Health: 12 ❤️❤️❤️❤️❤️❤️❤️❤️❤️❤️❤️❤️
Armor: 3
Attack: None
Mana: 11 ♂️♂️♂️♂️♂️♂️♂️♂️♂️♂️♂️
Ulunding Overseer was a best monster to lead the lineup for the following reasons:
Health- 12 health was incredible to start any battle. It took second position to destroyed **Ulunding Overseer and it was due to high health.
Delay Tactic- it was a delay tactic! Despite the fact that Ulunding Overseer was a monster with no attacking ability, yet, it was one of the best monsters in this battle.
Gave Goblin Mech Flank ability- without Ulunding Overseer, Goblin Mech wouldn't attack in the second position. It was a flank ability that gave Goblin Mech reach ability l, which enables it to attack in the second position.
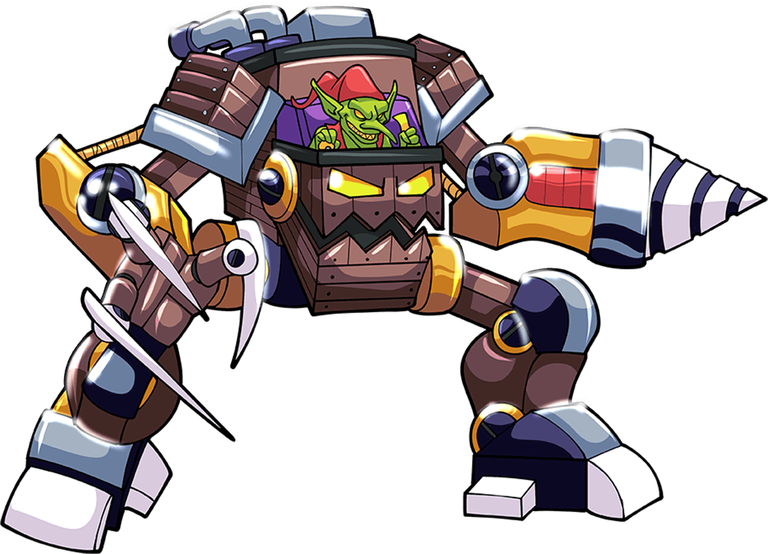 Goblin Mech
Splinter: Neutral
Level: 3⭐⭐⭐
Ability: piercing and Flanking
Speed: 3 ⚡⚡⚡
Health: 7 ❤️❤️❤️❤️❤️❤️❤️
Armor: 4 🪖🪖🪖🪖
Attack: Melee
Mana: 10 ♂️♂️♂️♂️♂️♂️♂️♂️♂️♂️
Goblin Mech was designed to attack from the beginning to the end of this battle.Goblin Mech** Melee attacks attracted me so much to us. 4 melee attacks simply mean 4 units would be damaged from targeted monsters.
Though, in the first round of the battle,**Goblin Mech missed the attack; in the second round, it was able to hit the target.
One thing that stood out about ”Goblin Mech was that it destroyed the armor and health of the target monster. This could only happen due to Piercing ability.
Without piercing ability, it would have took Drybone Raider the second attack to destroy Gargoya Lion.
Goblin Mech was eliminated in round 4 which was fair enough.
At this point when Goblin Mech was eliminated, only 3 monsters were left in the opponent's lineup.
The strategy to use Goblin Mech worked perfectly in this battle, it was able to attack from the beginning until it was eliminated.
This was possible as a result of Ulunding Overseer in this battle.
 Drybone Raider
Splinter: Neutral
Level: 2⭐⭐
Ability: Double strike and shatter
Speed: 2
Health: 7 ❤️❤️❤️❤️❤️❤️❤️
Armor: 1 🪖
“Attack: Melee and Range
Mana: 12 ♂️♂️♂️♂️♂️♂️♂️♂️♂️♂️♂️♂️
Drybone Raider double attack motivated me to use it; you could see that it took 12 Mana from me which I would have used to get other monsters. This was because I knew the presence of Drybone Raider in battles.. I have seen the effect of this monster in many battles. I have encountered a player that used Dumacke Orc when only melee and ranged monsters were allowed in a battle. An attack from Drybone Raider destroyed all the 7 armor. It was very easy to delete Dumacke Orc in that particular battle. Hence, Drybone Raider is very good against monsters with armor, especially monsters with shield ability.
The effect of shatter ability was seen when Drybone Raider attacked Evil defender, the armor of **Evil Defender was shattered.
Drybone Raider led the lineup when Goblin Mech was eliminated; it led the lineup in round 4.
It wasn't easy for Drybone Raider to stay for a long time when it led the battle; the reason was that opponent's Venari Marksrat was eliminated which increased the stats of opponent's Drybone Raider; hence, it has 3 melee attacks.
At fifth round, it was my **Drybone Raider that attacked, it attacked and damage 4 units from opponent's Drybone Raider.
Opponent Drybone Raider was eliminated by the poison ability.
 Gargoya Devil
Splinter: Neutral
Level: 3 ⭐⭐⭐
Ability*: Flying and Close Ranged
Speed: 3 ⚡⚡⚡
Health: 4 ❤️❤️❤️❤️
Attack: Ranged
Mana: 7 ♂️♂️♂️♂️♂️♂️♂️
One of the reason I placed Gargoya Devil in the fourth position was to prevent sneak monsters. I have seen where a sneak monster missed Gargoya Devil due to flying ability. Morealso, I was confident that the armor of Gargoya Devil would prevent such a monster to eliminate it at one.
It was lucky in my side, if my opponent use a sneak monster,it would have destroyed Gargoya Devil at once.
The summoner that my opponent uses removed -2 armor from my monsters. Gargoya Devil was among monsters that were not eliminated.
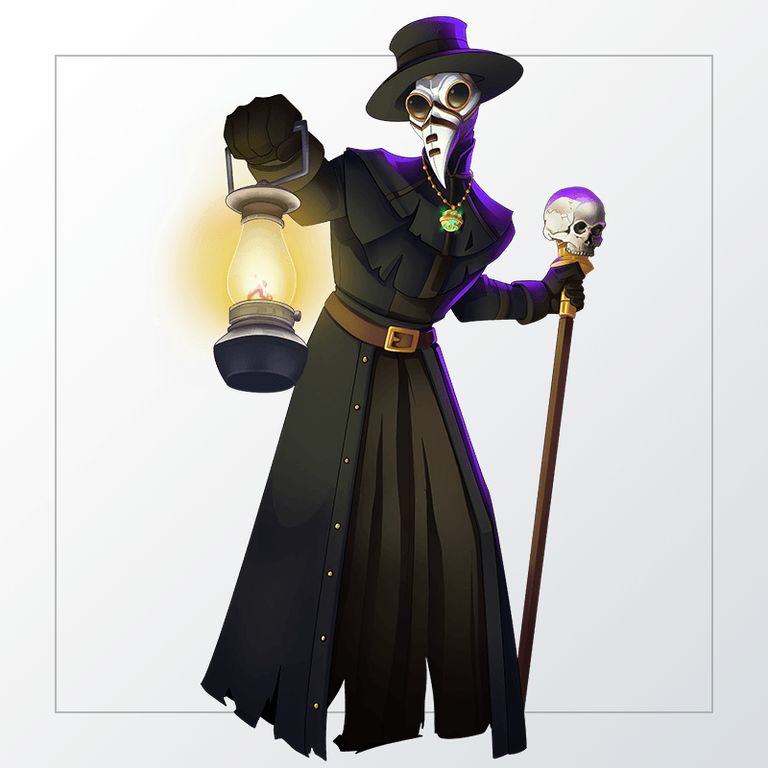 Doctor Blight
Splinter: Water
Level: 2⭐⭐
Ability: Affliction, Camouflage and Poison
Speed: 1⚡
Health: 4 ❤️❤️❤️❤️
Attack: magic
Mana: 4 ♂️♂️♂️♂️
I knew that if I use this monster as the last monster, sneak monsters would not attack it. The only reason when Doctor Blight Can be attacked when it leads the lineup or when scattershot rule is given.
Doctor Blight poisoned a monster and it was not eliminated in the battle.
 Furious
Splinter: Neutral
Level: 5⭐⭐⭐⭐⭐
Ability: None
Speed: 1⚡
Health: 1 ❤️
Attack: Melee
Mana: 0
After I selected all the monsters I wanted, there was no mana left for me to use and there was only a pot remaining. I filled the pot with furious chicken.
Since chicken could attack anywhere in this battle- it cannot attack in the ring because before it attacks, it would have been eliminated due to her speed.
The zero mana was to take the first attack from behind if there was a sneak monster. Fortunately for me, there was no sneak monster.
In conclusion, the right monsters can make one win battles…
I knew how important those monsters were in this battle, that was the reason I used them.
Just because I selected the right monsters, only two monsters were eliminated from my lineup.
What are you waiting for friends! Whoever wants to earn passive income, can get the details of the @play2earn game from @splinterlands blog. checking #splinterlands will give information that will make you understand the game.
click My Referral Link to register @splinterlands. It is a game that provides passive income and changed the lives of many gamers: and I am one of them. @Splinterlands have saved me from debt, borrowing money from banks and cooperatives.
Register today, and you will thank me later.
Do you want to win cards, SPS, subscribe to Splinterlands TV . Many programs are going on in the SplinterlandsTV. You can also join Splinterlands Discord Channel where you can ask anything about Splinterlands.
I stand up for success, and success is not achieved by merely making mouth, No room for laziness, no room for idleness. Success comes to the people who are desperately and consciously searching for it. When it seems unsuccessful or you smell failure around you, never discourage yourself from being successful.
“Discouragement and failure are the two surest stepping stones to success.” - Dale
The pictures in this post are taken from Splinterlands
Credits to canva: cover photo created by canva,
As a Hiver how much are you getting involved in Hive Governance Decisions? Your Hive power matters !! So use your Hive power wisely, Support the Return Proposal