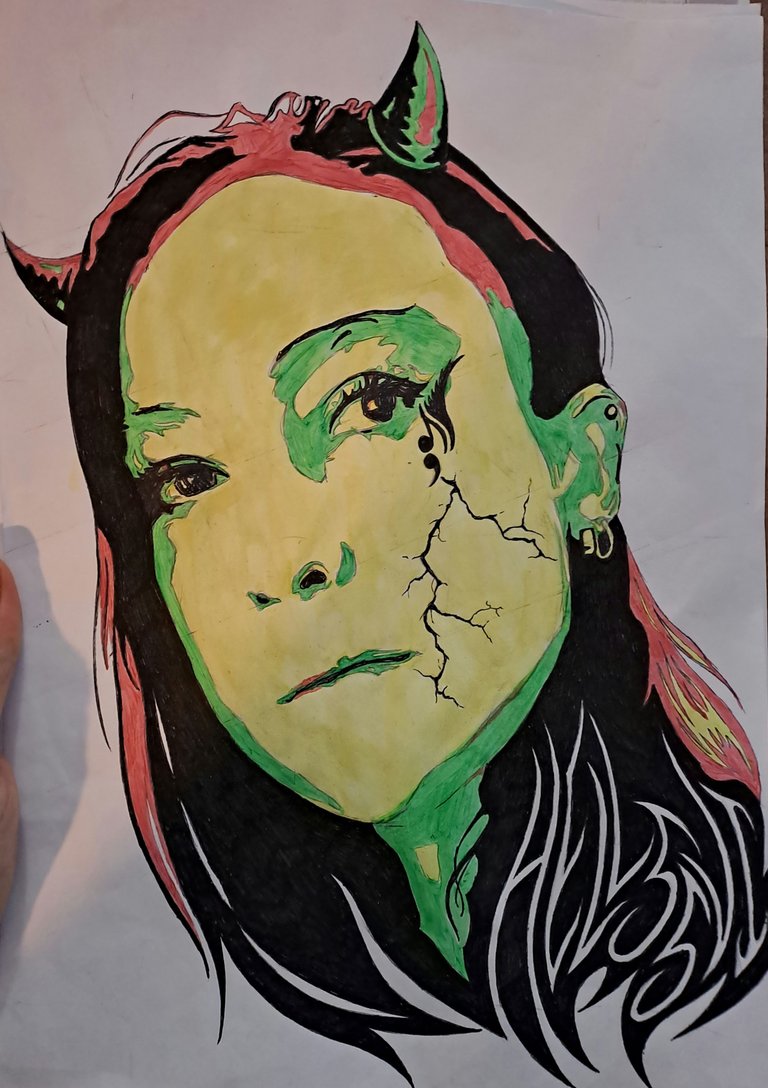
Sketchbook 008 - How To Draw Any Face (Self Portrait Creepiness)
Time for more drawing stuff!


Step 1 - Vertical line to indicate where the center of the face will be, horizontal lines marking the following features: hairline, eyebrows, eye, bottom of nose, mouth, chin

Step 2 - Two circles, overlapping in the third section of your facial features grid.

Step 3 - using the grids and circles as guides, draw an outline of the head.

Step 4 - Draw two 'boxes' for the eyes on the third line, then using those as guide, add a triangle shape for the nose, extend lines at the bottom of the triangle to create guide box for the mouth.

Step 5 - I find it easiest to use little circles to figure out exactly where the eyes should go and how big they should be. Also added circles as guide for the nostrils and a rough mouth shape. Once those are in place, things will be much easier.


Step 6 - Now for the fun part! Add in the rest of the basic features and details for the face.


Step 7 - Optional extras and some hair. (I love drawing hair!)

Step 8 - Line it all in ink! I like this part too.

Step 9 - Destroy another pen by adding lots of black. (So much fun, I really go through a lot of pens.)


Step 10 - Paint from light to dark...(process should work for shading in more natural colours too)
...and....Done!!
Hope this was useful and not too confusing.
Till next time!

Credit - All photos and work belongs to me
Banner created using Adobe Express
Thank you for the drawing lesson to deepen your drawing techniques, I will try your method again
😁Let me know how it goes! Hope you'll enjoy it. Thanks for commenting 🙂
Very neat self portrait. I like how you worked the name into the hair! 🤠🔫🔥
😁Thanks! I actually messed up the name, but decided to keep the mistake in there. Liked it for some reason. 🏹🏹🏹
😁Thanks! I actually messed up the name, but decided to keep the mistake in there. Liked it for some reason. 🏹🏹🏹
Ahh! I see the name thing now! Ha! Oh well! It still looks cool. 🤠🏹
🔫👻🏹
Congratulations @hellsveiah! You have completed the following achievement on the Hive blockchain And have been rewarded with New badge(s)
Your next target is to reach 800 comments.
You can view your badges on your board and compare yourself to others in the Ranking
If you no longer want to receive notifications, reply to this comment with the word
STOPTo support your work, I also upvoted your post!
Check out our last posts: