MY NEW BRACELET- MI NUEVA PULSERA (ING-ESP)
ENGLISH VERSION
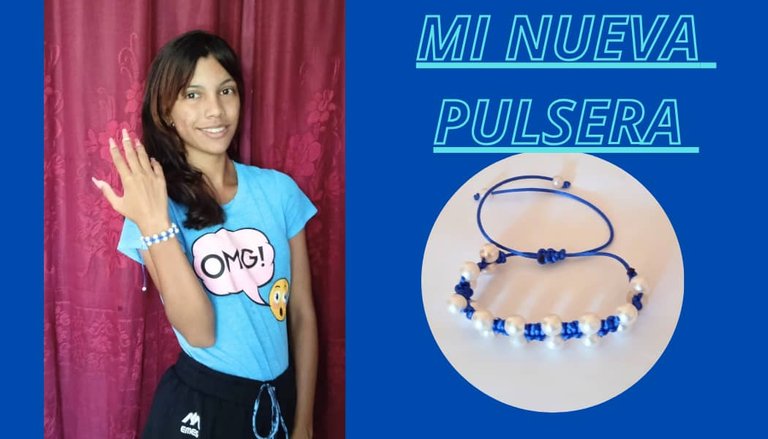
Hello everyone, today I have the pleasure of posting again in this beautiful #Jewerly community, which I love because it gives me the opportunity to show you all my jewelry work. And this time I'm bringing you a beautiful bracelet that is very easy to make and looks very pretty. I decided to make it in blue because I love wearing and wearing clothes in that color. Without further ado, I'll explain how I made this bracelet and what materials I used.
MATERIALS
- Mouse-tailed thread (blue) I used a meter with 20 cm
- 20 pearls
- Phosphorescent
PROCEDURE
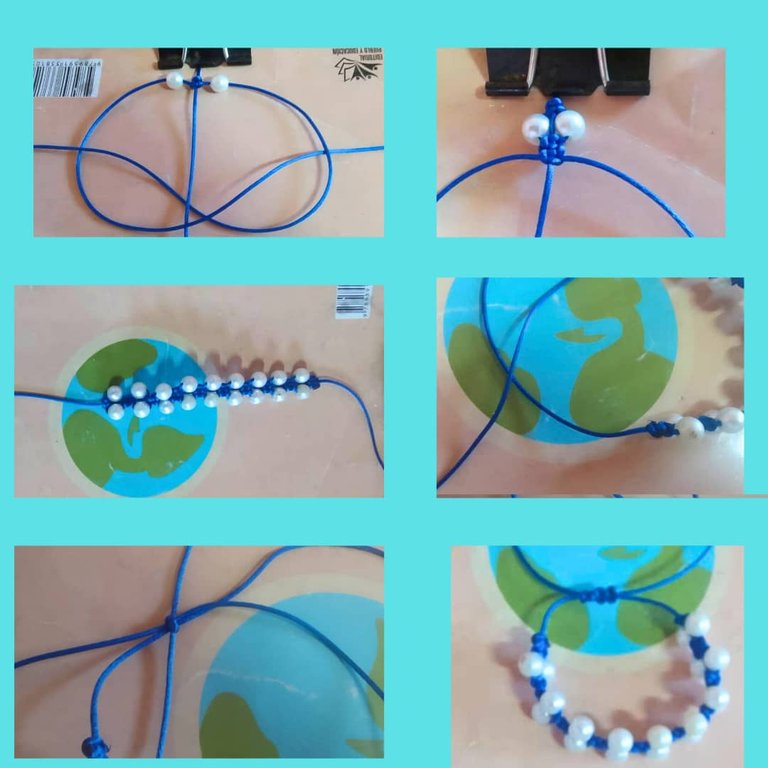
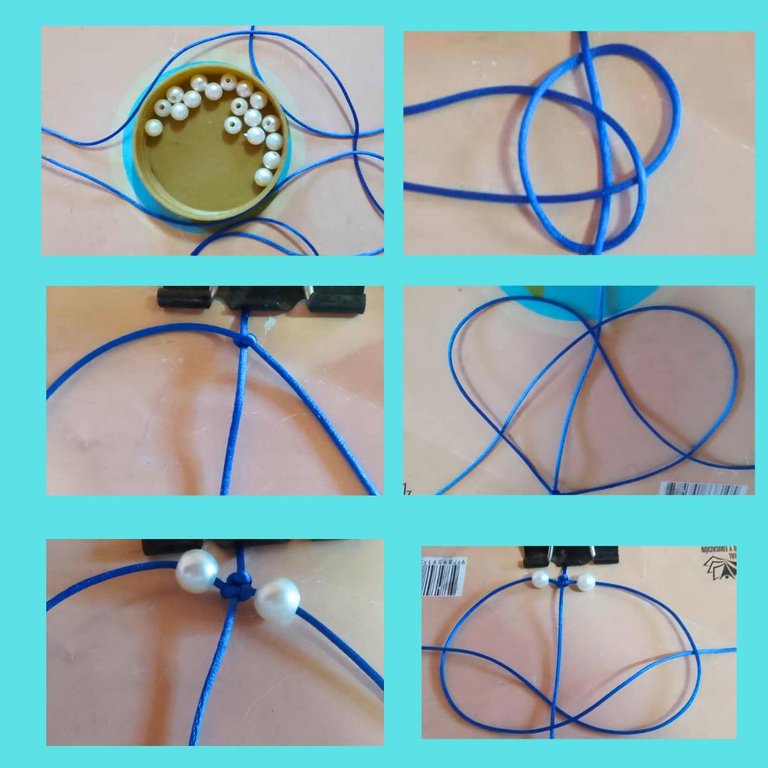
The first thing I did was take the mouse-tailed thread and use a loop to secure it on one side while I passed it under the first thread with another piece of mouse-tailed thread. After making sure it was in the middle and that there was the same amount of thread on each side, I tied a knot to secure it in the center. From there, I began the weaving process with the macramé stitch.
This stitch is very easy to do. Take the piece of thread from the right side and pass it over the center thread, leaving a space on the right side. Then, with the piece of thread from the left side, pass it over the piece of thread from the right side that is on the left side. Then, pass it under the center thread and through the space left on the right side, pull the thread from the left side tight, and that's it. We have the first stitch.
Then we do the same procedure on the other side. We take the piece of thread from the left side and pass it over the central thread, leaving a space on the left side. Then, we take the thread from the right side and pass it over the piece of thread from the left side, which is on the right side, then under the central thread, and finally, we take it out through the space left on the left side.
We repeat this procedure nine times on both sides. Then, I begin placing the pearls. I place one pearl on each side and then repeat the macramé stitch step twice on each side. Then, I place one pearl on each side again and repeat the same procedure until the end.
For the closure, I also used the macramé stitch. I joined the two ends of the central thread together and wove the clasp with another piece of thread using a mouse-tip glue. Then, with a matchstick, I burned the ends to give the bracelet a nicer finish. I placed a pearl on each side.
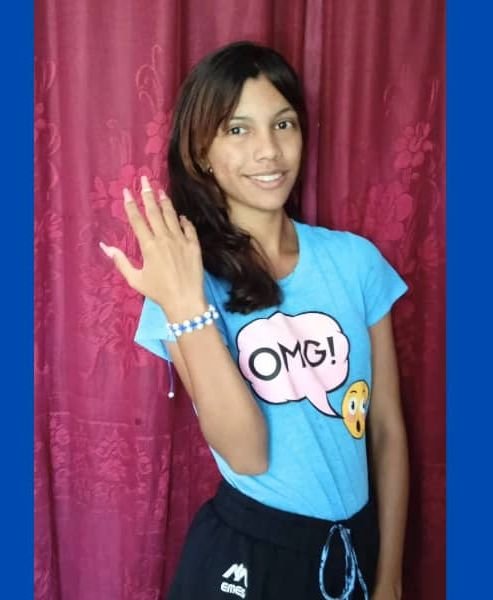
And this was the final result. I hope you like it as much as I do. I just want to wish you all a happy and wonderful day ☀️
The text was translated by Deepl.com
VERSIÓN EN ESPAÑOL
Hola a todos hoy tengo el placer de publicar nuevamente en esta hermosa comunidad de #Jewerly la cual me gusta mucho porque me da la oportunidad de mostrales a todos ustedes mis trabajos de joyería . Y está vez les traigo una hermosa pulsera la cual es muy fácil de hacer y queda muy linda . Yo decidí hacerla de color azúl ya que me encanta vestir y llevar prendas de ese color . Sin más preámbulos les explicó cómo fue que realicé está pulsera y que materiales utilicé.
MATERIALES
- Hilo cola punta de ratón (azúl) utilicé un metro con 20 cm
- 20 perlas
- Fosforer
PROCEDIMIENTO
Lo primero que hice fue tomar el hilo cola punta de ratón y con una presilla sujetarlo de un lado mientras que con otro pedazos de hilo punta de ratón lo pasé por debajo del primer hilo y luego de haberme asegurado que estaba en el medio y que había la misma cantidad de hilo de cada lado hice un nudo para fijarlo en el centro y de hay empecé el procedimiento de tejido con el punto macramé
Este punto es muy fácil de realizar se toma el trozo de hilo de él lado derecho y se pasa por encima del hilo central dejando un espacio del lado derecho luego con el trozo de hilo del lado izquierdo se pasa por encima del trozo de hilo del lado derecho que queda en el lado izquierdo luego se pasa por debajo del hilo central y por el espacio que dejamos del lado derecho sacamos el hilo del lado izquierdo apretamos y ya tenemos el primer punto .
Luego hacemos el mismo procedimiento del otro lado tomamos el trozo de hilo del lado izquierdo y lo pasamos por encima del hilo central dejando un espacio en el lado izquierdo luego tomamos el hilo del lado derecho y lo pasamos por encima del pedazo de hilo del.lado izquierdo que está en el lado derecho luego por debajo del hilo central y por último lo sacamos por el espacio que quedó en el lado izquierdo.
Repetimos este procedimiento nuevente de ambos lados y luego empecé a colocar las perlas coloque una perla de cada lado y luego repito el paso del punto macramé dos veces de cada lado luego vuelvo a colocar una perla en cada lado y repito el mismo procedimiento asta el final.
Para el cierre utilicé también el punto macramé uni las dos puntas del hilo central y con otro trozo de hilo cola punta de ratón teji el cierre . Luego con la fosforera queme las puntas para darle un mejor acabado para darle un toque más lindo a la pulsera a cada lado le coloque una perla.
Y este fue el resultado final espero que les guste tanto como a mí. Solo me queda decearles a todos un feliz y maravilloso día ☀️
El texto fue traducido por Deepl.com
Hermosa Pulsera, me encanta su diseño 👍🏻
Gracias
Una linda pulsera, sencilla y bonita la verdad, lindo trabajo.
Gracias 🌹
I love it so much. This looks really nice on your hand. Thanks for sharing this with us.
Gracias 💐