DIGITAL DRAWING OF THE HEALER OF LIGHT-DIBUJO DIGITAL DE EL SANADOR DE LA LUZ (ENG-ESP)
ENGLISH VERSION
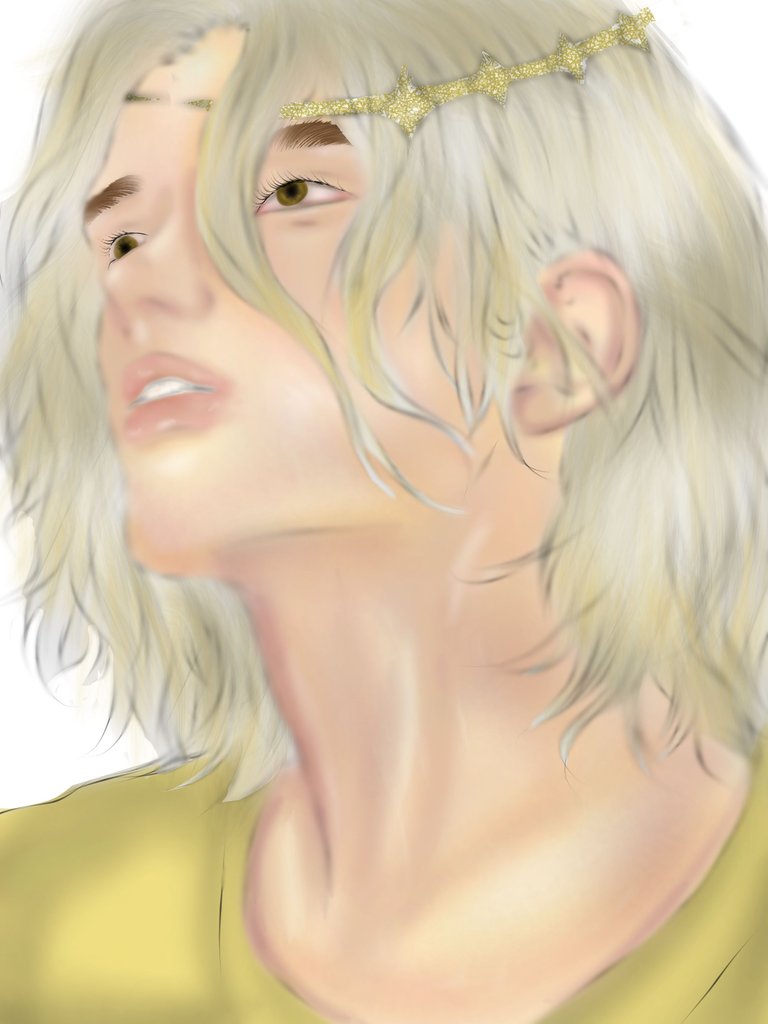
Hello everyone, today I have the pleasure of posting again in this beautiful #Holozing community, and this time I bring you a digital drawing of the Healer of Light. Without further ado, I'll explain how I made my drawing.
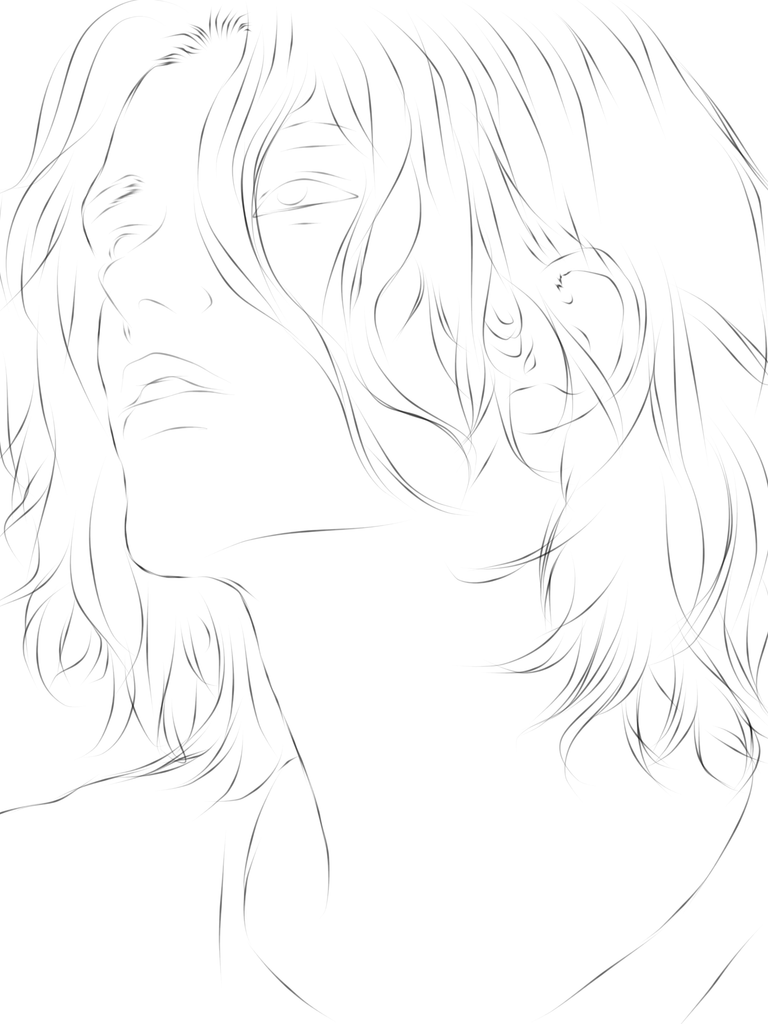
SKETCH
For the sketch, I used a graphite pencil brush.
SKIN
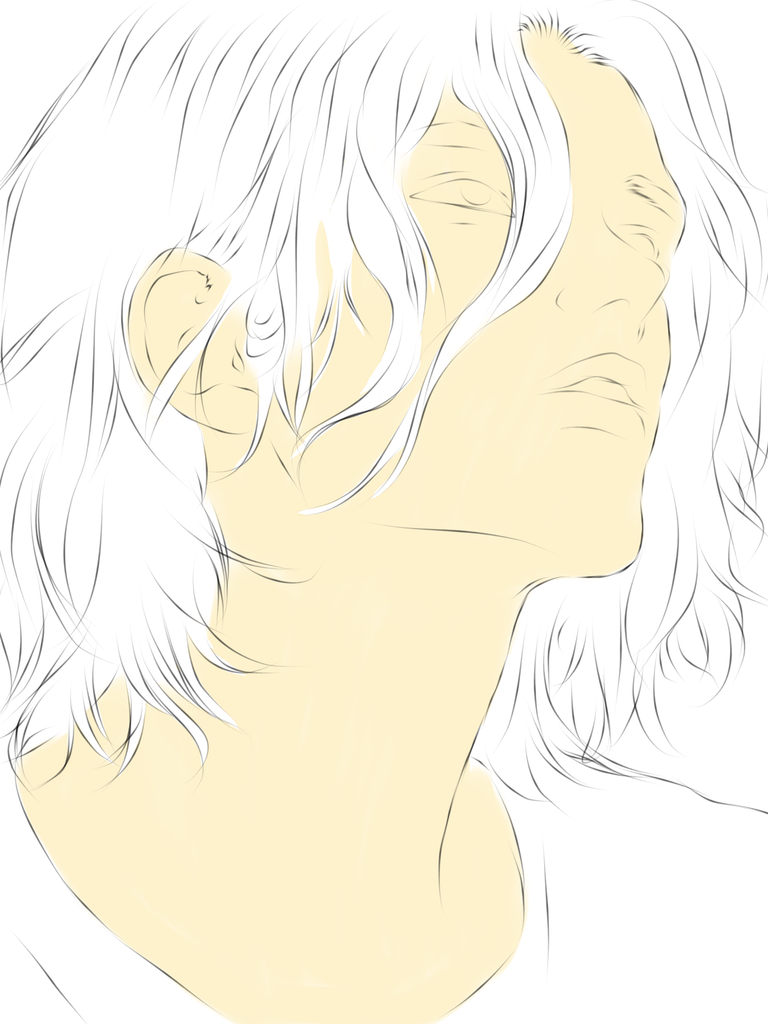
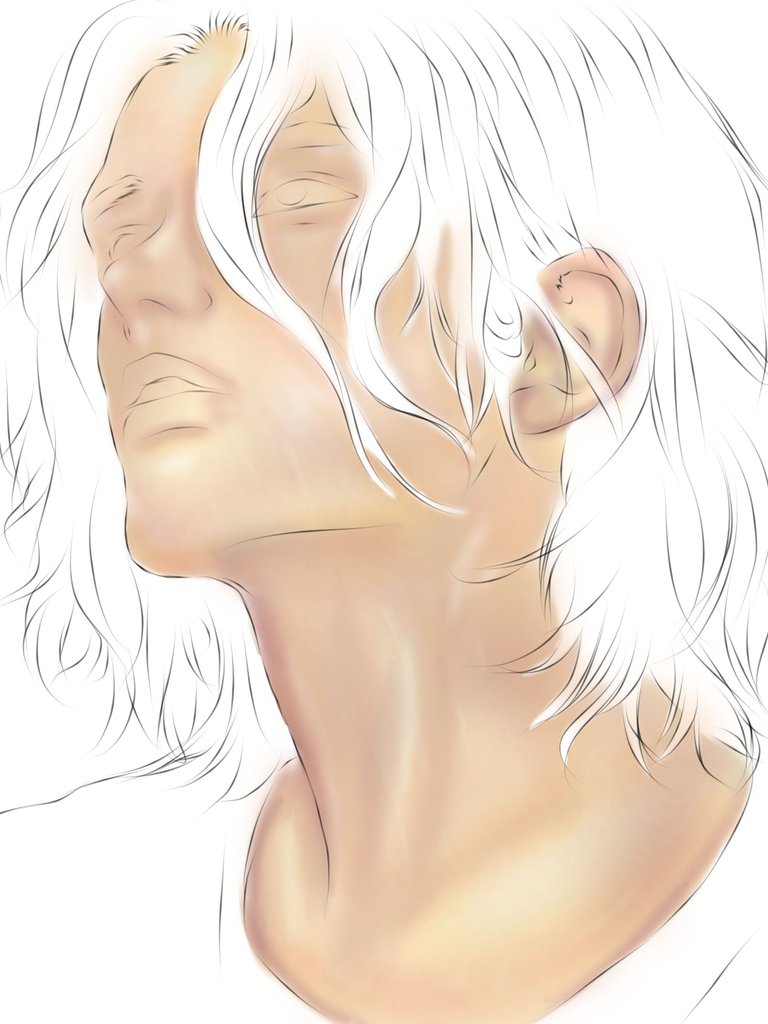
For the base color of the skin, I used the smudged pencil brush, and for the shadows, highlights, and volume of the skin, I used the regular airbrush brush with some orange-brown tones, and violet for the darker tones. Then, I used the blur tool to blend for a better finish.
FACE
The first thing I did on the face were the eyes. I used the smudged pencil for the base color of the sclera, and with the regular airbrush and some shades of red and gray, I gave it a more realistic look. For the pupils, I used the smudge pencil and the smudge tool for a better finish.
For the mouth, I used the smudge pencil brush with a base color a little darker than the skin tone, and then used the regular airbrush and the smudge tool to add the finishing touches.
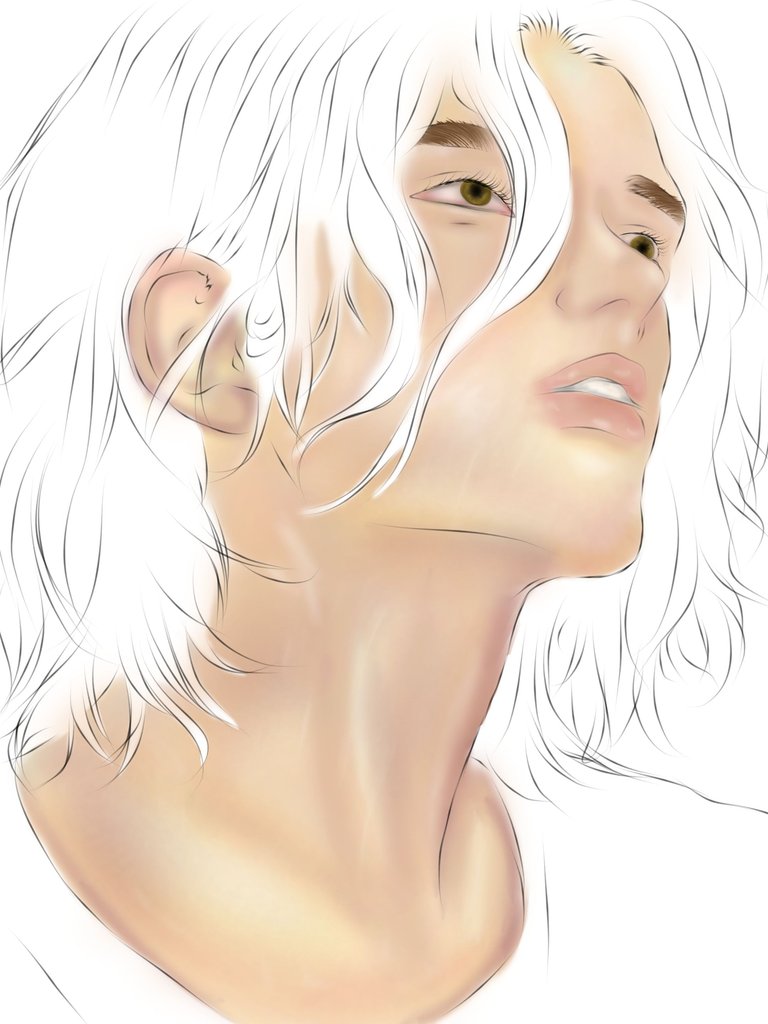
HAIR
For the hair, I used the smudge pencil to apply the base color, the Hair Detail 4 by Chris brush for the movement, and the Hair brush for the shadows and shine.
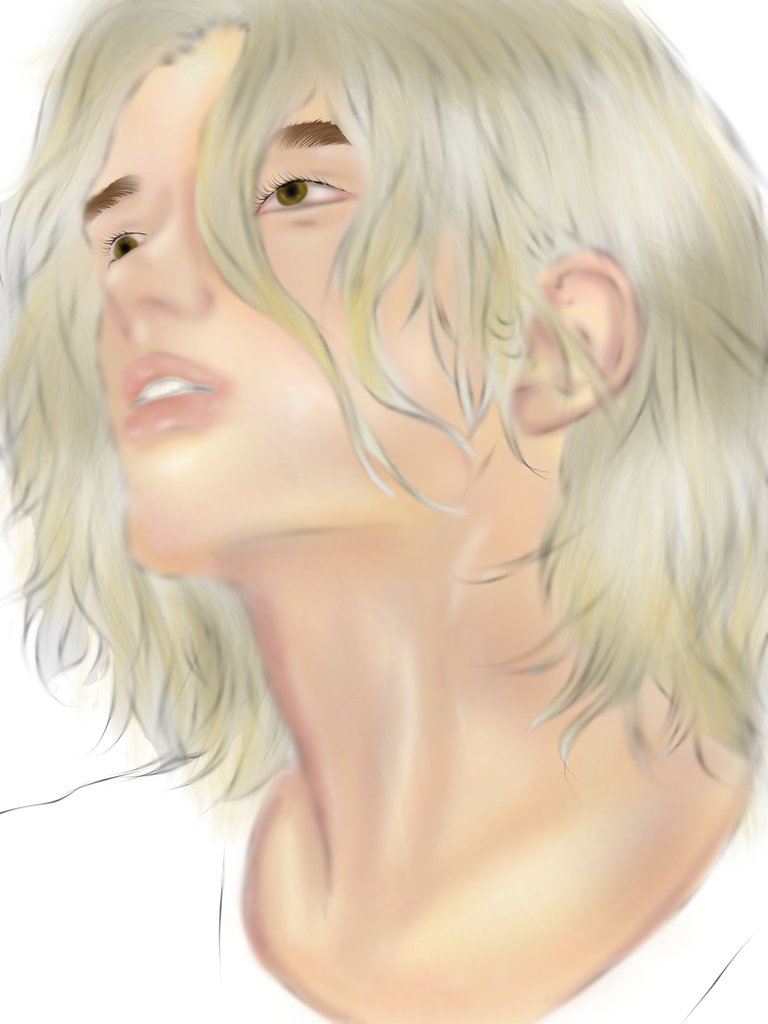
And this was the result of my drawing. I hope you like it as much as I do.
All that remains is to wish you all a happy and wonderful day ☀️.

The text was translated by Deepl.com
VERSIÓN EN ESPAÑOL
Hola a todos hoy tengo el placer de publicar nuevamente en esta hermosa comunidad de #Holozing y está vez les traigo un dibujo digital de él Sanador de la Luz. Sin más preámbulos les explico cómo realicé mi dibujo.
BOCETO
Para el boceto utilicé el pincel lápiz grafito

PIEL
Para el color base de la piel utilicé el pincel lápiz difuminado y para las sombras luces y volumen de la piel utilicé el pincel aerógrafo normal con algunos tonos de marrón anaranjado y en las sonas más oscuras el color violeta. Luego con la herramienta borrosidad difumine para un mejor acabado.


ROSTRO
Lo primero que realicé en el rostro fueron los ojos. Utilicé el lápiz difuminado para la el color base de la esclerótica ocular y con el aerógrafo normal y algunos tonos de rojo y gris le di un toque más realista . Para las pupilas utilicé el lápiz difuminado y la herramienta difuminar para un mejor acabado.
En la boca utilicé el pincel lápiz difuminado con un color base un poco más oscuro que el de la piel y luego con el aerógrafo normal y la herramienta borrosidad di los últimos detalles.

PELO
Para el pelo utilicé el lápiz difuminado para aplicar el color base y el pincel Hair detail 4 by Chris para el movimiento de el pelo y el pincel Hair para las sombras y el brillo del pelo.

Y este fue el resultado de mi dibujo espero que les guste tanto como a mí.
Solo me queda decearles a todos un feliz y maravilloso día ☀️.

El texto fue traducido por Deepl.com