A COQUETTE BOW/UN LAZO COQUETTE (ING-ESP)
INGLISH VERSION
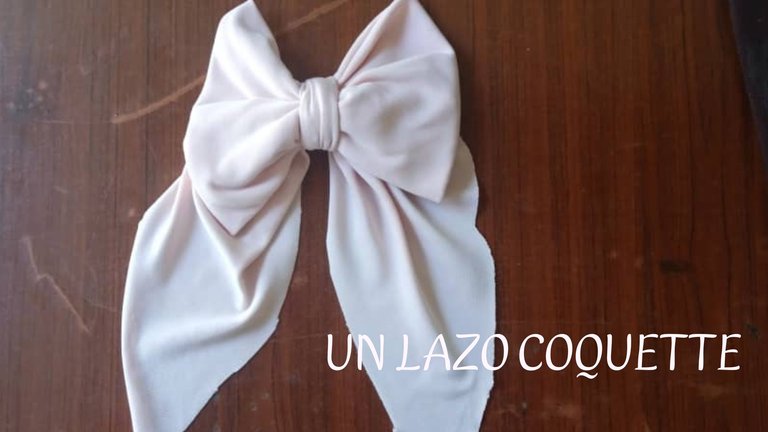
Hello everyone, today I have the pleasure of posting again in this beautiful #DIYHub community. And this time he does it with a tutorial in which I explain how to make a flirty bow.
And these bows are very fashionable and look very cute, it is also the perfect accessory to highlight femininity and to combine with our clothes and thus look more beautiful and elegant.
MATERIALS
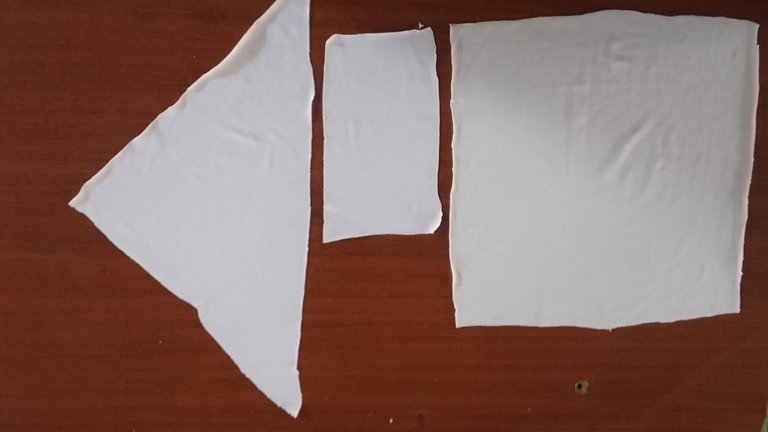
For that you only need a square-shaped piece of fabric, a triangle-shaped piece of fabric and a smaller rectangle-shaped piece of fabric.
FIRST STEP
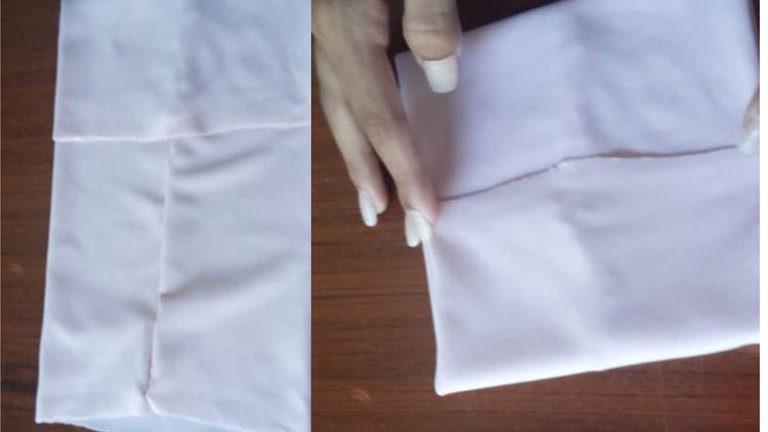
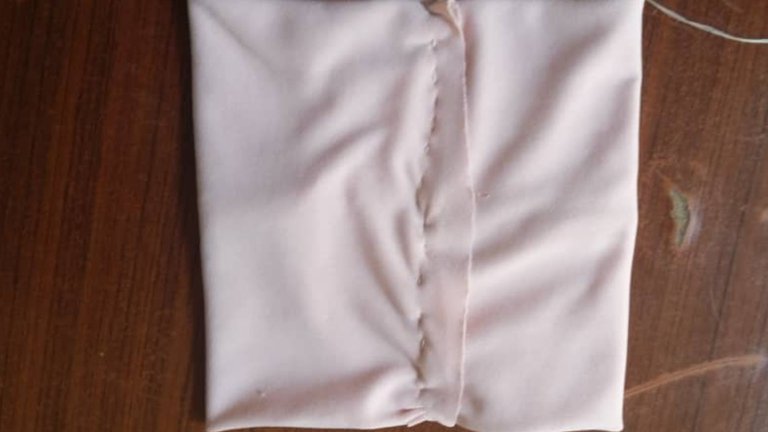
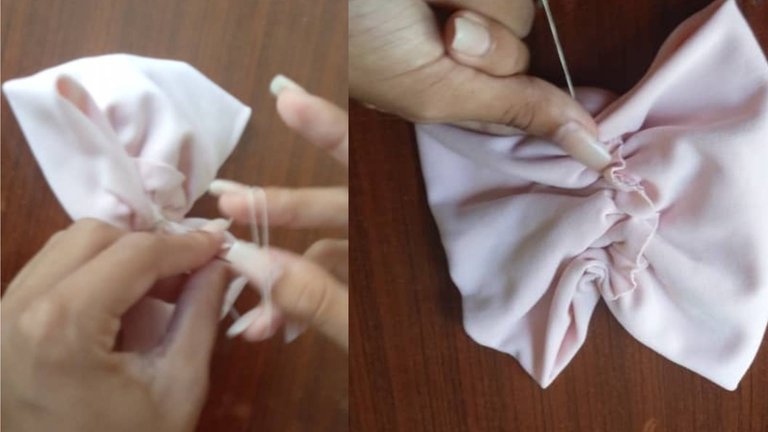
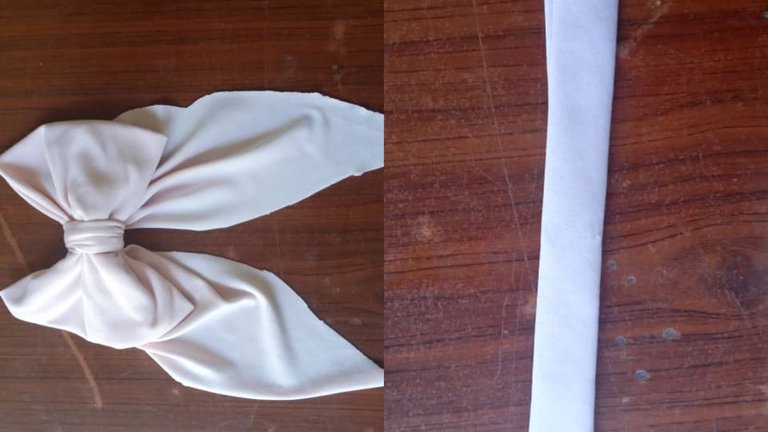
The first thing we are going to do is take the square of fabric and sew it in such a way that it is in the shape of a rectangle and then we will take the two ends and place it in the center. We sew again and when we finish sewing we populate the thread so that the fabric gathers. We turn the fabric with the same thread so that we have the shape of the bow.
SECOND STEP
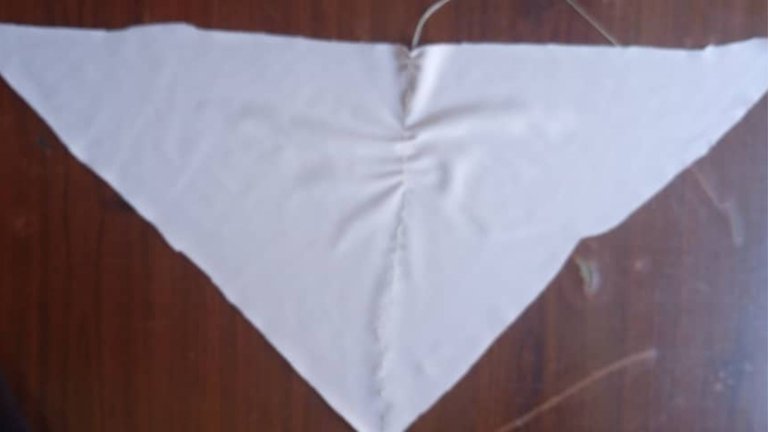
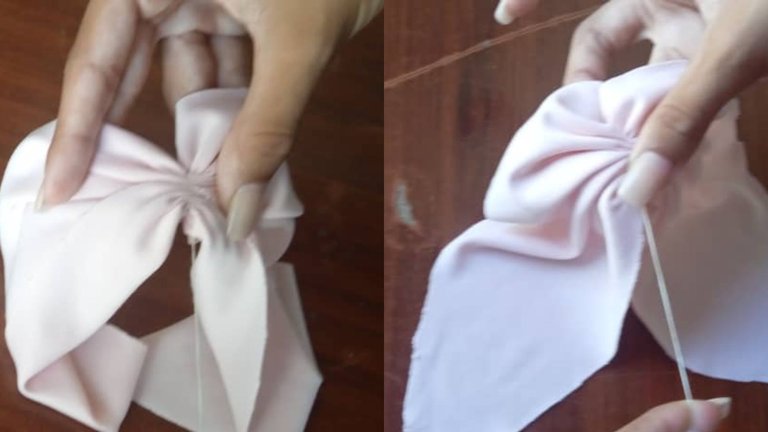
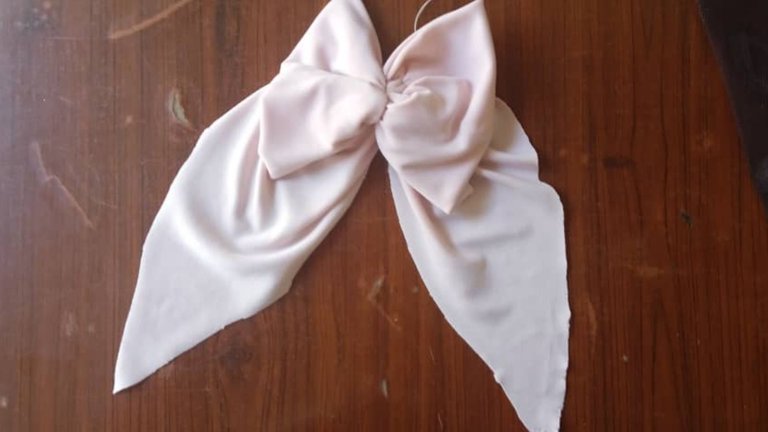
The next thing we will do is take the triangle-shaped piece of fabric and sew it in a straight line from the top point to the bottom. We do the same procedure as with the bow. We pop the thread and turn it. We sew it to the loop and that's how the loop with its legs looks.
THIRD STEP
With the smallest piece of fabric that is in the shape of a rectangle we are going to fold the two long sides towards the center and then fold it in half. From the back of the bow we are going to sew a tip of the strip that was formed when folding the rectangle, we are going to turn the bow over again but this is with the strip that was formed when folding the rectangle. We sew the other end of the back of the bow again and our flirty bow is ready.
FOURTH STEP
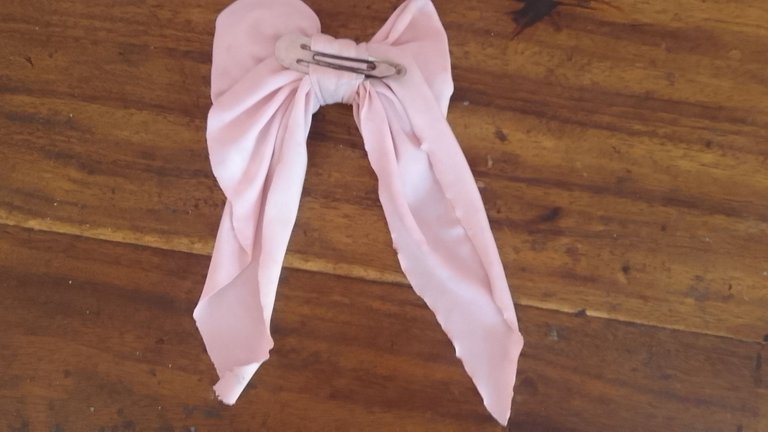
In order to use the flirty bow, we place a pin on the back.
And I could put it in my hair.
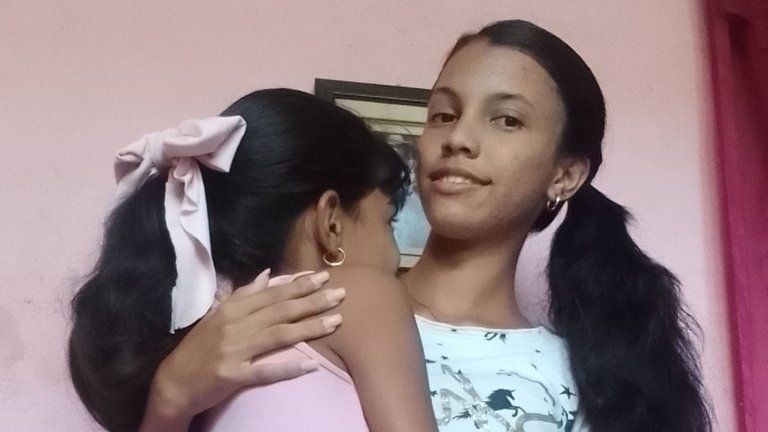
I made this bow to give to my younger sister since she is in a choir and had won a competition. It was her first competition and I wanted to give her a special gift for winning it. I know how much she likes flirty bows so I gave her one.
This was the result of my work, I hope you like it. I just have to wish you all a happy day.
The photos were taken by my Samsung Galaxy A 03 Core phone and edited in canva
The text was translated by Deepl

VERSIÓN EN ESPAÑOL
Hola a todos hoy tengo el placer de publicar nuevamente en esta hermosa comunidad de #DIYHub. Y esta vez lo hago con un tutorial en el cual les explico cómo hacer un lazo coquette.
Y es que estos lazos están muy de moda y se ven muy lindo ,además es el complemento perfecto para resaltar la feminidad y para combinar nos con nuestra ropa y así lucir más lindas y elegante.
MATERIALES
Para eso solo se necesita tres recortes de tela uno en forma de cuadrado, otro en forma de triángulo y el otro más pequeño en forma de rectángulo.

PRIMER PASO
Lo primero que vamos hacer es tomar el cuadrado de tela y doblarlo de tal manera que quede en forma de rectángulo , lo cosemos por arriba ,luego viramos la tela para que la costura quede hacia adentro luego tomaremos los dos extremos y lo colocaremos en el centro. Volvemos a coser y al terminar la costura álamos el hilo para que la tela se recoja. Le damos vuelta a la tela con el mismo hilo para que nos quede la forma de el lazo.


SEGUNDO PASO
Lo siguiente que aremos es tomar el pedazo de tela en forma de triángulo y cocerlo en línea recta desde la punta de arriba hasta la bace.hacemos el mismo procedimiento que en el lazo. Álamos el hilo y le damos vuelta. Lo cocemos al lazo y así nos va quedando el lazo con sus patitas.


TERCER PASO
Con el pedazo más pequeño de tela que es en forma de rectángulo le vamos a doblar los dos lados largos hacia el centro y luego lo doblamos a la mitad. De la parte de atrás de el lazo vamos acocer una punta de la tirita que se formó al doblar el rectángulo , le vamos a dar vuelta al lazo nuevamente pero está ves con la tirita que se formó al doblar el rectángulo. Volvemos a coser la otra punta de la parte de atrás de el lazo y ya está listo nuestro lazo coquette.

CUARTO PASO
Para poder utilizar el lazo coquette lo colocamos de la parte de atrás un pasador.
Y así poderlo poner en el pelo.

Yo realicé este lazo para regalarselo a mi hermana menor ya que ella está en un coro y había ganado una competencia. Era su primera competencia y quería hacerle un regalo especial por haberla ganado. Se lo mucho que le gustan a ella los lazos coquette hacia que le regalé uno.
Este fue el resultado de mi trabajo espero que les guste. Solo me queda deseearles a todos un feliz día.

Las fotos fueron tomadas por mi teléfono Samsung Galaxy A 03 Core y editadas en canva
El texto fue traducido por Deepl
Bonito moño, el color le queda muy bien a tu hermanita , feliz noche 🌹🌷🥀🌼🪻🪷🏵️💮🌸🌺💐🌻🌻☘️
Nice Bow, the color looks very nice on your little sister , happy evening 🌹🌷🥀🌼🪻🪷🏵️💮🌸🌺💐🌻🌻☘️
Gracias 💐💐💐🌹🌺🌷🪷🌸
quedo muy bonito!
it was very nice!
Gracias
Lindo lazo y más lindo por ser para tu hermana 🌹♥️🥰
Gracias mami 🥰🥰🥰
Que hermoso lazo, estan muy de moda
Gracias 💐🌹🌷
This is a really stylish bow. Fits so well too. Well done
Thanks
Hola.
Estupendo lazo.
Tomaré en cuenta el tutorial para hacerle uno a mi hija.
Gracias por compartir.
Un abrazo
Gracias 😊😊
This is so beautiful
Nice job
Thanks 😊😊
Welcome
So nice and beautiful bow, you have done a great job with your creativity and I love the outcome of it.
Bello mi niña me encanta verte compartir con tu hermanita. Las amo. ♥️🌹🥰