Problemas con la manzana trasera || Problems with the rear apple (Esp/Eng)
What's up mechanics fans, we are back in #hivemotors to solve a problem that my bike presented after leaving the MTB circuit where the rear rubber began to brake and make a strange squeal, without wasting time I decided to disassemble it to find out what was happening, and before starting there were already some symptoms.
Que tal fanáticos de la mecánica como esta todo!, estamos de nuevo en #hivemotors para solucionar un problema que presento mi bicicleta luego de salir del circuito de MTB donde el caucho trasero empezó a frenarse y hacer un chillido extraño, sin perder tiempo decidí desarmarlo para saber que estaba pasando, y antes de empezar ya habían algunos síntomas.
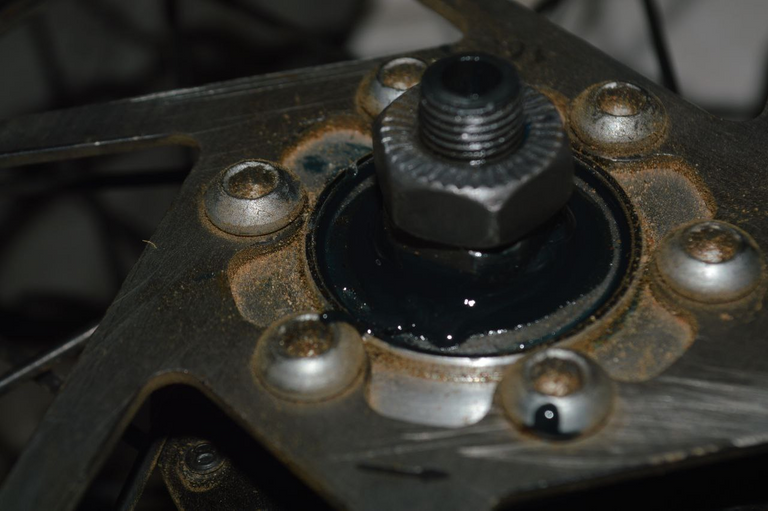
To work better I always like to remove the disc, this apart from giving me more comfort and space also prevents me from contaminating the disc with grease, dirt or something else, this because the disc surface gets contaminated very fast and the brake pads of bicycles have a very high tendency to become useless after contamination.
Para trabajar mejor siempre me gusta quitar el disco, esto aparte de darme mas comodidad y espacio también evita que pueda contaminar el disco con grasa, sucio o alguna otra cosa, esto debido a que la superficie del disco se contamina muy rápido y las pastillas de freno de las bicicletas tienen una tendencia muy alta a quedar inútiles luego de contaminarse
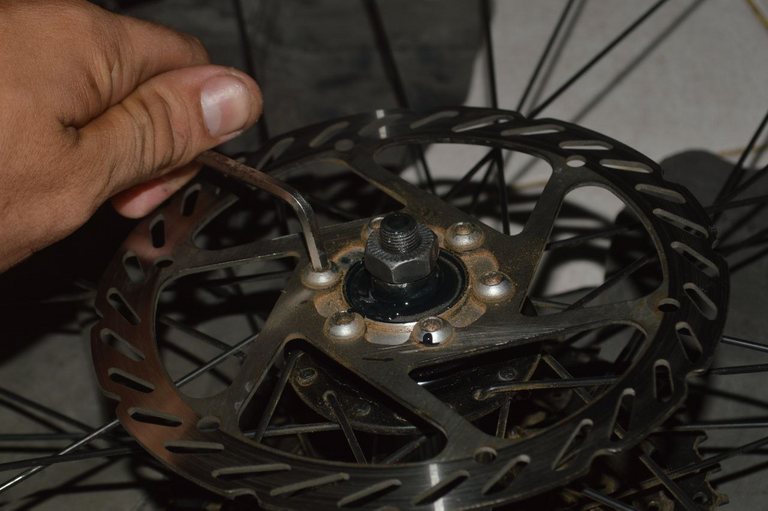
Disk out and it is time to loosen the shaft, for this we hold the cone and loosen the lock nut, this is responsible for maintaining the adjustment that we gave the cone, as it should not be too tight or too loose.
Disco fuera y es momento de aflojar el eje, para esto sujetamos el cono y aflojamos la tuerca de seguridad, esta se encarga de mantener el ajuste que le dimos al cono, ya que no debe quedar muy apretada ni muy floja.
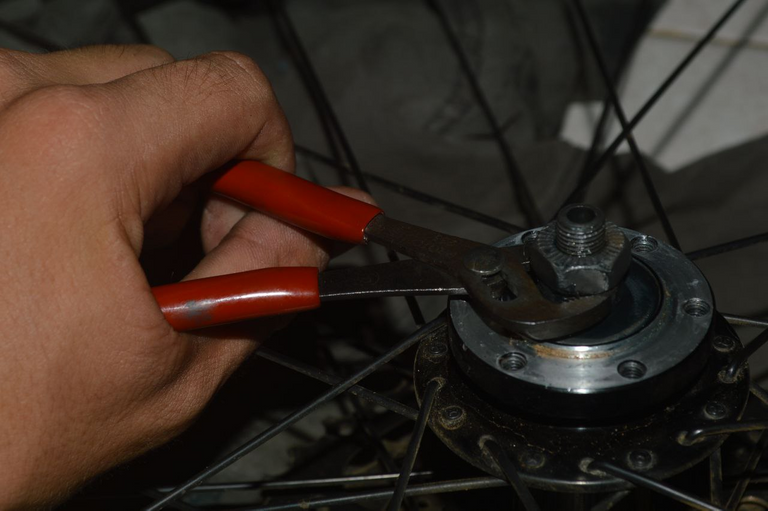
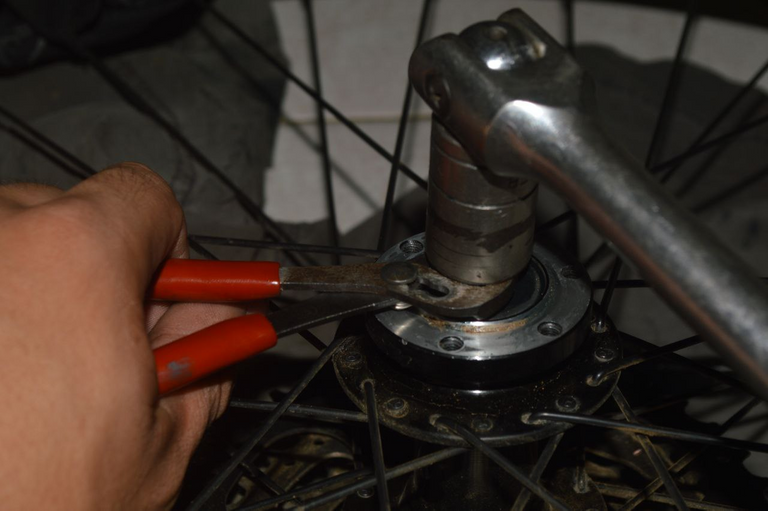
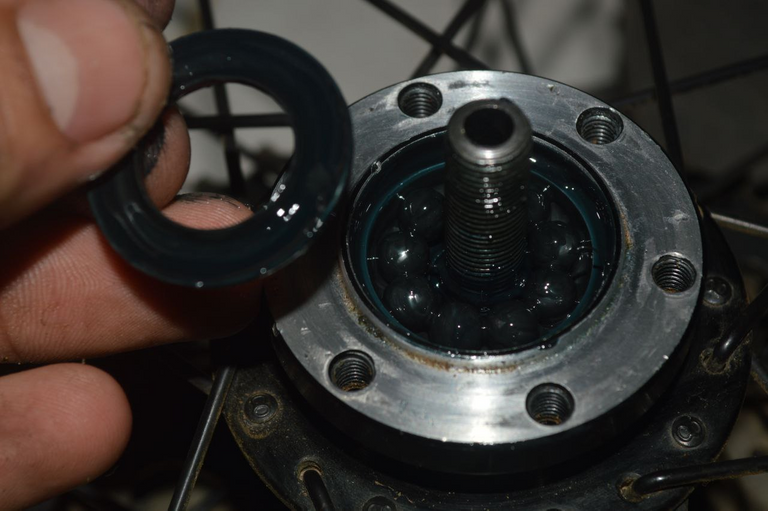
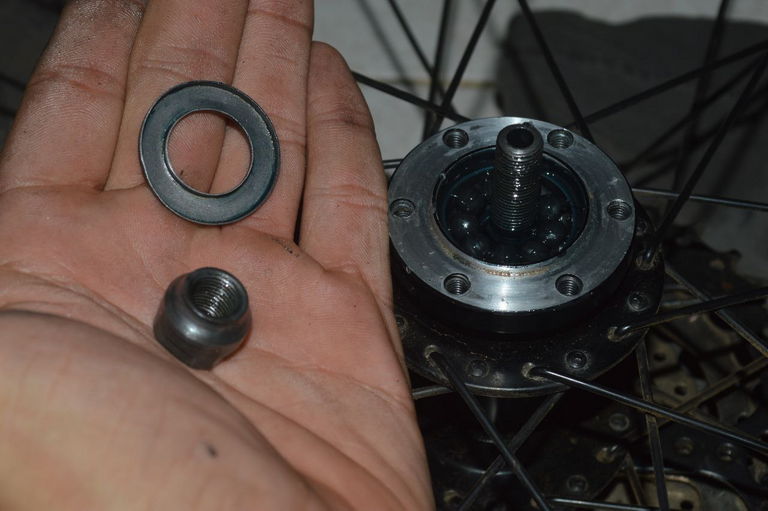
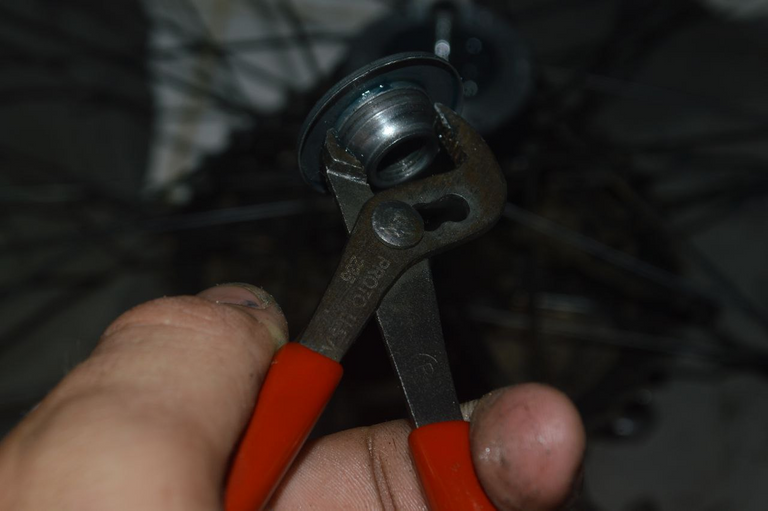
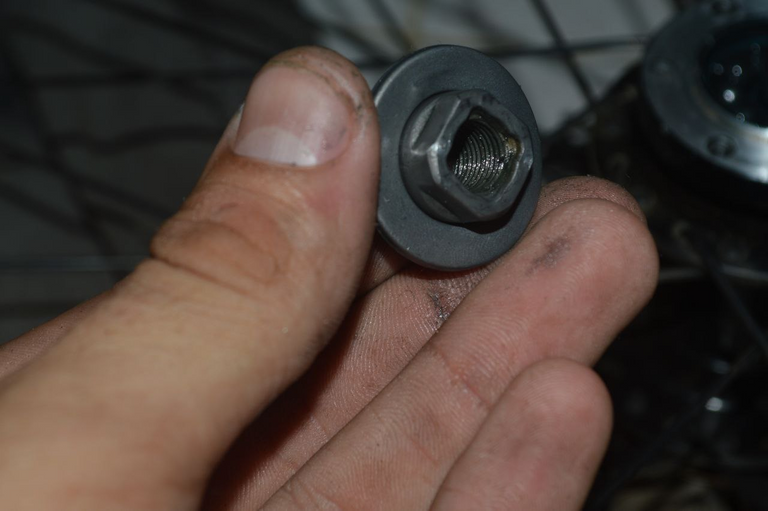
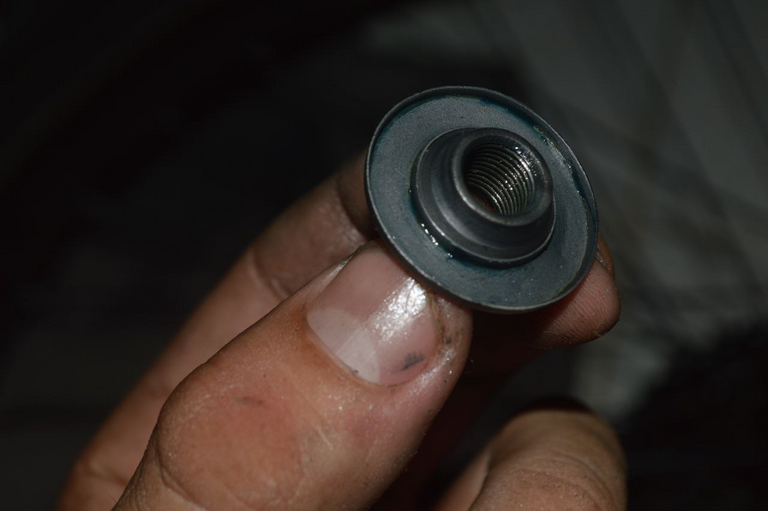
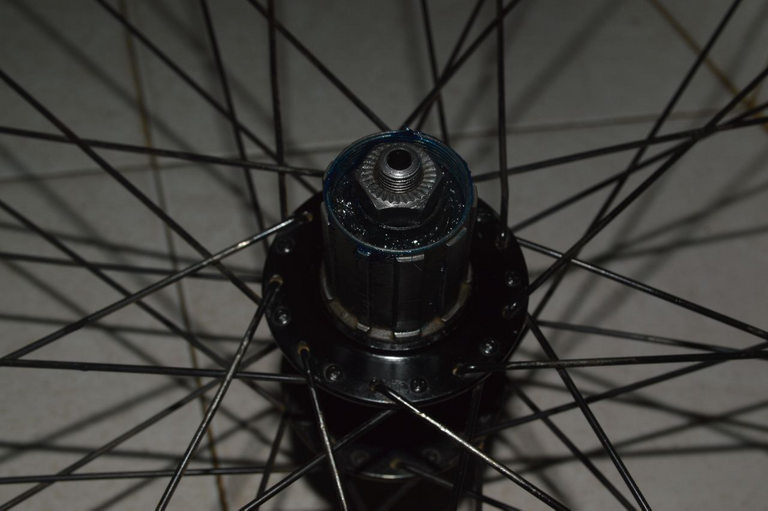
Once outside I identified what was the problem that was affecting my performance and killing the grease in the crank, the dust cap had disassembled from the bushing that works as a cone on the side of the disc. this caused the grease to come out as you can see in the picture at the beginning, I had to make a few faces to make it enter with more pressure again in the cone as you will see.
Una vez fuera identifique cual era el problema que me estaba afectando el rendimiento y acabando con la grasa de la manzana, el tapa polvos se habia desarmado de el buje que funciona como cono en el lado del disco. esto hacia que se saliera la grasa como ven en la foto del inicio, me toco hacerle unas muecas para que entrara con mas presión nuevamente en el cono como verán.
Now that this small detail is solved it is time to remove the cassette to check the side of the body, this is the right side where the sprockets and chain go.
Ahora solucionando ese pequeño gran detalle es momento de sacar el cassete para revisar el lado del body, este es el lado derecho donde van los piñones de cambios y la cadena.
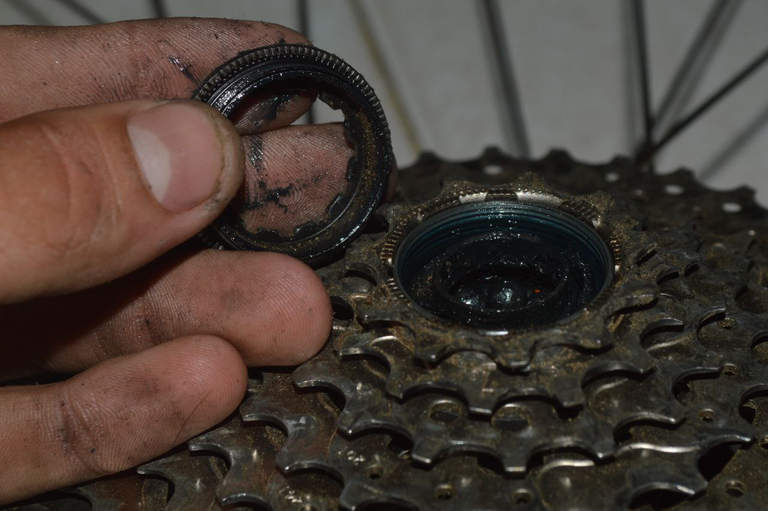
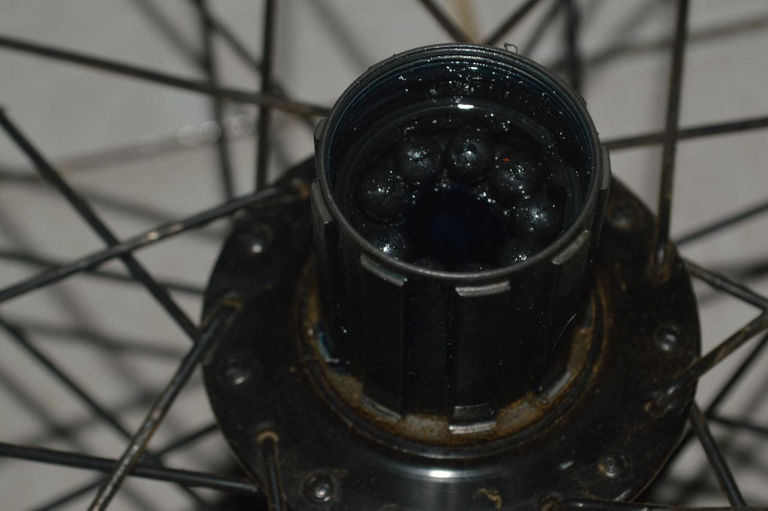
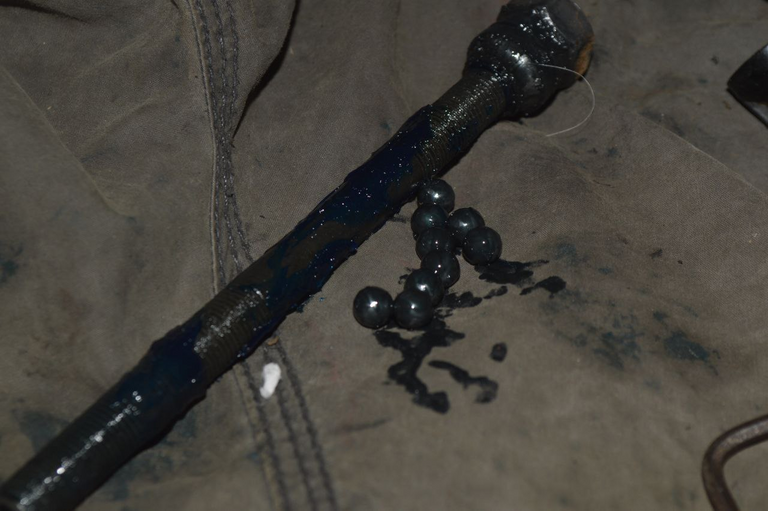
As I expected it was dirty, not seriously dirty as the dust cap did its job on this side preventing dirt from getting through but there were signs that the grease was already depleting, this could also be due to the type of grease not being effective enough for this job.
Como me lo esperaba estaba sucio, no sucio grave ya que el tapa polvos hizo su trabajo en este lado impidiendo pasar tierra pero si habia síntomas de que la grasa ya estaba mermando, esto también se puedo deber al tipo de grasa que no sea lo suficientemente eficaz para este trabajo.
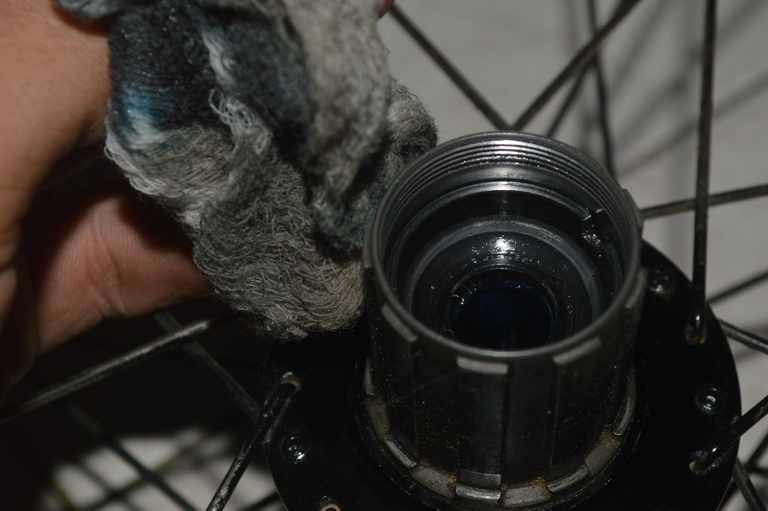
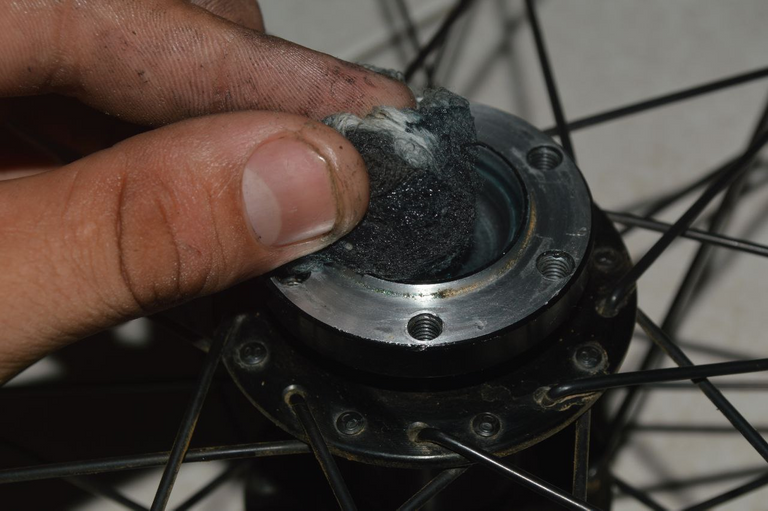
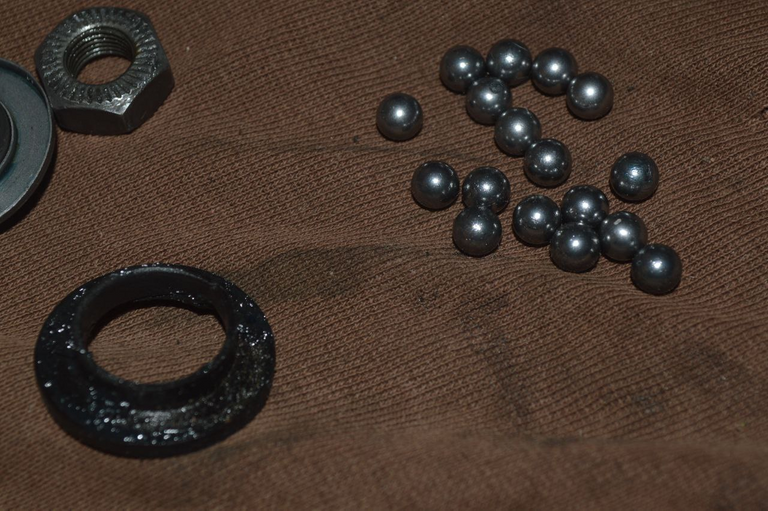
After cleaning both sides quite well, it is time to re-grease the two tracks where the pellets do their work.
Luego de limpiar bastante bien ambos lados es momento de volver a engrasar, las dos pista donde los balines hacen su trabajo.
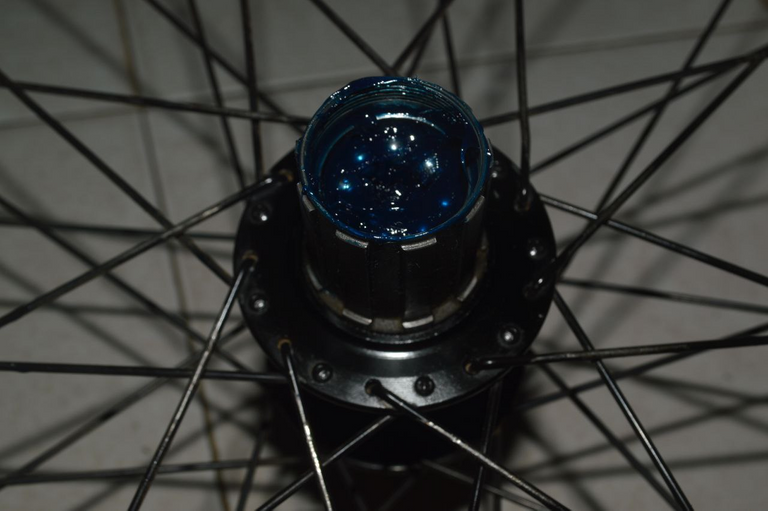
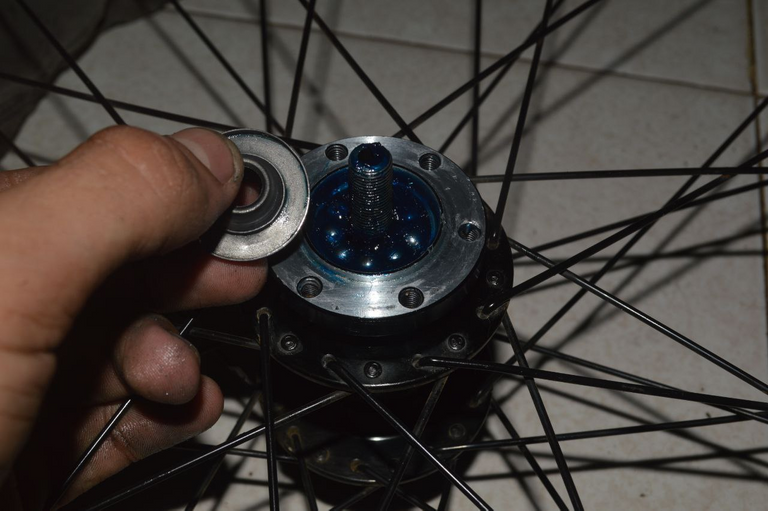
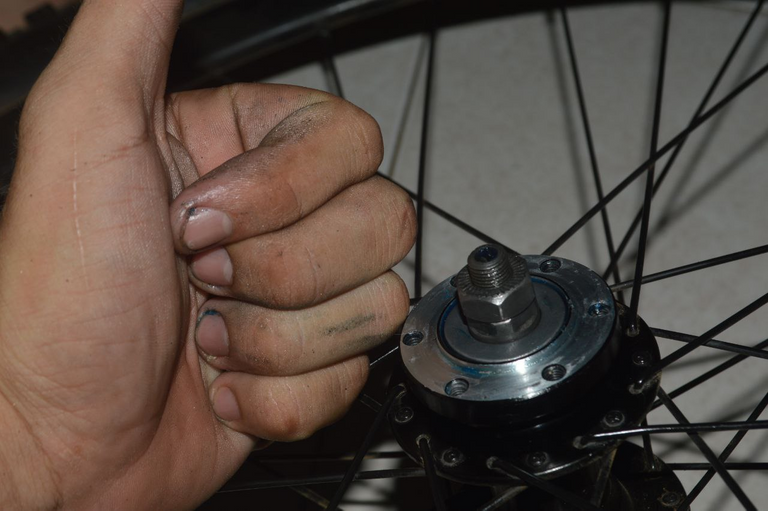
Now we adjust the cone until we get the correct pressure, it cannot be too tight or too loose, it has to be the pressure that we consider correct with what we feel in our hand at the moment of adjusting.
Ahora bien ajustamos el cono hasta conseguir la presión correcta, no puede estar demasiado apretada ni muy suelta, tiene que ser la presión que consideremos correcta con lo que vamos sintiendo en la mano al momento de ir ajustando.
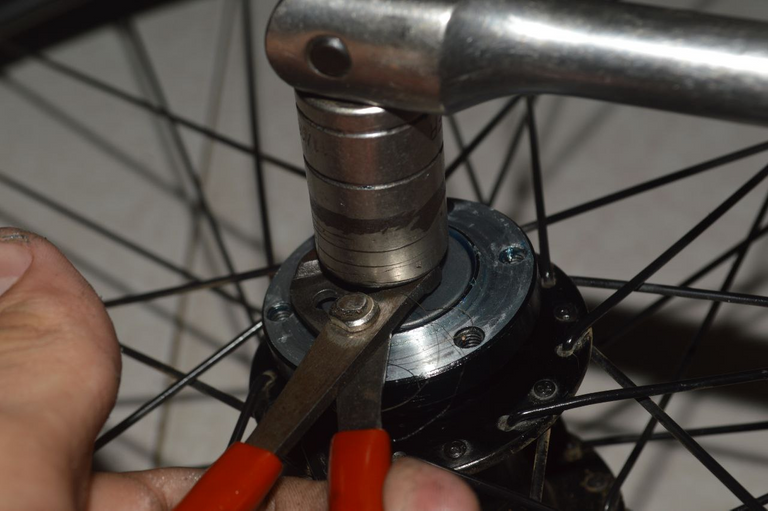
After adjusting the counter nut holding the cone that it does not move because if it moves we will lose the adjustment, we place on the body a small line that is the guide to put our cassette.
Luego de ajustar la contra tuerca sosteniendo el cono que no se mueva ya que si se mueve perderemos el ajuste, ubicamos en el body una línea pequeña que es la guía para poner nuestro cassette.
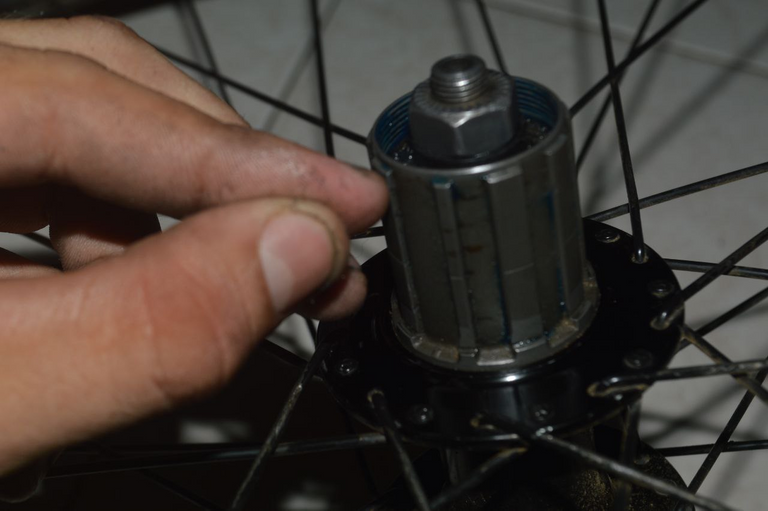
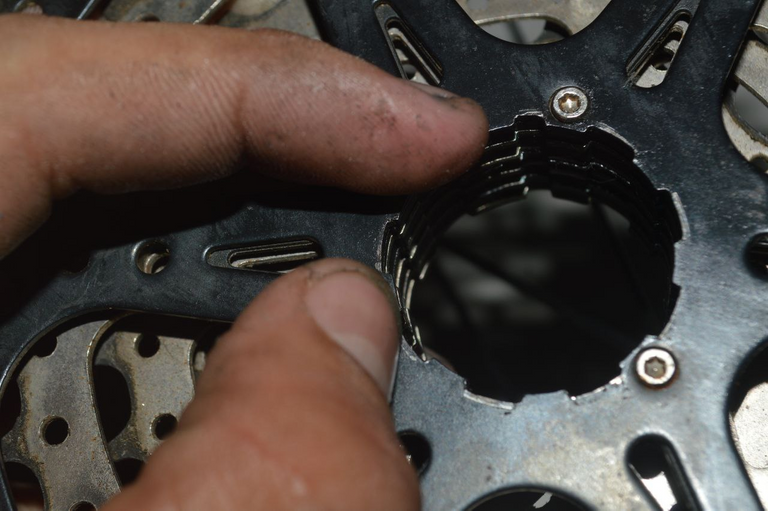
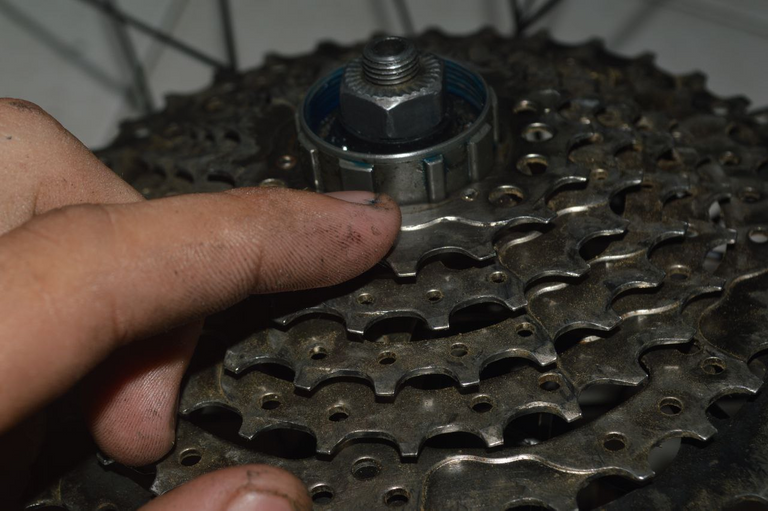
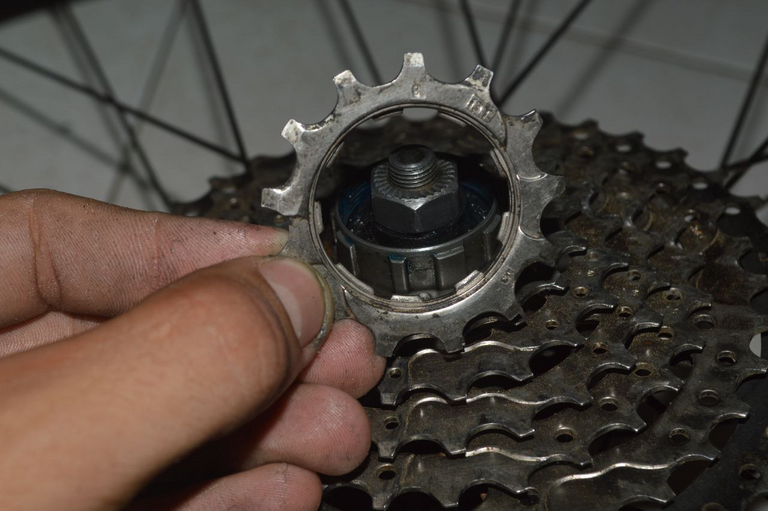
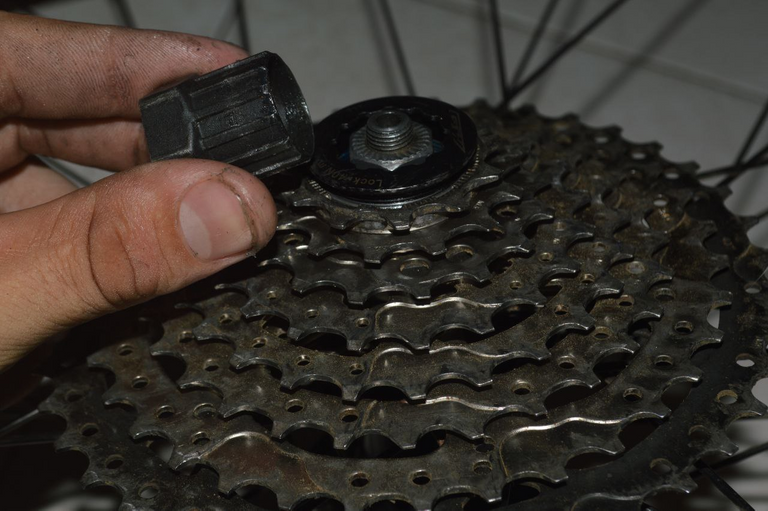
Now it is time to tighten the assembly and make sure that the disc is well adjusted as well.
Conjunto armado ahora si, toca apretar. y asegurar que el disco quedara bien ajustado también.
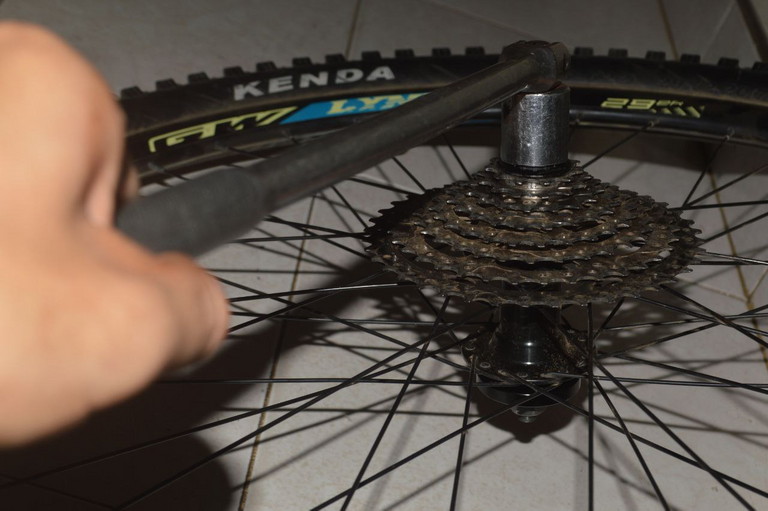
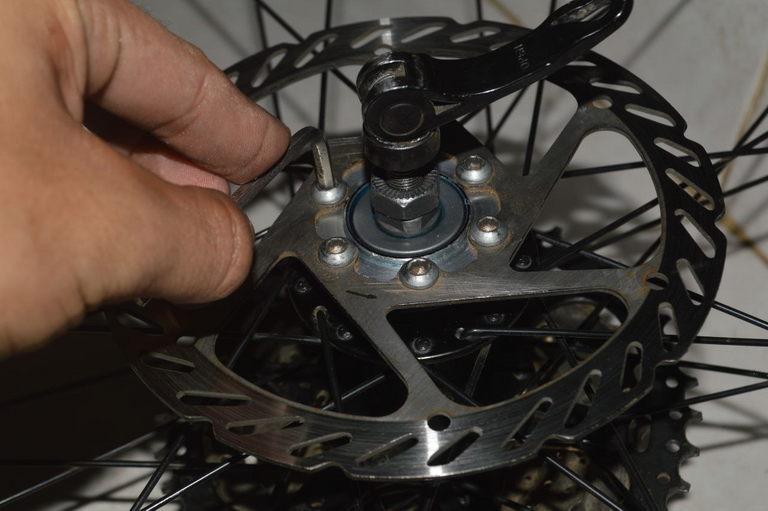
Now if everything is ready it's time to give hard again to the bike friends! I hope you liked the content and that this solution will serve you if you have a bike and your rear axle starts to make strange noises!
Ahora si todo listo es hora de darle duro de nuevo a la bicicleta amigos! espero que el contenido les haya gustado y que esta solución les sirva por si tienen una bicicleta y su eje trasero comienza a hacer ruidos extraños!
See you next post! bye bye!
Hasta el próximo post! chao chao!


Traducido desde Translated with www.DeepL.com/Translator (free version)
Las fotos son editadas desde canva, videos editados desde cap-cut desde mi Redmi note 10s
Translated from Translated with www.DeepL.com/Translator (free version)
Photos are edited from canva, videos edited from cap-cut from my Redmi note 10s
Upvoted by the Cycling Community
Come join the Cycling Community and share your rides, bicycle, maintenance, news or any other cycling related blogs!
You can support the Cycling Community by delegating HP: 25 HP - 50 HP - 100 HP -250 HP - 500 HP
Excelente trabajo, tengo una bicicleta y ya le toca mantenimiento pues ya escucha un crujido en la biela. Este post me enseñó como desmontar la piñonera como se le dice por acá. Saludos