Let's Make a Scrunchie Headband
Hello Hive!
Wishing everyone the very best of the week, as we get involved with our productive activities.
I wrote about passing my sewing knowledge by mentoring a teenage girl who got interested in learning the art of sewing and fabric design, it's been two weeks of training and so far it has been an interesting ride, as she is a brilliant mind and has been catching up faster even more than I expected of her, for someone that didn't even know how to use a sewing machine, now she VMcan sew straight lines and curves very well for now, we are just learning the basic sewing pattern, she even successfully completed the making of a pencil skirt. I'm very proud of her because I know she will do well with the seriousness and commitment she has put into learning in just this little while.
Today, she came even earlier than she ought to and asked that I teach her how to make a ruffled headband she had so desired to have as she couldn't afford to buy it now, from what I heard, it is sold for around $1-$2 in the market, not only will she have hers, if she wishes, she can also market it to earn something for herself, I didn't hesitate sharing the knowledge with her as I would also be sharing with us today.
Materials used
- Satin Fabric
- Elastic
- needle and thread or a sewing machine if you have one
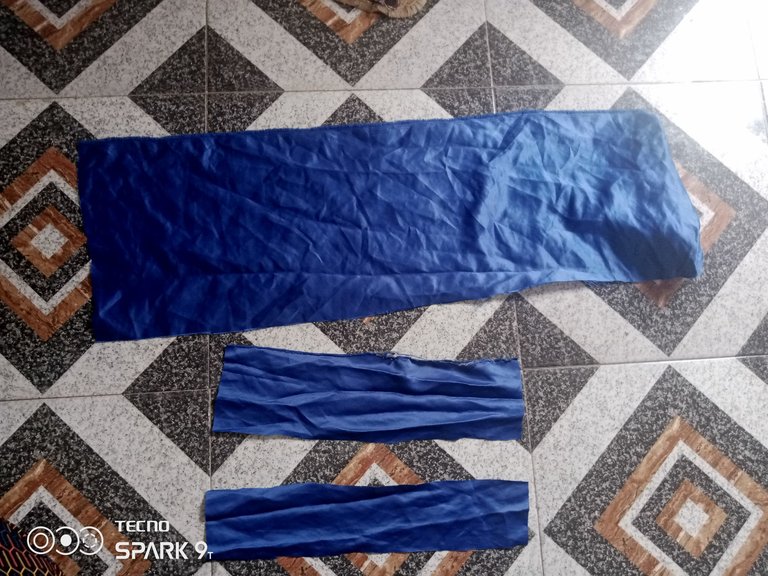
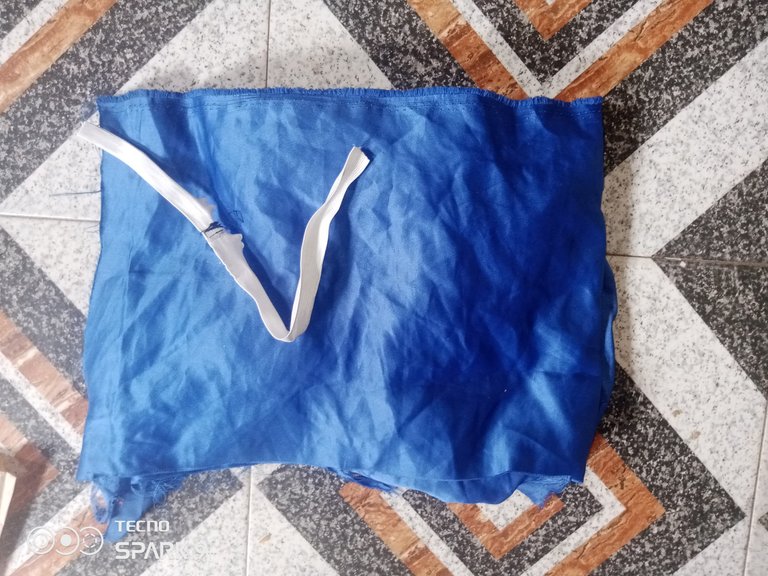
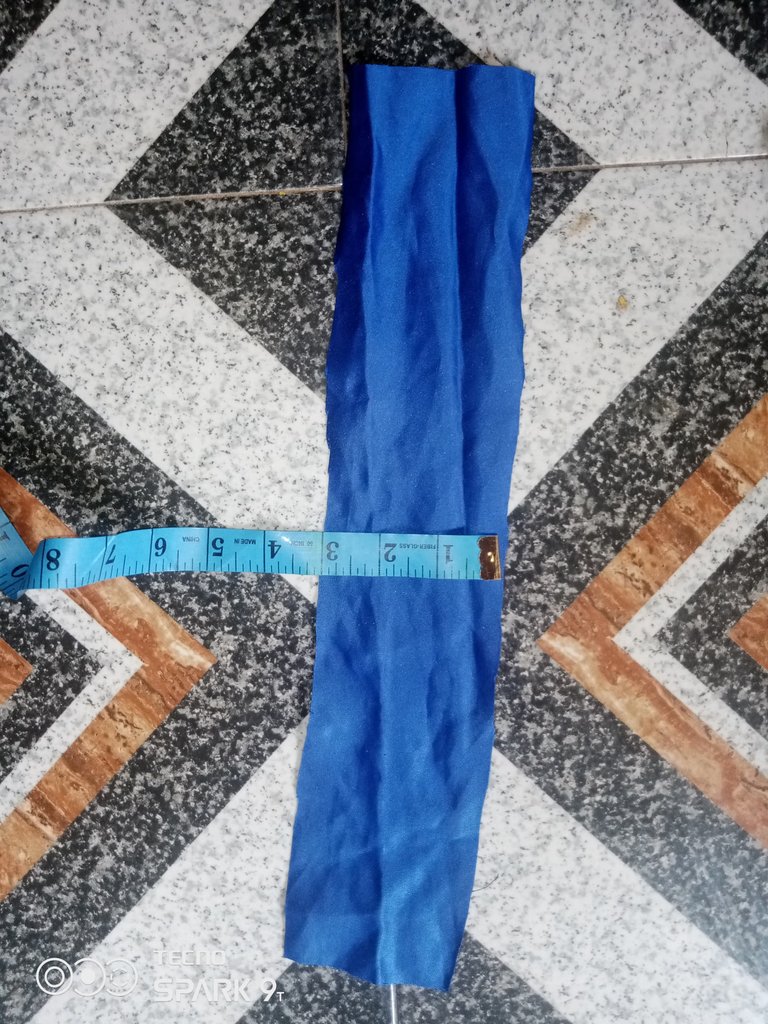
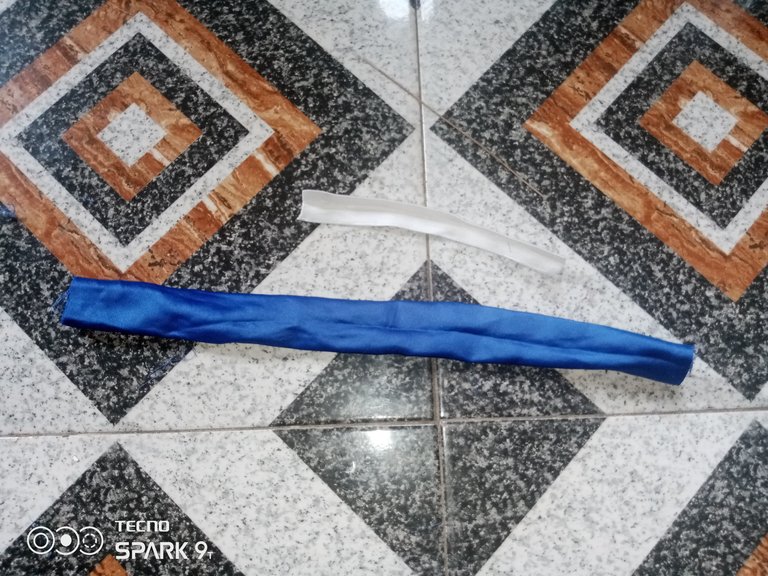
- I started by cutting a strip off about 40 inches in length and 10" in width
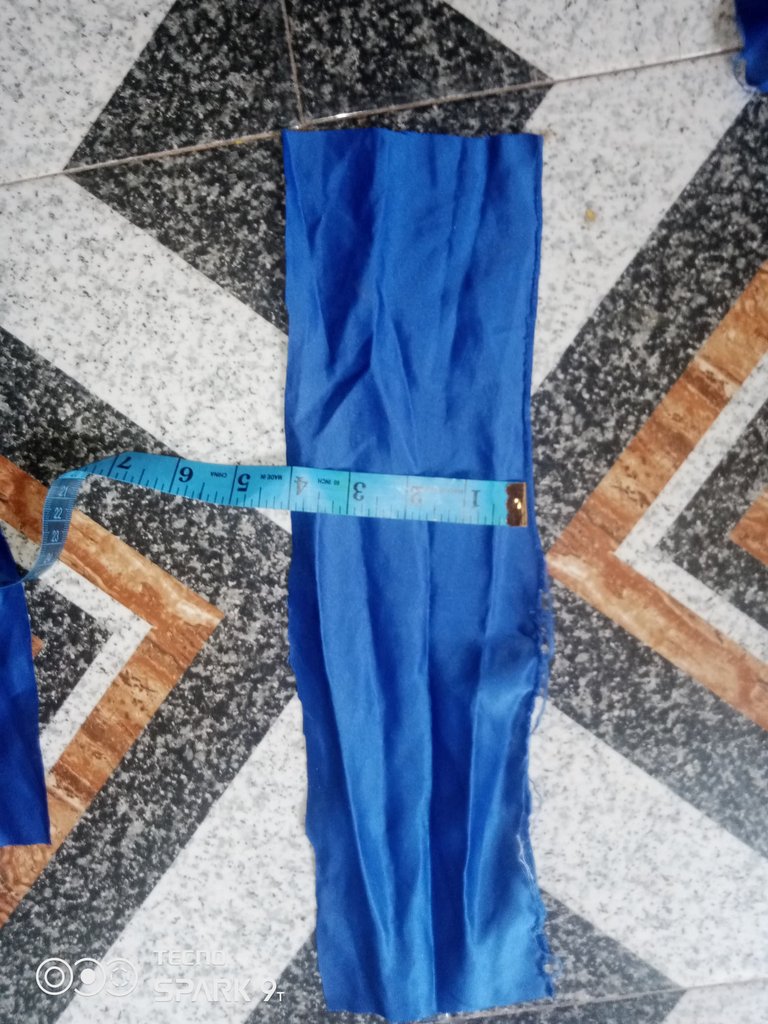
- I also cut out two extra strips which had 15" length, 3" and 4" width respectively. The 3" width would serve as a lining
while the 4-inch width will serve as an elastic case.
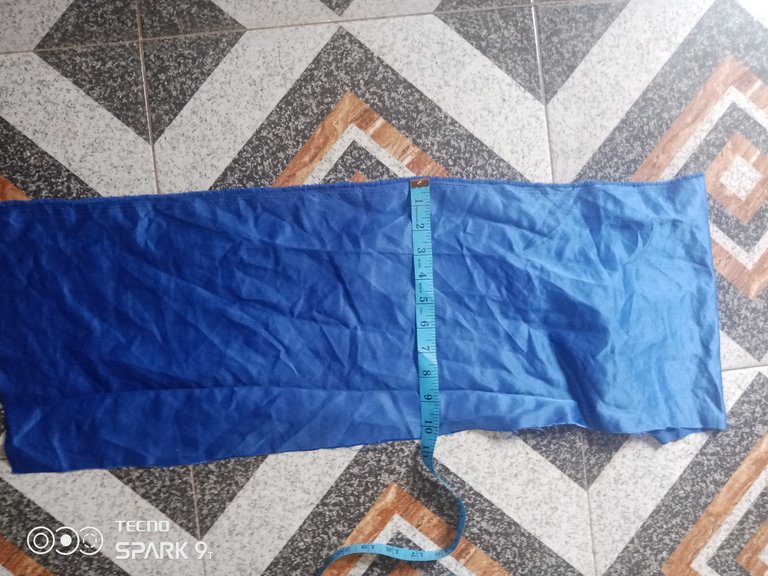
I folded and sewed all strips by half an inch on their edged
Then turned them to the good side of the fabric.
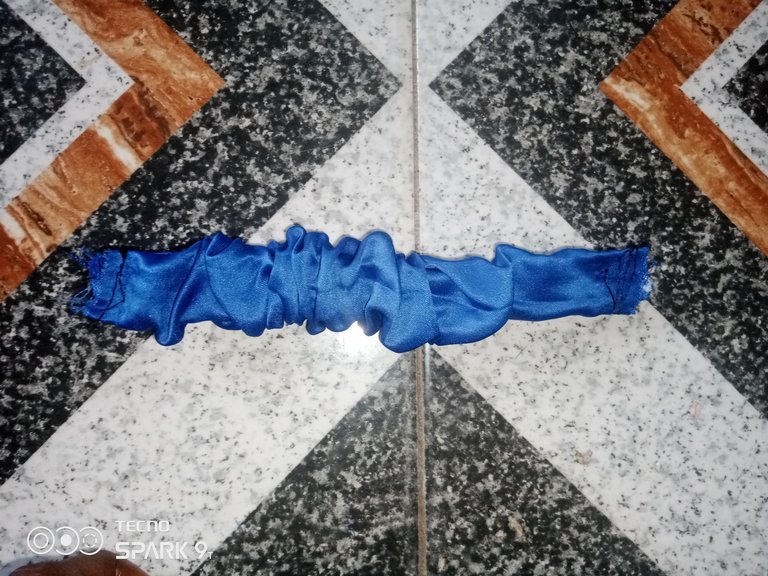
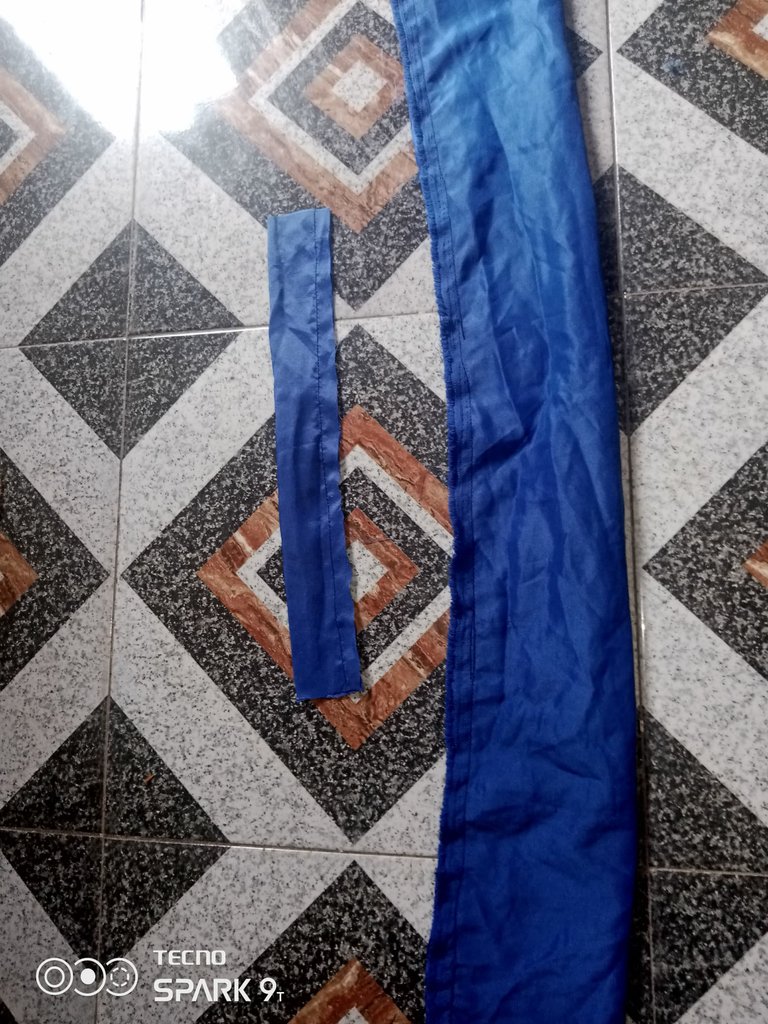
Next, I inserted the elastic which is about 7 inches in width into the elastic casing
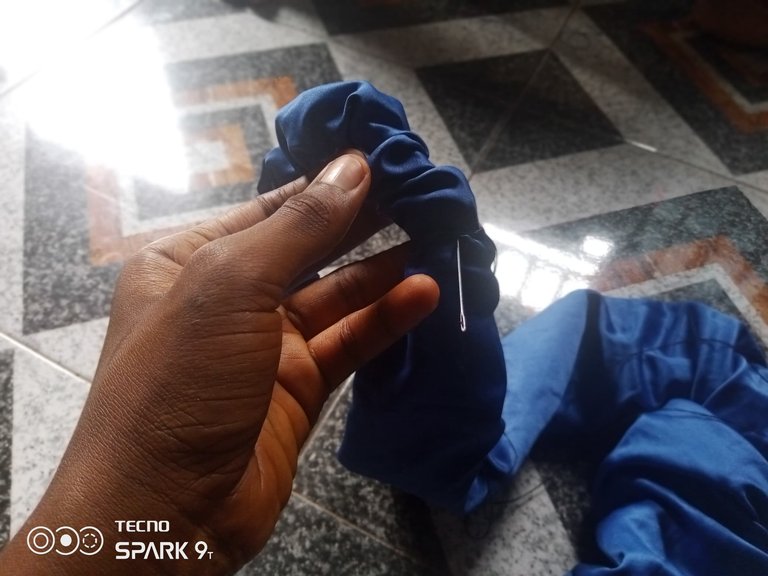
Finally, I inserted the other lining strip into the bigger strip to form ruffles, before joining both ends using my needle and thread.
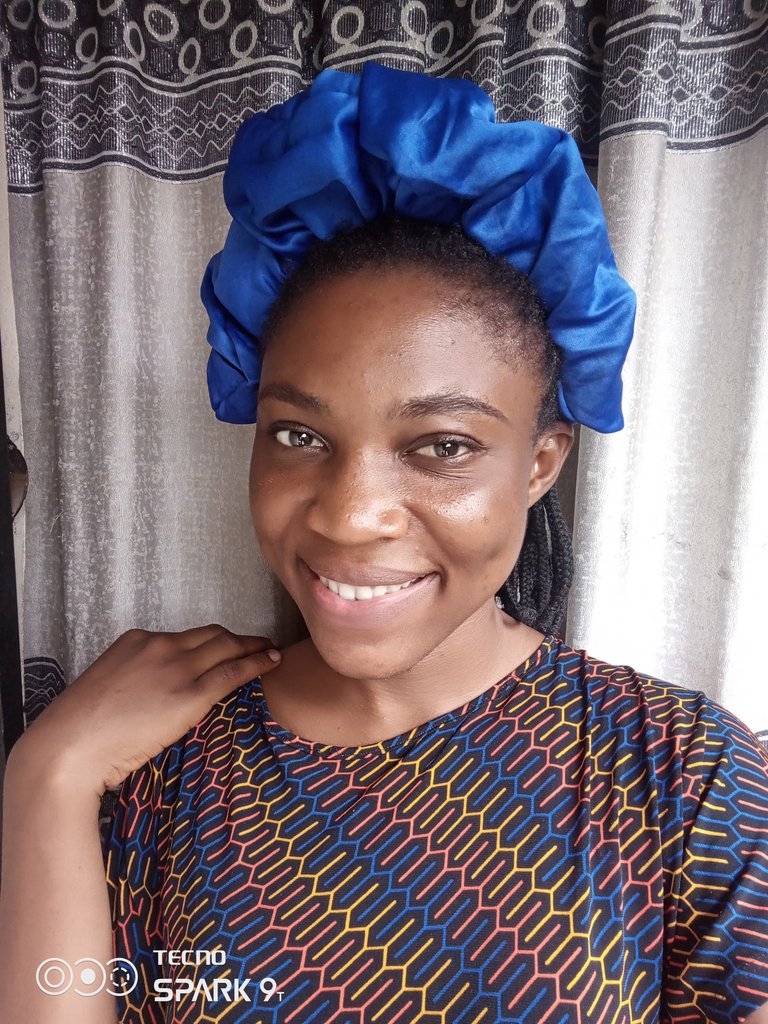
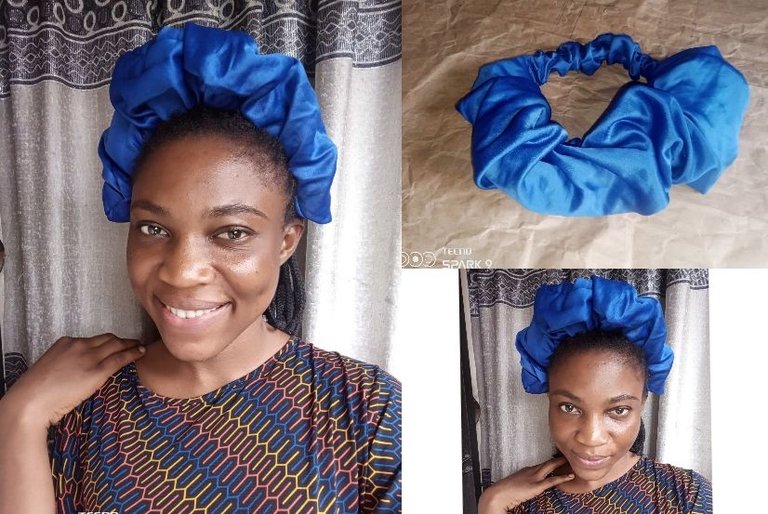
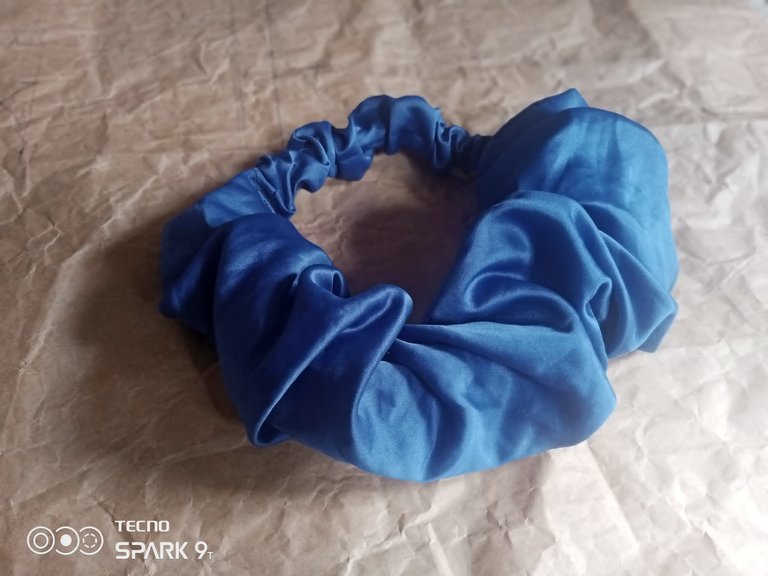
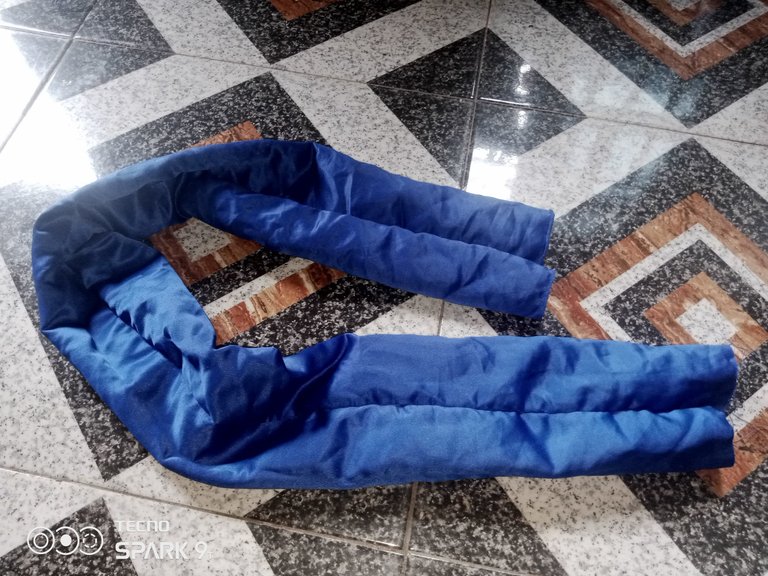
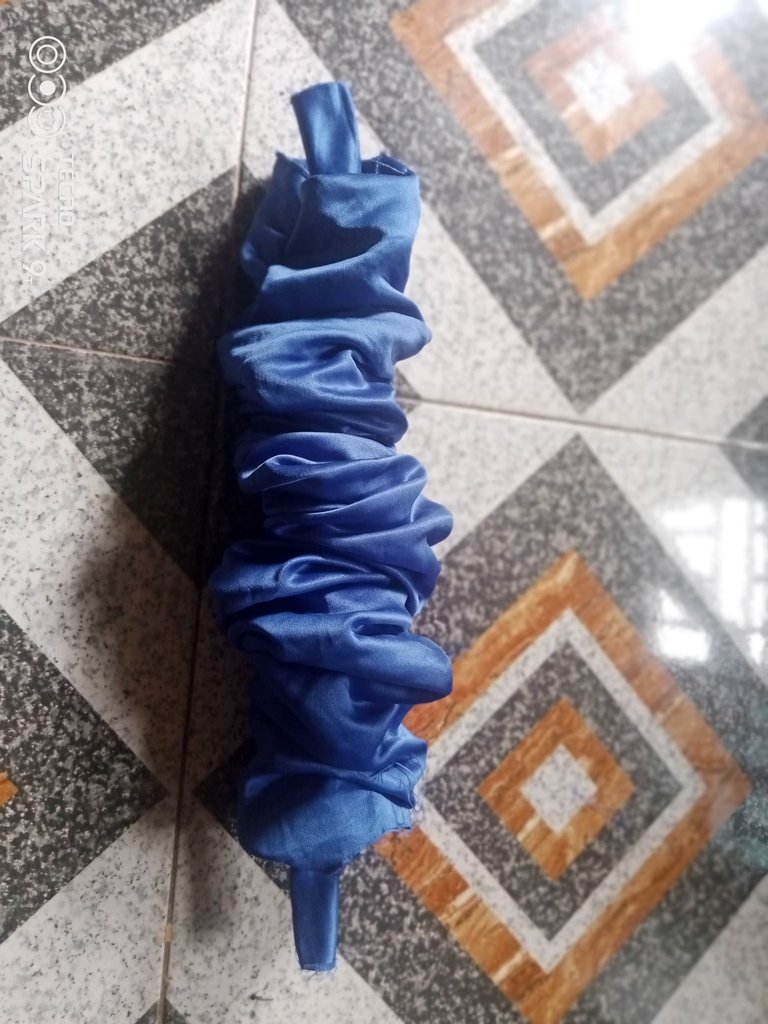
Here is the beautiful final look of the scrunched headband piece, beautiful isn't it? "I'll make tons of this" she says after the tutorial, and I can't help but laugh feeling fulfilled that she has learned something new and interesting today.
All images used in this are mine
Thank you for reading.❤❤
Posted Using InLeo Alpha
Nice of you to teach your latest student how to make a scrunchie, well done good teacher😃
Thank you🤗
Excellent idea to take advantage of fabric scraps, I congratulate you for your ingenuity.
I appreciate your encouraging comment, yea, it's best to make use of every leftover fabric rather than just trading them.
That's right dear, happy day
It's beautiful and very kind of your to impart a young life. Now she can have fun being productive.
Congratulations @glorydee! You have completed the following achievement on the Hive blockchain And have been rewarded with New badge(s)
Your next target is to reach 12000 replies.
You can view your badges on your board and compare yourself to others in the Ranking
If you no longer want to receive notifications, reply to this comment with the word
STOPCheck out our last posts:
It’s really nice of you to teach her such a beautiful skill. It’s also nice of her to come earlier for more lessons. The scrunchy is really nice. I love the color