DIY Trouser | Creative Sunday
Happy Sunday, dear creative Hivers. I hope you all had a beautiful day. It's another exciting edition of the Hive learners' creative Sunday, and as usual, I will be sharing with you a sewing tutorial.
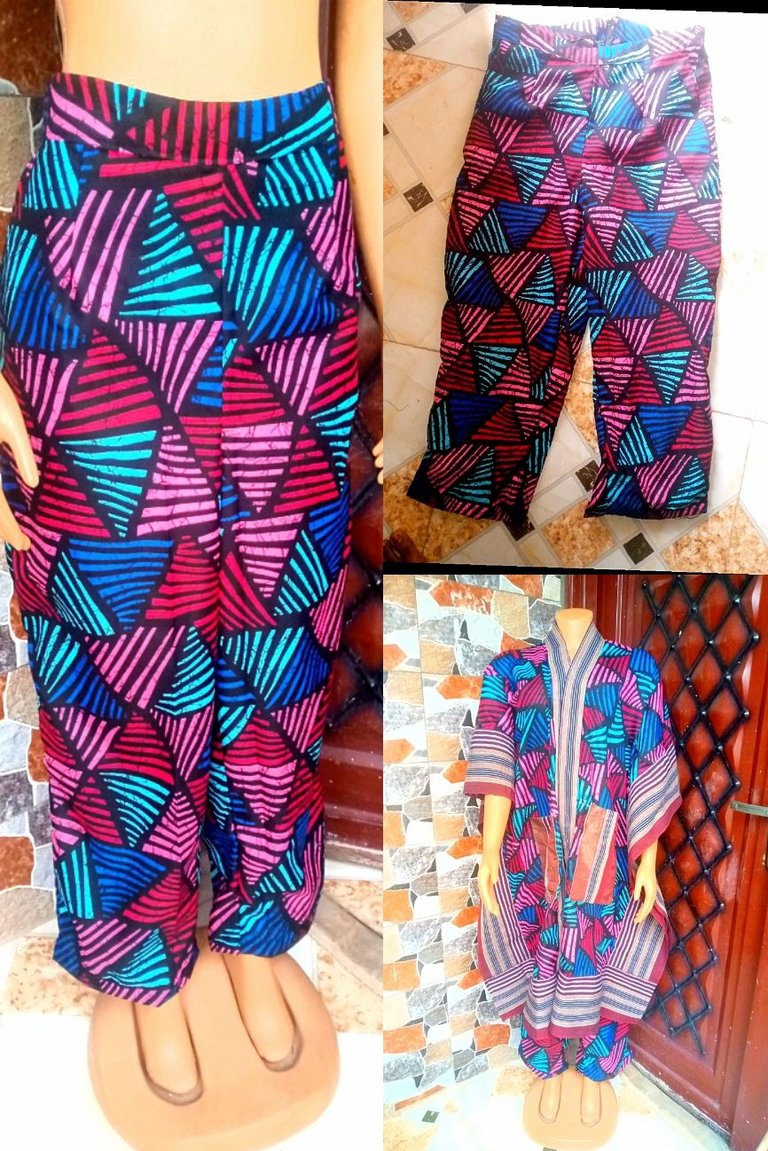
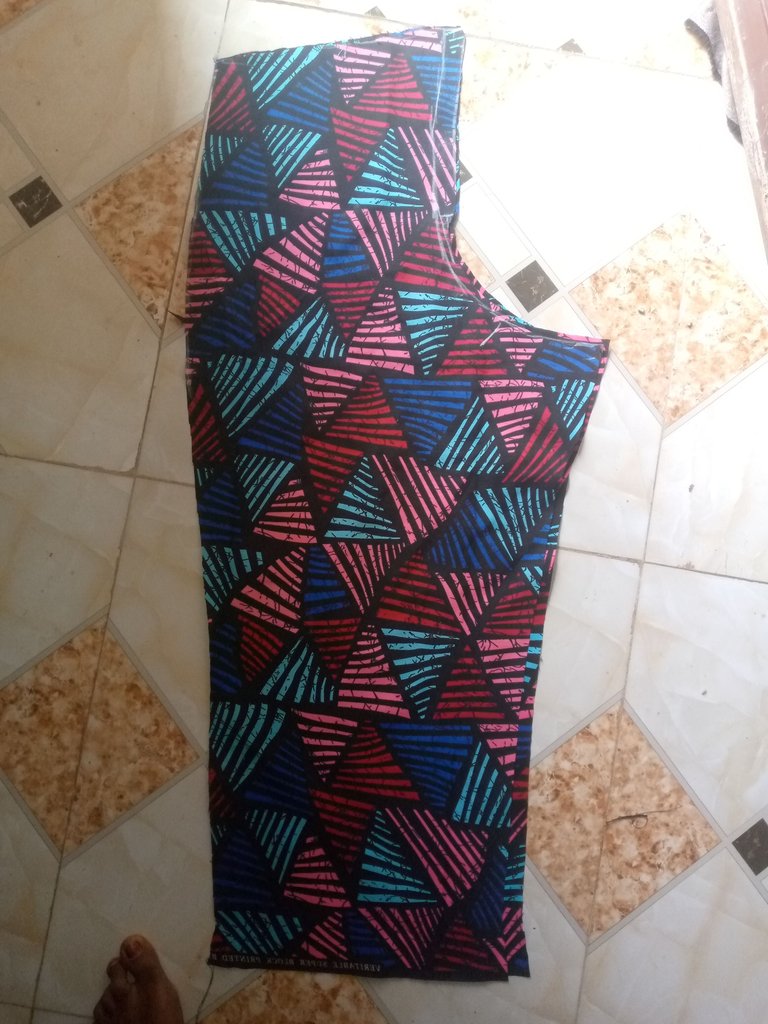
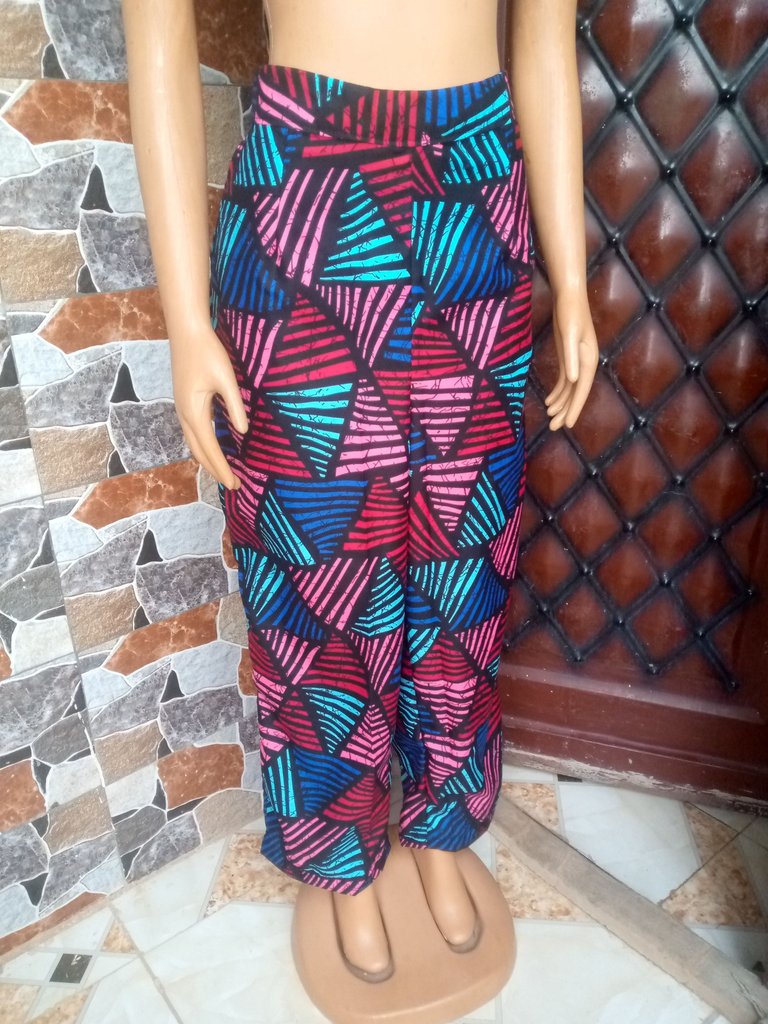
This time, I made a pair of trousers for my aunt, following the method I will be providing in the steps below, you can equally recreate making a palazzo trouser, using any fabric of your choice.
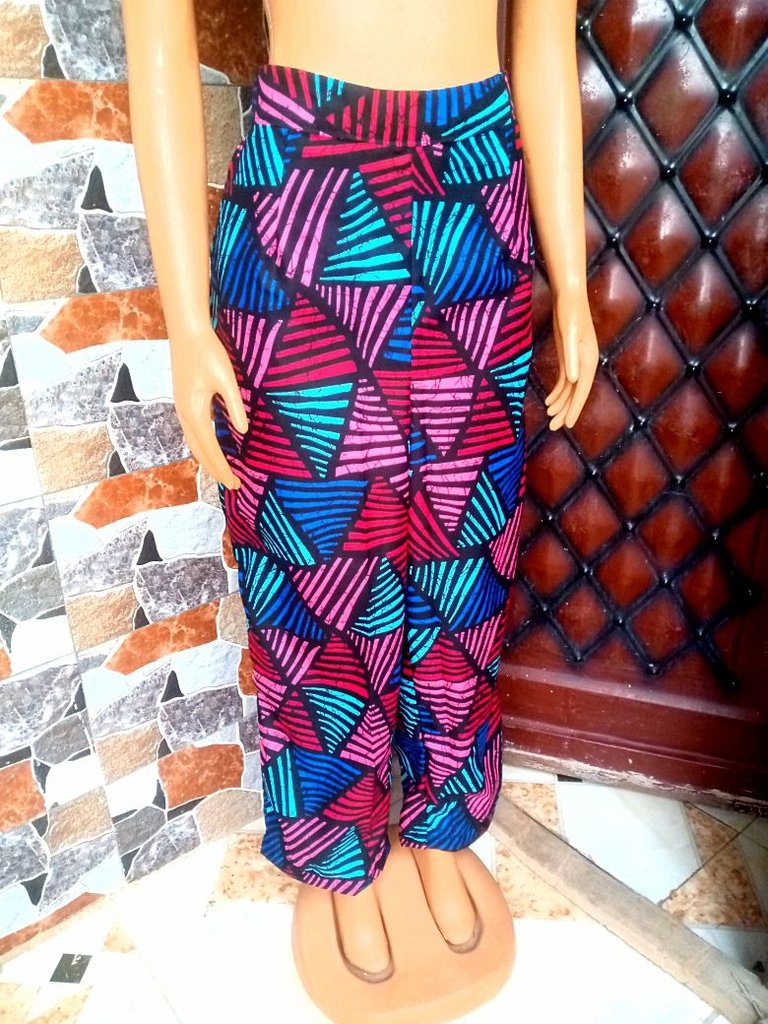
The trouser I made was paired with a traditional kimono jacket, she can equally decide to rock these trousers alone with a fitted blouse or shirt. Without further ado, let's get right into the making process.
Materials used
Ankara fabric
Matching coloured thread
Cutting And Sewing Process
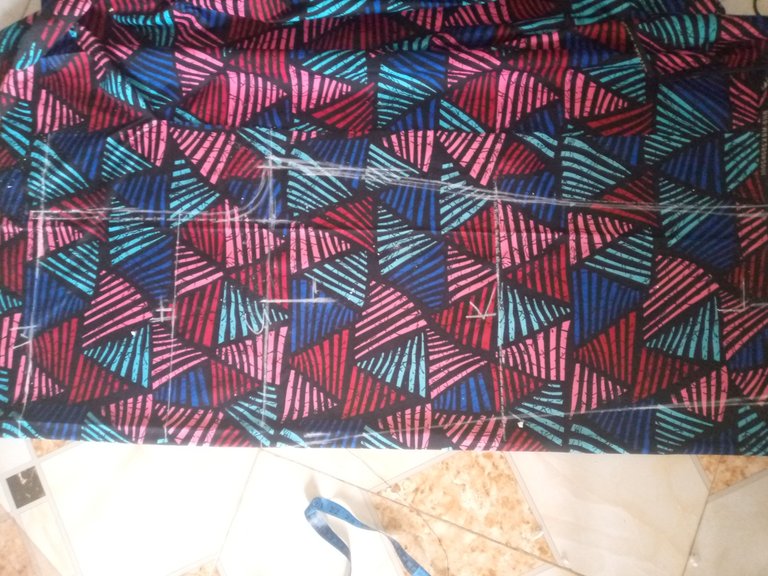
- The first process was drafting the front trouser pattern, I divided her waist measurement by 4, hip by 4 as well, determined her crotch length, which is gotten from the hip measurement after division plus 1, I also determined how long I want the trousers, also known as trouser length.

- cutting out the drafted pattern now
- I extended the front pattern by 2 inches and cut out the back trouser pattern, if you check most of your trousers, the back side is usually bigger than the front, this is to make sure that it sits perfectly on the sides. Both the front and back pattern has two pieces each
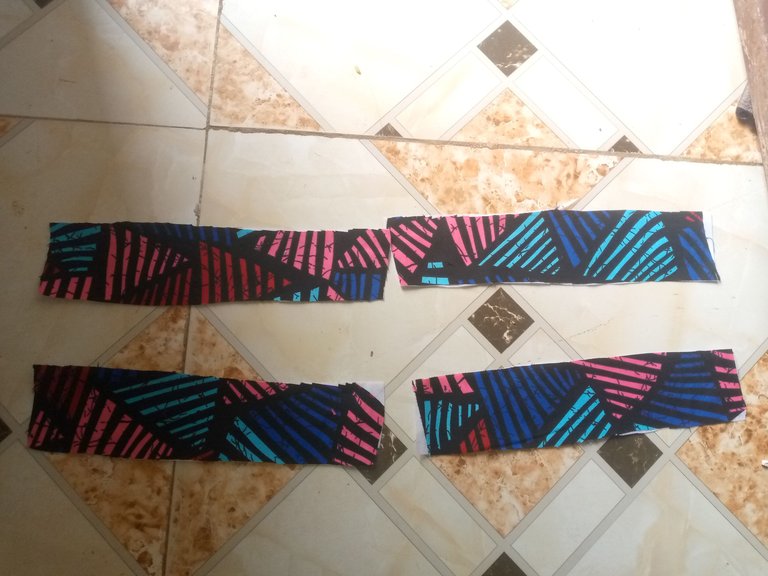
- I also cut out their waistband, the front was cut on fold, having two pieces, while the back has four pieces.
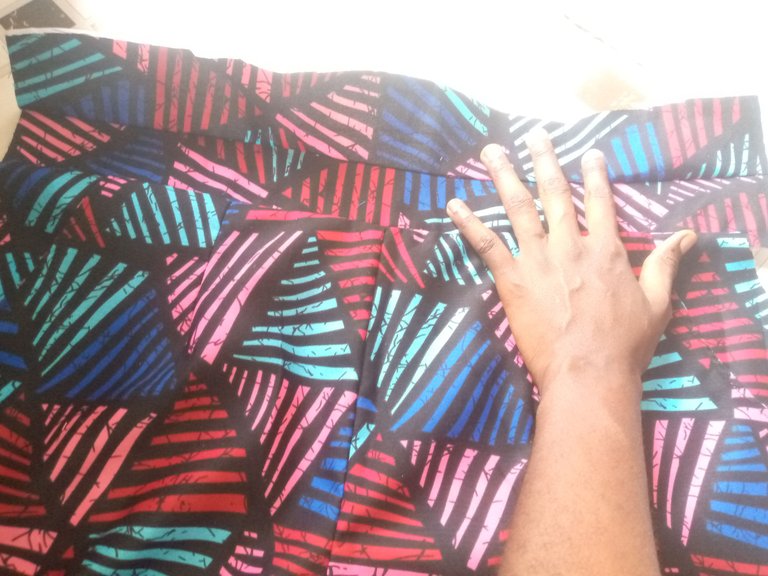
- Continuing, I joined the front and back patterns by the crotch area, and also joined the cut-out waistband to the waist area, separately, I created pockets for the front part of the trousers.
- Leaving the zipper allowance on the backside.
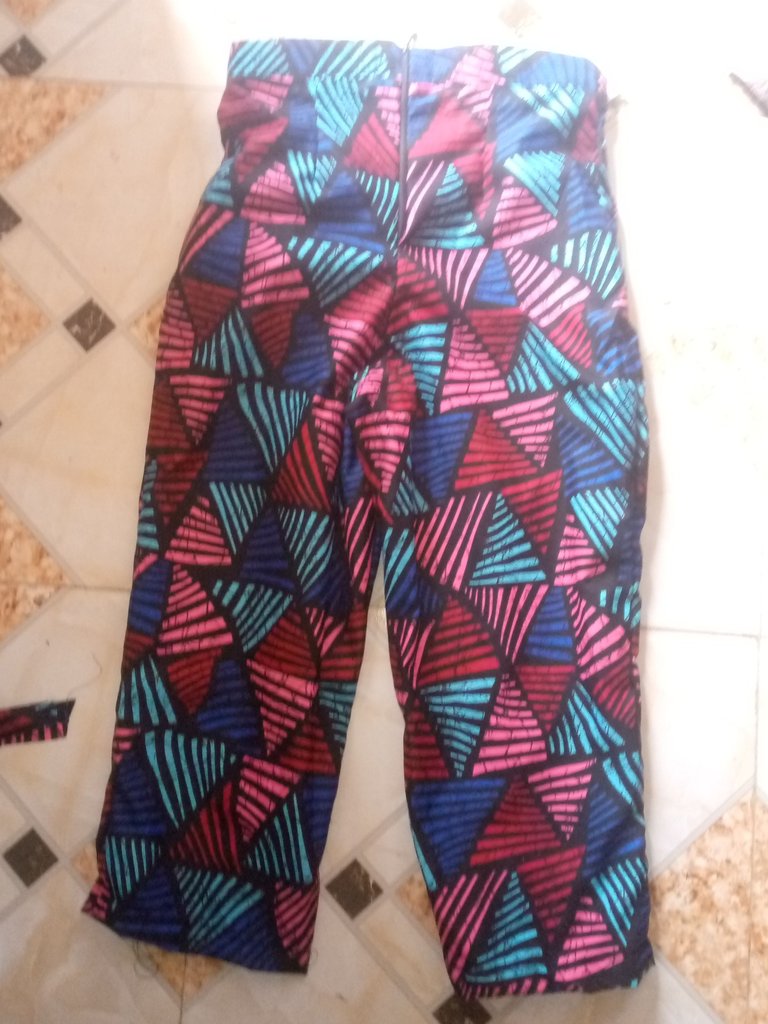
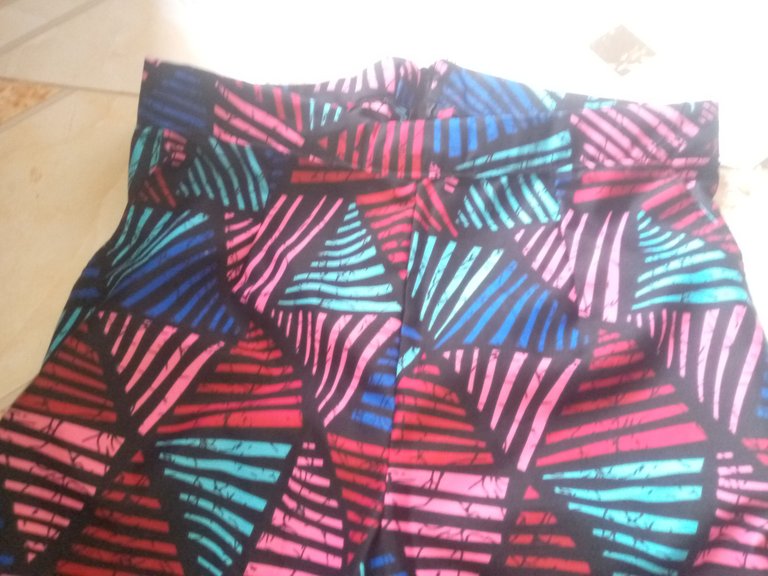
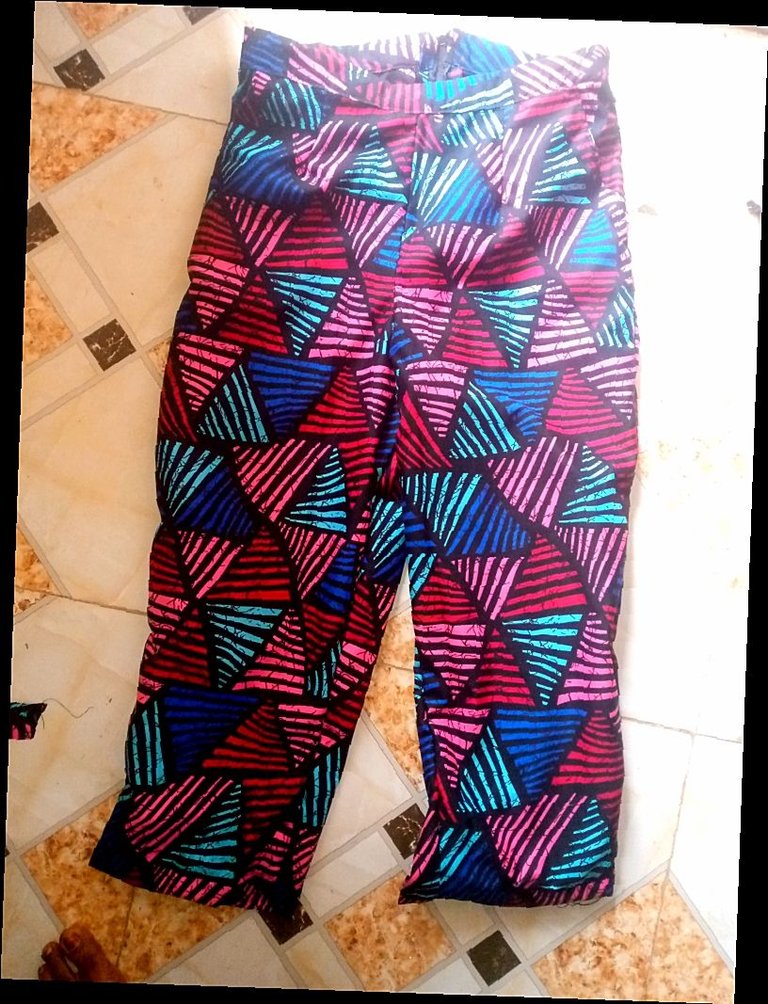
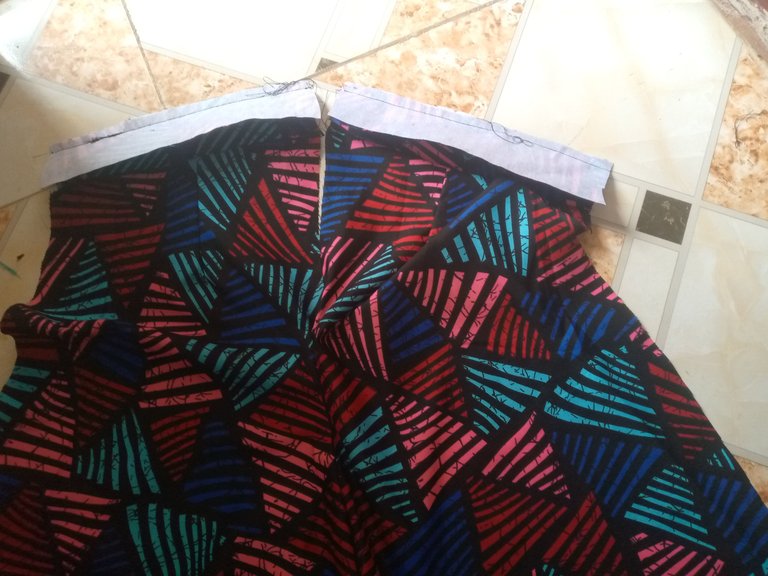
- Finally, I joined both the front and back by the sides, and in the seam area, closed the waistband and also sewed a zipper to the backside of the trousers. And that completes the making process of this trouser.
I hope you learned something new.
All images used in this post are mine.
Congratulations @glorydee! You have completed the following achievement on the Hive blockchain And have been rewarded with New badge(s)
You can view your badges on your board and compare yourself to others in the Ranking
If you no longer want to receive notifications, reply to this comment with the word
STOPCheck out our last posts:
Glory stitches on the beat! This was nicely done, love the colour of the Ankara 😍
Haha thank you sis❤❤