Making A Rechargeable Lamp From Scraps.
Welcome to Hive Learners Creative Sunday Initiative with George Dee.
Today is quite different from my regular entry for Creative Sunday, it used to be about food but today, I decided to make something else. I shared a post last week and @momogrow was interested in how I made my lamp from scraps so instead of cooking, I decided to share the procedure.
I will try to explain the process in the simplest way I can. My journey with making things like this started from childhood, I made lamps with batteries and bulbs just to light the room. I usually use wood for the battery case and just connect the bulb with wires but a lot have changed between then and now. Not just technology improved, but I have also stepped up with the packaging of the lamp.
Instead of the old way, I now use plastic and other containers for the case. It makes it looks beautiful and portable as well.

Material Used.
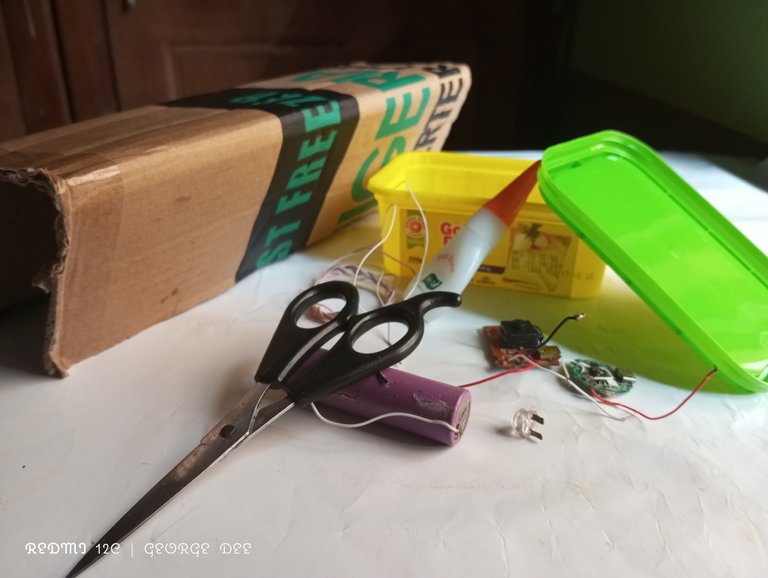
Majority of the materials used were collected from damaged rechargeable torch light, I collect them from people who wants to trash them. It's an old habit and sometimes they want me to fix them or they just give them to me on request.
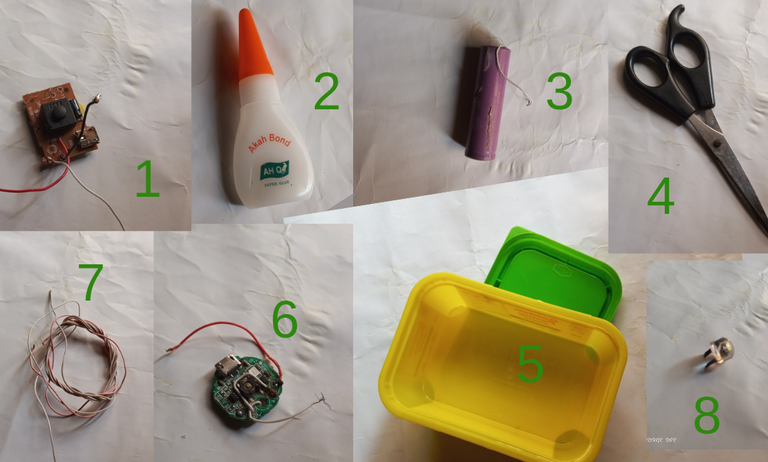
1. Switch
2. Glue
3. Rechargeable battery
4. Scissors
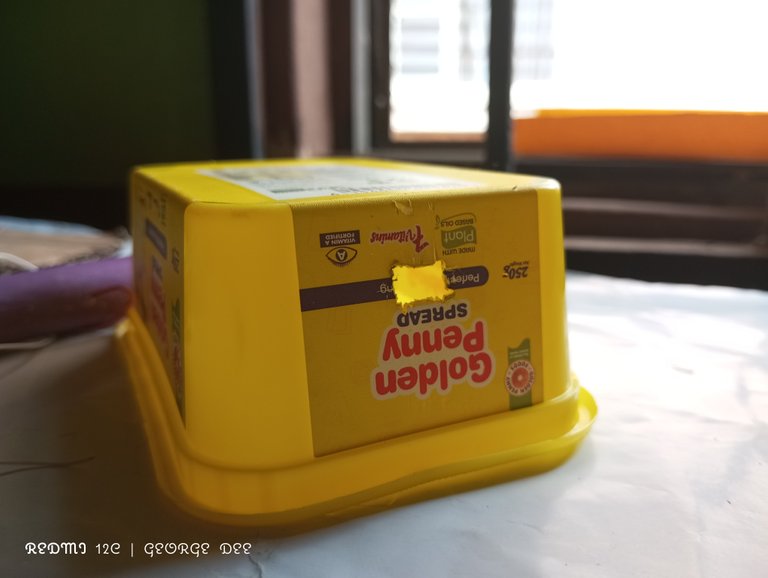
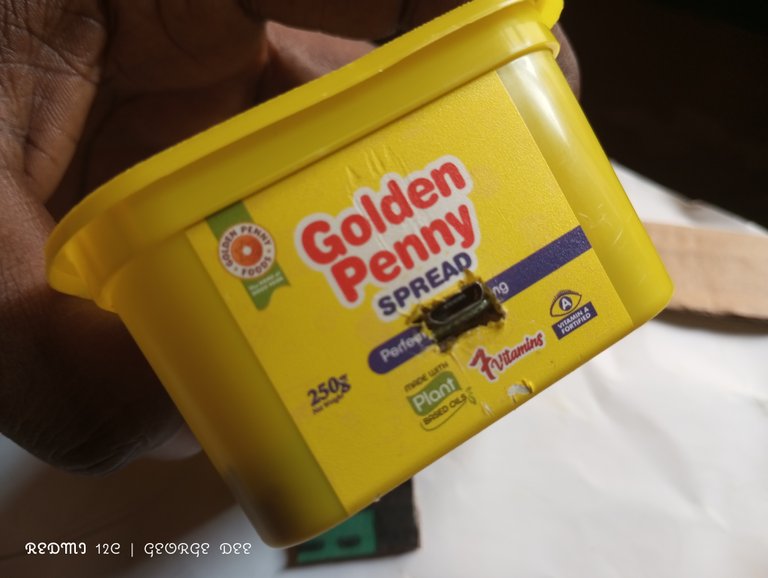
5. Butter container.
6. Charging port
7. Wire
8. Bulb
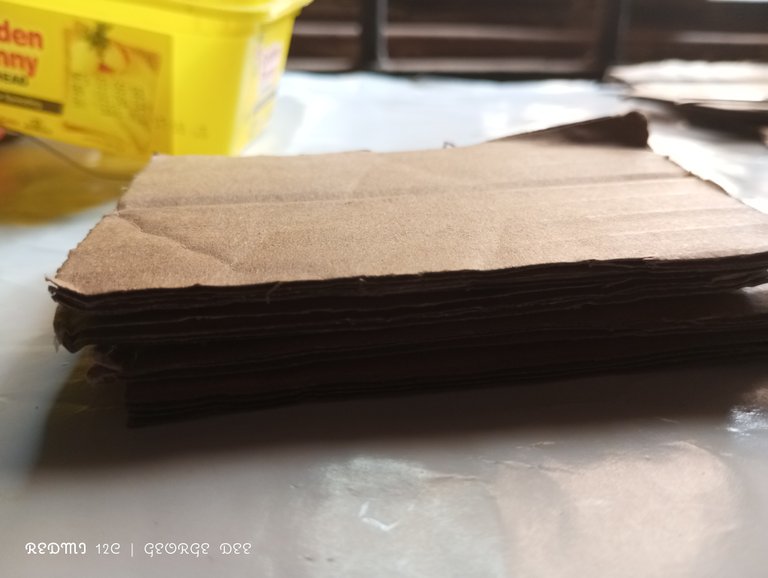
Carton
Procedure
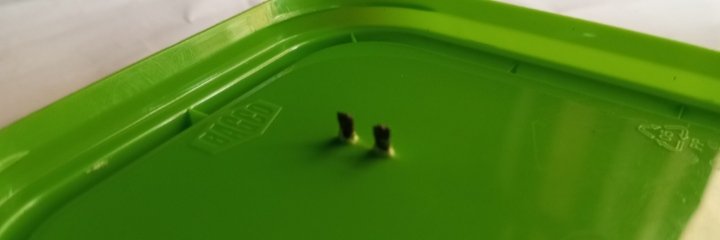
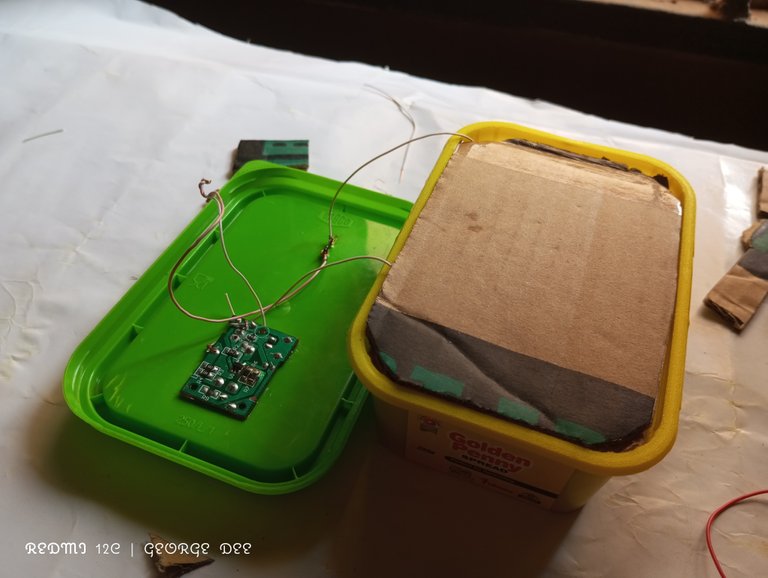
I started by inserting the bulb into the plastic cover.
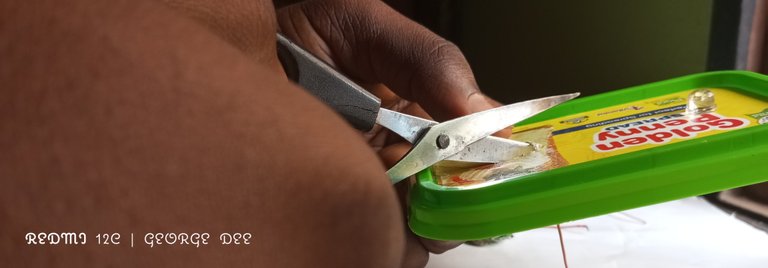
The two rods at the bottom of the bulb have to pass through plastic so I punched the cover with scissors and put the rods in the hole.
The rods are now showing at the back of the cover. These rods will be responsible for powering the bulb when it is connected later to the battery
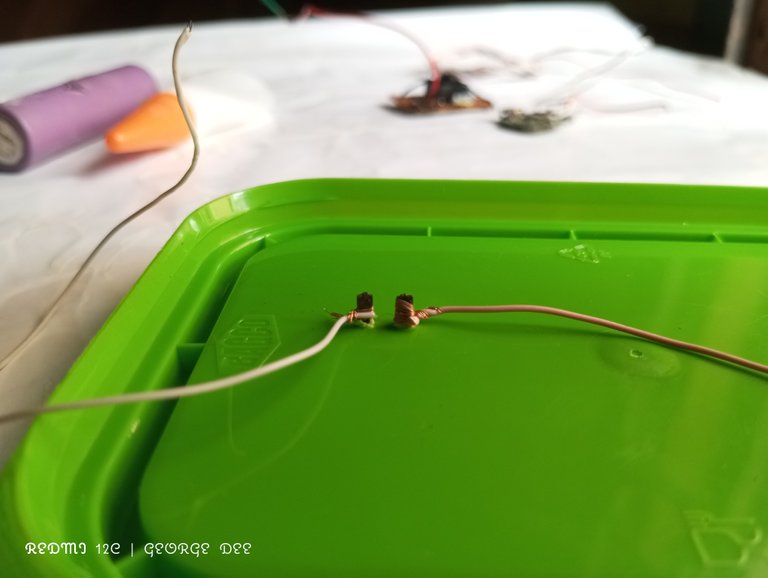
I connected wires to the rods, the wires will serve as a passage for electricity to flow through from the battery into the bulb
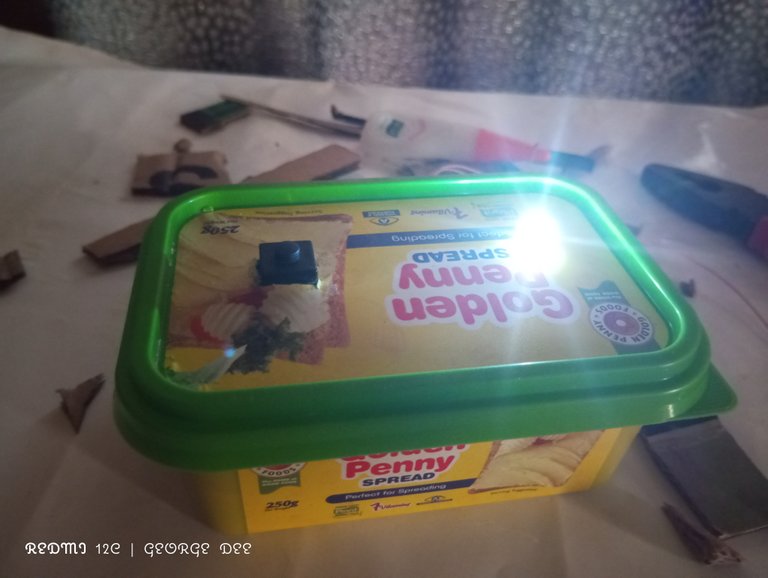
I cut the cover again to make space for the switch, the purpose of it is to make and break the flow of current. With it, we can turn on and off the lamp.
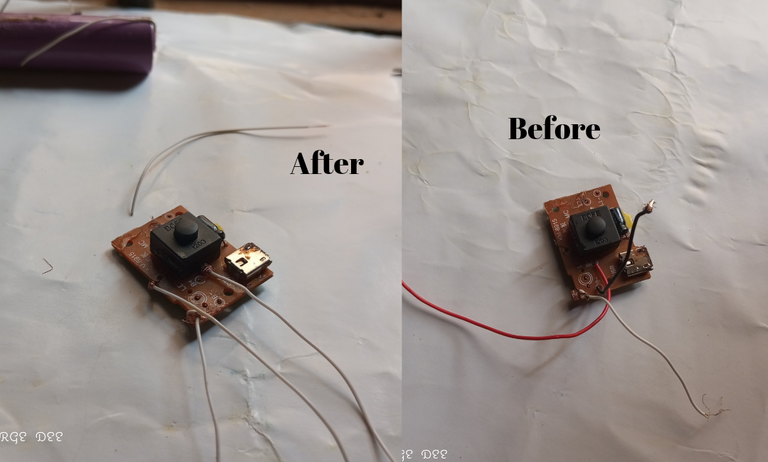
I changed the panel wires
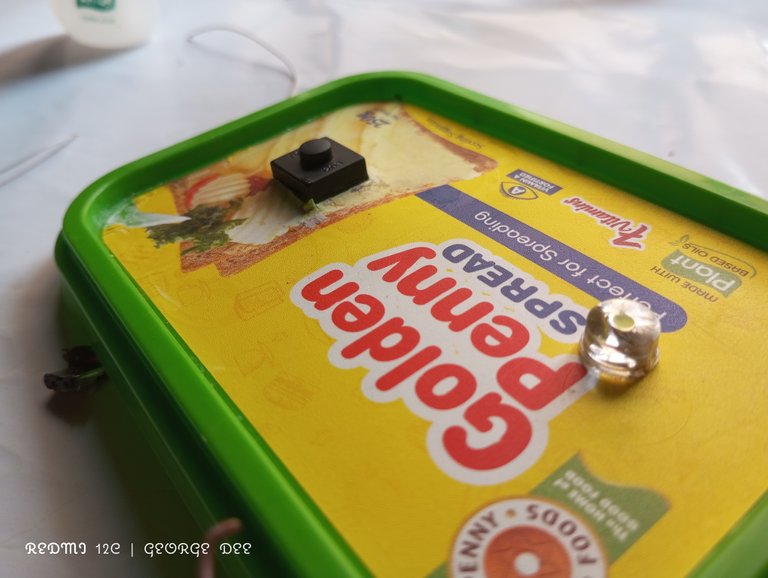
I glued the switch to the plastic cover
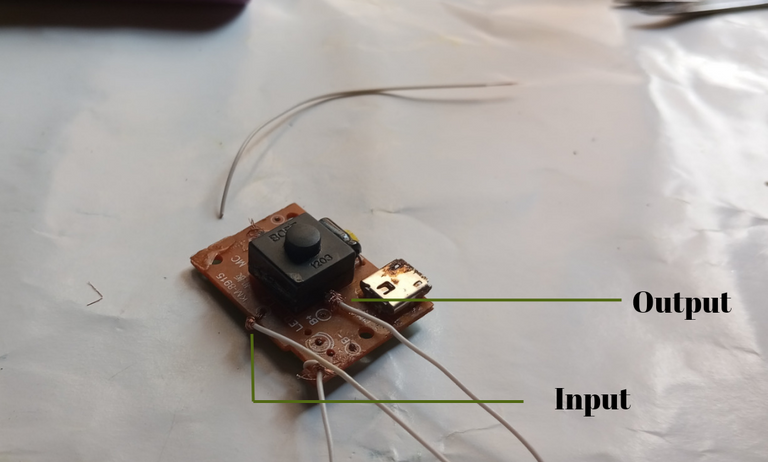
The switch is on a panel and it has two wires attached, one of the wires takes current in from the battery while the other sends it out to the bulb.

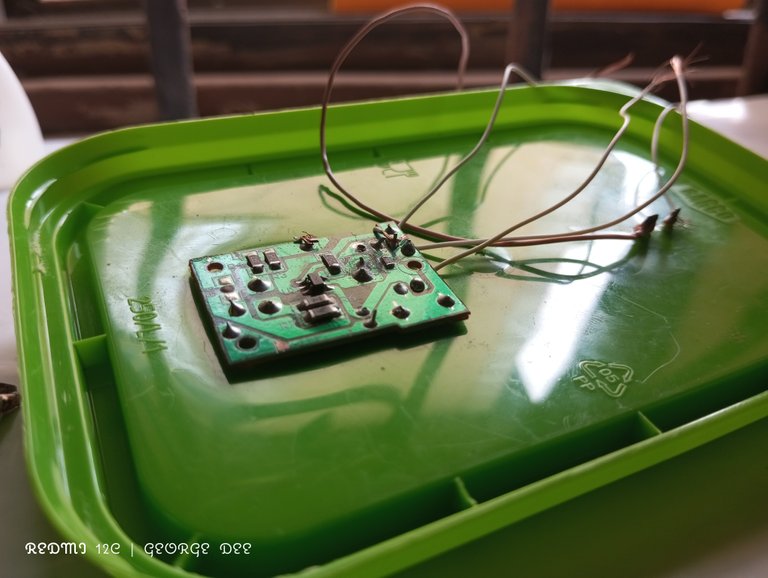
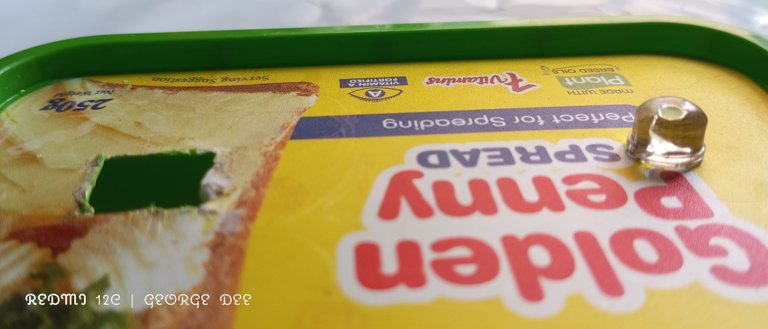
I moved on to the charging port, I had to cut out a small place in the plastic for the port to be accessible. The charging port also have the negative and positive wire
I cut out some cartons and arranged them inside the plastic so that the charging port can sit on them
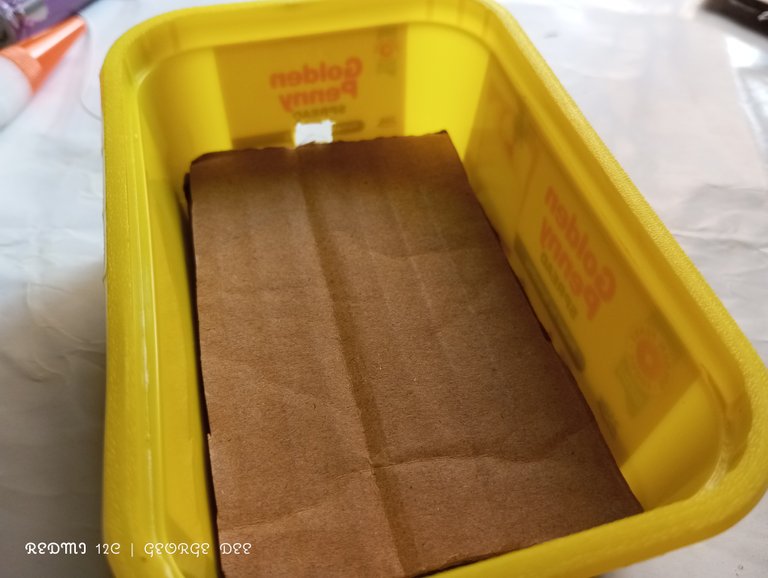
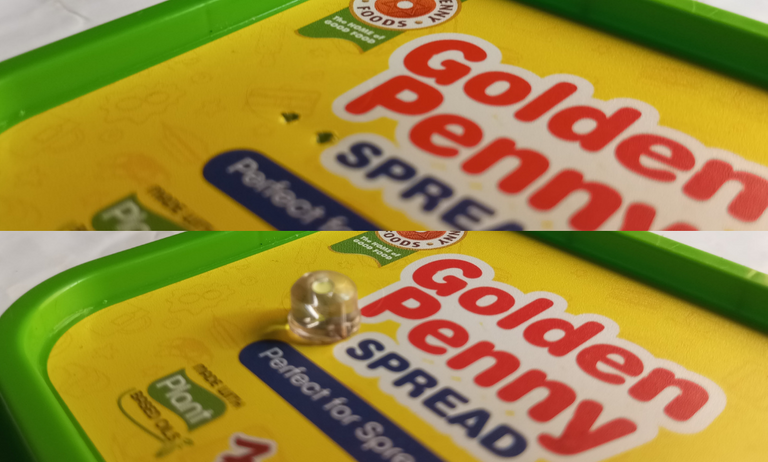
I fixed the charging port inside the plastic and applied glue to prevent it from moving back and forth when inserting and removing the charger.

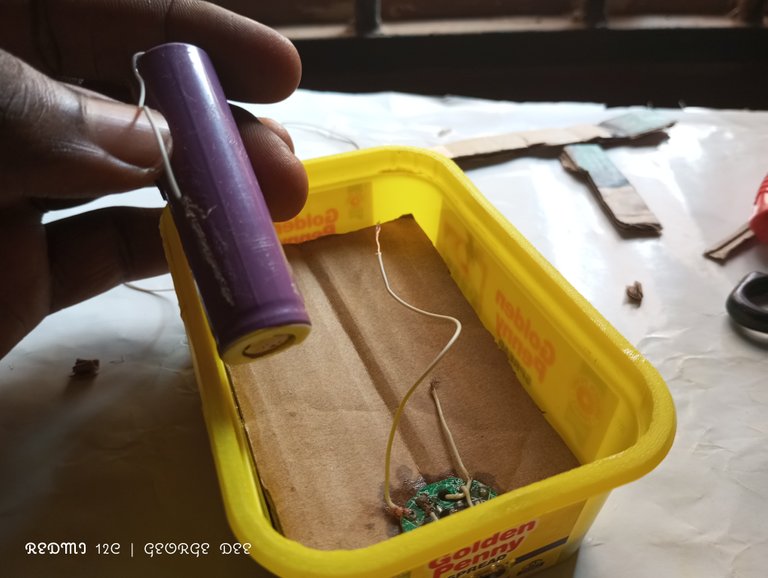
I moved on to connecting the charging port, battery and switch
The battery and bulb has a positive and negative side so you must be sure before proceeding at this stage. Some batteries have signs indicating positive and negative while some don't.
The bulb and battery I used don't have signs so I checked it by connecting the bulb directly first. When the bulb turned on, I was able to know the P and N.
I connected the input wire from the switch to the positive wire on the charging port panel and will mark it as A in the image below
I connected the output from the switch to the positive rod of the bulb and will mark it as B
I connected the negative rod to the negative wire on the charging port panel and both were connected to the negative side of the battery
I connected point marked A earlier to the positive side of the battery and placed it in the plastic
To prevent the batteries from moving, I cut some cartons and arranged them to the free space in the plastic.
I cut another carton to cover everything in the plastic and the carton will also serve as a rest for the switch.
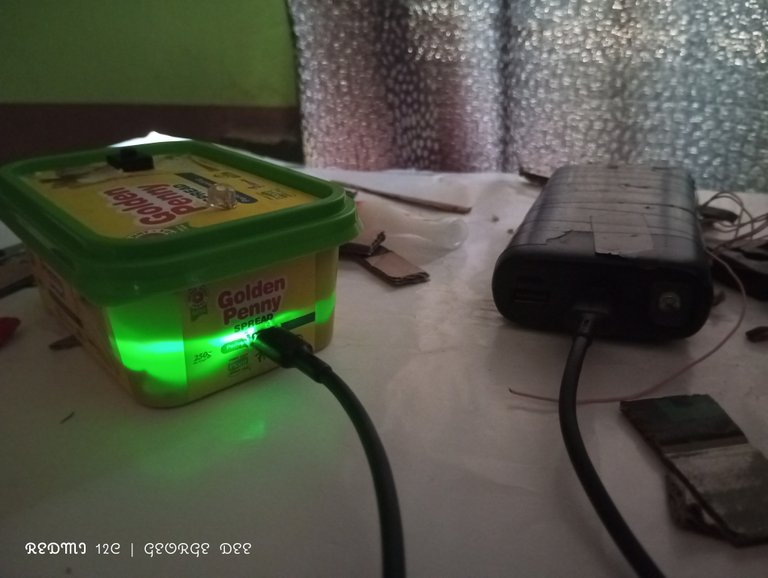
In the end, we have this.👇


To know if every I have been doing is correct, I turn on the switch and voila...
I know you are asking yourself thay why do I need to do all this when I can just buy a torch light?
It is easy to buy a light but I choose to make one for myself because it helps me to save money and I also enjoy doing this. Instead of throwing away every item, I can just make things out of them.
I hope you enjoyed reading and you can ask me questions regarding the process if you don't understand them.
Thanks.
Wow George! This is so creative 😍
I can remember how my little Bro made light from every scrap we want to throw away 😅
So only finish that butter and be showing empty container huh? 👀
Thanks a lot, yeah we made this a lot as kids.
It was basically the boys thing and we enjoyed it a lot. I still make them though, it saves me small change.
Wow... I really love seeing things like this.
Big ups sir. I'd to see more machines from you.
Lolz, machines? I will just leave that to the engineers on the platform but it was fun making another stuff like this.
I love the creativity. It serves many purposes including saving one of some spendings.
Yes, I can definitely use the money for the lamp to do other things.
And, I also enjoy doing it. Something offline would be nice.
This is Creativity at work. This so thoughtful of you and it has a charging point too 😳
This is making something useful out of trash.
Thanks for sharing.
Yeah, it has a charging port as well, and the battery is rechargeable.
I glad you like it, thanks for the visit.
Wow talk about recycling
It's seems easy because your described everything very well and the procedure was given very well. I liked it very much and it's a creative one...
!PIZZA
But it's truly easy but people think it is difficult because they don't just know how to go about doing it.
Thanks for the visit.
$PIZZA slices delivered:
@intishar(4/5) tipped @george-dee
Wow so creative, You are gifted, this is beautiful. I enjoyed every bite of your work. I have learnt and would show my cousin who likes electrical works. thanks for sharing
I am glad you like it and your cousin will definitely love it as well.
Wow, what a creativity I have never seen this before how difficult it is to make such a thing.
It wasn't difficult because I have been doing this for quite some time now. It is not stressful and takes only limited time as long as you have all the necessary equipment around you.
Congratulations @george-dee! You have completed the following achievement on the Hive blockchain And have been rewarded with New badge(s)
You can view your badges on your board and compare yourself to others in the Ranking
If you no longer want to receive notifications, reply to this comment with the word
STOPCheck out our last posts:
Wow... claps man!!
How much patience, and creativity and you made use of discarded eletronics from torchlight...
Every kid, should do things like this, than waste time watching TV or playing mobile games!!
Take a bow... speechless!! ... you are created magic, and that makes us smile, lights up a switch of our closed, dum mind you could say...
I can never to do...but this is brilliant stuff man!! Kudos!! ...
You should teach kids this, so they get practical interest in electronics(:
Children these days aren't interested in stuff like this and I am happy one of my siblings has some much interest in things like this so we spend time together repairing and building things from scrap.
Thanks for the compliment, I really appreciate your time thoroughly going through my post.
Great , show me please ,how you posted a vidéo hère on hive
This post has been manually curated by @bhattg from Indiaunited community. Join us on our Discord Server.
Do you know that you can earn a passive income by delegating to @indiaunited. We share more than 100 % of the curation rewards with the delegators in the form of IUC tokens. HP delegators and IUC token holders also get upto 20% additional vote weight.
Here are some handy links for delegations: 100HP, 250HP, 500HP, 1000HP.
100% of the rewards from this comment goes to the curator for their manual curation efforts. Please encourage the curator @bhattg by upvoting this comment and support the community by voting the posts made by @indiaunited.
Geez... Are you for real? This was damn creative and I just want it for myself. Haha. Thanks for sharing this.
I waltzed in from #dreemport for I am an awesomely made #dreemer, hehe #dreemerforlife.
This is soooo cool !!! How do you come up with such creative ideas?! And you can do it in mass and even distribute it. Well done Georgie!
#Dreemerforlife!
Very fell maid ... and as we all can see now, things we don't look at seriously can be used to create something nice. 😁☕👌🤗
This is just brilliant!!! (literally). You are extremely creative to use simple material to make your light. Thanks for explaining the process so well.
You are correct - if you enjoy making it yourself why not make it. Then it is a fun process and you created a useful ite. You will enjoy using it evenmoreso.
You did well. This is amazing. Come and do one for me too. Hahaha. Please I like to ask, is this butter container not going to melt with time? You are quite creative, I love your work
That is a pretty cool thing to make George!
Popped in from #dreemport tonight! Enjoy the challenge...
Wow George is this very creative o
You doing this makes it seem like it's I'm very simple😁 but I know it isn't something you can process like that.
#dreemerforlife #dreemport
Haaaaa!
Omo!
I shock!
Add a more beautified body/cover to it, let's put into market 🕺
Wow, this is amazing and educative. I guess you have been doing this for a long time now.
Can you make one for me?
#dreemerforlife