Digital Art: Ice Cream Drawing [ENG/SPA]
Greetings friends. Although I don't currently have a space where to make crafts, I do have a computer where I can make drawings and designs during my free time.
This time I was doing some designs, one of them was this one, a design of an ice cream cone a little colorful. It is colorful, simple but it is good to start practicing graphic design again.
Español
Saludos amigos. Aunque no cuento actualmente un espacio dónde hacer manualidades, sí cuento con un equipo en donde hacer dibujos y diseños durante mis ratos libres.
En esta ocasión estuve haciendo algunos diseños, uno de ellos fue este, un diseño de un helado de cono un poco colorido. Es colorido, sencillo pero es bueno para empezar a practicar otra vez el diseño gráfico.
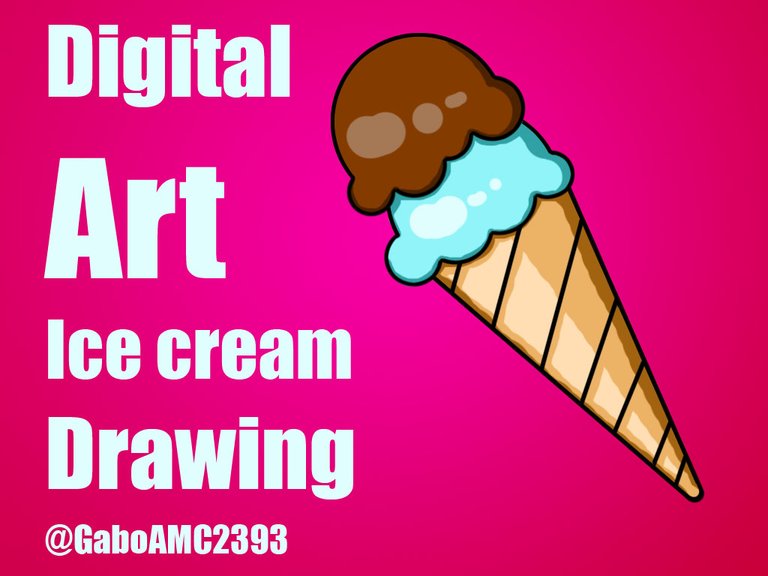
For this design I used Photoshop. It is a program that I know how to use very well and with which I have been working for some time. Although it is a program essentially for photo retouching, you can certainly do a lot of things.
The first thing was to create the workspace. It is a 1024x768, with a resolution of 72 pixels/inch.
Para este diseño utilicé Photoshop. Es un programa que sé usar muy bien y con el que he estado trabajando desde hace un tiempo. Aunque es un programa esencialmente para el retoque fotográfico, ciertamente se pueden hacer un montón de cosas.
Lo primero que fue crear el espacio de trabajo. Es un 1024x768, con una resolución de 72 píxeles/pulgada.

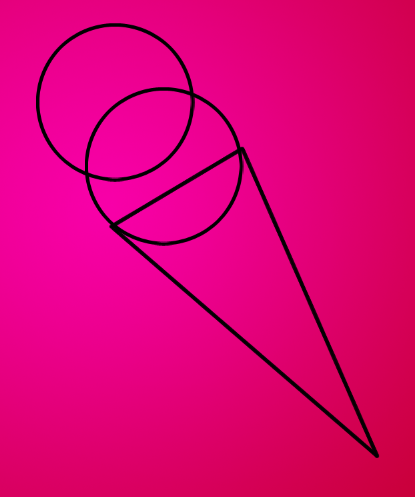
After that I started to make the basic lines of the drawing. In this case I made three basic shapes: a long triangle and two small spheres, one crossing each other.
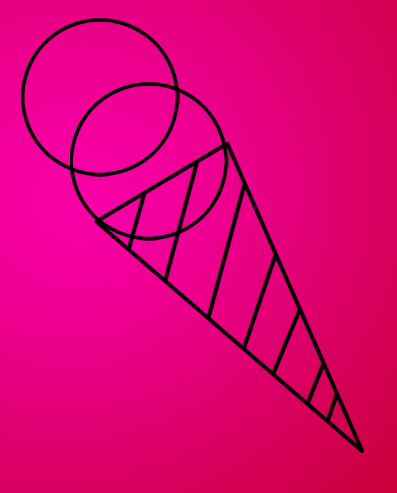
That was the first step, that is, the first image on the left. In the center image you can see that I made some diagonal lines to simulate what would be the cone, although I could make other crosses I thought it looked good like that.
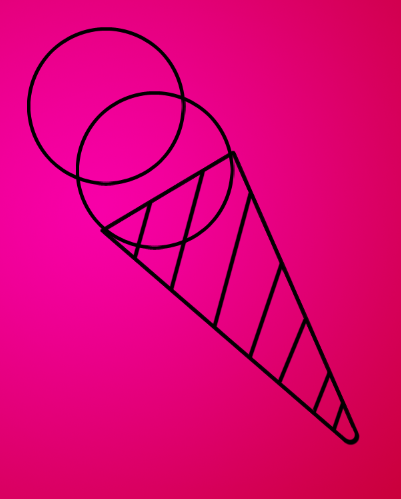
Finally in the right image you can see how I eliminated the pointed shape at the end of the cone, so I made it rounded, because I thought it would look better that way.
Luego de eso comencé a hacer las líneas básicas del dibujo. En este caso hice tres formas básicas: un triángulo largo y dos esferas pequeñas, una cruzándose con otra.
Ese fue el primer paso, es decir, la primera imagen de la izquierda. En la imagen del centro pueden observar que hice unas líneas en diagonal para simular lo que sería el cono, aunque pude hacer otras cruzadas pensé que se veía bien así.
Finalmente en la imagen de la derecha se observa cómo eliminé la forma puntiaguda del final del cono, así que lo hice redondeado, porque pensé que se vería mejor así.
 |  |  |
|---|
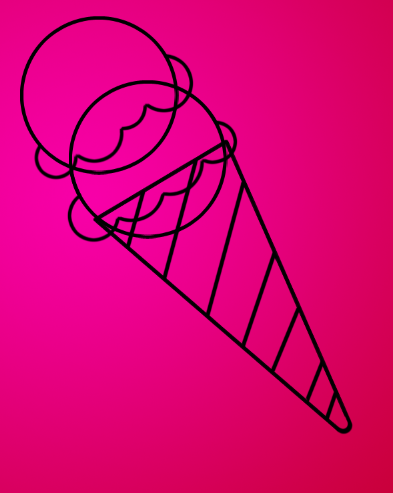
That's what I did for the cone. On the other hand, for the ice cream spheres I made some undulations at the bottom of each sphere, as you can see in the image on the left.
Once these undulations were ready, I eliminated the circular shape at the bottom of each sphere, so that only the final shape of each ice cream sphere could be seen.
The last detail was to eliminate the top edge of the cone, so that only the wavy lines of the ice cream spheres were above it.
Eso fue lo que hice en cuando al cono. Por otra parte, para las esferas de helados hice algunas ondulaciones en la parte inferior de cada esfera, tal como lo pueden ver en la imagen de la izquierda.
Una vez lista estas ondulaciones, eliminé la forma circular de abajo de cada esfera, para que solo se viera la forma final de cada esfera de helado.
El último detalle fue fue eliminar el borde superior del cono, para que solo estuviese por encima las líneas onduladas de las esferas de helados.
 |  |  |
|---|
After the outlining process, the coloring process began. First I started by coloring the cone in a shade a little lighter than beige. Each layer of paint is located behind the black lines.
As you can see in the image on the right, I applied two types of shadows, one to darken and another even darker shade to create more depth on the edge of each side of the cone.
Después del proceso de delineado, comenzó el proceso de coloreado. Primero empecé coloreando el cono de una tonalidad un poco más clara que el beige. Cada capa de pintura está ubicada detrás de las líneas de color negro.
Como pueden ver en la imagen de la derecha, apliqué dos tipos de sombras, una para oscurecer y otra tonalidad aún más oscura para crear más profundidad en el borde de cada lado del cono.
 |  |
|---|
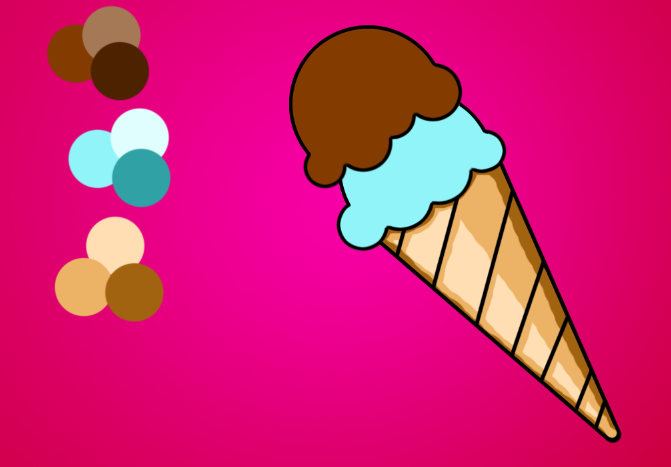
Basically I did the same with the ice cream spheres. Each one I painted with different colors, as you can see I used several color references on one side of the work space, which are those little colored spheres, they are the colors I used for each part that are part of the drawing: the cone and the two spheres.
The first sphere, the blue one, I colored it a very light sky blue and the second one I colored brown. You could say that one is bubble gum flavor and the other is chocolate flavor.
To each one of these spheres I also added shadow like the cone, with the difference that to these spheres I also added illumination, which are those small clear shapes on one side of each sphere.
Básicamente hice lo mismo con las esferas de helado. Cada una la pinté con colores distintos, como pueden ver usé varias referencias de colores a un lado del espacio de trabajo, que son esas pequeñas esferas de colores, son los colores que usé para cara parte que forman parte del dibujo: el cono y las dos esferas.
La primera esfera, la azul, la coloreé de un azul cielo muy claro y la segunda la coloreé de color marrón. Se podría decir que una es sabor chicle y la otra sabor chocolate.
A cada una de estas esferas también les agregué sombra como al cono, con la diferencia que a estas esferas también les agregué iluminación, que son esas pequeñas formas claras a un costado de cada esfera.
 |  |
|---|
The drawing is now finished, and you can see the final result below:
De esta manera quedó terminado el dibujo, a continuación pueden ver el resultado final:

Well friends, this is how this drawing was finished. I sincerely hope you liked it. I invite you to leave your opinions about this drawing below in the comments, as always I will be happy to read them. Without more to add, I say goodbye then...
See you next time!
Bien amigos, así quedó terminado este dibujo. Espero de corazón que les haya gustado. Los invito a dejar sus opiniones sobre este dibujo abajo en los comentarios, como siempre estaré encantado de leerlos. Sin más que agregar, me despido entonces...
¡Hasta la próxima!

Posted Using InLeo Alpha
Has sido votado por
PROYECTO ENLACE
'Conectando Ideas y Comunidades'
PROYECTO ENLACE es un proyecto de curación de habla hispana enfocado en recompensar contenido de calidad y apoyar autores en su proceso de crecimiento en HIVE.
Creemos y apostamos por el futuro de esta gran plataforma, y estamos muy emocionados de poder hacerla crecer junto a esta comunidad. Así que te invitamos a publicar en nuestra COMUNIDAD y estar atento a todas las actividades que tenemos preparadas y que estaremos publicando en breve.
¿QUIERES AUTOMATIZAR TUS GANANCIAS DE CURACIÓN? SE PARTE DEL PROYECTO ENLACE APOYANDO A NUESTRO TRAIL EN HIVE.VOTE INGRESA AQUÍ PARA CONOCER LOS DETALLES.
¿QUIERES INVERTIR ENLACE? DESCUBRE COMO HACERLO Y GENERAR INGRESOS DE FORMA SEMANAL MEDIANTE TU DELEGACIÓN DE HP AQUÍ TE EXPLICAMOS COMO.
Te invitamos a participar en nuestro servidor de Discord: https://discord.gg/3S9y7BbWfS
Atentamente
EQUIPO ENLACE 2024
Muchas gracias por el apoyo!
Simple but very nice digital work The boat It turned out very cute. It's good that you are practicing again to take up your designs and do new works to share with all of us.Thank you for letting us know your step-by-step practice.
Yes, little by little I will start sharing more digital works, I'm glad you liked it!
From Venezuela, our witness drives decentralization and the adoption of Web3 technology, creating opportunities for the local community and contributing to the global ecosystem. // Desde Venezuela, nuestro testigo impulsa la descentralización y la adopción de la tecnología Web3, generando oportunidades para la comunidad local y contribuyendo al ecosistema global.
Sigue, contacta y se parte del testigo en: // Follow, contact and be part of the witness in:
Muchísimas gracias por el apoyo!
Si sabes controlar y trabajar con este programa tienes un montón de posibilidades para ti, sobre todo diseños como estos vectorizados. Luego te explico.
Si vale, se hacer algunas cosas y he practicado otras más, a ver que más va saliendo.