How to Create Quality Graphics for Your Hive Post Using Canva
Introduction
Hello beautiful people of Hive! I hope your week is going well and full of good things.

In this post, I want to teach anyone interested in Hive how to create simple and attractive designs in canva that can improve your posts.
Why Use Canva?
Many people use Canva because it’s easy to work with, even for beginners. It has ready-made templates that can inspire your design and help you structure it nicely.
When people search for content online, Hive posts can show up on search engines. But if your design looks dull or messy, readers may not enjoy your post, even if your writing is good. That’s why I’ll show you how to use Canva to make your graphics look great.
What You Need Before Starting
Before we begin, make sure you have these three things:
1.A writing material
2.A phone or laptop with internet connection
3.Willingness to learn something new
Now let’s jump into the practical steps!
Step-by-Step Guide
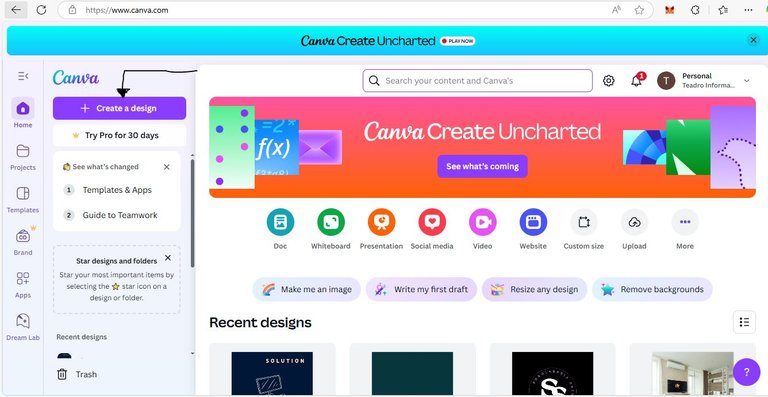
Step 1: Visit Canva website
Once you open the website, you’ll see Canva’s homepage.
I won’t explain every part of the Canva interface in this tutorial, but I’ll guide you through the ones we’ll use.
If I notice more people are interested, I’ll create another post to explain more features.
Sign up using your Gmail account to get started.
Step 2: Click “Create a Design”
After signing in, click on the “Create a Design” button.

Since we’re designing for Hive, choose the “Blog Banner” option. This size works perfectly for Hive post headers.
Once you click, you’ll see different templates. Note that,
Templates with a crown icon are for Pro users, you’ll need to pay to use them. But don’t worry, there are plenty of free templates you can use (the ones without the crown).
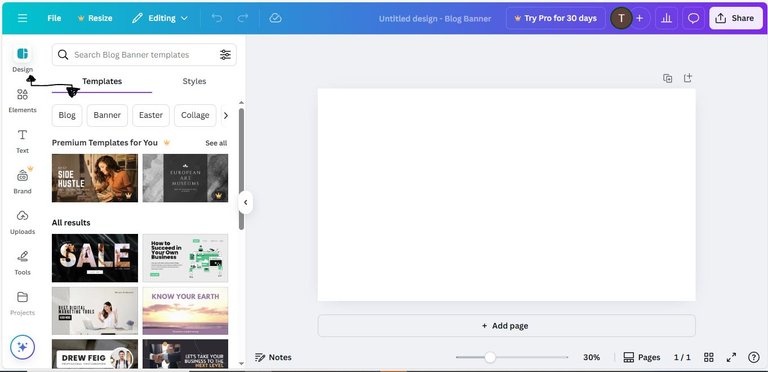
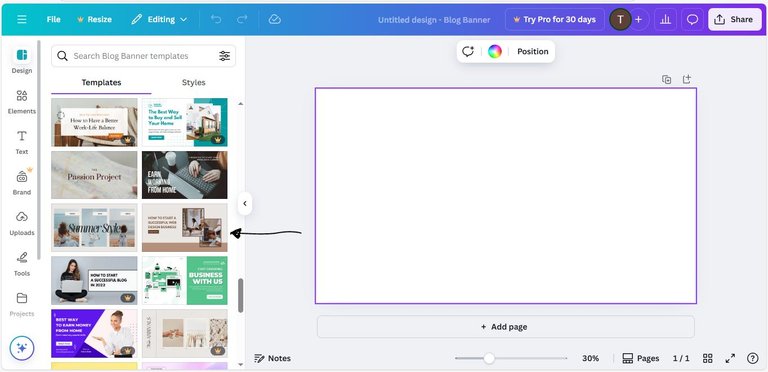
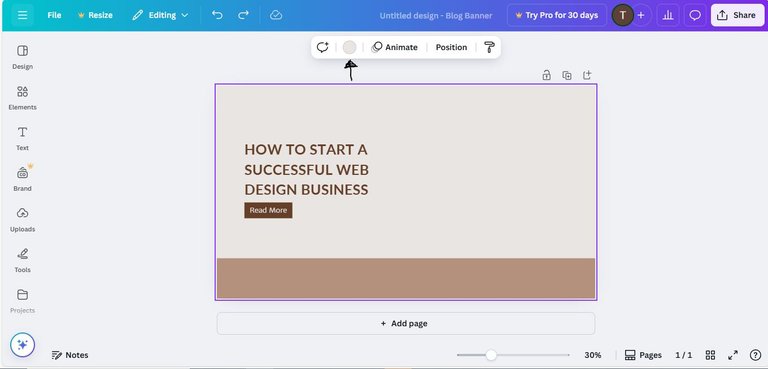
You can scroll down using the navigation bar on the right to explore all the available templates. But for this tutorial, I’ll choose one simple template to work with.
I will be working with the template below.
Step 3: Start Editing the Image
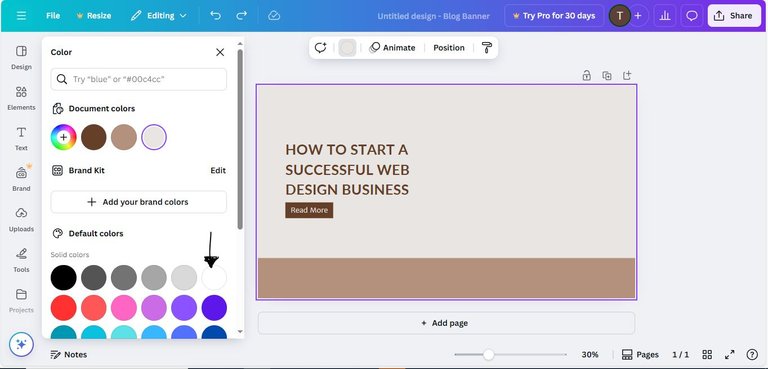
Changing the Background Color
I want to change the background color to white and red because these colors represent Hive, and I personally love white!
Here’s how to do that:
•Click on the part of the design you want to change (the area is usually highlighted when you click).
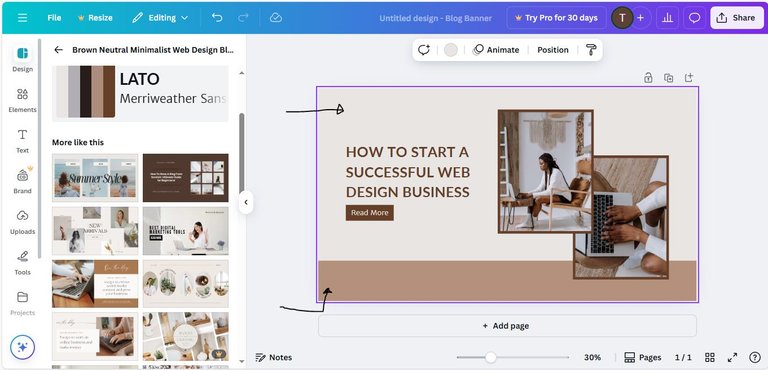
I will change both colors from where the arrow is pointing towards.
•To change the color, look for the color icon at the top and select a new color.
•If you don’t like a part of the design (like an image or shape), just click on it and press delete on your keyboard.
•If you’re using a phone, tap and hold the object, then use backspace or the delete option.
In my case, I don’t want the two images in the template, so I’ll click on them and press delete.
Now, I’ll change the bottom section of the design to red.
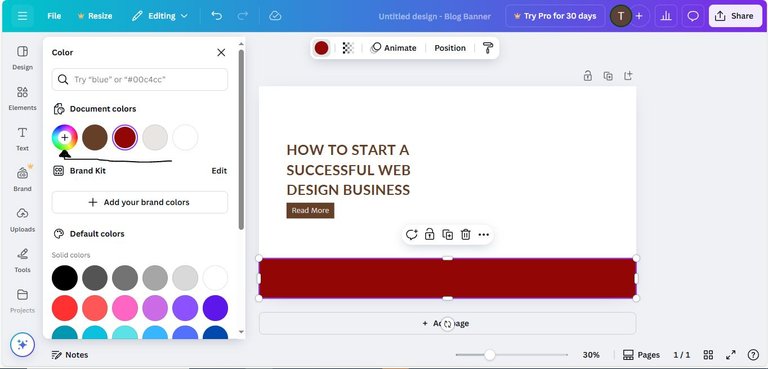
If the red color you want isn’t available (for example, a darker red), click on the color with a plus (+) sign. This opens a color panel.
Move the slider toward the red section and pick the shade you like.
Once you choose your colors, your design should start looking better and more personalized.
Adding a Frame for Your Picture
Frames help you display images neatly.
•Click on the “Elements” tab on the left.
•In the search bar, type “frame” and press enter.
•Choose the frame style you like (I’m using the one shown by the arrow).
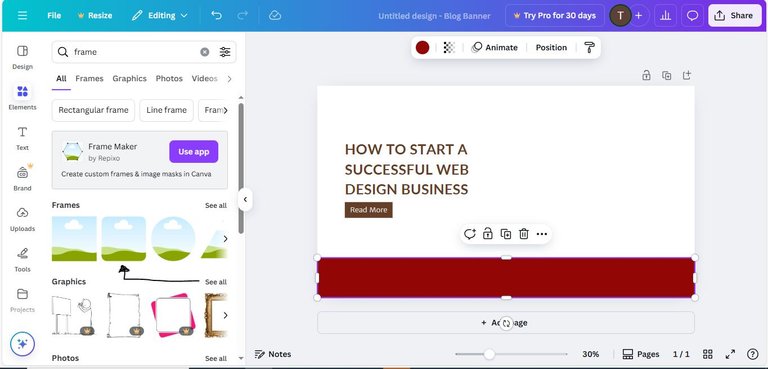
•Click on the frame, and it will appear in your design.
•Drag it to the spot where you want it to be.
Adjusting the Frame
You can increase the thickness (weight) of the frame:
•Click on the frame to highlight it.
•Then find the weight or border size icon, and drag the slider to increase or reduce thickness.
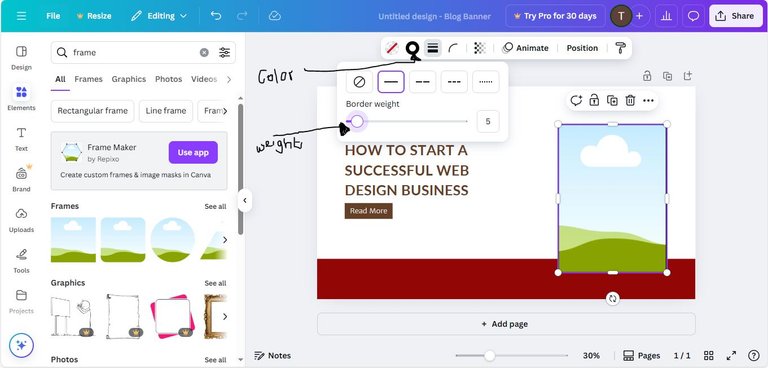
Changing Frame Color
Click the color icon and select a shade of red that matches the bottom part of your design.
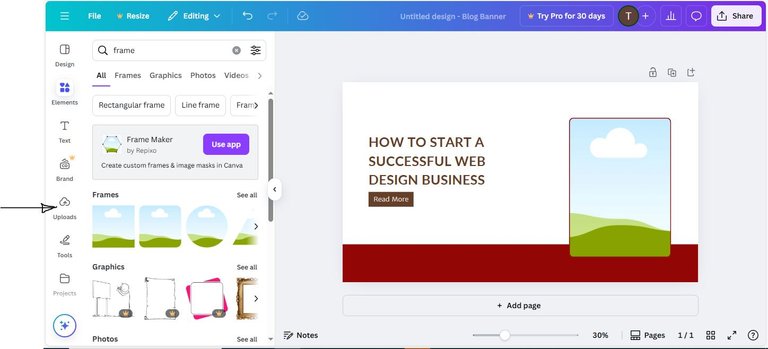
Uploading Your Picture into the Frame
Make sure the picture you want to use is saved on your device.
•Click on “Uploads” on the left side.
•Select “Upload files” and choose the picture from your device.
•Once uploaded, you’ll see the image in your Canva space.
•Drag and drop the image into the frame.
If the image doesn’t fit well, click on the frame and drag the edges to adjust the size.
Adding Text to Your Design
To add text:
•Click on “Text” on the left.
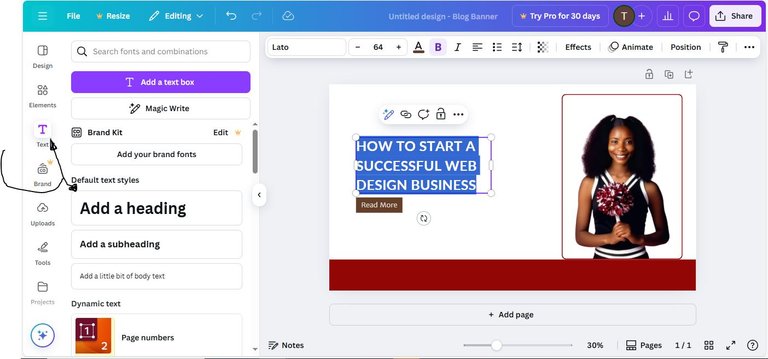
•Then select “Add a heading”.
Now, type the title of your post into the heading section.
Changing the Font Style
I prefer the Merriweather font because it looks professional and clean.
•Click on the font name (usually “Canva Sans” by default).
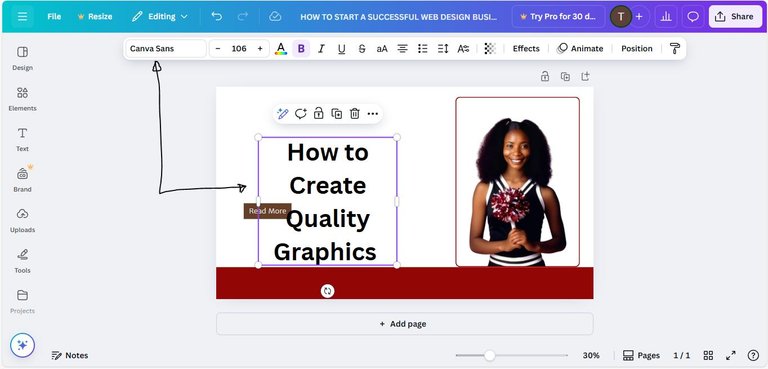
•Scroll down to find Merriweather and select it.
Other Text Edits:
•To resize the text, click and drag the corners of the text box.
•You can also move the text to your desired position.
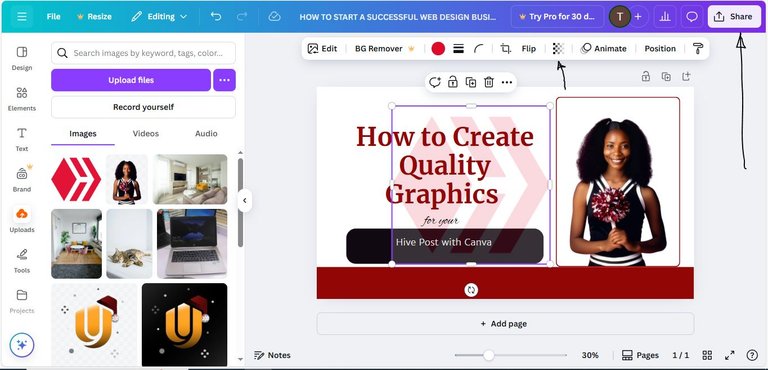
Adding a Subtitle
The subtitle I want to add is:
“for your Hive Post with Canva”
If you want to make your subtitle stand out:
•Click on “Elements” again.
•Choose a shape like a rectangle or circle.
•Add the shape under or around the subtitle text for a stylish look.
Adding a Shape and Subtitle
The same steps you used to add text can also be used to add a shape.
•Click on “Elements” on the left.
•Scroll down or search for “shapes” in the search bar.
•Choose any shape you like (such as a rectangle or circle).
•Click on it to add it to your design.
Adjust the Shape:
Click and drag the corners or edges to resize or reshape it to your liking.
Now let’s add the subtitle:
Type the subtitle: “for your Hive Post with Canva”
•Select “Merriweather Sans” as the font style (you can find it by clicking the font dropdown).
•Drag and place the text on top of the shape so it stands out nicely.
Adding the Hive Logo
Make sure you’ve already downloaded the Hive logo onto your device.
•Follow the same steps as uploading a photo:
- Click on “Uploads”
- Select “Upload Files”
- Choose the Hive logo image from your device
Once it uploads:
•Click and drag the logo into your design
•Use the resize handles to adjust the size
•Then click on the “Transparency” icon (at the top of the screen, it looks like a fading checkerboard)
![]()
•Drag the slider to adjust how see-through (transparent) the logo is
This makes the logo blend nicely into your design without distracting from your text.
Downloading Your Design
Once you’re happy with your design:
•Click on the “Share” button at the top-right corner of the screen
•Then select “Download”
•Choose your preferred file type (e.g., PNG or JPG), and click Download
Your design will be saved to your device, ready to upload to Hive!
Conclusion
Let’s quickly recap what we’ve learned:
•How to create a simple, clean graphic for your Hive post using Canva.
•How to choose and customize a template.
•How to add text, change colors, upload images, and include the Hive logo
With just a few steps, you can make your Hive posts look more professional and attractive.
If I see that people are interested in this tutorial, I’ll make more posts to help you take your designs to the next level.
Thanks for reading!
Feel free to upload and share your designs, I’d love to see what you create.
Have a wonderful day, Hive family!
📌 Note: If people show interest in this post, I’ll create another tutorial showing how to edit images better, like removing or changing backgrounds.
You received an upvote ecency
Clear, insightful, and straight to the point. your graphics work is really nice. Valuable content and well presented.
selected by @stevenson7
Thanks for the compliment. Do have a great day!