MAKING A HANDBAG //DIY BAG
I started by using cardboard for this project, this is part of what I do in my leisure time, I love creativity and I would love to show the steps I took for this project
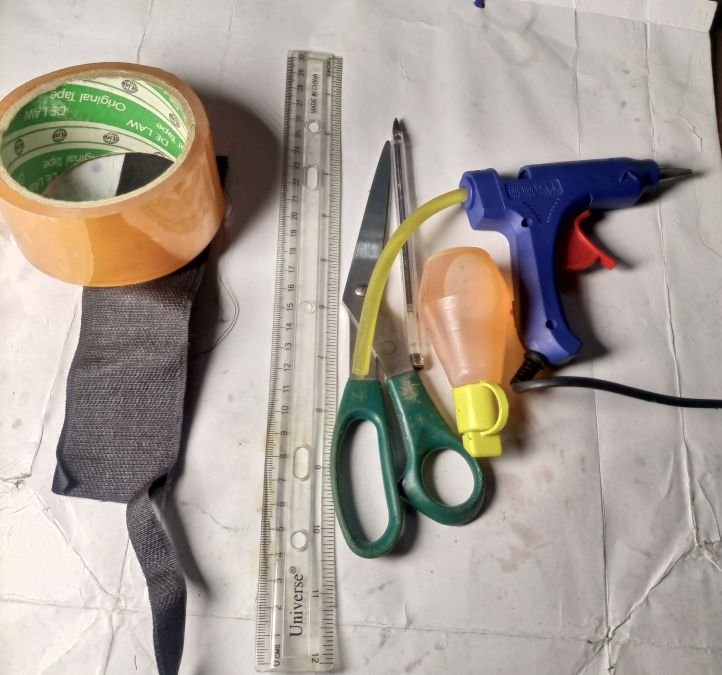
MATERIALS USED
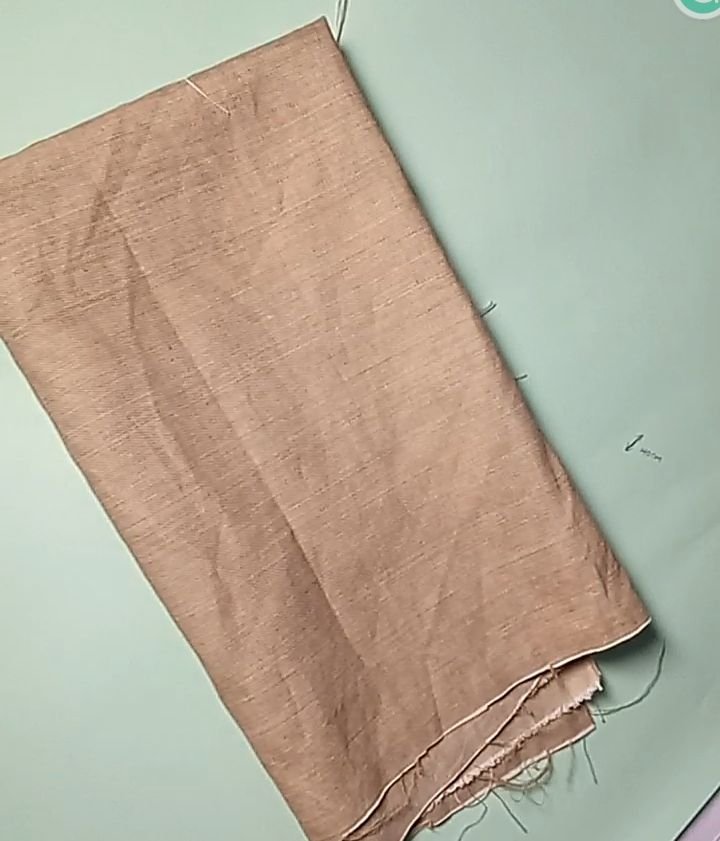
💗Cardboard 💗Scratcher 💗Scissors
💗Cello tape 💗Gum 💗Fabric
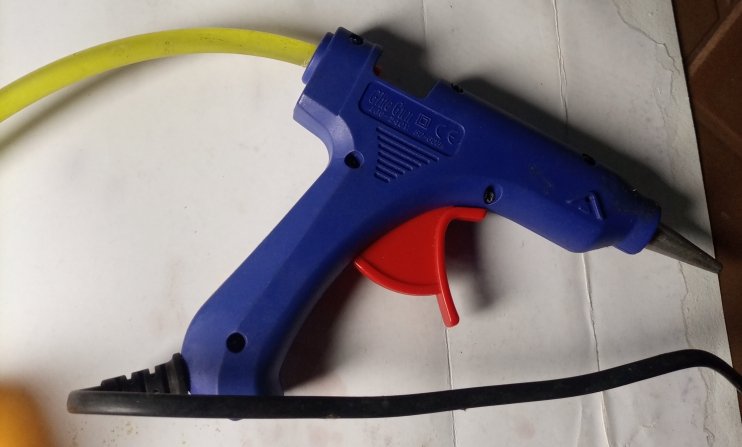
💗Hot silicone or machine gum
💗Ruler or measuring tape
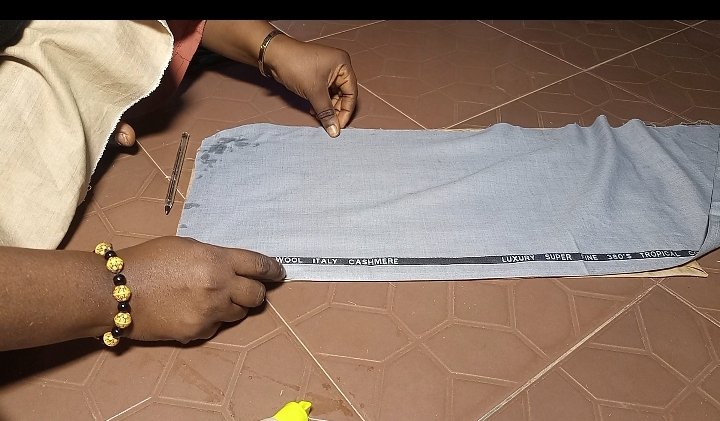
STEP 1️⃣
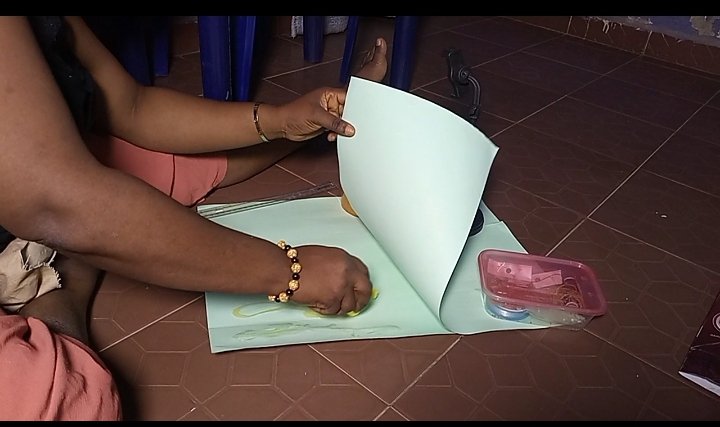
I started by bringing my materials together and took measurements of my cardboard, the size, and shape I would love my bag to be then ruled it out before cutting it with my Scissors.

STEP 2️⃣
After cutting out my desired measurements for the bag, I doubled the cardboard to make the bag stronger then I applied gum on it, spread the gum all over the first cardboard then put the other one on top of it, and glued them together.
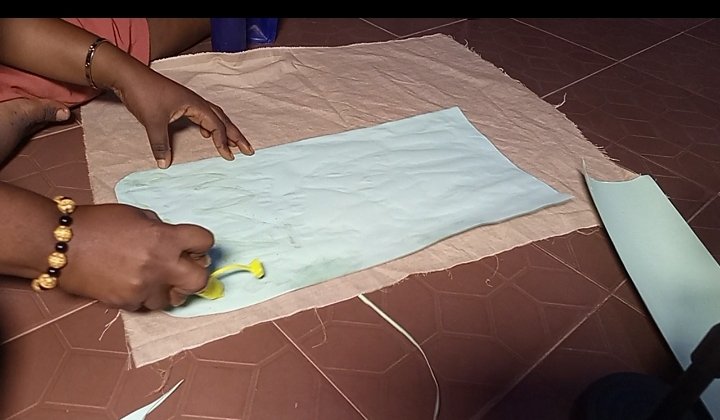
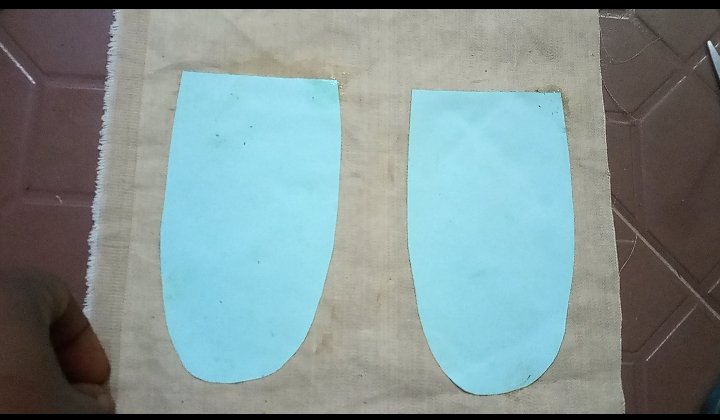
STEP 3️⃣
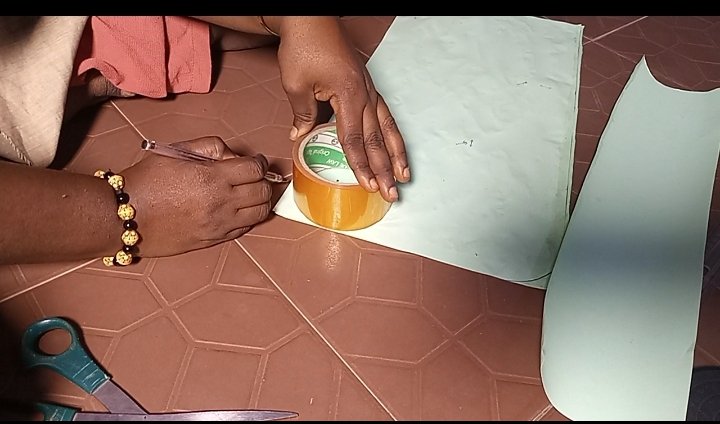
I used the cello tape to shape it out, I wanted that curvy part so I used it to bring out the shape then brought out the cloth that I will be using for making the bag, applied gum on the cardboard glued it to the fabric and press it with pressing iron, though this part is optional you can decide to leave it for minutes until it is glue properly.
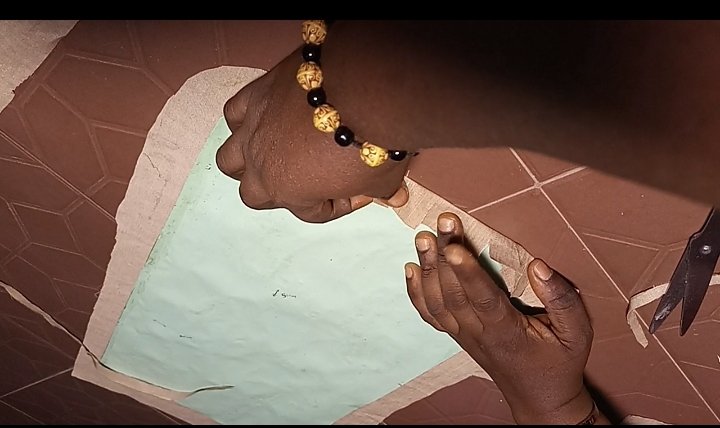
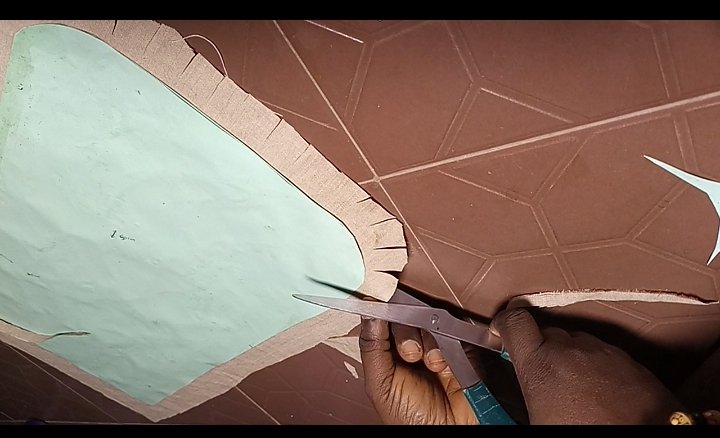
STEP 4️⃣
The next step is to notch the tip of the fabric so that it will stay well and give me the shape I desired, since I curved the edges it is necessary to notch it round.
STEP 5️⃣
The next step is to glue it round and set it aside, cut out another fabric for the inner, and cover it.
STEP 6️⃣
I cut out another piece to cover the sides and applied the same methods to cover it.
STEP 7️⃣
I used the small piece to cover the sides using my hot silicone gum to cover the sides.
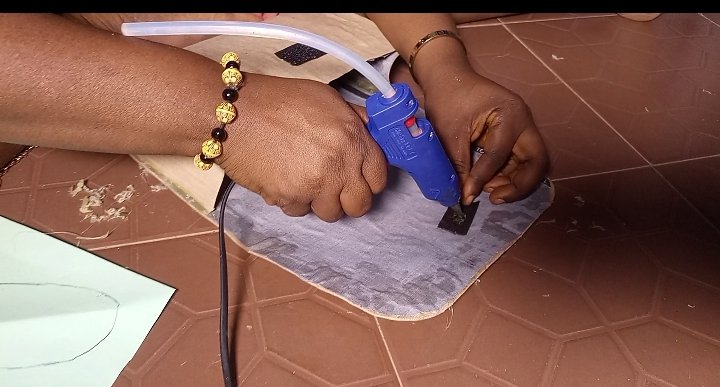
STEP 8️⃣
I used my hot silicone to glue the scratcher on the bag
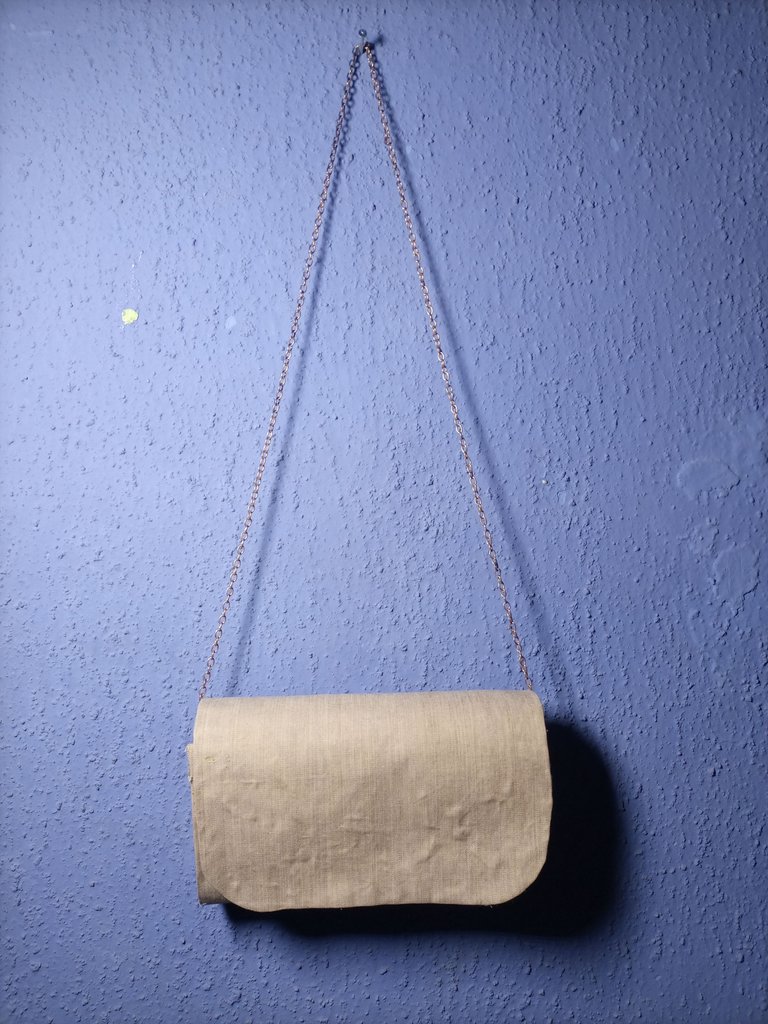
STEP 9️⃣
I also used the hot silicone to glue the chain on the bag to be able to carry out anytime I want to
▶️ 3Speak
That bag, make sure you take it outside. I mean, don't just hang it there, make use of it
👏👏👏👏👏
Yes, I will always take it out
wow so creative that looks beautiful. thanks a lot for sharing.
Thank you
This is lovely, I have learn from this and I will make sure I practice it when I have all the materials, well-done, it is so nice
Thank you dear
This is beautiful my dear ,I must give this a try myself since I have know the steps
You have to make one for Treasure and Treasure Junior. Thank you for visiting my blog dear
You're really talented dear
How much will you make one for me, shae I go pay in hive abi you wan collect payment in btc 🤣
I prefer BTC that one has weight very well, maybe I should send you my address, let me make one for your girlfriend now
This is very creative baby girl wow can't believe you are this talented
Thank you my love
This is such a beautiful bag you made and it's so nice to see yow you went about making it.
Keep up the good work.
Thank you boss
Wow this is nice, nice creativity dear... Maybe one of these days you'll help me make one or two 😃😃
Keep up the good work.
Wow, that's so cool
https://twitter.com/hivediy47901/status/1757806725673943125