Flowers embroidered with worsted and basic stitches / Flores bordadas con estambre y puntadas básicas (Esp/Eng)


[Esp]
¡Saludos comunidad!
¡Me encanta bordar! me relaja, me conecta con la paz, la tranquilidad, con cosas positivas y un estado de plenitud que había olvidado.
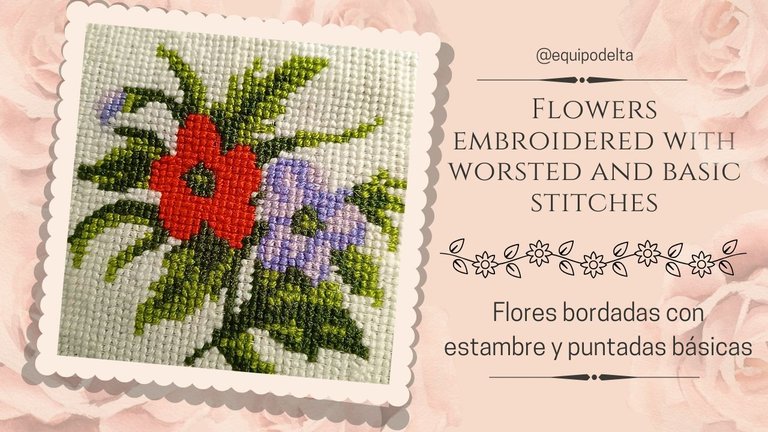
Hoy bordé unas hermosas flores que utilizaré más adelante para decorar un bolso de mano, debo comprar las telas y ponerme a coser, ya que hoy te presento mi producto terminado y espero que te guste. Luego te voy a mostrar una idea genial en dónde colocarlo, pues no solo bordamos para pañitos de mesa, podemos hacer otras cosas lindas y originales.
Estos bordados con estambre son hechos en una tela especial que no se consigue a la venta en mi país, pero vienen en un lindo set con todos los materiales, los cuales a veces sobran y a veces faltan, aprendí que es mejor guardar lo que sobra y comprar estambre de colores por si acaso falta en algún otro set.
! [English version]
Greetings community!
I love embroidering! it relaxes me, it connects me with peace, tranquility, with positive things and a state of fullness that I had forgotten.
Today I embroidered some beautiful flowers that I will use later to decorate a handbag, I have to buy the fabrics and start sewing, because today I present you my finished product and I hope you like it. Then I'll show you a great idea where to put it, because we don't only embroider for tablecloths, we can do other nice and original things.
These embroideries with yarn are made in a special fabric that is not available in my country, but they come in a nice set with all the materials, which sometimes are left over and sometimes are missing, I learned that it is better to keep what is left over and buy coloured yarn just in case it is missing in another set.

Materiales / Materials

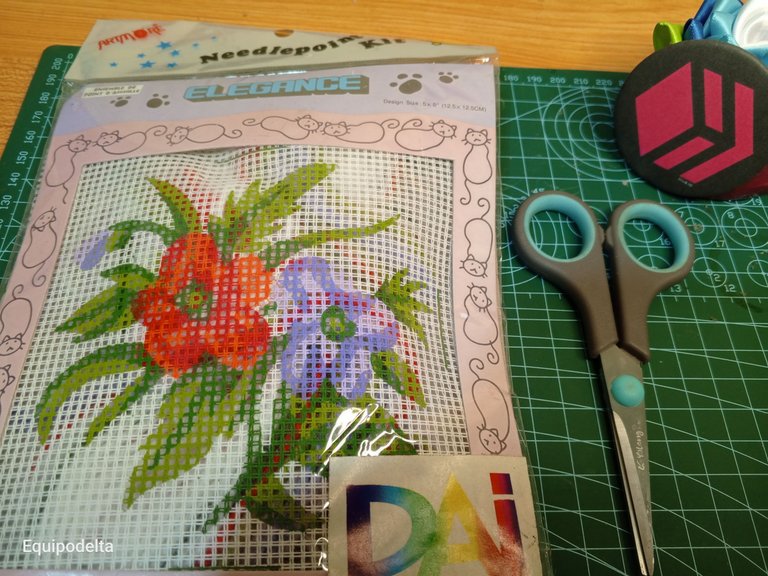 |  |
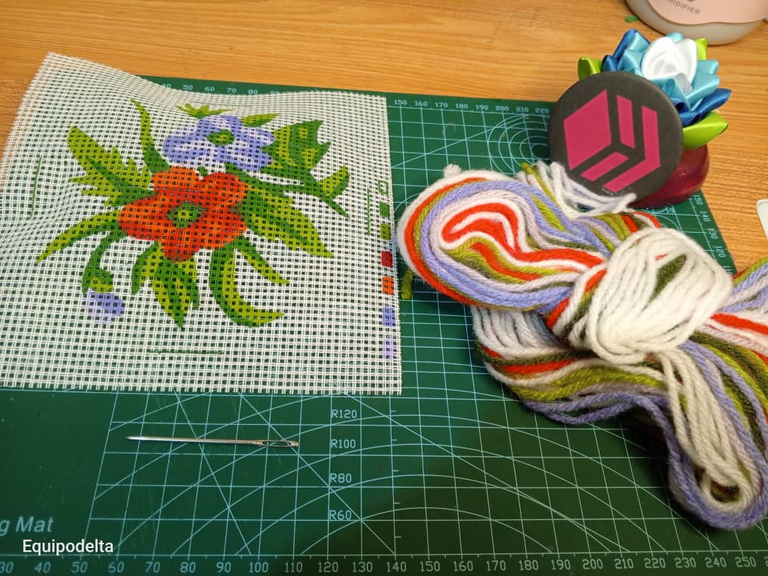
Kit para bordar con estambre / Kit for embroidery with yarn
| Spanish | English | |
| Estambre de colores varios | Various coloured yarns | |
| Aguja punta roma | Blunt needle | |
| Tijera | Scissors | |
| Etamina | Etamina | |
| Diseño impreso en la tela | Design printed on the fabric |


Paso a paso / Step by Step


Step 1️⃣/ Paso 1️⃣
 |  |
[Esp]
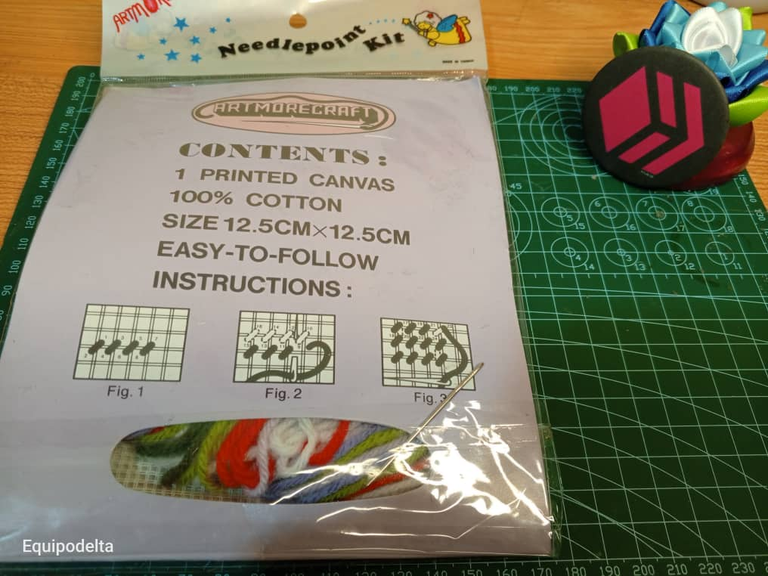
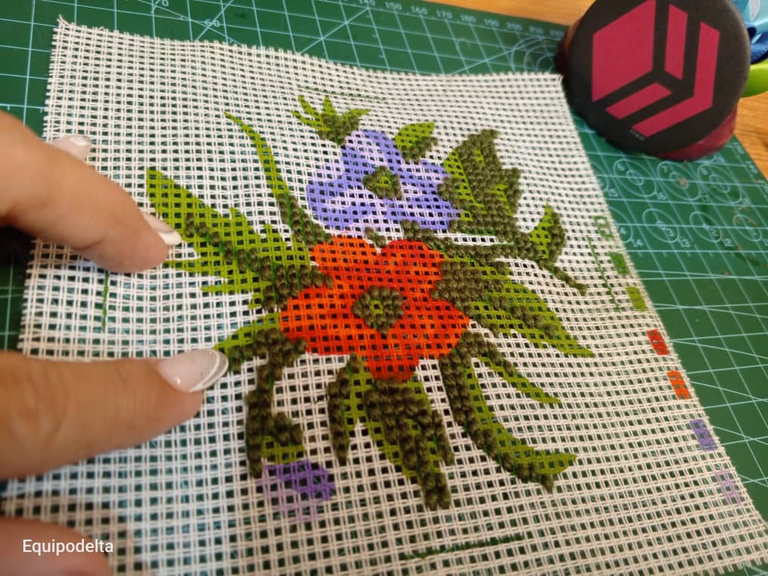
El kit trae todo, hasta un manual de instrucciones cómo coser y el tipo de punto, de eso he hablado en mis anteriores publicaciones, el punto de bordar que sugiere el manual no me gusta porque la tela se deforma y el diseño se ve extraño, prefiero hacerlo a mi estilo.
Abro la bolsa, saco los materiales y organizo el estambre por color, aquellos colores que me son dificultosos de distinguir, pido ayuda a uno de mis hijos.
Comienzo con el color verde oscuro, la tela tiene el diseño impreso, solo consta de seguir la marca del color y bordando hasta cubrir el espacio indicado.
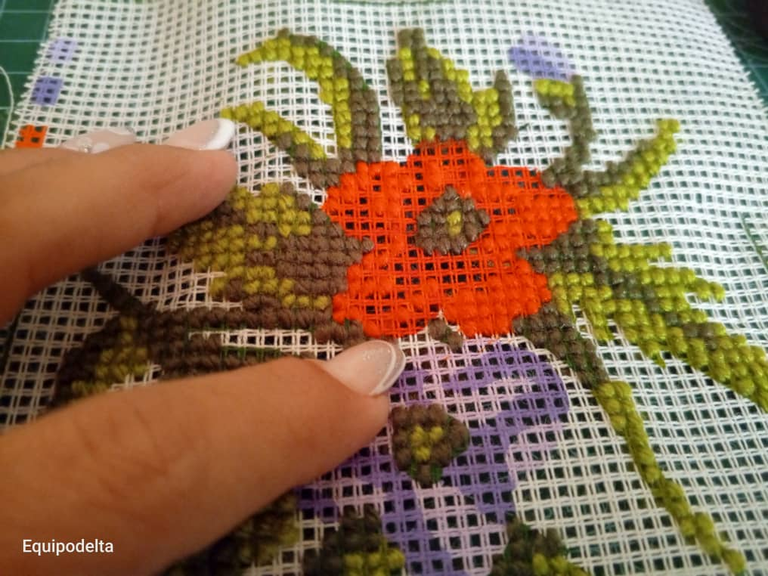
Al terminar de bordar con el color verde oscuro, muy organizada procedo a bordar el área correspondiente con el color verde claro.
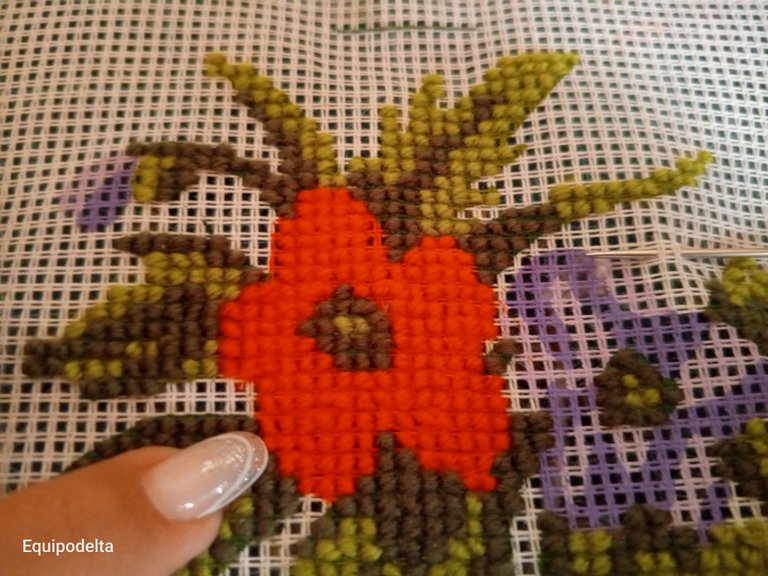
En ocasiones toca anudar y romper la cadena ya que la separación de las zonas es muy extensa. Es bueno trabajar ordenado y limpio no solo en la parte del diseño visible sino en la parte de atrás eso me lo enseñó mi madre y mi tía.
Luego cubrí el área que correspondía al color naranja, aquí tuve mucha dificultad, primero porque el estambre no percibo la diferencia del color y tenía mis dudas, no sé qué color puede ser realmente pero veo cierta diferencia en la pintura del diseño, sin embargo, el estambre, parece estar en un solo color. Pedí ayuda a mis hijos y separaron el estambre del color rojo más claro, continúe el bordado de la flor roja hasta terminarlo. ¿Puedes percibir alguna diferencia del color? Yo no.
! [English version]
The kit comes with everything, even an instruction manual on how to sew and the type of stitch, I have talked about that in my previous publications, I don't like the embroidery stitch suggested in the manual because the fabric deforms and the design looks strange, I prefer to do it in my own style.
I open the bag, take out the materials and organize the yarn by colour, those colours that are difficult to distinguish, I ask one of my children to help me.
I start with the dark green colour, the fabric has the design printed on it, I just follow the mark of the colour and embroider until the indicated space is covered.
When I finish embroidering with the dark green colour, I proceed to embroider the corresponding area with the light green colour.
Sometimes it is necessary to knot and break the chain as the separation of the areas is very large. It is good to work tidy and clean, not only on the visible part of the design but also on the back, my mother and my aunt taught me that.
Then I covered the area that corresponded to the orange colour, here I had a lot of difficulty, firstly because the yarn does not perceive the difference in colour and I had my doubts, I don't know what colour it could really be but I see some difference in the paint of the design, however, the yarn, it seems to be in one colour. I asked my children to help me and they separated the yarn from the lighter red colour, I continued the embroidery of the red flower until I finished it, can you see any difference in the colour? I can't.

Step 2️⃣/ paso 2️⃣
 |  |
[Esp]
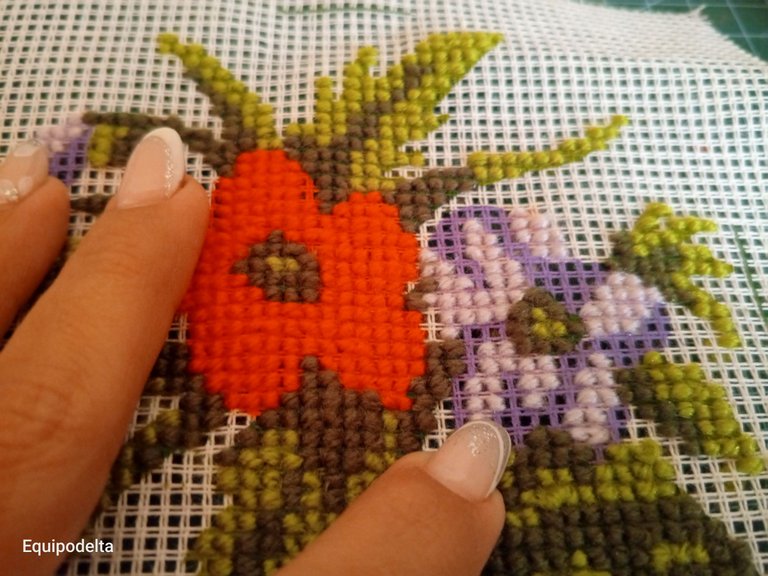
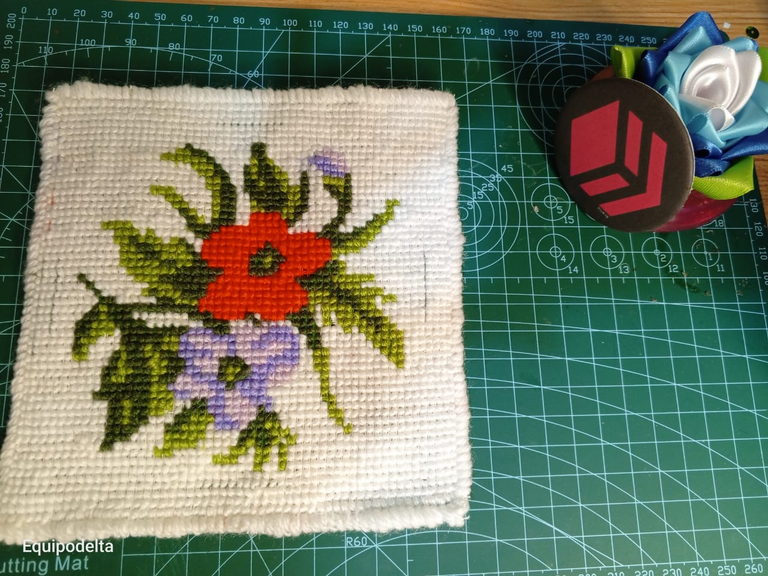
Me encantó la flor lila, es más bonita, más armónica, o tal vez que se me hizo más fácil de bordar por el color, la flor roja me dio dolores de cabeza.
Al terminar hice un bordado en las orillas para evitar la tela se deshilache. No hice como mi publicación anterior que cosí un sesgo al rededor, sino que lo bordé pues la intención es usar el bordado para decorar un bolso mas adelante.
Al terminar las orillas, corresponde a rellenar el fondo del diseño bordando la pieza con el estambre de color blanco... Esta zona es muy amplia, allí invertí horas y horas, parecía que no iba a acabar, pero cuando ves el trabajo terminado y lo lindo que ha quedado valió la pena todo el esfuerzo.
Disfruté como siempre de la actividad y compartirla con todos ustedes, espero les guste.
! [English version]
I loved the lilac flower, it's prettier, more harmonious, or maybe it was easier to embroider because of the colour, the red flower gave me headaches.
When I finished I embroidered the edges to prevent the fabric from fraying. I didn't sew a bias stitch around the edges like in my previous post, but I embroidered it as the intention is to use the embroidery to decorate a bag at a later date.
Once the edges are finished, I fill in the background of the design by embroidering the piece with the white yarn... This area is very large, I spent hours and hours there, it seemed that I was not going to finish, but when you see the finished work and how beautiful it was, it was worth all the effort.
I enjoyed as always the activity and share it with all of you, I hope you like it.


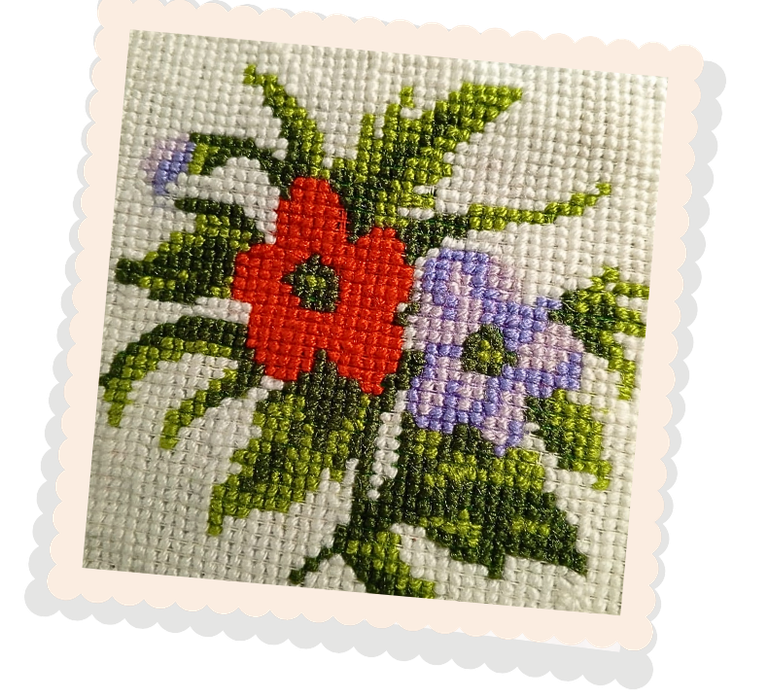
Son pocos los pasos para un proyecto de días, es una actividad que debe hacerse con paciencia con calma y es algo que se debe disfrutar, el resultado es adorable y asombroso. Espero les guste.
There are only a few steps for a project of days, it is an activity that should be done with patience and calm and it is something to be enjoyed, the result is adorable and amazing. I hope you like it.


Créditos / Credits




💜💜💜


![]() 👉
👉  👉
👉  👉
👉  👉
👉 
Here / Bríndame un café

Congratulations @equipodelta! You have completed the following achievement on the Hive blockchain And have been rewarded with New badge(s)
Your next payout target is 46000 HP.
The unit is Hive Power equivalent because post and comment rewards can be split into HP and HBD
You can view your badges on your board and compare yourself to others in the Ranking
If you no longer want to receive notifications, reply to this comment with the word
STOPCheck out our last posts:
This post has been manually curated by @steemflow from Indiaunited community. Join us on our Discord Server.
Do you know that you can earn a passive income by delegating to @indiaunited. We share more than 100 % of the curation rewards with the delegators in the form of IUC tokens. HP delegators and IUC token holders also get upto 20% additional vote weight.
Here are some handy links for delegations: 100HP, 250HP, 500HP, 1000HP.
100% of the rewards from this comment goes to the curator for their manual curation efforts. Please encourage the curator @steemflow by upvoting this comment and support the community by voting the posts made by @indiaunited.
I AM VERY AMAZE THOSE WHO CAN MAKE AN EMBROIDED LIKE THIS BECAUSE ALL I WANT IS TO KNOW ABOUT THIS. I AM TRYING MANY TIMES BUT I DONT KNOW HEHE
It is always a pleasure to share, I love to embroider, it connects me with my mother, her memories and her joy for life.
I don't do it very well, but no matter the intention is what counts, I encourage you to keep trying.
YES I will keep trying too... thank you
seems like a good activity for beginners like me who don't understand embroidery.. thanks for sharing sis😍
This is an activity that I enjoy very much and relaxes me, it is always a pleasure.
Como dice el dicho, "el que guarda siempre tiene"; nunca he adquirido un kit de bordado importado pero este tuto-blog-unboxing me hace querer correr a mercadolibre a probar suerte 🤩 te quedo precioso Isa ! ! ! Ya quiero ver la continuación de este proyecto, todo el éxito para tiiii ~ 🤌 💛 💛 💛
Tal cual, jajajaj! tu debes tener muchos guardados organizaditos y bien bonitos. Estos kits los compro en una tienda, afortunadamente porque me da miedito comprarlo online. Aunque no dejo de recomendarlo.
Gracias por tus buenos deseos mi linda, un fuerte abrazo, que el universo te cubra de abundancia financiera infinita
Very nice handicraft results.
Thanks you so much
@equipodelta Saludos reina, bellisimo trabajo me encantò, muy elaborado, colorido y bonito...
Me alegra te guste corazón, no veo la hora de ir a comprar otro kit jajajaj!
@equipodelta Saludos cielo, me encantò , pronto otro kit
@equipodelta The way you embroider is a good tutorial for a beginner. Your sophistication is visible in this embroidery and I appreciate it.👏🏻
You may know that I also embroider different flowers and things because I love to embroider and I embroider in my free time and learn some new stitches.🙂
I embroider on plain cloth with woolen thread and you will know that the process of embroidering is very satisfying. In the winter season I like to sit in the sunshine and embroider.
Can I share my embroidery post in the Hive Diy community?
Best wishes for you my dear friend ❤️
!LUV
Hi! Of course you can also share it on Hive DIY, showing your step by step, in an organized way, it is also welcome.
Thank you 😊
I will try to share it in the Hive DIY community.
Saludos. Su trabajo es muy lindo, me encantaría aprenderlo. Gracias por compartir. Felicidades.
Hola Yanerki, me alegra que te guste, para mí es un placer.
How are you lady @equipodelta
I love what you do, this embroidery is really beautiful.
I take this opportunity to wish you a happy and prosperous 2025
Hello my dear, happy new year to you too, may the universe cover you with joy, well-being and success.
La diferencia entre el naranja y rojo es muy leve, hay que mirarla bien para notarla jaja y con lo cansada que tengo la vista muy bien no la veo 😂 por suerte pudieron ayudarte 🙏
Es un bordado muy bonito, las flores siempre dejan elegancia en todo lo que hacemos, son la decoracion perfecta para cualquier tipo de manualidad ❤️
Gracias querido buhito. Yo quedé igual con ese color, me dejan los ojos como un par de huevos fritos jajajaj
Saludos amiga. Tal y como dices, bordar ayuda mucho a relajar y liberar estrés. En mi caso, como no sé bordar, lo que hago es dibujar, que también me ayuda mucho a apaciguar la mente. No sé cómo quedará el bordado con las instrucciones del manual, pero tu estilo queda genial, así que mientras puedas, sigue usando tu estilo de puntada que produce excelentes resultados.
Y te quedan estupendos, gracias por visitarme, soy fan de tus manualidades.
Vaya que genial tener el diseño impreso, es maravilloso tener ese recurso. Lastima que no lo tenemos disponible en nuestro país, pero de ahora en más estaré pendiente de echar el ojo cada vez que voy a las mercerías.
Te quedó muy lindo todo el diseño y lo que le aportaste en las orillas.
Hola amiga! Te cuento que me gusta más un modo revista con patrones con símbolos, mis ojitos lo agradecerían mucho, a veces corro con suerte que los trae, en este caso no fue asi. Los simbolos me ayudan a poner el color correcto.
te quedo bellisimo amiga @equipodelta
Gracias mi reina, besos y abrazos
♦️ You got 0.01 FELT for sharing high vibes on Hive.
📋♦️ FELT Info