DIY/ Sublimación: Manteles de mesa personalizados / Sublimation: Personalized tablecloths (Esp/Eng)

[Esp]
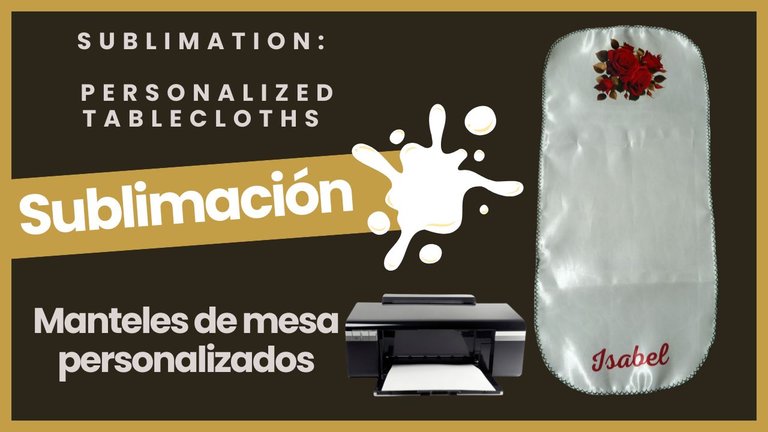
¡Hola amados! Estoy aprendiendo del arte de imprimir y sublimar tela, hoy les comparto uno de mis diseños.
Elaborar mis propios pañitos, manteles o caminos de mesa es algo que se me ocurrió y me encantó, eso de sorprender a mis visitas con unos paños que no encontrará en cualquier lugar me parece una idea estupenda. También podría ser una excelente idea para regalas y como emprendimiento, lo malo es que necesitas el equipo especializado para sublimar, en este caso, pero puedes usar otros métodos como expliqué hace un tiempo atrás en uno de mis post.
Me ha pasado un sin fin de cosas con los equipos de sublimar, la plancha más que todo, pues a 180° C enciende mi cuarto como un horno y casi siempre salgo como si me fuera a desmayar, no puedo pasar mucho rato con la plancha encendida asi que debo trabajar muy rápido. Además necesita de sus cuidados. Es una plancha pequeña que adquirí con mucho esfuerzo, la intención es imprimir mis dibujos en franelas, pero debo aprender más sobre ello.
Estos manteles hechos por mí serán la sensación, atrévete tú también a personalizar tu hogar.
! [English version]
Hello beloved ones! I am learning the art of printing and sublimating fabric, today I share with you one of my designs.
Making my own cloths, tablecloths or table runners is something that came to my mind and I loved it, I think it's a great idea to surprise my visitors with some cloths that you won't find anywhere. It could also be an excellent idea for gifts and as a business venture, the bad thing is that you need specialized equipment to sublimate, in this case, but you can use other methods as I explained some time ago in one of my posts.
I have had a lot of things happen to me with the sublimation equipment, the iron more than anything else, because at 180° C it turns my room like an oven and I almost always leave as if I was going to faint, I can not spend much time with the iron on so I have to work very fast. It also needs to be taken care of. It is a small iron that I acquired with a lot of effort, the intention is to print my drawings on flannel, but I must learn more about it.
These tablecloths made by me will be the sensation, dare you too to personalize your home.

| Spanish | English | |
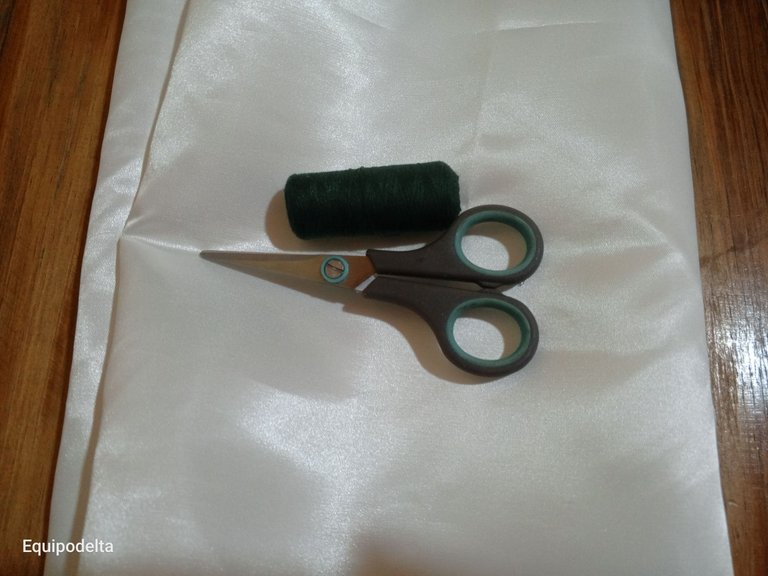
| Tela: raso brillante | Fabric: shiny satin | |
| Hilo verde, máquina de coser | Green thread, sewing machine | |
| Tijera | Scissors | |
| Programas de diseño | Design programs | |
| Yesquero | Tinder | |
| Equipos para sublimar | Sublimation equipment |

Paso a paso / Step by Step

Step 1️⃣/ Paso 1️⃣
 |  |
[Esp]
Dejaré al final de esta publicación las referencias de los diseños.
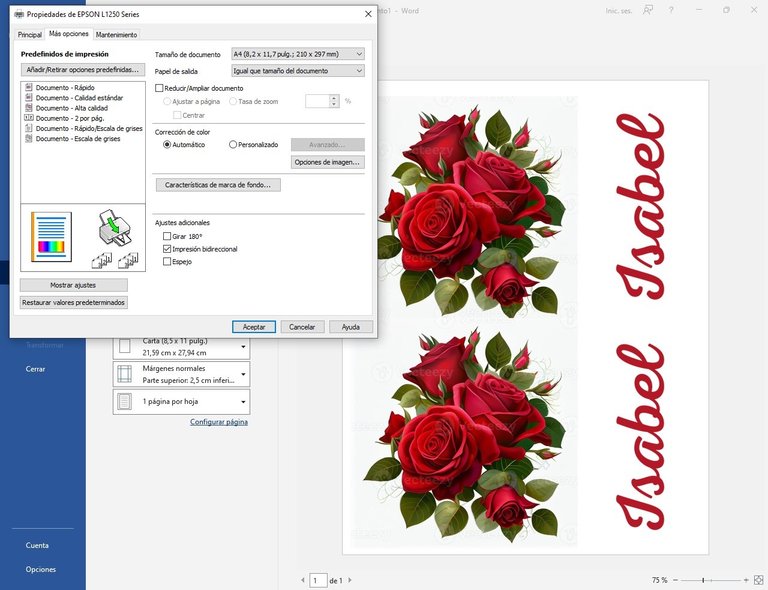
Una vez encuentres el diseño que te gusta procurando sea libre derechos, procede a usar un programa de diseño para ajustar.
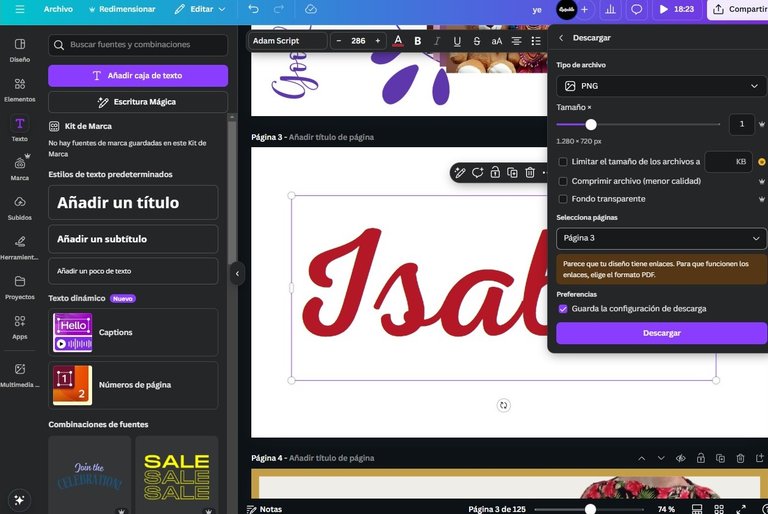
He usado CANVA para las letras personalizadas, son aun más hermosas y de mejor calidad que el procesador de texto Word.
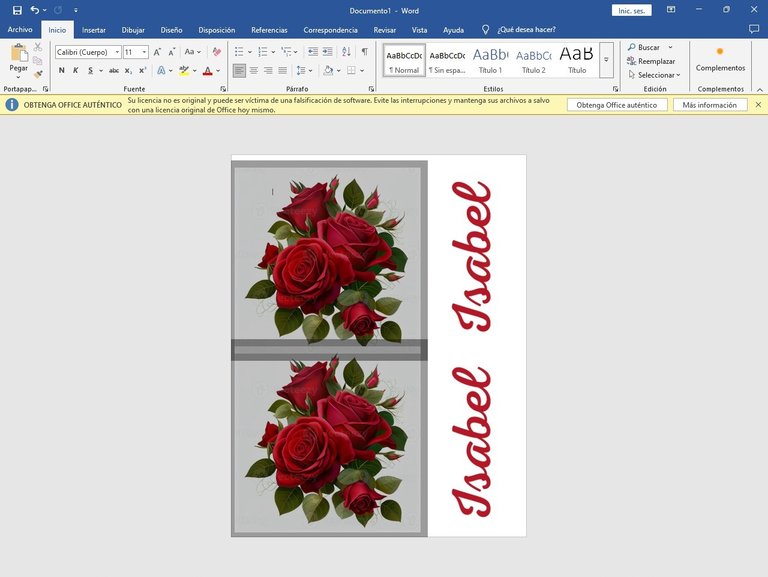
Traslada tu diseño a al procesador de texto Word, yo recomiendo usar Publisher para esto, pero mi PC no lo trajo en el paquete Office, asi que se puede usar Word, ajusta las imágenes en tamaño y dirección.
Es importante tener en cuenta a la hora de imprimir, necesitas papel especial para sublimar y por supuesto tintas adecuadas con su impresora adecuada. Debes ajustar las opciones de la impresora antes de imprimir, ajusta la calidad y selección la opción "espejo" Ahora imprime el diseño.
! [English version]
I will leave at the end of this publication the references of the designs.
Once you find the design you like, making sure it is royalty free, proceed to use a design program to adjust it.
I have used CANVA for the custom lettering, it is even more beautiful and better quality than the Word word processor.
Transfer your design to the Word word processor, I recommend using Publisher for this, but my PC did not come with it in the Office package, so you can use Word, adjust the images in size and direction.
It is important to keep in mind when printing, you need special paper for sublimation and of course the right inks with the right printer. You must adjust the printer options before printing, adjust the quality and select the "mirror" option. Now print the design.

Step 2️⃣/ paso 2️⃣
 |  |
[Esp]
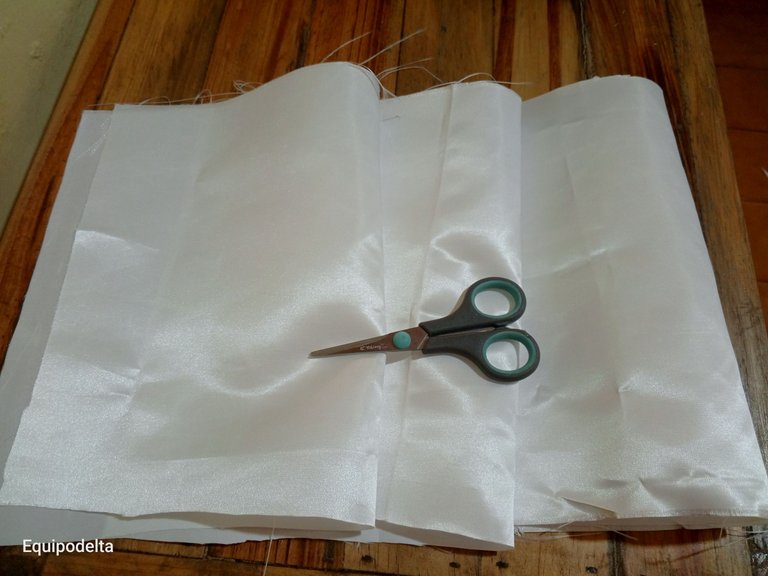
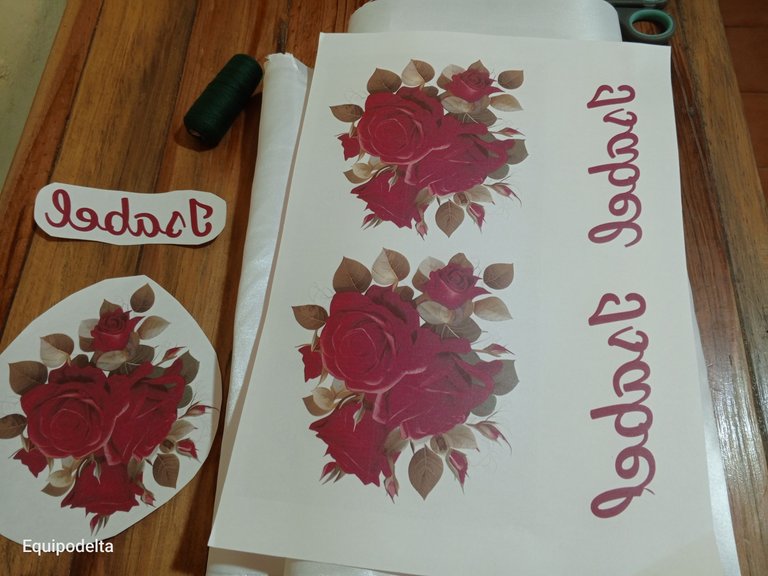
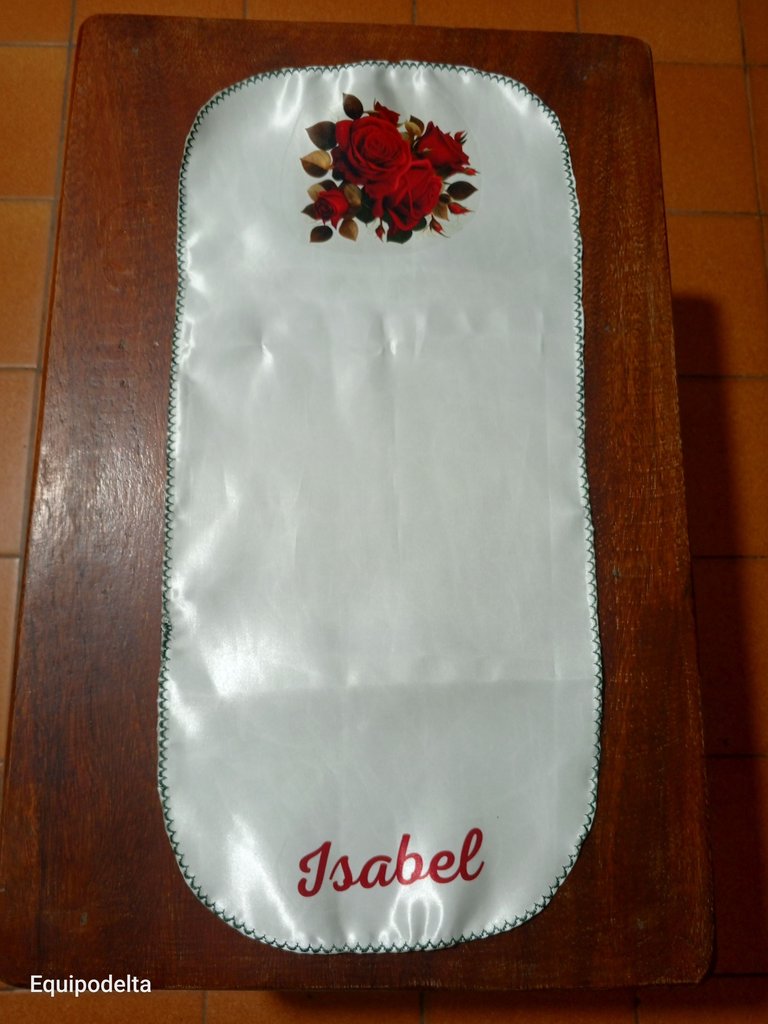
Yo usé unos retazos de tela que tenía para probar. Recorté la medida que me era posible con los retazos y saqué dos piezas pequeñas y una más larga que las demás que será el centro de mesa.
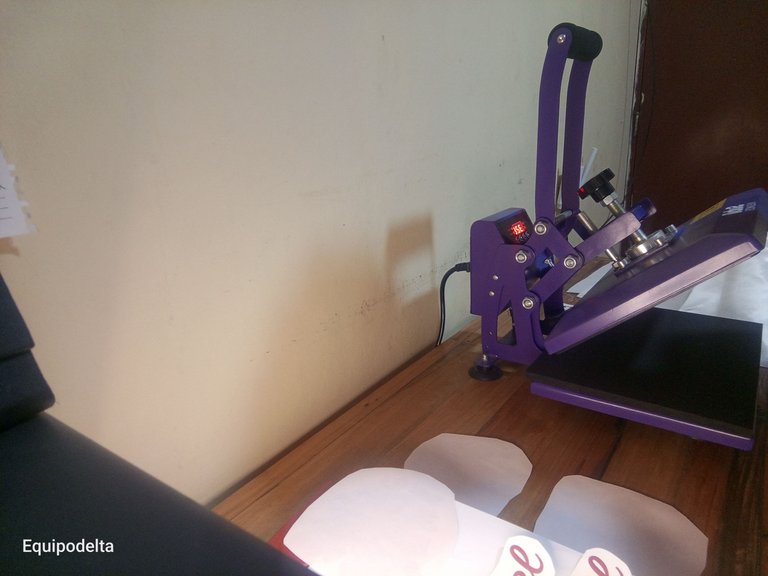
Una vez impreso los diseños, aunque el secado es instantáneo según el papel que uses, recorta las piezas y ve precalentando la plancha a 180°C.
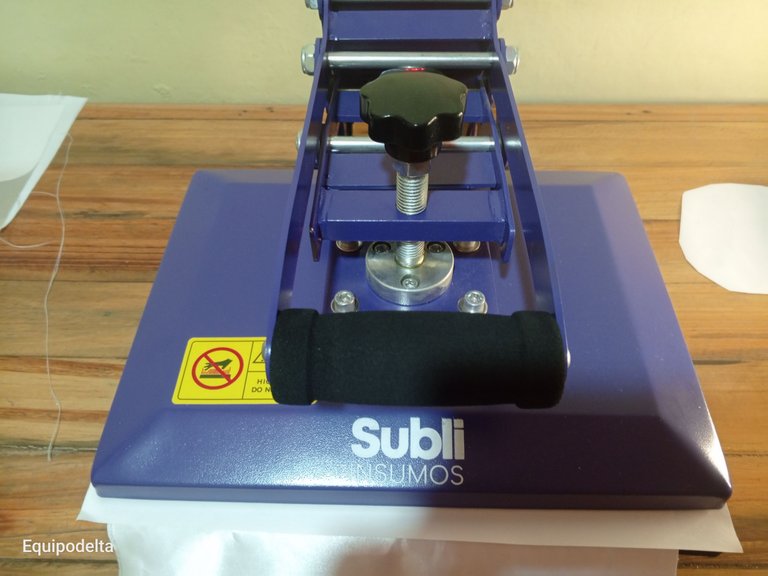
Con la plancha ya caliente (Mi cuarto es un horno) introduce la tela con mucho cuidado (pues quema horrible) ajusta la presión y el tiempo a 60 segundos que con ese calor parecen una eternidad.
! [English version]
I used some scraps of fabric I had to try. I cut out as much as I could with the scraps and made two small pieces and one longer than the others, which will be the centerpiece.
Once the designs are printed, although drying is instantaneous depending on the paper you use, cut out the pieces and preheat the iron to 180°C.
With the iron already hot (my room is an oven) introduce the fabric very carefully (it burns horribly) adjust the pressure and time to 60 seconds, which with that heat seems like an eternity.

Step 3️⃣/ paso 3️⃣
 |  |  |
[Esp]
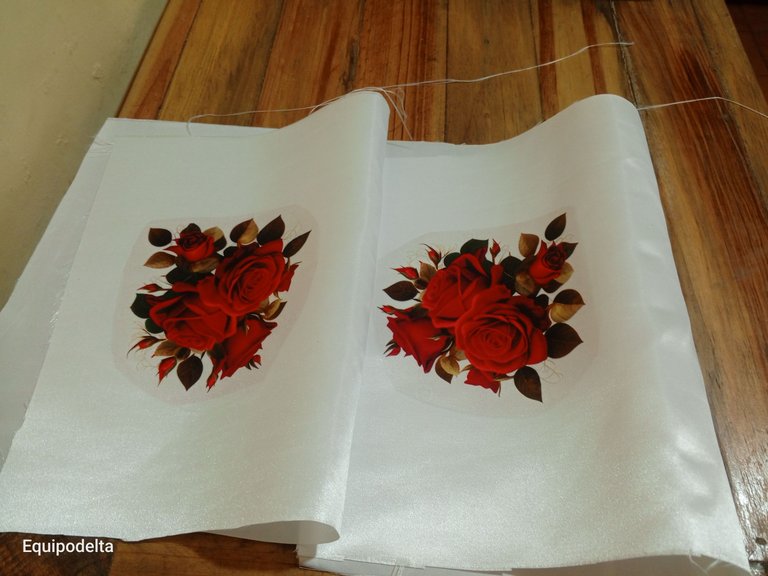
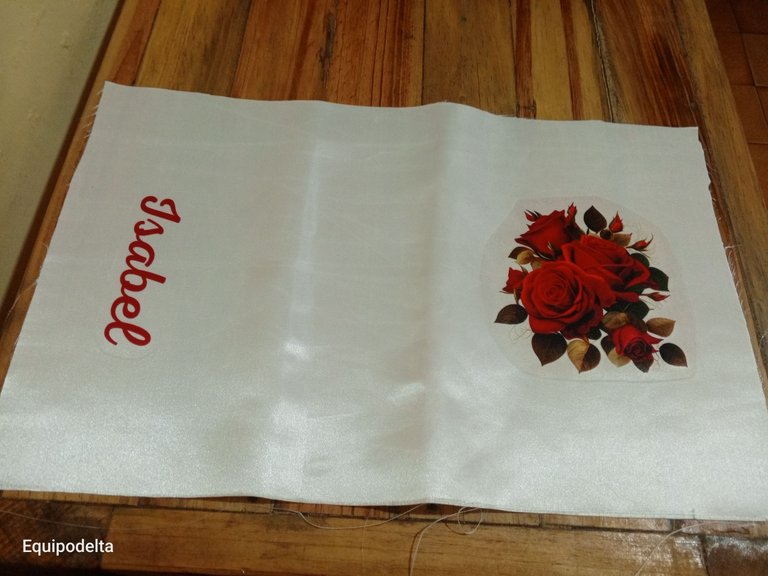
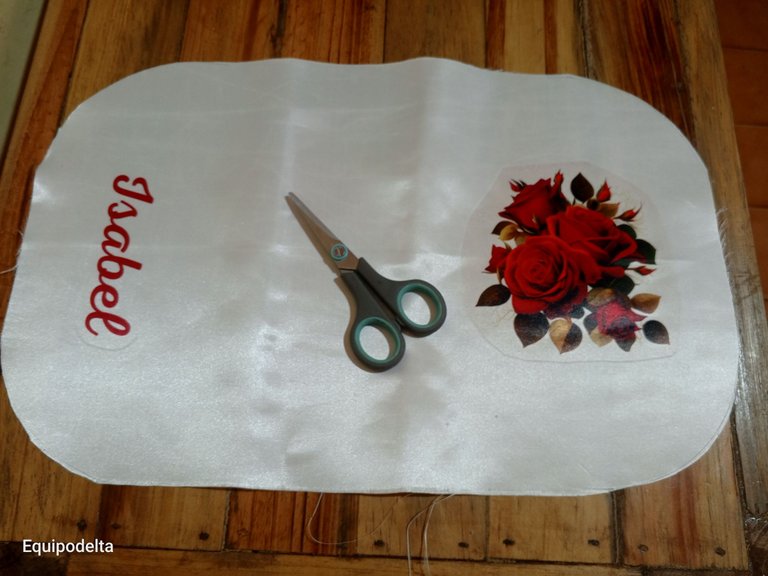
Cuando cumpla los 60 segundos abre la plancha y con cuidado no te quemes retira el papel y luego la tela. Déjala enfriar mientras trabajas con las otras piezas.
A veces quedan marcas brillo en la tela pero luego se desvanecen, imagino que es por el calor.
Imprime cada diseño por separado procura que los colores no toquen la plancha pues contaminarías la tela, la mancharías.
Ya frías las piezas trabaja en el otro lado, aplica el mismo procedimiento.
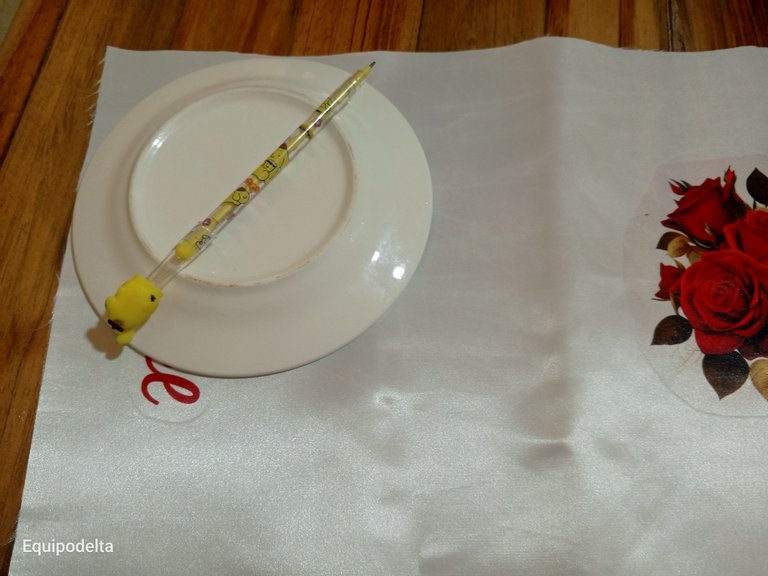
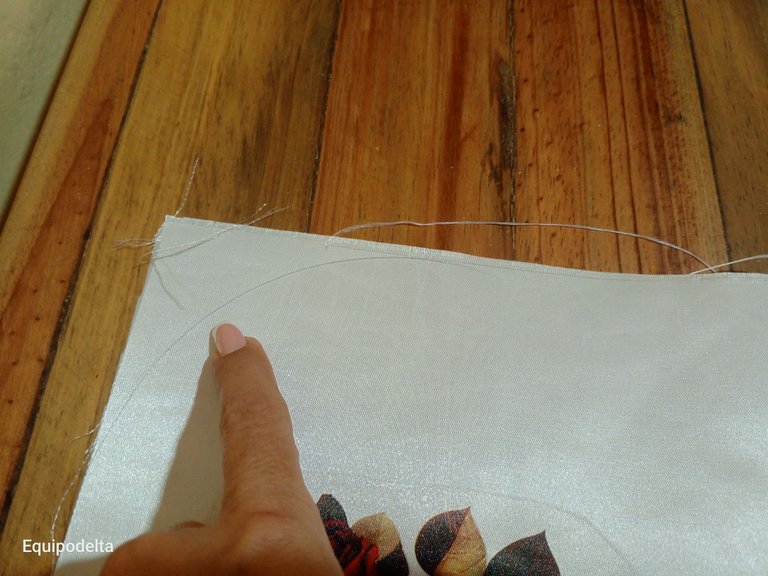
Le dí forma redondeada a los bordes de cada esquina con ayuda de un plato y marqué con lápiz. Luego recorté con la tijera.
! [English version]
After 60 seconds, open the iron and carefully remove the paper and then the fabric. Let it cool while you work with the other pieces.
Sometimes there are shiny marks on the fabric but then they fade, I imagine it is because of the heat.
Print each design separately, make sure that the colors do not touch the iron because you would contaminate the fabric, you would stain it.
Once the pieces are cooled, work on the other side, apply the same procedure.
I rounded the edges of each corner with the help of a plate and marked with a pencil. Then I cut them out with the scissors.

Step 4️⃣/ paso 4️⃣
 |  |  |  |
[Esp]
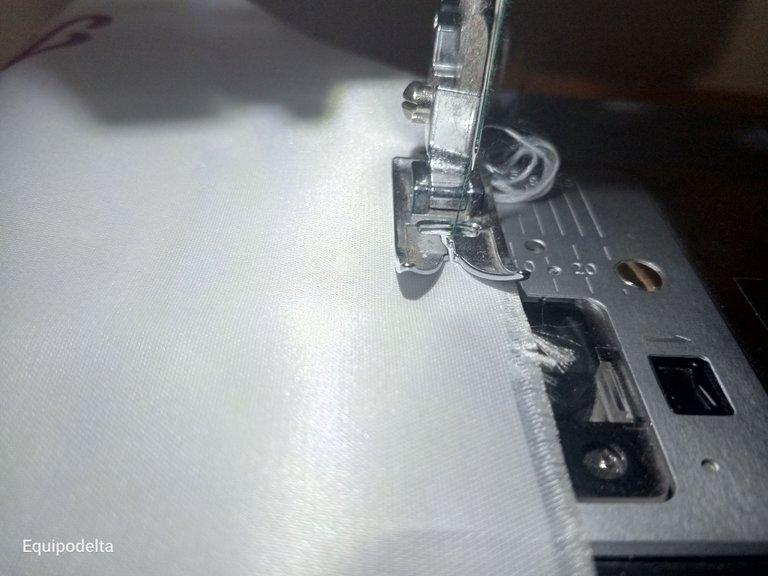
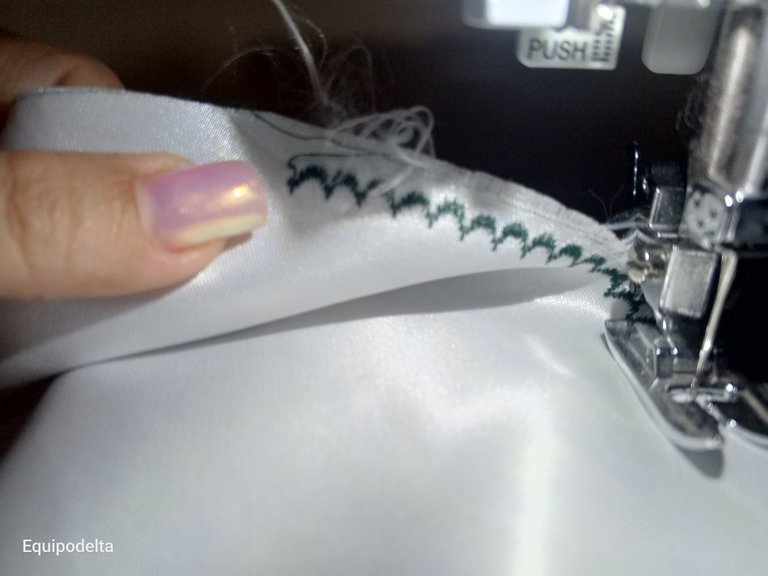
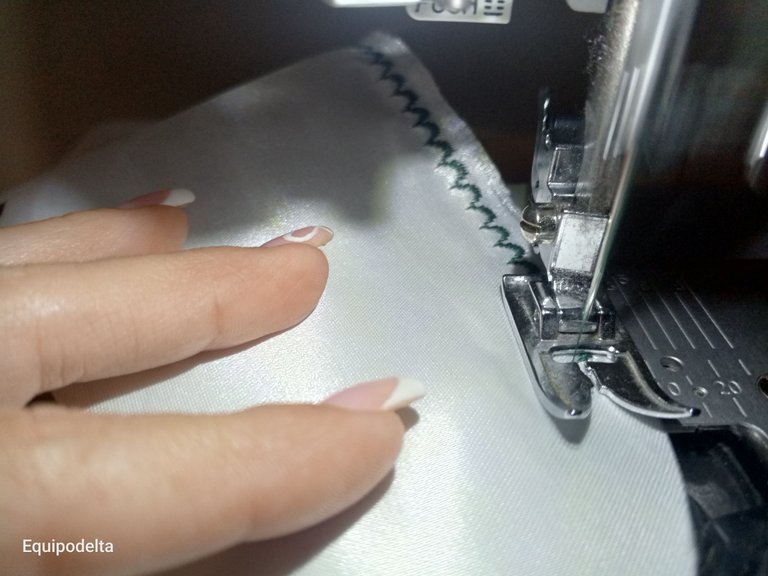
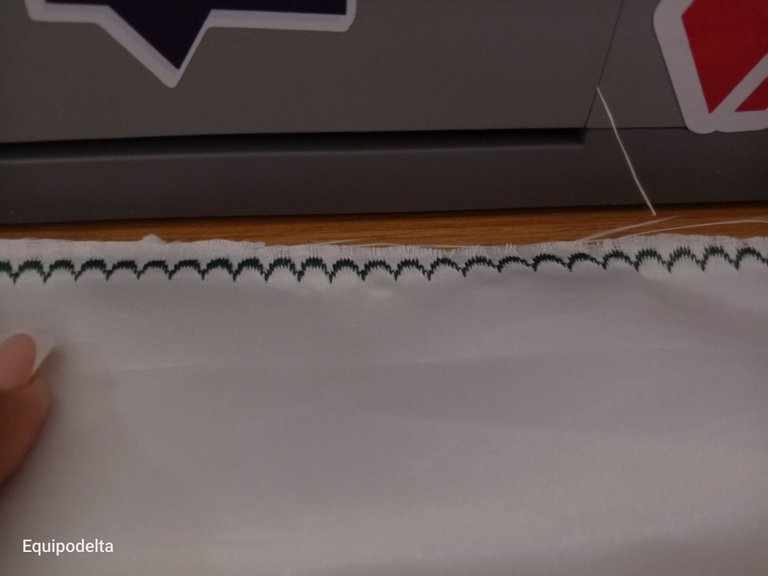
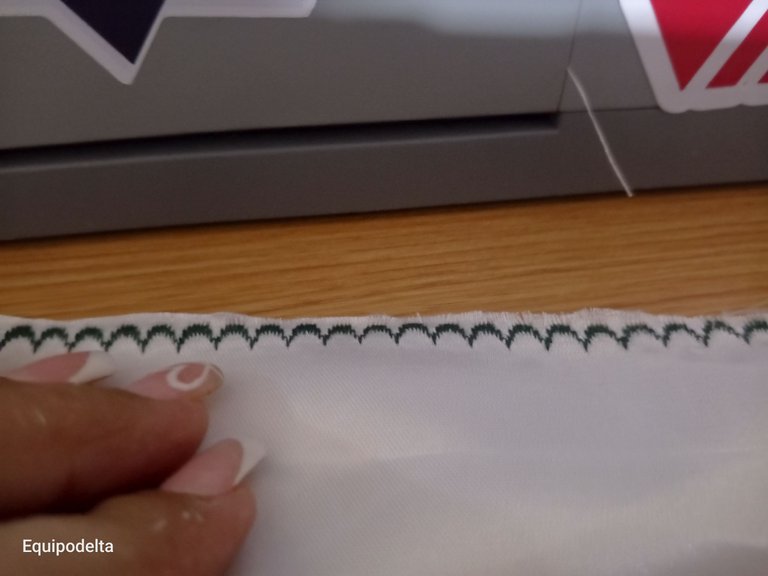
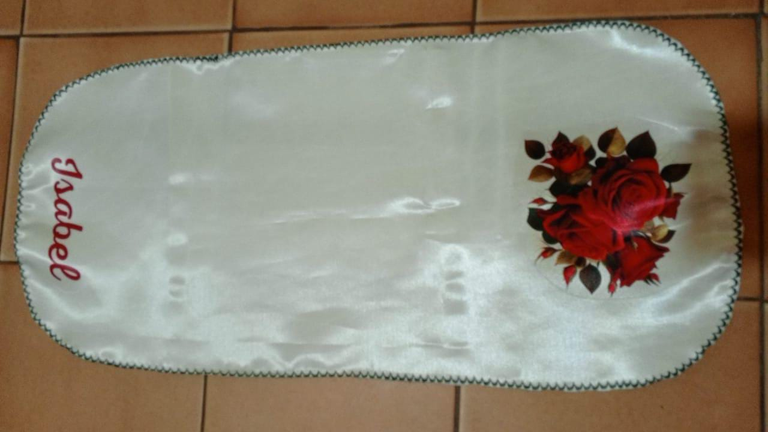
Aquí puedes usar también tu creatividad o lo que esté a tu alcancé, puedes tejer las orillas, colocarle cualquier encaje o simplemente bordar con la máquina de coser.
Elegí el tipo de bordado y procedí a bordar las orillas, al terminar, corté al ras evitando cortar el hilo y luego quemé la orilla con un yesquero para evitar se deshilache.
Todo este procedimiento lo repites con el resto de los manteles y con ello habrás terminado.
Espero les guste.
! [English version]
Here you can also use your creativity or whatever is within your reach, you can weave the borders, place any lace or simply embroider with the sewing machine.
I chose the type of embroidery and proceeded to embroider the borders, when finished, I cut flush avoiding cutting the thread and then burned the border with a tinder to avoid fraying.
Repeat this procedure with the rest of the tablecloths and you are done.
I hope you like it.


Créditos / Credits




💜💜💜


![]() 👉
👉  👉
👉  👉
👉  👉
👉 
Here / Bríndame un café

This post has been manually curated by @steemflow from Indiaunited community. Join us on our Discord Server.
Do you know that you can earn a passive income by delegating to @indiaunited. We share more than 100 % of the curation rewards with the delegators in the form of IUC tokens. HP delegators and IUC token holders also get upto 20% additional vote weight.
Here are some handy links for delegations: 100HP, 250HP, 500HP, 1000HP.
100% of the rewards from this comment goes to the curator for their manual curation efforts. Please encourage the curator @steemflow by upvoting this comment and support the community by voting the posts made by @indiaunited.
Personalised items are the perfect keepsake items. The colour is so vibrant and beautiful:)
I'm glad you like it, yes, the colors are very vivid thanks to the fact that I used shiny fabric.
Súper bello!!!
Me encanta como se ve este trabajo. Me emociona mucho verlo porque es un sueño que también tengo. Más exclusivo que estos manteles no habrá.
Ahora venden muchos materiales fáciles de sublimar en franelas, hasta con plancha casera se pueden fijar. Habrá que probar.
Mucho éxito con este nuevo plan creativo...🫂
No los he visto por aquí mi bella pero es bueno el intento, lo que he aprendido es, a tener más cuidado jajajaj quema mucho las manos.
Saludos, extraordinario realmente es interesante eso de aprender a sublimar sobre tela
Hola corazón, es algo que estoy aprendiendo, voy poco a poco. Me alegra compartirlo por acá.
Congratulations, your post has been curated by @dsc-r2cornell. You can use the tag #R2cornell. Also, find us on Discord
Felicitaciones, su publicación ha sido votada por @ dsc-r2cornell. Puedes usar el tag #R2cornell. También, nos puedes encontrar en Discord
You have designed it very beautifully 😍 and thank you for letting us know the step by step procedure. I really like your work and appreciate it. 👏🏻💓
Thanks you so much
Welcome my friend 😊
Es hermoso y demasiado útil tener la posibilidad y la habilidad de sublimar nuestros proyectos. Te quedó hermoso, muy creativo.
Gracias mi bella, fue mi primer pañito, segur los que siguen quedarán mejor.
te quedó espectacular, saludos , me gustaría aprender mucho
He estado viendo muchos tutoriales para ello, es muy útil ya que no hay academias que enseñen por aqui
This is really nice to make your table cover like this...the design is so beautiful 😍
I will make other models later, and hopefully you will like them.
Waiting to see 😃😃
https://www.reddit.com/r/somethingimade/comments/1j5li1c/diy_sublimación_manteles_de_mesa_personalizados/
The rewards earned on this comment will go directly to the people( @the01crow ) sharing the post on Reddit as long as they are registered with @poshtoken. Sign up at https://hiveposh.com. Otherwise, rewards go to the author of the blog post.
Que bello bella lo que ha creado con esa máquina, tantas cosas que nos hacen la vida facil.
Ni pensar que podria tenerla es verdad. Gracias Mariale, me alegra que te guste.
Ese tipo de trabajos me parece bastante interesantes, había un proyecto en que se imprimían pistas de circuitos sobre tejido y se usaba en ropa inteligente.
Le quedo bastante bonito, le felicito.
Waoooooooooooo! me has flipado con la idea, sería espectacula y lo tomaré muy encuenta.
Si estuvo muy en boga a finales de los 80 y en parte de los 90, había camisas con un fan cooler adosado y se mantenía encendido con baterías, es uno de tantos inventos que estuvieron llamando la atención por un tiempo.
El ejército americano desarrolló una serie de gadget para uniformes militares de elite, descubrieron que si mantenían a una temperatura fresca a los soldados, los soldados podían marchar más tiempo y hacer esfuerzo físico por periodos más largos.
Aún hay experimentos y desarrollos sobre esa línea de trabajo, pero no son muy comentados.
Está bello, y lo mejor es que así queda completamente personalizar, y con el toque del bordado le diste un acabado aún más de diseño ✨ mira nada que envidiar a los manteles comprados