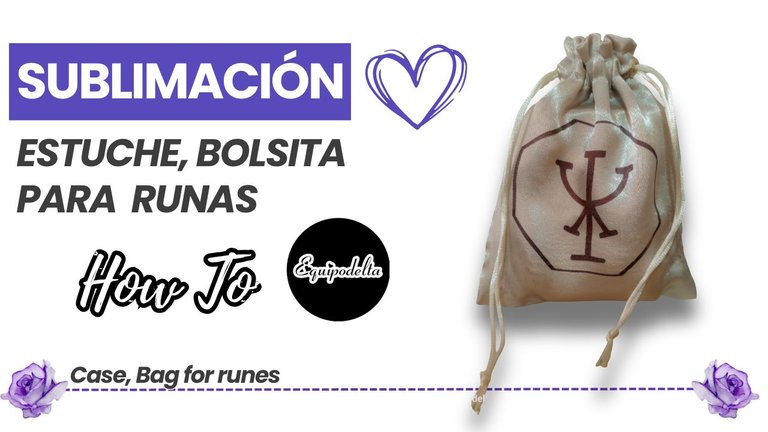
DIY Sublimación: estuche, bolsita para runas / Sublimation: case, bag for runes (Esp/Eng)

[Esp]
Saludos querida comunidad.
Las runas a las que me refiero, son un instrumento de adivinación, son conocidas como runas vikingas, pueden estar hechas por diferentes materiales como madera, piedra, cristales pulidos, entre otros, hoy en día las podemos encontrar hechas con resina en donde se graban diferentes símbolos donde cada uno tiene un significado diferente, se consultan según la espiritualidad, para saber acerca de algo que nos importa o solicitar una guía ante determinado problema o hecho.
En los años 90's estuvo muy de moda junto a la cartomancia y quiromancia, hoy día parece que estamos teniendo una epidemia de tarotistas, muchos de ellos están estudiando las runas, son la generación relevo. Cada día estamos más conectados o queremos estar conectados con nuestro lado espiritual para sentirnos en armonía y que todo fluye de forma positiva.
No tengo runas en la actualidad, pero si tengo conocimiento de ellas, en un futuro pretendo retomar la práctica, es genial.
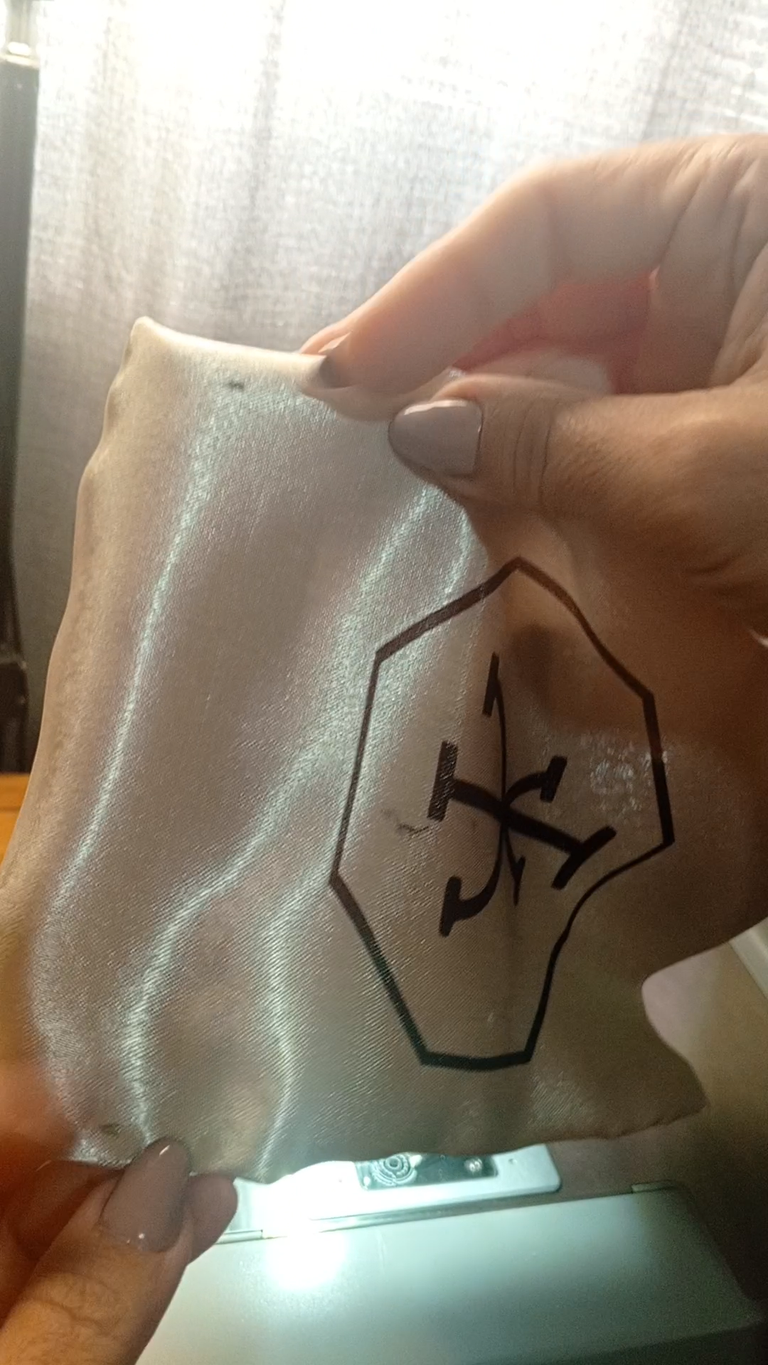
Hoy hice un bolsito inspirado en las runas y uno de sus símbolos que significa: Prosperidad material y de trabajo. Está sublimado y te enseño cómo hacerlo.
En la actualidad, así como las cartas del tarot, podemos ver una fusión entre la metafísica y estas practicas que se usan para manifestar los deseos.
Vamos al paso a paso, te invito a ver el vídeo.
! [English version]
Greetings dear community.
The runes I am referring to, are an instrument of divination, they are known as Viking runes, they can be made of different materials such as wood, stone, polished crystals, among others, today we can find them made with resin where different symbols are engraved where each one has a different meaning, they are consulted according to spirituality, to know about something that matters to us or request a guide to a certain problem or fact.
In the 90's it was very fashionable along with cartomancy and palmistry, today it seems that we are having an epidemic of tarot readers, many of them are studying the runes, they are the relay generation. Every day we are more connected or we want to be connected with our spiritual side to feel in harmony and that everything flows in a positive way.
I don't have runes at present, but if I have knowledge of them, in the future I intend to resume the practice, it's great.
Today I made a little bag inspired by the runes and one of their symbols that means: material and work prosperity. It is sublimated and I show you how to do it.
Nowadays, as well as tarot cards, we can see a fusion between metaphysics and these practices that are used to manifest desires.
Let's go step by step, I invite you to watch the video.

https://www.youtube.com/shorts/HjWUEQ91TWs
Materiales / Materials
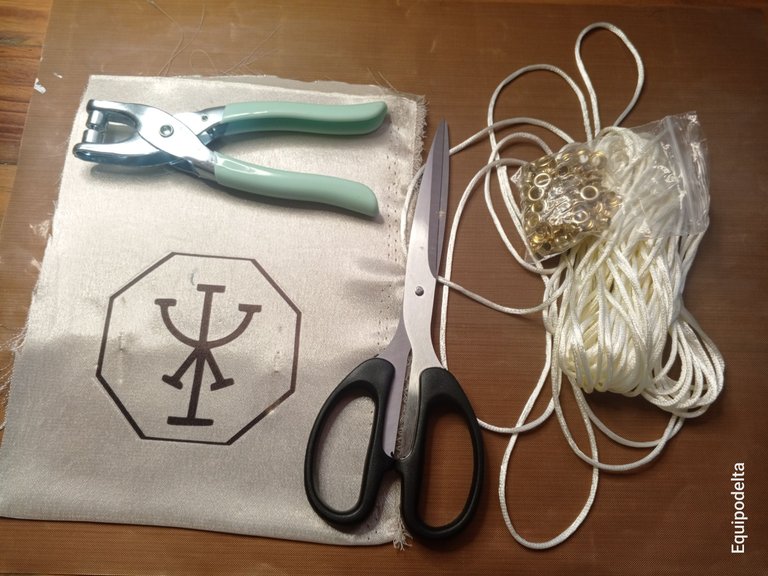
| Spanish | English | |
| Equipos para sublimación | Sublimation equipment | |
| Maquina de coser | Maquina de coser | |
| Tela de seda | Tela de seda | |
| Yesquero, tijera, cinta métrica | Tinder, scissors, tape measure | |
| Cordón cola de ratón | Mouse tail cord | |
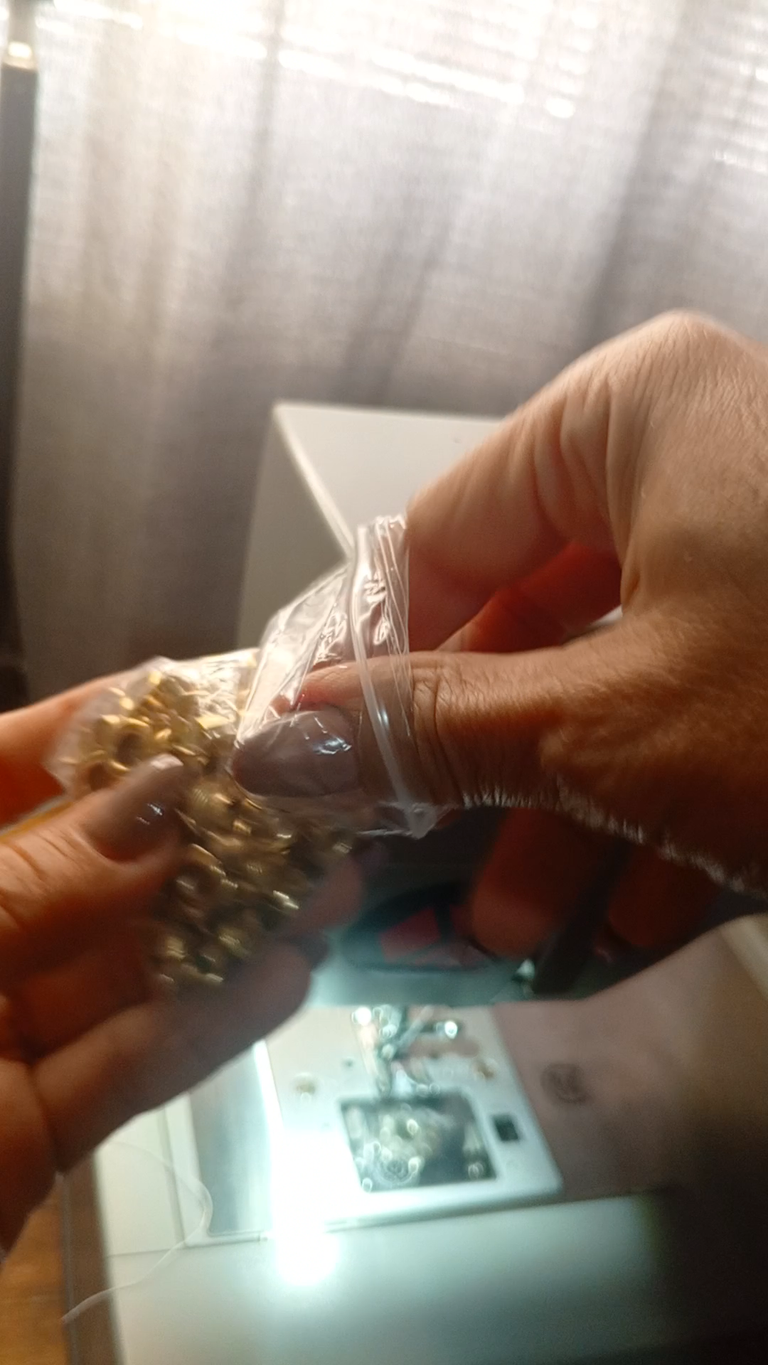
| Alicate Pinza Para Ojetes 4mm + 2 Ojetes dorados | 4mm Eyelet Pliers + 2 Gold Eyelets | |
| Diseño impreso | Print design |
Paso a paso / Step by Step
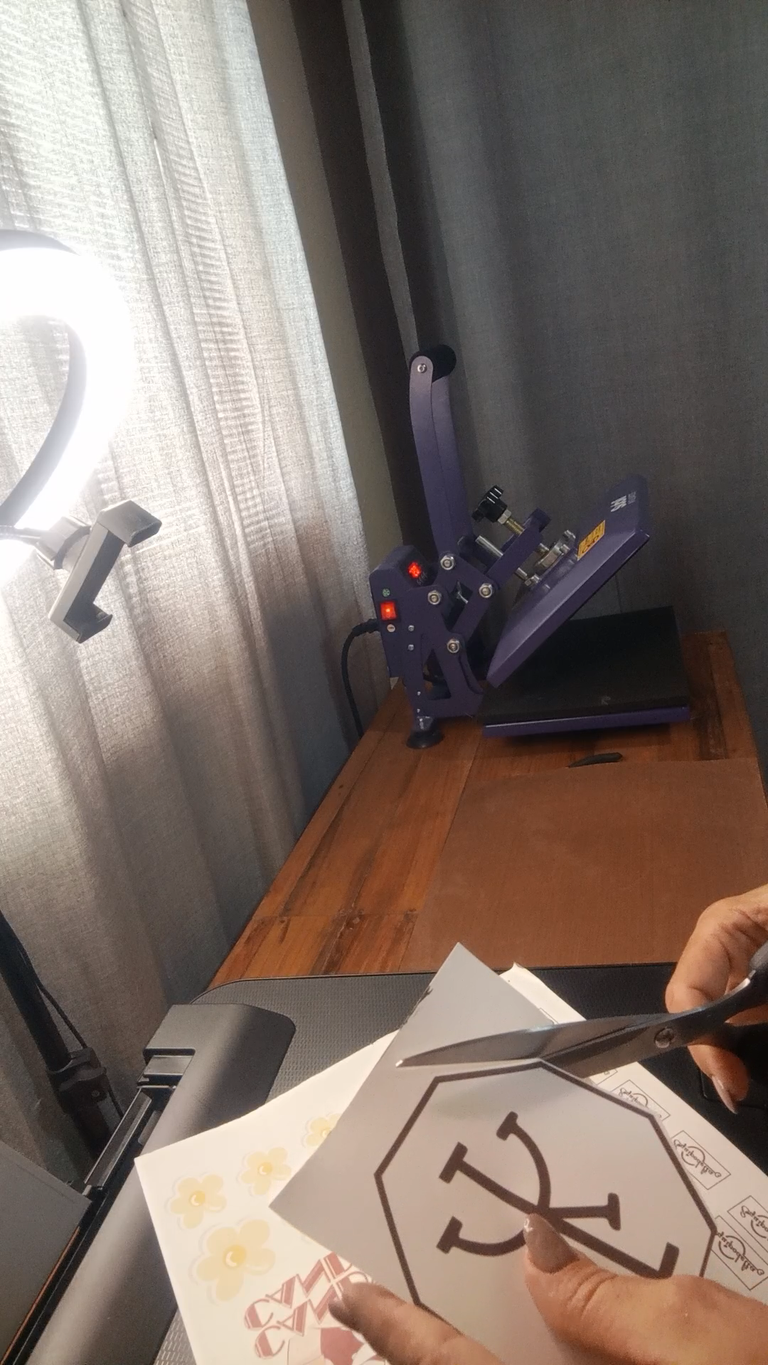
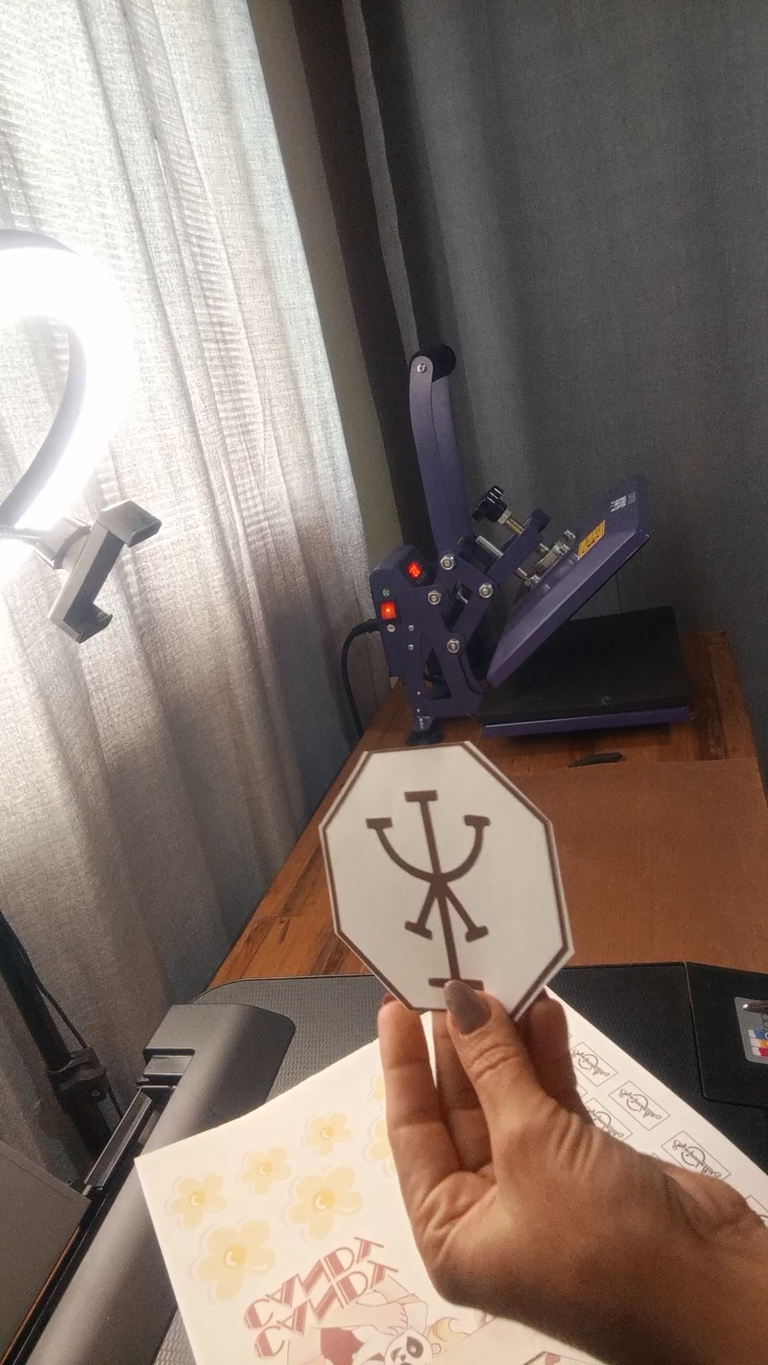
Step 1️⃣/ Paso 1️⃣
 |  |  |  |
[Esp]
Imprime el diseño, recuerda que debe ser con tintas para sublimar y papel para sublimar de secado instantáneo. La impresora debe tener las opciones activadas: impresión de alta calidad y espejo.
Una vez impreso el diseño recorta lo más al ras posible.
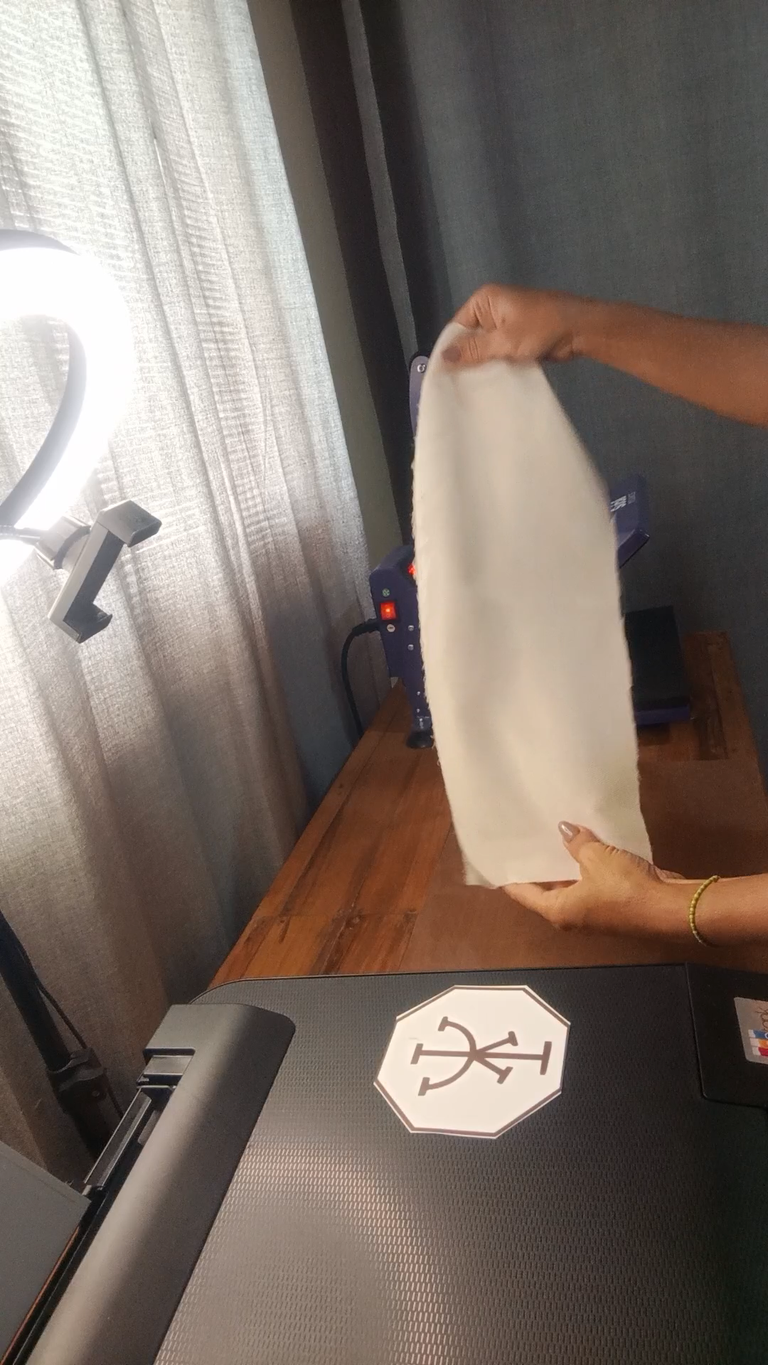
Recorta la tela del tamaño que deseas.
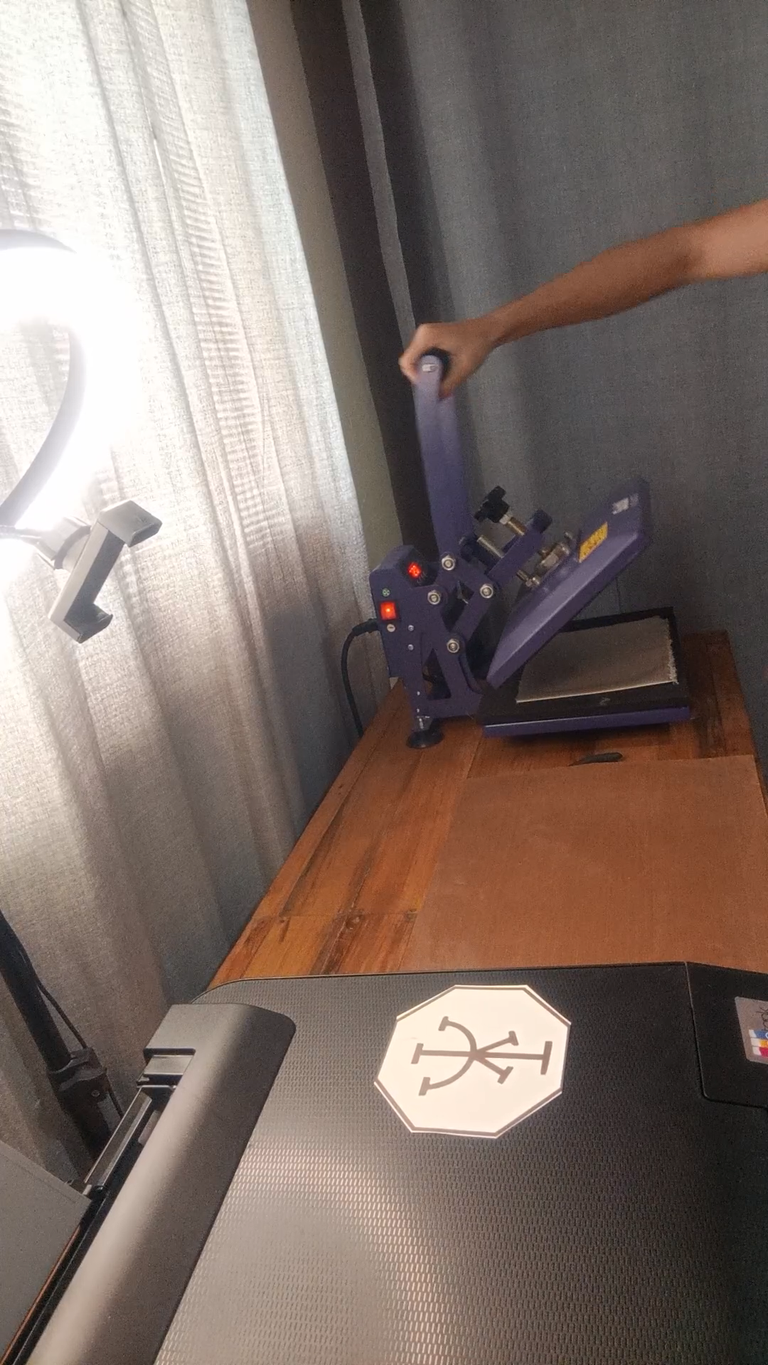
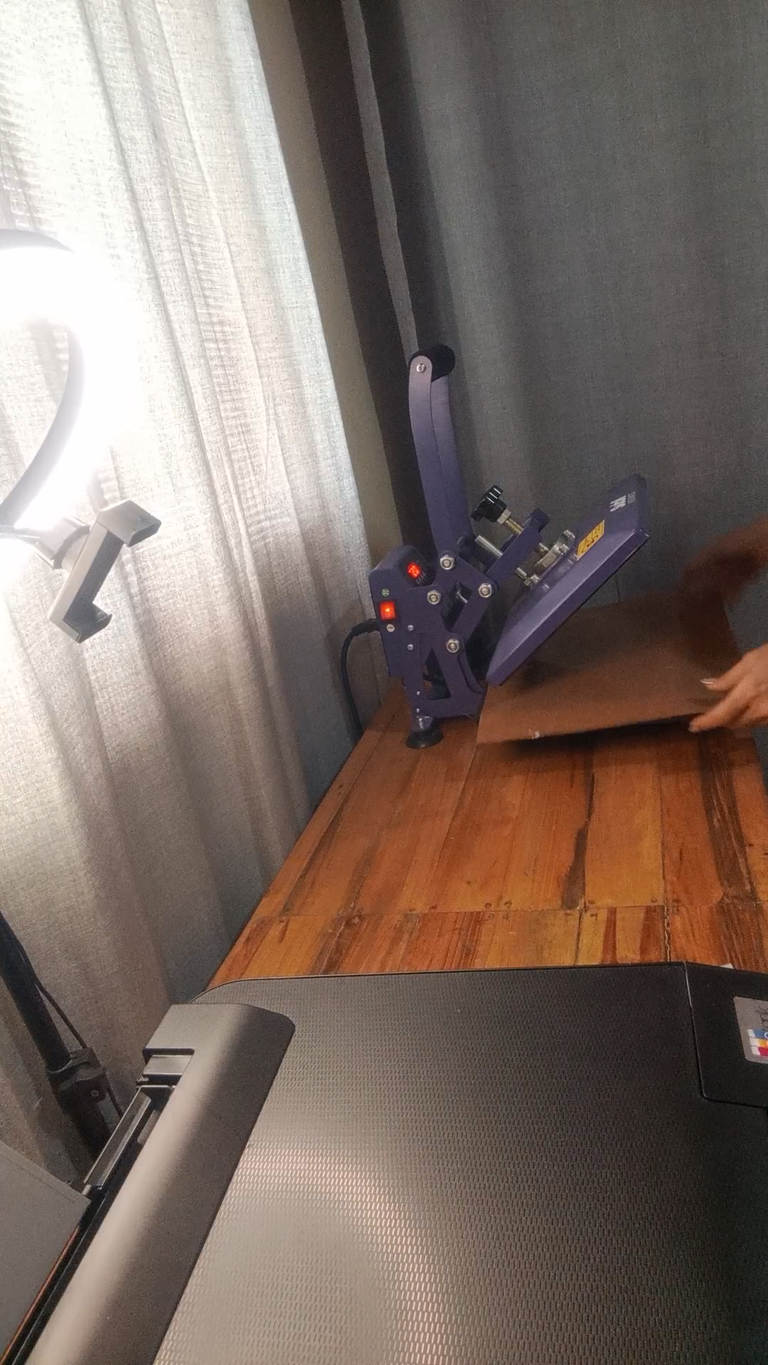
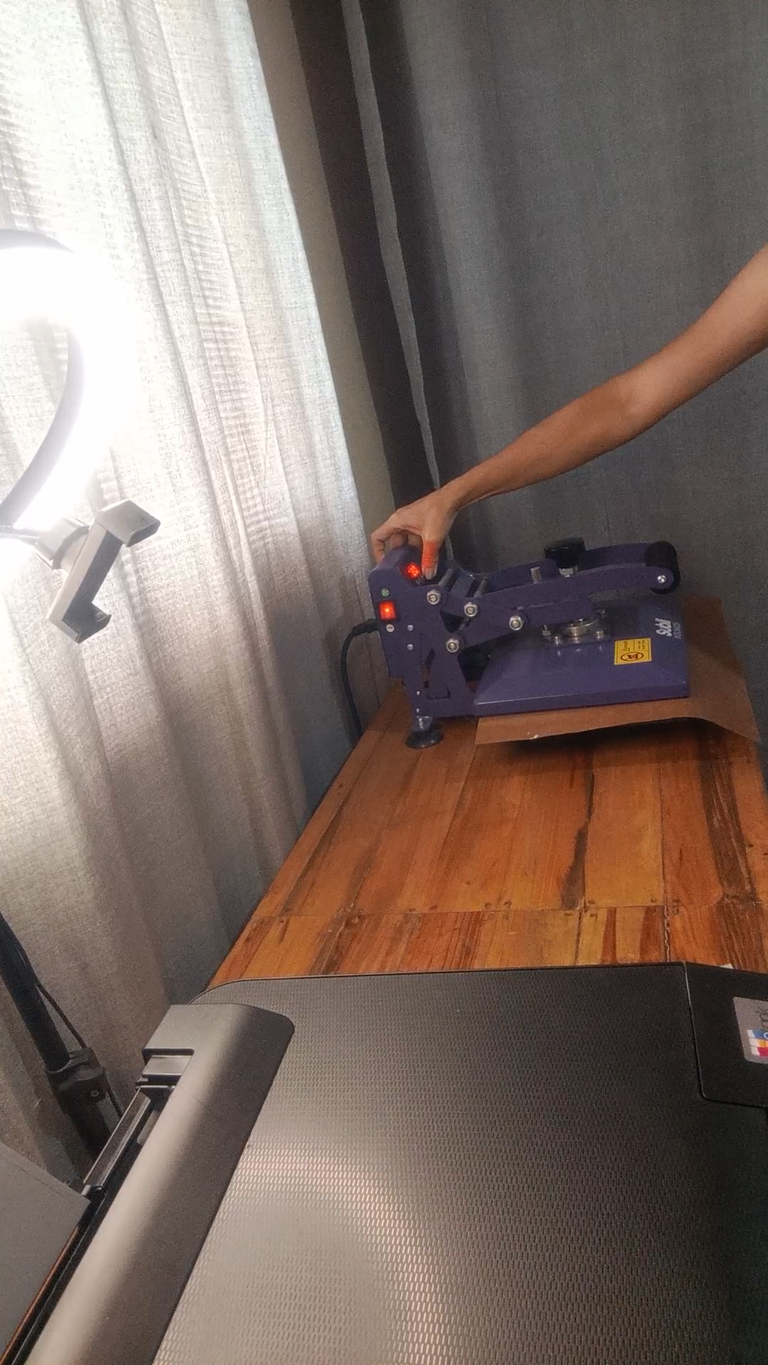
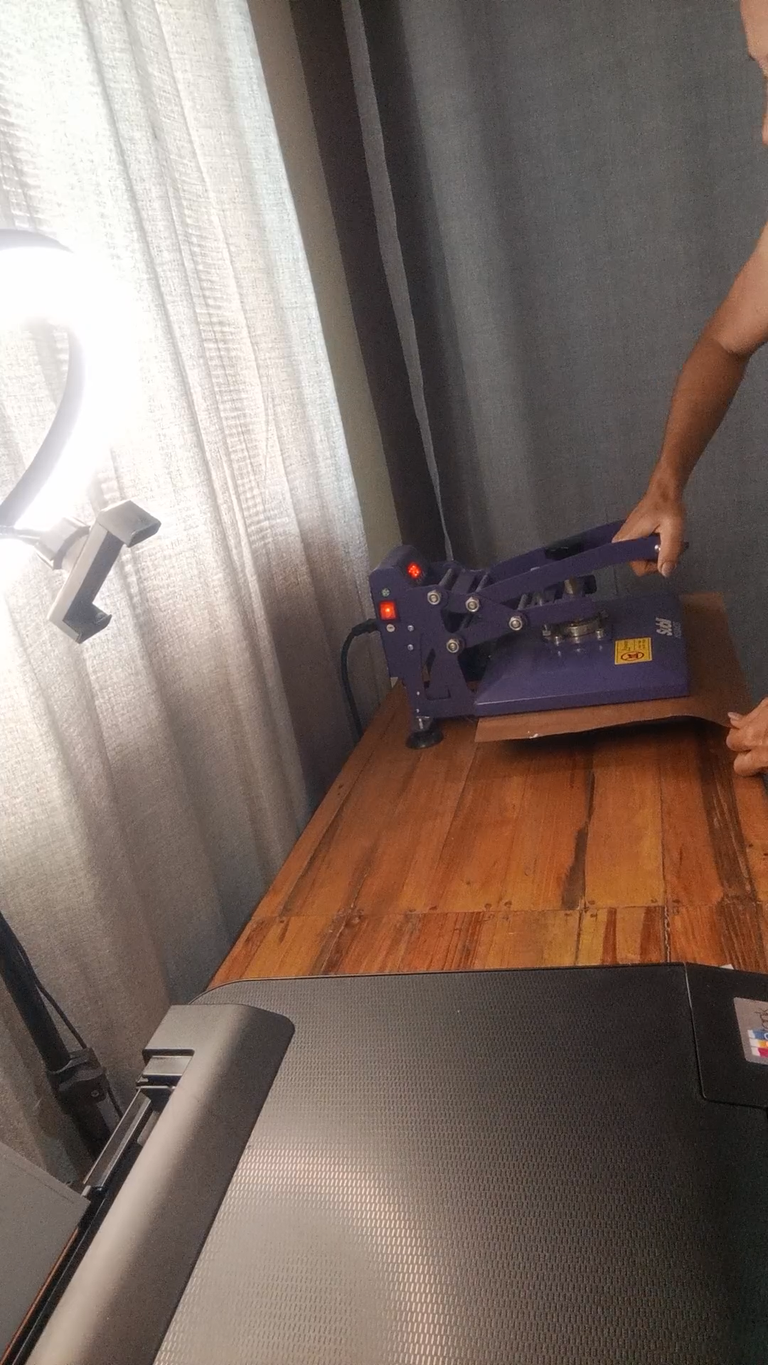
Coloca la plancha a calentar a 320°F.
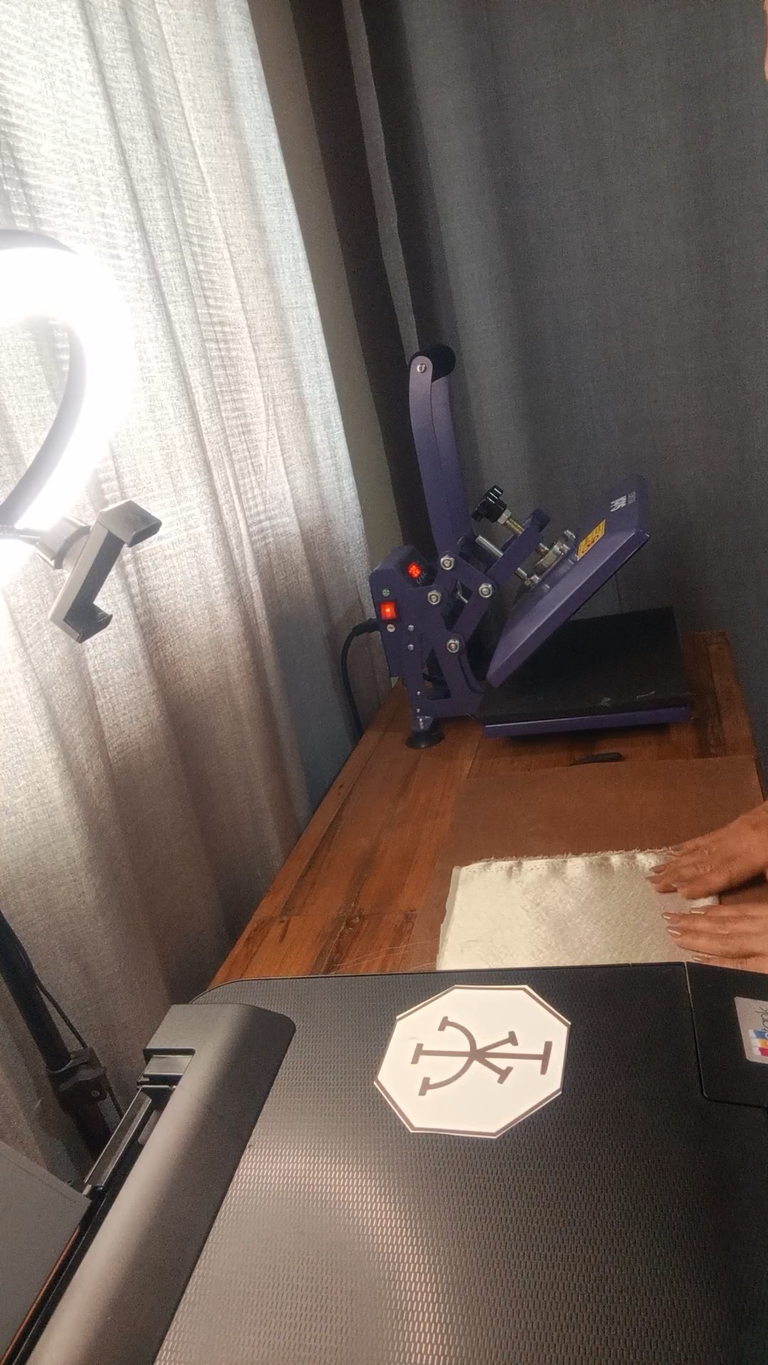
Siempre es bueno planchar un poco la tela antes de colocar el diseño para evitar las arrugas. Luego deja enfriar bien.
! [English version]
Print the design, remember that it must be with sublimation inks and instant dry sublimation paper. The printer must have the following options activated: high quality and mirror printing.
Once the design is printed, cut it as close as possible.
Cut the fabric to the size you want.
Set the iron to heat to 320°F.
It is always good to iron the fabric a little before placing the design to avoid wrinkles. Then allow to cool well.

Step 2️⃣/ paso 2️⃣
 |  |  |  |
[Esp]
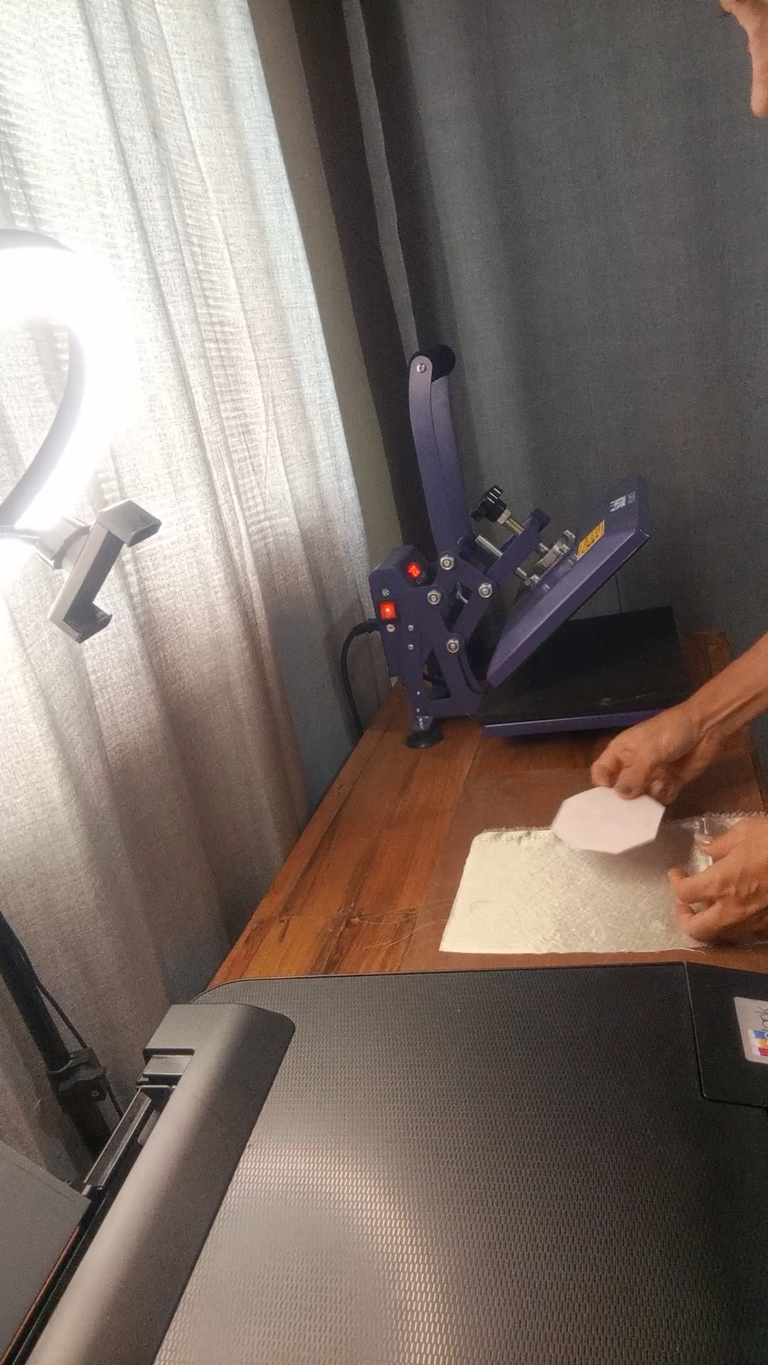
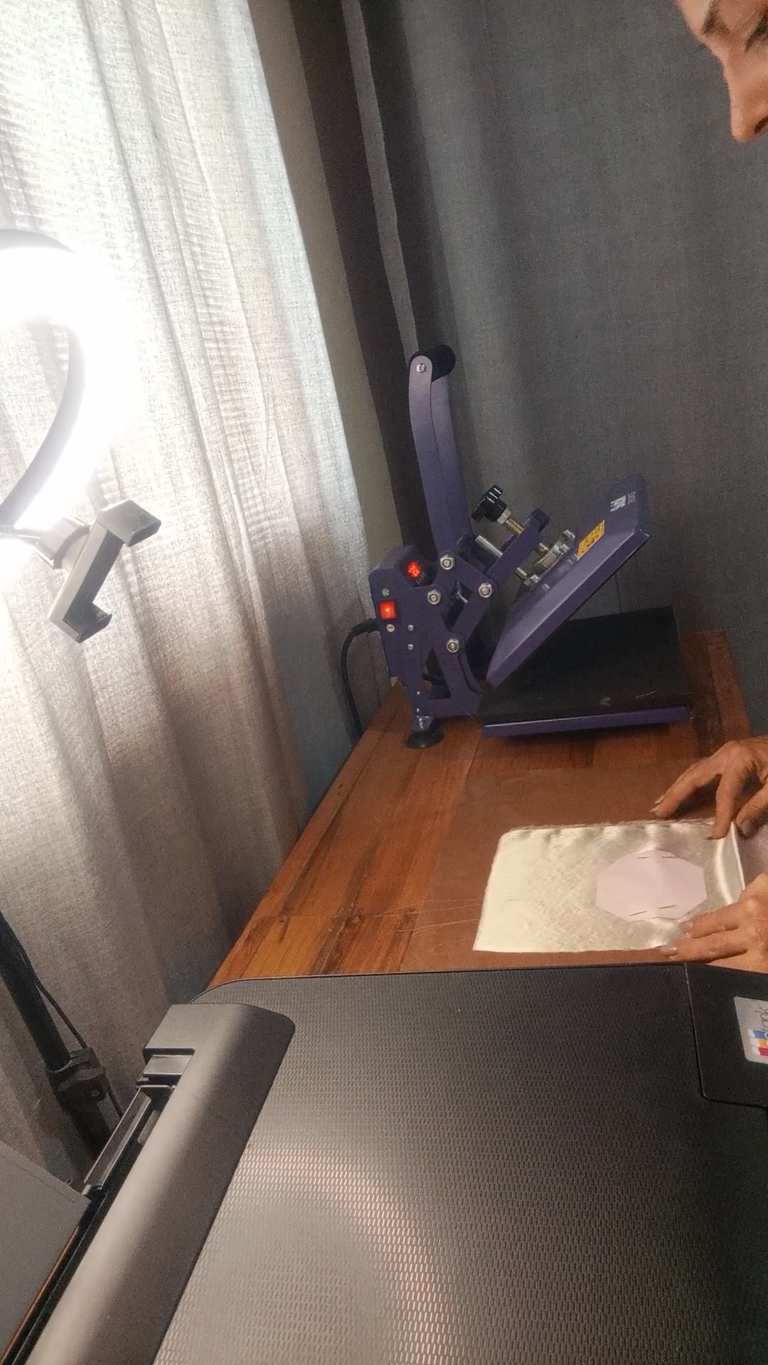
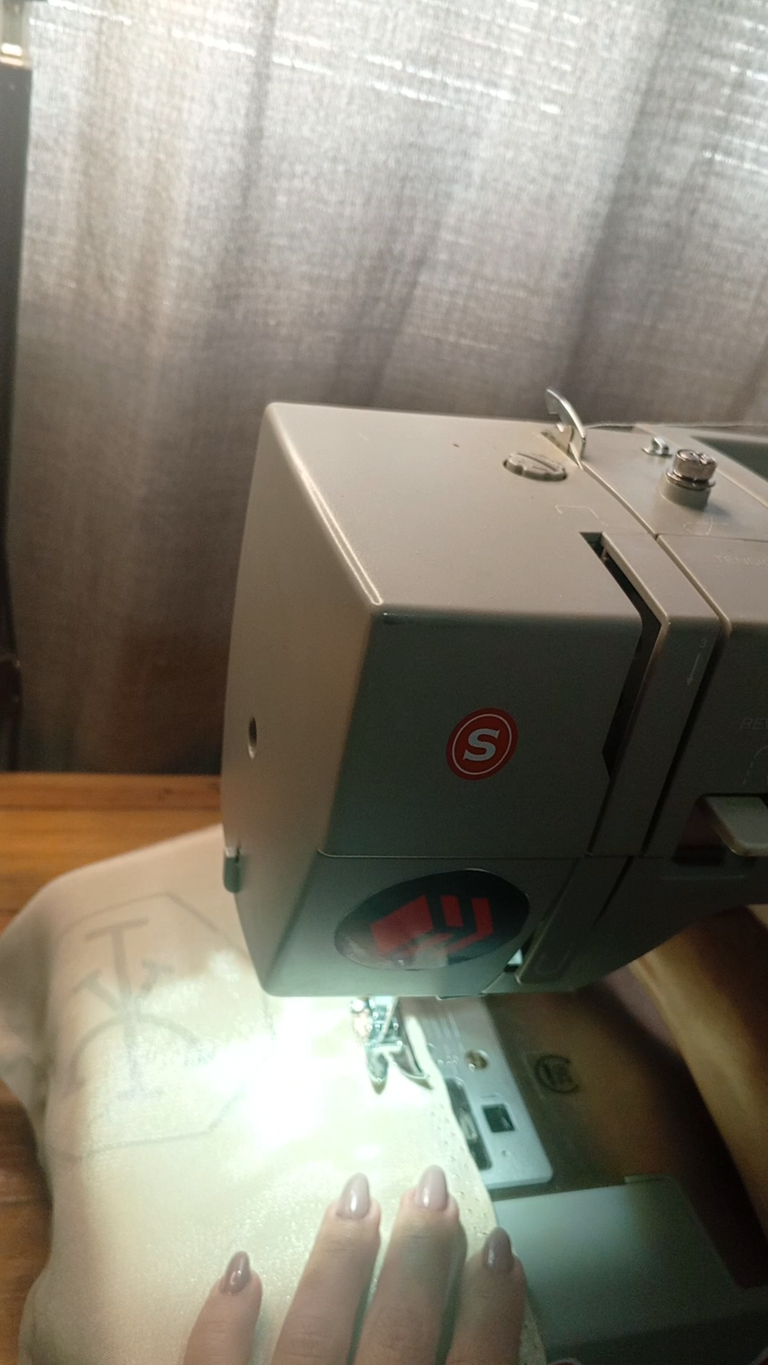
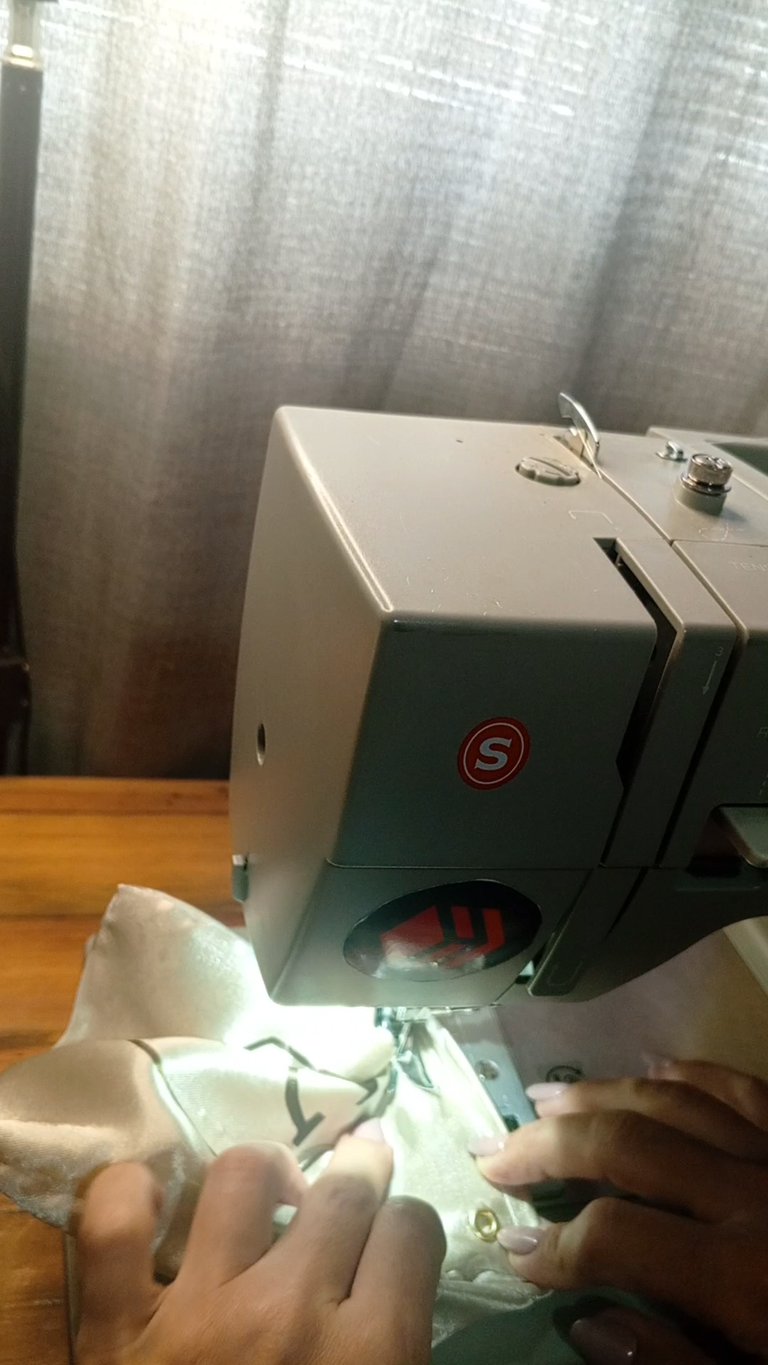
Una vez enfría la tela, coloca el diseño boca abajo al derecho de la tela y fíjalo con la cinta térmica.
Coloca la tela en la plancha, sobre la tela y el diseño coloca la lámina de teflón, baja la plancha una vez esta alcanza la temperatura adecuada y prográmala a 60 segundos.
! [English version]
Once the fabric is cooled, place the design face down on the right side of the fabric and fix it with the heat tape.
Place the fabric on the iron, place the Teflon sheet over the fabric and the design, lower the iron once it reaches the right temperature and set it to 60 seconds.
Step 3️⃣/ paso 3️⃣
 |  |  |  |

[Esp]
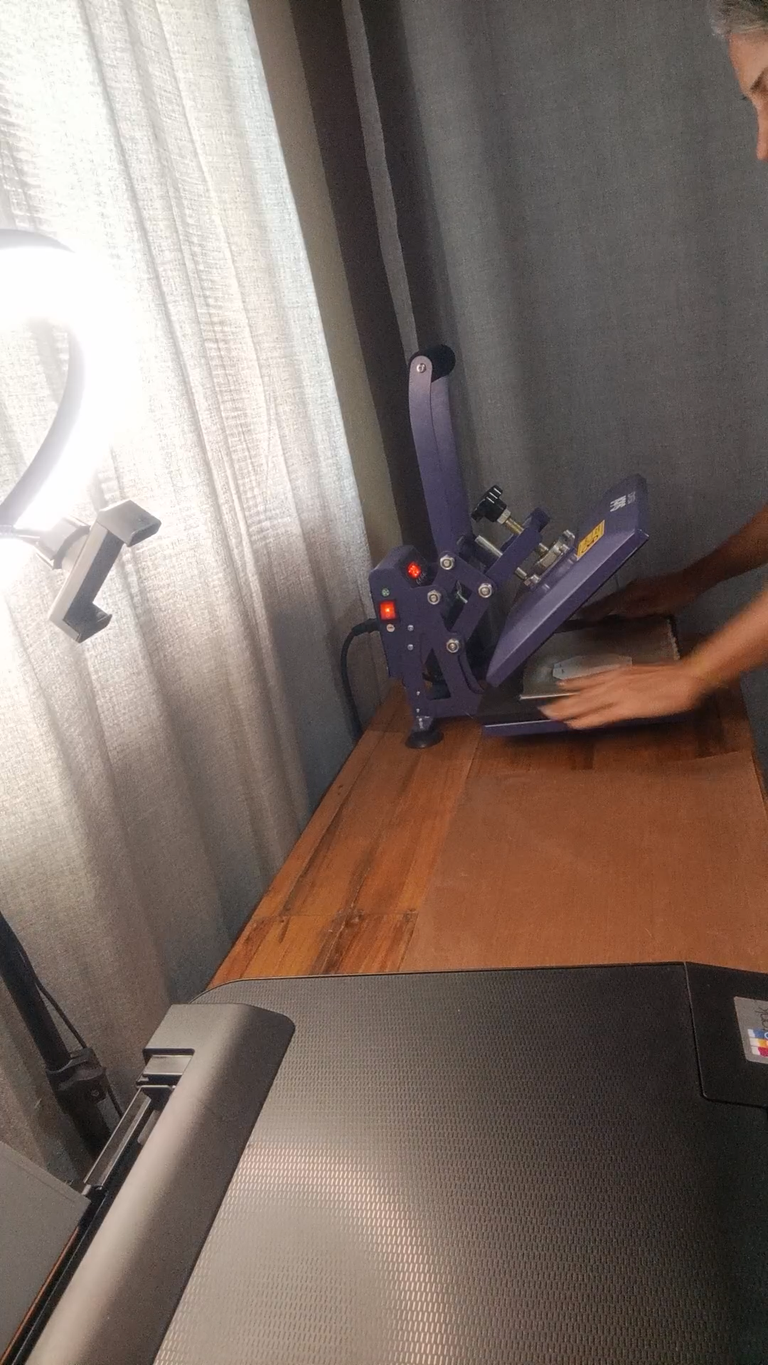
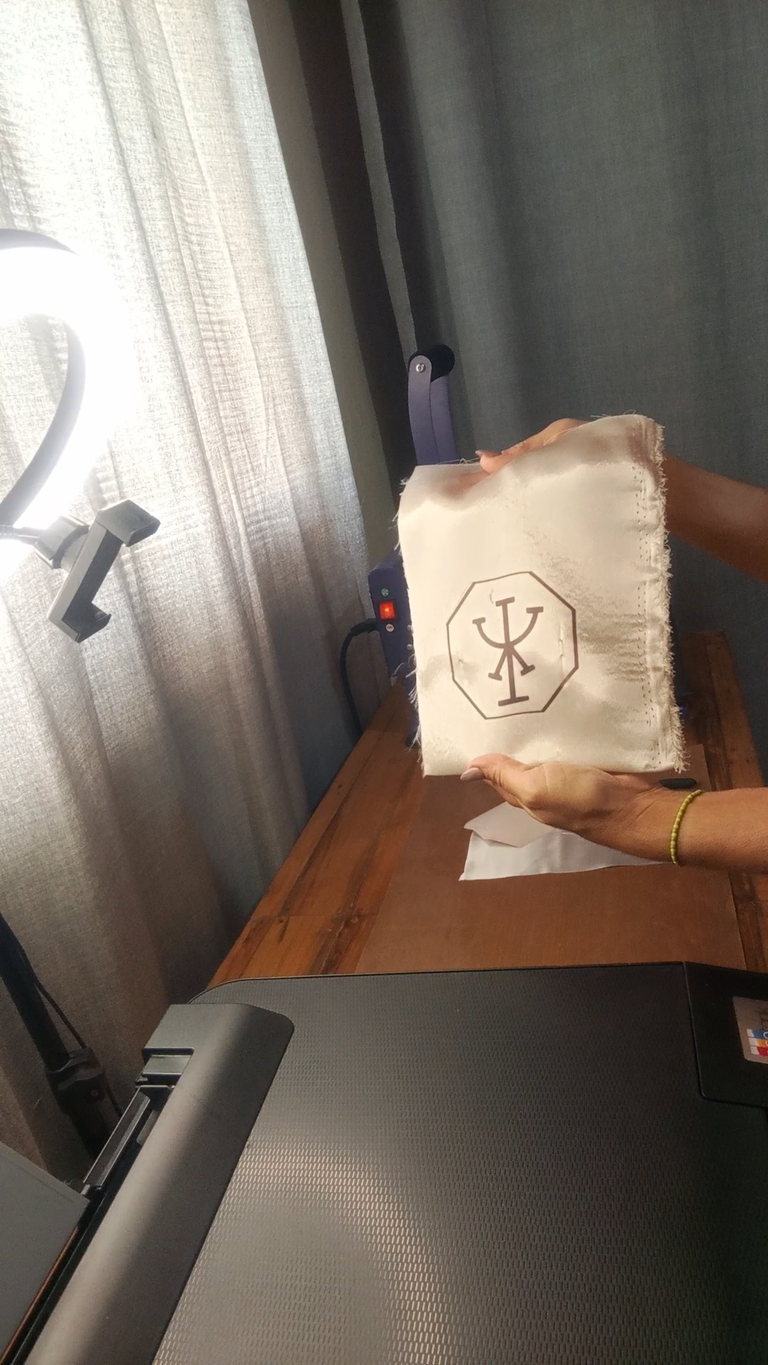
Luego de los 60 segundos abre la plancha con cuidado retira la lámina de teflón y el diseño, recuerda que todo está caliente. Toma precauciones.
Retira la cinta térmica y el papel.
! [English version]
After 60 seconds, open the iron and carefully remove the Teflon sheet and the design, remember that everything is hot. Take precautions.
Remove the thermal tape and the paper.
Step 4️⃣/ paso 4️⃣
 |  |  |  |
[Esp]
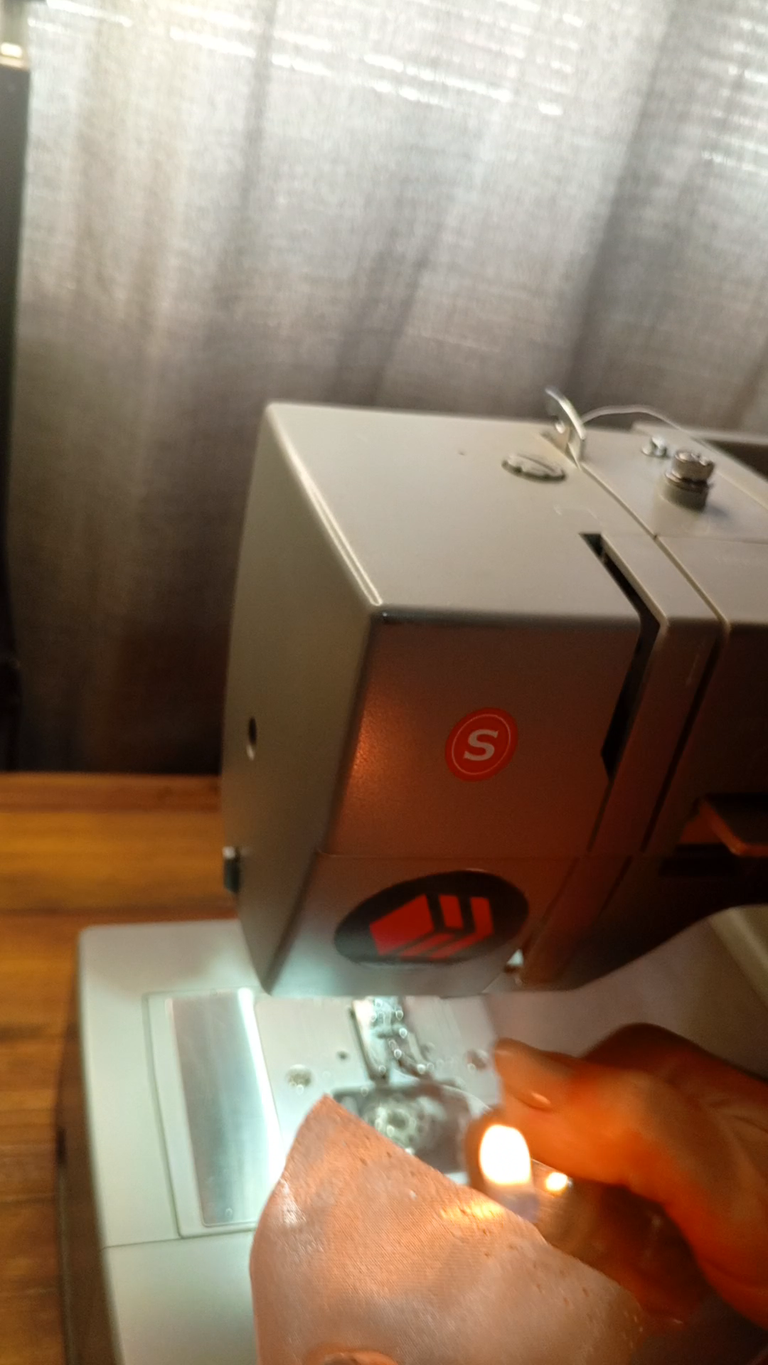
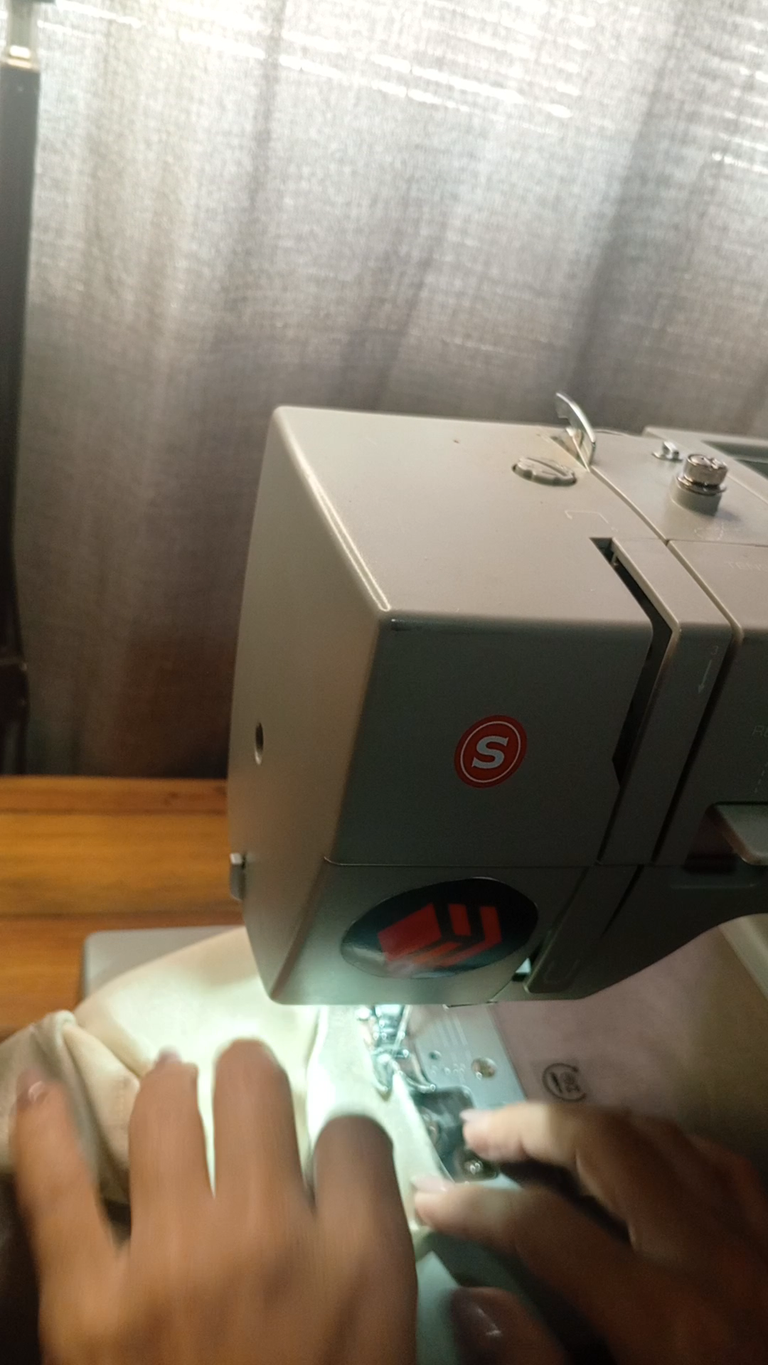
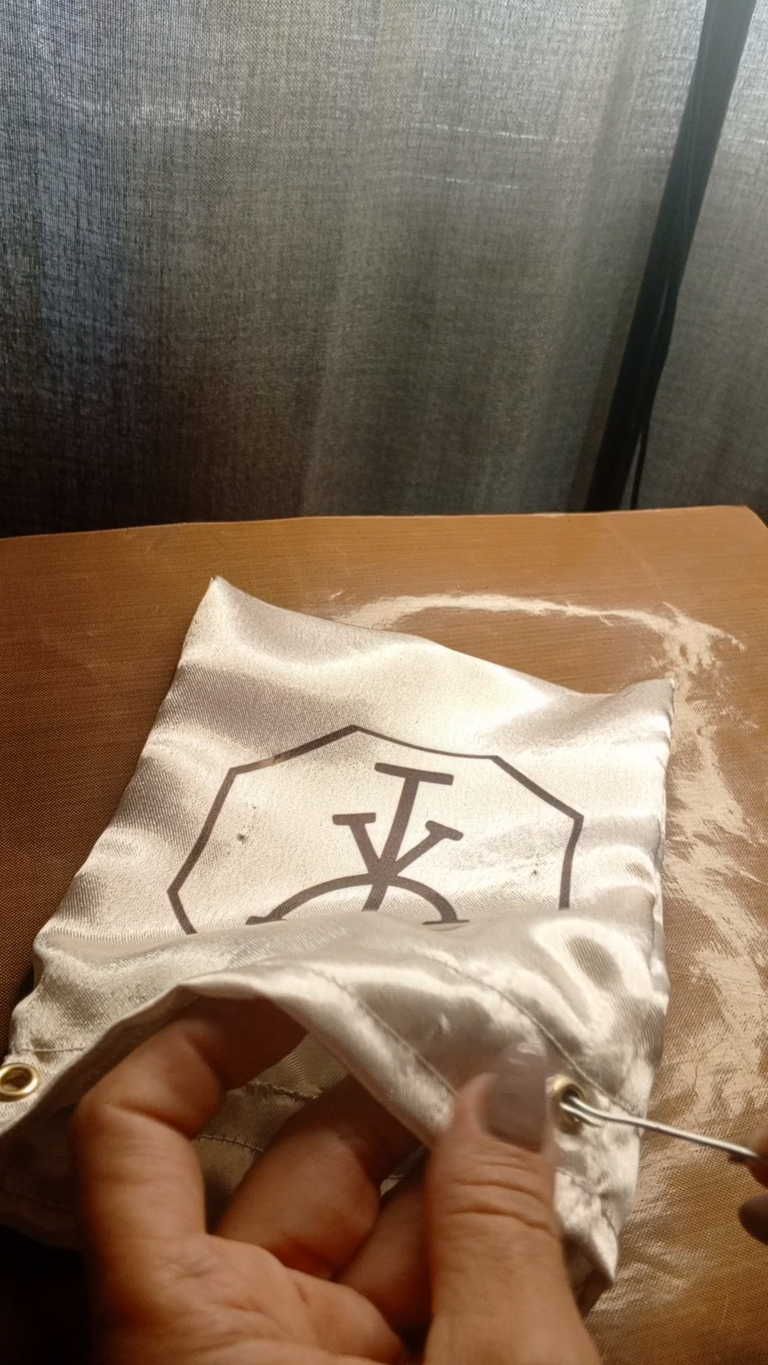
Quema los bordes de la tela con el yesquero para evitar deshilache.
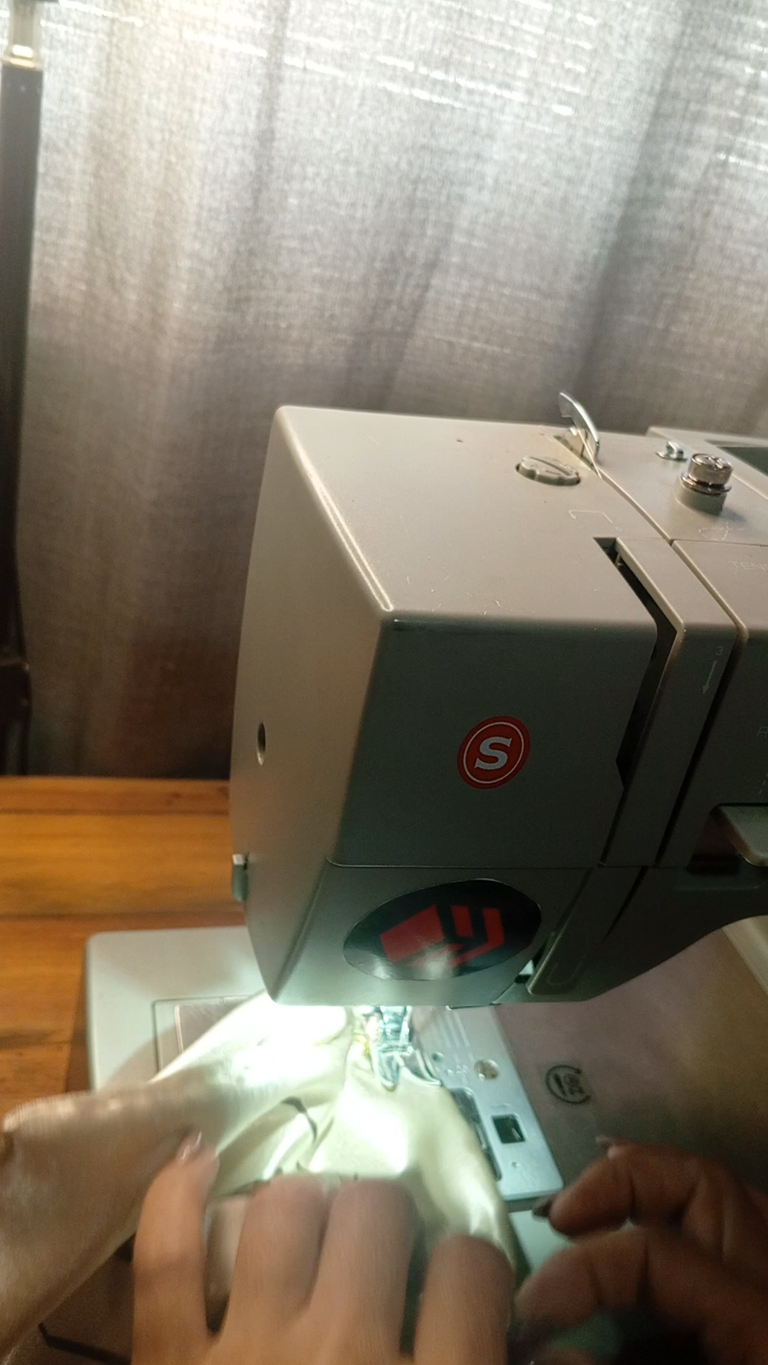
Cierra los laterales cosiendo con una recta, luego pasa zig zag por los bordes laterales y borde de la abertura.
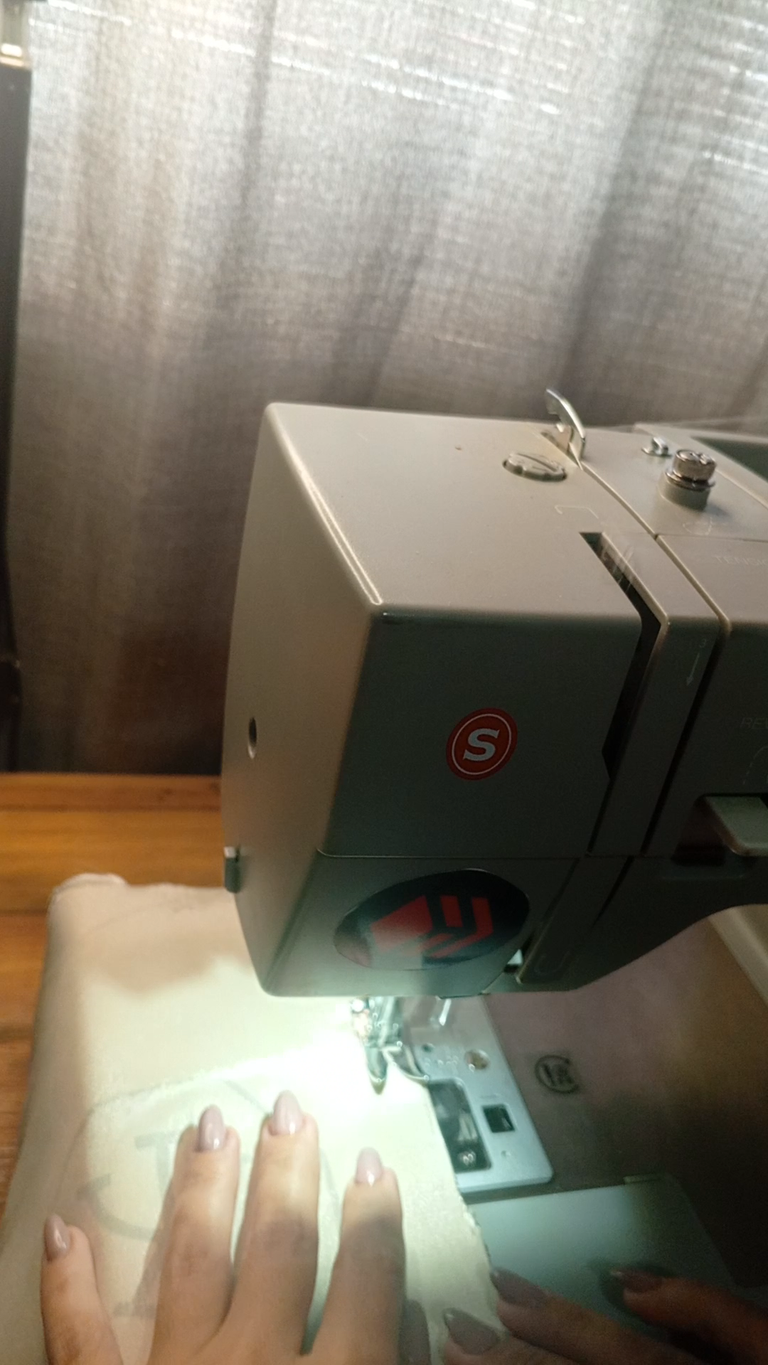
Dobla el borde hacia adentro unos 3 centímetros y marca con un lápiz dos puntos a los lados.
! [English version]
Burn the edges of the fabric with tinder to prevent fraying.
Close the sides by sewing with a straight stitch, then zig zag along the side edges and the edge of the opening.
Fold the edge inward about 3 centimeters and mark with a pencil two points on the sides.
Step 5️⃣/ paso 5️⃣
 |  |  |  |
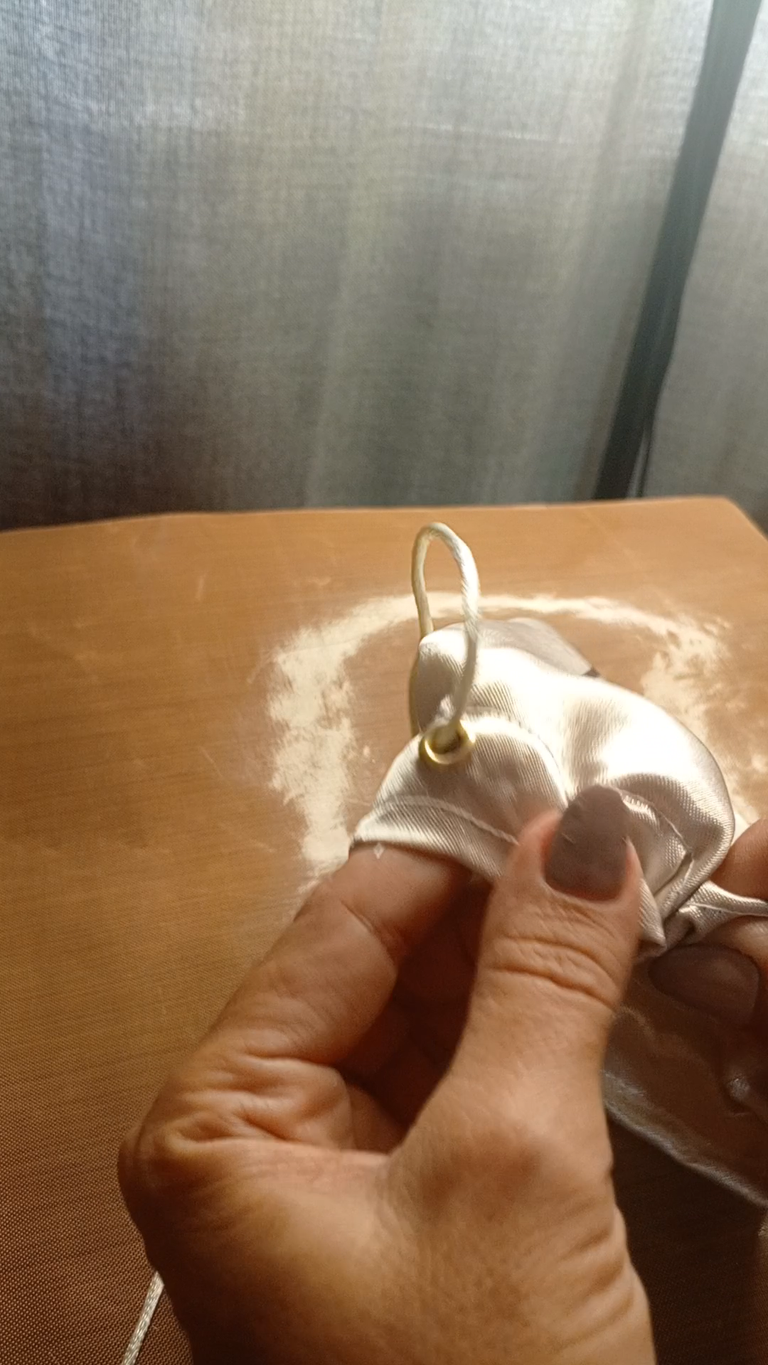
[Esp]
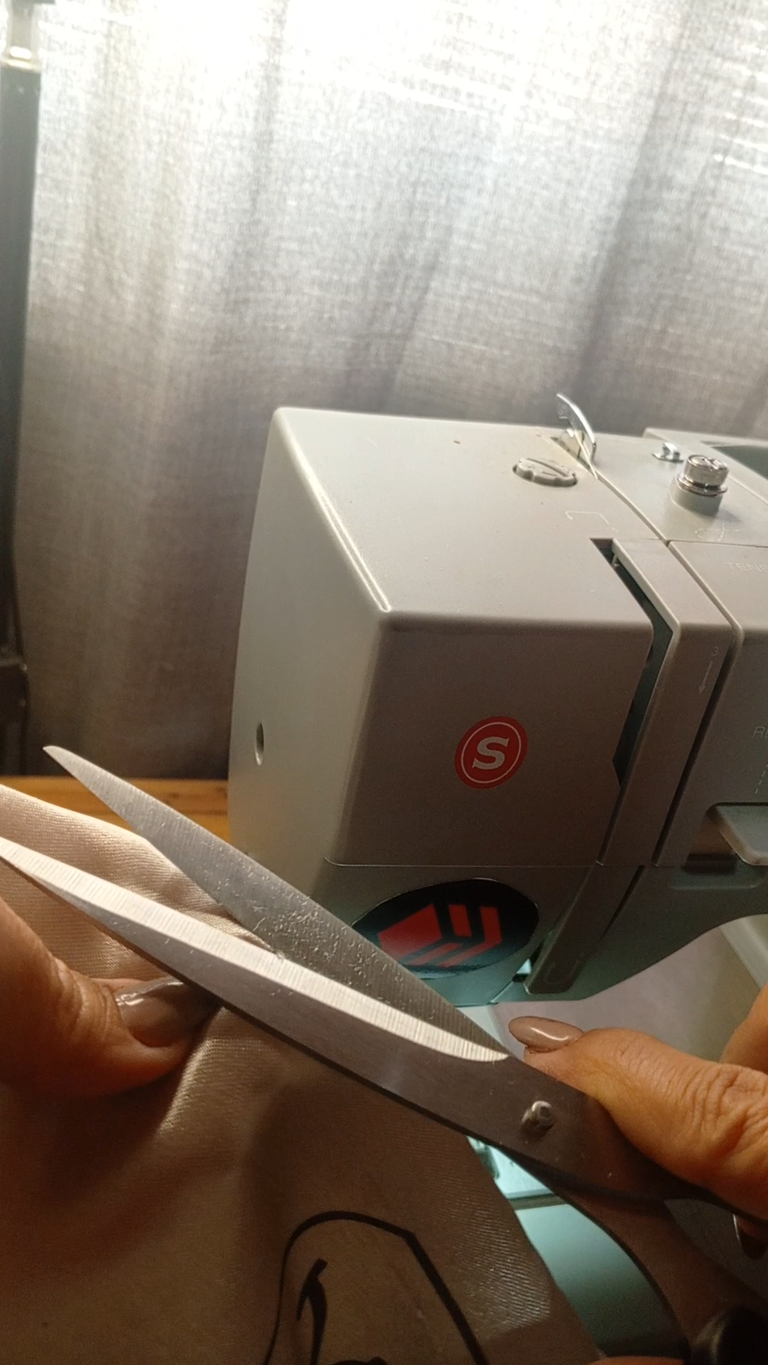
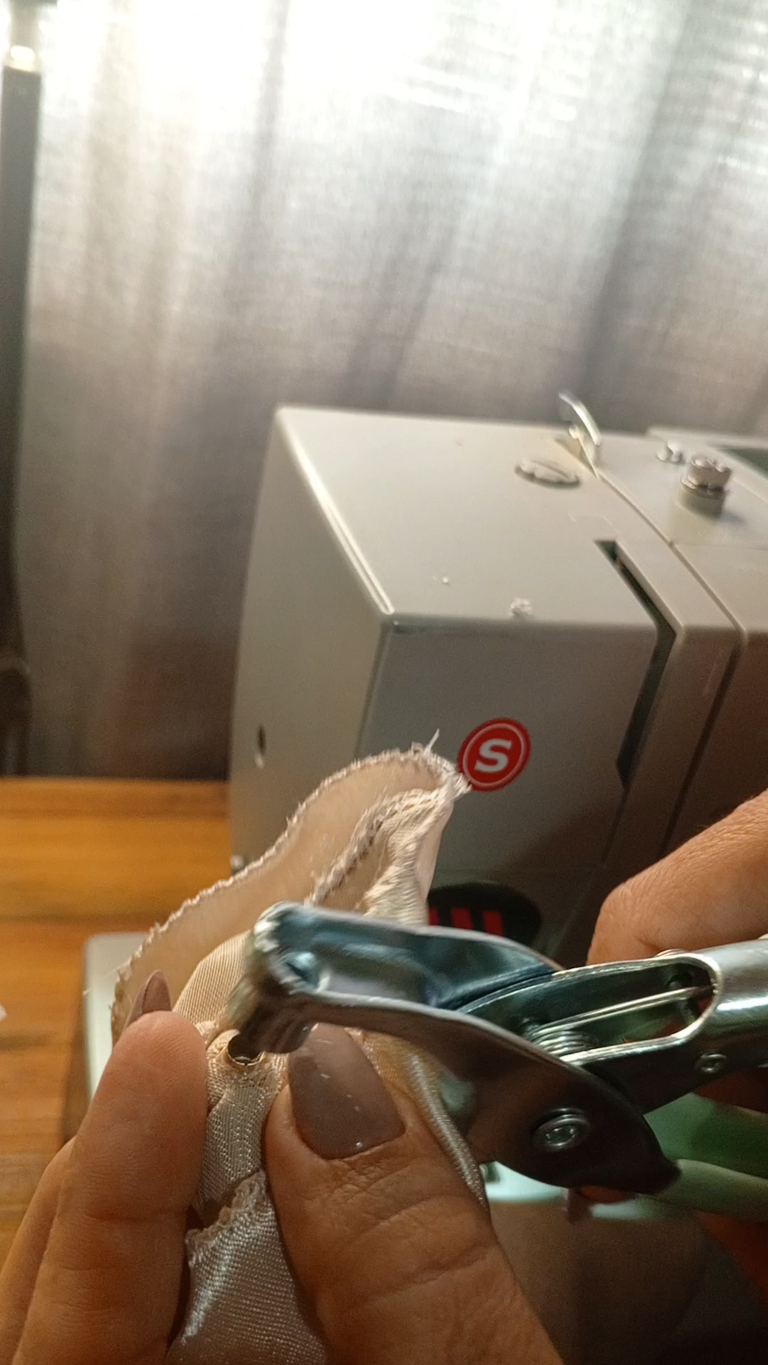
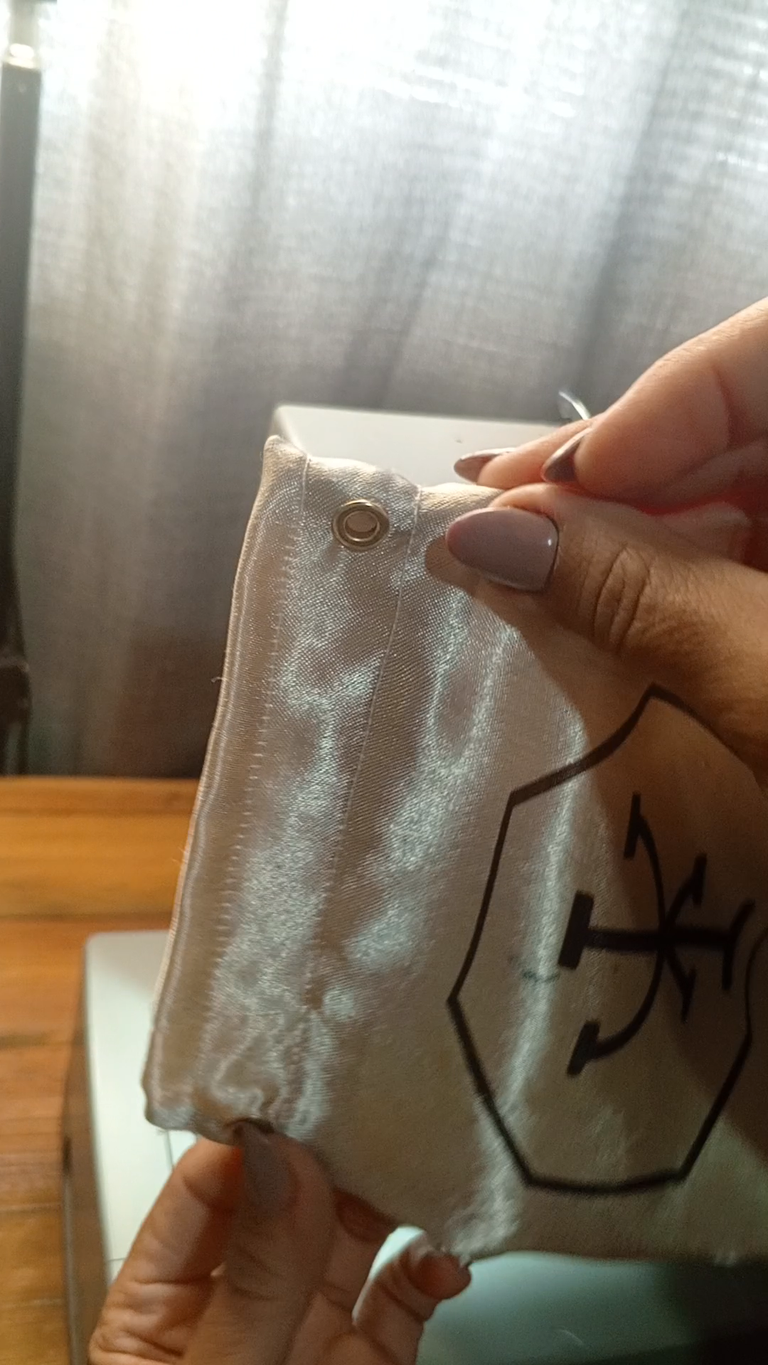
Con ayuda de la tijera realiza un pequeño orificio para que pueda entrar el ojete.
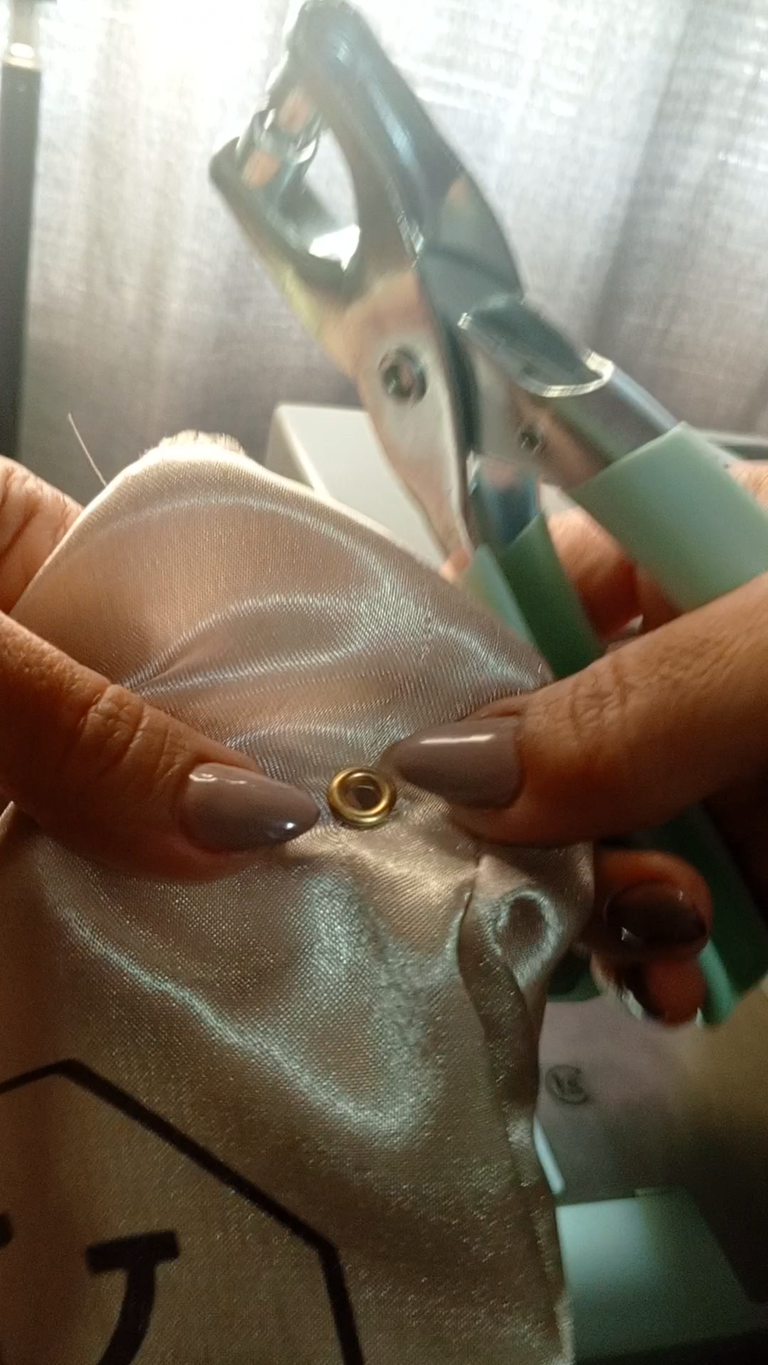
Coloca el ojete en la tela y luego con el alicate presiona.
Dobla nuevamente los 3 centímetros de la parte superior hacia adentro y cose una recta a 1 centímetro separado del borde.
! [English version]
With the help of the scissors make a small hole for the eyelet to enter.
Place the eyelet on the fabric and then press with the pliers.
Fold the 3 centimeters of the upper part inwards again and sew a straight line 1 centimeter away from the edge.
Step 6️⃣/ paso 6️⃣
 |  |  |
 |  |  |
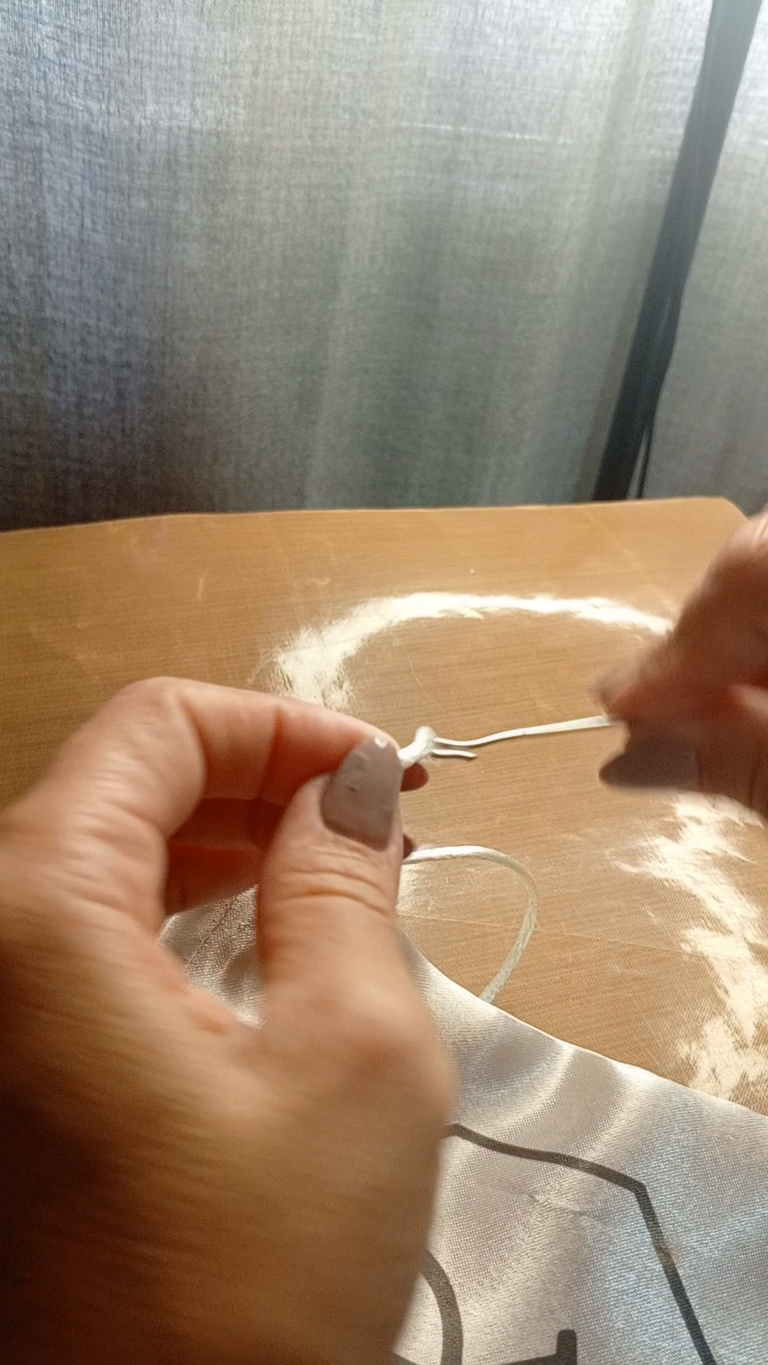
[Esp]
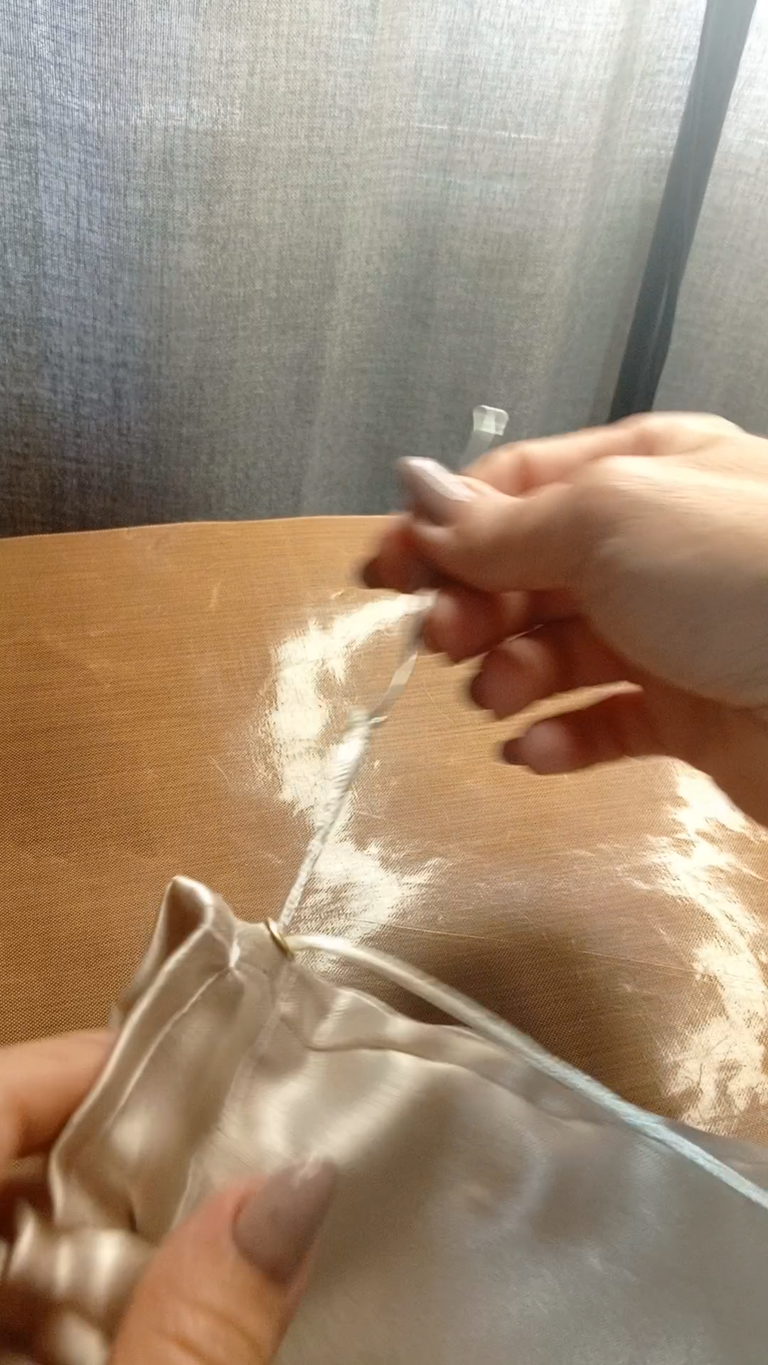
Deja una separación de dos centímetros y vuelve a coser una recta.
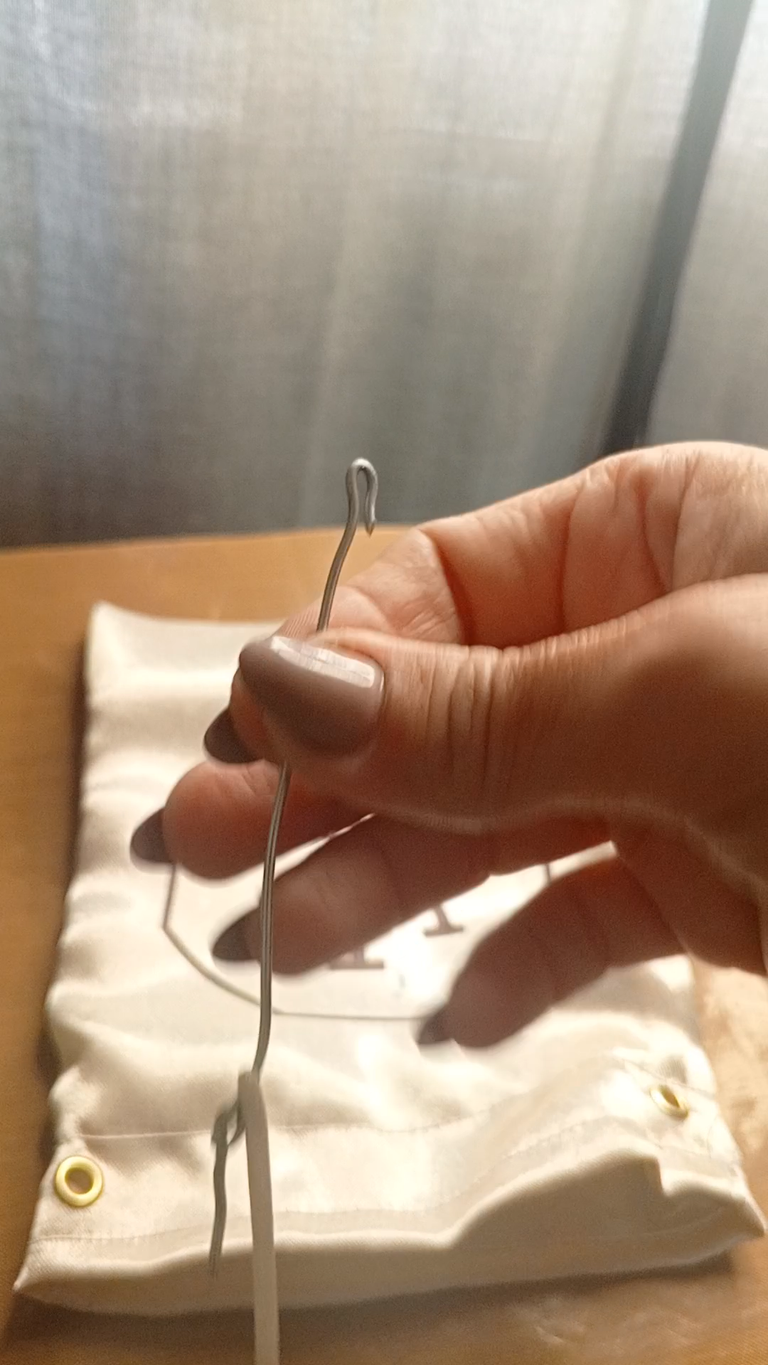
Corta el cordón e introdúcelo por el ojete con ayuda de algún instrumento (entra por el ojete y sale por el mismo ojete)
! [English version]
We just repeat the previous steps to create the next flower.Leave a separation of two centimeters and sew a straight stitch again.
Cut the cord and insert it through the eyelet with the help of an instrument (enter through the eyelet and exit through the same eyelet).
Step 7️⃣/ paso 7️⃣
 |  |  |
 | 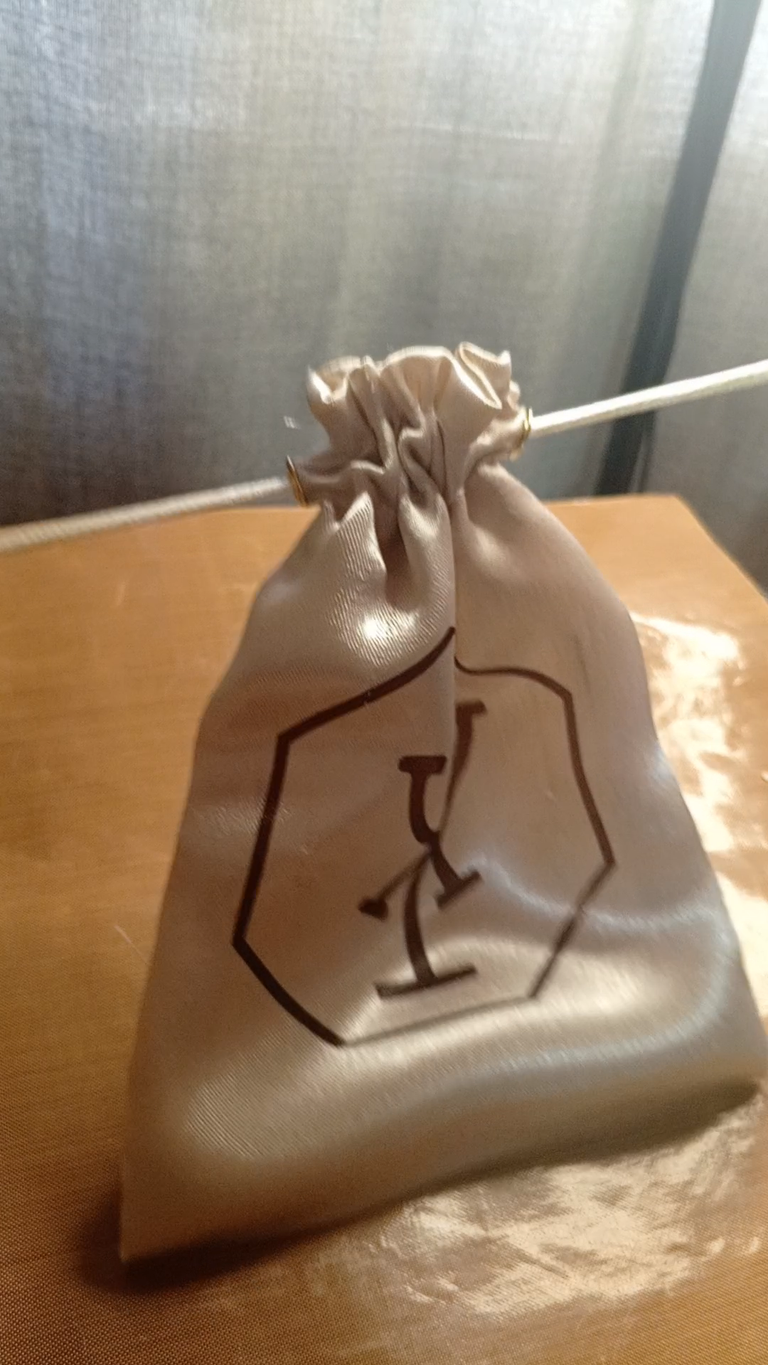 |
[Esp]
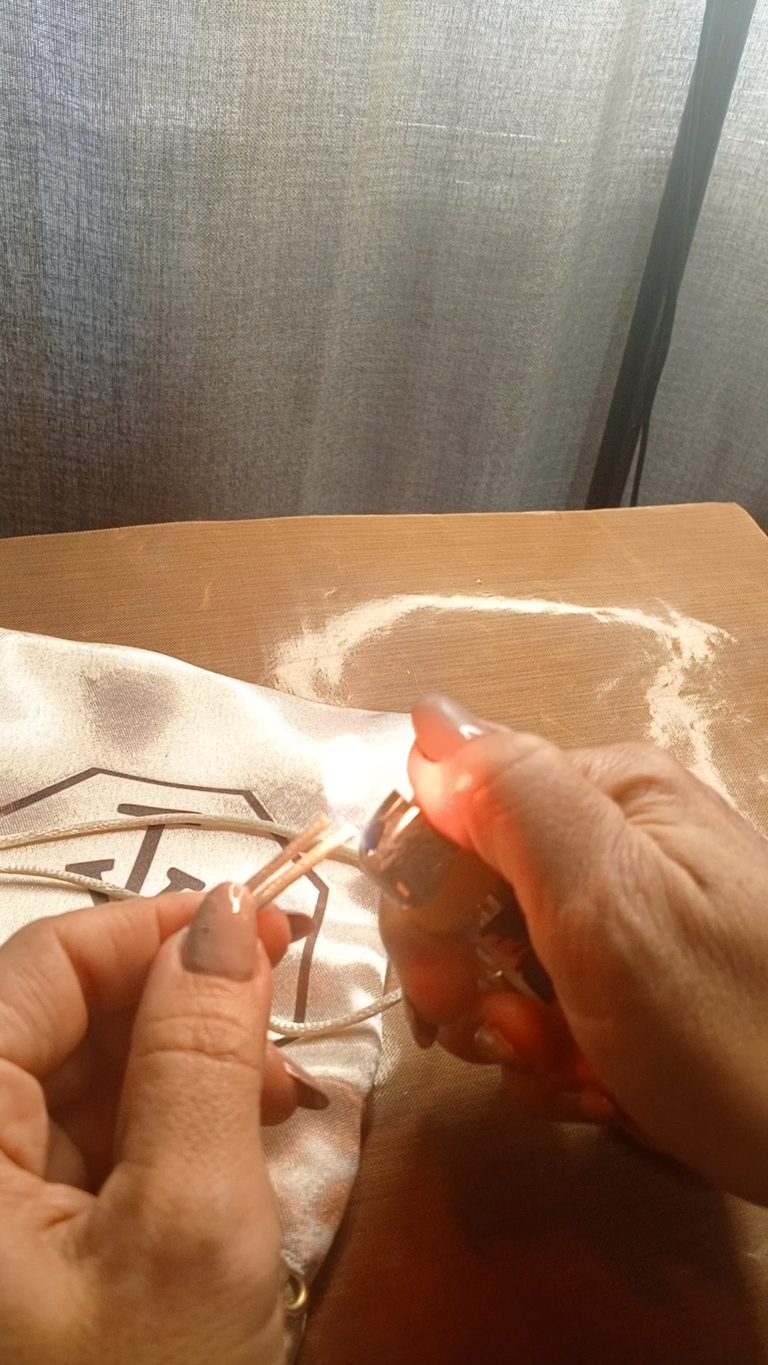
Quema las puntas del cordón con el yesquero y realiza un nudo uniendo ambas puntas.
Repite el procedimiento con el otro cordón.
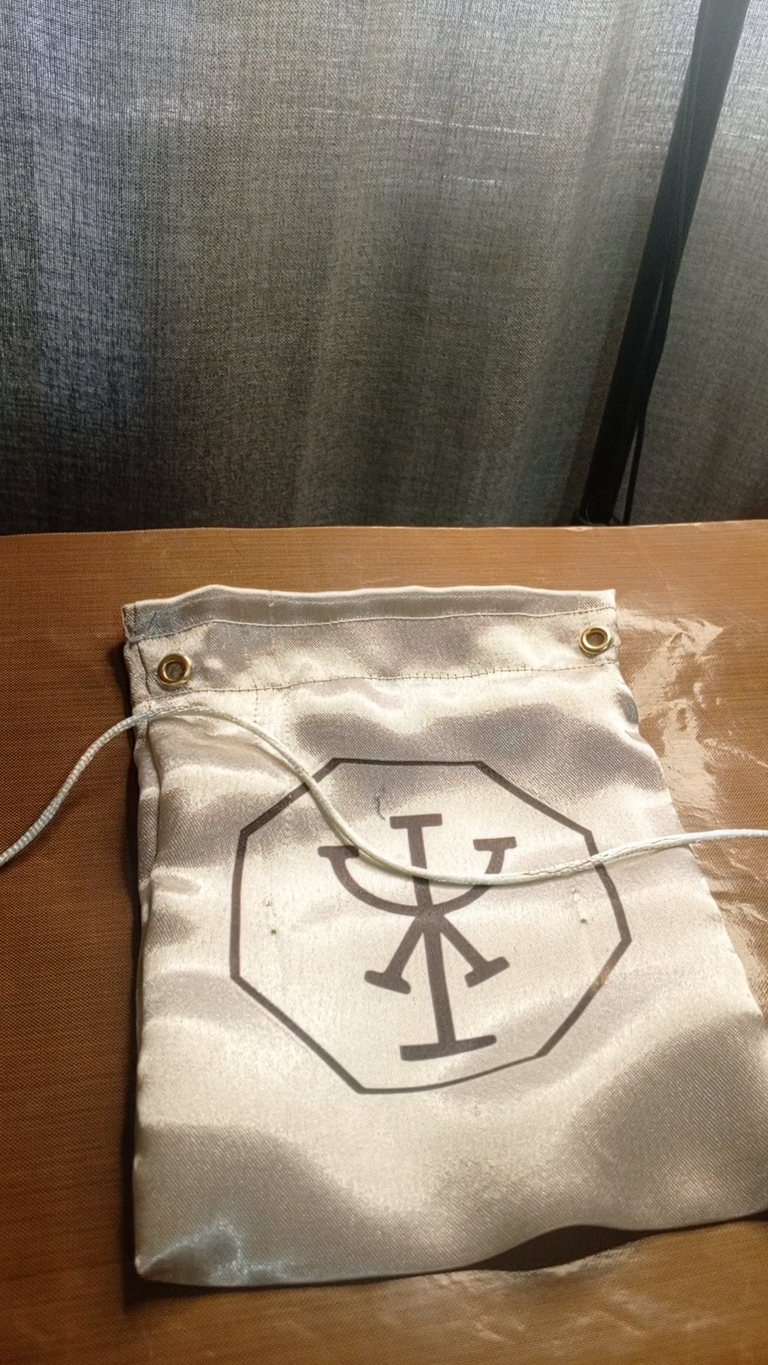
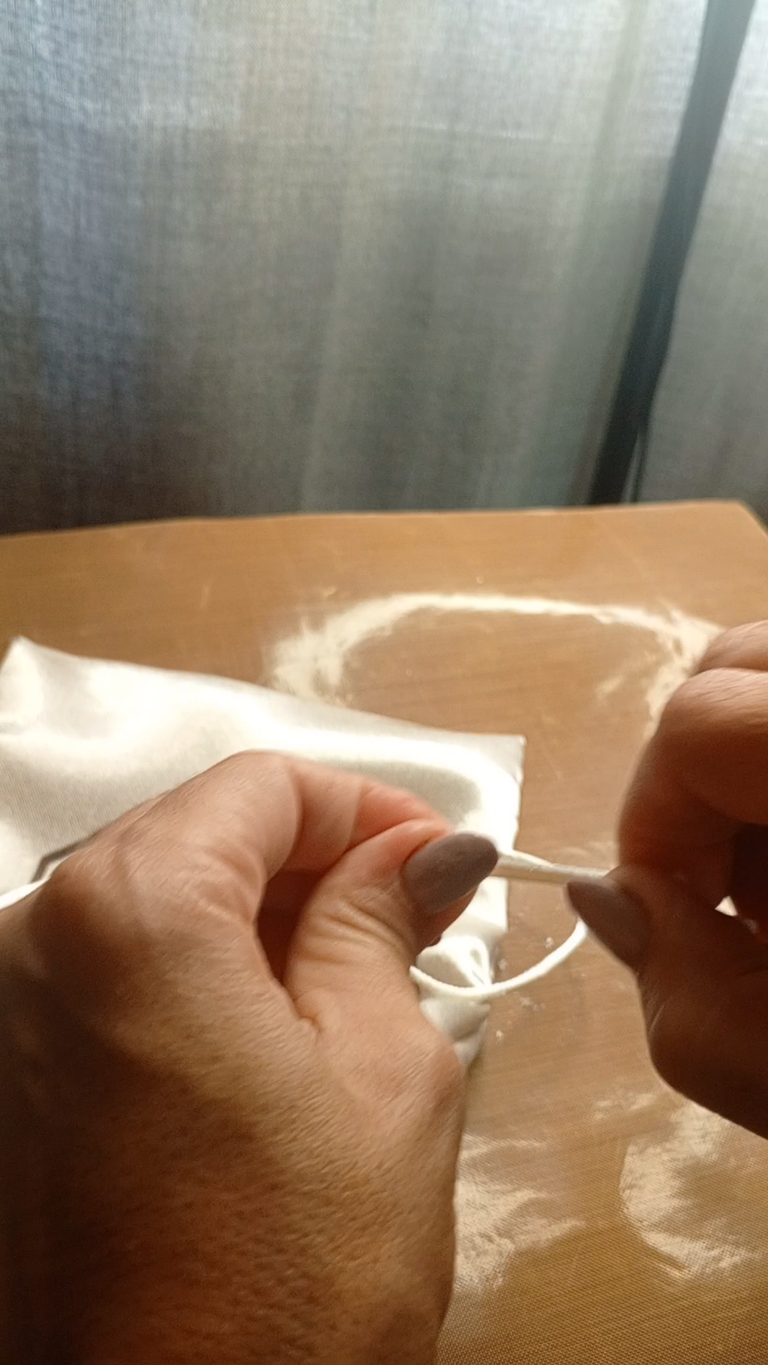
Ahora podrás abrir y cerrar fácil la bolsita.
Ahora con los ojetes se ve más elegante y duradero.
Espero les guste.
! [English version]
Burn the ends of the cord with the tinder and make a knot joining both ends.
Repeat the procedure with the other cord.
Now you can easily open and close the pouch.
Now with the eyelets it looks more elegant and durable.
I hope you like it.


Créditos / Credits

💜💜💜
![]() 👉
👉  👉
👉 ![]() 👉
👉 ![]() 👉
👉 
Here / Bríndame un café

This post has been manually curated by @steemflow from Indiaunited community. Join us on our Discord Server.
Do you know that you can earn a passive income by delegating to @indiaunited. We share more than 100 % of the curation rewards with the delegators in the form of IUC tokens. HP delegators and IUC token holders also get upto 20% additional vote weight.
Here are some handy links for delegations: 100HP, 250HP, 500HP, 1000HP.
100% of the rewards from this comment goes to the curator for their manual curation efforts. Please encourage the curator @steemflow by upvoting this comment and support the community by voting the posts made by @indiaunited.
Te quedó muy linda ☺️☺️🤩 haces un hermoso trabajo súper
!LADY
View or trade
LOHtokens.@angeluxx, you successfully shared 0.1000 LOH with @equipodelta and you earned 0.1000 LOH as tips. (1/4 calls)
Use !LADY command to share LOH! More details available in this post.
Gracias Angelux <3
Te quedó precioso! Y me encantó el significado de la runa que elegiste , no se mucho de sus significados pero se me hacen muy interesante porque siempre he sido fan de la mitología nórdica
Ellos son muy místicos. También soy muy fan, al final todas las culturas se unen en un solo significado, la conexión con lo supremo, el bienestar, la felicidad, la armonía y la abundancia.
Le quedo muy bonito, las personas recurren más a la búsqueda de ayuda espiritual, en los tiempos de necesidad. Tal vez por eso más personas consultan runas y las artes esotéricas.
El video le quedo muy claro, le felicito por eso.
Hola mi querido Sol, trabajar en mi espiritualidad es lo mejor que me ha pasado. Después de tanto que he experimentado en religiones y estudios, puedo decir que estoy en el lugar indicado porque encontré calma, paz y sanación.
Gracias por tu apreciación querido. Estuve viendo unos videos de personas que hacen sus propias runas (claro que con los símbolos nordicos) los hacen con resina y les quedan hermosos. Yo recuerdo haber hecho unos de adolescente, eran de madera tallada. Entre tanta mudanza se extraviaron.
Lo haces con tus manos, queda impregnado de tu esencia. El tema espiritual es único para cada persona, lo importante es que te encuentres en paz.
Este mundo está lleno de trampas, de montones de guías o grupos, que están solo para obstaculizar, confundir, o perder a las personas, y eso es un poco injusto. Pero no podemos hacer nada, cada persona tiene que decidir, el libre albedrío no es muy libre algunas veces.
El mundo pone siempre a las personas entre la espada y la pared, las personas te inducen, muchas veces hasta con buena intención, a tomar decisiones hacia el mal camino. Y La voz interna en ocasiones no es tu propia voz interna, este mundo solo es una prueba, muy exigente, cruel, injusto.
Espero que te mantengas en la luz, cuídate, ya le estaré leyendo en sus publicaciones.
Así es mi corazon, yo rápidamente los capto, siempre he tenido claro lo que soy y quien soy y no vine para seguir vine para guiar, en cuanto huelo que en vez de compartir criterios están tratando de convencerme o lavarme el cerebro o convertirme en adepta, analizo sus vidas y marco la milla, jajajajaj! la gente tiene que respetar el libre albedrio y si algo he aprendido es que una cosa es ser influyente la gente te sigue sola, la otra es ser manipulador de las masas.
Te mando un abrazo gigante me encanta tu forma de pensar