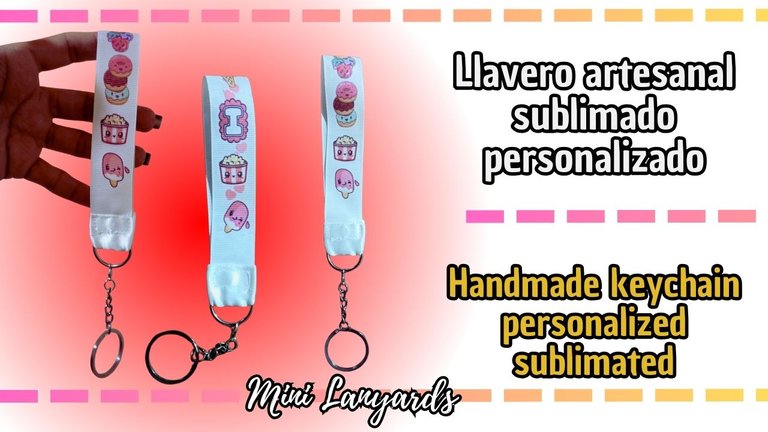
DIY: Llavero (minilandyard) sublimado, personalizado / Handmade Keychain personalized sublimated (Esp/Eng)

[Esp]
Saludos querida comunidad.
Estoy aprendiendo hacer llaveros, conocidos como minilandyard también, es una idea que venía pensando hacer aunque no de esta manera, no fue sino compartiendo ideas con @yennisferm71 que me inspiró con una genial idea.
Hacer estos llaveros personalizados con tu nombre, con el nombre de tu marca, es espectacular. Una idea para lucir y capturar todas las miradas.
Te dejo un video del paso a paso, te invito a verlo.
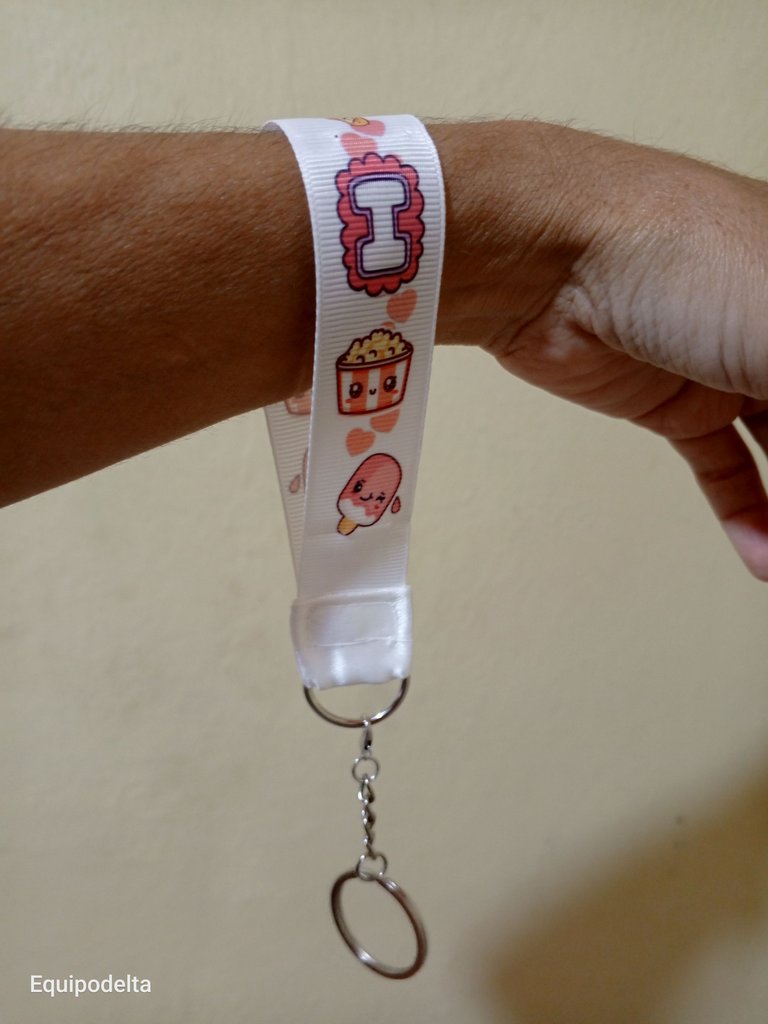
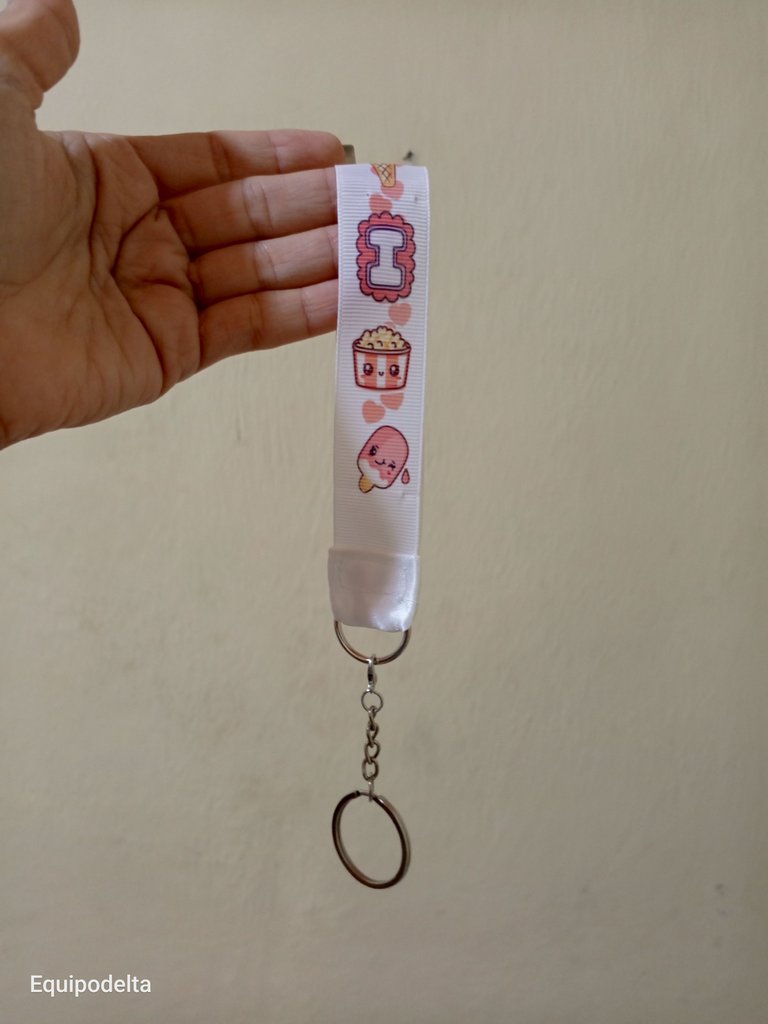
Espero que les guste mi primer llavero, hay muchas formas de hacerlo, hoy te enseño una, quizá la más laboriosa por la costura.
! [English version]
Greetings dear community.
I am learning to make keychains, known as minilandyard also, is an idea that I was thinking of doing but not in this way, it was not but sharing ideas with @yennisferm71 that inspired me with a great idea.
Making these personalized keychains with your name, with the name of your brand, is spectacular. An idea to show off and capture all eyes.
I leave you a step by step video, I invite you to watch it.
I hope you like my first keychain, there are many ways to do it, today I show you one, maybe the most laborious because of the sewing.
https://www.youtube.com/shorts/AtTE_O8eHdU

Materiales / Materials
 |  |
| Spanish | English | |
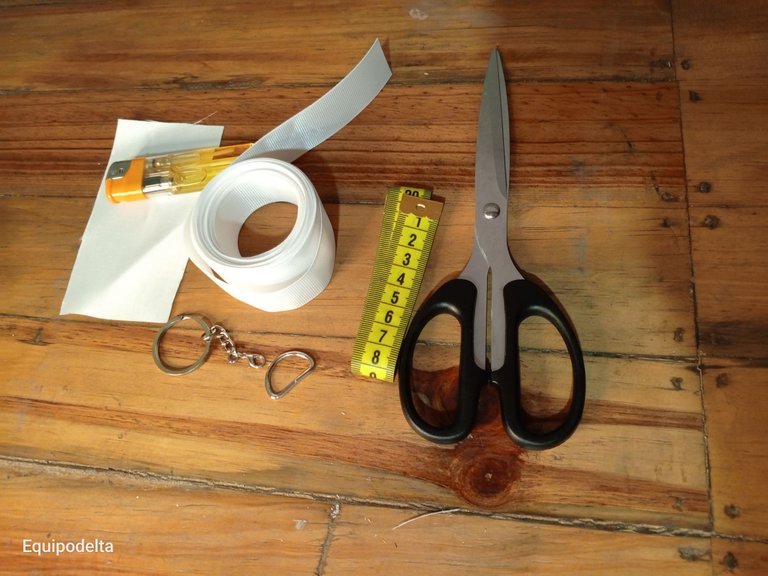
| Cinta Gross | Cinta Gross | |
| Tela seda | Tela seda | |
| Tijera, hilo | Scissors, thread | |
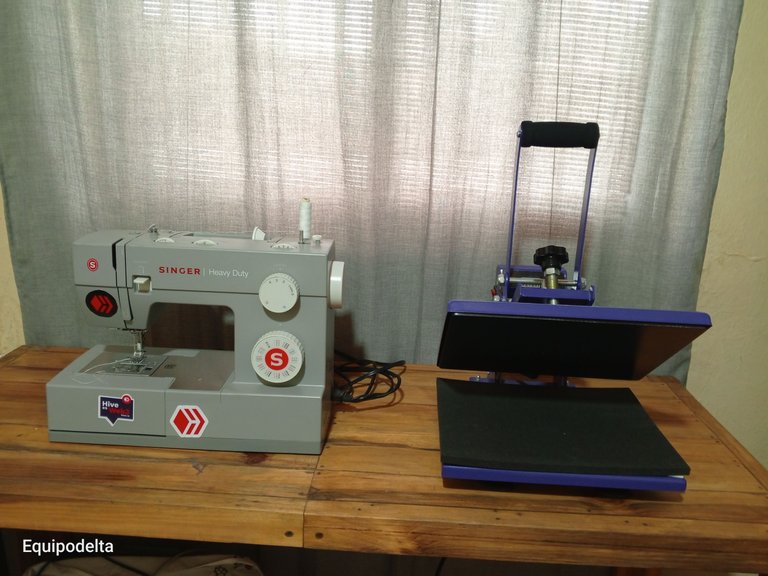
| Maquina de coser | Sewing machine | |
| Equipo para sublimar | Sublimation equipment | |
| Imágenes e impresiones | Images and prints | |
| Aros y media argolla para llaveros | Hoops and half rings for key chains |
Paso a paso / Step by Step
Step 1️⃣/ Paso 1️⃣
 |  |  |
 |  |
[Esp]
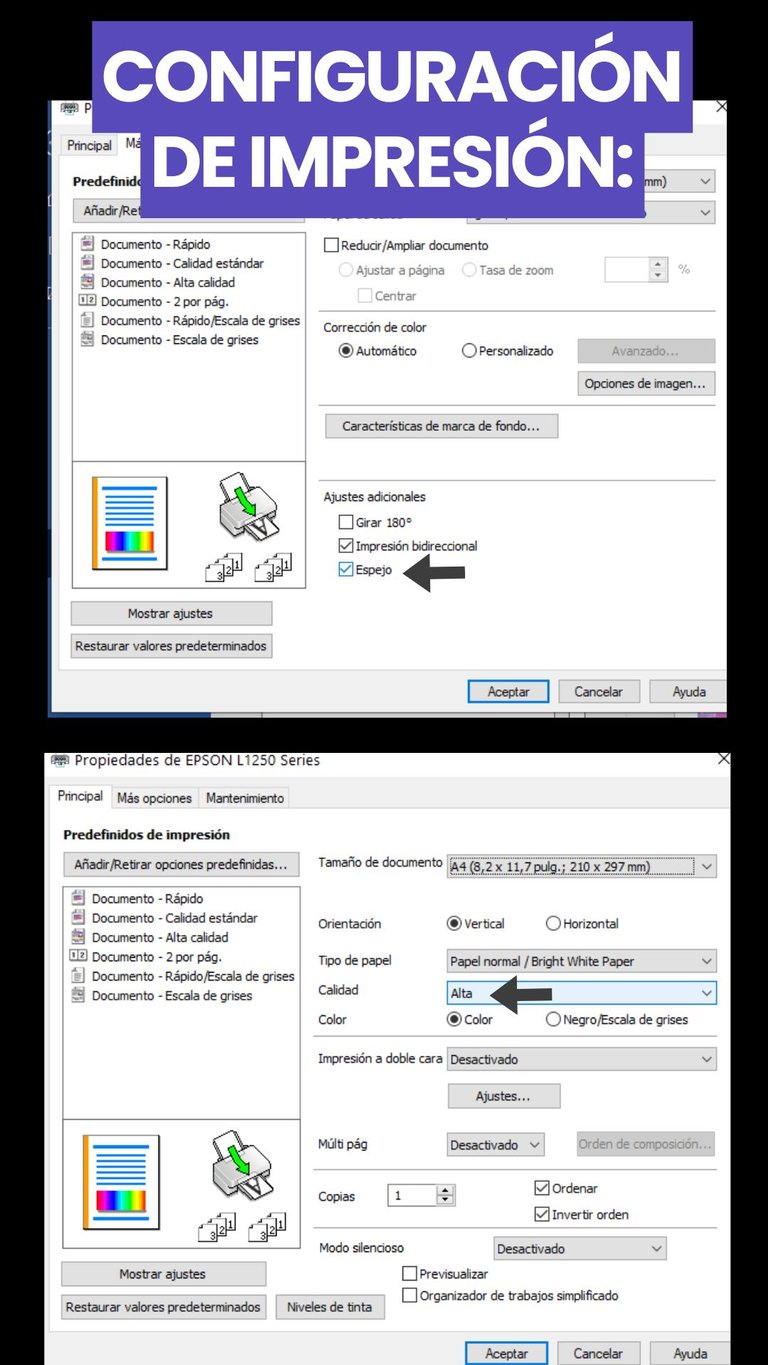
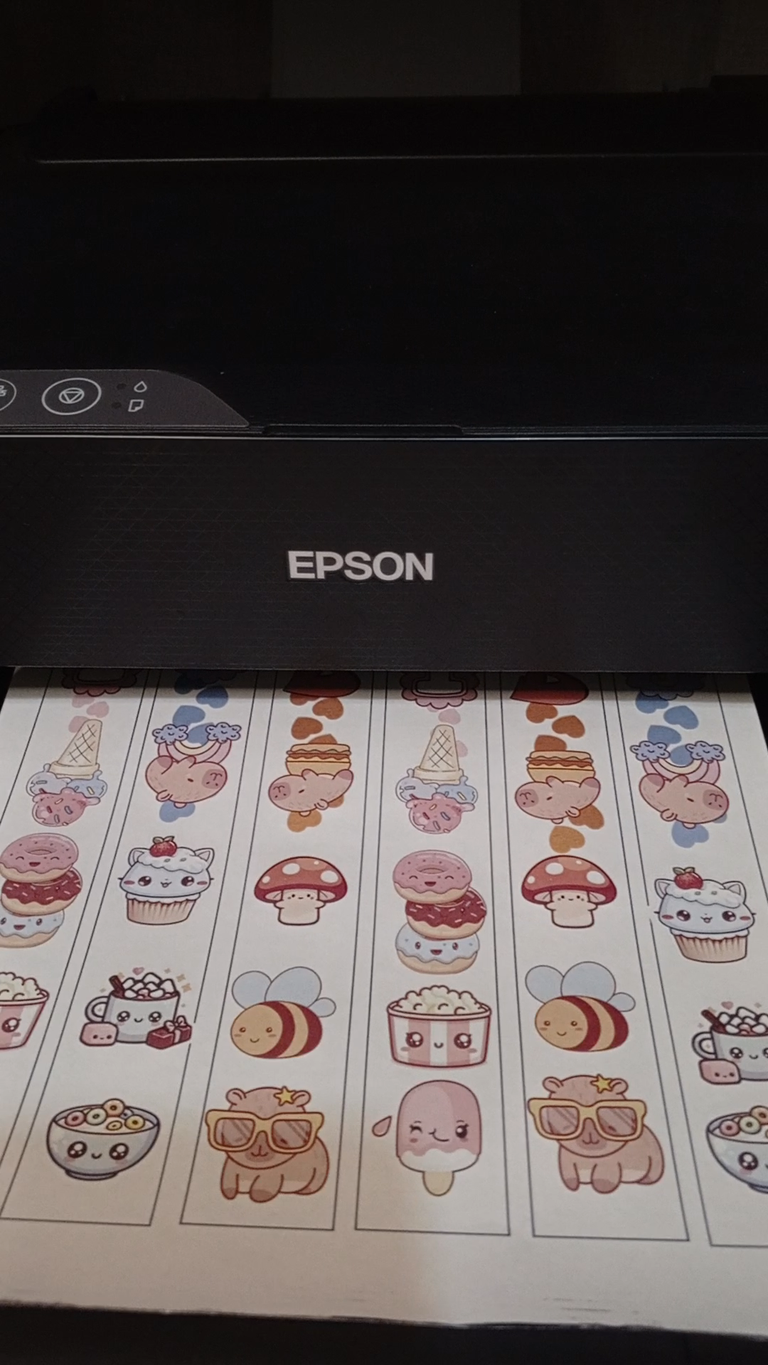
Configura la impresora, asegúrate que esté seleccionada la opción "espejo" y la calidad "alta".
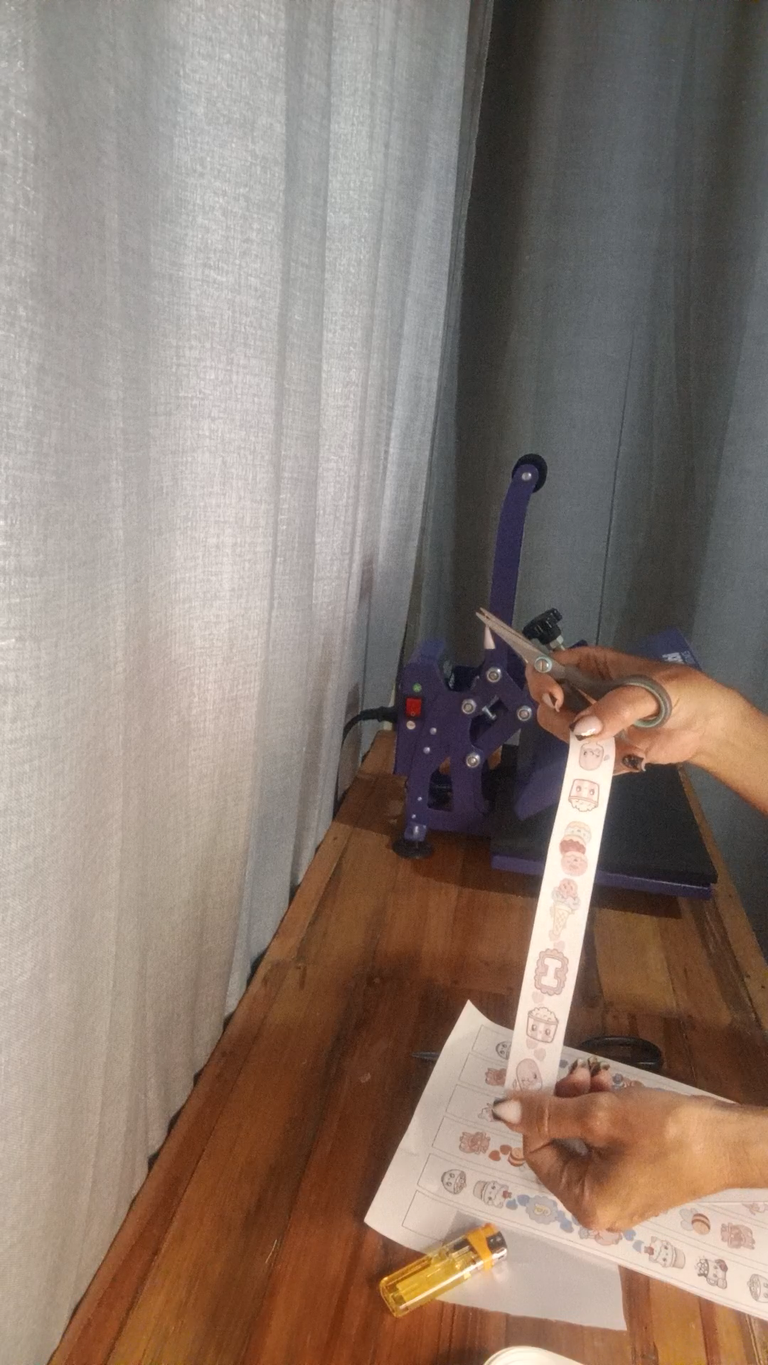
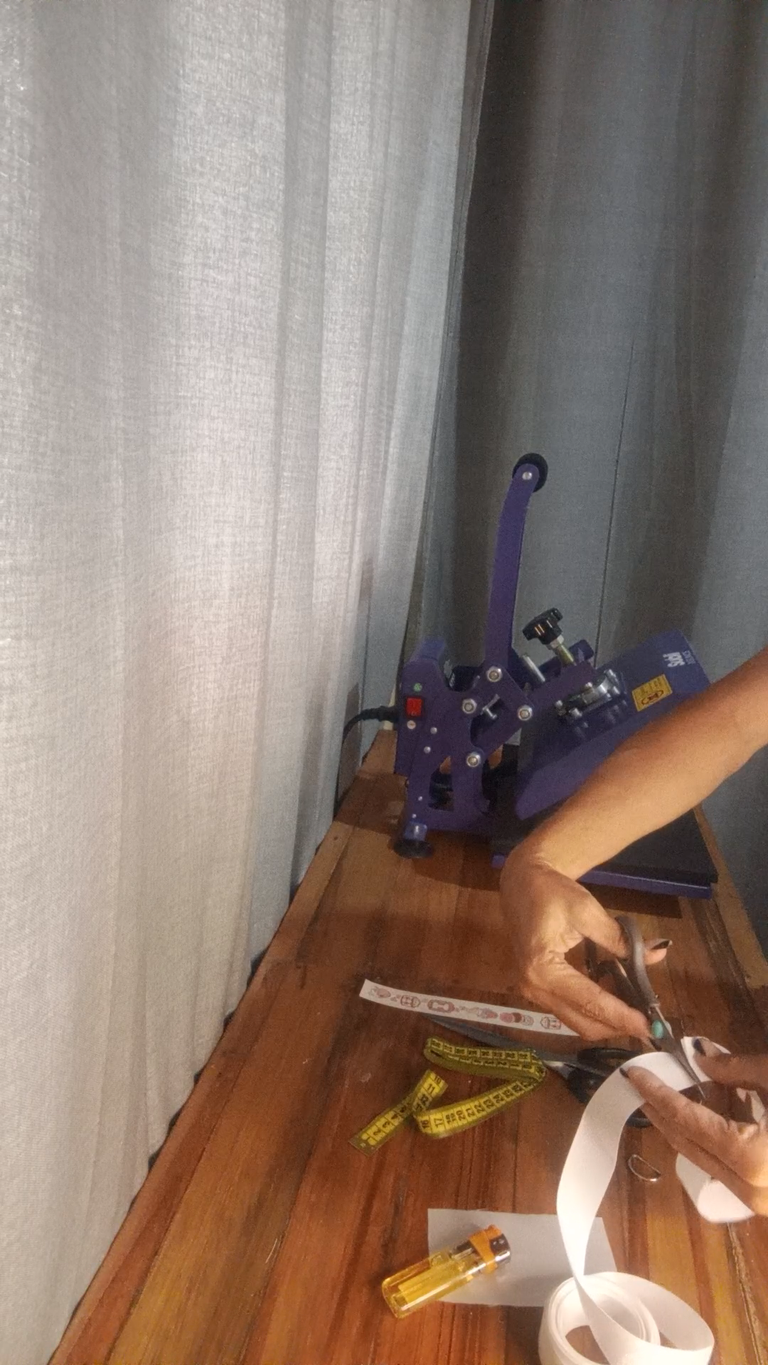
Recorta por la orilla de los diseños.
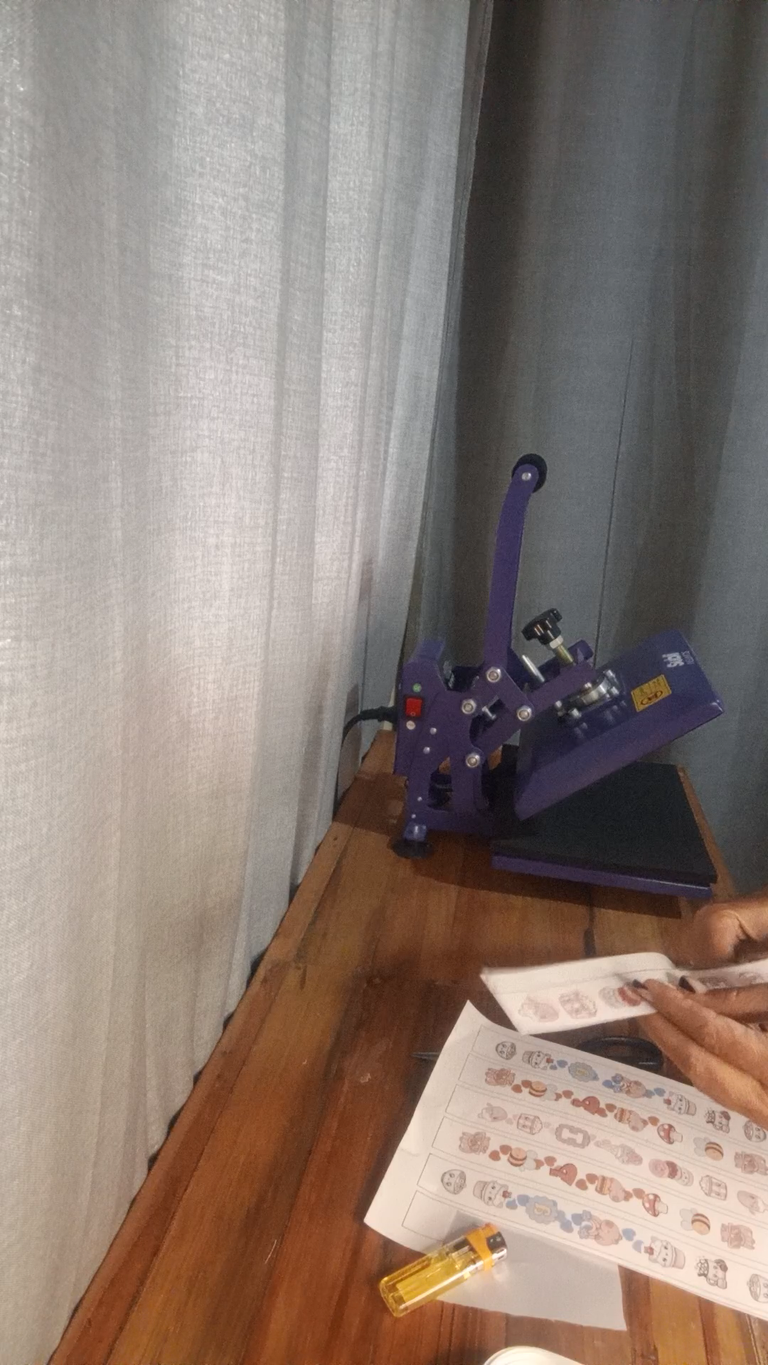
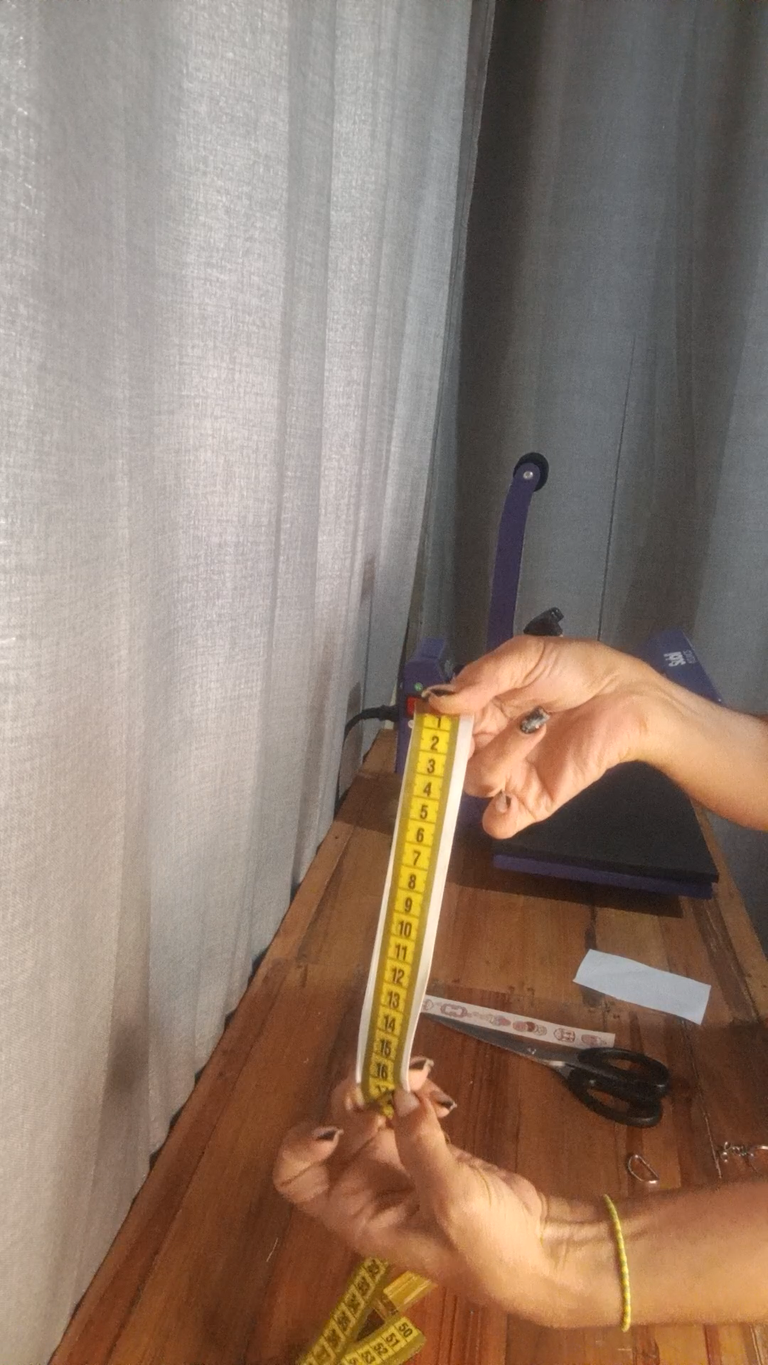
Corta el largo de la cinta gross, el largo que recomiendo es 24 centímetros.
! [English version]
Set up the printer, make sure the "mirror" option is selected and the "high" quality is set.
Trim along the edge of the designs.
Cut the length of the gross ribbon, the length I recommend is 24 centimeters.
Step 2️⃣/ paso 2️⃣
 |  |  |
 |  |
[Esp]
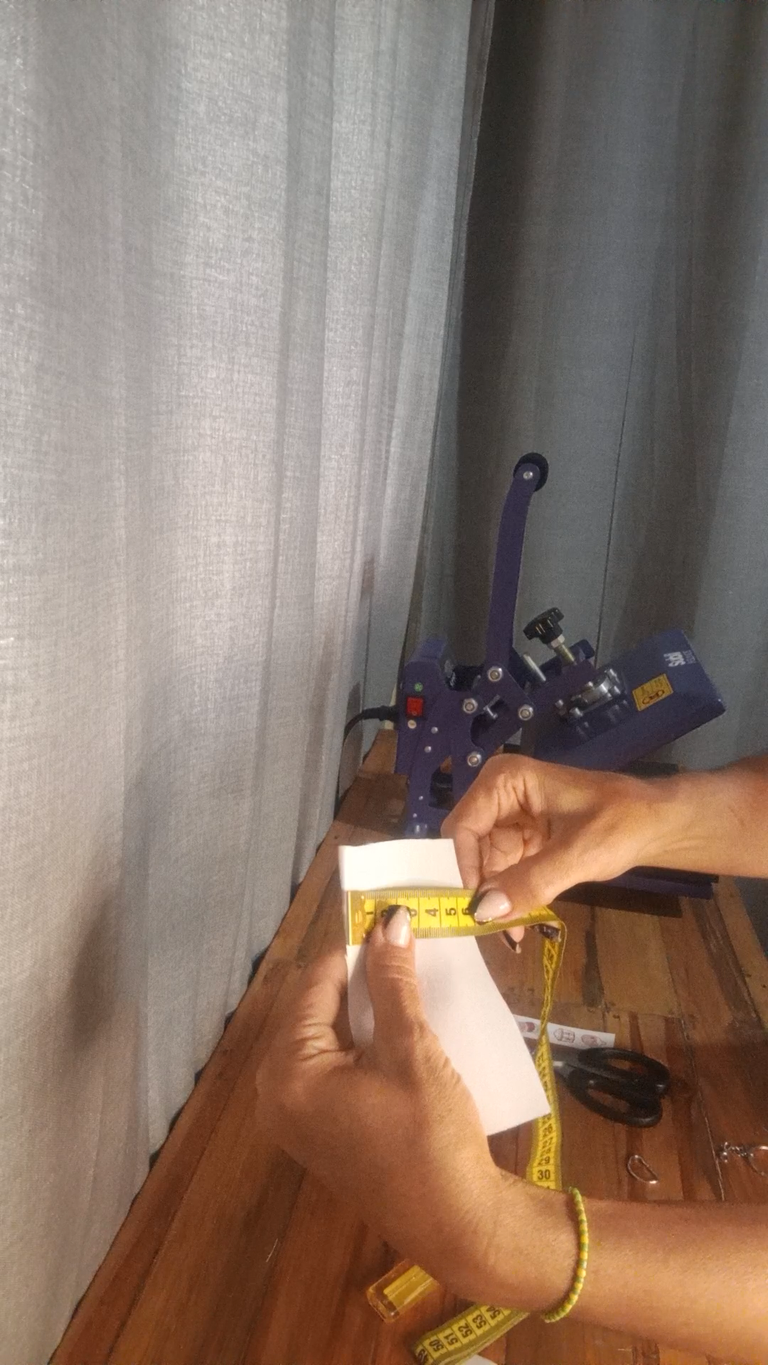
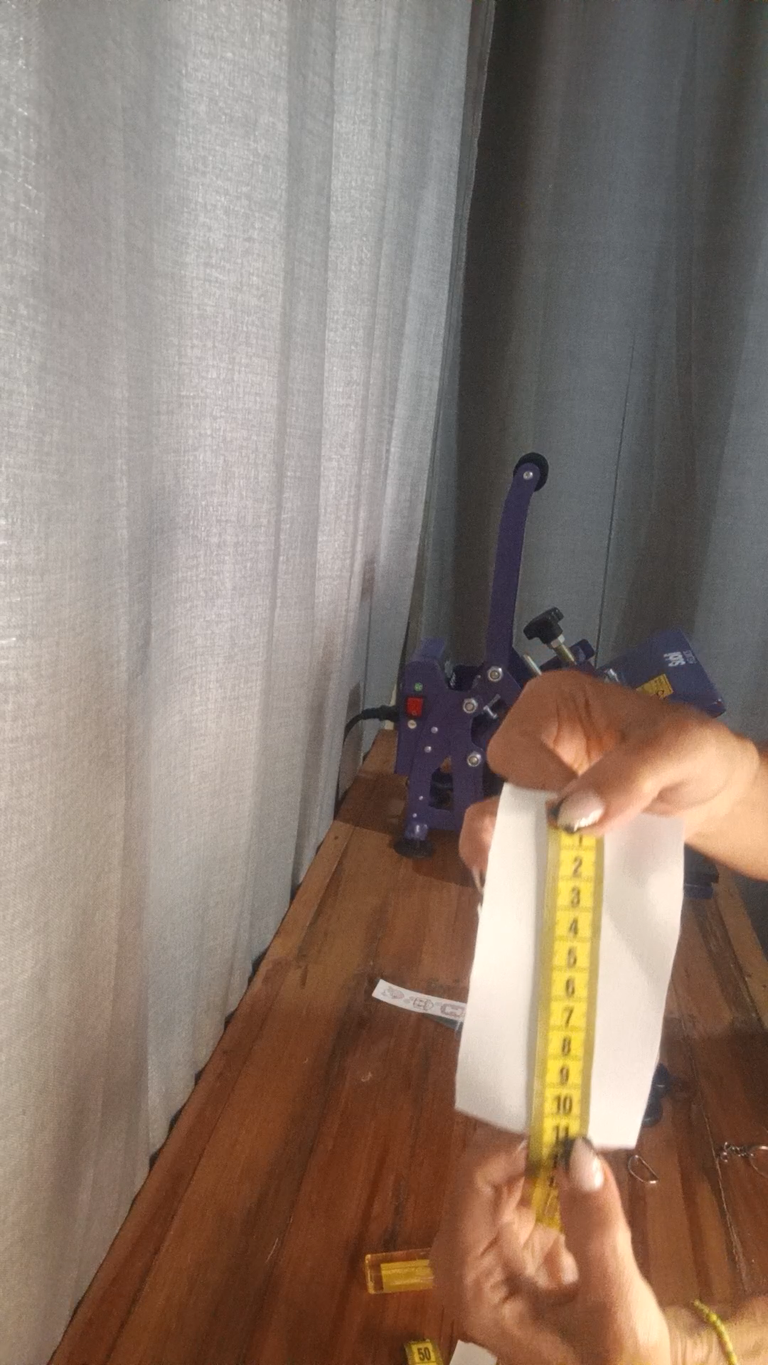
Corta un trozo de tela de 10 centímetros de largo por 7 de ancho.
Coloca la impresión sobre la cinta y asegúrala con la cinta térmica para que no se ruede.
! [English version]
Cut a piece of fabric 10 centimeters long by 7 centimeters wide.
Place the print on the ribbon and secure it with the thermal tape so that it does not roll off.
Step 3️⃣/ paso 3️⃣
 |  |  |
 |  |  |
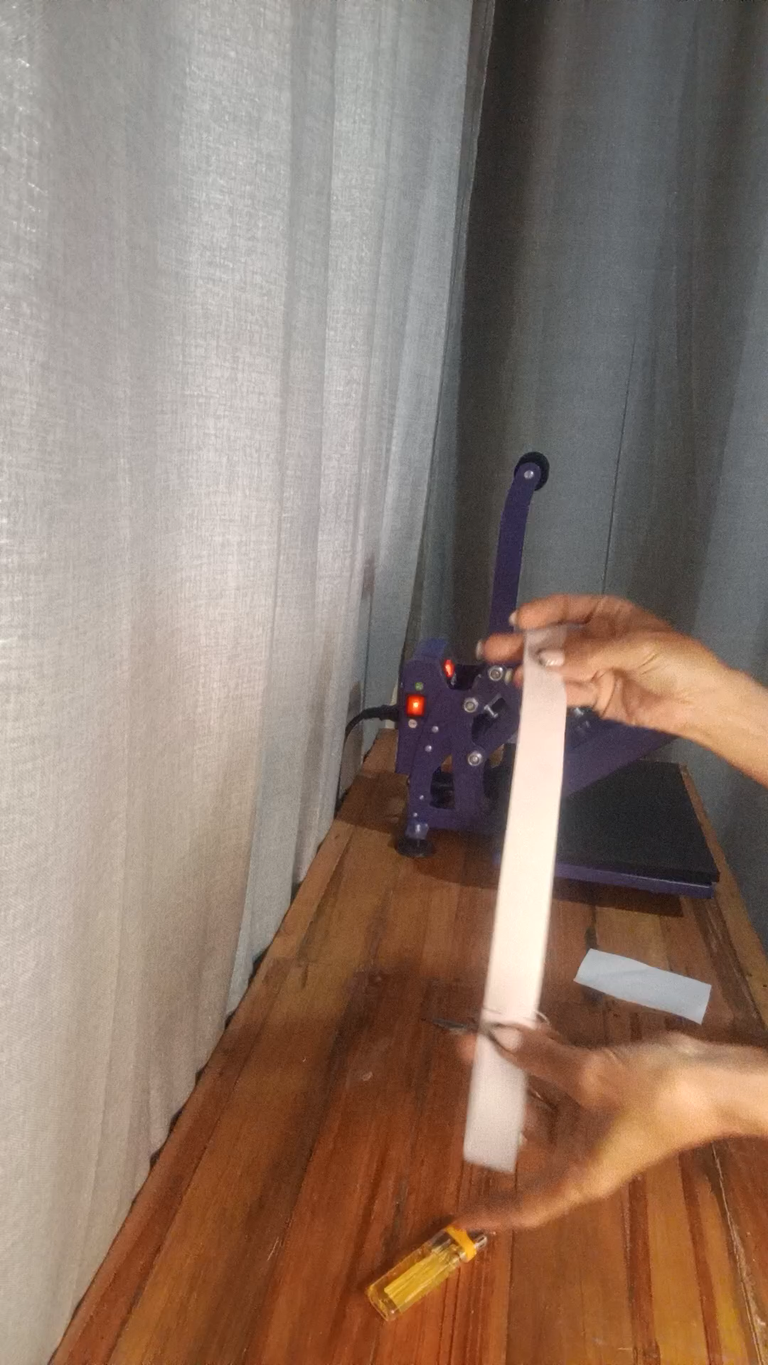
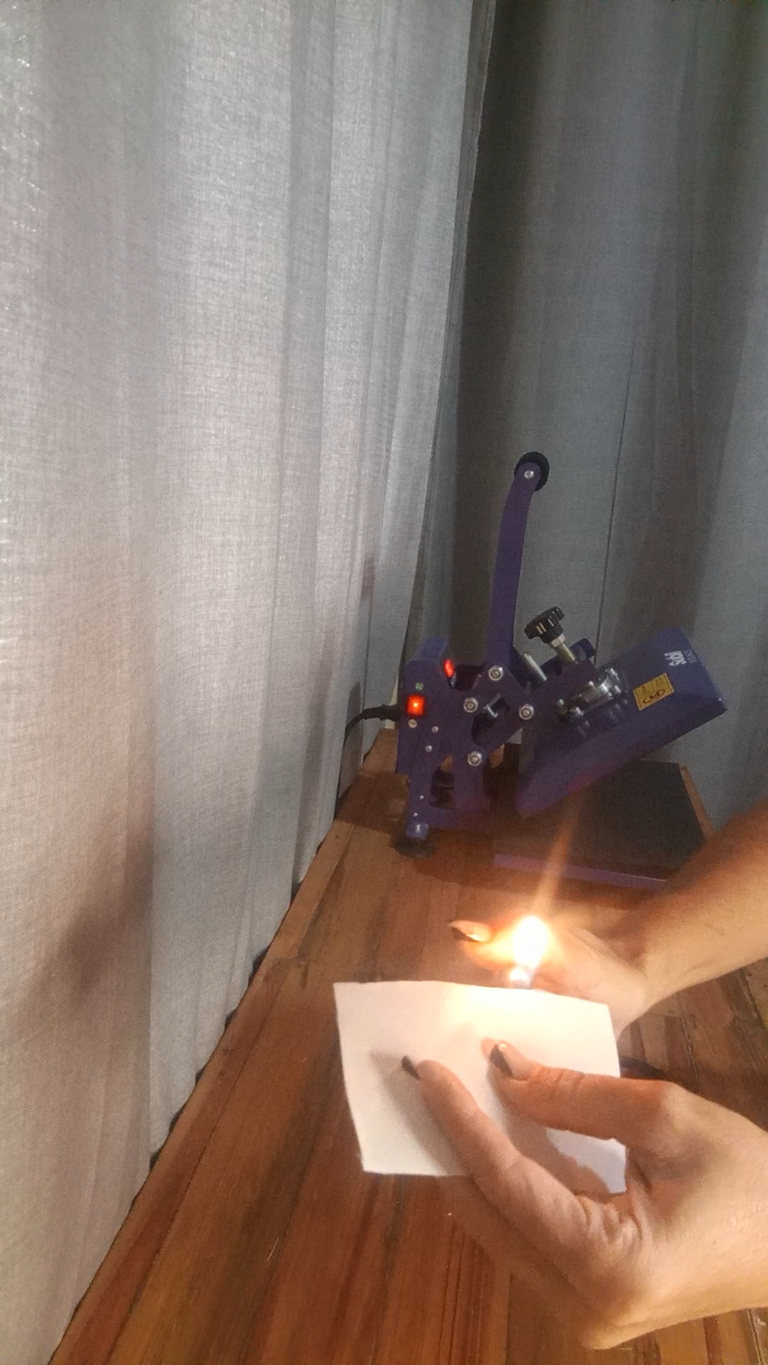
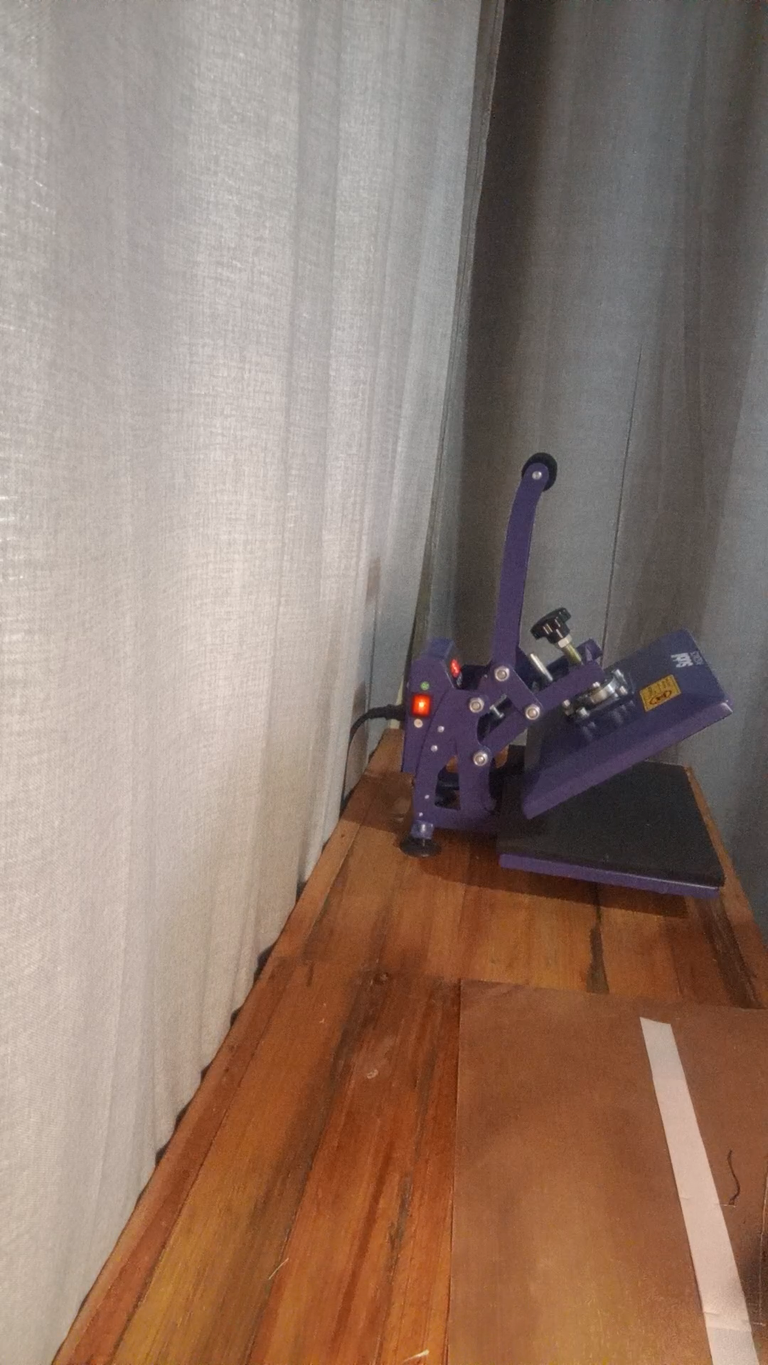
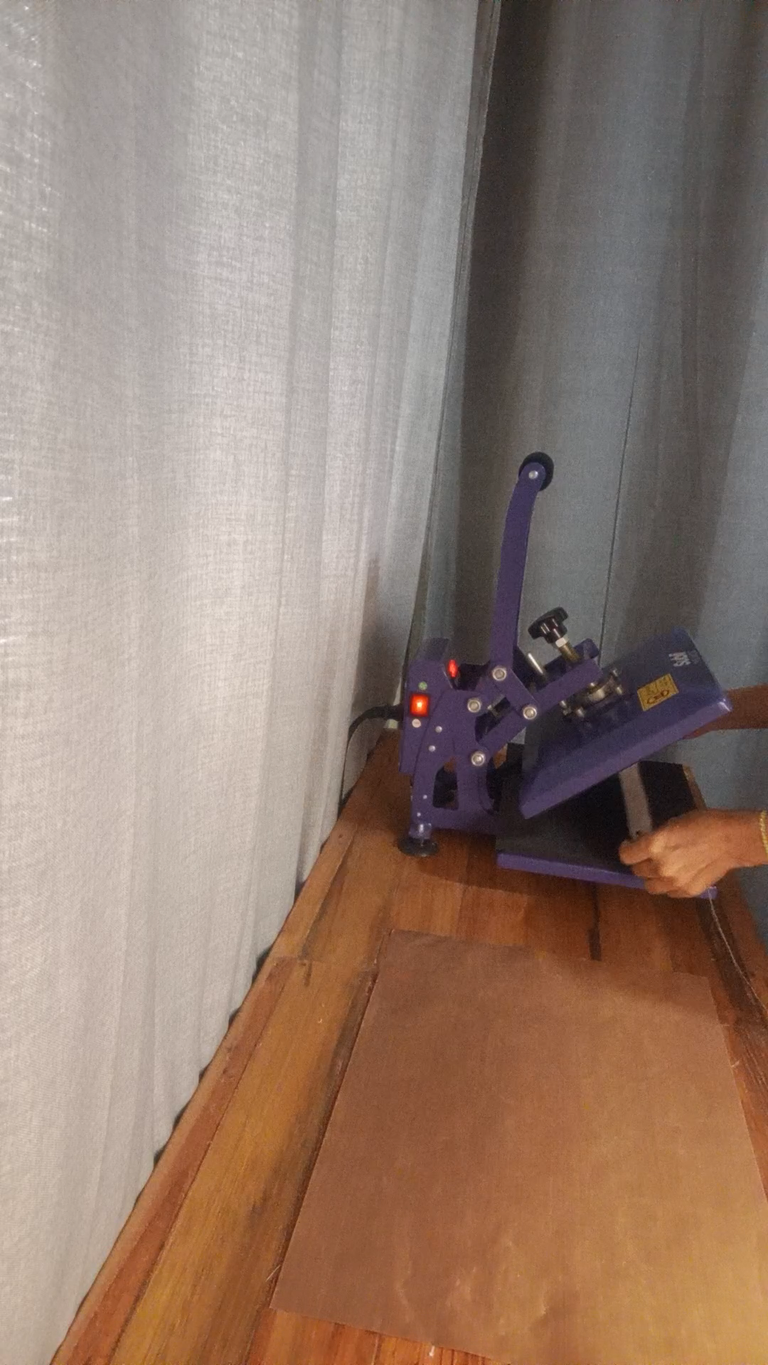
[Esp]
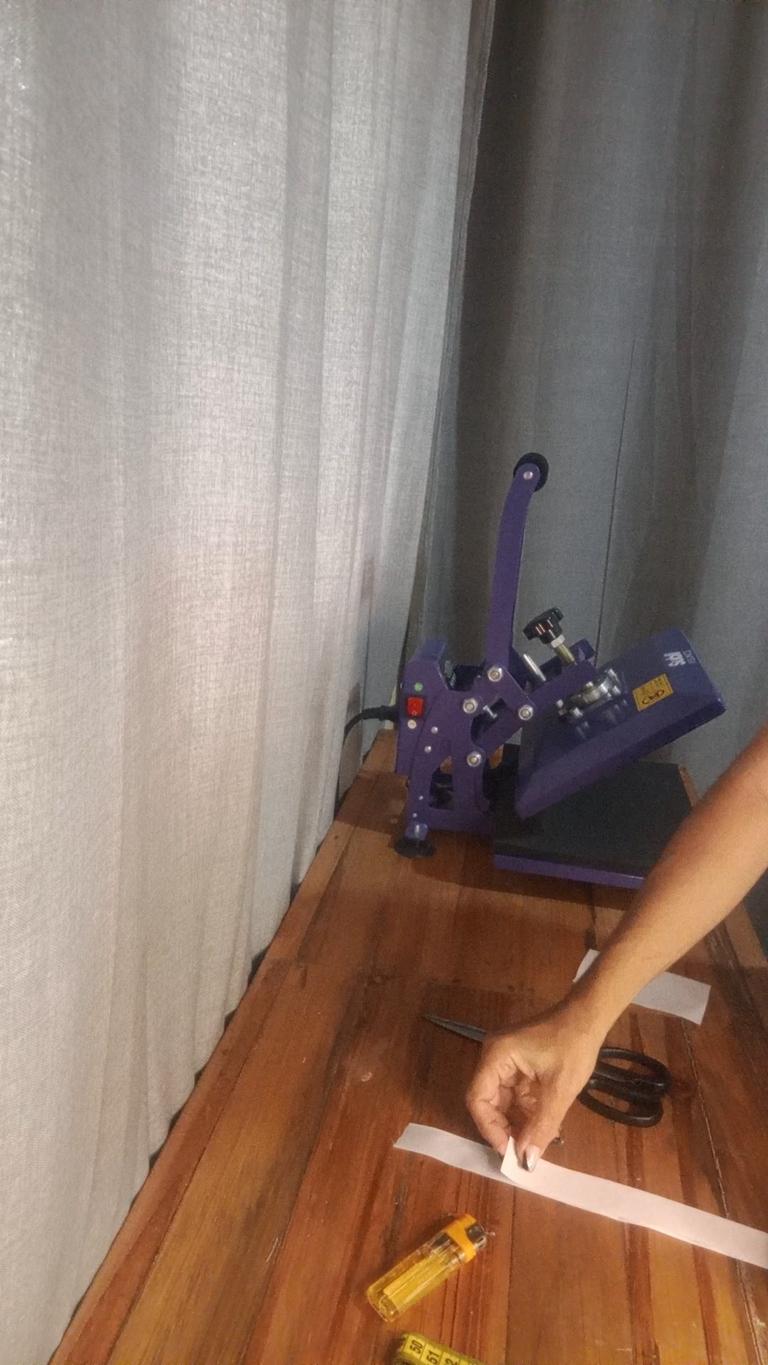
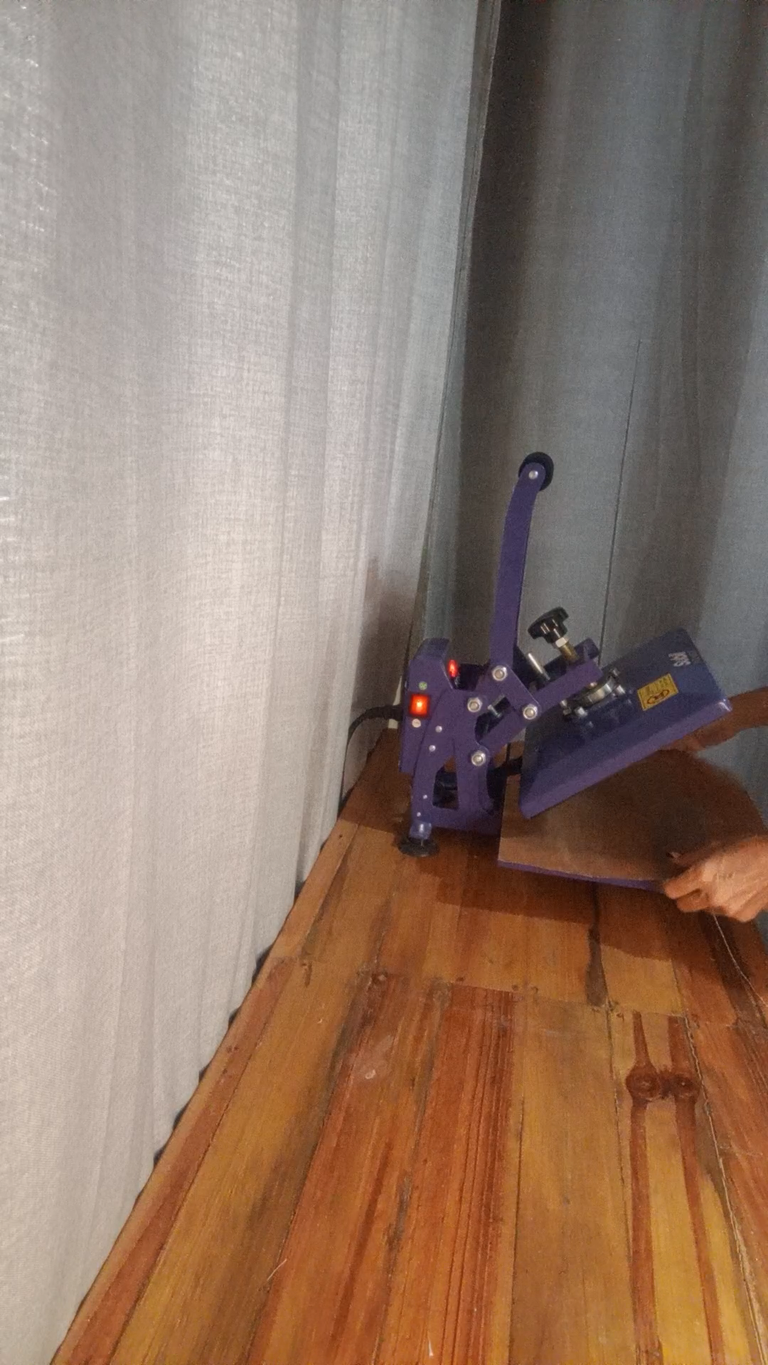
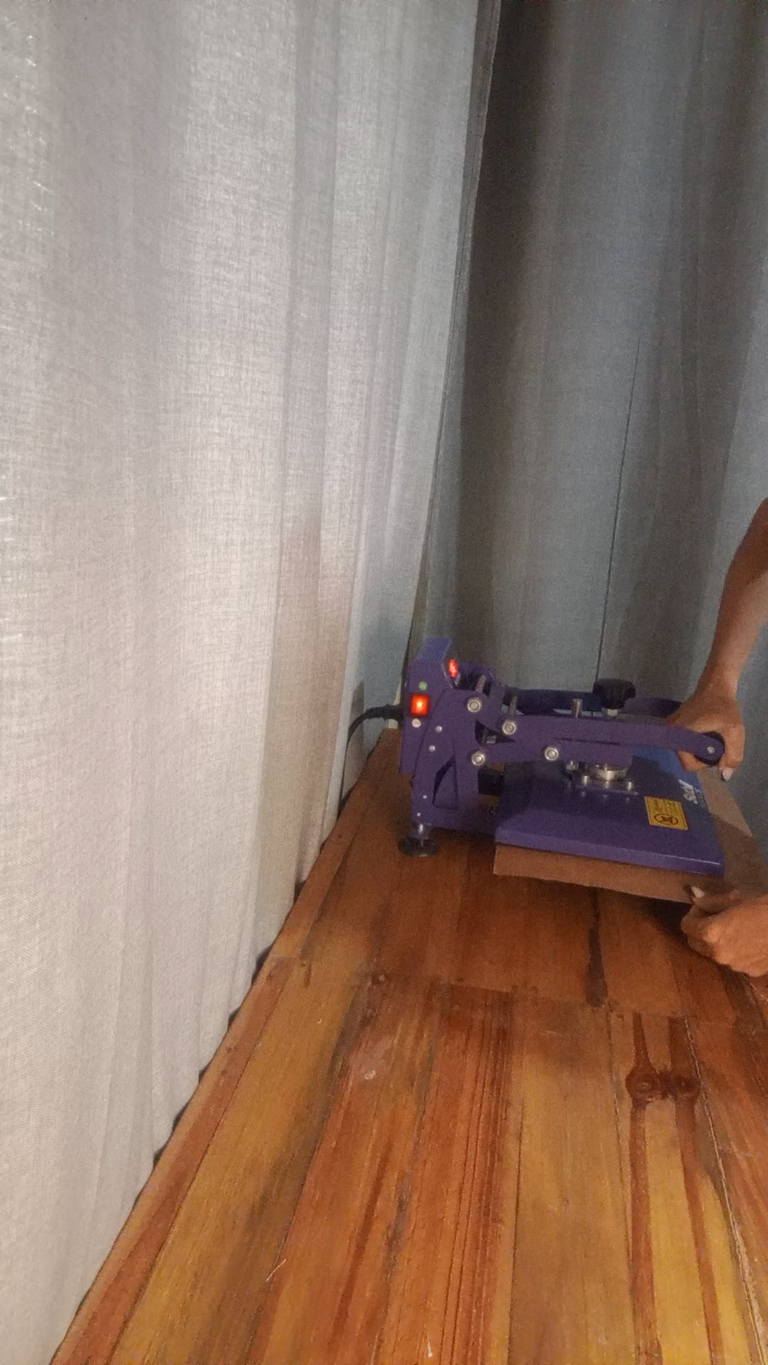
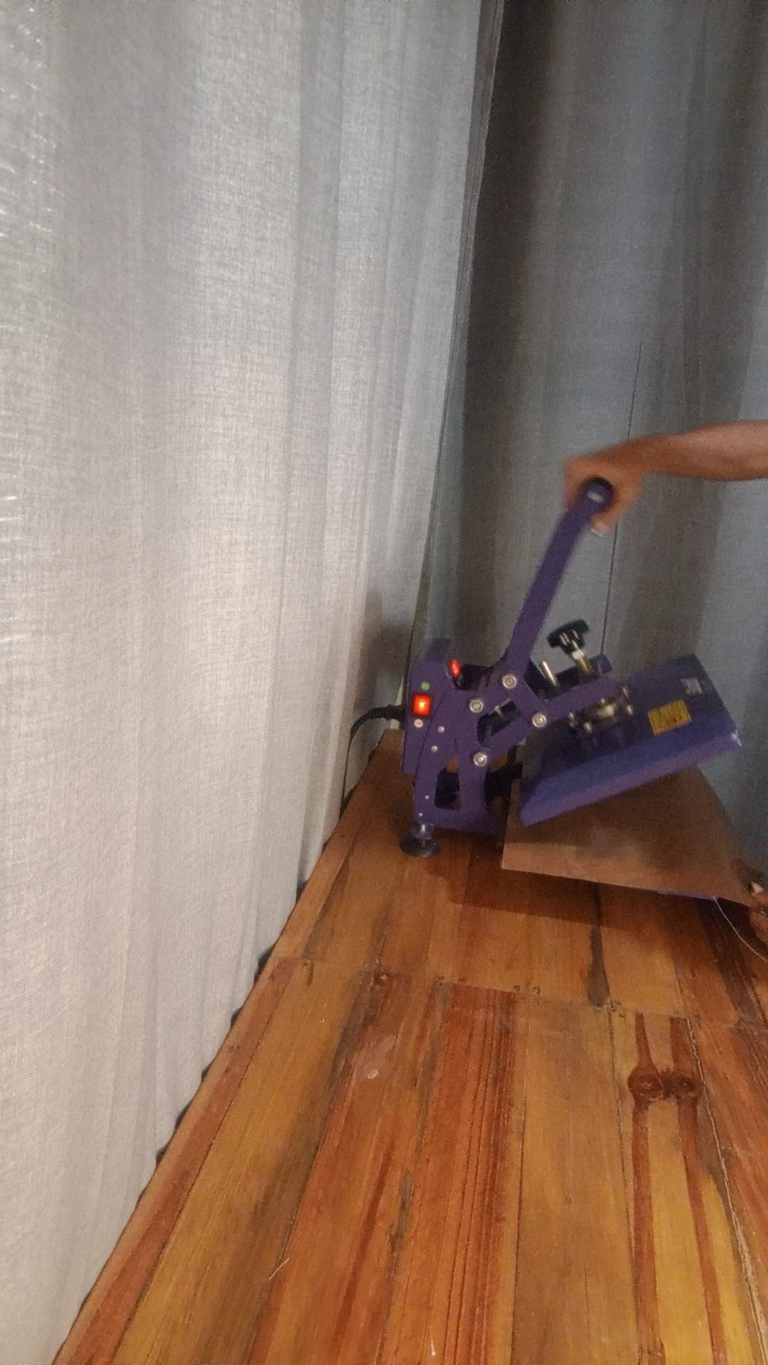
Quema con yesquero las orillas del trozo de tela.
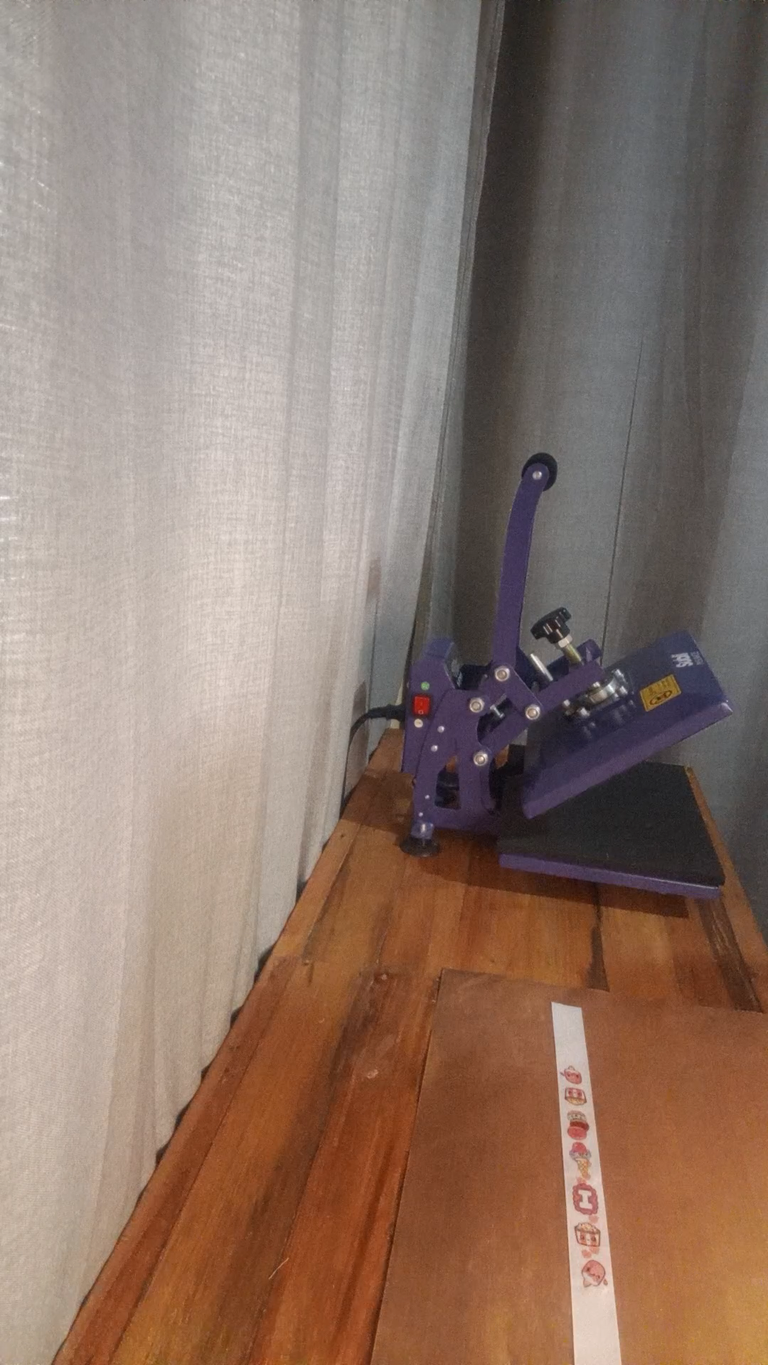
Calienta la plancha a 320°F
Coloca con cuidado la cinta en la plancha.
Coloca con cuidado el teflón sobre la cinta.
Baja la blanca y deja por un periodo de 50 segundos.
Abre la plancha.
! [English version]
Tinder burn the edges of the piece of fabric.
Heat the iron to 320°F
Carefully place the ribbon on the iron.
Carefully place the Teflon over the ribbon.
Lower the white and leave for a period of 50 seconds.
Open the iron.
Step 4️⃣/ paso 4️⃣
 |  |  |
 |  |  |
[Esp]
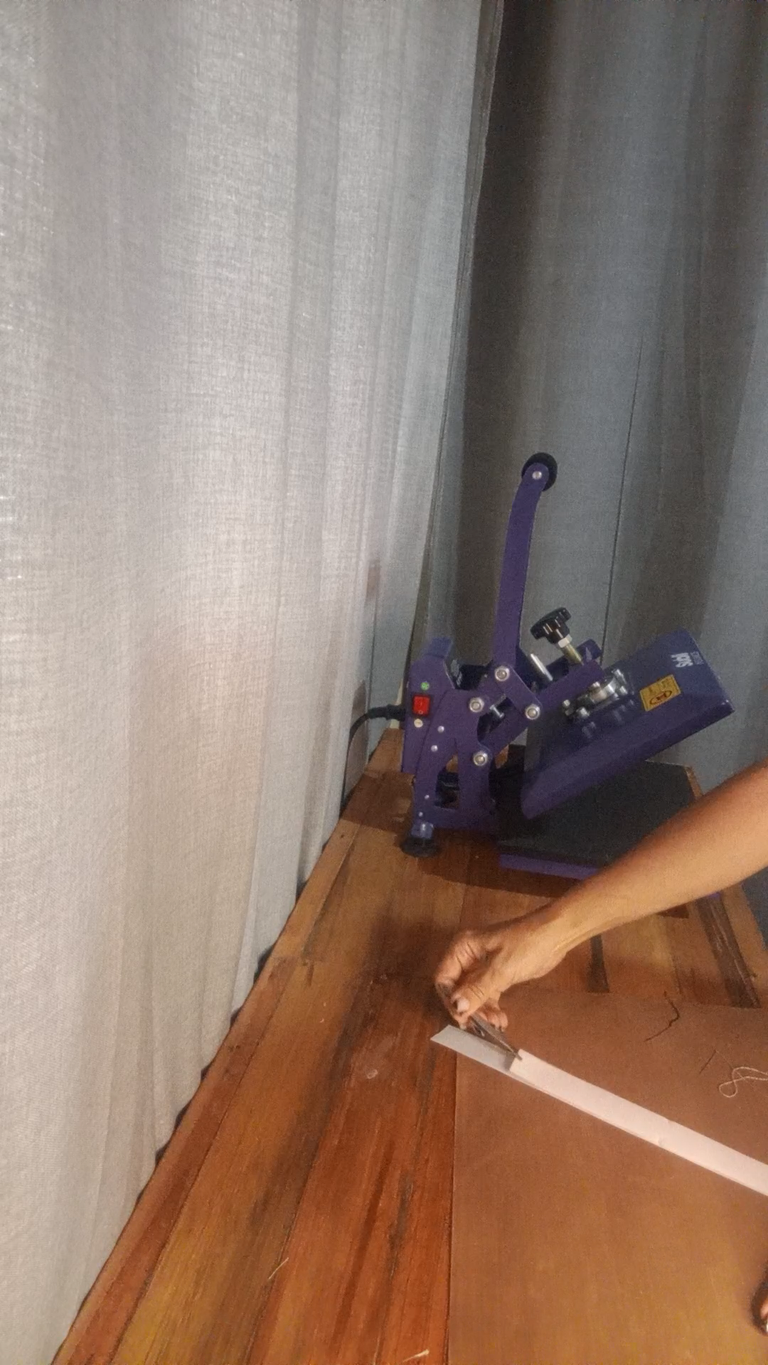
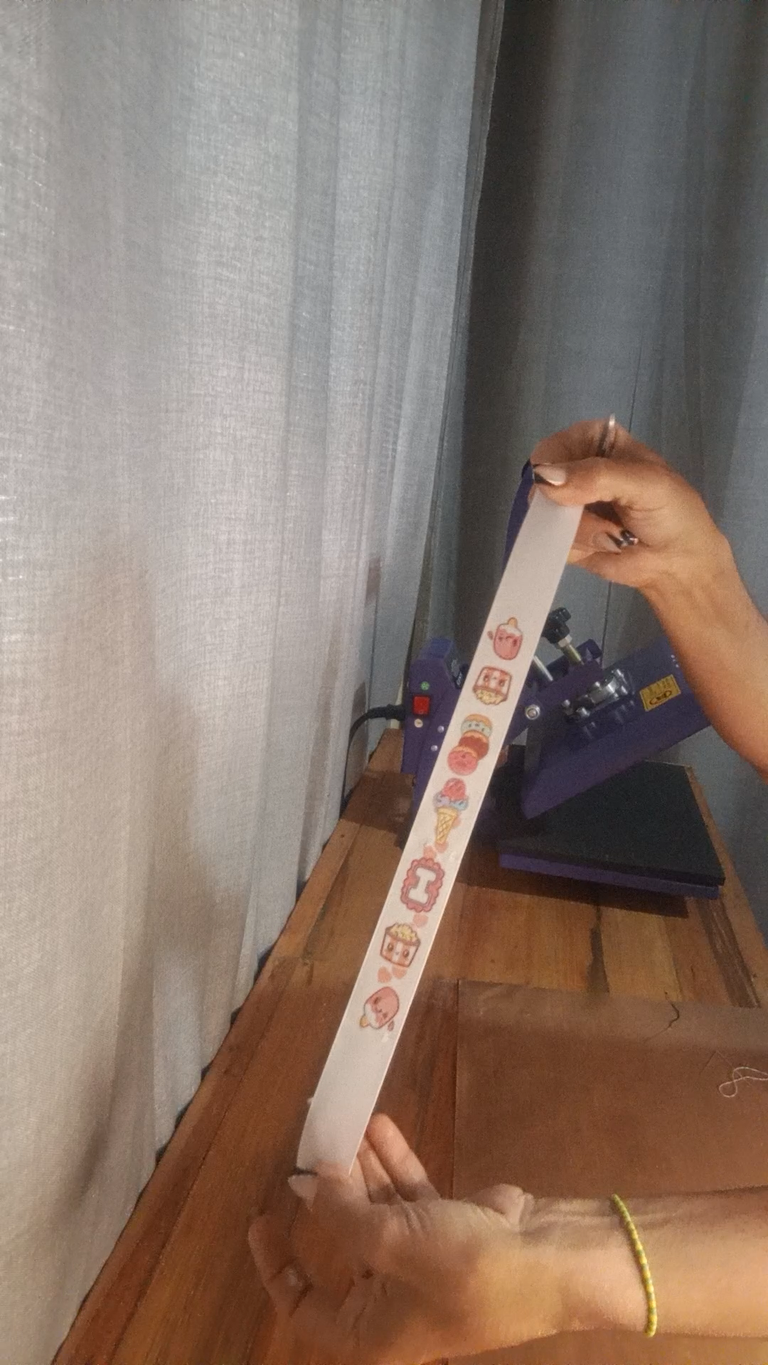
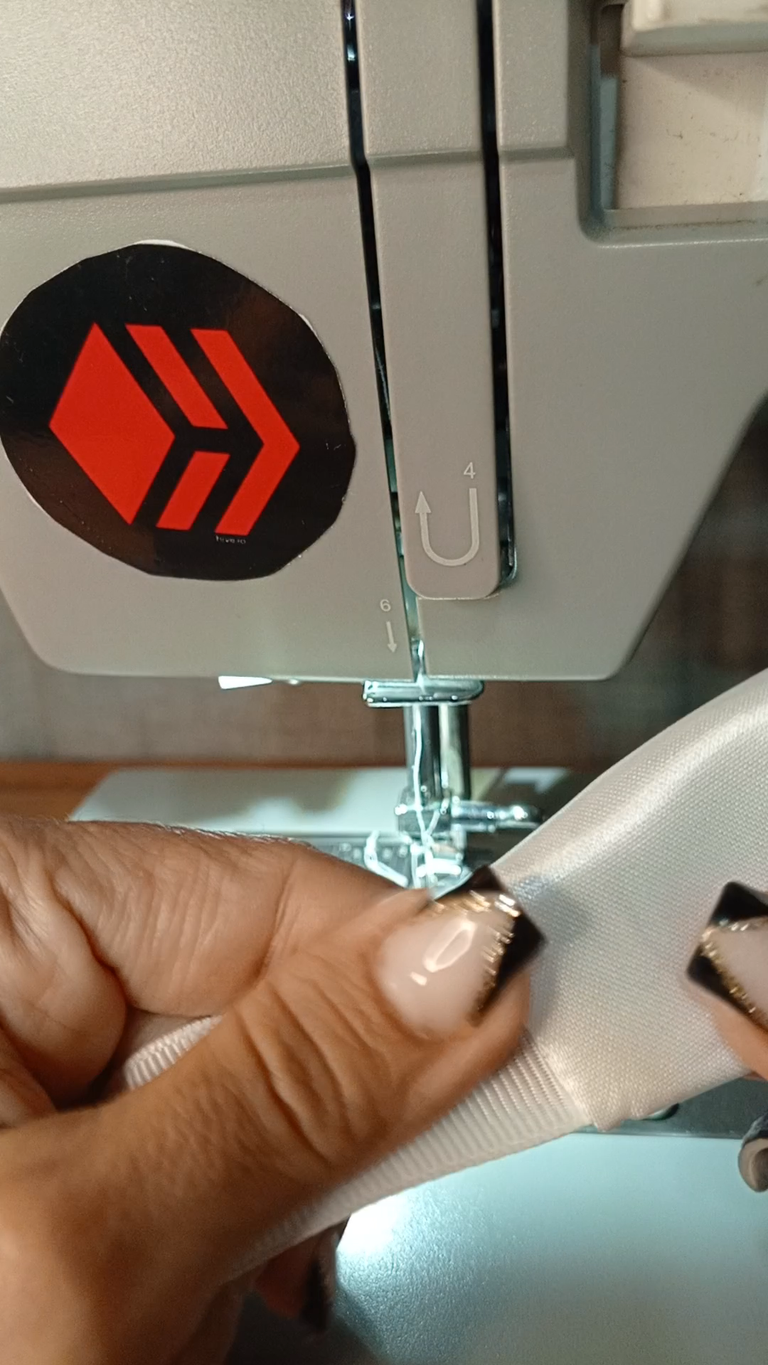
Deja enfriar un poco y con cuidado retira el papel de la cinta, yo me ayudo con unas pinzas, recordando que aun está caliente.
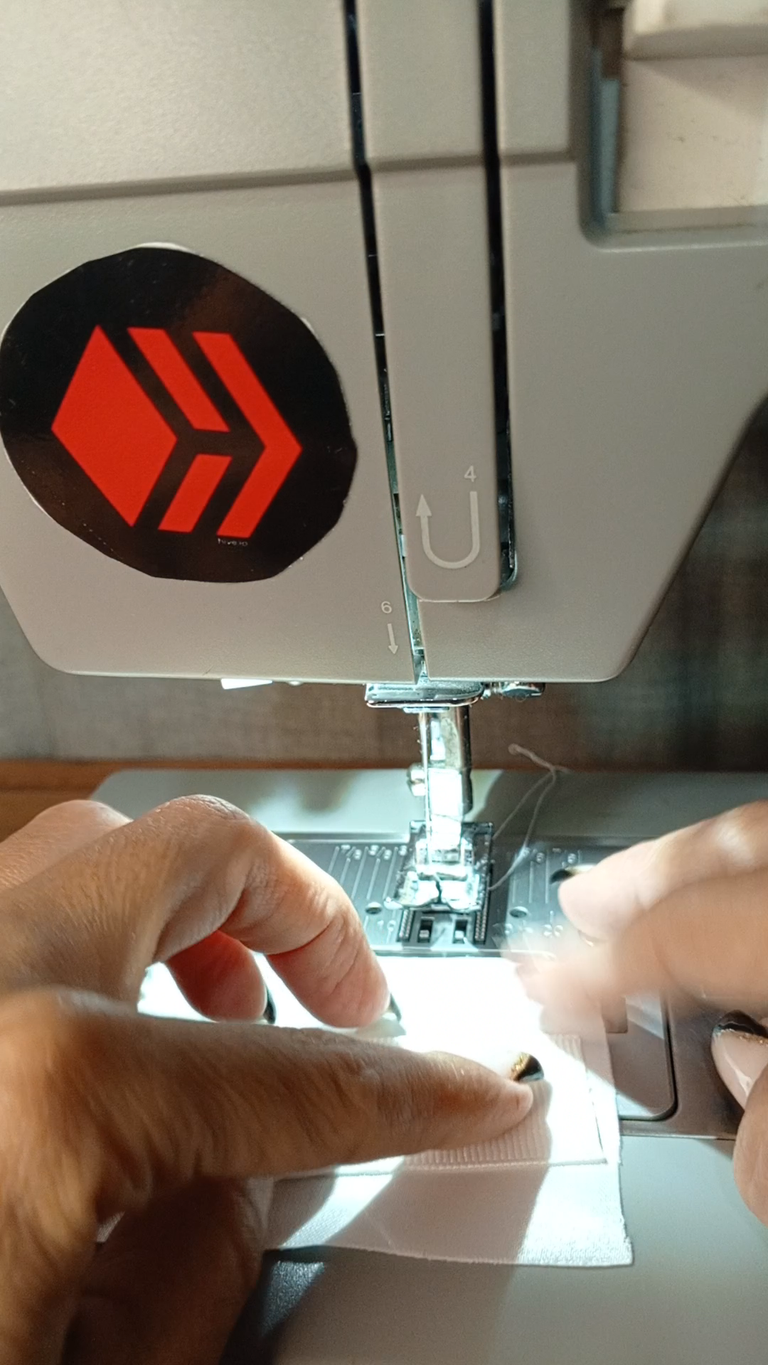
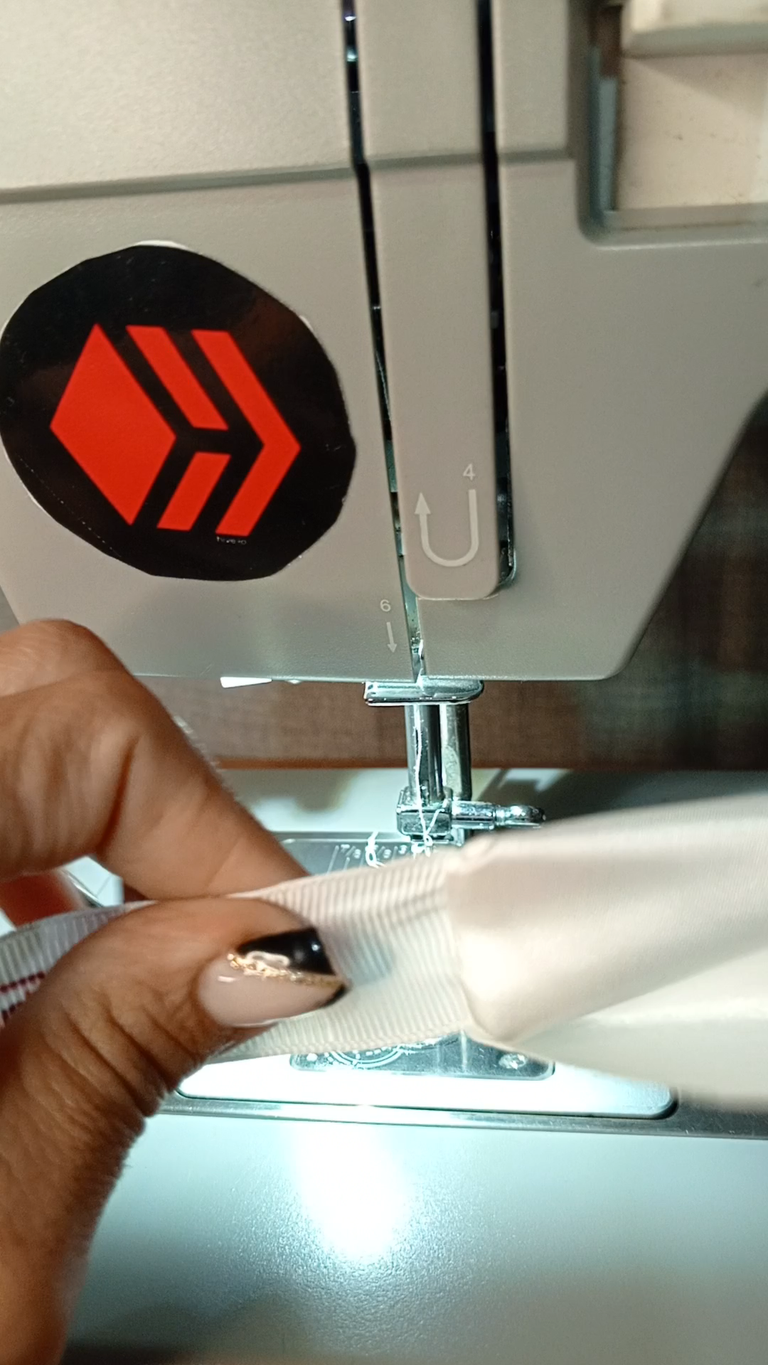
Coloca la tela sobre la cinta con la impresión hacia adentro y dobla las orillas hacia adentro, cose con una recta.
Voltea la pieza al derecho.
! [English version]
Let cool slightly and carefully remove the paper from the ribbon, I help myself with tweezers, remembering that it is still warm.
Place the fabric on the tape with the print facing inwards and fold the edges inwards, sew with a straight stitch.
Turn the piece right side out.
Step 5️⃣/ paso 5️⃣
 |  |  |
 |  |  |
[Esp]
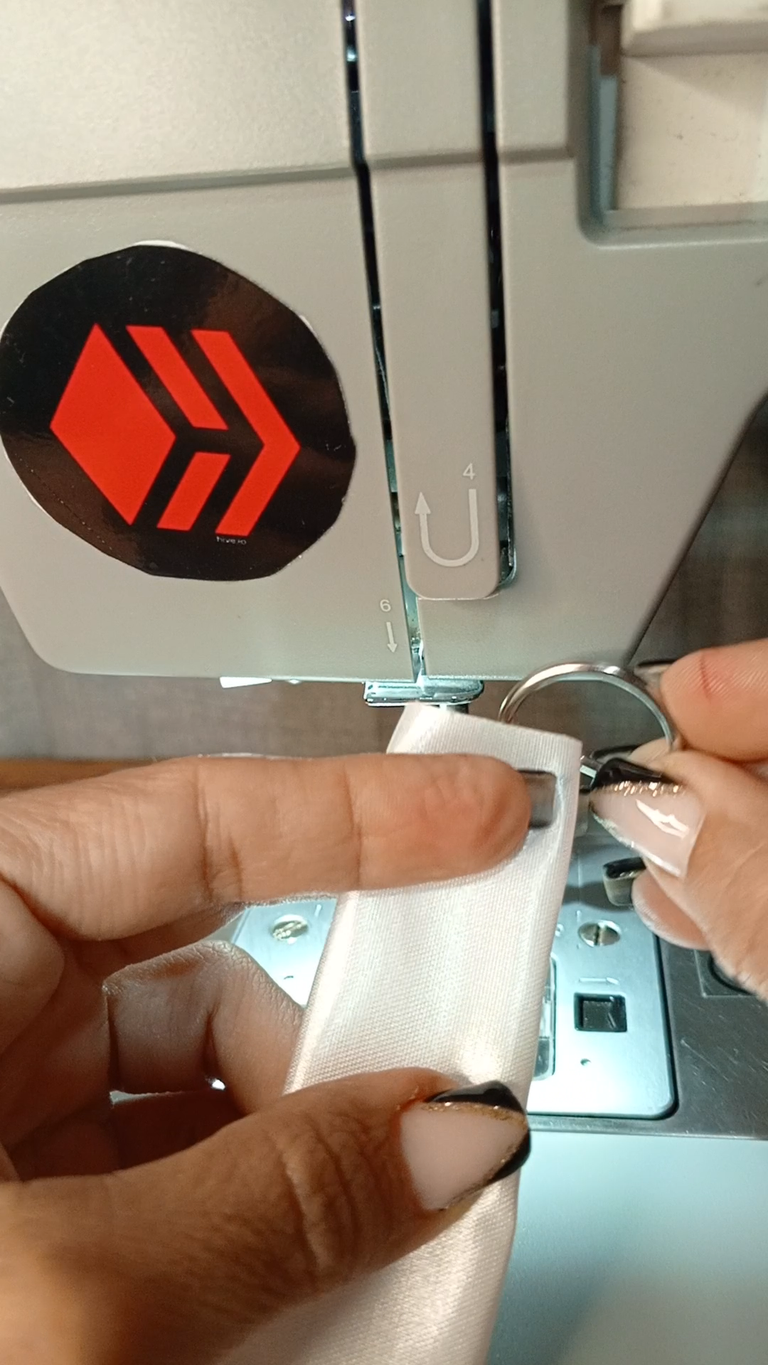
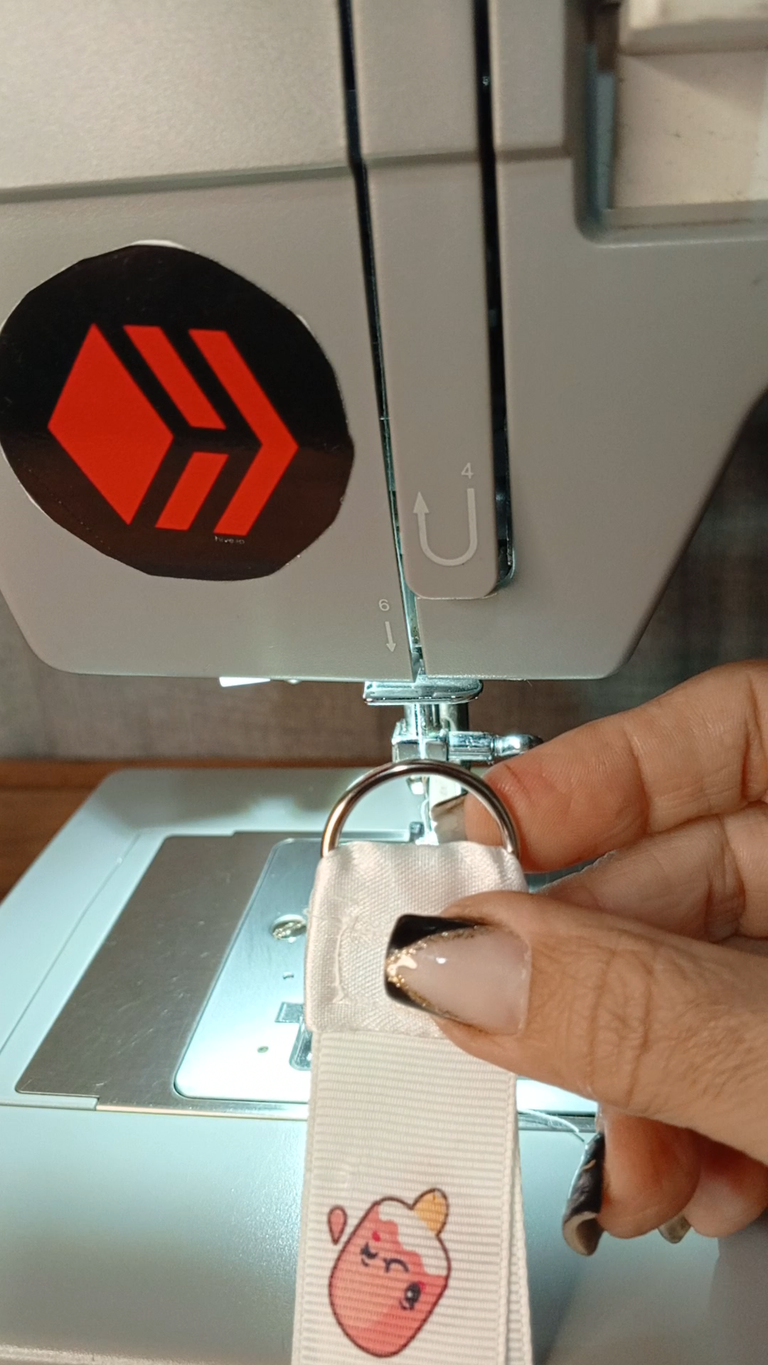
Introduce la media argolla en la cinta.
Repite el procedimiento anterior, coloca la cinta sobre la tea con el derecho hacia adentro y dobla las orillas, cose una recta y voltea.
Pasa la media argolla por el centro de la tela y dobla.
! [English version]
Insert the half ring into the ribbon.
Repeat the above procedure, place the ribbon on the tea with the right side facing in and fold the edges, sew a straight one and turn over.
Pass the half-ring through the center of the fabric and fold.
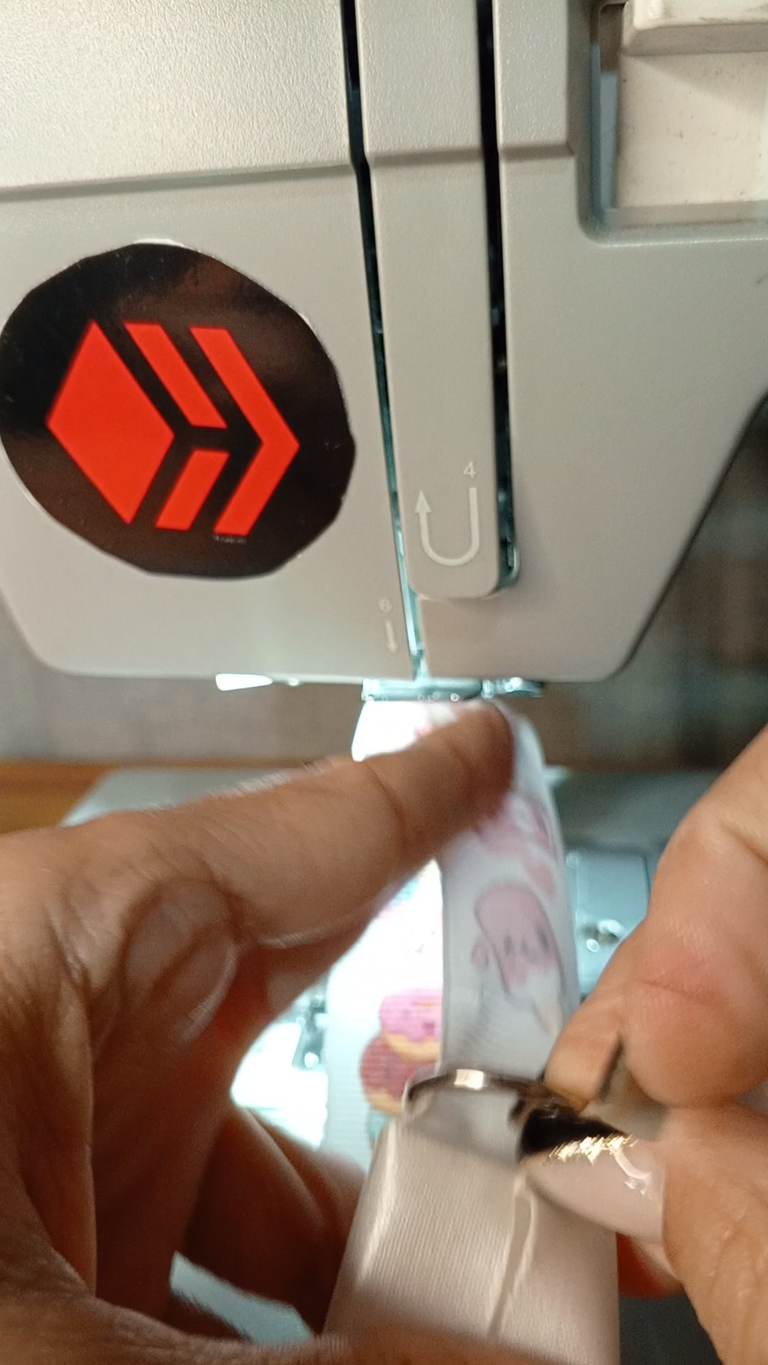
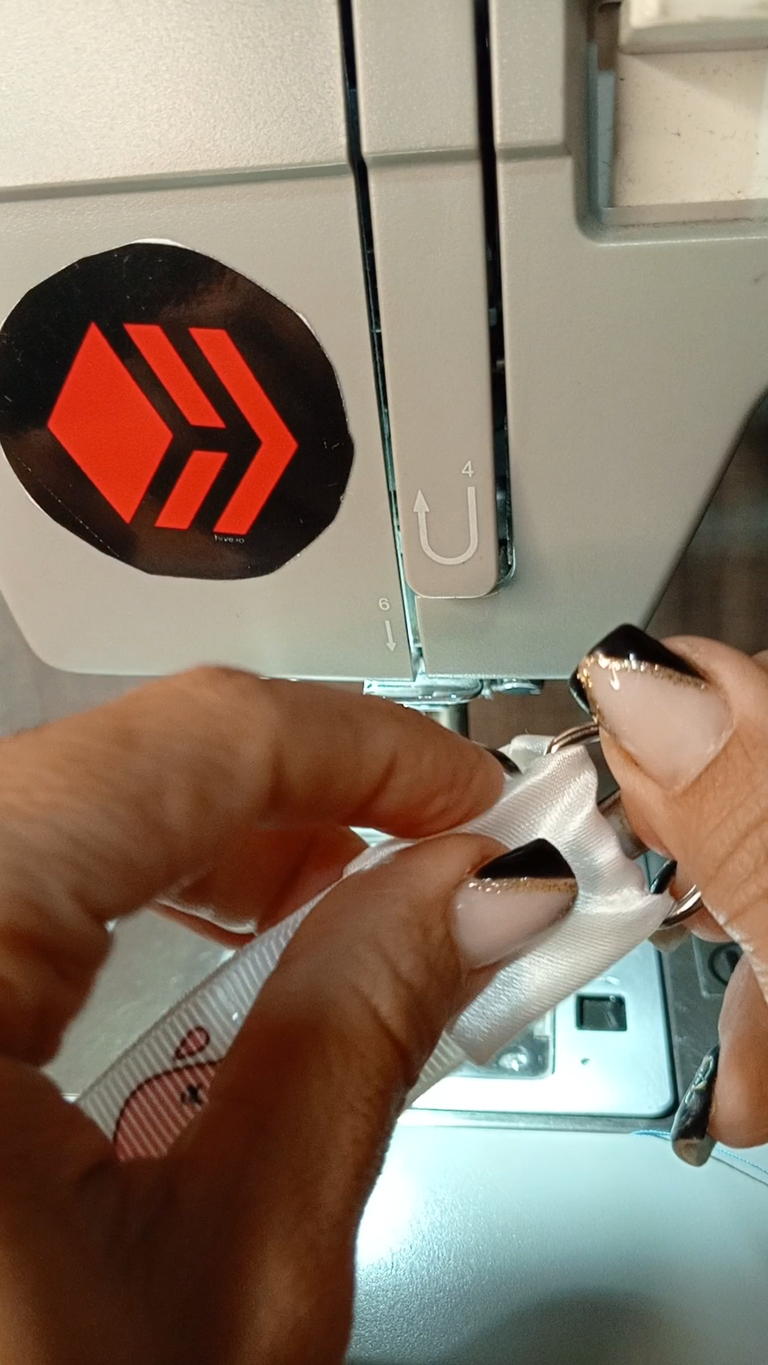
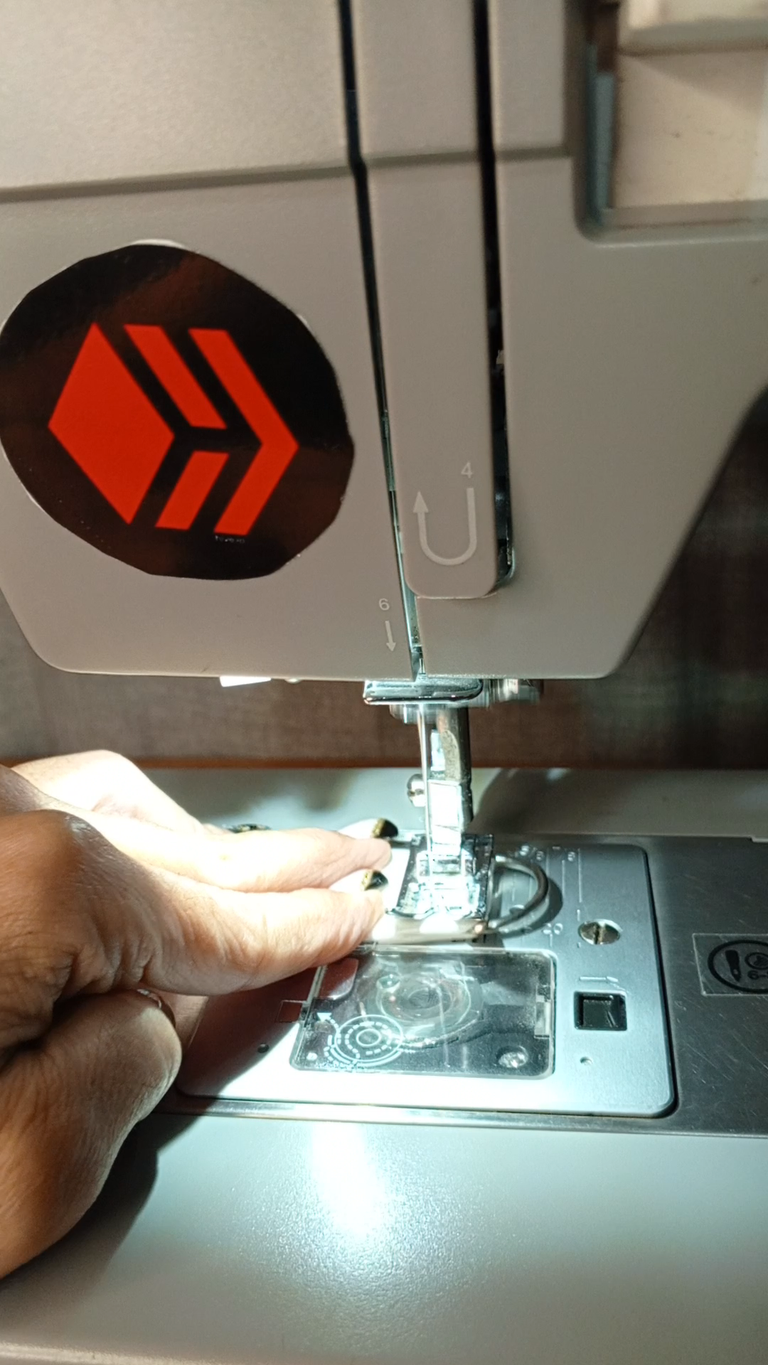
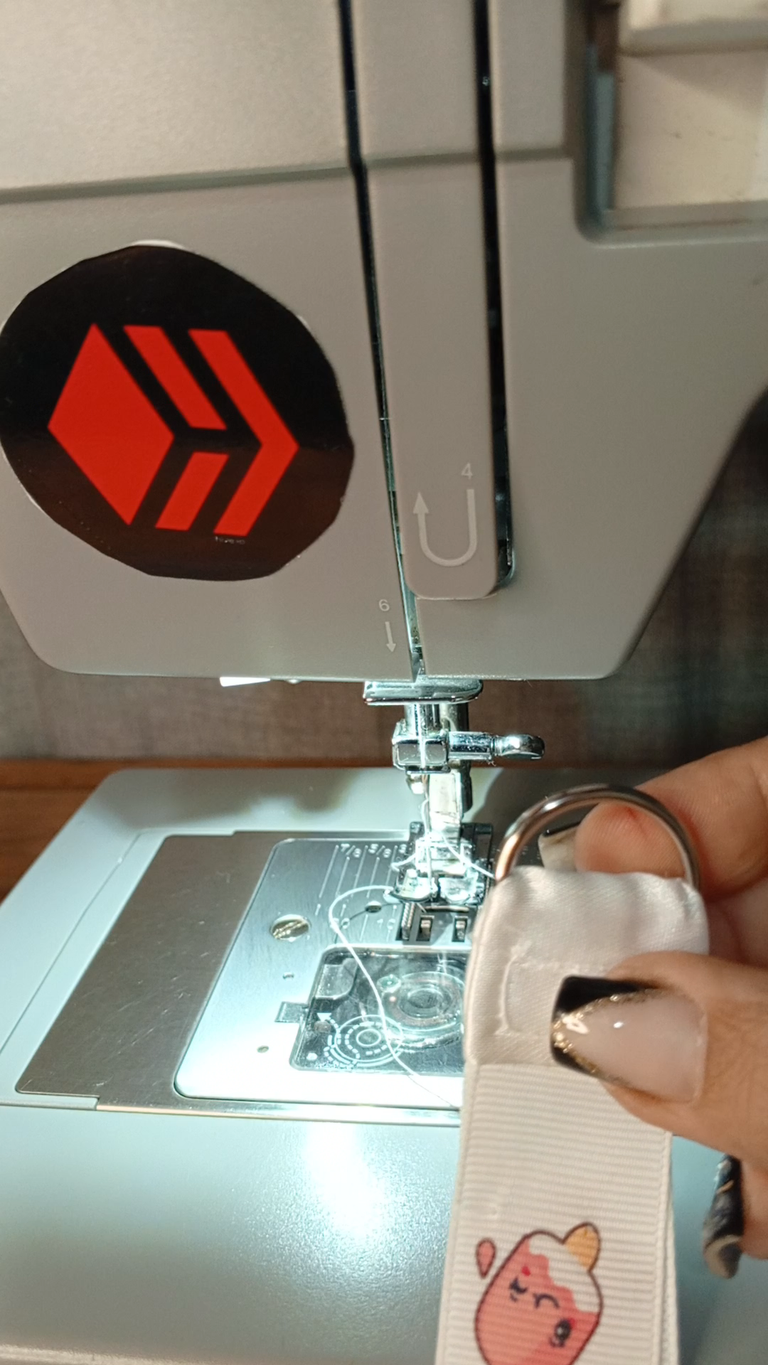
Step 6️⃣/ paso 6️⃣
 |  |  |  |
 |  |  |
[Esp]
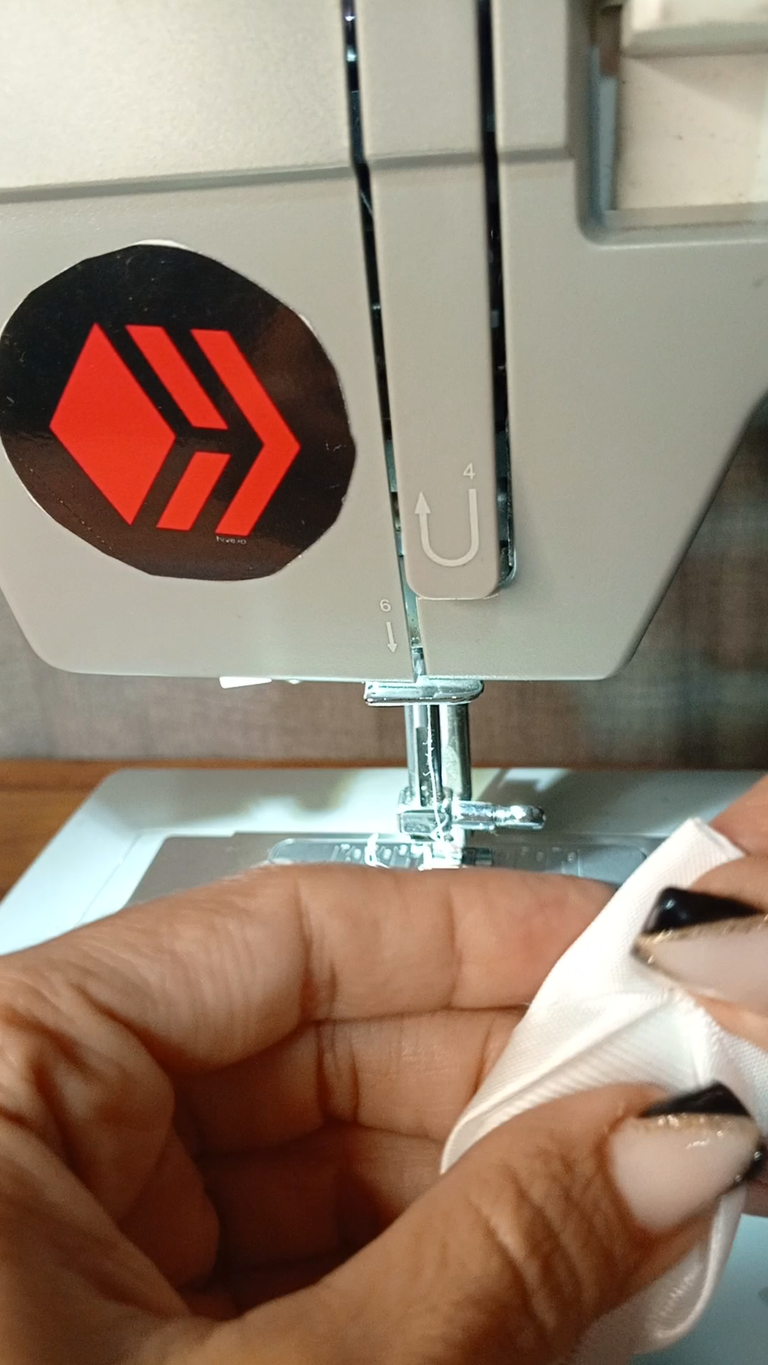
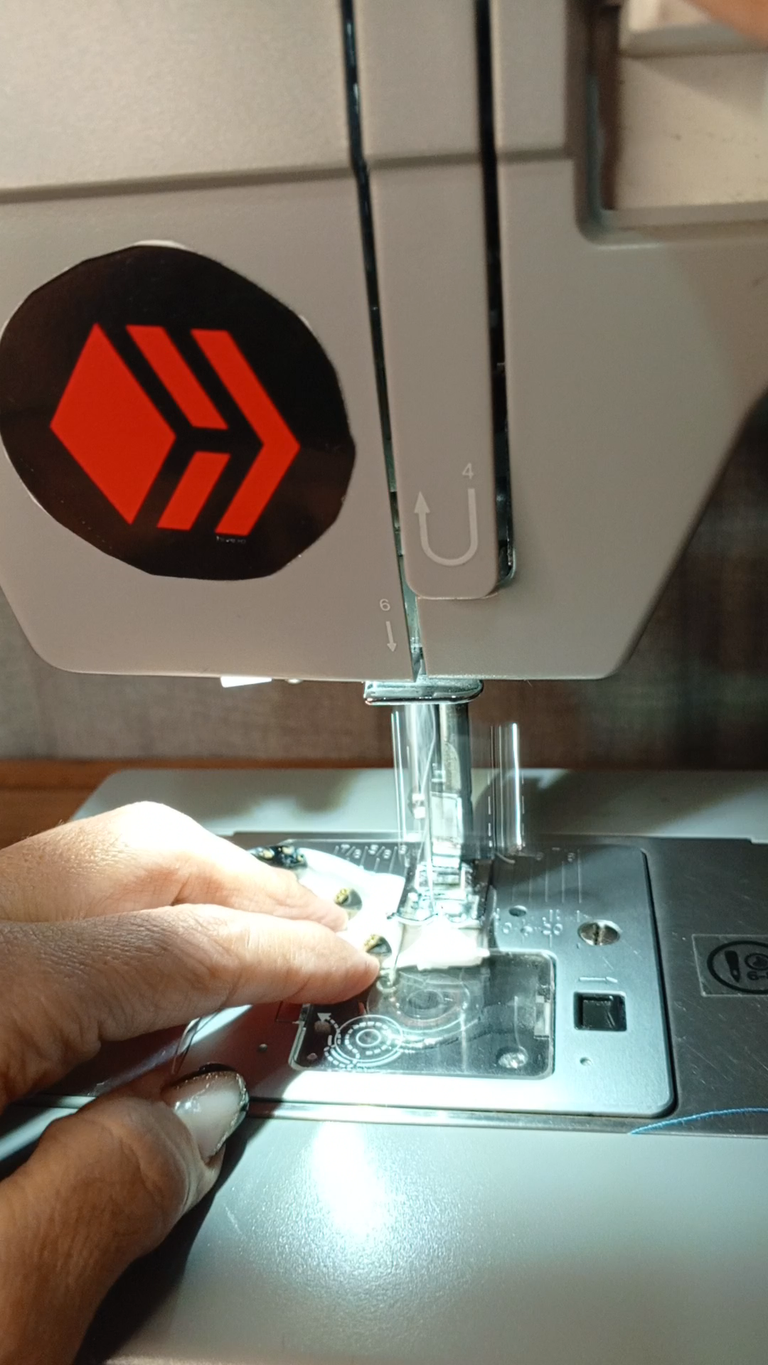
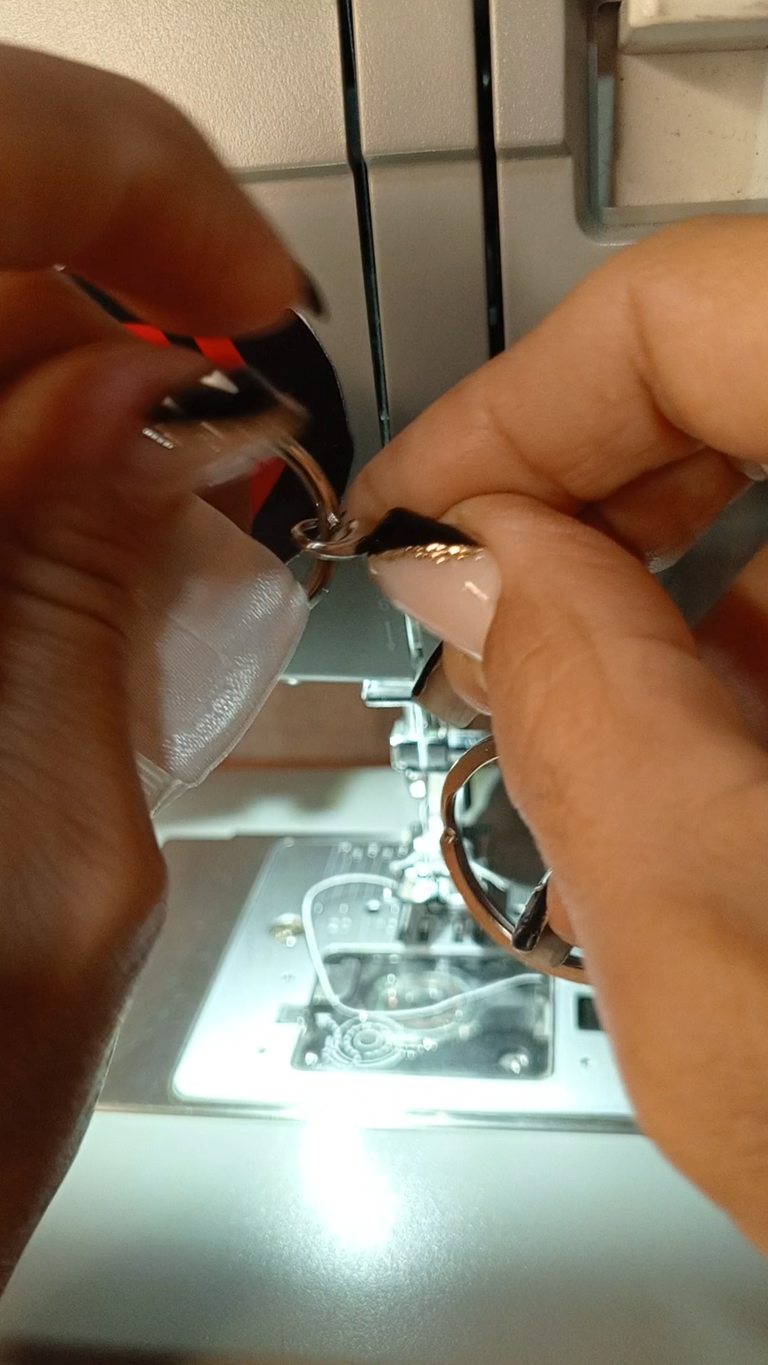
Luego de doblar por la mitad, asegúrate que ambas puntas de la tela coincidan, luego cose por las orillas formando un cuadrado.
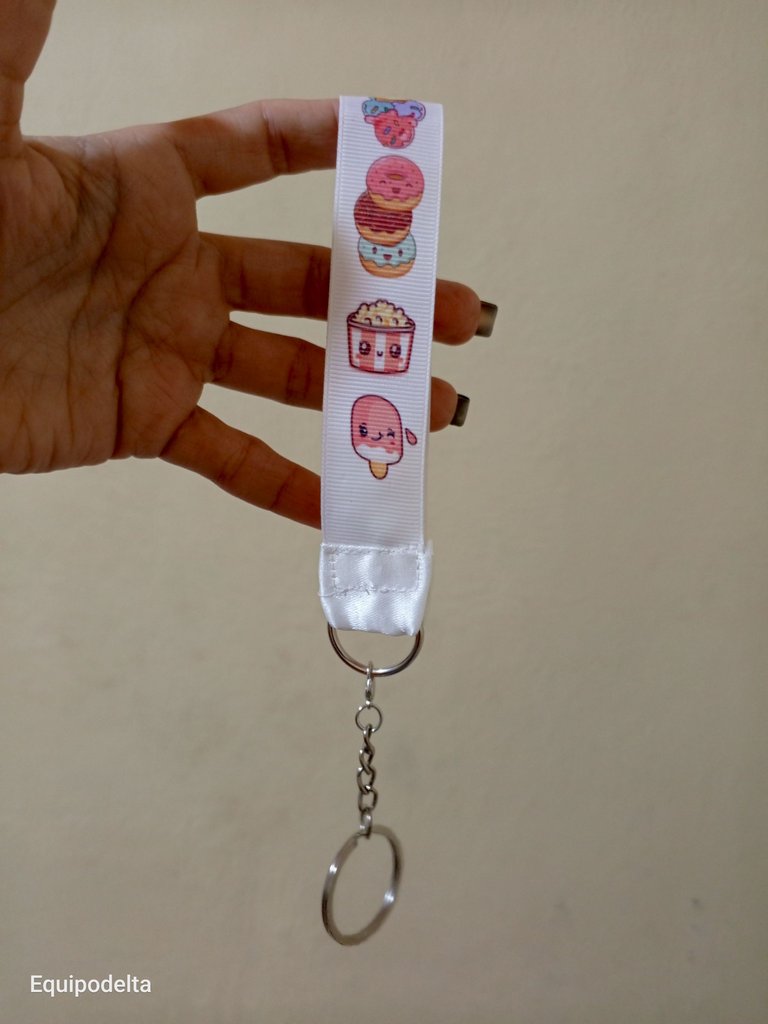
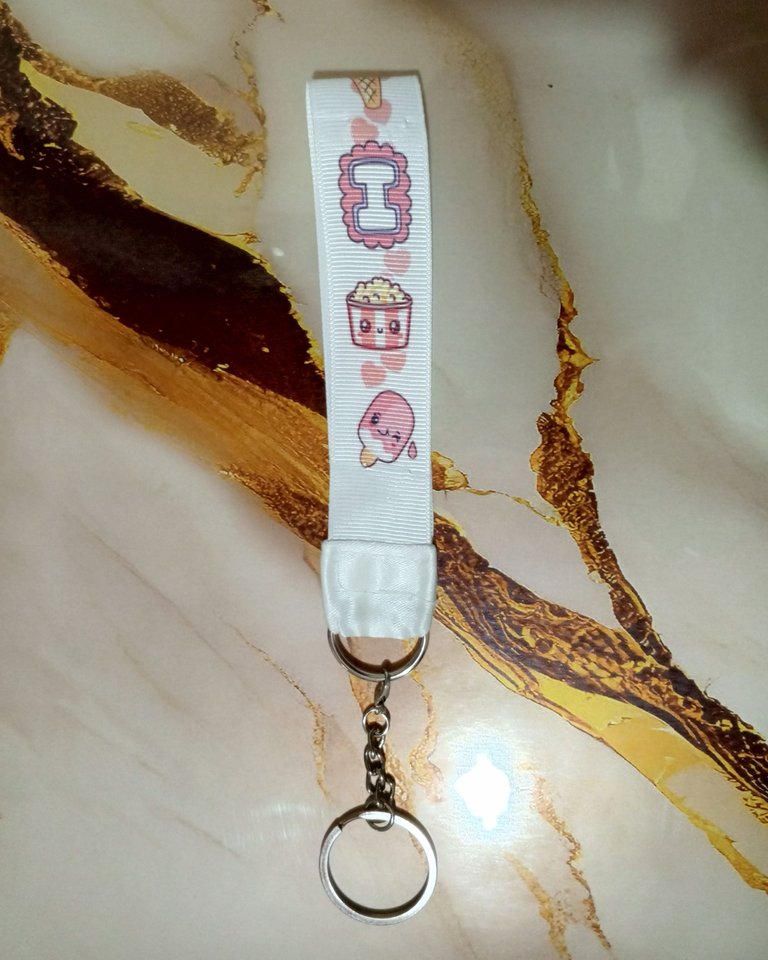
Coloca el resto de la cadena en el llavero y listo, tenemos nuestro llavero personalizado.
Espero que les guste.
! [English version]
After folding in half, make sure that both ends of the fabric match, then sew along the edges forming a square.
Place the rest of the chain on the keychain and that's it, we have our personalized keychain.
I hope you like it.


Créditos / Credits
Program: MediBang Paint Pro.
Tablet Huion model 420
Todos los diseños pequeñitos kawaii son cortesía de Canva

💜💜💜
![]() 👉
👉  👉
👉 ![]() 👉
👉 ![]() 👉
👉 
Here / Bríndame un café

Otra pieza única. 👌🏻👌🏻👌🏻👏🏻👏🏻👏🏻👏🏻
Así vamos creando bonita y mejorando.
De eso se trata. No dejemos de crear 👏🏻👏🏻👏🏻👏🏻
Quedó precioso amiga, me encanta la idea de imprimir lo que desees y personalizar objetos como este llavero, me imagino poder hacer las cintas para lazos de niñas con el personaje que uno quiera.
Tienes unos equipos excelentes y lo que haces te queda precioso. Exitos...
Gracias por la idea amiga, acabo de ver que escribi mal tu usuario, sorry por eso lo anduve buscando igual lo anoté mal, me hizo feliz crear estas cositas con tu idea. Gracias.
Hello, @equipodelta, good morning
The work you do is admirable, and you do it with such dedication and care that everything you make turns out beautifully.
I love these personalized keychains.
Have a beautiful day.
hola linda!! me gusta aprender de todo un poco y luego trabajar mucho por mejorar la calidad, para ver hasta donde puedo llegar
Estan geniales estos llaveros personalizados, hermosos 😍 ame la carita tierna de los postrecitos jeje me gusta mucho la idea de hacer estos llaveros con la marca personal de uno, esta dificil para alguien que no sabe ni que aguja usar como yo jajaja pero son geniales y quedan realmente bien 😍
Hola querido buhito, ahora lo uso en mi llavero, es tan útil que creo que me lo estaba pidiendo a gritos desde hace rato, además que se ve bonito.
Congratulations @equipodelta! You have completed the following achievement on the Hive blockchain And have been rewarded with New badge(s)
Your next target is to reach 56000 upvotes.
You can view your badges on your board and compare yourself to others in the Ranking
If you no longer want to receive notifications, reply to this comment with the word
STOPCheck out our last posts:
quedaron geniales! qué gran idea! y su proceso es sencillo! gracias por compartir!
Hola Pannaví, muchas gracias, me alegra que sea de tu agrado
Hola bella @equipodelta, quedo hermoso, un excelente trabajo, Dios siga bendiciendo tus manos.
Hola mi bella, bendiciones para ti también, un fuerte abrazo!!!
¡Bellisimos! amiga @equipodelta
Amiga querida te mando un abrazo! Estoy a la orden jajaj
@equipodelta Saludos corazòn espectacular el llevero sublimado, te felicito eres una artista mi vida,,,Un fuerte abrazo.
!Hug
Todos somos artistas en HIve es lo maravilloso, estar rodeada de tanto talento es un honor.