DIY: Bolso llavero 2° intento / Keychain bag 2nd attempt (Esp/Eng)

[Esp]
¡Saludos comunidad!
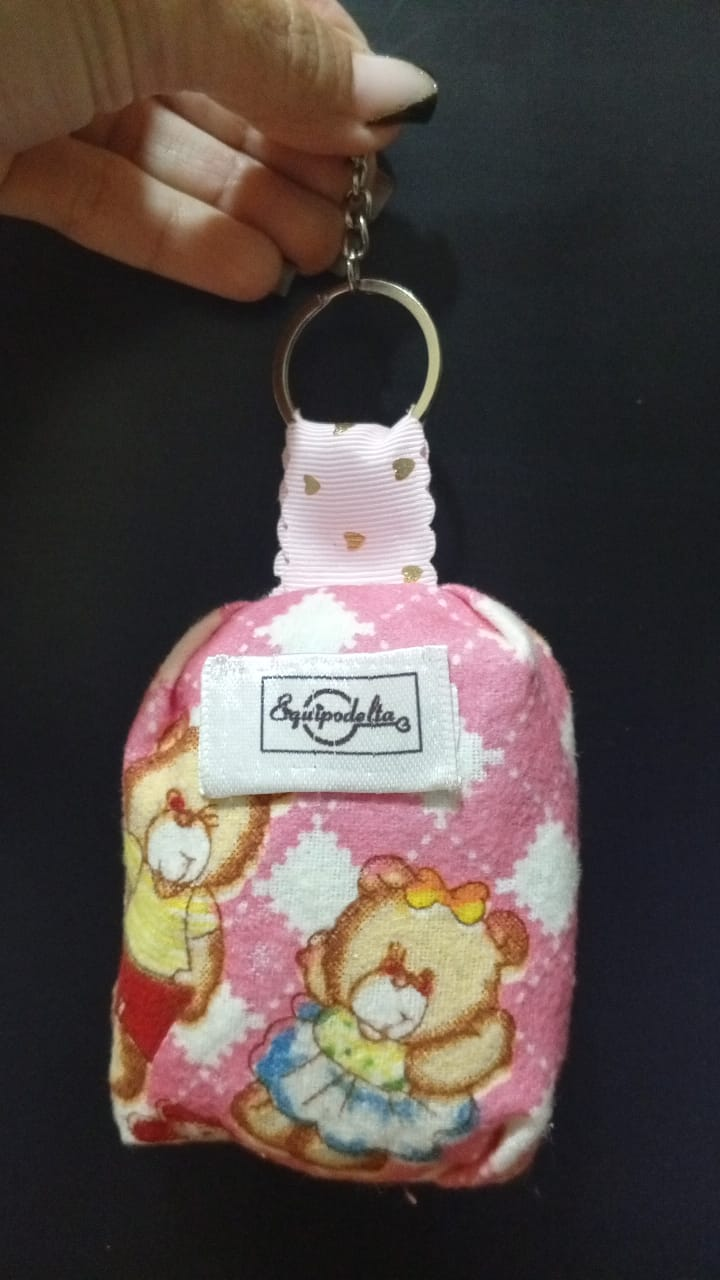
No me rindo, creo que es una de mis fortalezas, defectos o virtudes, tomé otro trozo de tela y volví a coser un bolsito llavero. Estoy enamorada de este modelo y quiero aprender hacerlo, para poder comprar las telas adecuadas para crearlos. Es una bonita idea para regalar y emprender.
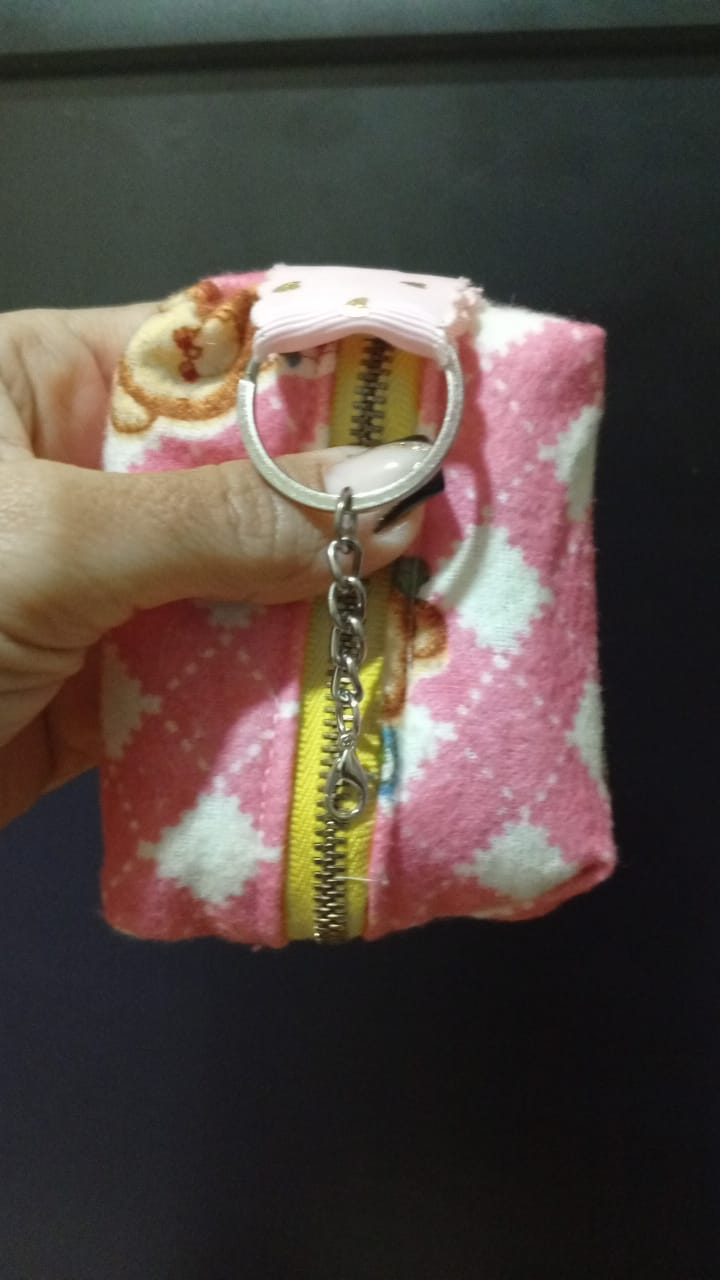
La tela que usé esta vez es muy parecido al fieltro, solo que es más delgado y cuesta mantenerse firme, eso no me detuvo. Conseguí un cierre de metal, realmente quedan mejor. Estuve buscando un llavero cuadrado pero no había en la tienda, siento que hubiera quedado más bonito.
Leí las ideas de mis seguidores, Mafalda me recomendó un mejor estampado y habló de cuadrar bien el diseño, eso lo apliqué en este lo mejor que pude dejando los ositos adelante.
El corte me quedó mejor y pude hacer la costura mejor. Siento que estoy cada vez más cerca. El problema es que estos bolsitos son muy pequeños y coserlos es un desafío.
Espero que les guste.
! [English version]
Greetings community!
I do not give up, I think it is one of my strengths, flaws or virtues, I took another piece of fabric and sewed again a little keychain bag. I am in love with this model and I want to learn how to make it, so I can buy the right fabrics to create them. It's a nice idea for gifts and entrepreneurship.
The fabric I used this time is very similar to felt, only it's thinner and hard to keep firm, but that didn't stop me. I got a metal clasp, they really look better. I was looking for a square keychain but there wasn't one in the store, I feel it would have looked nicer.
I read the ideas of my followers, Mafalda recommended a better print and talked about squaring the design, I applied that to this one as best as I could leaving the bears in front.
The cut was better and I was able to do the sewing better. I feel like I'm getting closer and closer. The problem is that these bags are very small and sewing them is a challenge.
I hope you like it.

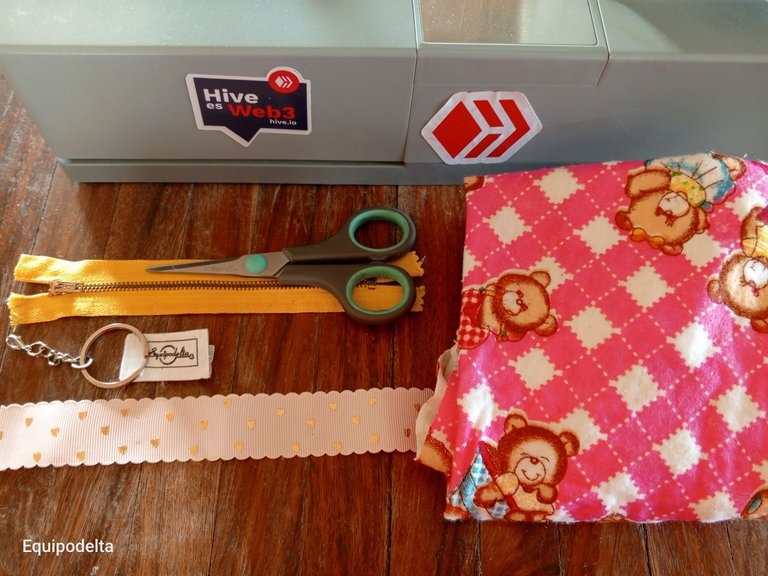
Materiales / Materials
| Spanish | English | |
| Tela estampada (Felpa) | Printed fabric (Printed rayon) and unicolor stretch fabric, tull | |
| Cierre metálico, cinta raso | Metal zipper, satin ribbon | |
| Tijera, hilo | Scissors, thread | |
| Maquina de coser | Sewing machine |
Paso a paso / Step by Step
Step 1️⃣/ Paso 1️⃣
 |  | |
 |  |
[Esp]
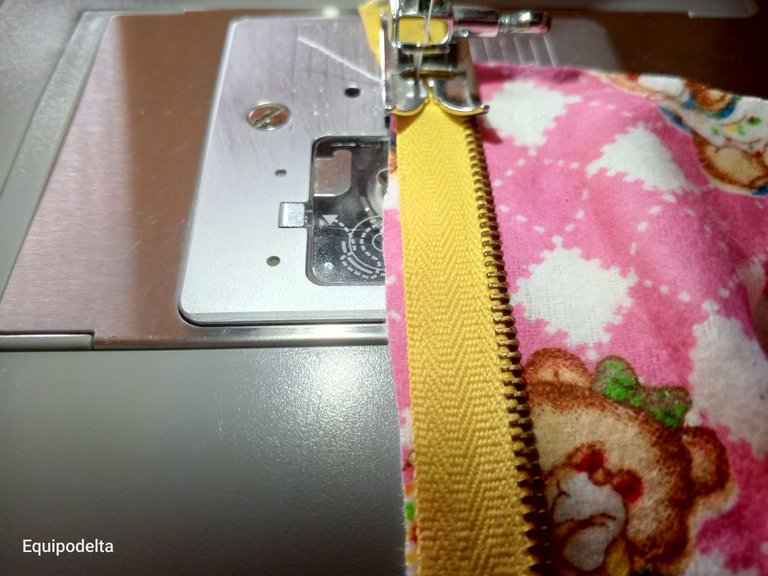
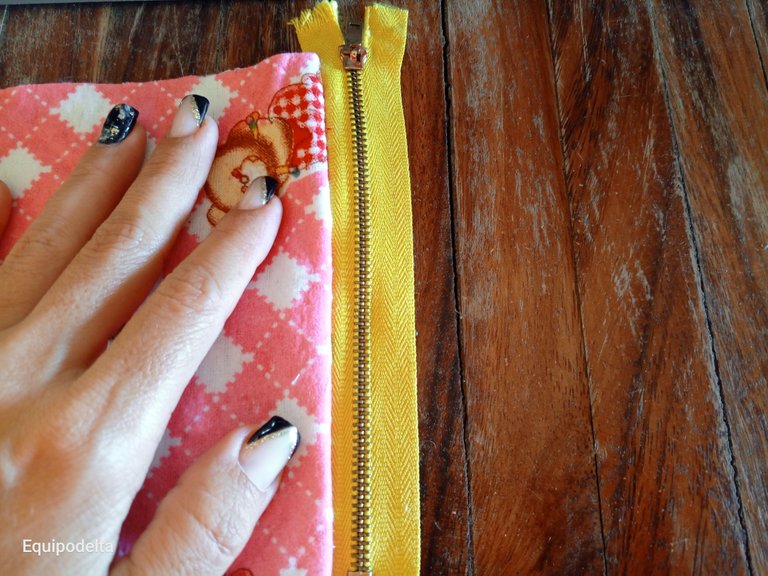
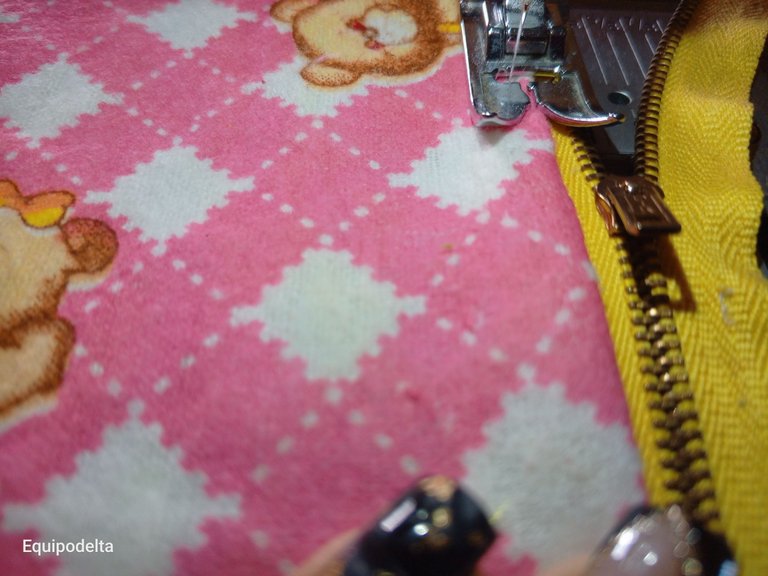
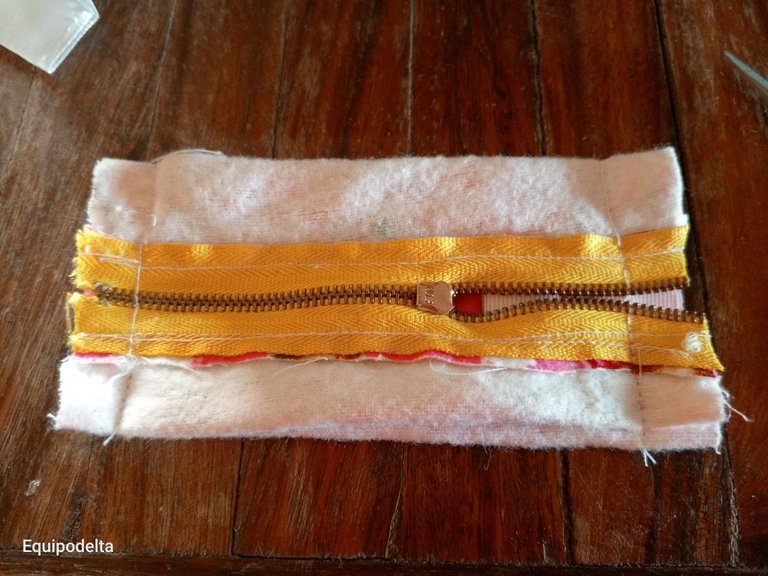
Corta un rectángulo de 8 centímetros de ancho por 15 ancho.
Cose el cierre por el lado derecho. Luego de coser un lado volteas al derecho y coser un pespunte, luego repite el proceso en el otro lado.
! [English version]
Cut a rectangle 8 cm wide by 15 cm wide.
Sew the zipper on the right side. After sewing one side turn right side out and sew a backstitch, then repeat the process on the other side.
Step 2️⃣/ paso 2️⃣
 |  | |
 |  |
[Esp]
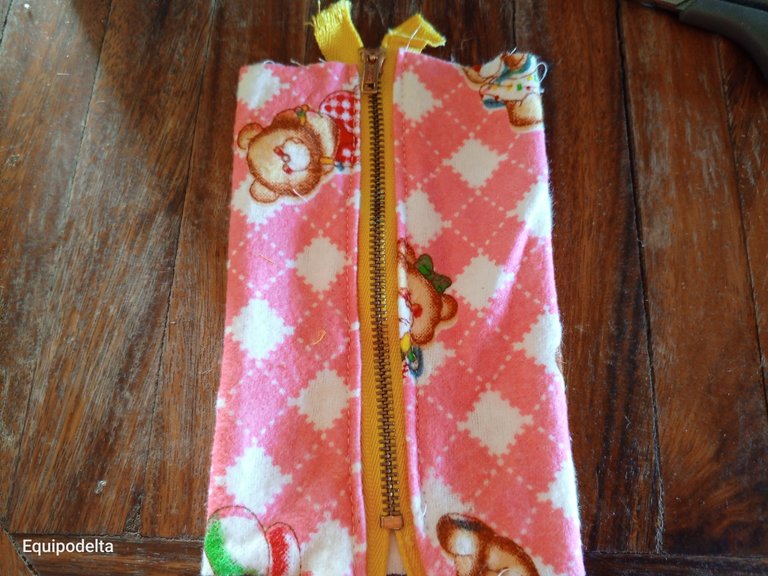
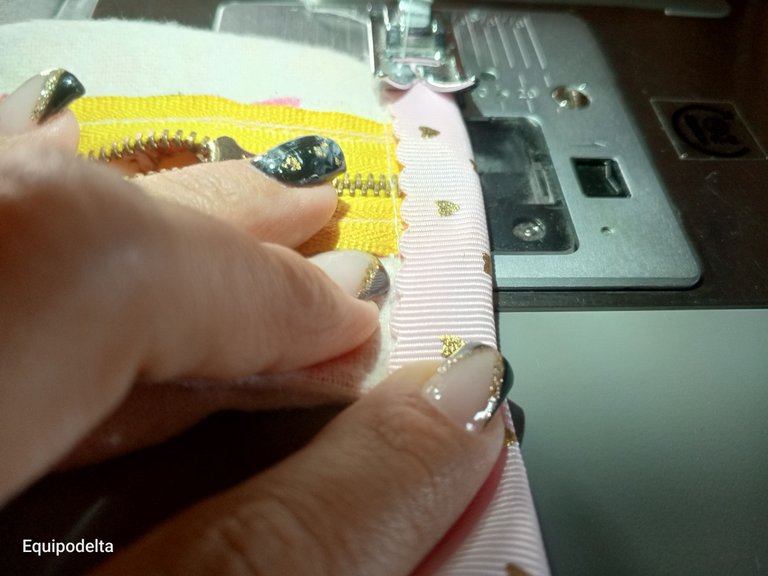
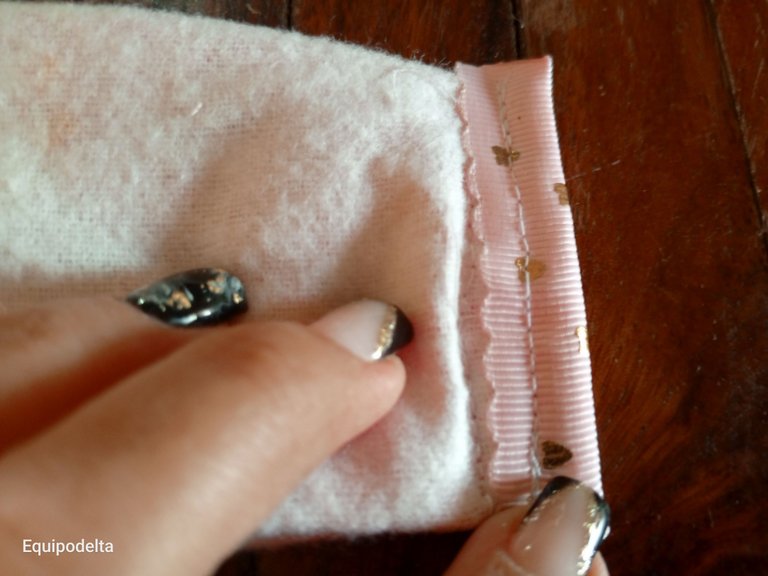
Voltea la tela al derecho para revisar que esté bien. Luego realiza un un doblez hacia adentro en ambos extremos y cose una recta.
Al voltear la pieza quedará como en la foto.
! [English version]
Turn the fabric right side out to check that it is right side out. Then make an inward fold at both ends and sew a straight seam.
When you flip the piece over it will look like in the picture.
Step 3️⃣/ paso 3️⃣
 |  | |
 |  |
[Esp]
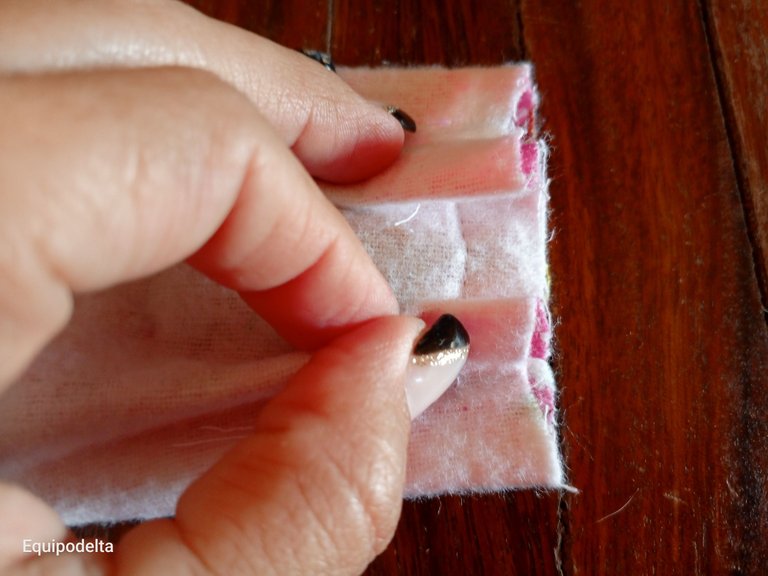
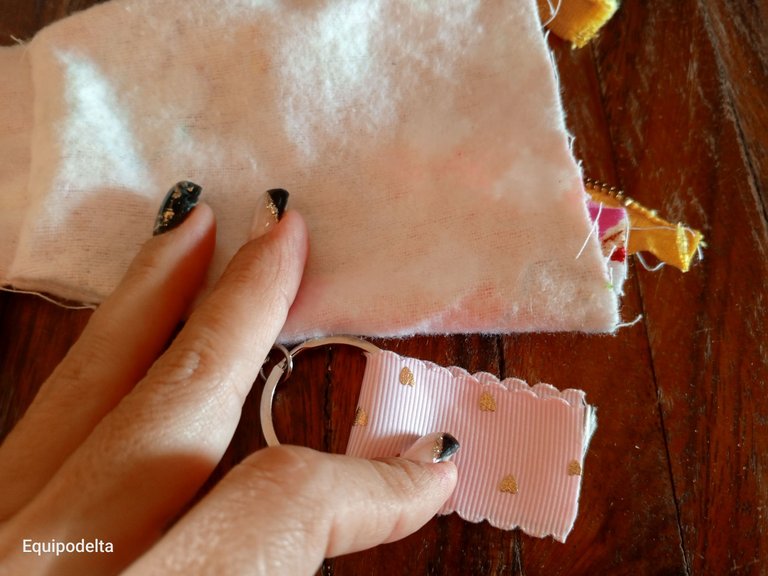
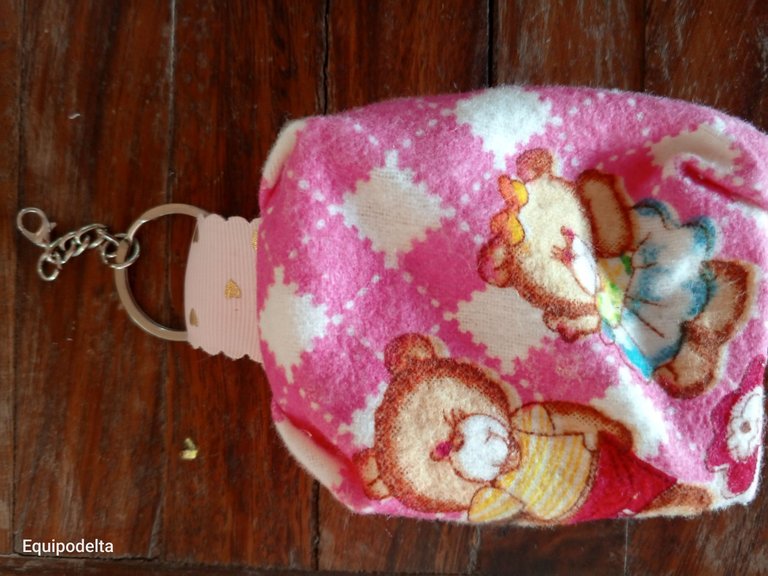
Toma un trozo de cinta de raso e introduce el aro de llavero, dobla por la mitad.
Con el bolso volteado al revés introduce el cinta con el aro de llavero por dentro y lo centras con el cierre.
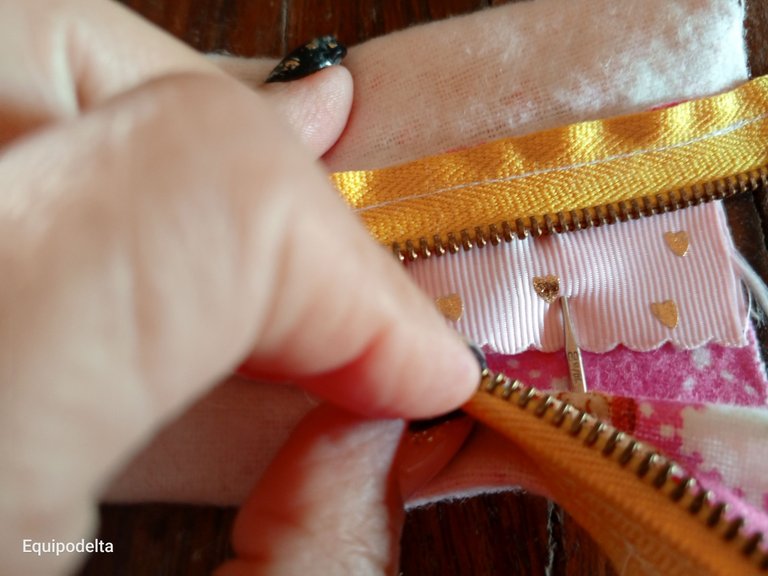
Repite el procedimiento anterior, dobla las puntas hacia adentro y cose una recta uniendo las piezas, con mucho cuidado al pasar la aguja por el cierre pues podría quebrarse.
! [English version]
Take a piece of satin ribbon and insert the key ring, fold in half.
With the bag turned inside out, insert the ribbon with the key ring inside and center it with the clasp.
Repeat the previous procedure, fold the ends inwards and sew a straight line joining the pieces, being very careful when passing the needle through the zipper as it could break.
Step 4️⃣/ paso 4️⃣
 |  | |
 |  |
[Esp]
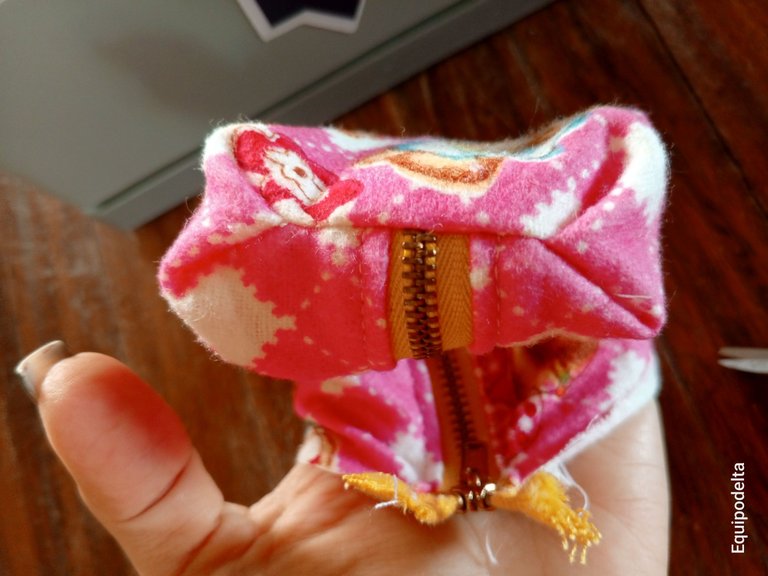
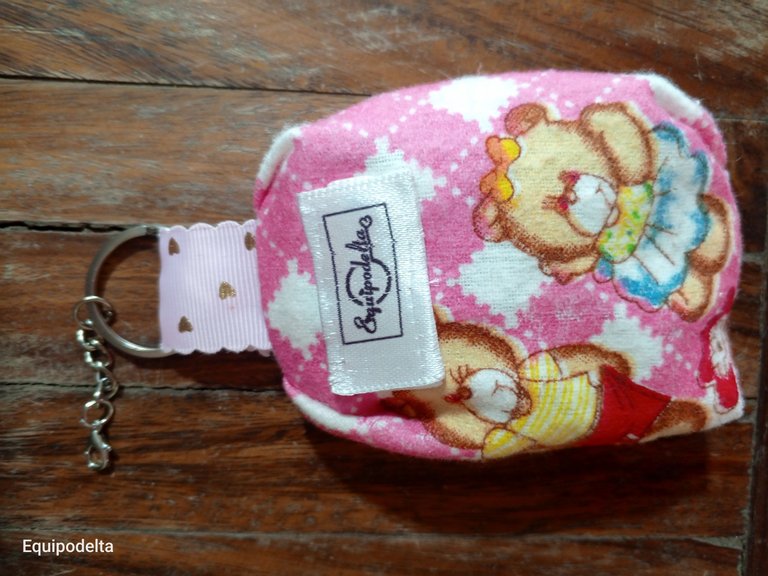
Para tener un mejor acabado puedes usar forro para la parte interna, tambien cubre las costuras con un sesgo.
Voltea la pieza, recuerda que al cerrar cada extremo dejar el cierre abierto para que puedas voltear.
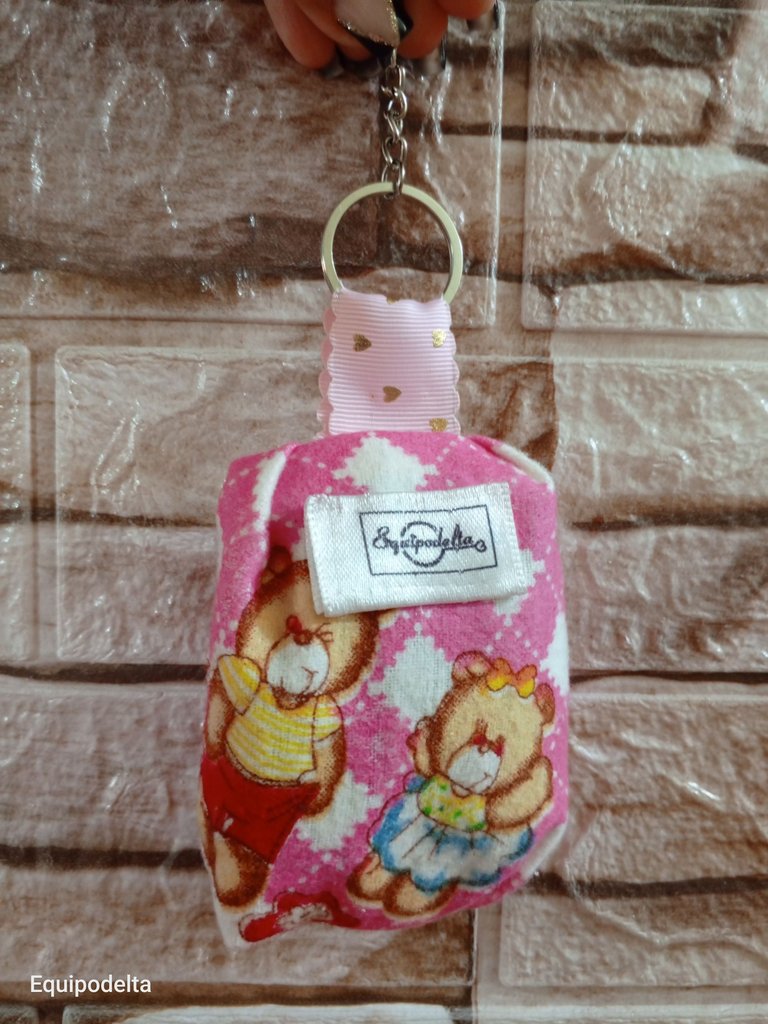
Espero que les guste este modelo, quedó mejor que el anterior. Lo que me faltó fue coser el logo.
Espero les guste.
! [English version]
For a better finish you can use lining for the inside, also cover the seams with a bias binding.
Turn the piece over, remember when closing each end leave the zipper open so you can turn it over.
I hope you like this model, it turned out better than the previous one. What I missed was to sew the logo.
I hope you like it.


Créditos / Credits
 |  |

💜💜💜
![]() 👉
👉  👉
👉 ![]() 👉
👉 ![]() 👉
👉 
Here / Bríndame un café

Está muy bonito ese diseño bastante práctico, realmente es un detalle muy exclusivo abrazos
Ahora le pongo mis labiales jajajaja! saludos mi corazón.
Qué bueno que no abandonaste este proyecto, ya que es un diseño sencillo pero muy lindo. Los materiales lo son todo definitivamente, recuerdo que una vez le dije a una amiga que me enseñaba a coser que quería comprar una tela económica para practicar, y ella me dijo que era un error eso, porque el diseño y la experiencia de la confección cambia totalmente cuando los materiales son de calidad y le aportan a la calidad de la prenda.
Es muy cierto, hay que invertir en materiales para probar realmente un diseño o patrón, ya que la integridad y de esa prenda dependía mucho de la calidad de los materiales, incluso el hilo puede comprometer un diseño.
Te quedó muy prolijo y tierno este 2do intento como dices, te felicito.
No vale me quito el sombrero, sabes para estas cosas hay que hacerlo con mucha paciencia y mucho tiempo. Aprendo de una buena maestra!
Esto está muy bonito la verdad, es un gran trabajo el que hiciste. Quiero uno jajaja
rosita? jajaja no creeeeeeeeeeeeeeo. Gracias mi querido.
Bueno pero lo puedo querer para regalarlo... Aaahhh jajaja
Lindooo, también quedó Cuchi 😍