Hagamos un lindo joyero con cartón y transformemos flores secas para decorar! ESP/ENG. Let's make a cute jewelry box out of cardboard and transform dried flowers to decorate!
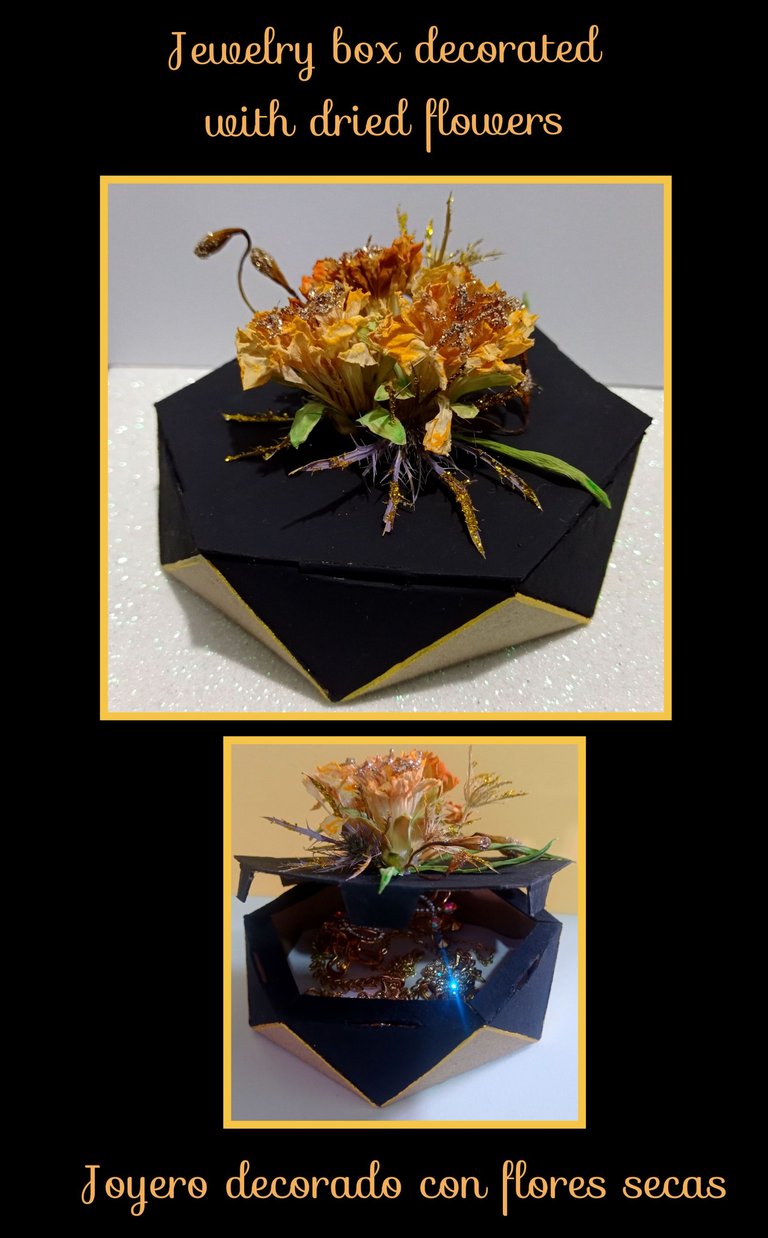
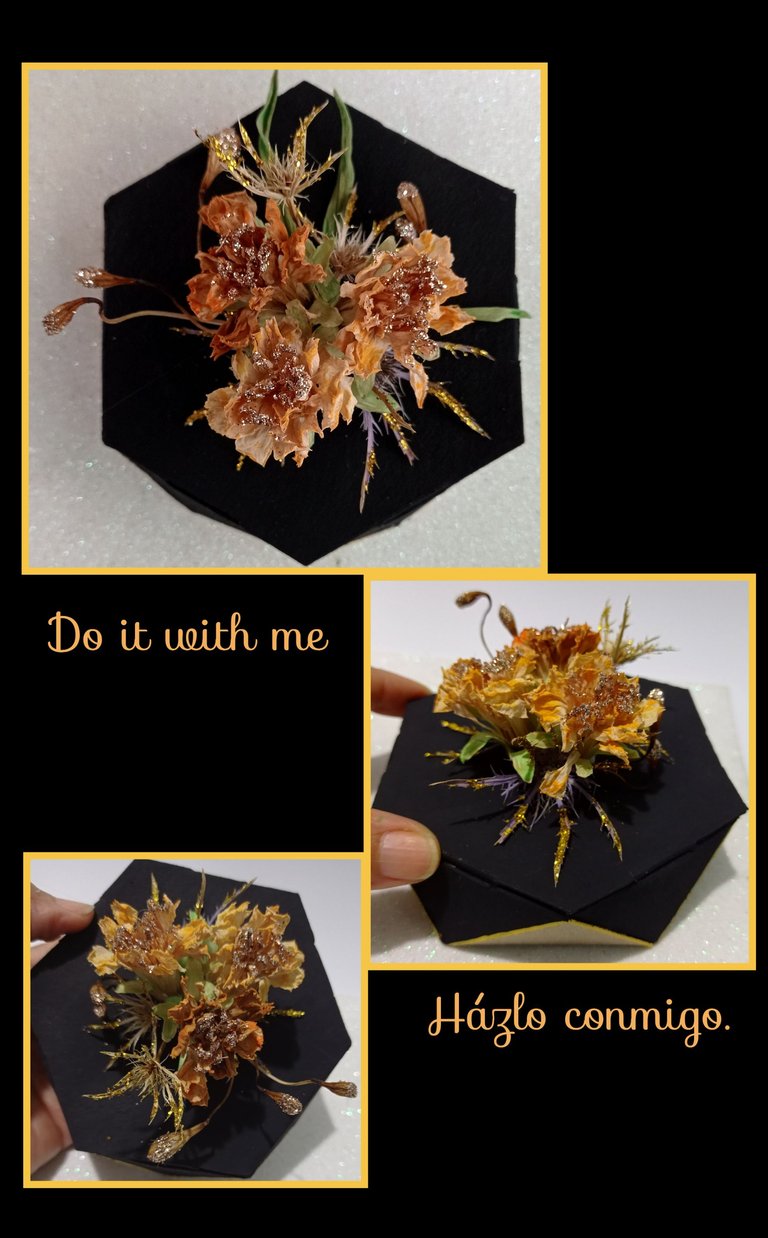
Hola queridos amigos que hoy me visitan.
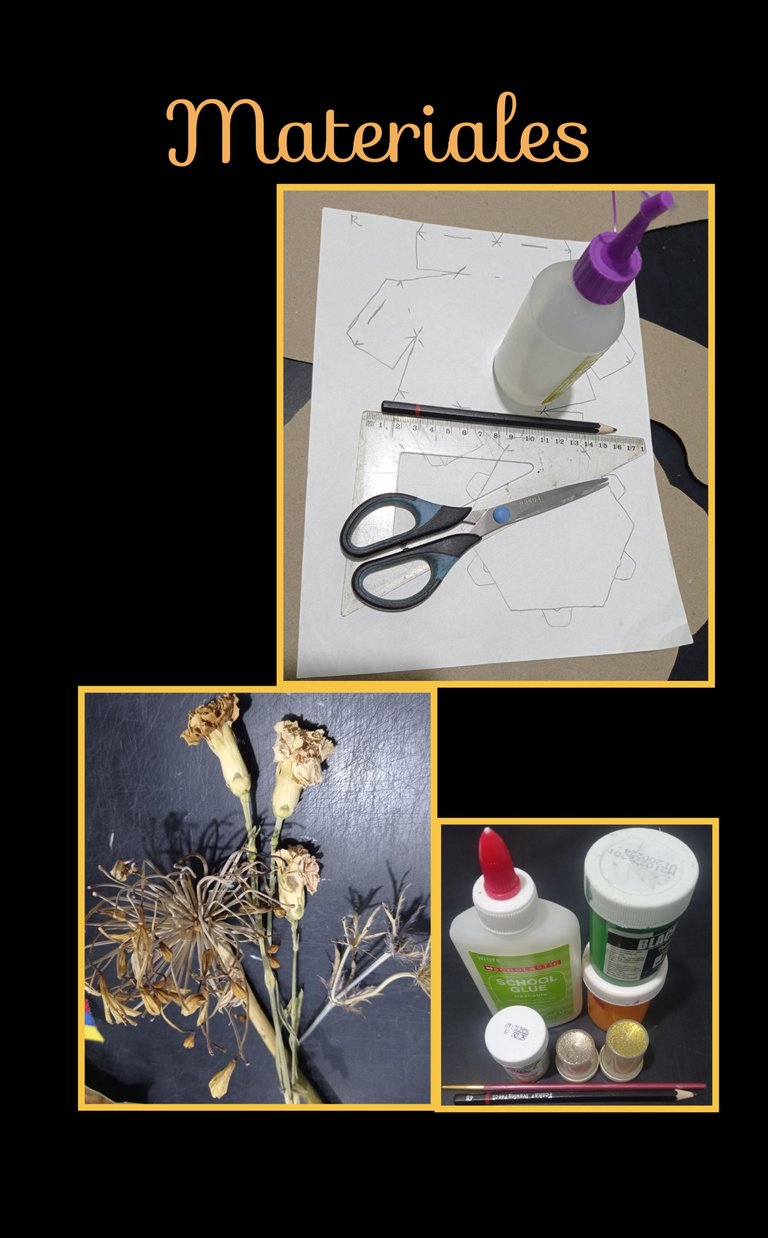
Molde o impresión.
Regla y lápiz
Tijera y silicón.
Flores y follaje seco.
Cola blanca y escarchas.
Pinturas y pinceles
Paño
Paso 1:
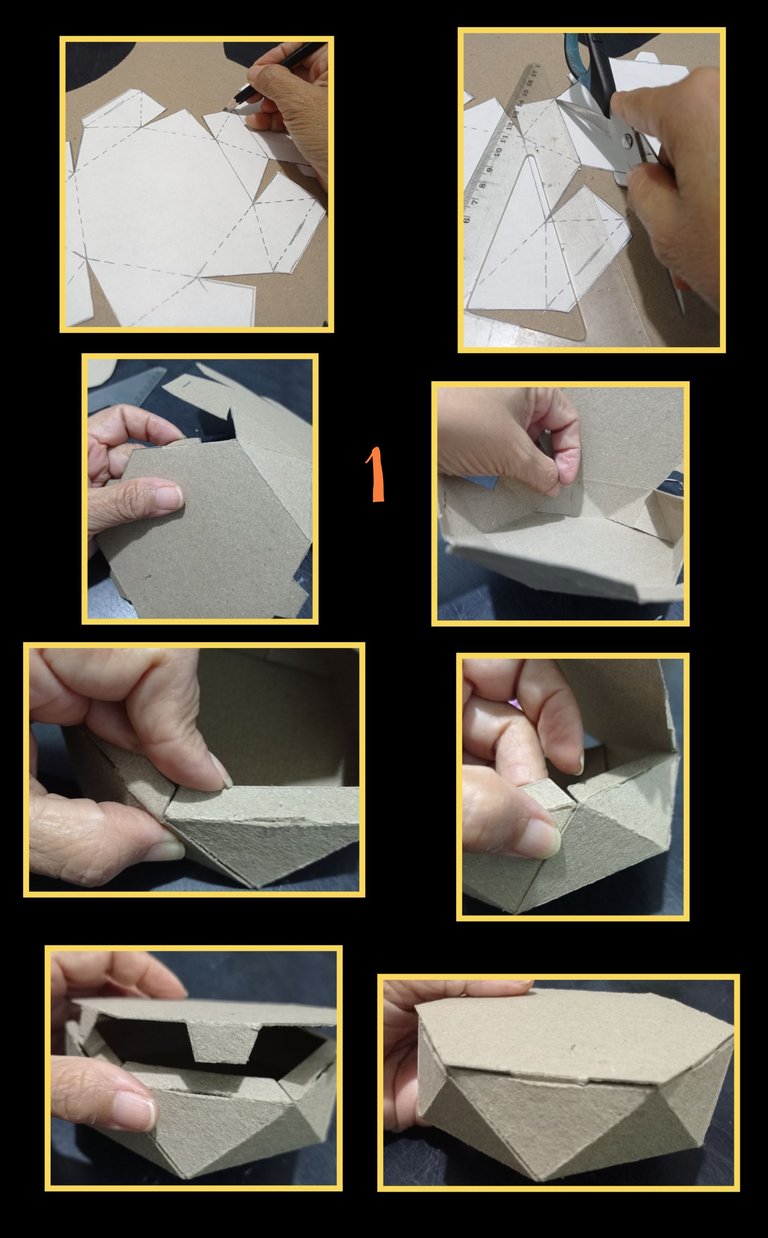
- Imprime o calca el molde al tamaño que necesites.
- Luego recorta y marca todo el contorno del molde sobre el cartón.
- Después con la punta de la tijera y la ayuda de una regla, remarca todas las líneas, recorta, luego haz las aberturas con una cuchilla donde insertaras la tapa.
- Comienza a doblar las líneas marcadas, aplica silicón y arma la cajita para el joyero, haciendo presión hasta que seque.
- Así quedará!
Paso 2:
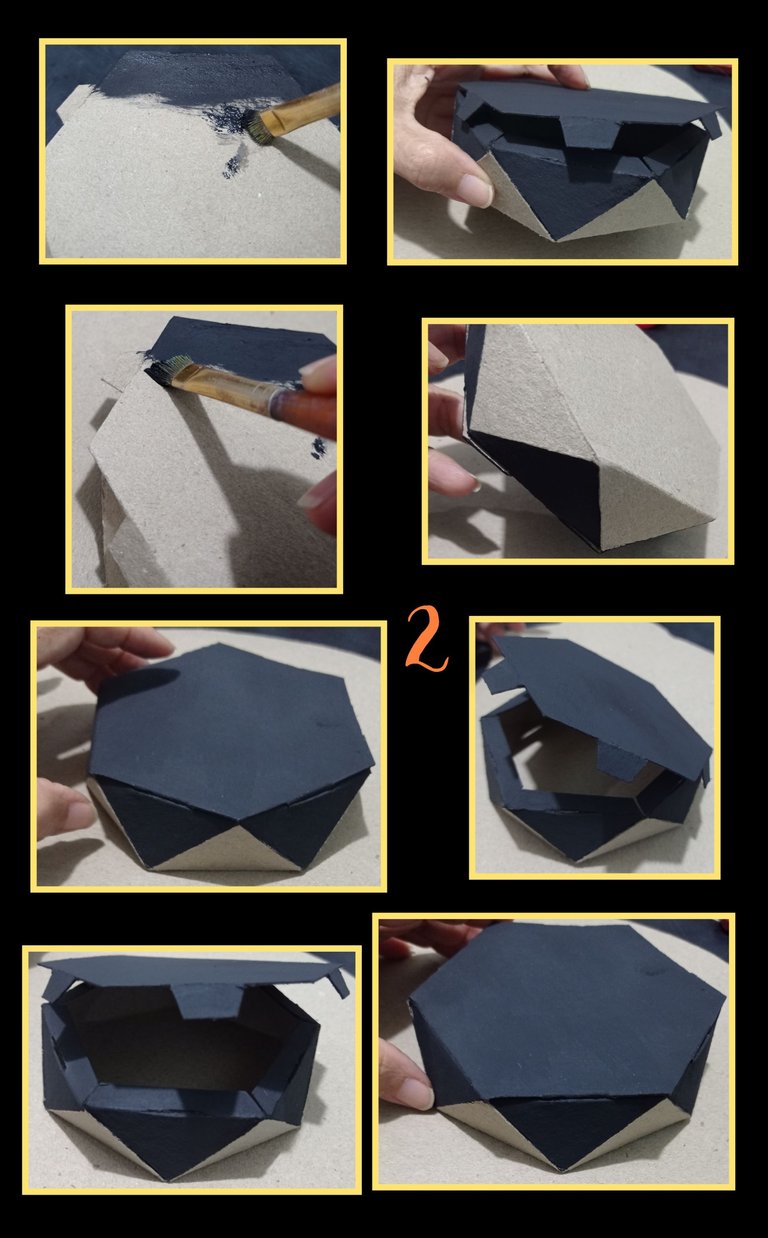
- Pinta la tapa con el color deseado y deja secar, luego pinta los triángulos en forma de zig zag y deja secar.
- Pasa otra mano de pintura y si gustas puedes pintar la base del joyero.
Paso 3:
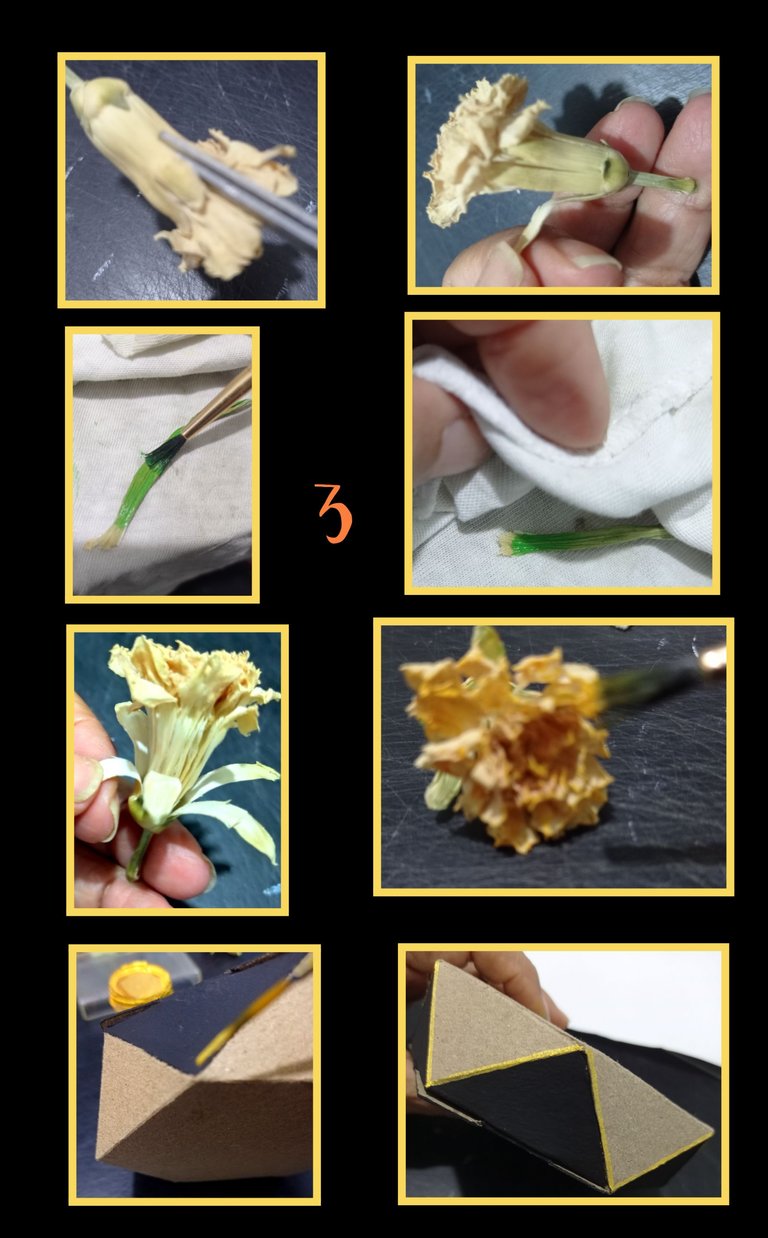
- Ahora con la tijera recorta y abre como si fueran pétalos los sépalos y mueve los pétalos para abrirlos y dobla hacia abajo con cuidado no se quiebren.
- Pinta los sépalos y hojas con una aguada de pintura verde y luego retira con un pañito para que quede color verde pastel.
- Con pintura amarillo turpial o naranja claro, pinta un poco los pétalos en la parte de arriba y deja secar.
- Ahora con un pincel delgado pinta las orillas de los triángulos con pintura dorado.
Paso 4:
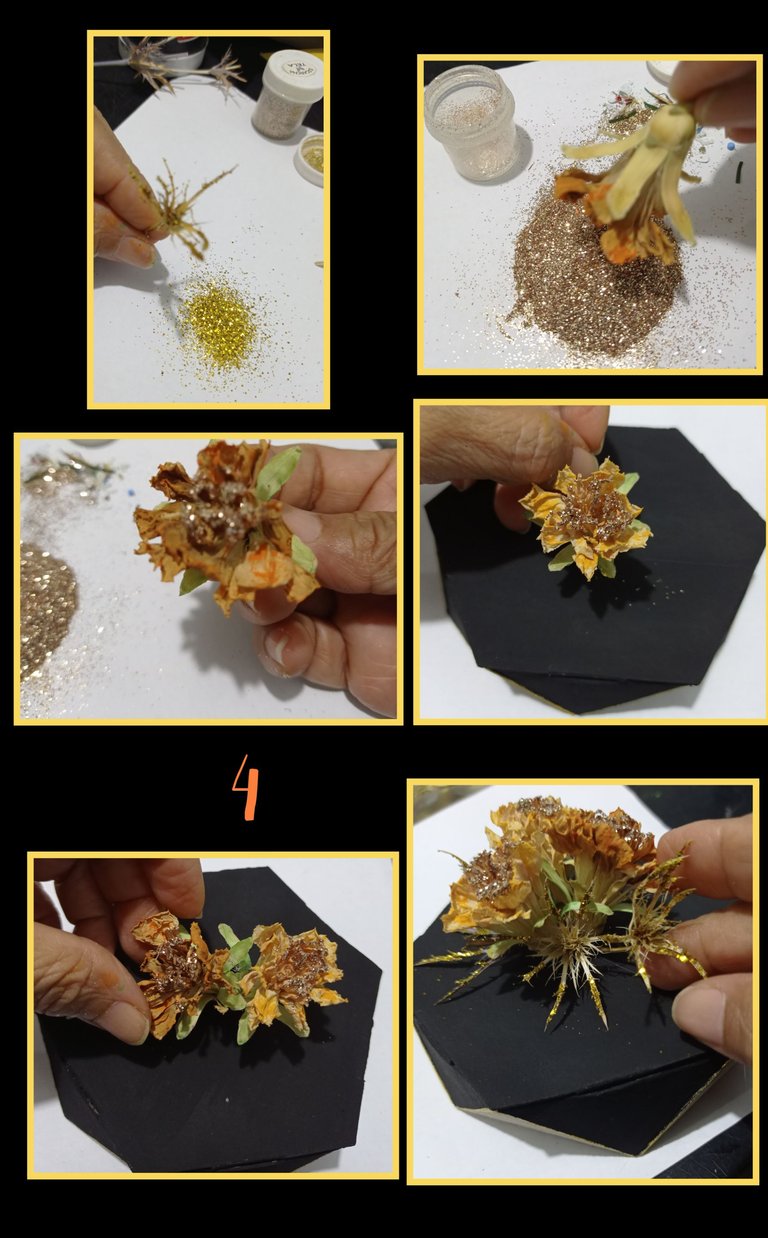
- Aplica un poco de cola blanca en los follajes secos y rocía con escarcha dorada, luego haz igual con las flores y pasa por escarcha color arena y deja secar.
- Ahora aplica silicón en la parte baja de los mini claveles y pega a tu gusto en la tapa del joyero.
- Pega todas las flores y rellena los lados con el follaje.
Nota: si los pétalos de tus flores secas se despegan, puedes aplicar en la base un poco de cola blanca y puedes dar pinceladas muy suaves con aguada de cola.(Esta la puedes hacer mezclando mitad agua, mitad cola, cantidades iguales.)
Paso 5:
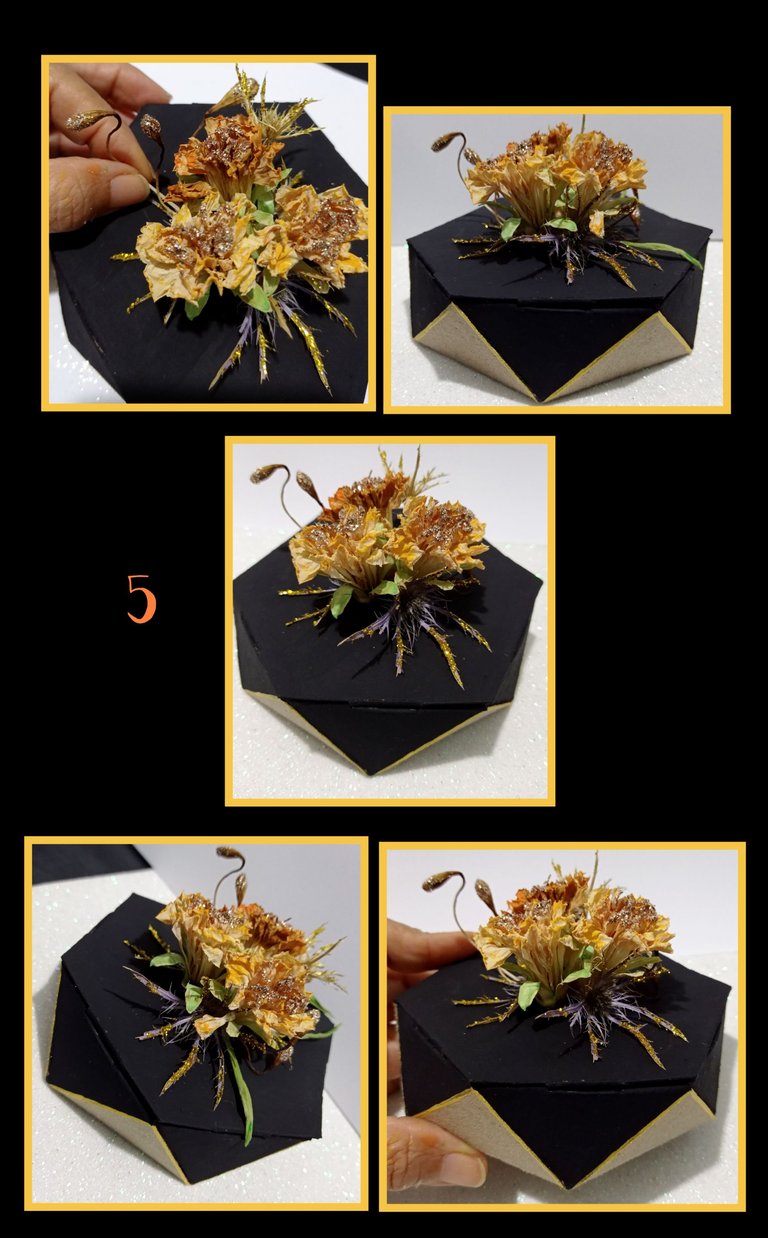
- Termina rellenando con follaje y hojas, así quedará este bonito y útil joyero.
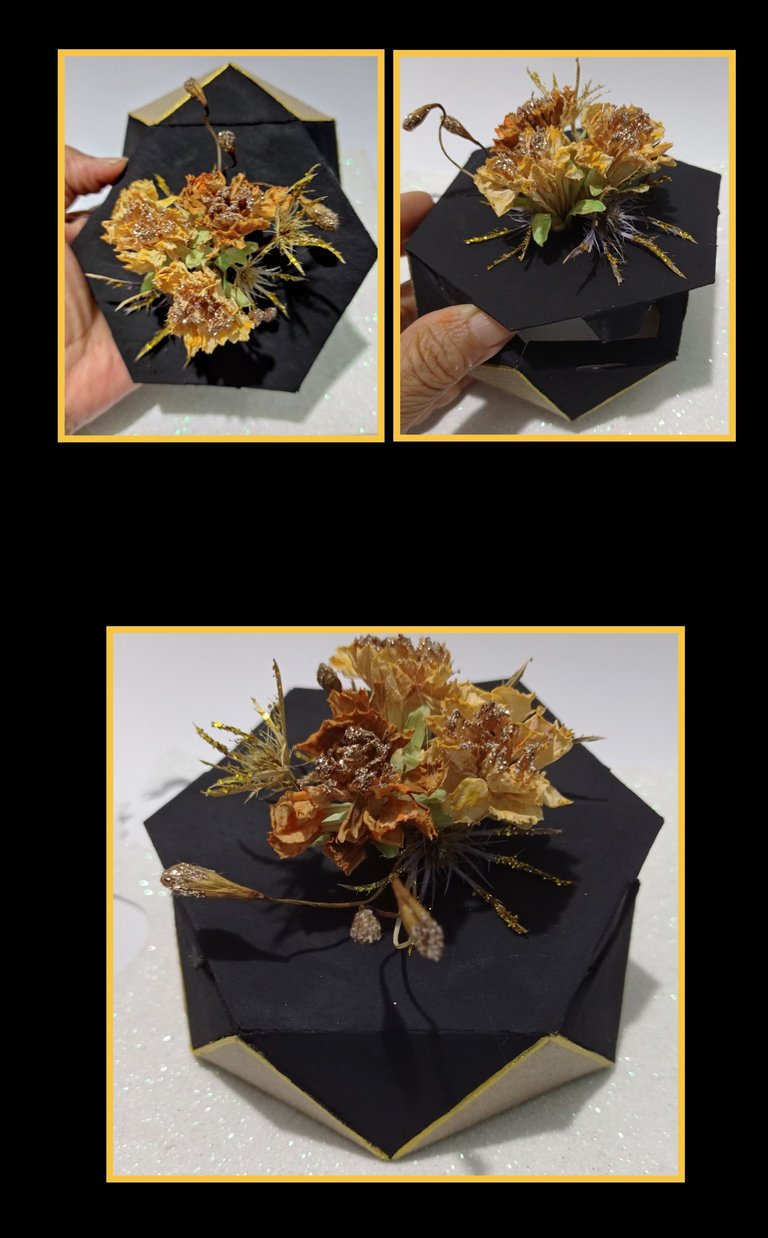
Fuente:
https://www.pinterest.es/pin/476255729361774689/
Etiquetas: HTML
Teléfono: Redmi Note 9
Editor fotos: GridArt.
Ahora sólo queda despedirme de ustedes, esperando sea útil y de tu agrado este bonito y sencillo joyero hecho con material reciclable y flores secas obteniendo este lindo resultado.

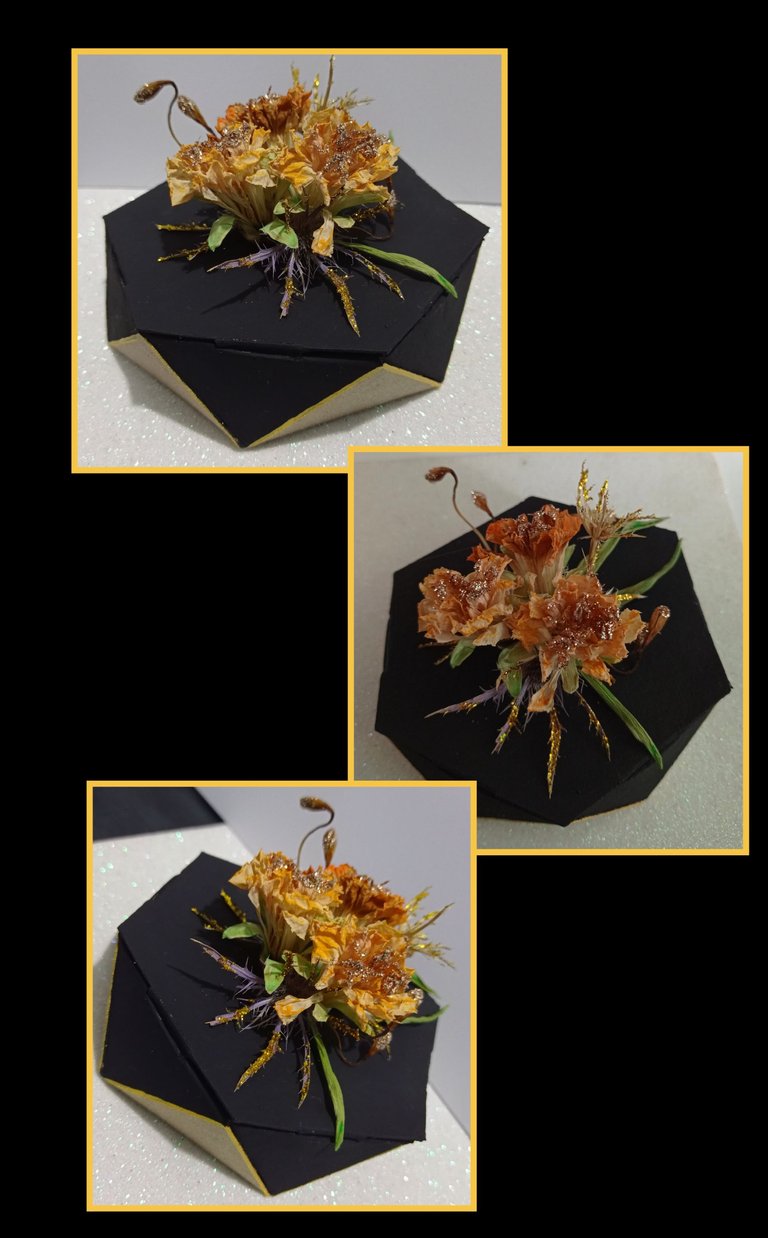


Hasta mi próximo tutorial.
Muchas gracias por tu visita y apoyo!
English:


Hello dear friends who visit me today.

Mold or print.
Ruler and pencil
Scissors and silicone.
Flowers and dried foliage.
White glue and frosting.
Paints and brushes
Cloth
Step 1:

- Print or trace the mold to the size you need.
- Then cut out and mark all the outline of the mold on the cardboard.
- Then with the tip of the scissors and the help of a ruler, mark all the lines, cut, then make the openings with a blade where you will insert the lid.
- Start folding the marked lines, apply silicone and assemble the box for the jewelry box, pressing until it dries.
- Here's how it will look!
Step 2:

- Paint the lid with the desired color and let it dry, then paint the triangles in a zig zag pattern and let it dry.
- Paint another coat of paint and if you like you can paint the base of the jewelry box.
Step 3:

- Now with the scissors cut and open the sepals as if they were petals and move the petals to open them and fold them down being careful not to break them.
- Paint the sepals and leaves with a wash of green paint and then remove with a tissue so that it is pastel green.
- With turpial yellow or light orange paint, paint a little of the petals on the top and let dry.
- Now with a thin brush paint the edges of the triangles with gold paint.
Step 4:

- Apply a little white glue on the dried foliage and sprinkle with gold frosting, then do the same with the flowers and pass through sand colored frosting and let dry.
- Now apply silicone on the bottom of the mini carnations and glue to your liking on the lid of the jewelry box.
- Glue all the flowers and fill in the sides with the foliage.
Note: if the petals of your dried flowers come off, you can apply a little white glue on the base and you can give very soft brush strokes with watered down glue (you can do this by mixing half water, half glue, equal amounts).
Step 5:

- Finish by filling with foliage and leaves, this will make a beautiful and useful jewelry box.

Source:
https://www.pinterest.es/pin/476255729361774689/
Tags: HTML
Phone: Redmi Note 9
Photo editor: GridArt.
Now it only remains to say goodbye to you, hoping it will be useful and to your liking this nice and simple jewelry box made with recyclable material and dried flowers getting this nice result.


Until my next tutorial.
Thank you very much for your visit and support!
Es un joyero muy lindo que muestra el talento que tiene para las manualidades
!discovery 45
Muchas gracias amigo por tus palabras y el apoyo que siempre me brindas.
Me siento honrada ya que tus manos hacen bellezas.
This post was shared and voted inside the discord by the curators team of discovery-it
Join our Community and follow our Curation Trail
Discovery-it is also a Witness, vote for us here
Delegate to us for passive income. Check our 80% fee-back Program
Muchas gracias @discovery-it por tu apoyo.
You know, the results looks elegance even with simple materials. You choose the great color also. 😊
Muchas gracias por su comentario!
Bendiciones!
¡Felicidades! Esta publicación obtuvo upvote y fue compartido por @la-colmena, un proyecto de Curación Manual para la comunidad hispana de Hive que cuenta con el respaldo de @curie.
Si te gusta el trabajo que hacemos, te invitamos a darle tu voto a este comentario y a votar como testigo por La Colmena.
Si quieres saber más sobre nuestro proyecto, te invitamos a acompañarnos en nuestro servidor de Discord.
@la-colmena Gracias por su voto y apoyo a mi publicación.
Esta hermosa la creacion, siempre he dicho (y sigo sosteniendo jaja) que el negro y el dorado-amarillo hacen una excelente y muy elegante combinacion.
Me encanto la decoracion 😍
Hola buhito, que bueno verte por aquí apoyándome con tus comentarios y sí queda muy linda la combinación.
Que bueno que te gustó!
El detalle de las flores esta genial. Te quedó precioso.
Gracias! me alegra mucho que te guste.
Gracias por pasar por aquí.
Saludos.
Wow que bello trabajo! Pensé que la flor era natural, pero cuando seguí leyendo veo que la hiciste tú 😍 Te ha quedado muy lindo y delicado este joyero. Esta hermoso 💟
Gracias por tu visita y que bueno que te gustó!
Saludos.