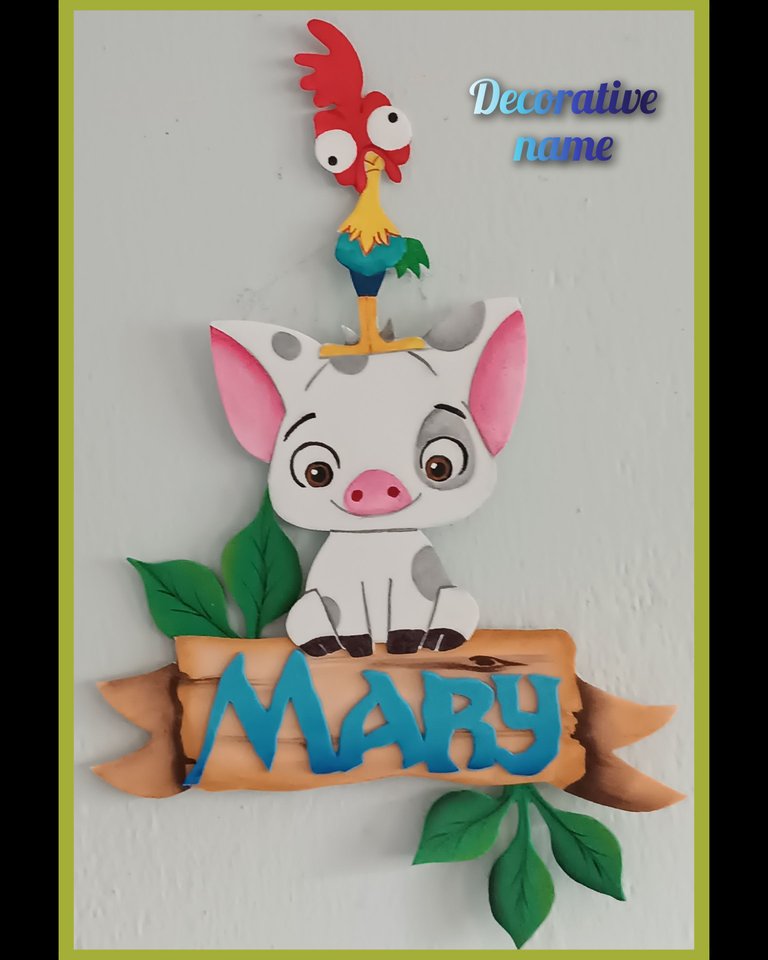
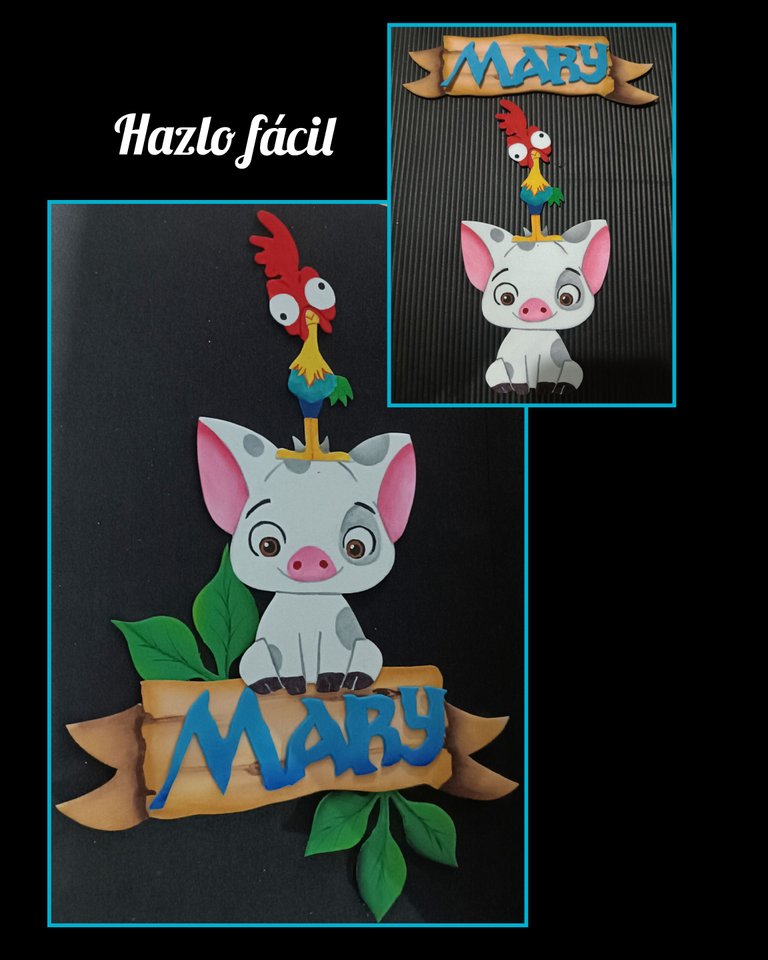
Decora la pared haciendo conmigo un lindo nombre al estilo de moana. ESP/ENG. Decorate the wall by making with me a cute moana style name.

Saludos mis queridos creadores y amigos que me visitan.
Bienvenidos sean todos a mi Blog.
Necesitas estos materiales:
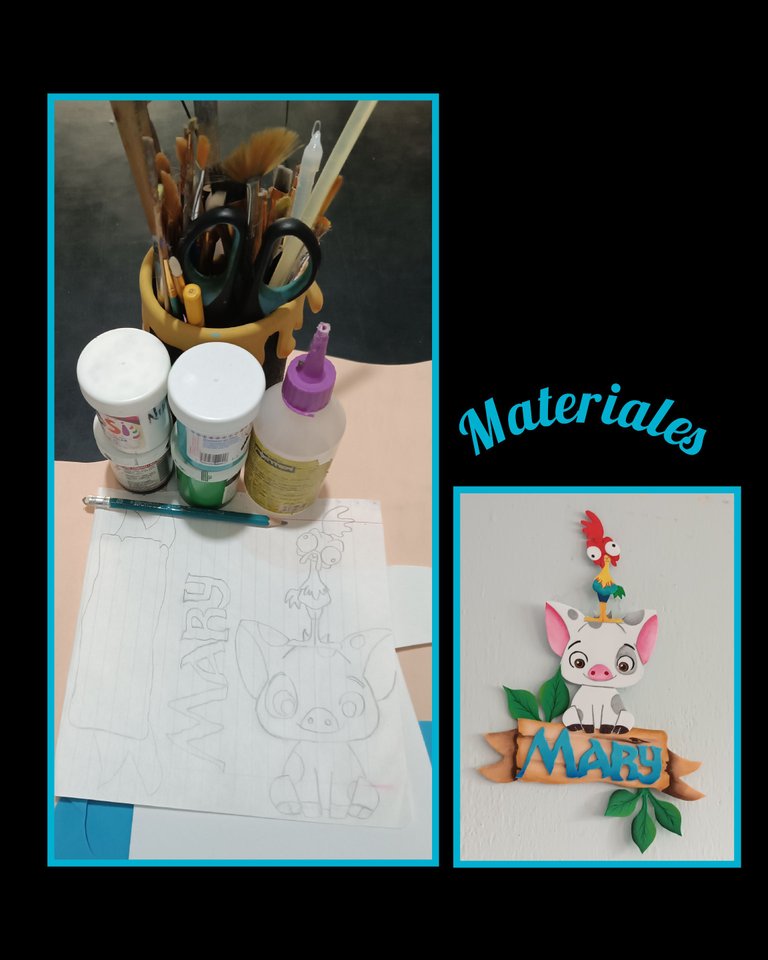
| Foami de colores | Pinturas y pinceles |
|---|---|
| Tijera | Lápiz |
| Silicon | Dibujo |
| Cinta | Cartulina |
Es hora de comenzar:

- Remarca el dibujo luego coloca cara con el foami y con una tijera, frota para transferir la figura.
- Recorta por todo el contorno.
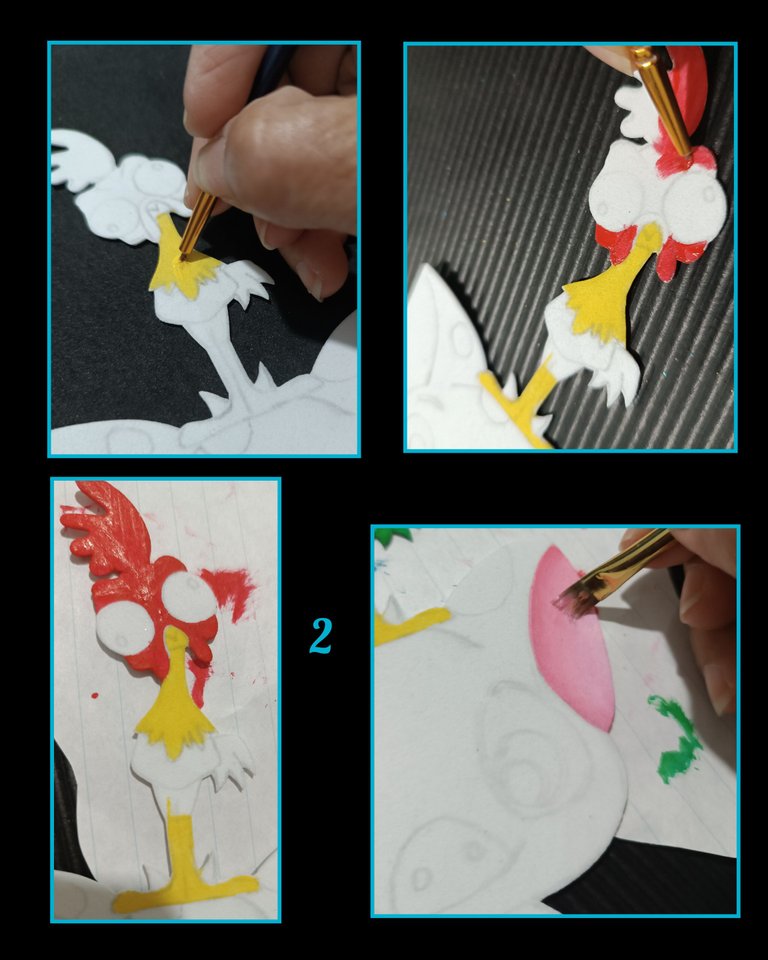
- Comienza a pintar los colores claros (amarillo), luego rellena con pintura roja la carita y cresta, tratando en lo posible de no manchar los ojos y deja secar, luego pinta el resto del cuerpo y la cola.
- Después, pinta rellenando las orejas del cochinito.
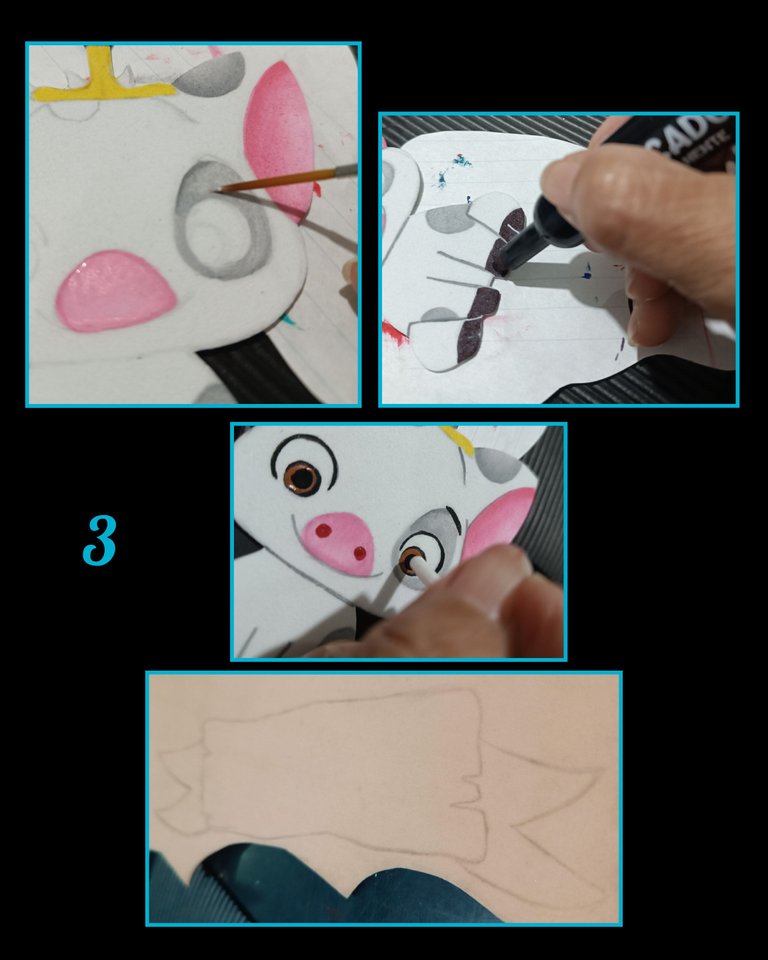
Continuamos pintando la carita del cochinito, ojos, trompita y manchas y delineando sus partes con un pincel muy delgado, ahora con marcador negro pinta los cascos.
Ahora delinea con negro las cejas, ojos y con la punta trasera del pincel, pinta el centro de los ojitos y deja secar.
Aparte transfiere la base del nombre al foami, repitiendo el primer paso y recorta por el borde.
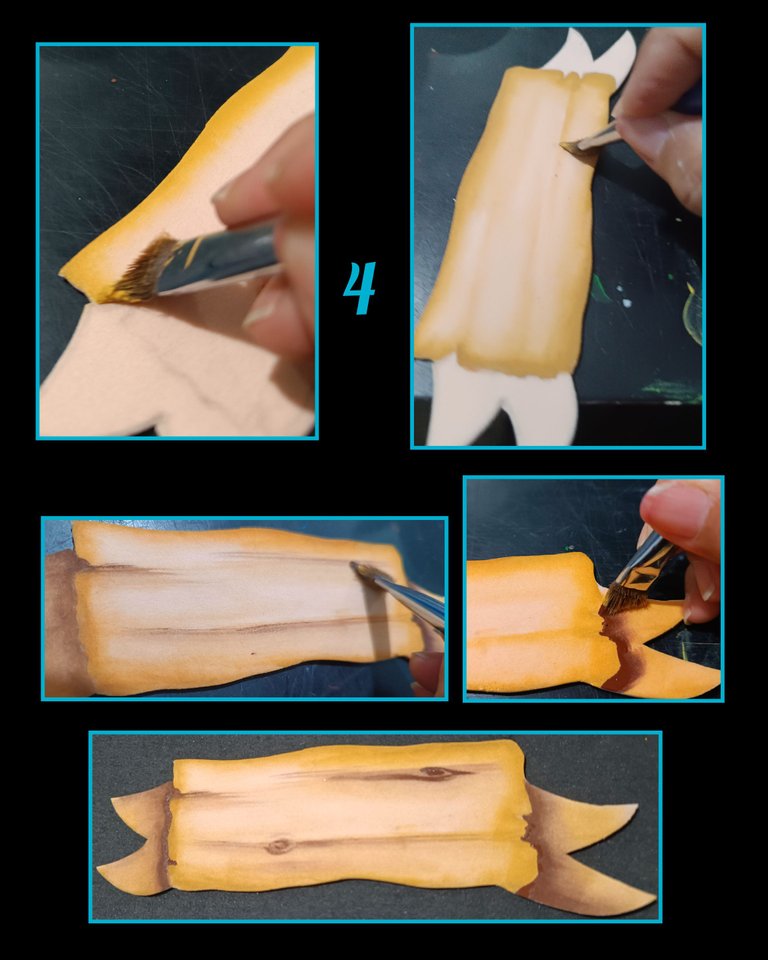
- Humedece el pincel con un poco de agua, retira el exceso y moja la punta en pintura color ocre y comienza a pasar por todo el borde de la pieza, luego lava el pincel y repite mojando solo la punta y traza líneas horizontales dentro de la pieza, semejando las betas de la madera.
- Luego lava el pincel nuevamente y moja en pintura marrón oscuro y pinta para hacer sombras y betas mas oscuras.
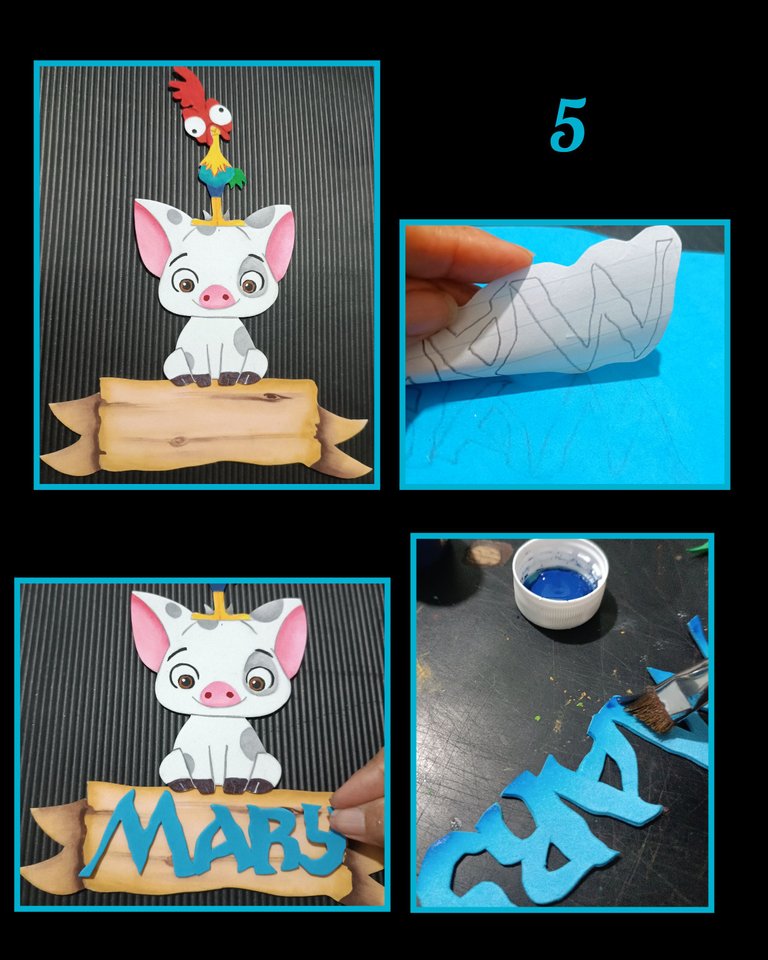
- Así van quedando nuestras piezas. A parte remarca el nombre a usar y transfiere repitiendo el primer paso, recorta y coloca sobre la base para revisar que esté bien el tamaño.
- Ahora pinta difuminando un poco de color azul marino en la parte baja del nombre y deja secar.
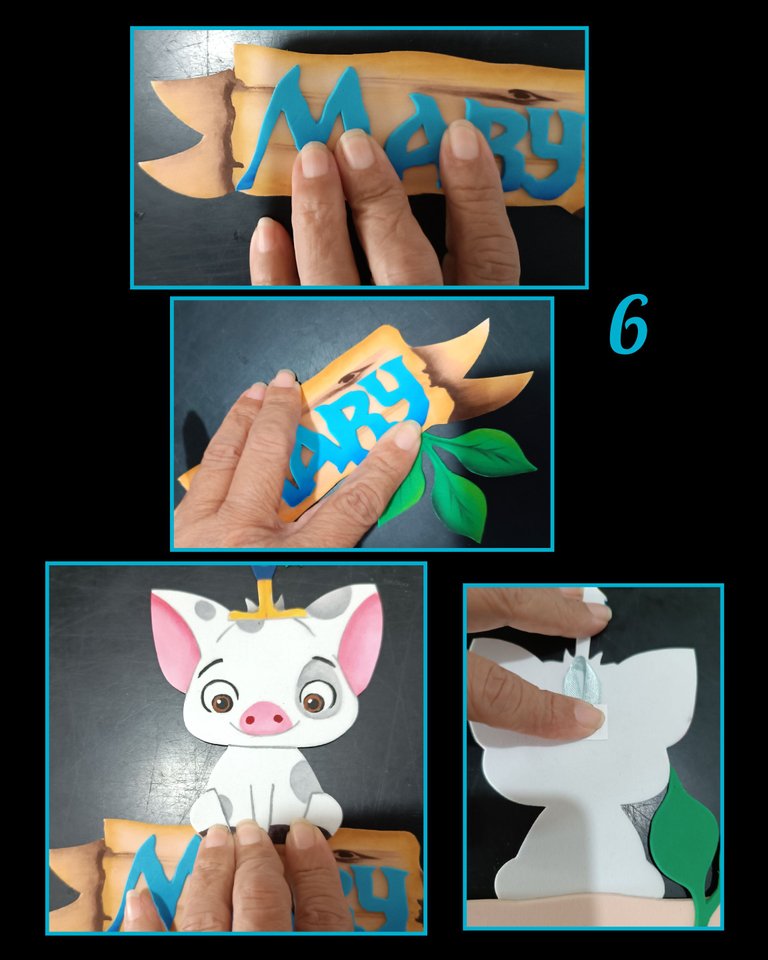
- Ahora comencemos a armar, primero aplica silicón al nombre y pega a la base haciendo presión, luego si quieres puedes recortar y pintar unas hojas y pegarlas a la base, eso queda a tu gusto.
- Igual, aplica silicón en la parte baja del cerdito y pega tal como te muestro en la foto.
- Por último recorta un trocito de cinta y un cuadrito de cartulina y pega haciendo una argollita para colgar, si tienes teype doble faz, también puedes usar.
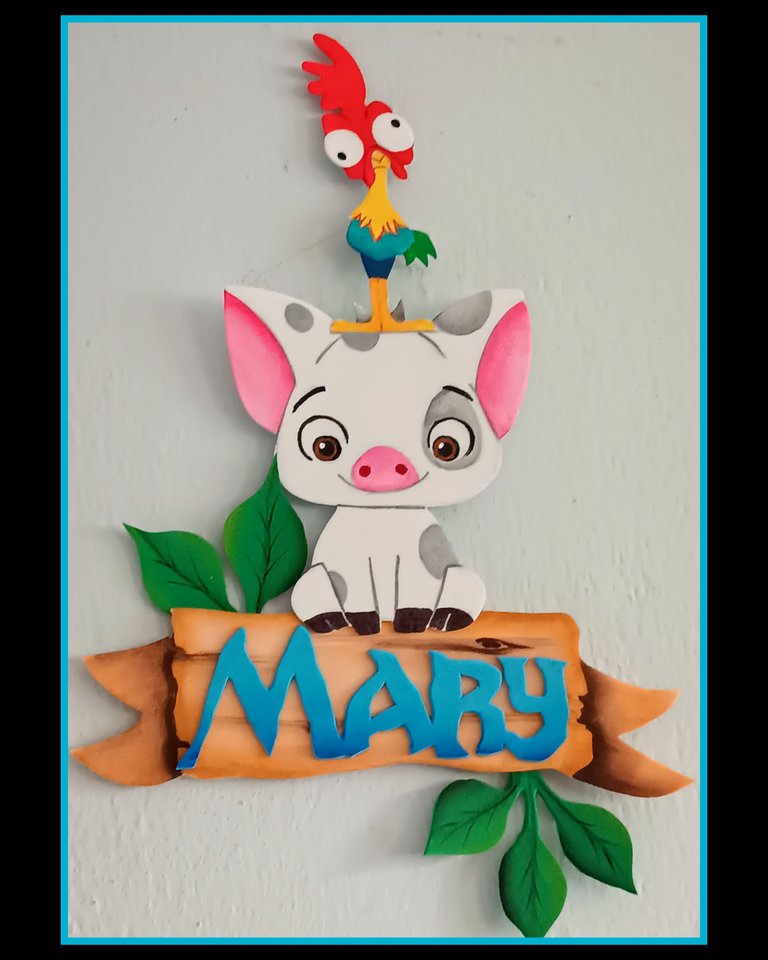
¡Ahora te muestro el resultado final ya decorando la pared!.
¿Te gustó?
Las fotos las capturé con mi Telf. Redmi Note 12
y las edité con GridArt.
Fuente:
https://es.pinterest.com/pin/476255729364523895/
Ahora llegó la hora de la despedida, deseando haya sido de tu agrado mi publicación y espero te sirva de guía para un futuro proyecto.
Muchas gracias por estar aquí, por tu apoyo y bueno nos vemos en mi próximo tutorial.
Saludos.
ENGLISH:
Greetings my dear creators and friends who visit me.
Welcome to my Blog.
Today I want to share and at the same time show you how you can make and decorate a name in foami in an easy and economical way.
Which you can customize and decorate with figures and images that you like. The important thing is to have a guide when doing it.
So, join me to make it.
You need these materials:
| Colored Foami | Paints and brushes |
|---|---|
| Scissors | Pencil |
| Silicon | Drawing |
| Tape | Cardboard |
It's time to begin:.
- Outline the drawing then place face with the foami and with a scissors, rub to transfer the figure.
- Cut out all around the contour.
- Start painting the light colors (yellow), then fill in the face and crest with red paint, trying as much as possible not to stain the eyes and let dry, then paint the rest of the body and tail.
- Then, paint filling the ears of the piglet.
Continue painting the piggy's face, eyes, trunk and spots and outlining its parts with a very thin brush, now with black marker paint the hooves.
Now outline with black the eyebrows, eyes and with the back tip of the brush, paint the center of the eyes and let dry.
Then transfer the base of the name to the foami, repeating the first step and cut out the edge.
- Moisten the brush with a little water, remove the excess and dip the tip in ochre paint and begin to pass around the edge of the piece, then wash the brush and repeat wetting only the tip and draw horizontal lines inside the piece, resembling the betas of the wood.
- Then wash the brush again and dip it in dark brown paint and paint to make darker shadows and betas.
- This is how our pieces look like. Then highlight the name to be used and transfer it repeating the first step, cut it out and place it on the base to check that the size is correct.
- Now paint blurring a little navy blue color in the lower part of the name and let it dry.
- Now let's start assembling, first apply silicone to the name and glue to the base by pressing, then if you want you can cut out and paint some leaves and glue them to the base, that's up to you.
- Apply silicone to the lower part of the piggy and glue as shown in the photo.
- Finally, cut out a piece of ribbon and a square of cardboard and glue it to make a little ring for hanging, if you have double-sided teype, you can also use it.
Now I'll show you the final result when the wall is decorated!
Did you like it**?
The pictures were captured with my Redmi Note 12
and edited them with GridArt.
Source:
https://es.pinterest.com/pin/476255729364523895/
Now it's time to say goodbye, I hope you liked my publication and I hope it will serve as a guide for a future project.
Thank you very much for being here, for your support and well see you in my next tutorial.
Greetings.
Eso está precioso ❤️
Buen día,y muchas gracias por comentar.
wow. This is so cool. Nice work how you combined creativity and Moana-inspired flair to bring life to a space.
selected by @stevenson7
Gracias por tu apoyo @diyhub y comentario.
Sí, creo es una bonita idea para decorar cualquier espacio, en especial habitaciones de niños y también porque no, carpetas, cajas de regalos, puedes dar cualquier uso.
Saludos.
Como siempre amiga, un precioso trabajo 💖
!discovery 30
Muchas gracias querida amiga.
Saludos.
This post was shared and voted inside the discord by the curators team of discovery-it
Join our Community and follow our Curation Trail
Discovery-it is also a Witness, vote for us here
Delegate to us for passive income. Check our 80% fee-back Program
Muchas gracias @discovery-it por el apoyo
Muchas gracias @innerblocks por brindarme su apoyo
Saludos amiga, que hermoso trabajo, está perfecto para decorar la habitación del bebé. ❤️
Feliz sábado!
Saludos igual para ti amiga, muchas gracias por tu comentario.
Sí, quedan muy bonitos para decorar.
Igual para ti!
Felicitaciones te quedo lindo @elmundodebetty
Saludos
Your level lowered and you are now a Red Fish!