DIY: Space Blue Roses [ESP+ENG]
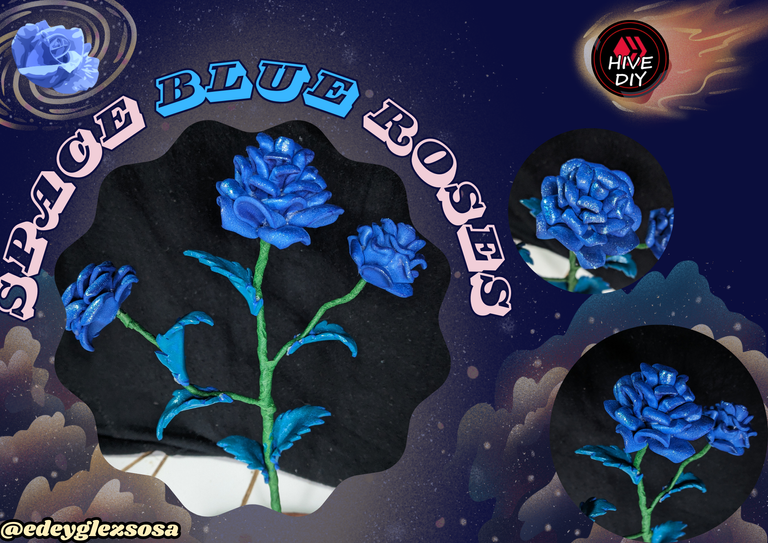
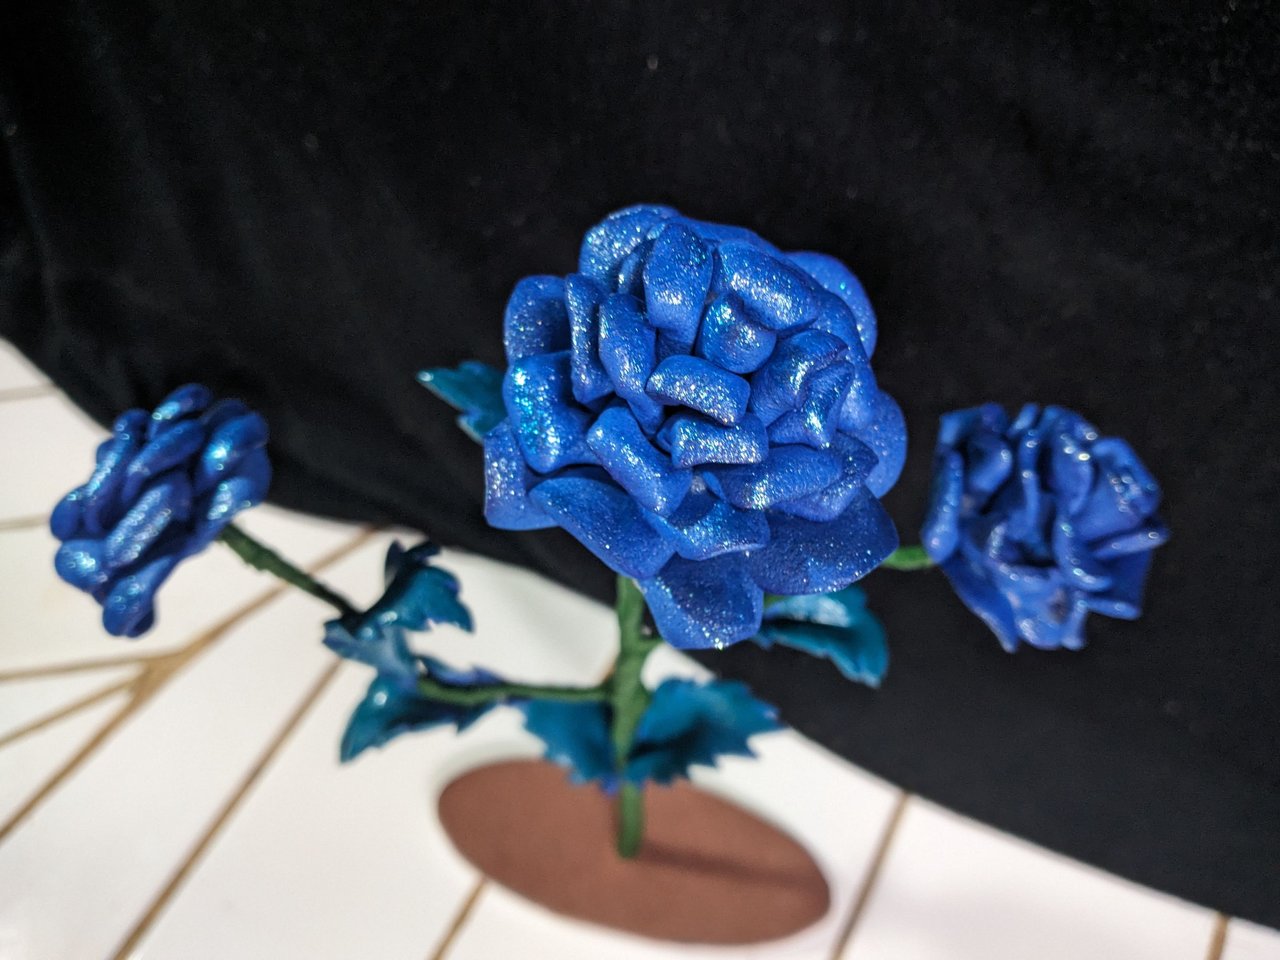
Feliz Año Nuevo mis amigos creativos. Quiero comenzar este año nuevo con otro estilo de manualidades que he estado practicando y que si bien es muy conocido en internet, creo que aún se le puede sacar mucho provecho, pues brinda un sinfín de posibilidades. Estoy hablando del fomi, fomi o como quiera que se le conozca. En esta ocasión estaré haciendo un presente para mi suegra, el cual he titulado Flores Espaciales. Por si os preguntáis el porqué del nombre, pues es que hace rato se me acabó el fomi rojo y verde. Debido a eso tuve que ingeniármelas para crear unas rosas azules que parecen sacadas de una peli de ciencia ficción. No solo las rosas, con las hojas me ocurrió algo parecido, pero ya verán cómo me la ingenié. Por ahora síganme la corriente con el tema de las rosas espaciales.
Happy New Year my creative friends. I want to start this new year with another style of crafts that I have been practicing and that although it is well known on the internet, I think you can still get a lot out of it, because it offers endless possibilities. I'm talking about fomi, fomi or however it is known. This time I will be making a present for my mother-in-law, which I have titled Space Flowers. In case you are wondering why the name, well, I ran out of red and green fomi a while ago. Because of that I had to come up with some blue roses that look like something out of a science fiction movie. Not only the roses, something similar happened to me with the leaves, but you'll see how I managed. For now play along with the space roses theme.
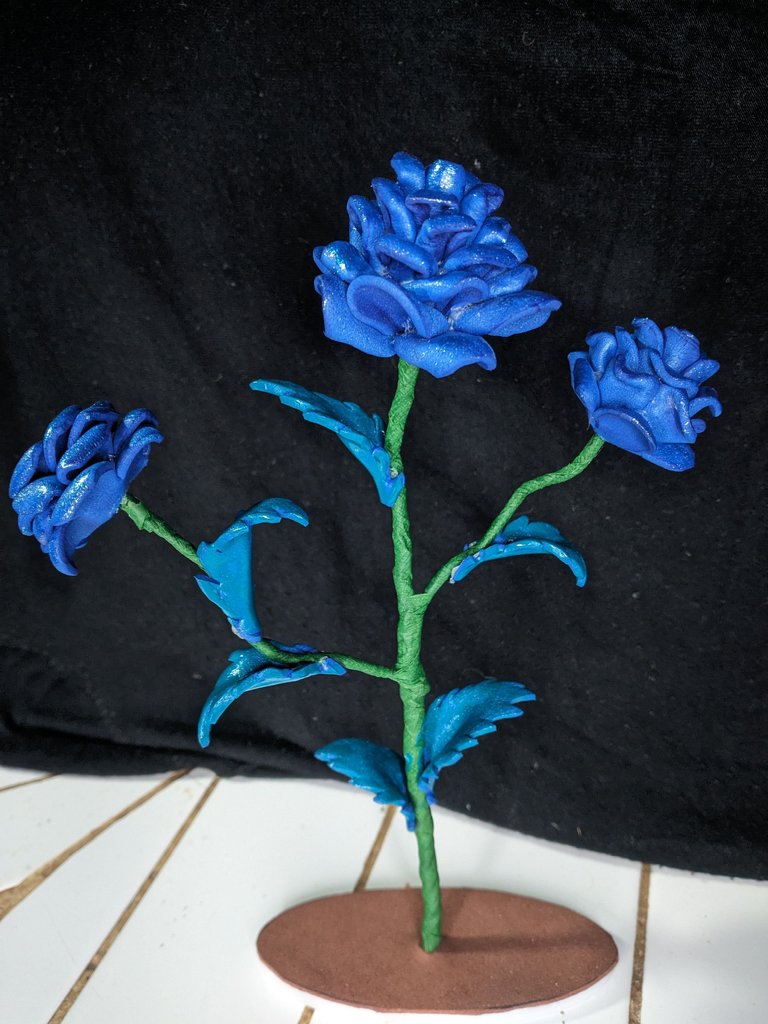
Materiales // Materials
- Láminas de fomi azul y carmelitas. (Si no son rosas espaciales que sean rojas y verdes)
- Tijeras o cúter.
- Base de soporte (Descartado el cartón y el polietileno como materiales por ser muy ligeros)
- Cinta floral o algún tipo de cinta verde.
- Alambre o tallo de una planta seca.
- Silicona o cola líquida.
- Pintura verde y azul con brillos (Totalmente opcional si posees los colores correctos y fomi escarchado)
- Plancha de ropa, plancha para pelo o pistola de calor.
- Blue and carmelite fomi sheets (if not space pinks, red and green).
- Scissors or cutter.
- Support base (cardboard and polyethylene are discarded as materials because they are too light).
- Floral ribbon or some kind of green ribbon.
- Wire or stem of a dry plant.
- Silicone or liquid glue.
- Green and blue glitter paint (Totally optional if you have the right colors and frosted fomi).
- Clothes iron, hair iron or heat gun.

Paso a paso // Step by step
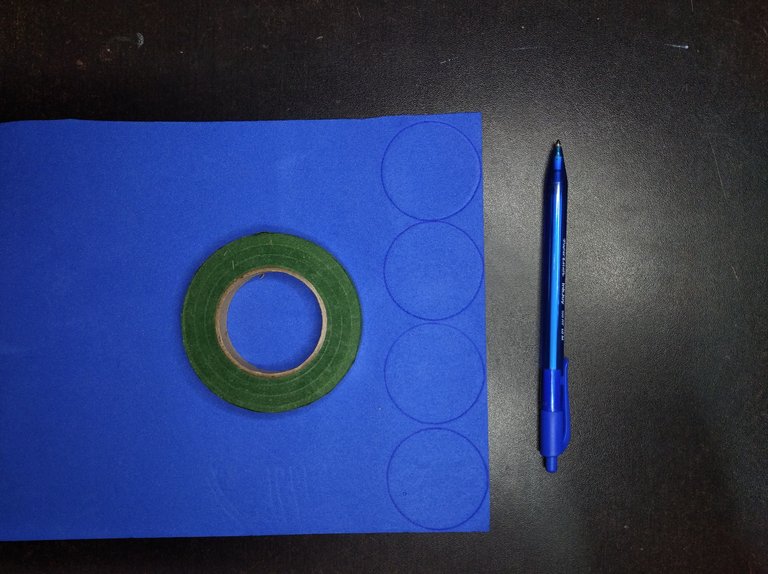
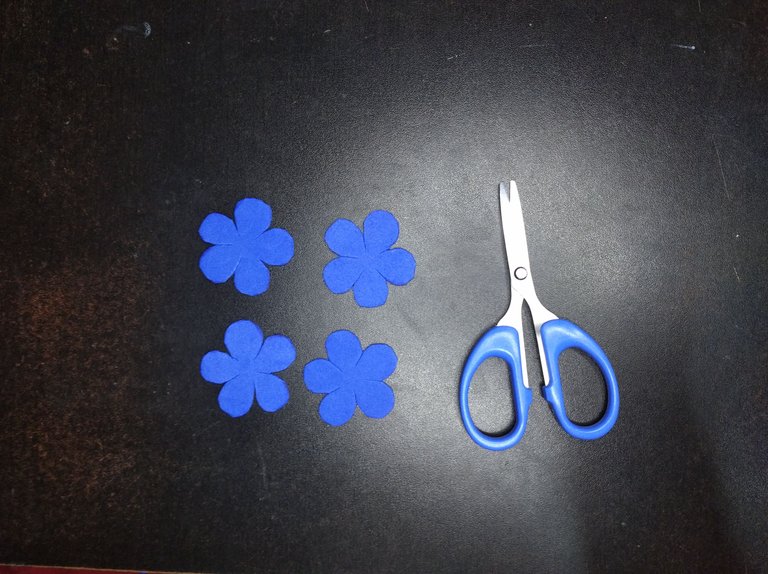
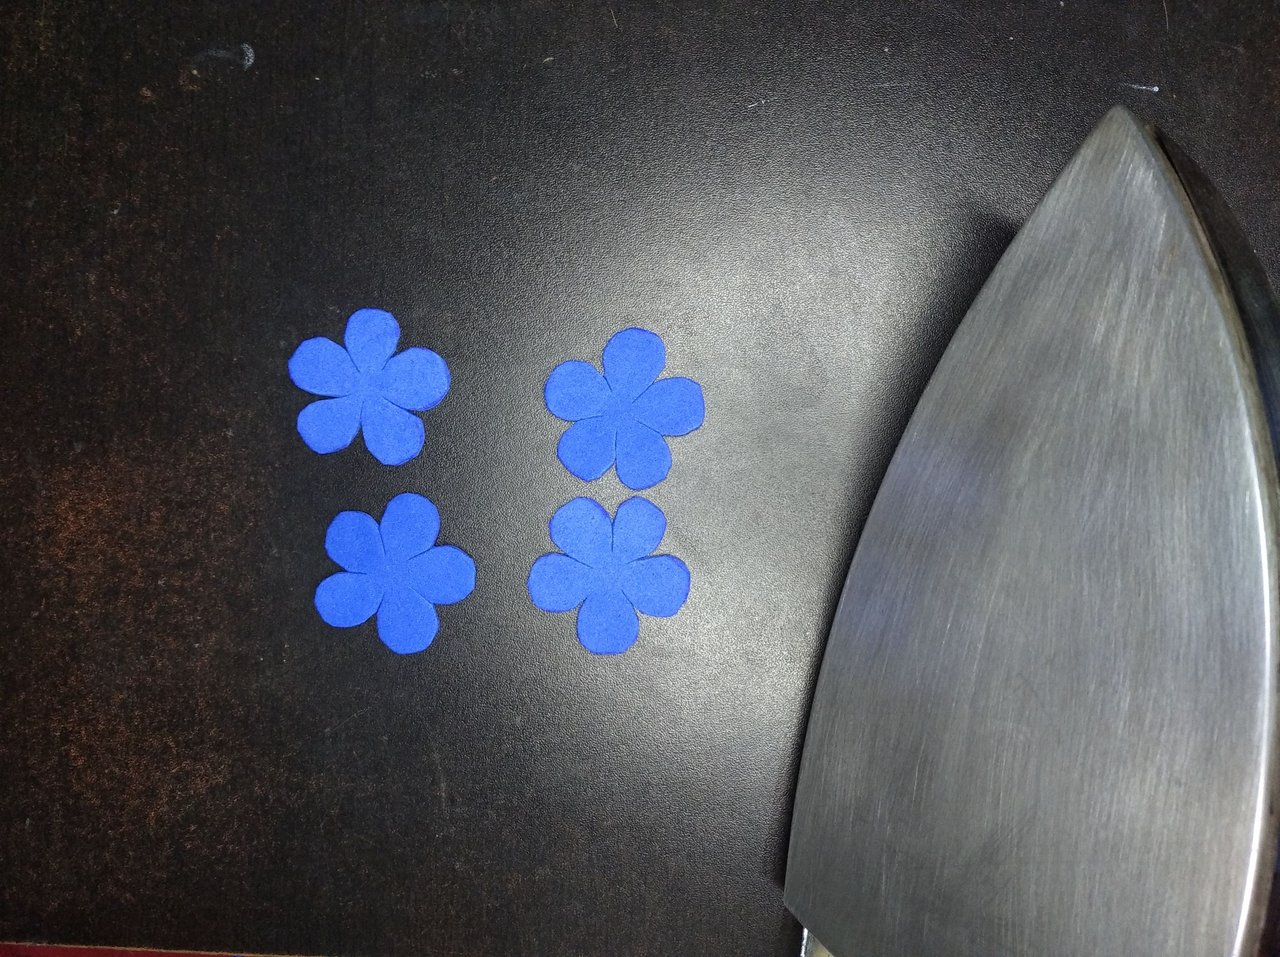
1️⃣ Comenzaremos marcando y recortando 8 círculos iguales y 4 cuatro un poco más grandes. A partir de estos círculos crearemos los pétalos para las 3 flores, dos de igual tamaño y la del medio un poco más grandes. A los círculos le haremos cortes hasta formar 5 pétalos en cada uno.
We will begin by marking and cutting out 8 equal circles and 4 four slightly larger ones. From these circles we will create the petals for the 3 flowers, two of equal size and the middle one a little larger. We will cut the circles to form 5 petals in each one.
 |
 |
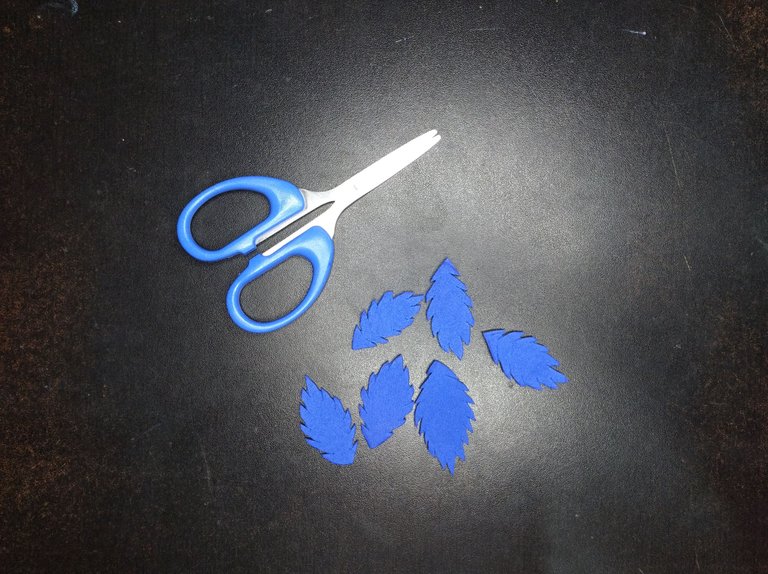
2️⃣ Luego recortaremos el fomi restante formando unas hojas y haremos pequeños cotes en el borde de las hojas para crear un relieve.
Then we will cut out the remaining fomi to form leaves and we will make small stitches on the edge of the leaves to create a relief.
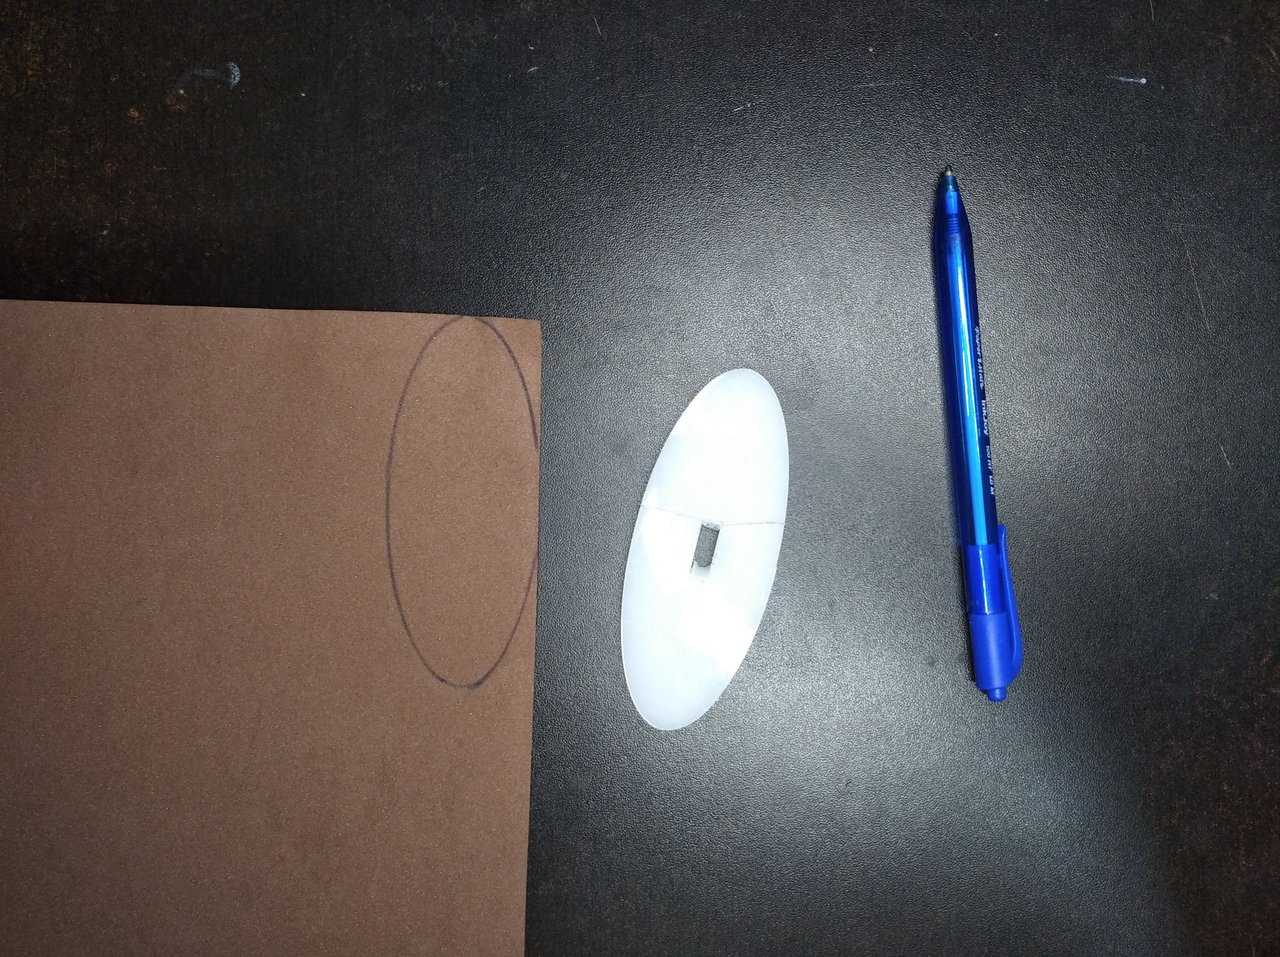
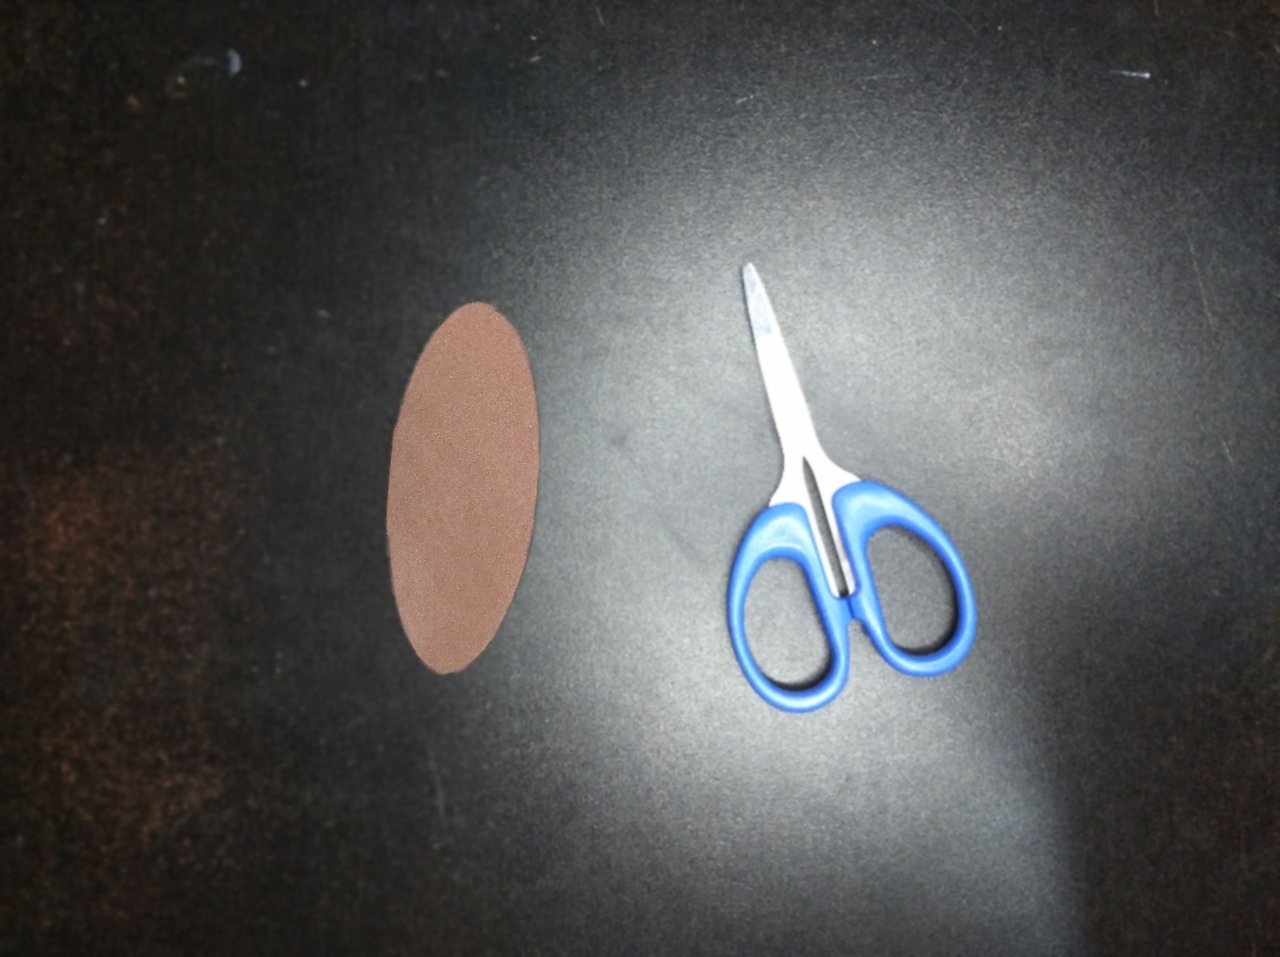
3️⃣ Tomamos lo que usaremos como soporte para marcar y recortar su silueta en el fomi carmelita. Es importante que el soporte base sea algo pesado para que mantenga estable el adorno.
We take what we will use as a support to mark and cut out its silhouette in the carmelite fomi. It is important that the base support is somewhat heavy to keep the ornament stable.
 |
 |
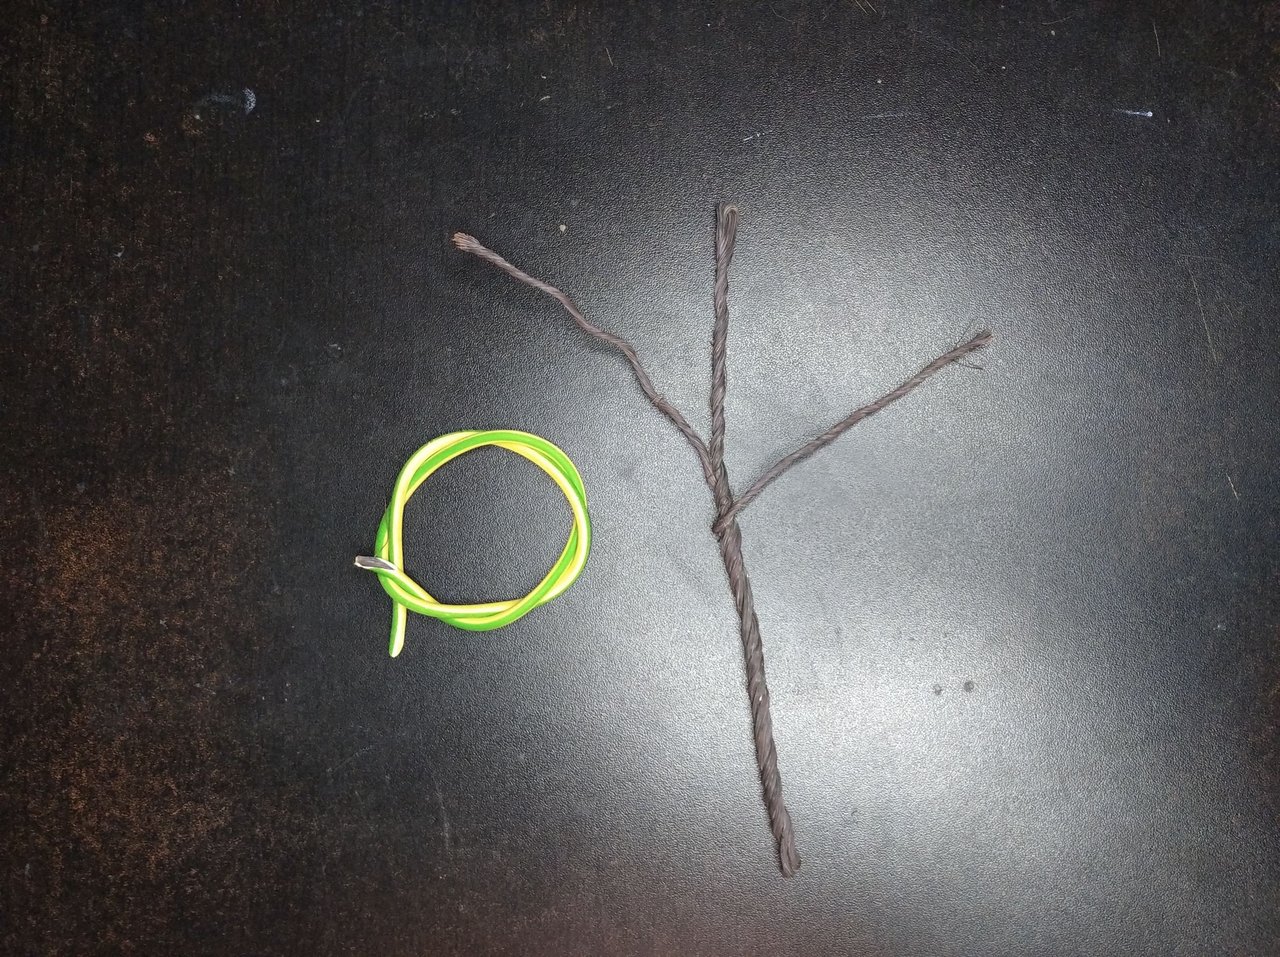
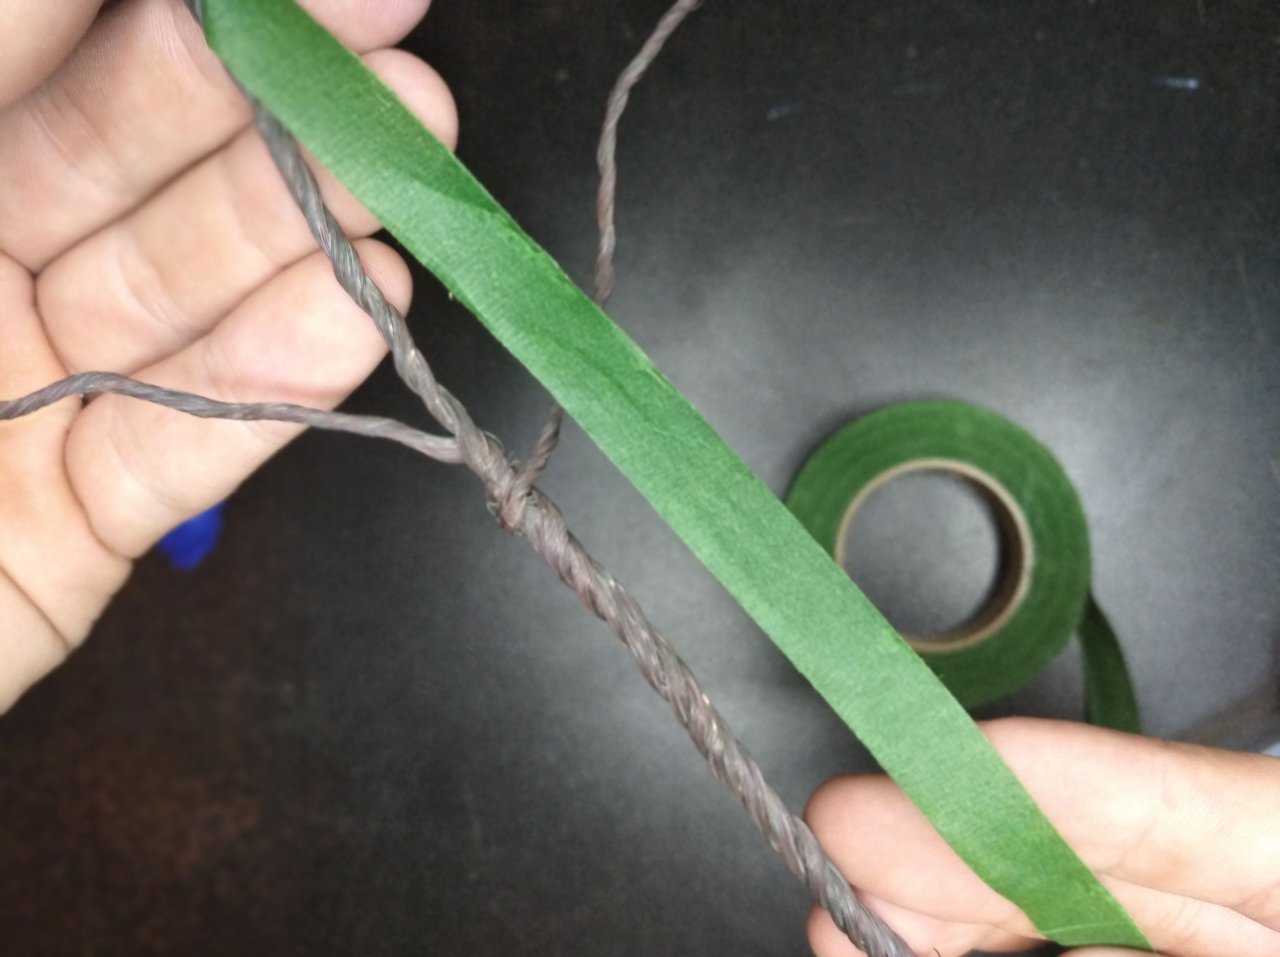
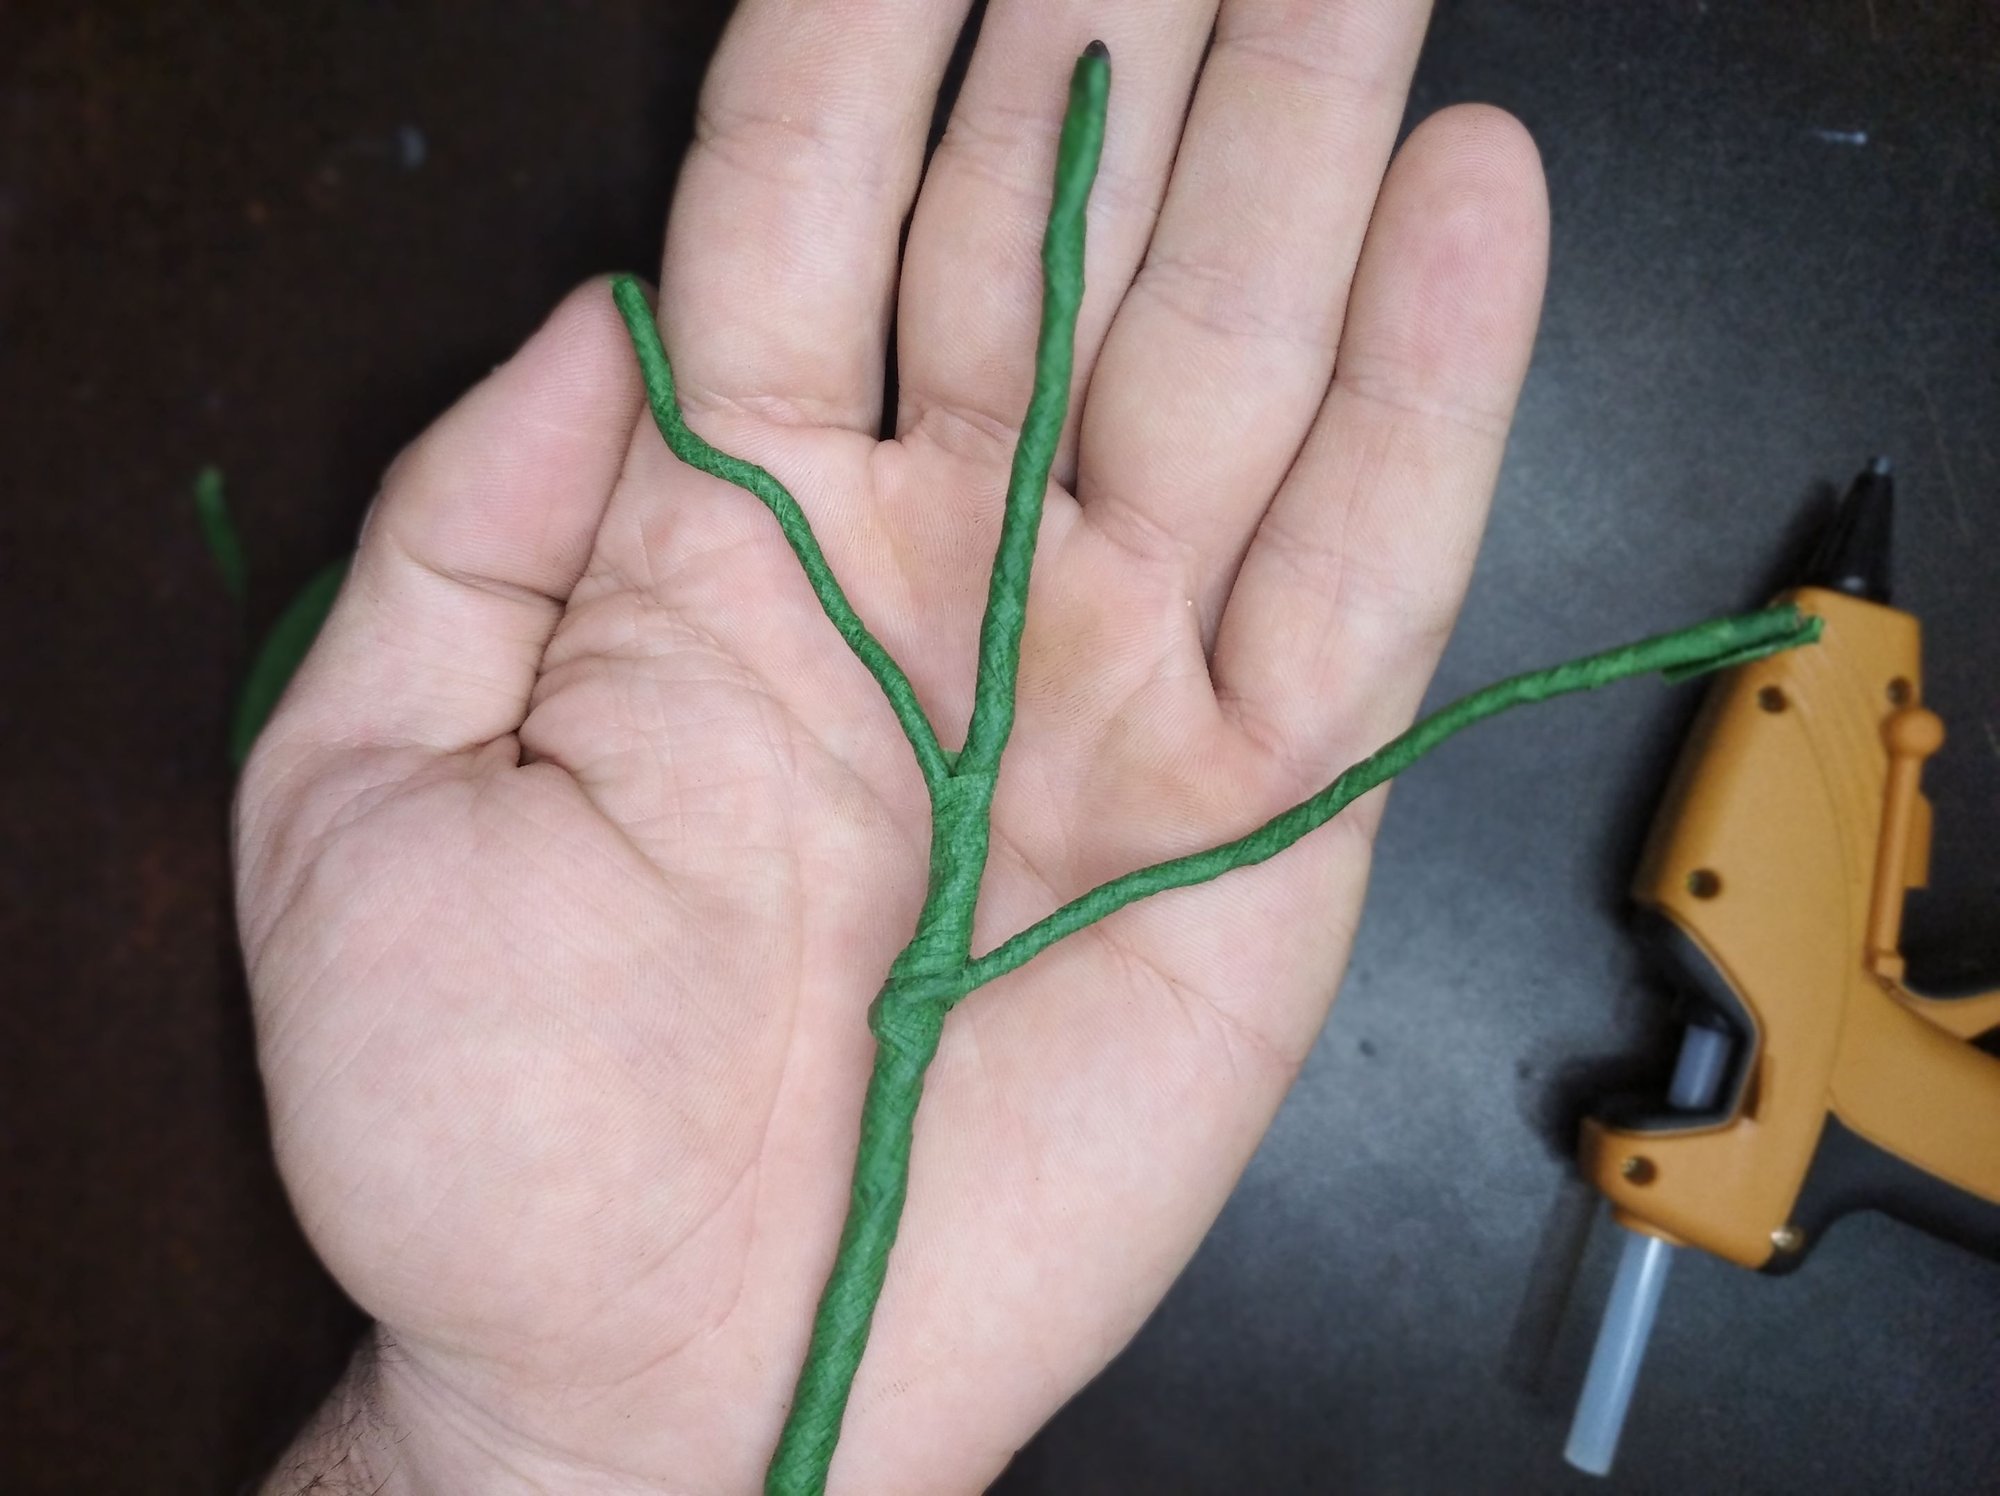
4️⃣ Al cable eléctrico le retiraremos la cubierta de plástico y lo torceremos de forma tal que parezca una rama de un árbol. Seguidamente, lo envolveremos con cinta floral y pegaremos sus extremos con silicona.
Remove the plastic cover from the electric cable and twist it in such a way that it looks like a branch of a tree. Then wrap it with floral tape and glue the ends with silicone.
 |
 |
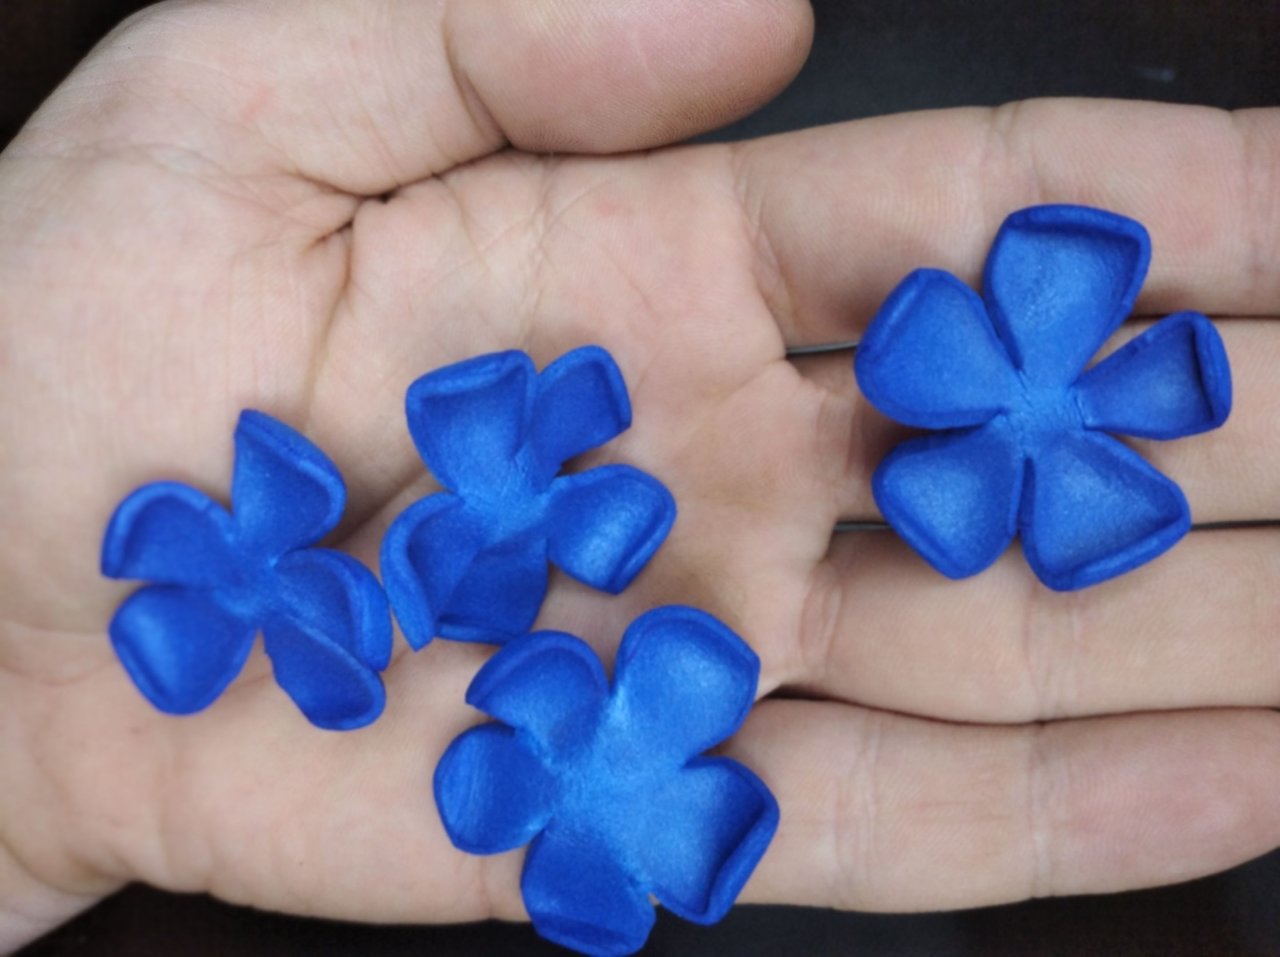
5️⃣ Haciendo uso de alguna fuente de calor, doblaremos los pétalos de la siguiente forma. Este procedimiento se llama termoformado y es muy fácil de hacer. Solo necesitamos colocar el fomi sobre algo caliente y a los poco segundos retirarlo. Seguidamente con las manos o algún objeto le damos la forma deseada al fomi antes de que se enfríe.
Making use of some heat source, we will fold the petals in the following way. This procedure is called thermoforming and is very easy to do. We only need to place the fomi on something hot and after a few seconds remove it. Then with our hands or some object we give the desired shape to the fomi before it cools down.
 |
 |
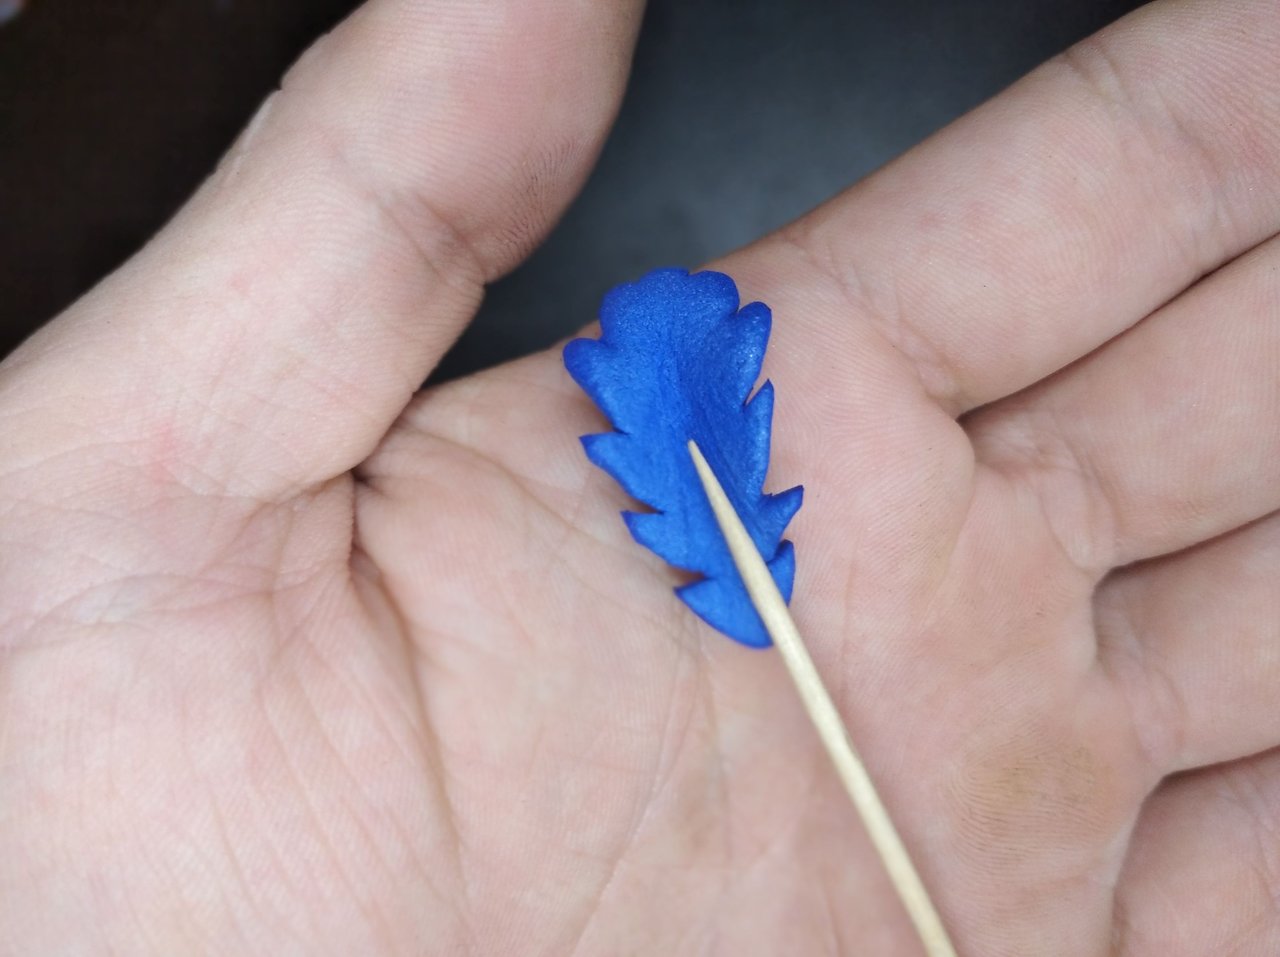
6️⃣ Para las hojas aplicamos el mismo proceso de termoformado, pero esta vez en lugar de la mano usaremos un palillo de dientes para crear la raya central característica de las hojas.
For the leaves we apply the same thermoforming process, but this time instead of the hand we will use a toothpick to create the characteristic central stripe of the leaves.
 |
 |
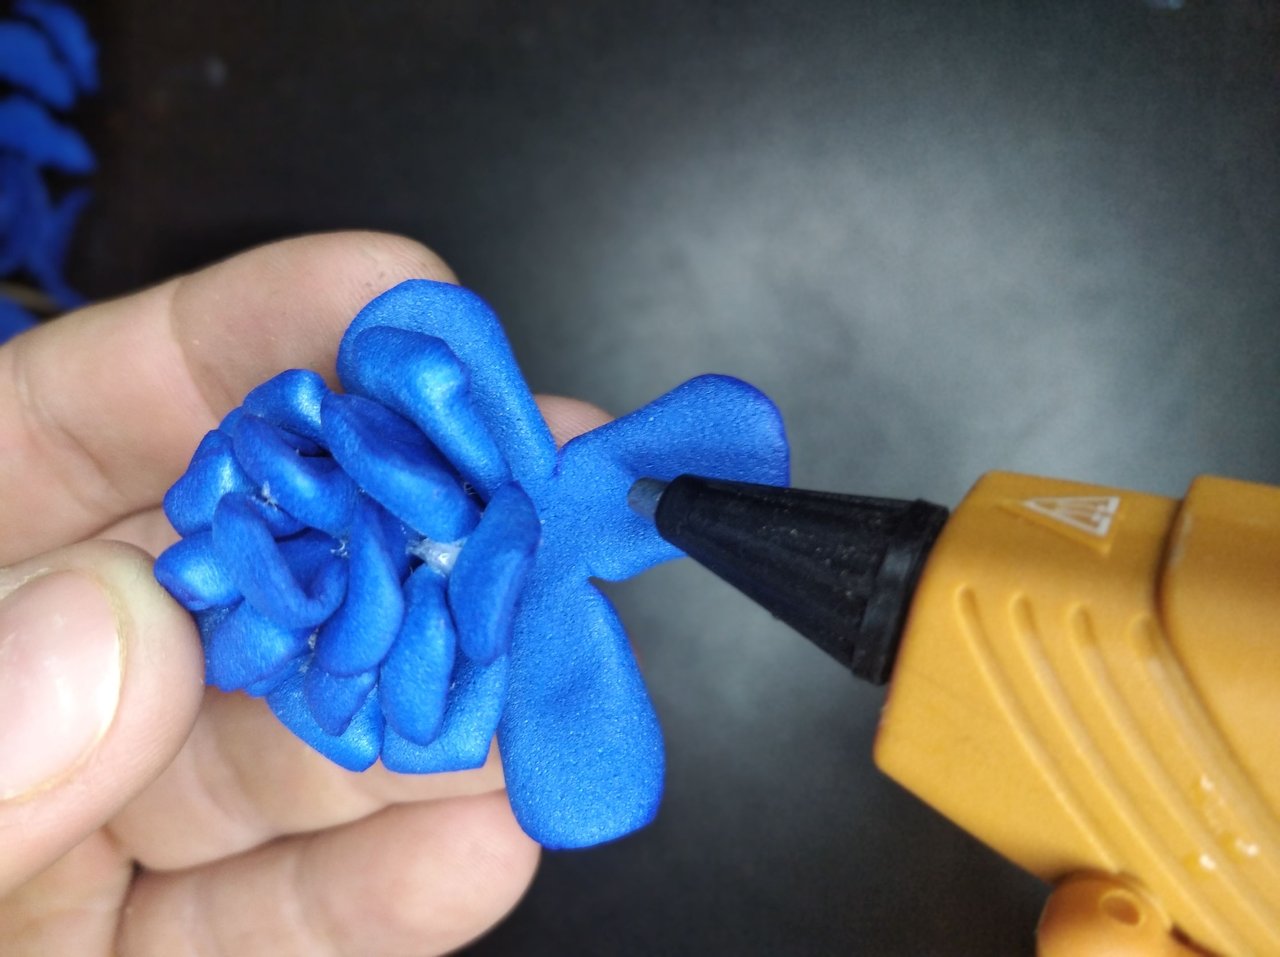
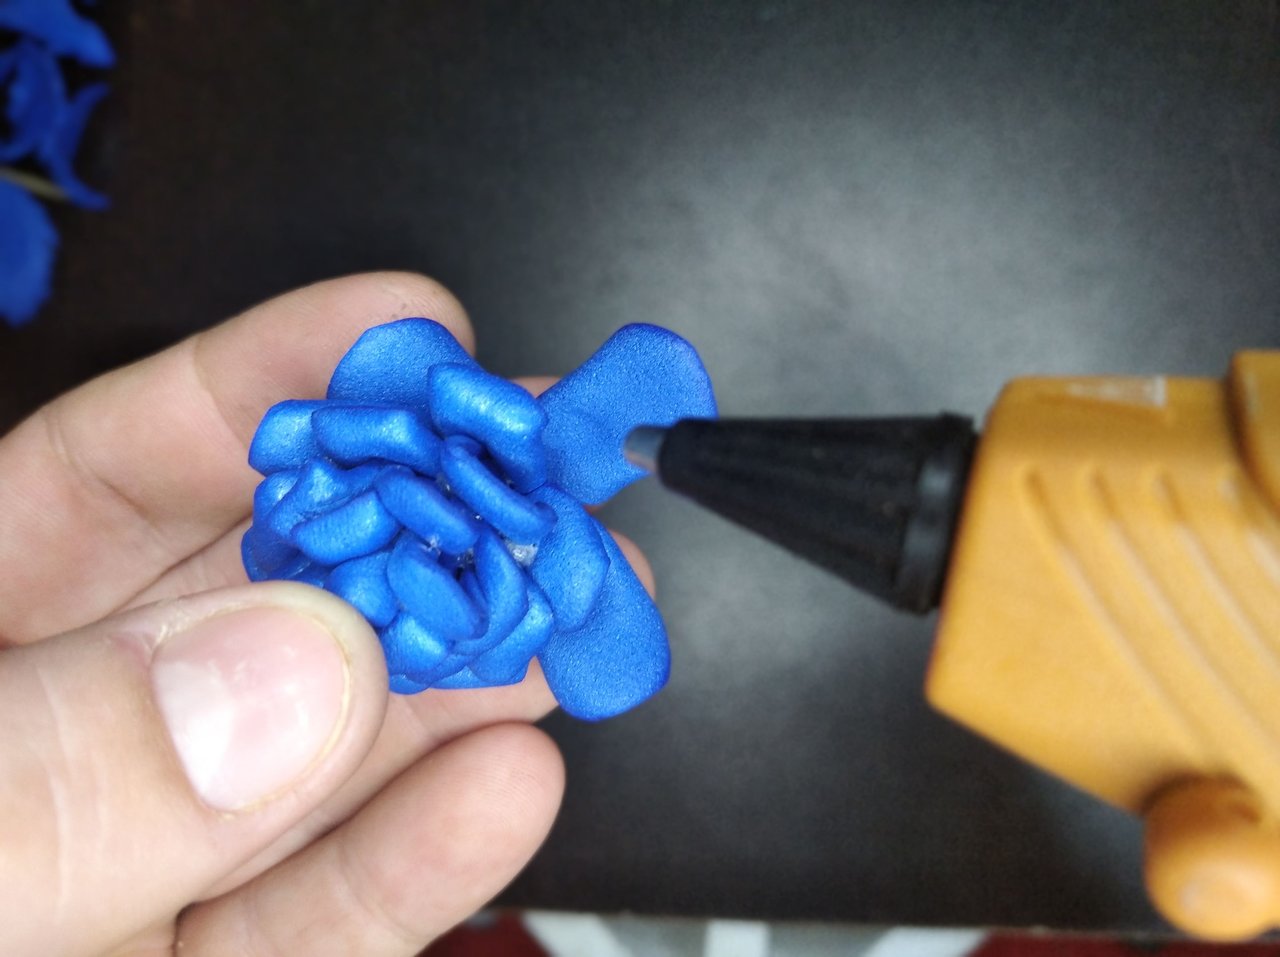
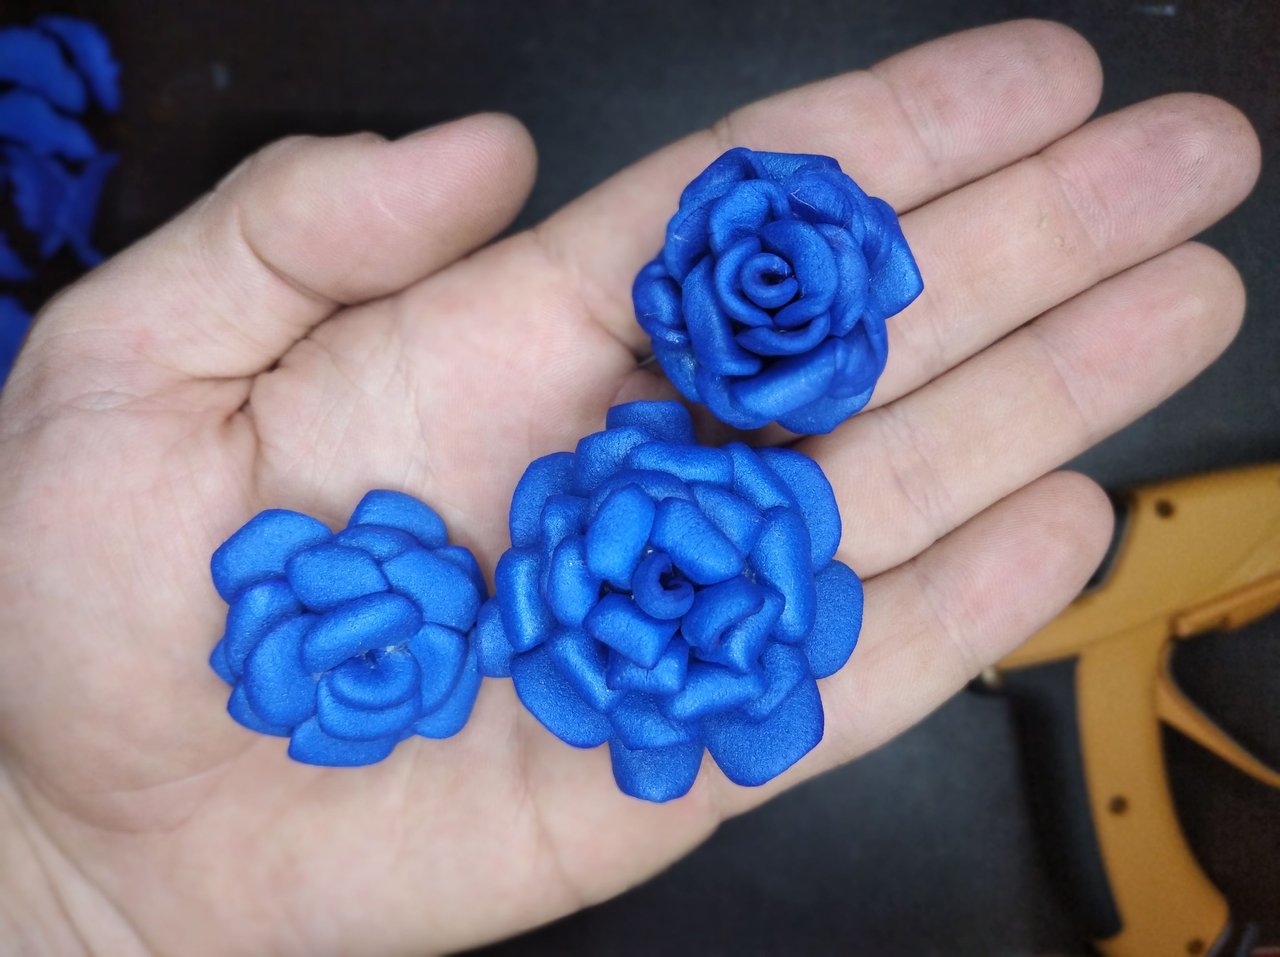
7️⃣ Luego del termoformado empezaremos a formar las flores. Para esto iremos pegando un pétalo a continuación del otro lo más juntos posibles hasta formar un capullo. Por debajo iremos repitiendo este proceso hasta que hallamos pegado los 4 círculos que hicimos al principio y así quedarían listas las 3 flores.
After thermoforming, we will start forming the flowers. To do this we will glue one petal next to the other as close together as possible to form a bud. Underneath we will repeat this process until we have glued the 4 circles that we made at the beginning and thus the 3 flowers will be ready.
 |
 |
 |
 |
8️⃣ Solo queda unirlo todo. Empezaremos de arriba hacia abajo y primeramente pegaremos cada una de las flores en los extremos superiores del falso tallo.
The only thing left to do is to put it all together. We will start from the top down and first glue each of the flowers on the upper ends of the false stem.
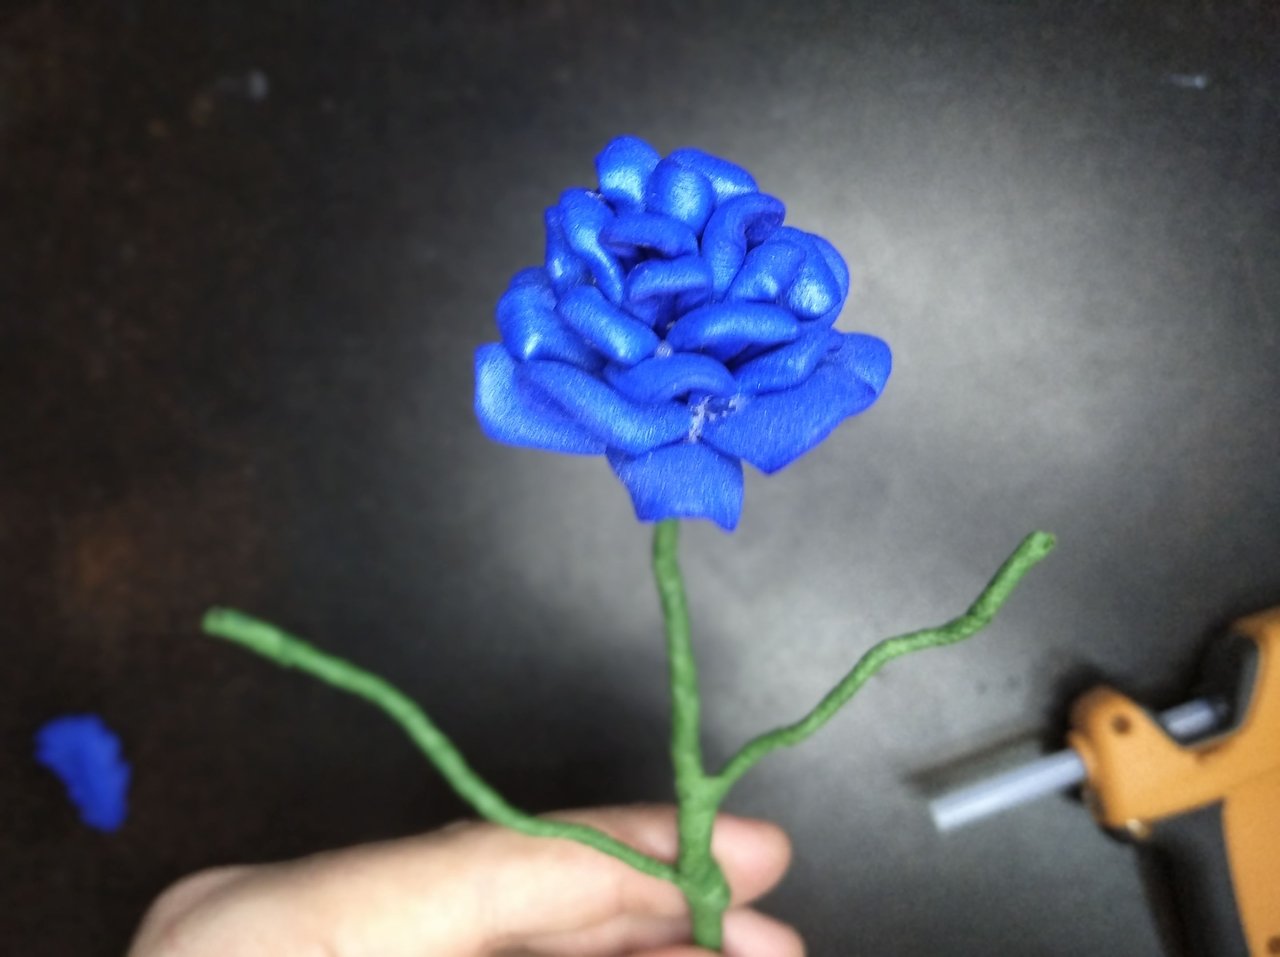
9️⃣ Ahora ubicaremos y pegaremos las hojas debajo de las flores y orientadas hacia arriba, pero con mucho cuidado de no despegar alguna flor o dañarla.
Now we will place and glue the leaves under the flowers and oriented upwards, but being very careful not to detach any flower or damage it.
 |
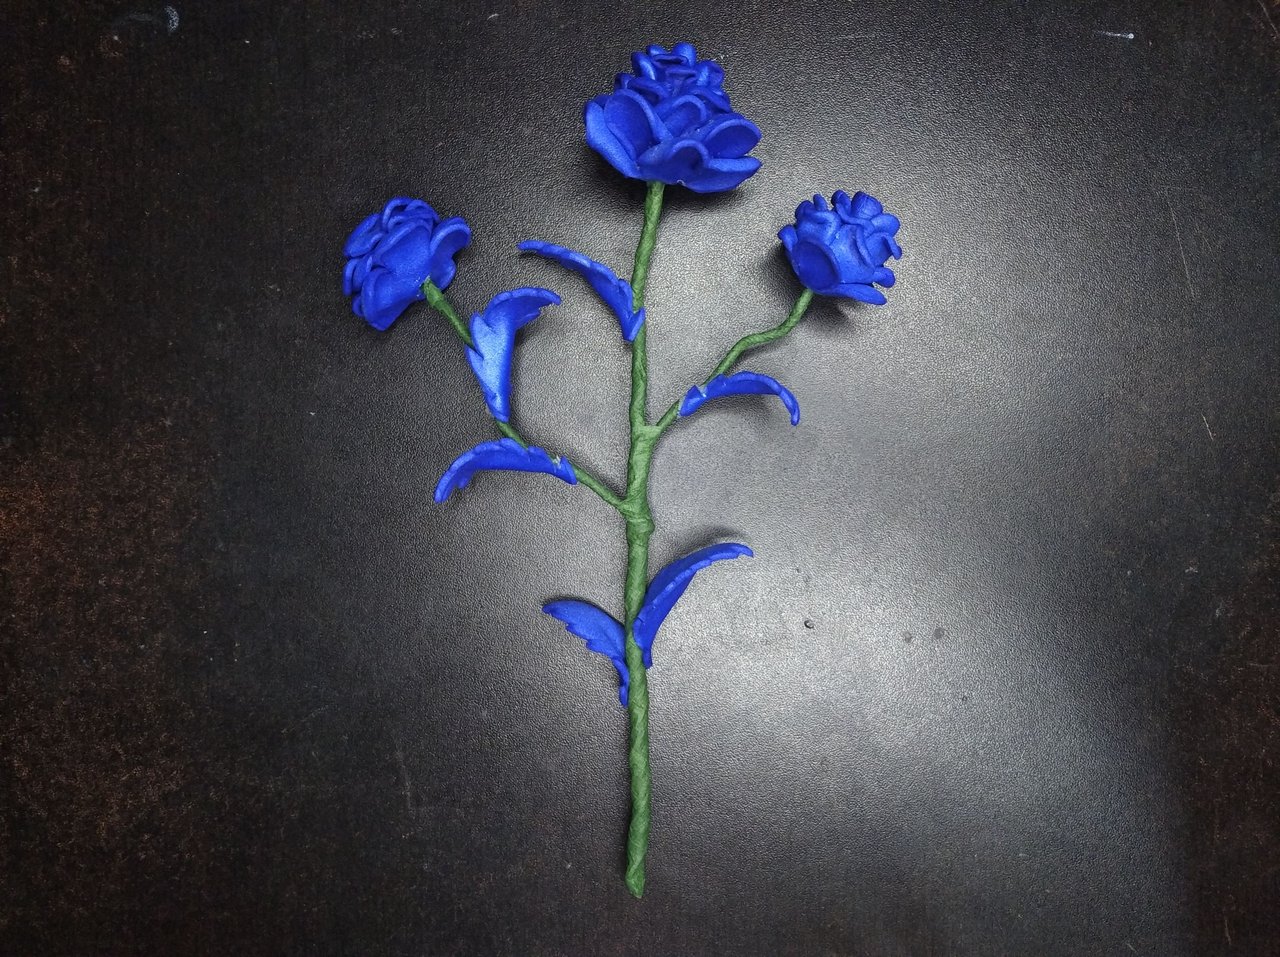 |
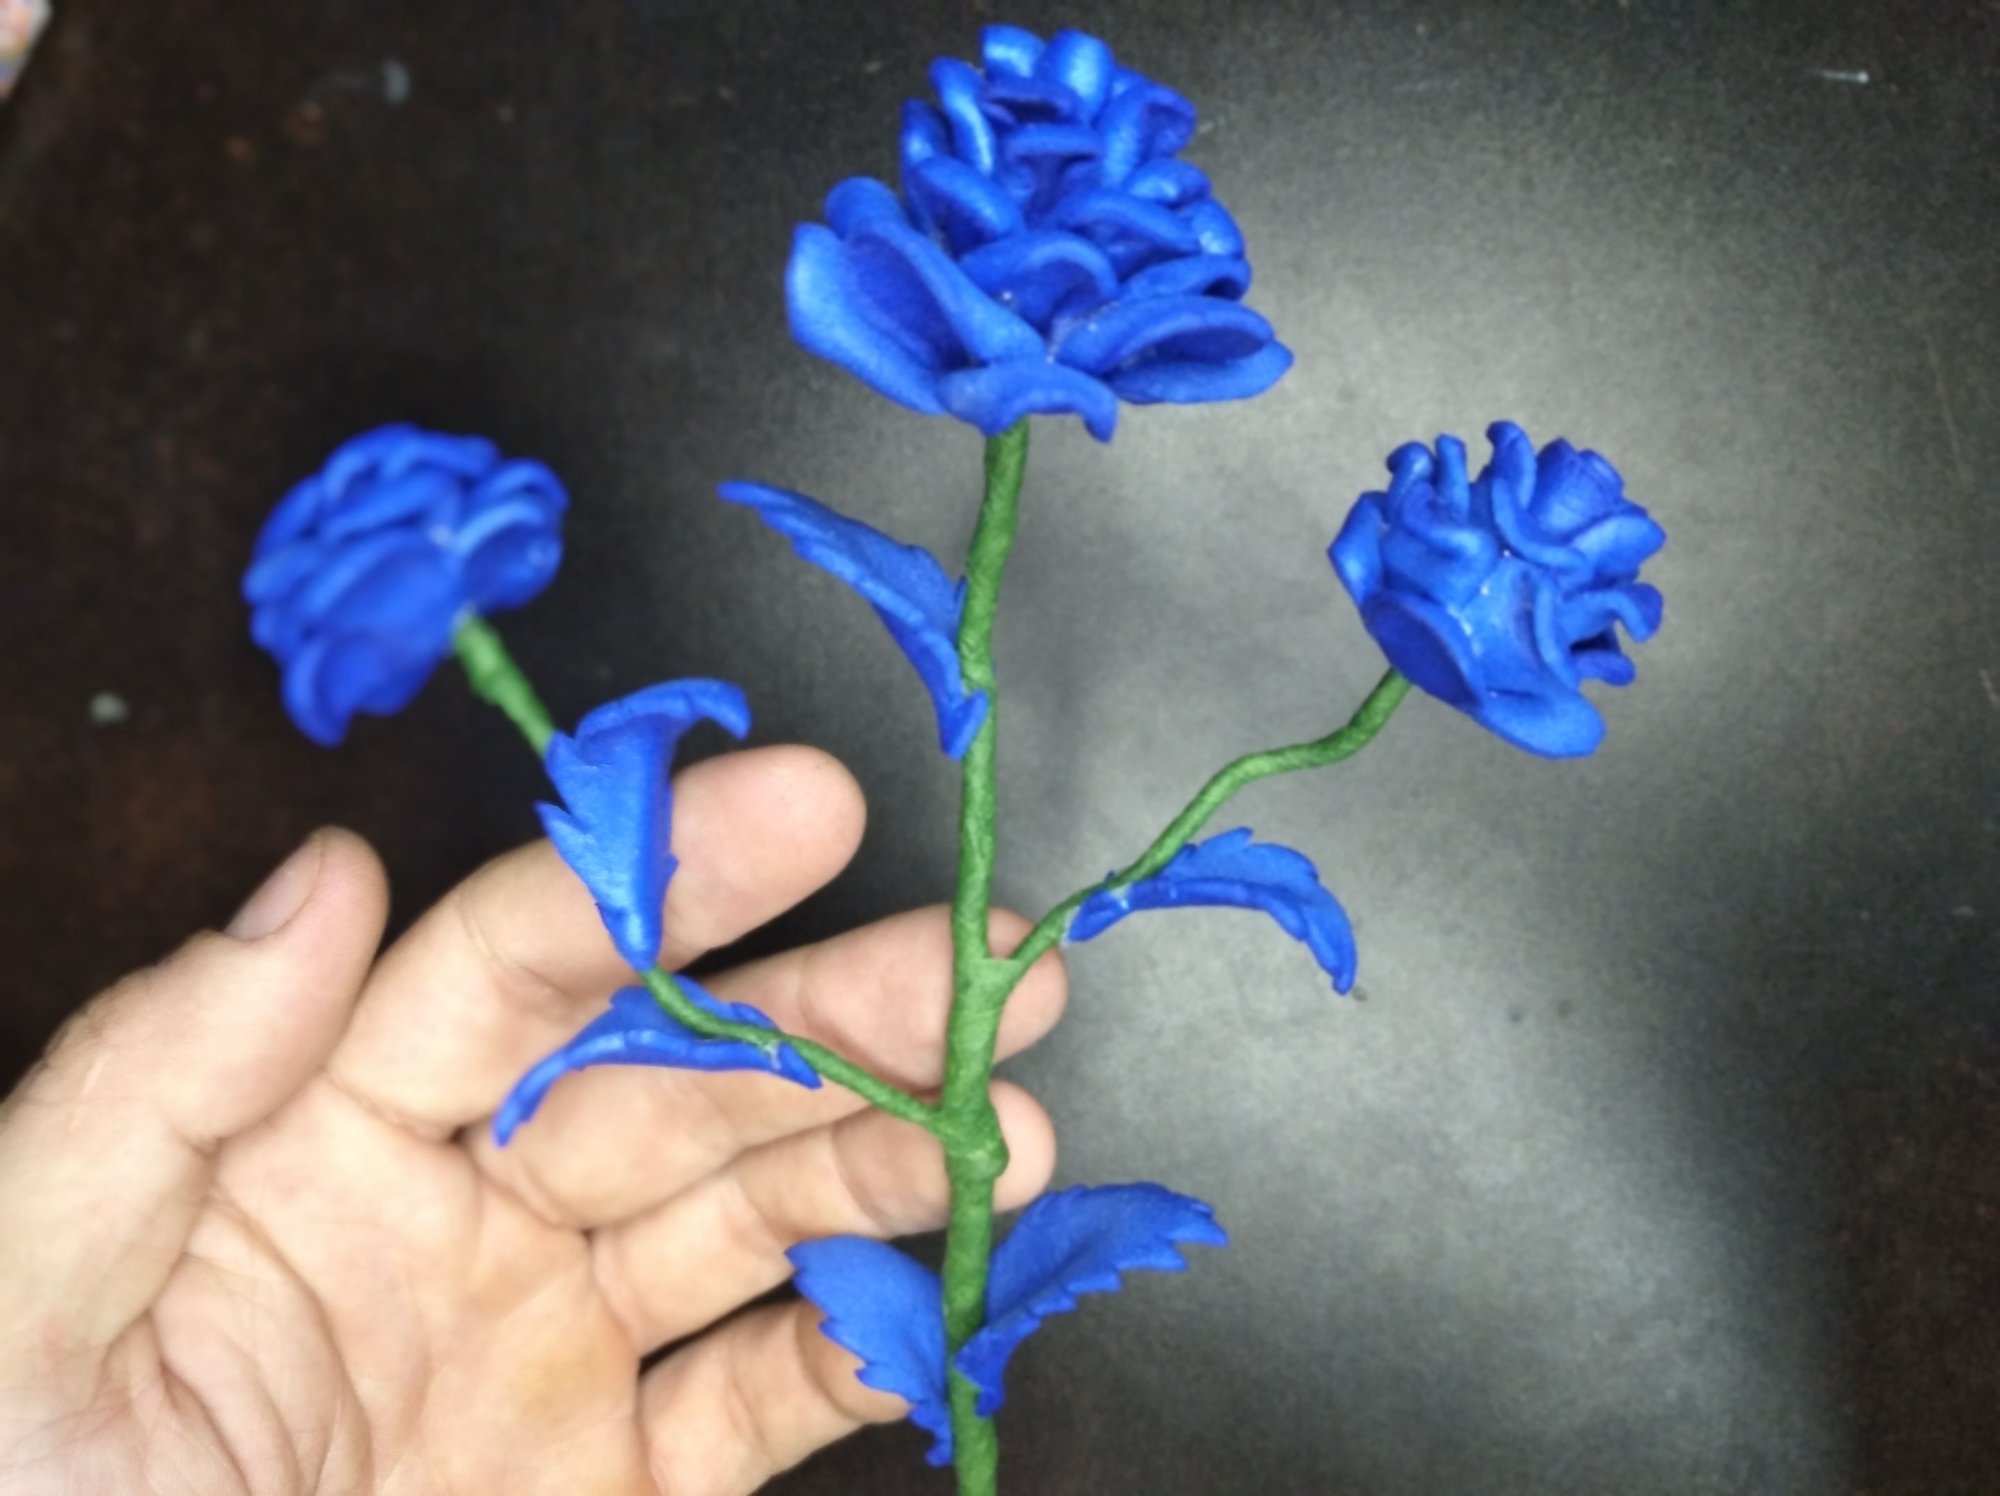
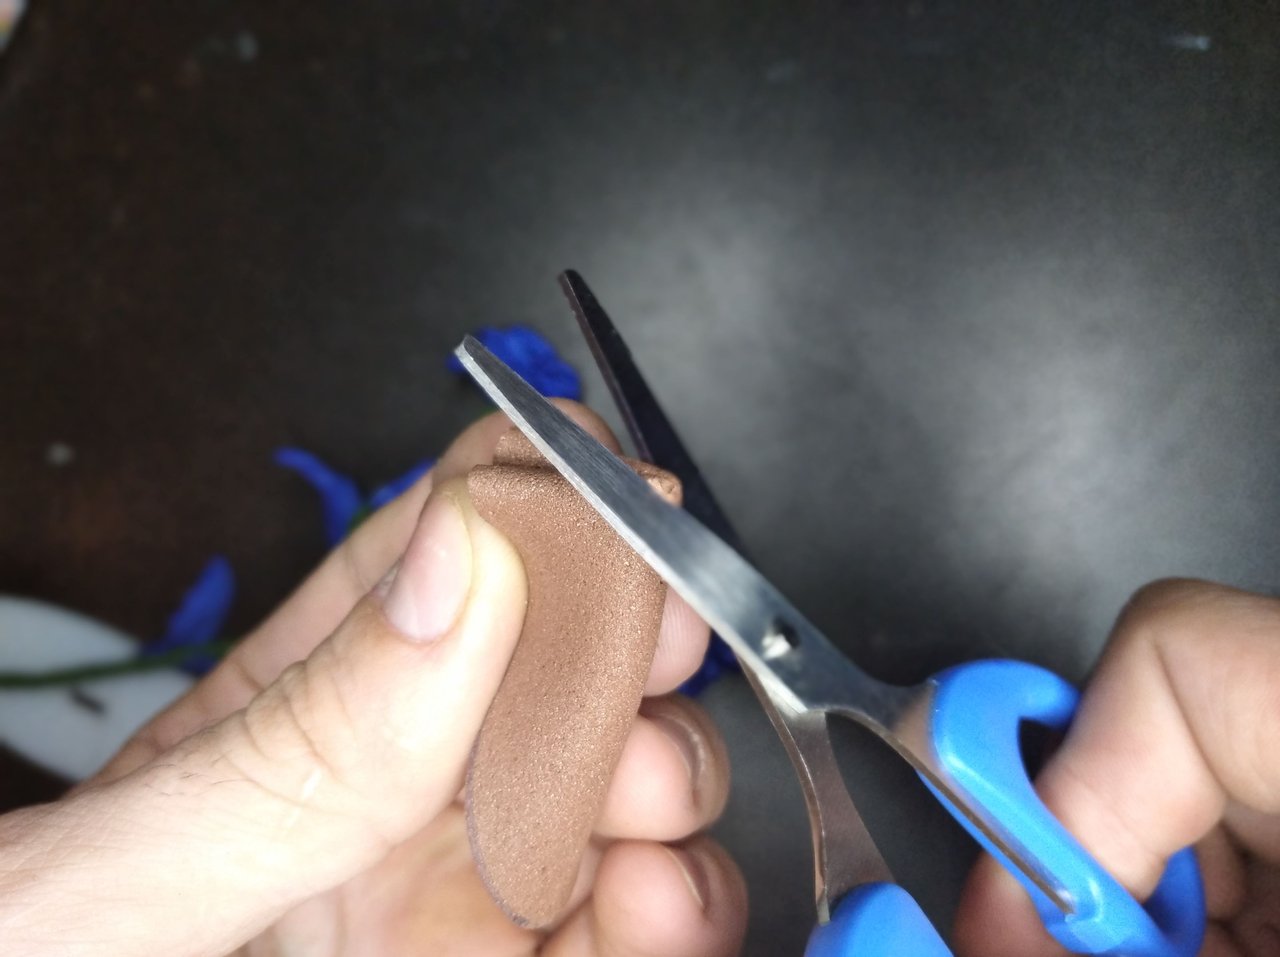
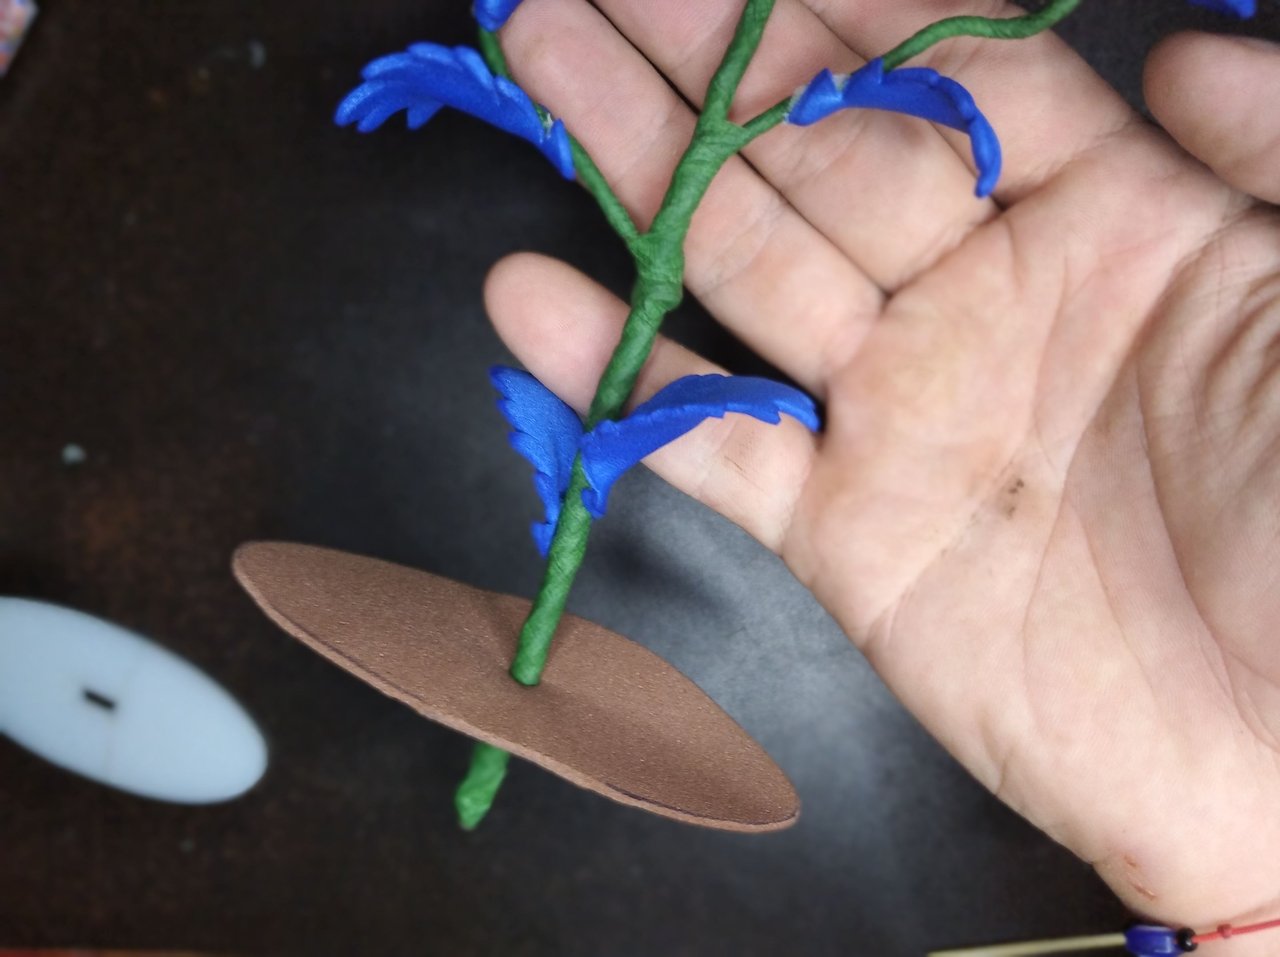
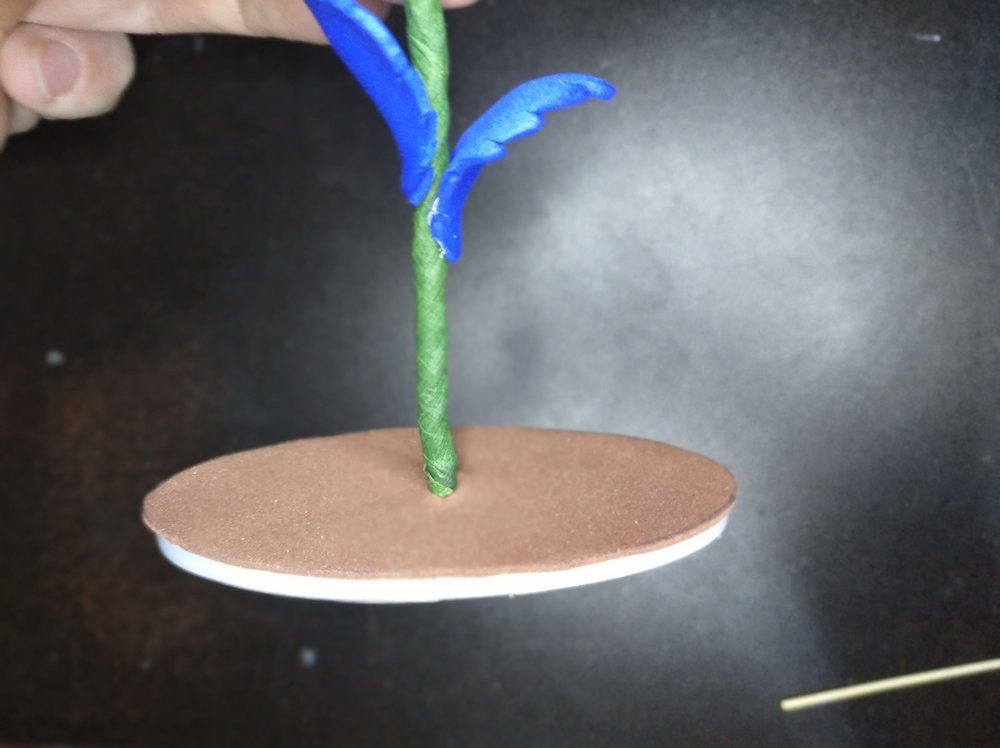
🔟 Para finalizar de pegar tomamos el fomi carmelita recortado, lo agujereamos en el centro y pegamos todo a la base.
To finish gluing, we take the cut carmelite fomi, pierce it in the center and glue the whole thing to the base.
 |
 |
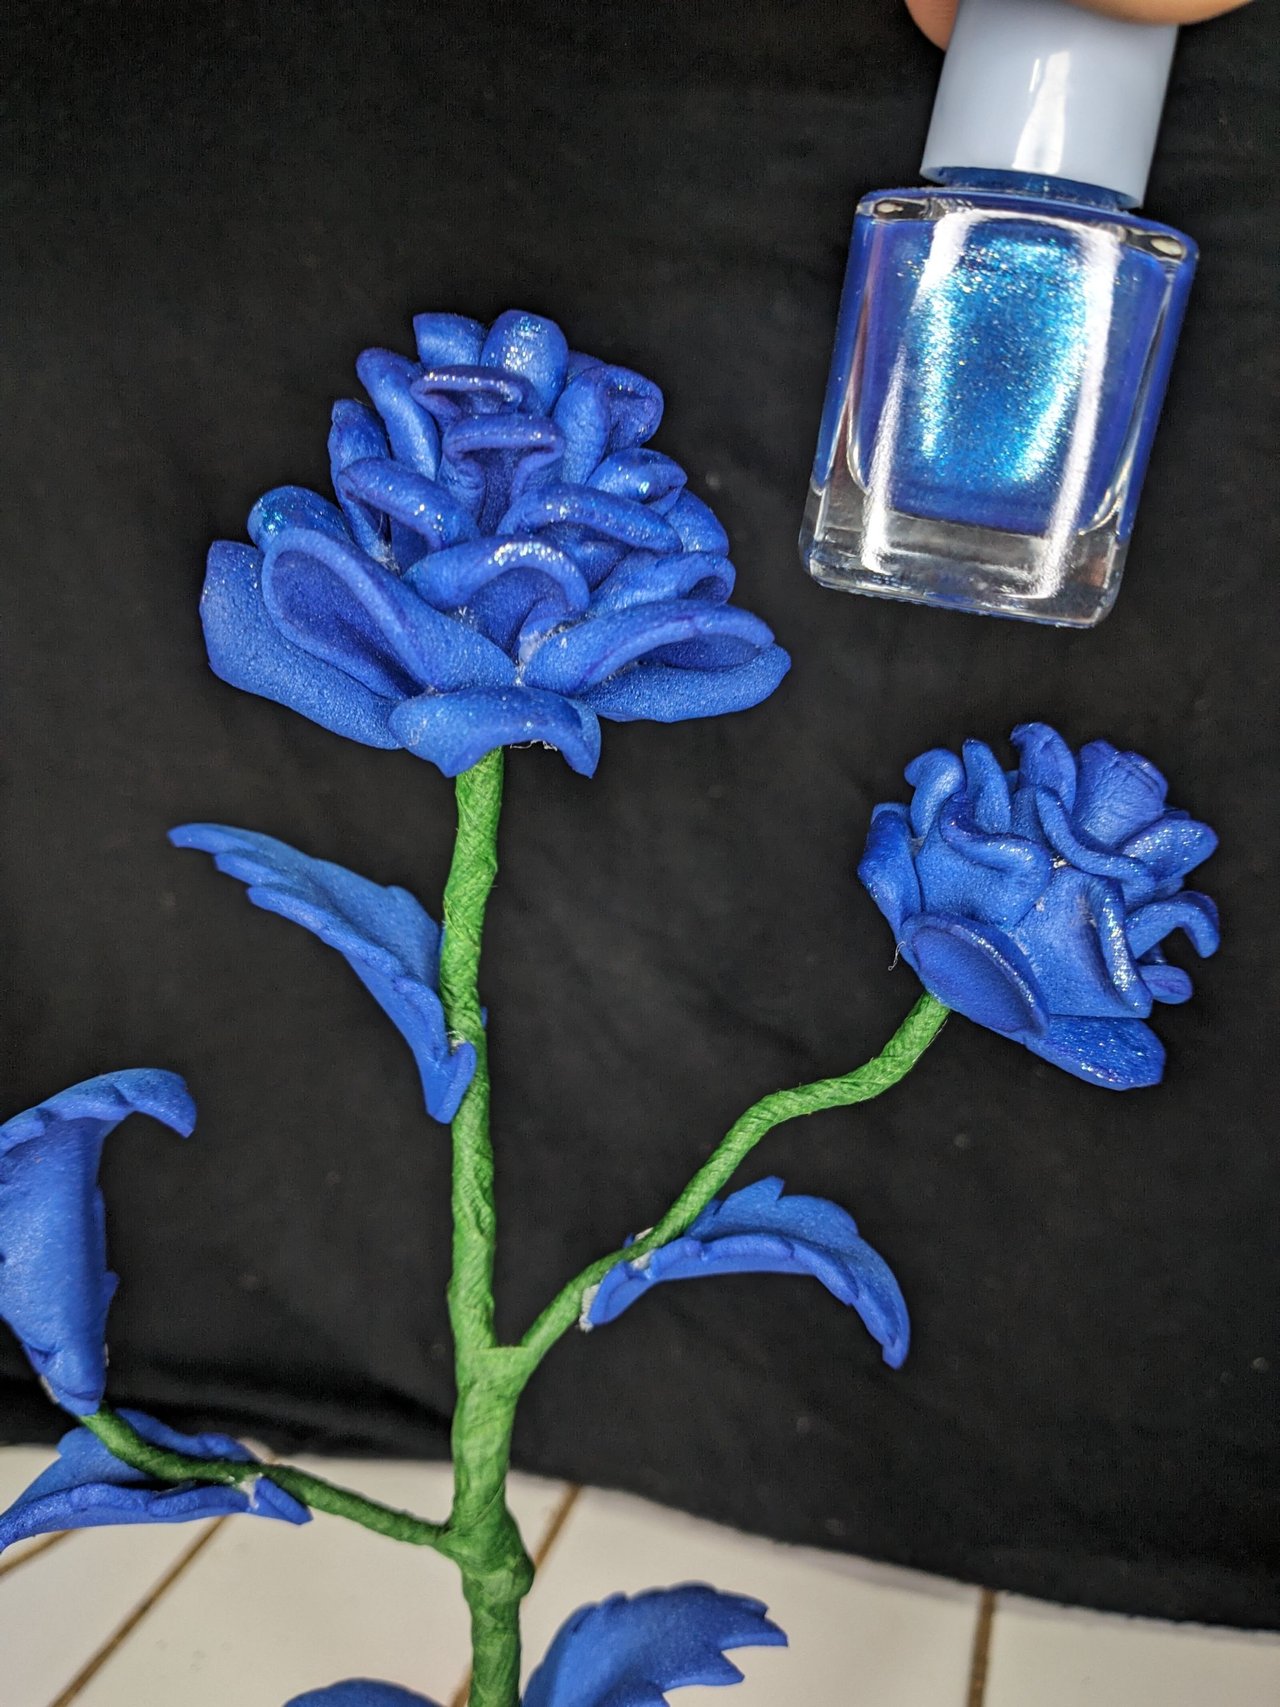
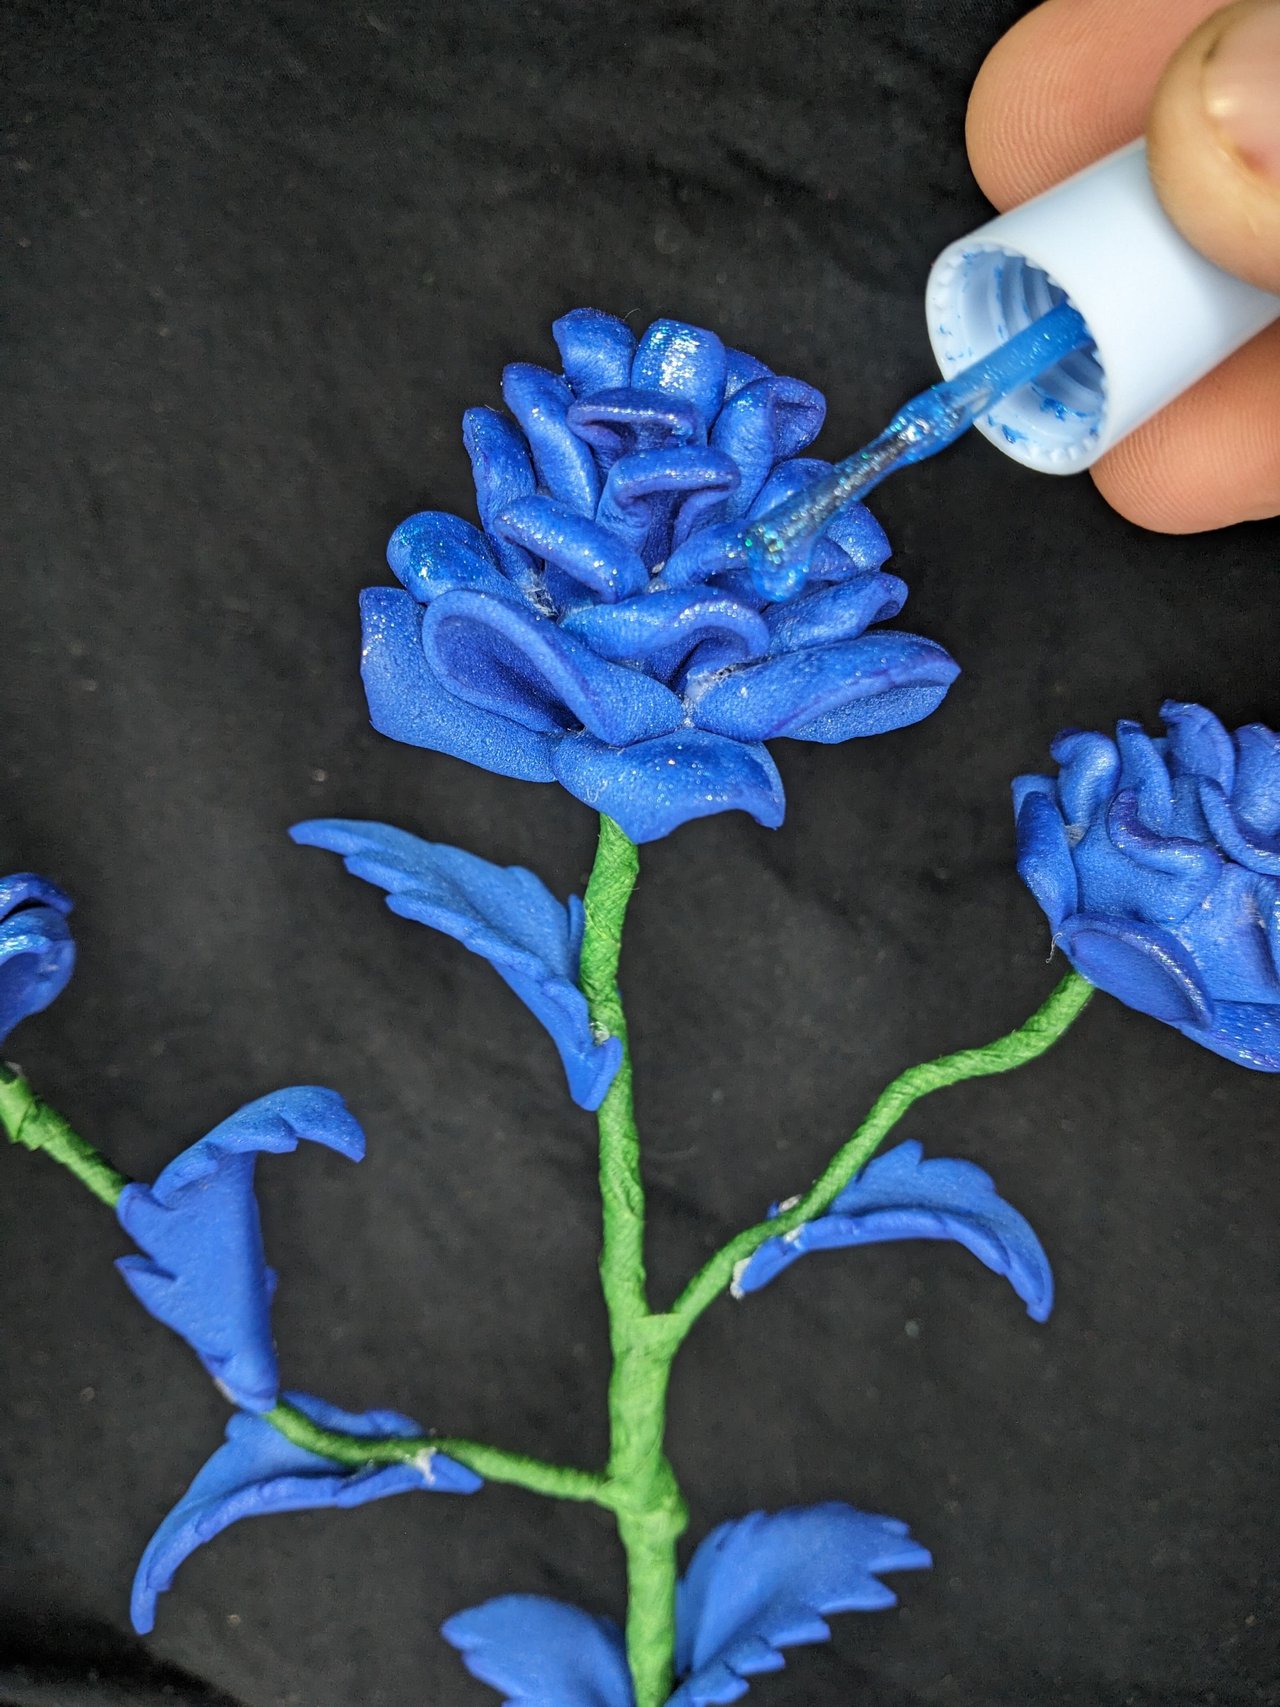
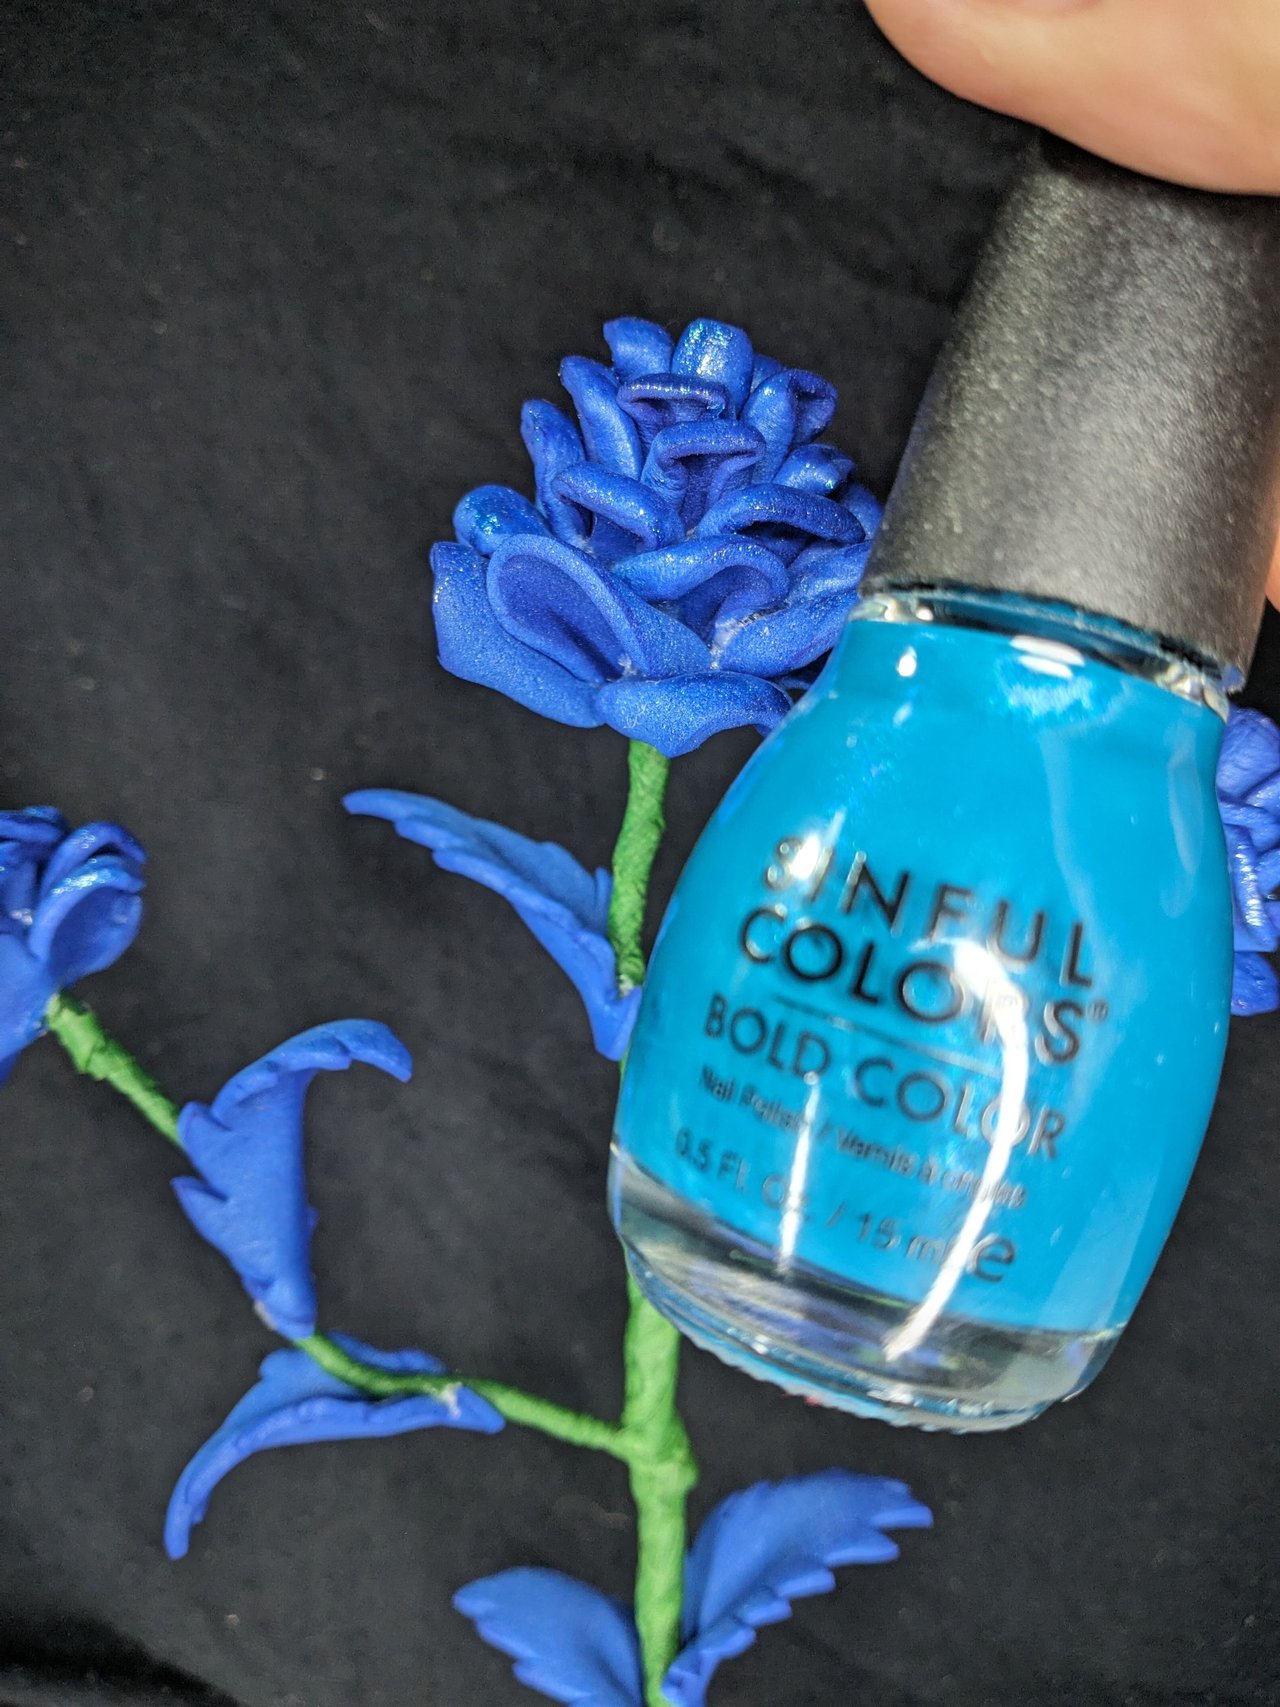
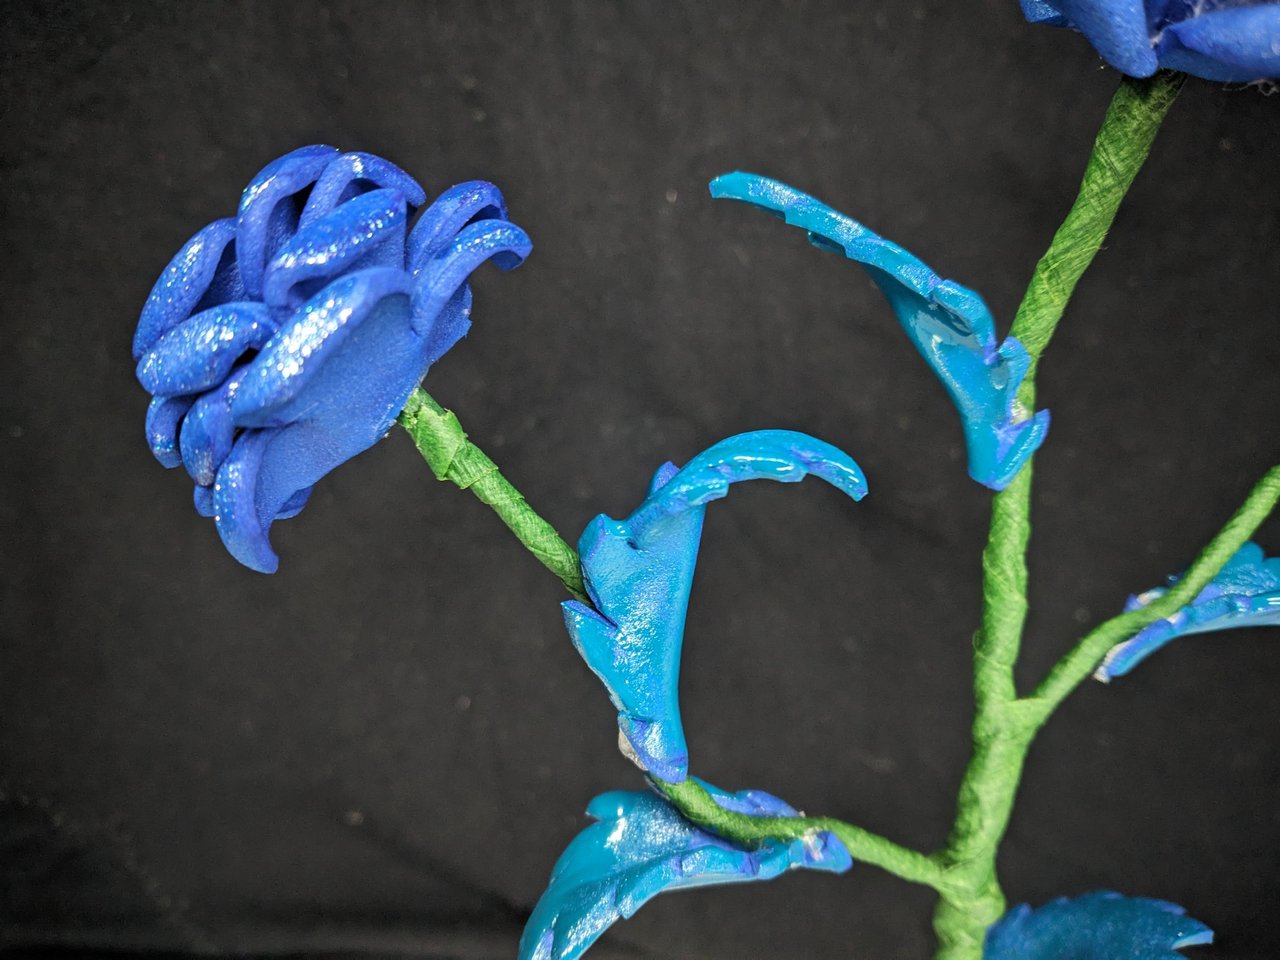
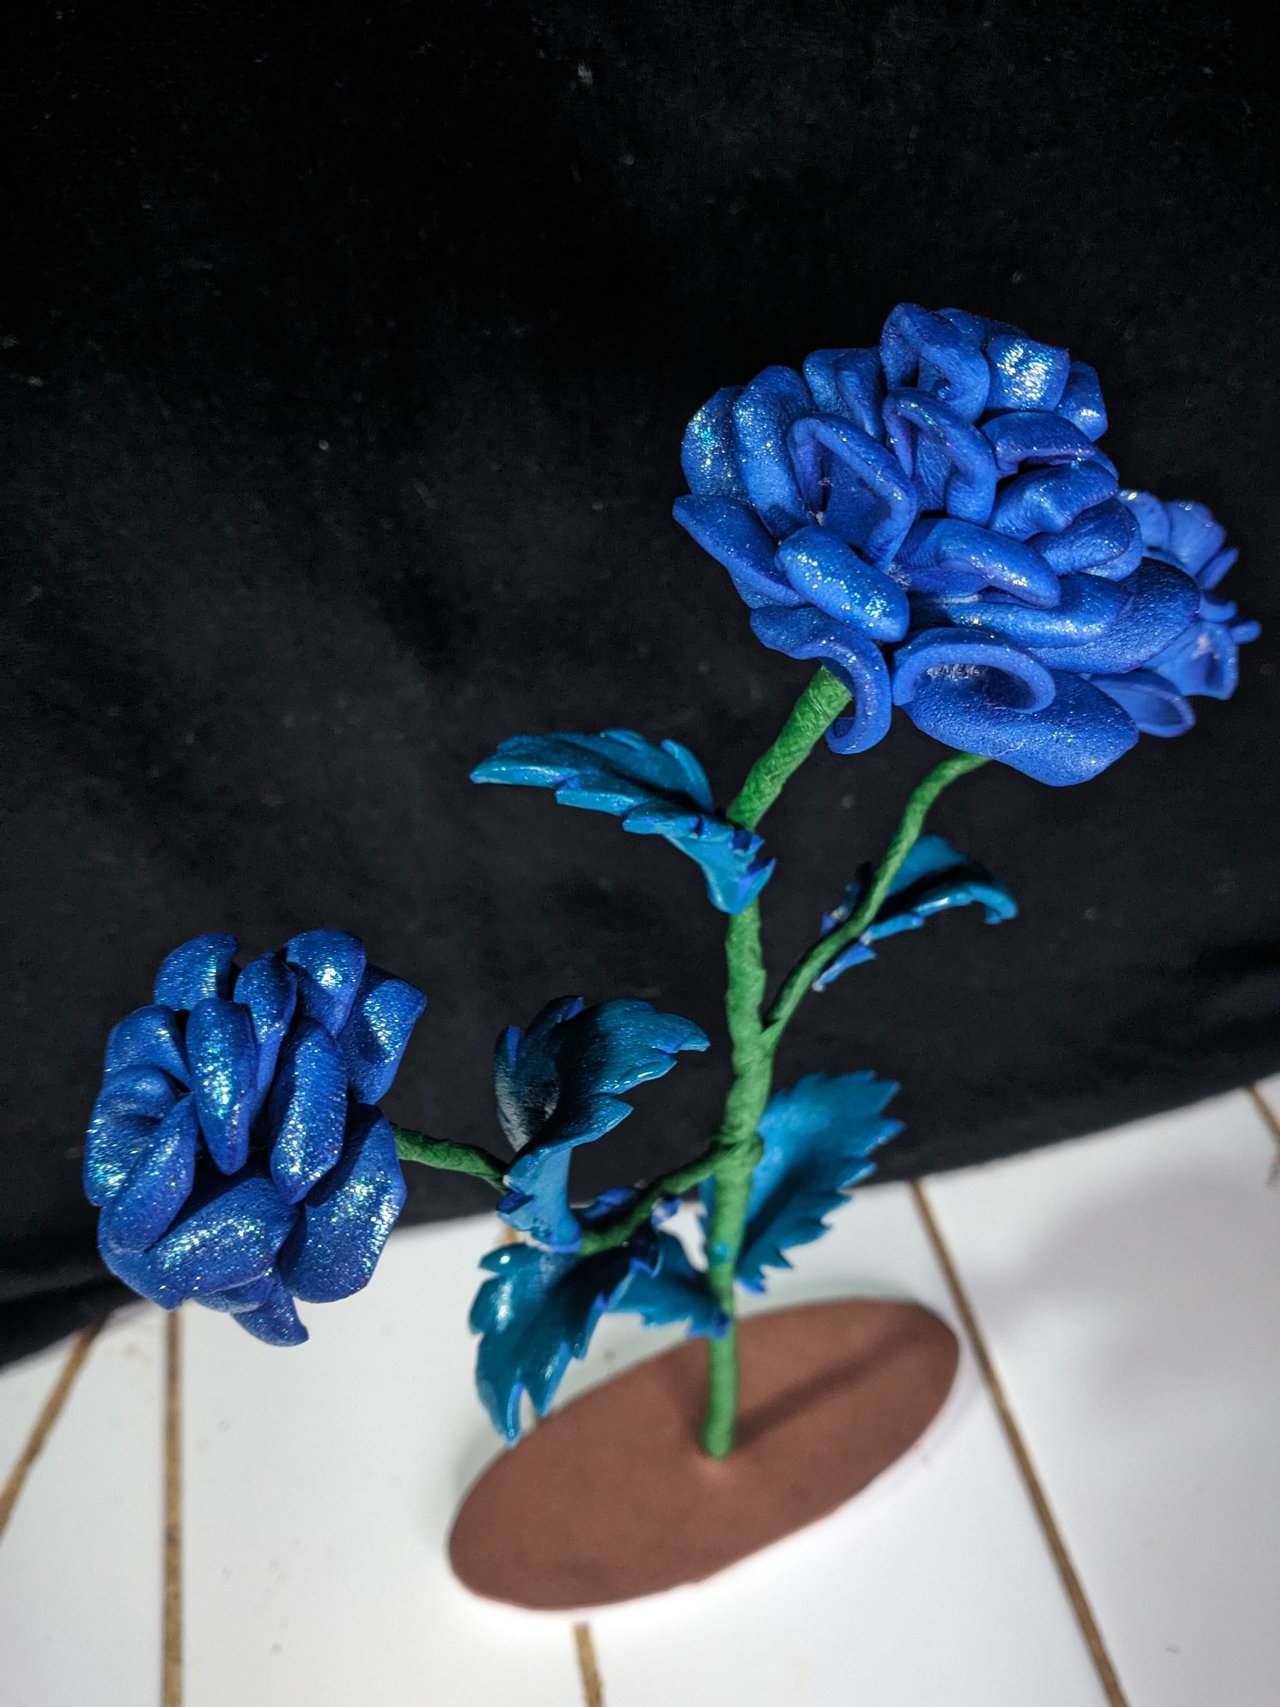
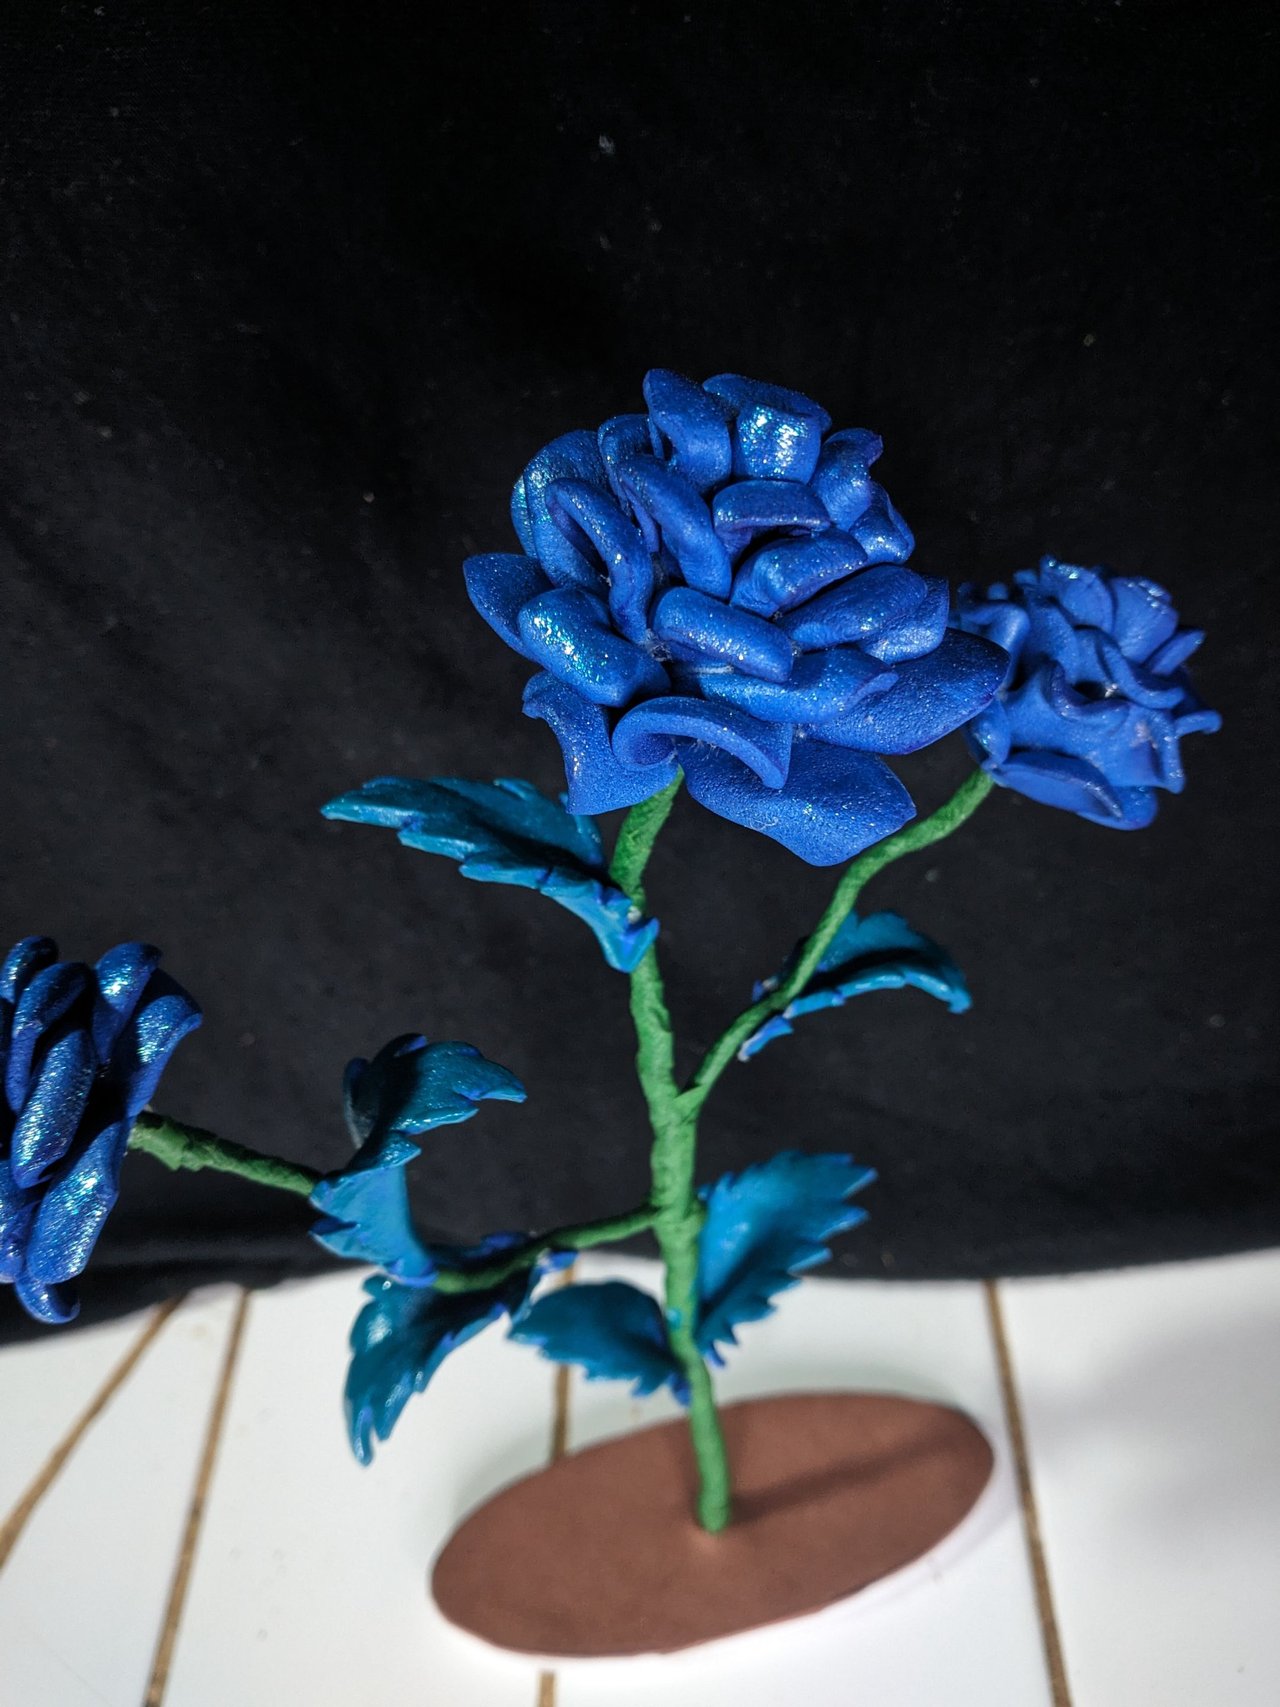
⏸ Llegados a este punto solo queda dar color, lo cual es totalmente opcional en caso de que usaran fomi escarchado o si tenían los colores correctos. Como ese no era mi caso, apliqué una capa de brillo azul a las rosas y un color verde a las hojas y pues este sería el resultado final.
At this point, the only thing left to do is to add color, which is totally optional in case you used frosted fomi or if you had the right colors. As this was not my case, I applied a layer of blue glitter to the roses and a green color to the leaves and this would be the final result.
 |
 |
 |
 |
Resultado Final // Final Result
 |
 |

Muchas gracias por leer mi post. Si te gustó, por favor deja un comentario y considera seguirme para no perderte mis próximas publicaciones. Me encantaría saber tu opinión y tus ideas sobre el tema que traté en este post. ¡Nos vemos en el próximo!
Thank you very much for reading my post. If you liked it, please leave a comment and consider following me so you don't miss my next posts. I'd love to know your opinion and your thoughts about the topic I discussed in this post, see you in the next one!

Cover page created in Canva
Logo and banner property of @hive-130560 and Hive Diy Community
Translated by DeepL


Pero que bonitas rosas y que hermoso color elegiste, el azul es elegante, sofisticado y muy decorativo, no es para menos que se elija mucho en las decoraciones jeje
Me encanto estas rosas espaciales ❤️ yo afirmo que parecen sacadas de una peli de ciencia ficcion 👌👀
Si le gustaron al buhito, me da mucha alegría.
Yay! 🤗
Your content has been boosted with Ecency Points, by @edeyglezsosa.
Use Ecency daily to boost your growth on platform!
Thank you for accepting the Boost.
Queda muy bonito te felicito!
Muchas gracias.