Cómo hacer un vestido de niña fácil //How to make an easy girl's dress
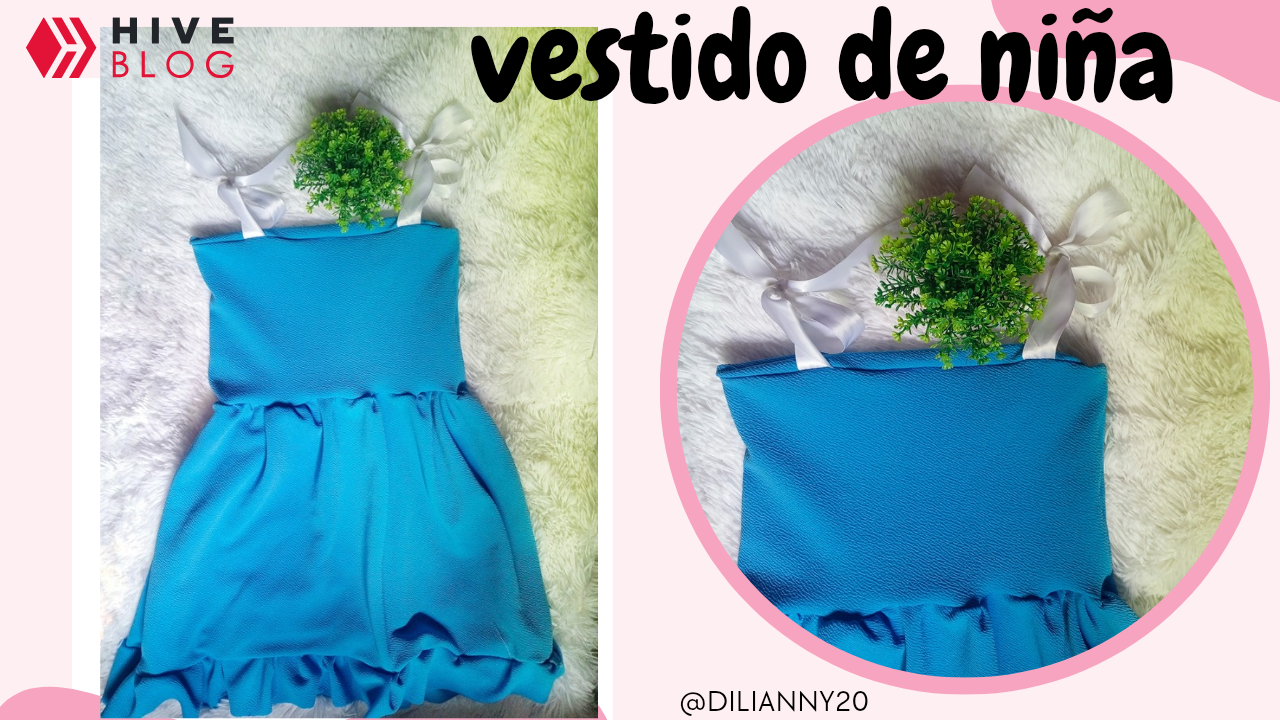
Hola queridos amigos de hive, vengo muy contenta de mostrarles como realicé este vestido con tela reciclado, así es, anteriormente hice un pantalón que en mi perfil está colocado, y con la tela que me sobró realicé magia para hacer este vestido azul para una niña de 3 años. Me parece increíble todo lo que podemos hacer cuando dejamos a nuestra imaginación actuar, es genial.
Acompáñame en esta aventura. 🩵💙
Los Materiales que utilicé fueron los siguientes:
- Tela azul cielo Beverly.
- Tijera.
- Alfileres.
- Cinta métrica.
- Cinta blanca.
Paso 1 .
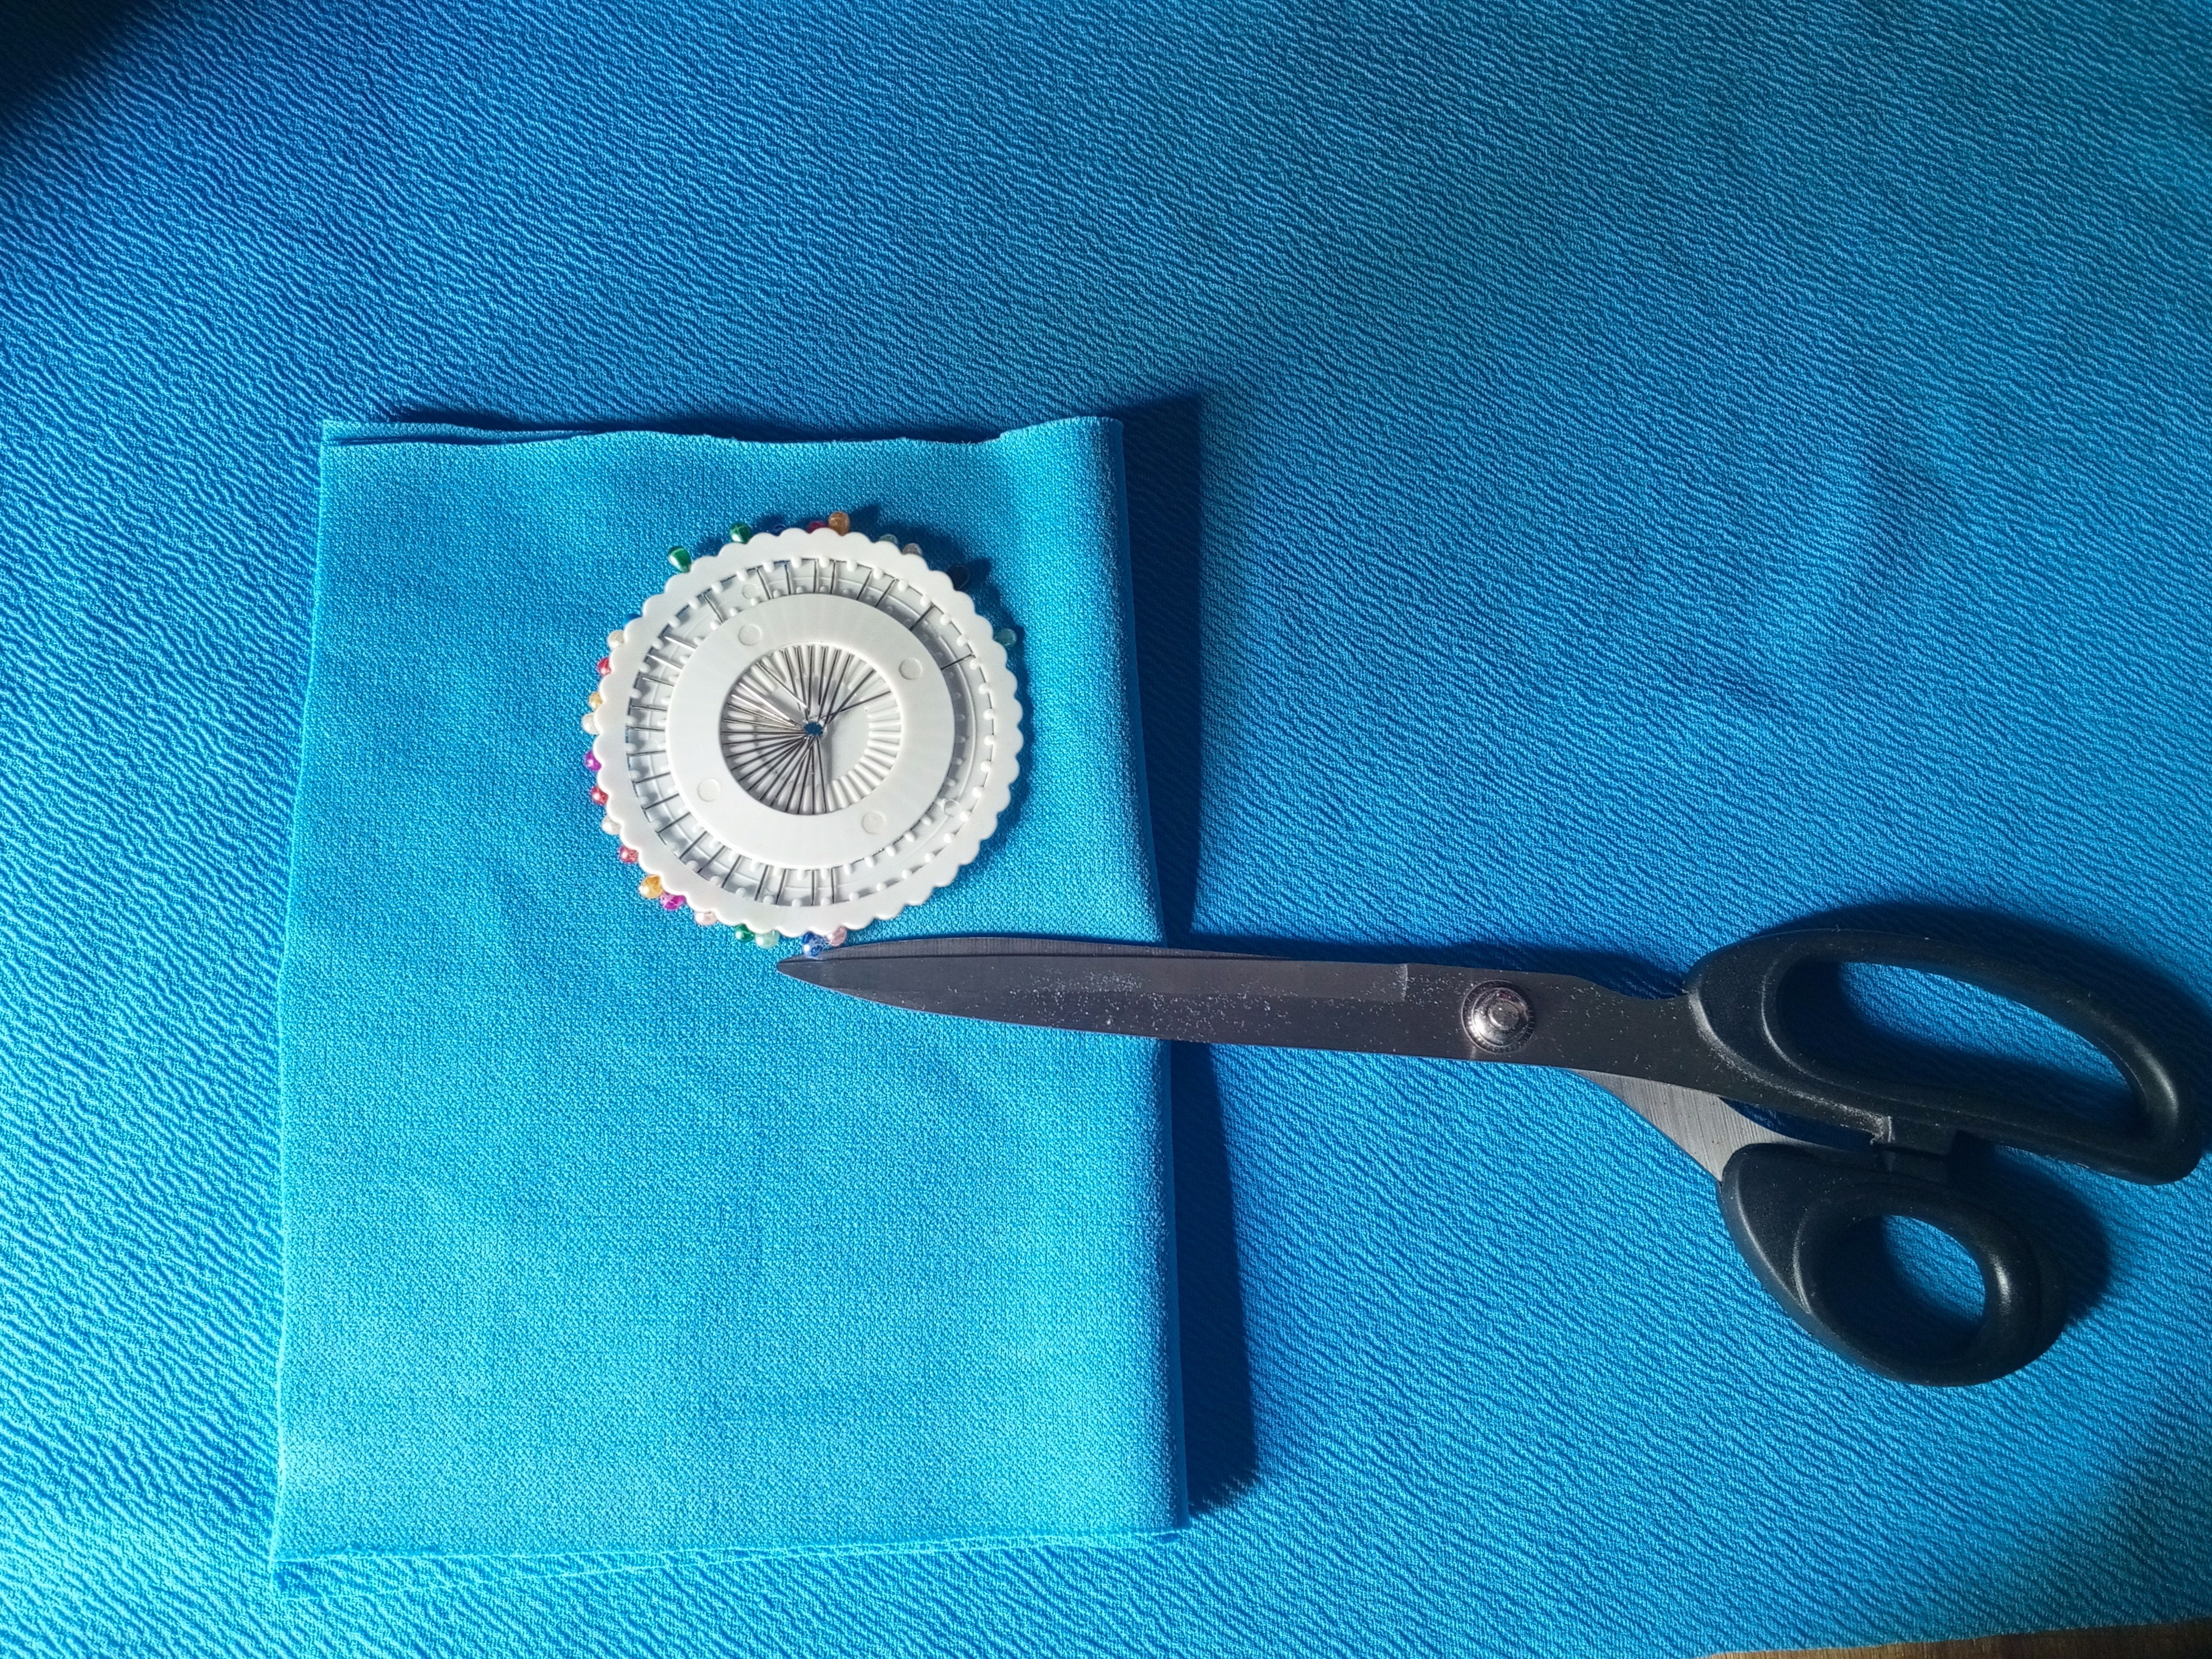
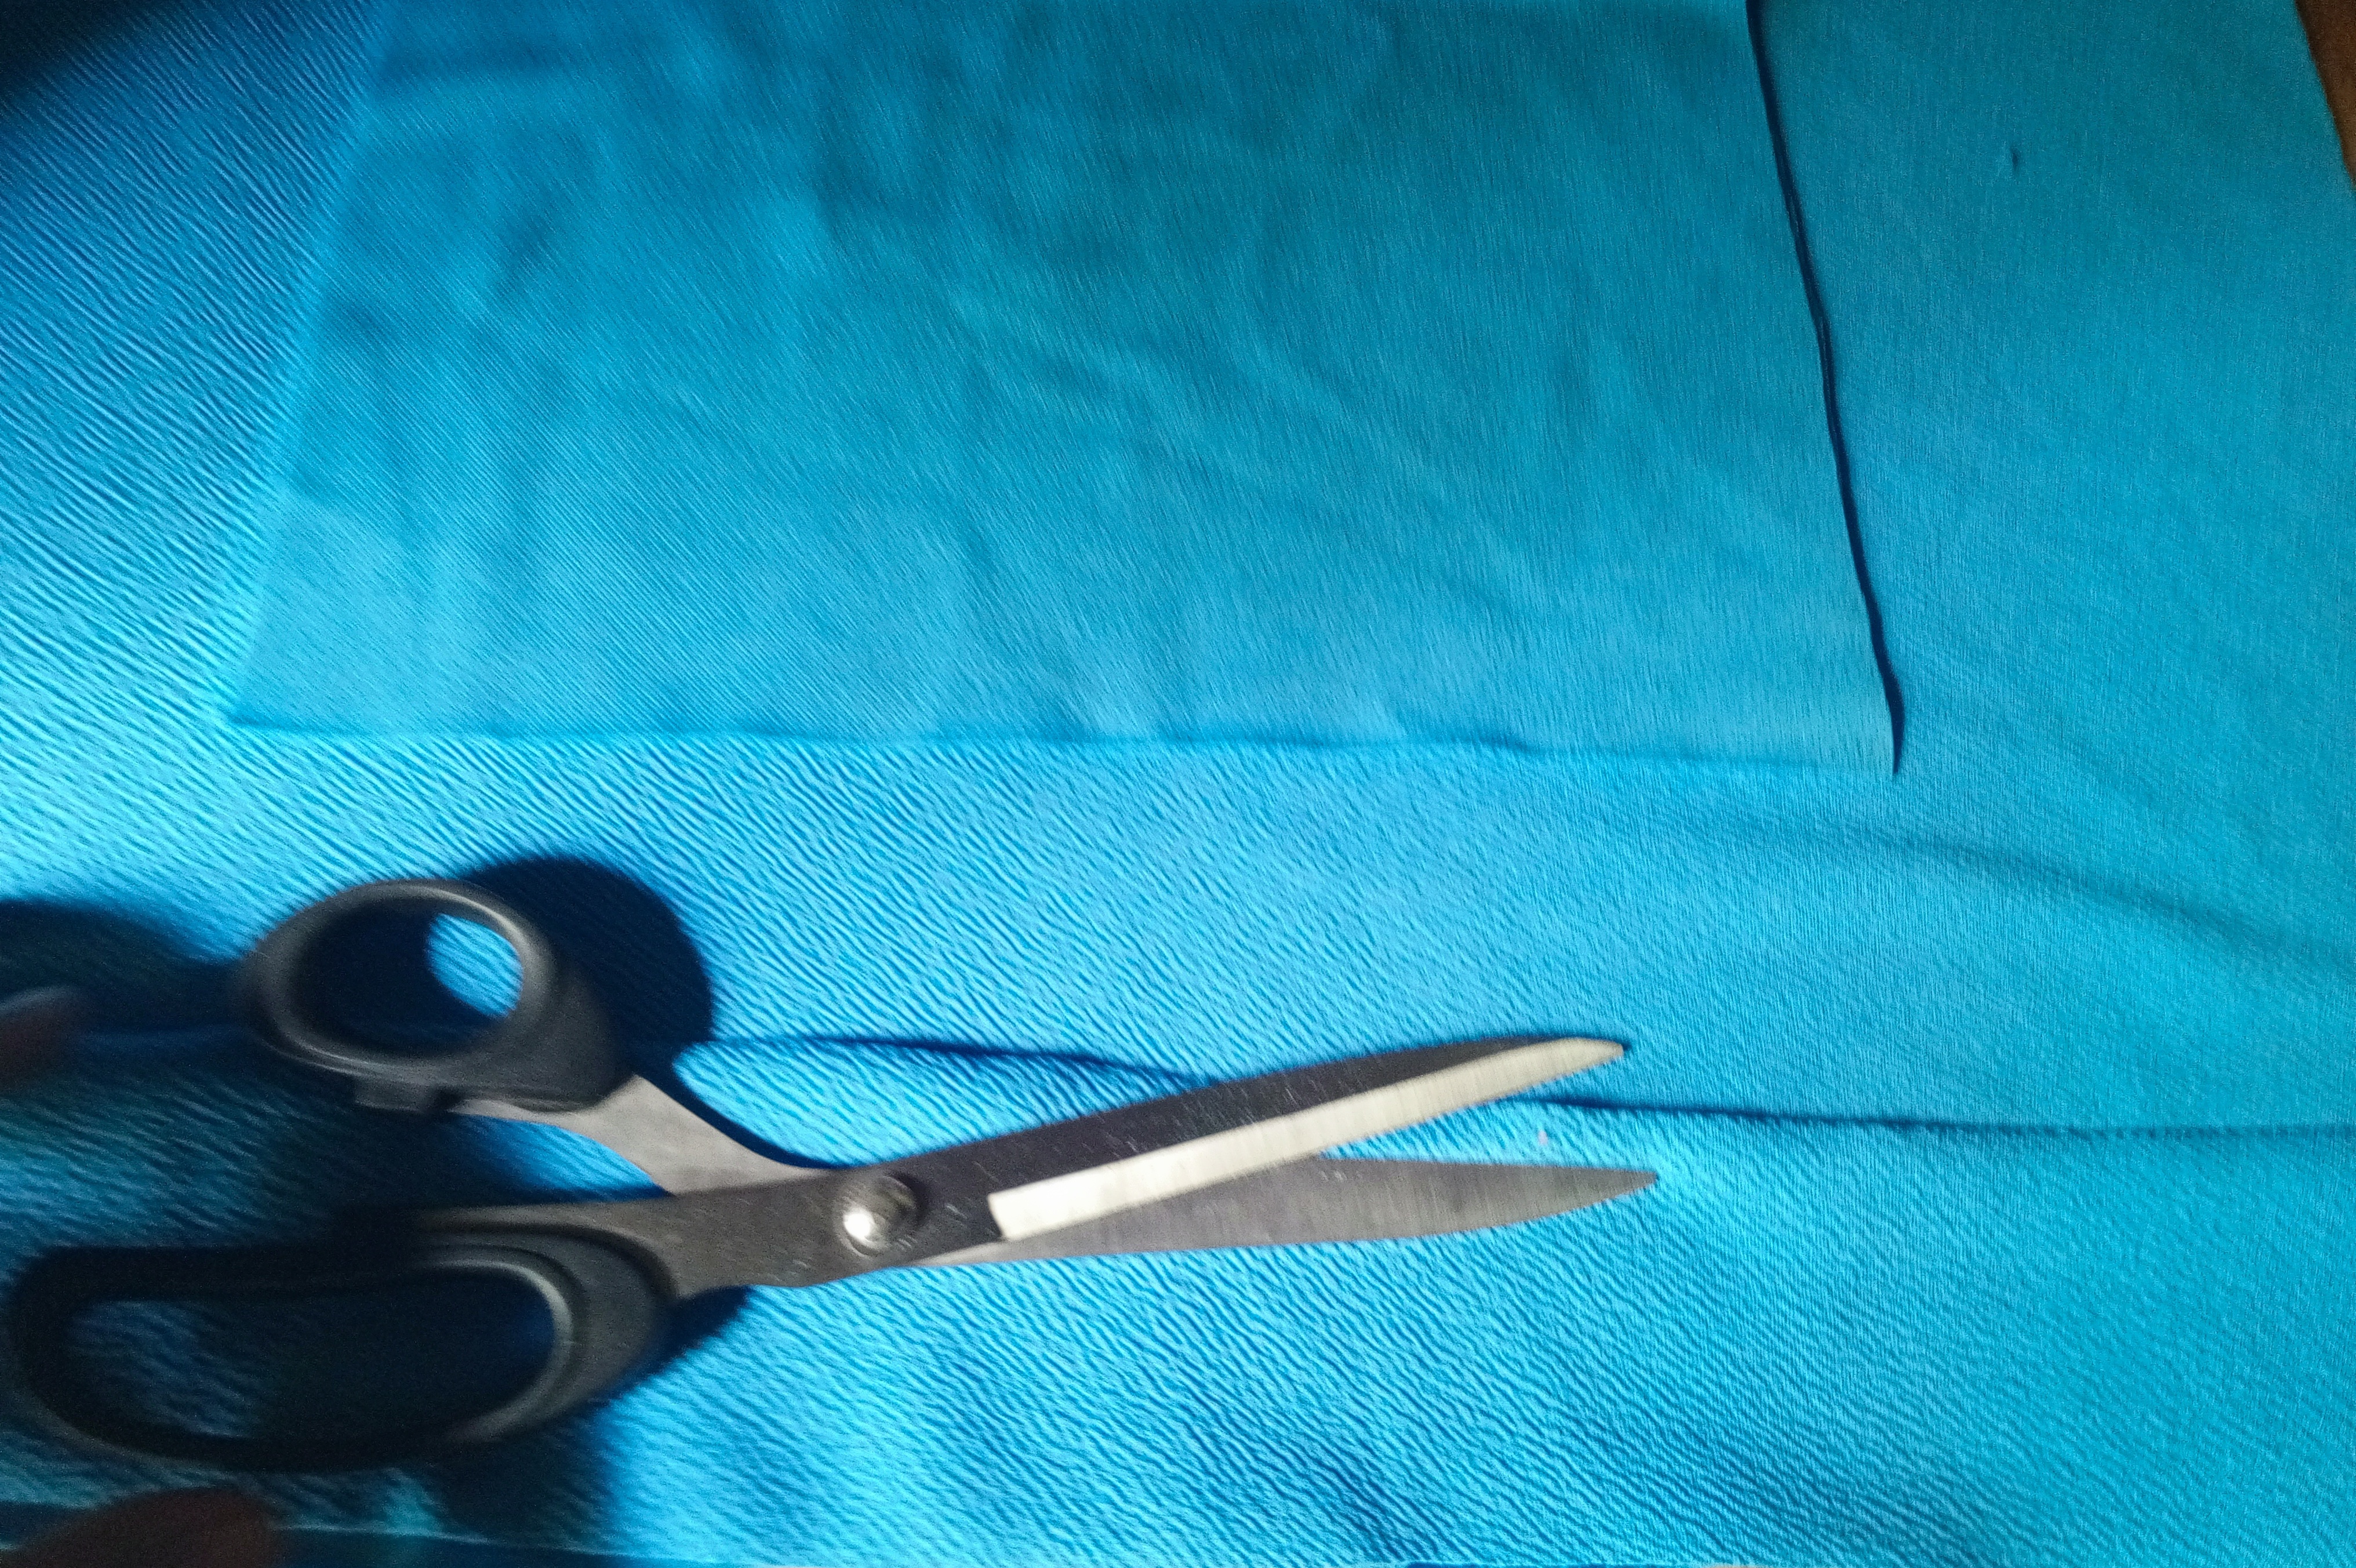
Lo primero que hice fue un rectángulo de 40 cm de ancho y 35 cm de largo, también saque otra pieza de 20 cm de ancho y 15 de largo, está para la parte de la camisa del vestido, ahora solo me faltaba sacar la parte del ruedo del vestido, así que corté dos piezas de 60 cm de ancho y 5 de largo.
Una vez corte todas estas piezas las puse aparte y solo me quedé con el rectángulo de la falda.
Paso 2.
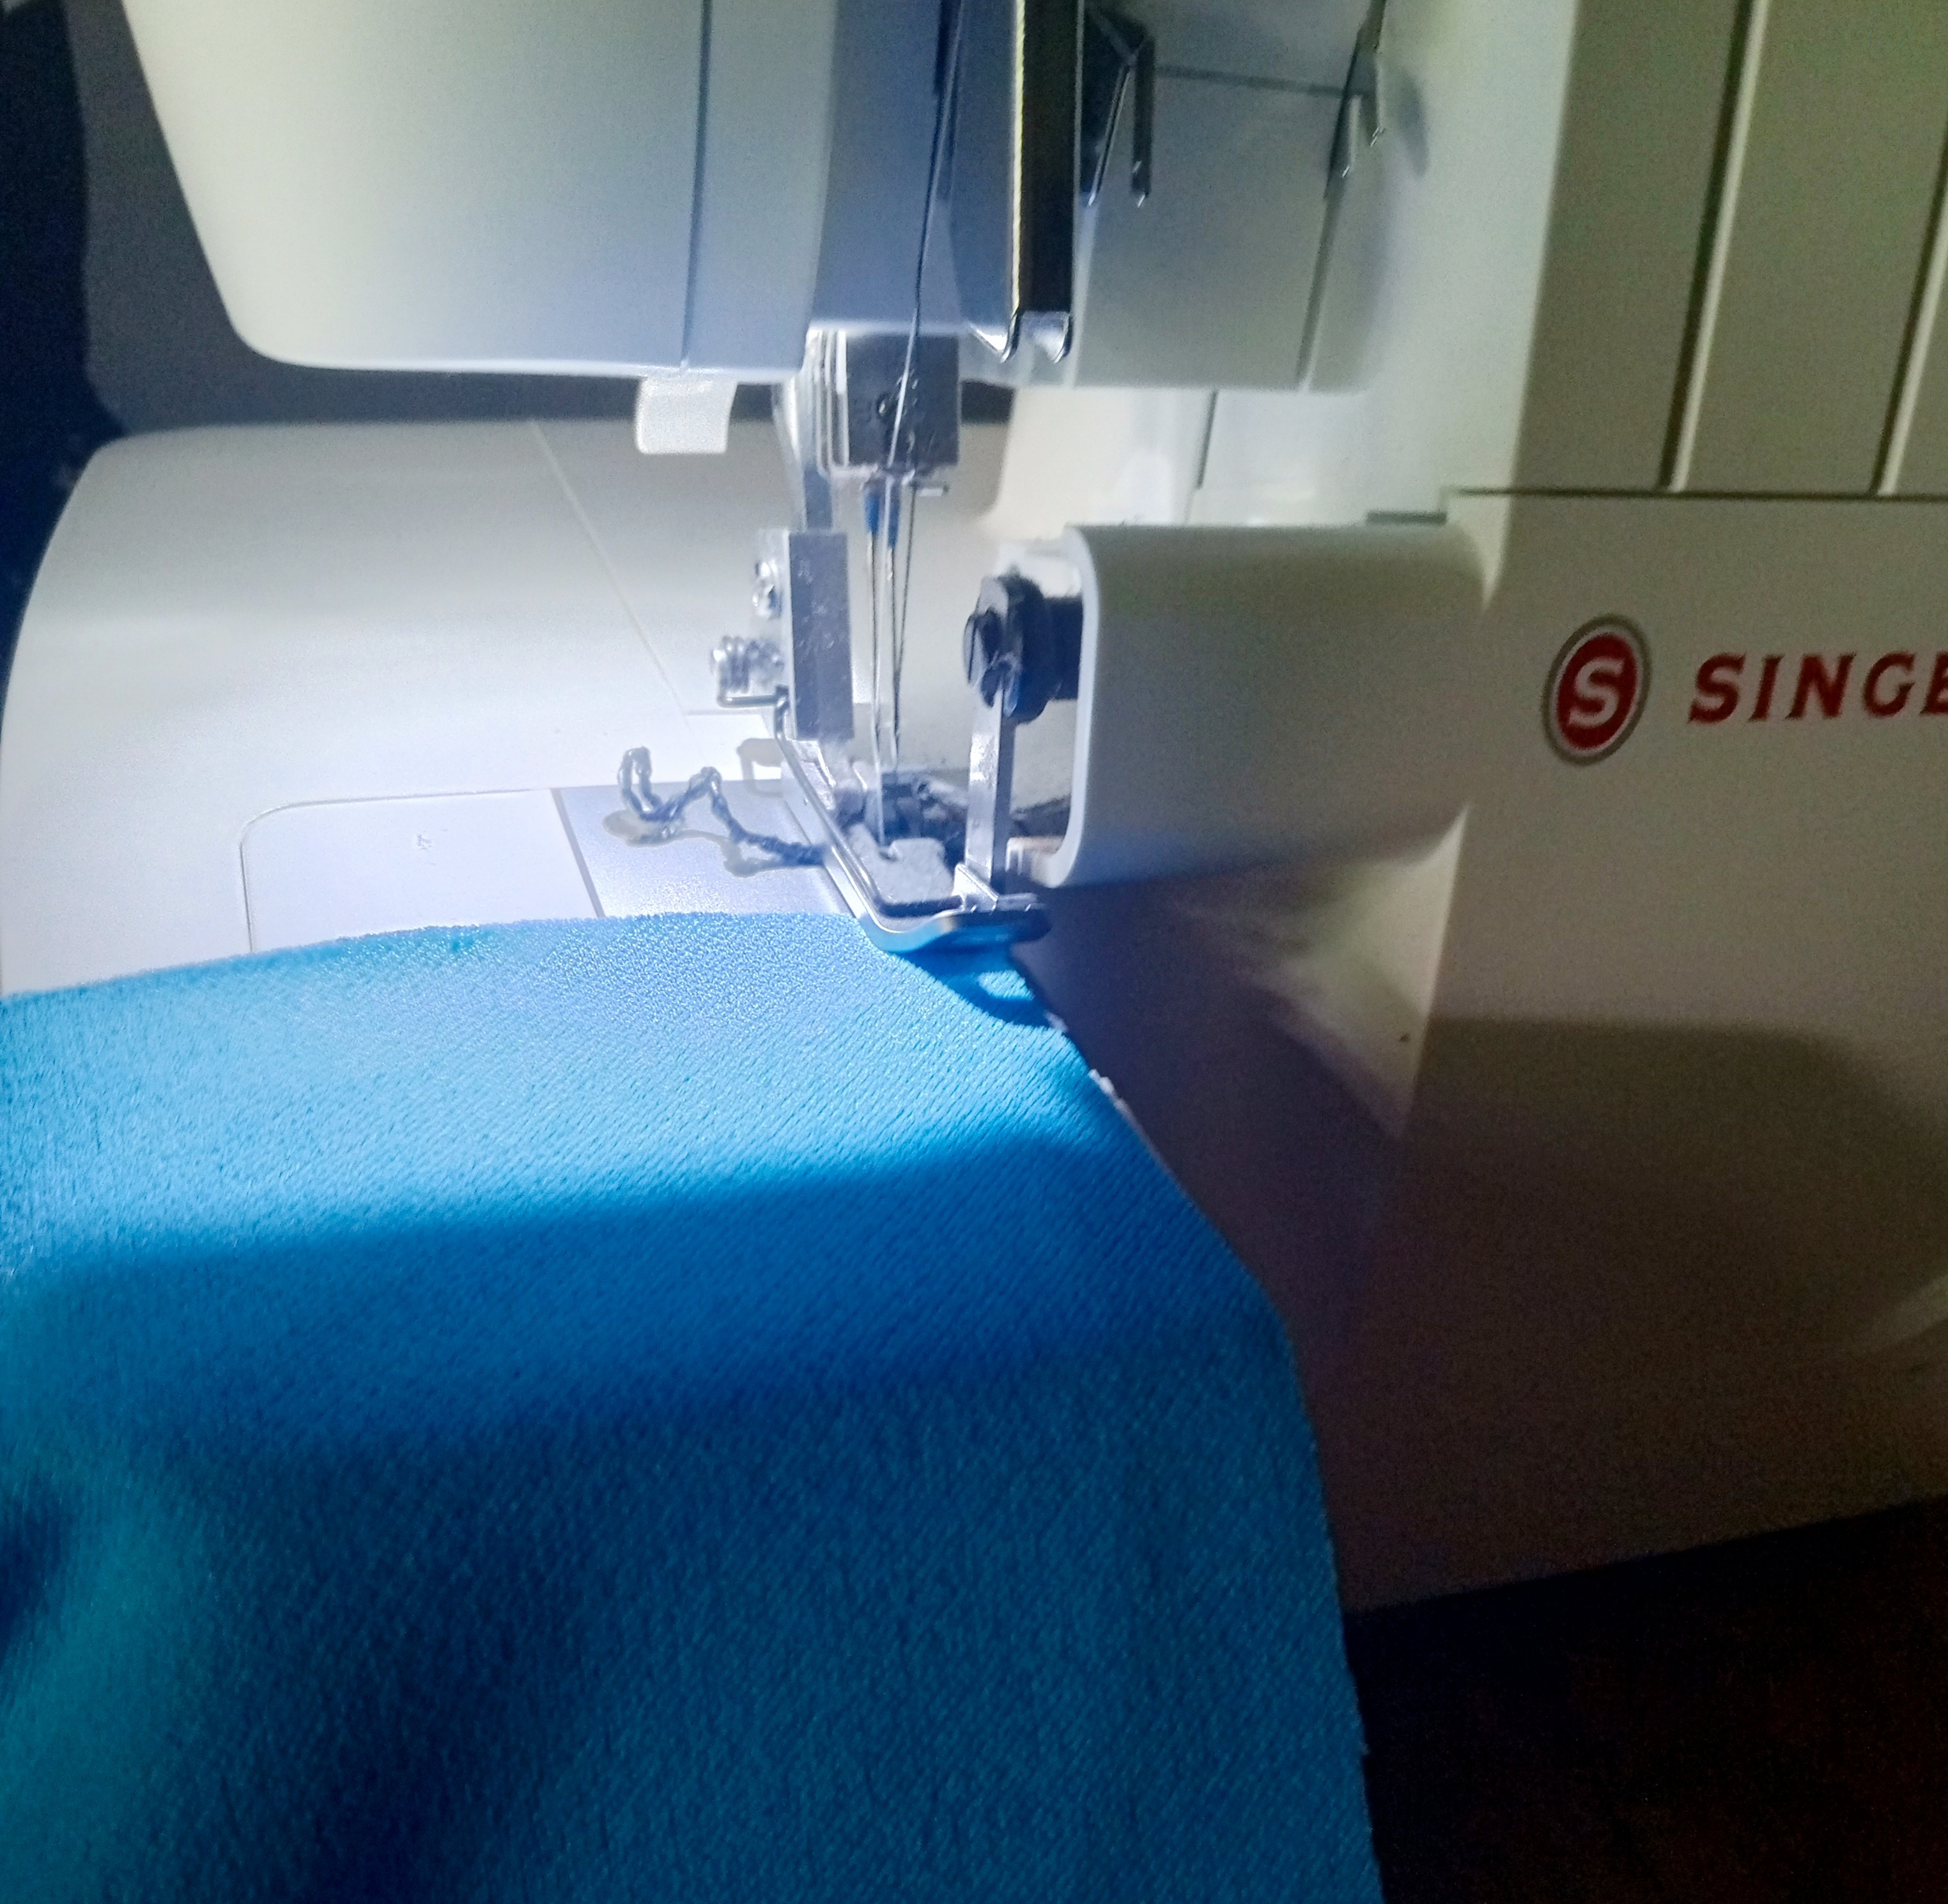
Ahora puse las partes enfrentadas y pase costura por los laterales en la máquina overlock.
Paso 3.
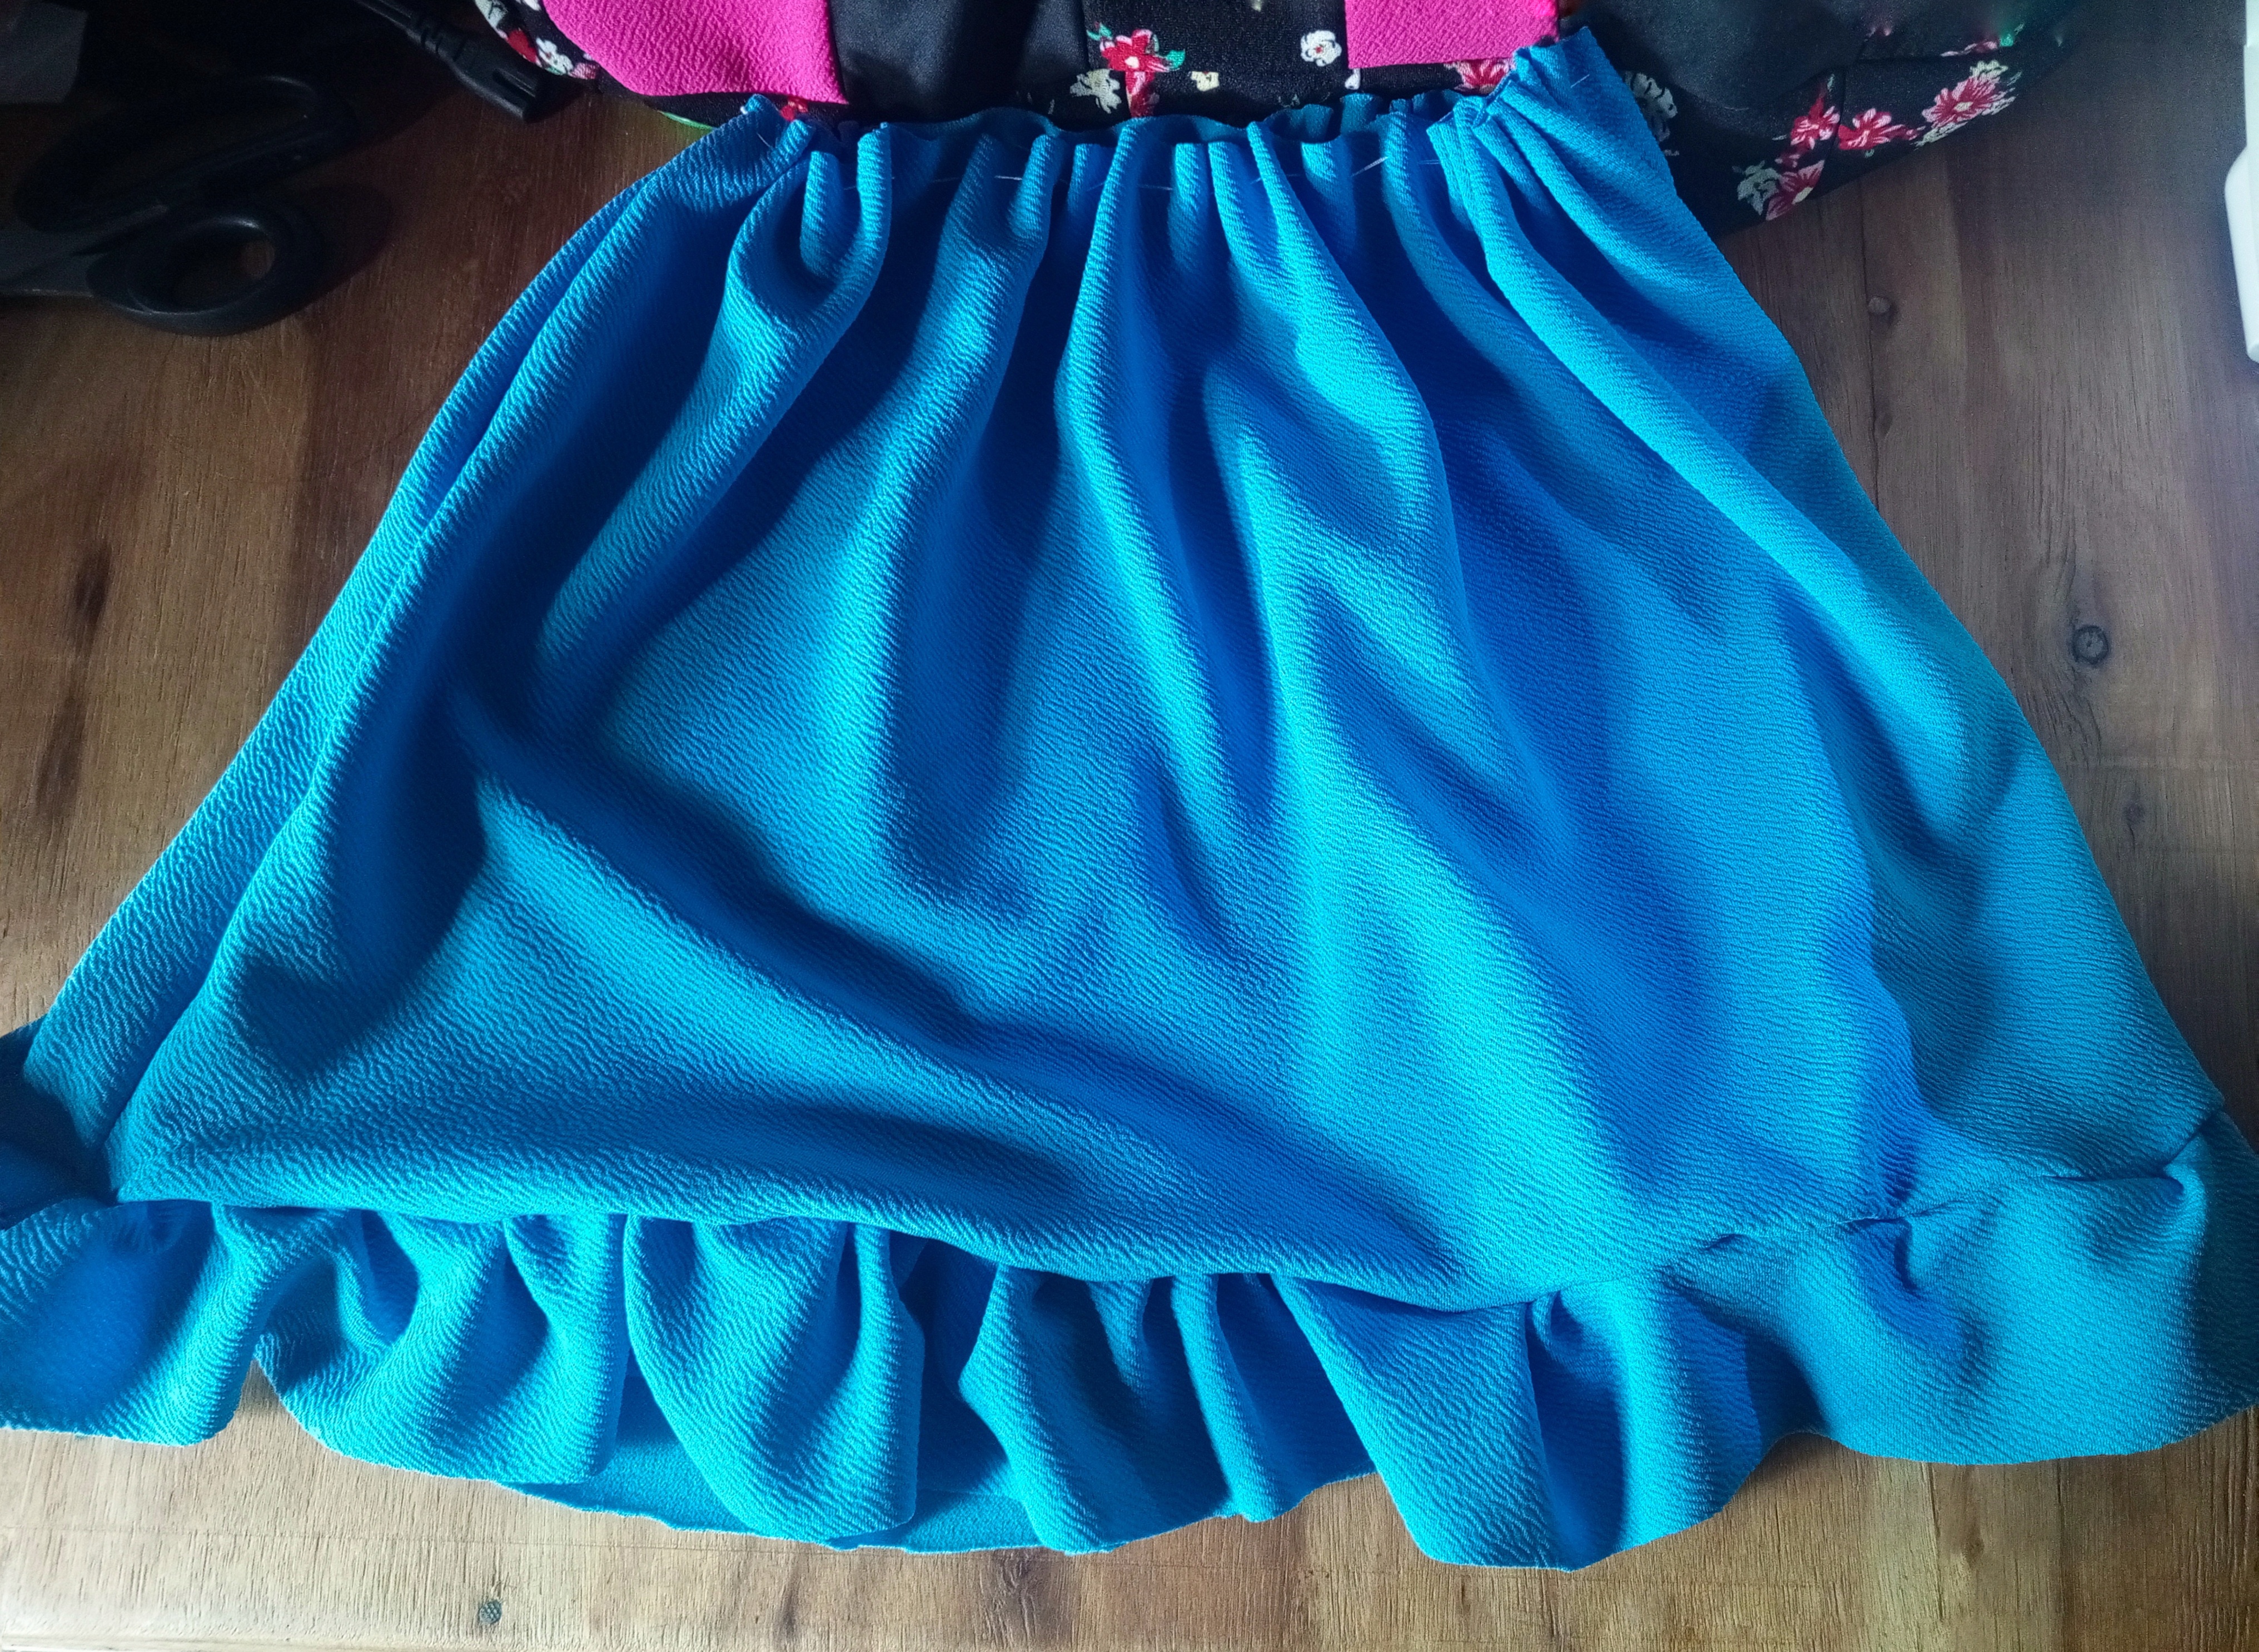
Luego tome las telas delgadas y con una aguja he hilo fuí cosiendo a mano varias puntadas suaves para luego halar y arruchar , así queda ese efecto deseado.

Paso 4
Ahora fui a coser en la máquina overlock la pieza que ya tenía lista, coloque alfileres para poder ajustar muy bien y así evitar que se moviera, ya que este es un trabajo que requiere de muchas paciencia y cuidado, después obtuve un buen resultado.
Como pueden observar, así queda.
Paso 5
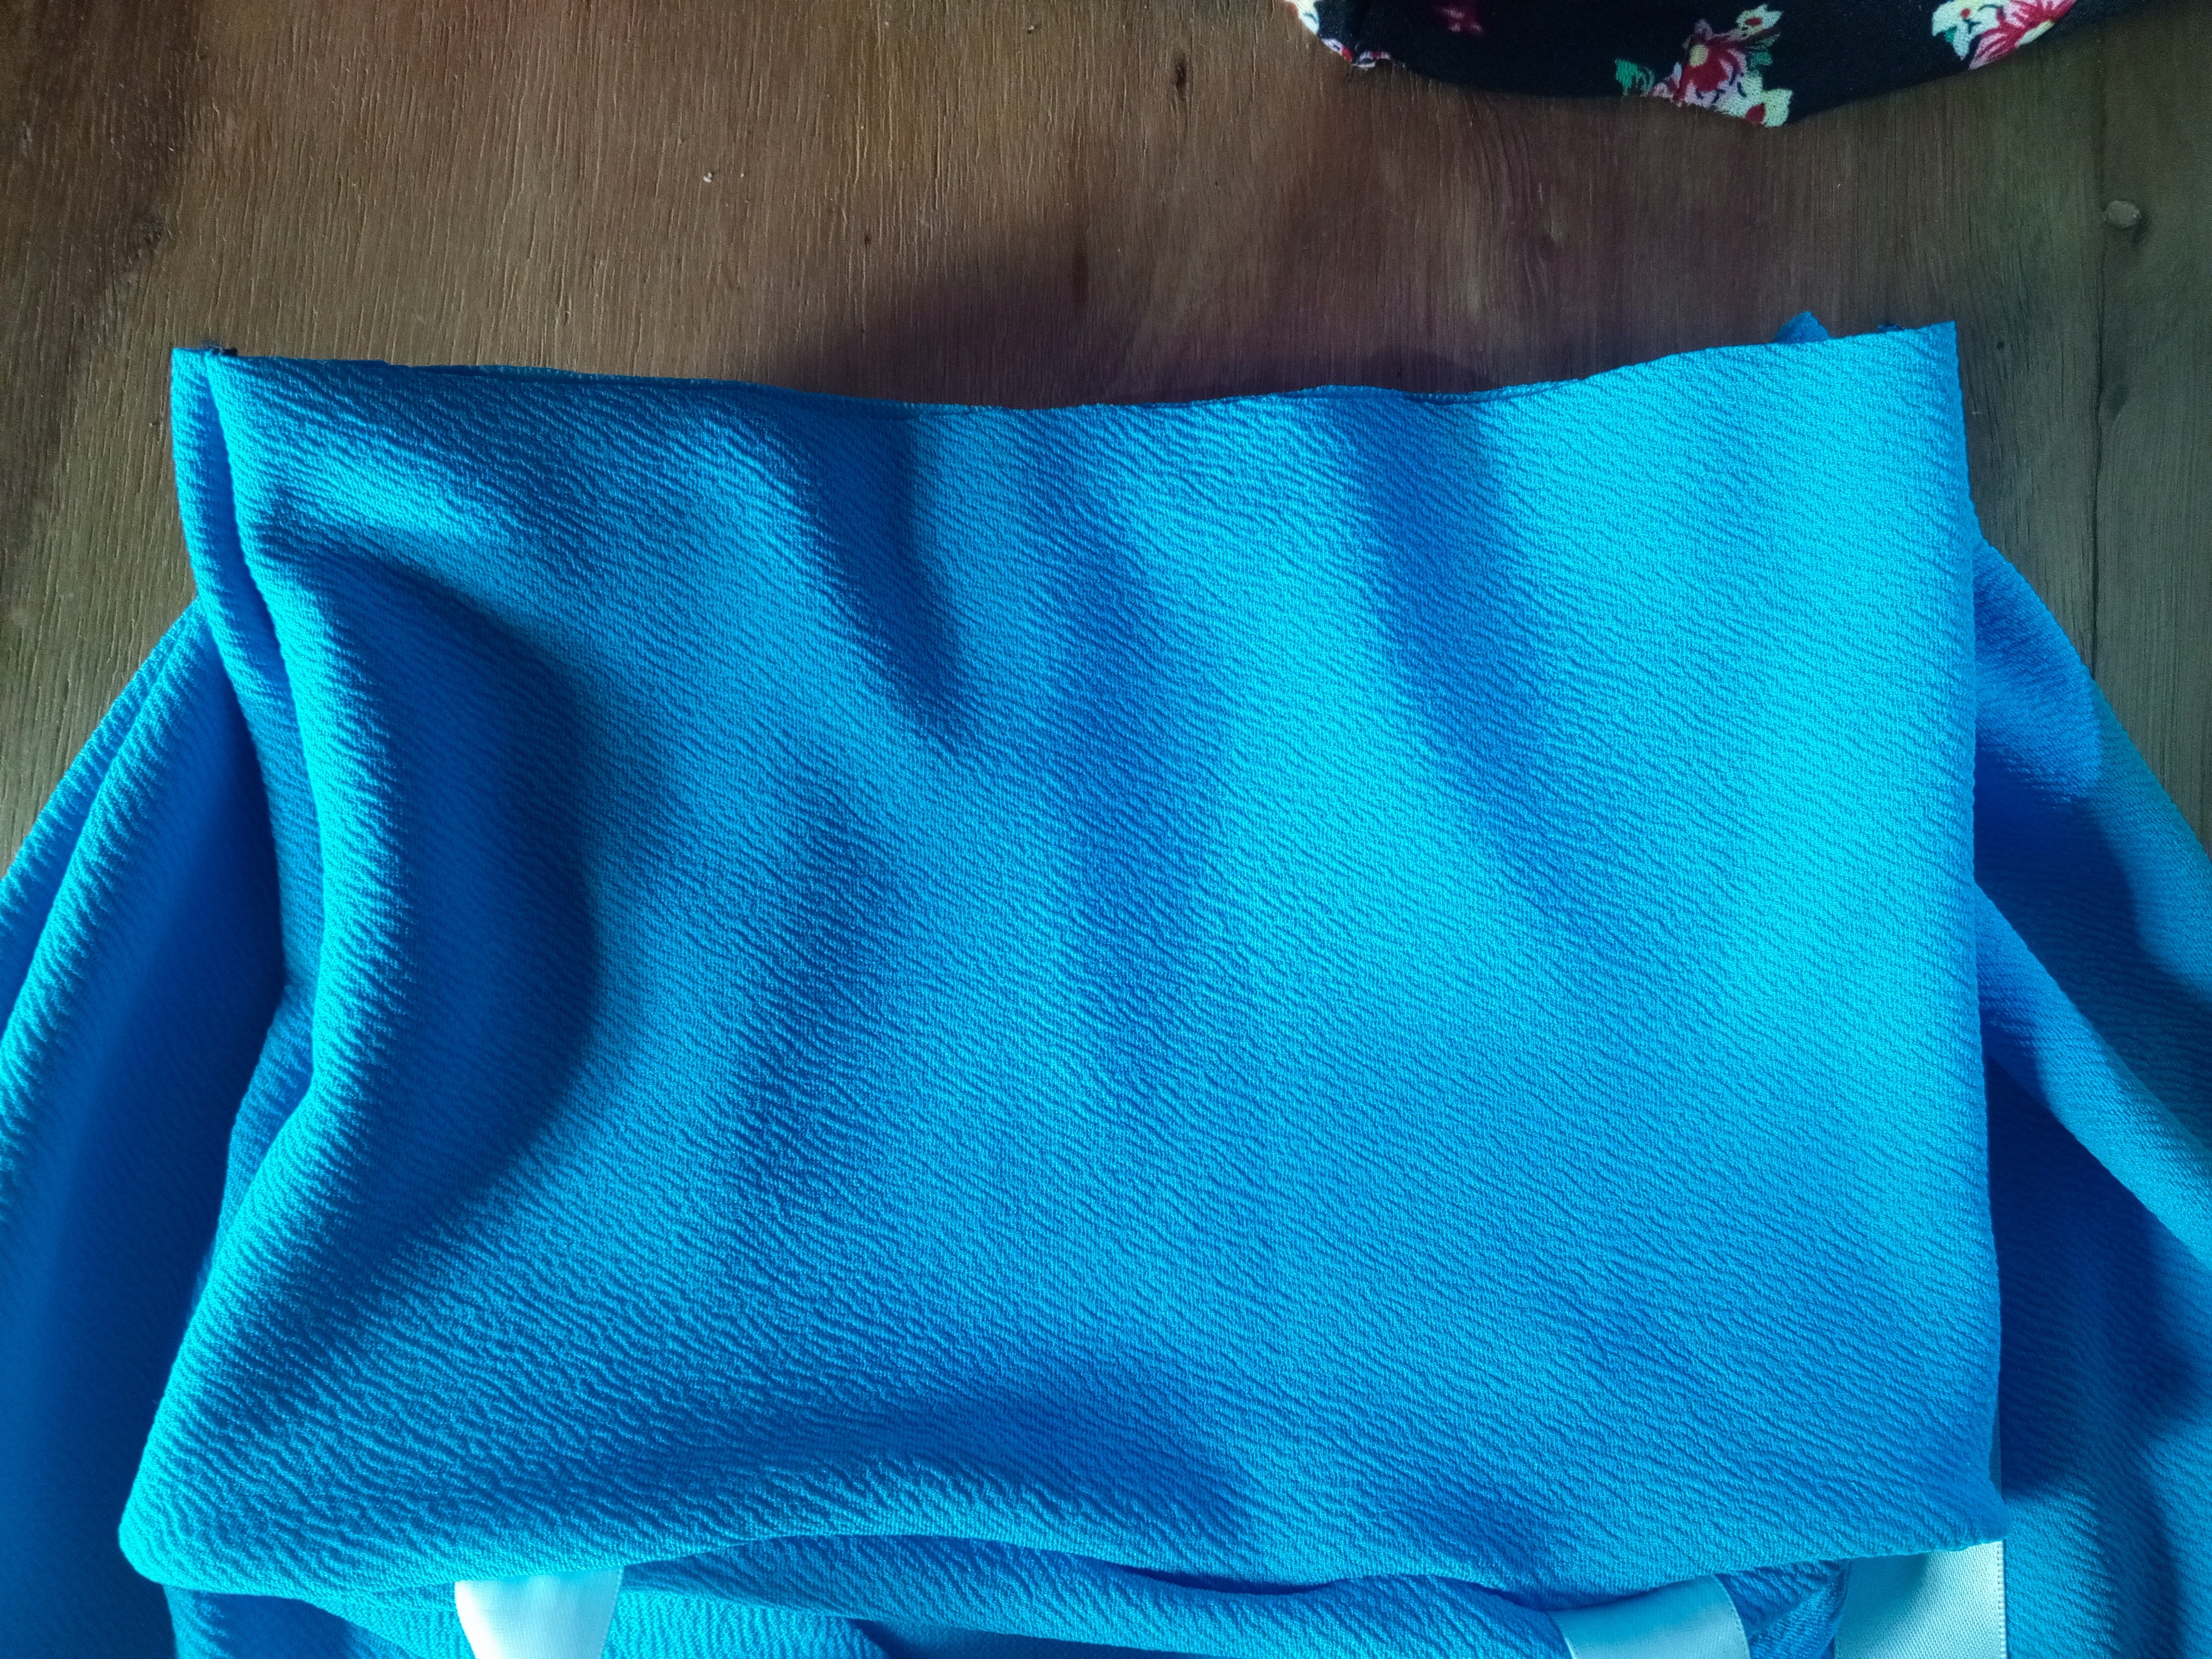
Luego tome la parte de la blusa y pase una costura por los laterales, también tome las cintas blancas para con otra pieza de tela coser por todo el contorno superior, puse alfileres para fijar muy bien las piezas, también medio cada distancia con la cinta métrica.

Paso 6
Ahora acomodé la pieza en la cintura de la parte del vestido con Alfileres, luego le pasé costura en la overlock, después de esto con ayuda de un yeskero queme las puntas de la cintas, así evito que se deshilachen.
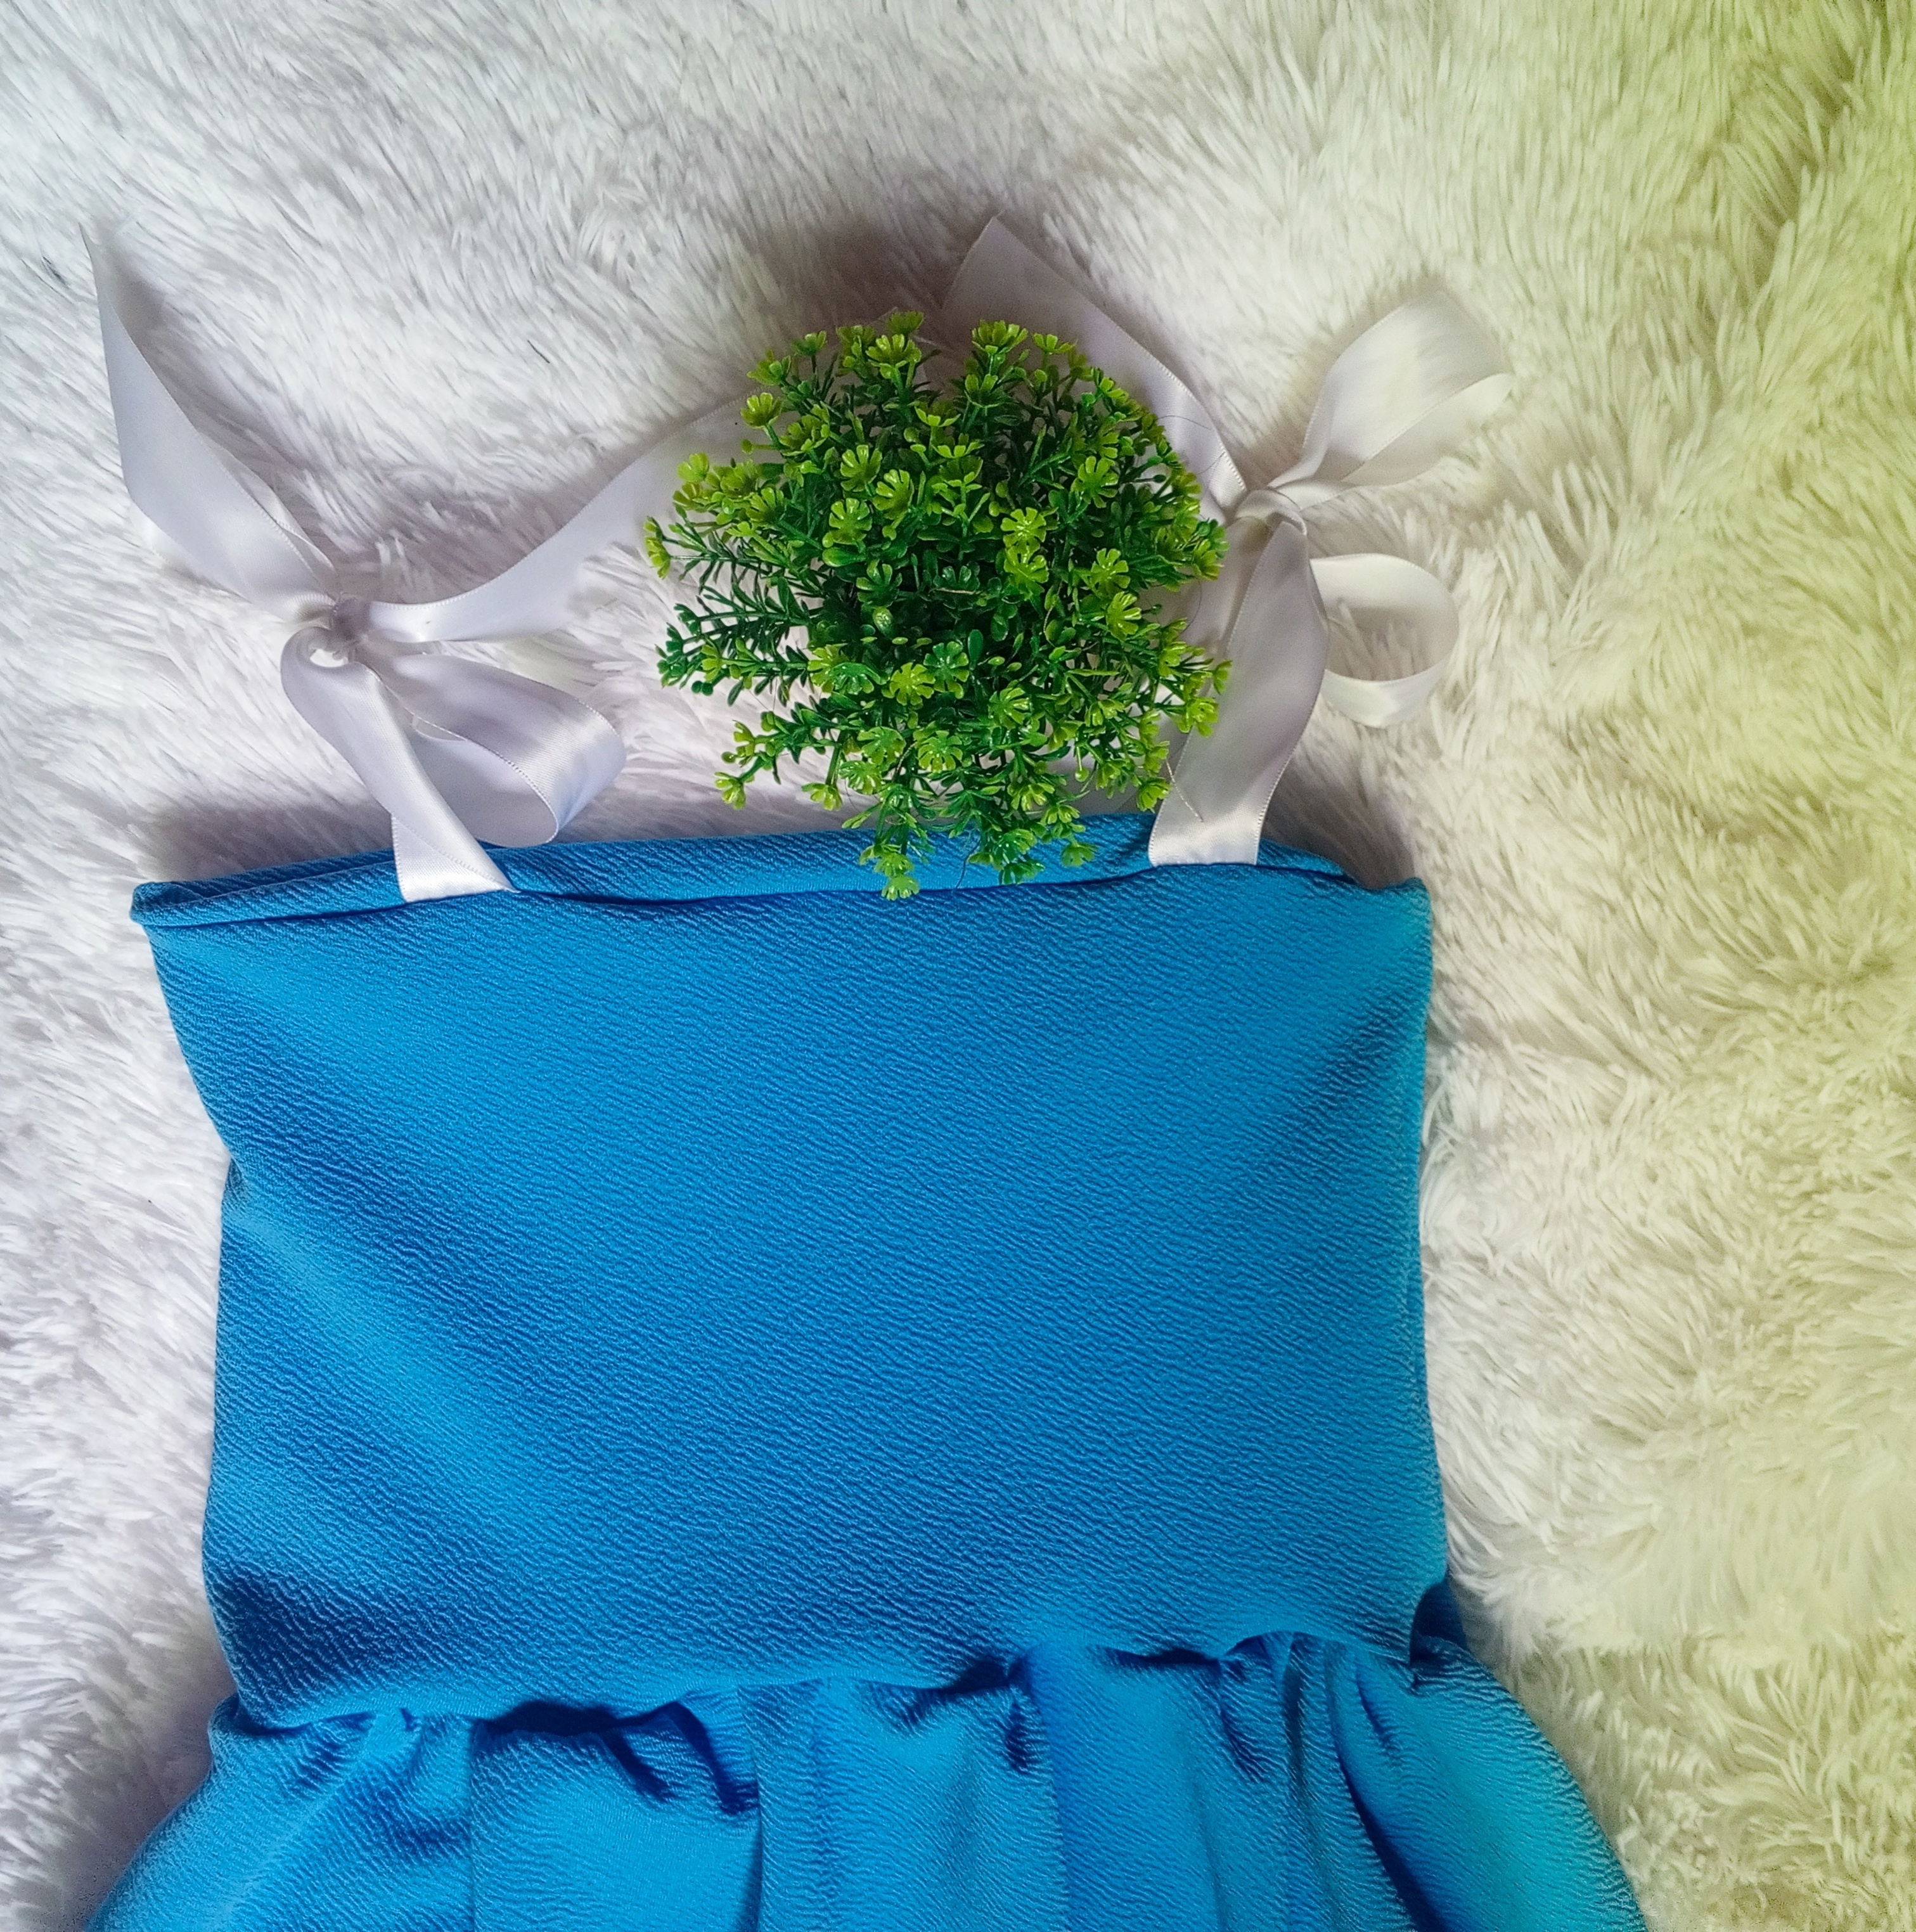
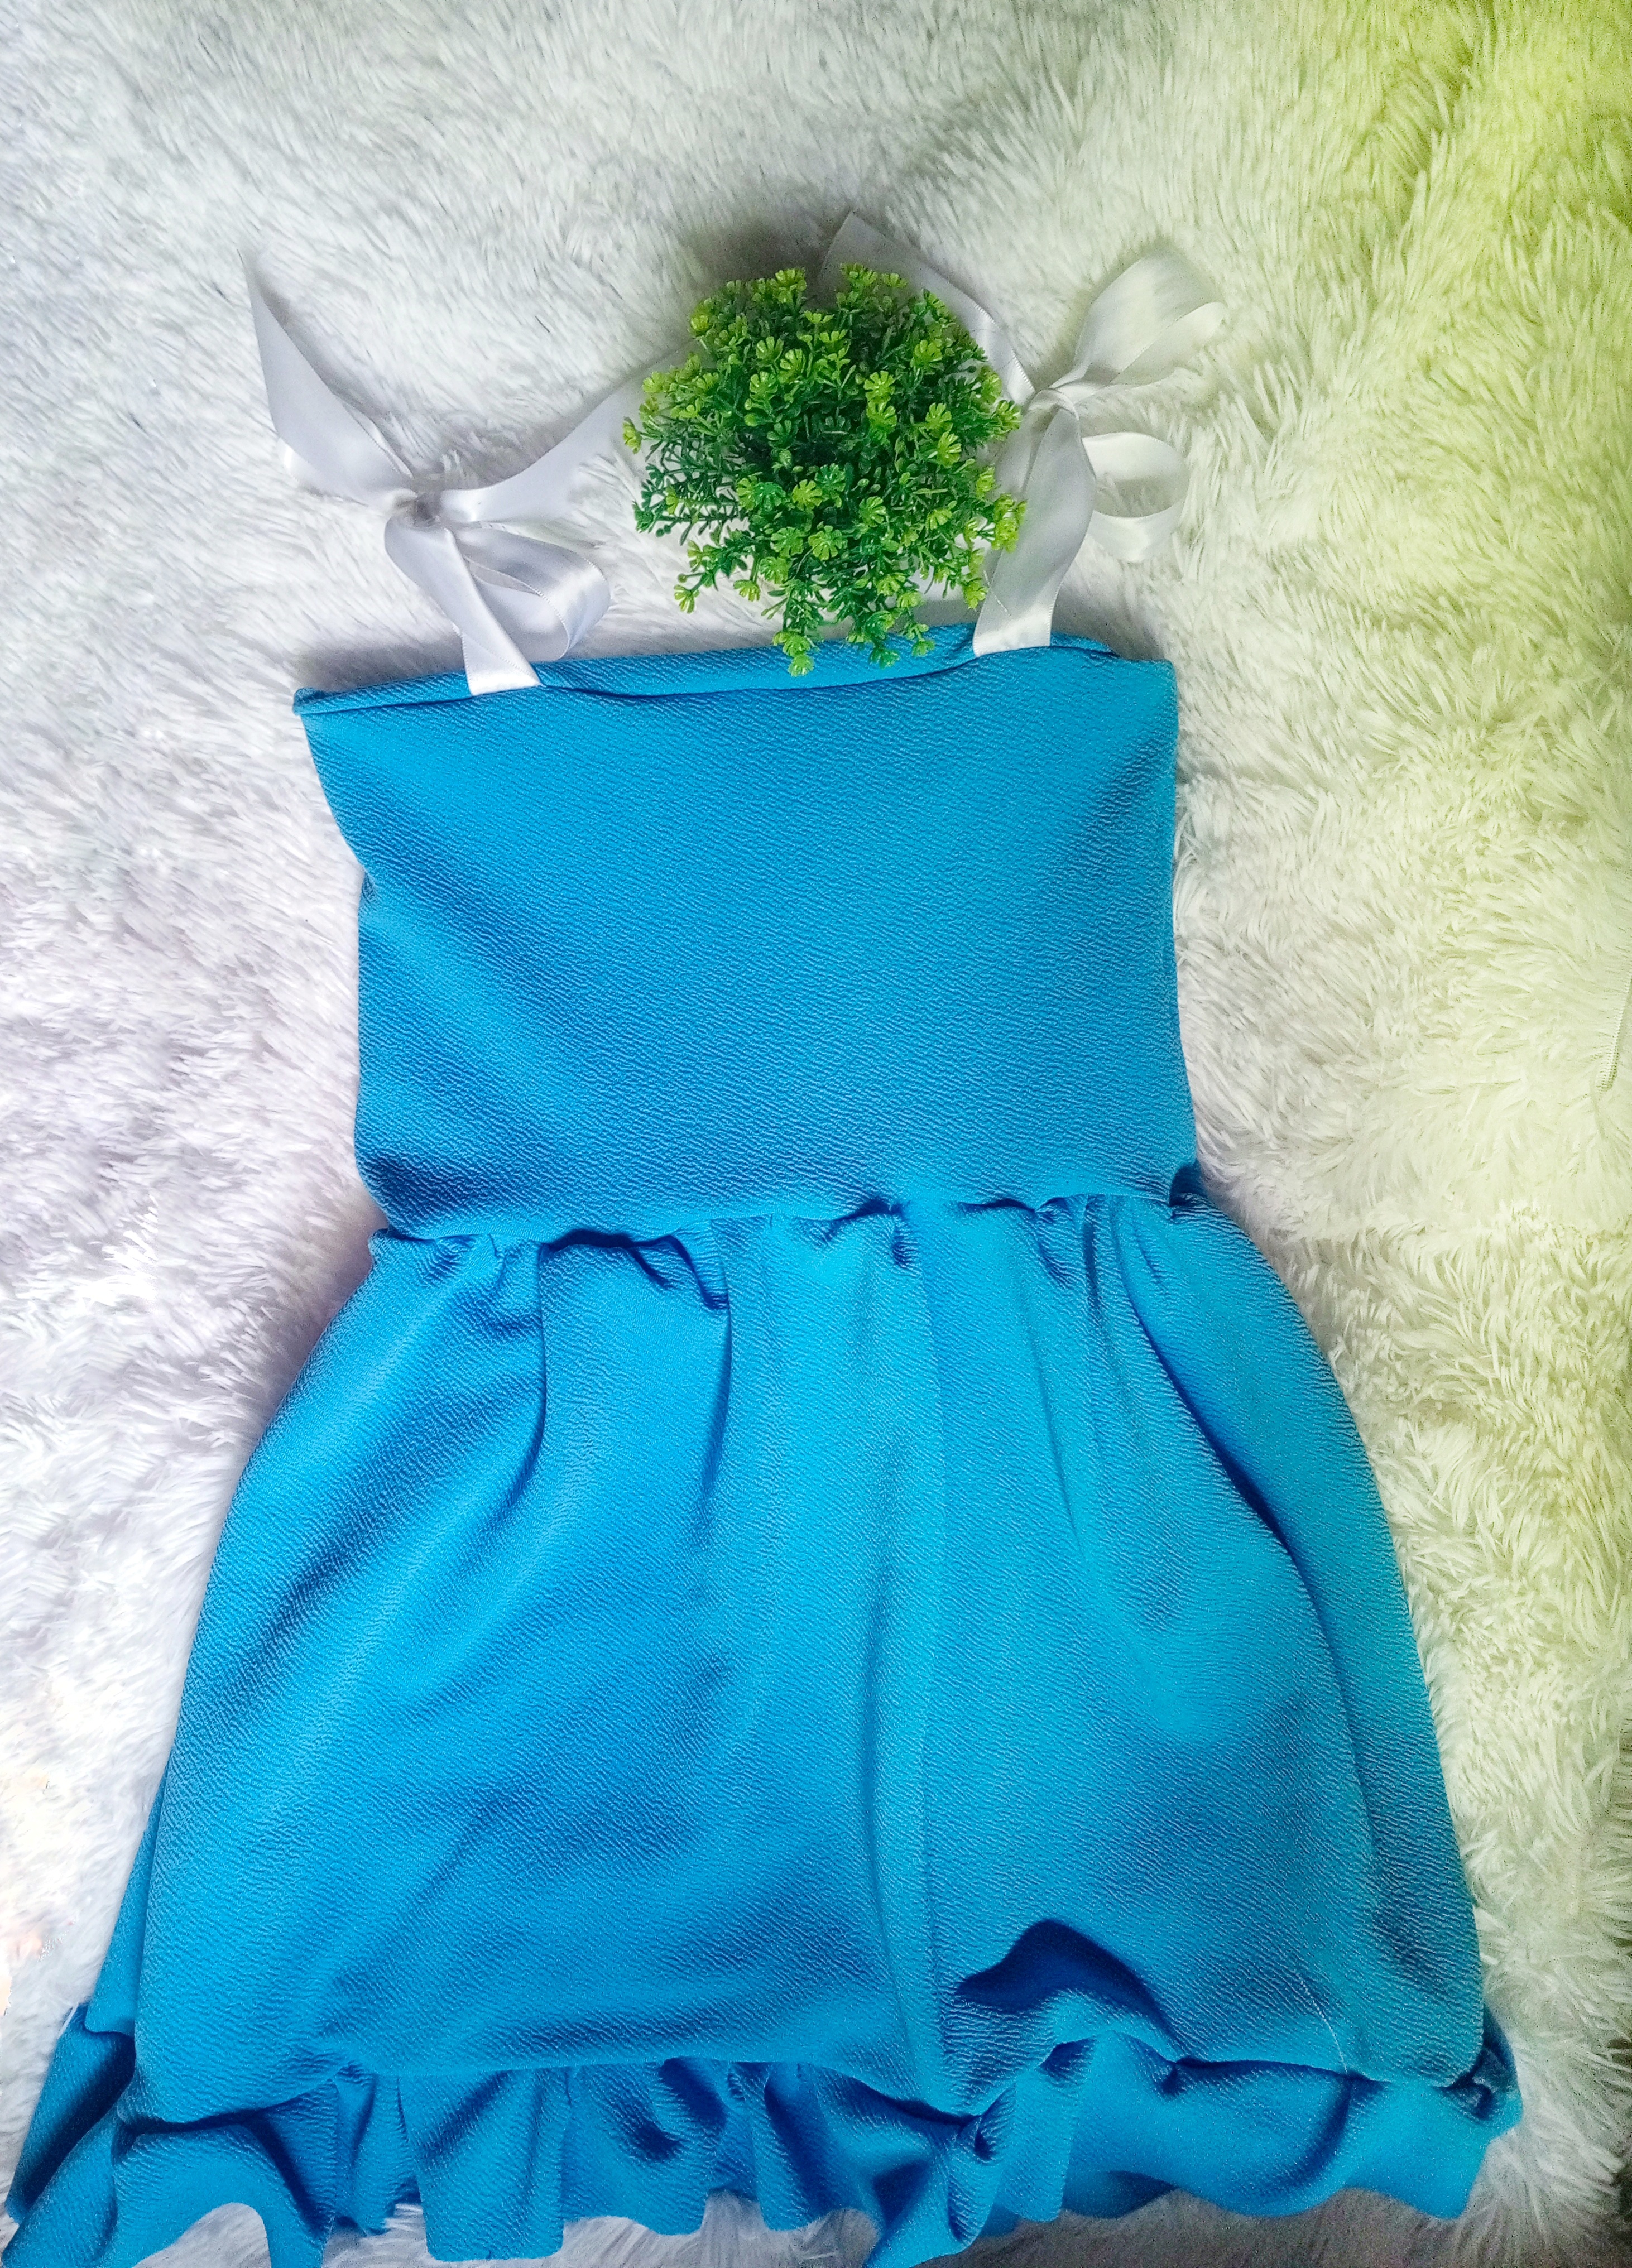
Resultado del vestido 👗

Hello dear friends of hive, I am very happy to show you how I made this dress with recycled fabric, that's right, I previously made a pair of pants that is posted in my profile, and with the leftover fabric I made magic to make this blue dress for a 3 year old girl. I think it's amazing what we can do when we let our imagination act, it's great.
Join me on this adventure. 🩵💙
The Materials I used were as follows:
- Beverly sky blue fabric.
- Scissors.
- Pins.
- Tape measure.
- White tape

Step 1.
The first thing I made was a rectangle of 40 cm wide and 35 cm long, I also cut another piece of 20 cm wide and 15 cm long, this is for the shirt part of the dress, now I only had to cut the hem part of the dress, so I cut two pieces of 60 cm wide and 5 cm long.
Once I cut all these pieces I put them apart and I was only left with the rectangle of the skirt.

Step 2.
Now I put the parts facing each other and sew along the sides on the overlock machine.

Step 3.
Then I took the thin fabrics and with a needle and thread I sewed by hand several soft stitches and then pulled and tucked, so that is the desired effect.

Step 4
Now I went to sew in the overlock machine the piece that I already had ready, I put pins to be able to adjust very well and thus prevent it from moving, since this is a job that requires a lot of patience and care, then I got a good result.
As you can see, this is how it looks

Step 5
Then take the part of the blouse and pass a seam along the sides, also take the white ribbons to sew with another piece of fabric around the top contour, I put pins to fix the pieces very well, I also measured each distance with the tape measure.

Step 6
Now I placed the piece at the waist of the dress part with pins, then I sewed it on the overlock, after this with the help of a tinder burn the ends of the ribbons, so I avoid them to fray.

Dress result 👗


Awwww this is so beautiful. The colour of fabric, the design and stitches are so neat and beautiful. Bravo! Keep up the good work.
selected by @ibbtammy
Congratulations @dilianny20! You have completed the following achievement on the Hive blockchain And have been rewarded with New badge(s)
Your next target is to reach 15000 upvotes.
You can view your badges on your board and compare yourself to others in the Ranking
If you no longer want to receive notifications, reply to this comment with the word
STOPCheck out our last posts: