Diy// making a scrunchie multiple hair bow to compliment my outfit
Hello Hive
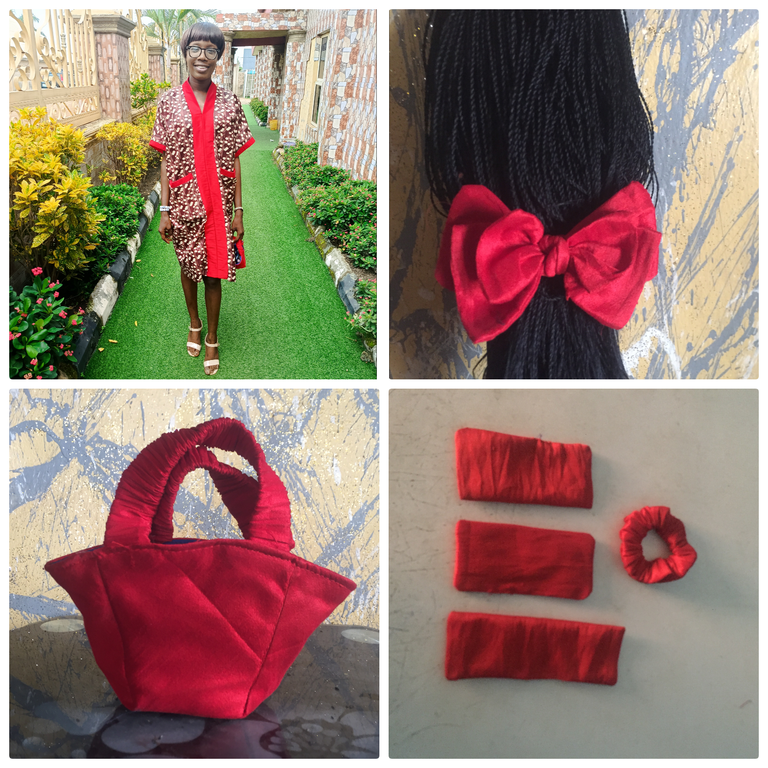
Happy new day, friends. It is my pleasure to share with you today from my sewing room this simple and beautiful scrunchies hair bow I made to compliment my outfit today.
I have a program to attend this morning and I feel like using nice hair bow to attach my hair, I research through my bags I can not find any then I thought of making a little hair bow so I checked the bag I do kept my leftover fabric, wow I saw this Mikado fabric I used for my bubu dress and design bag recently. The remain pieces I have can be enough for me to make any kind of bow I want and I had with elastic band. As a seamstress, I have come to understand that I can be creative in diverse ways.
To make this scrunchie hair bow
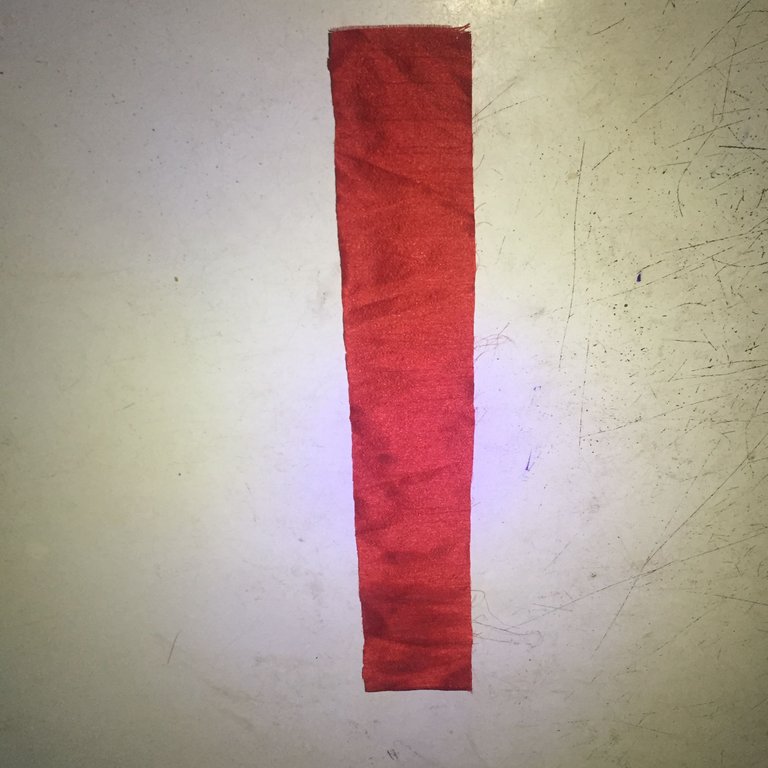
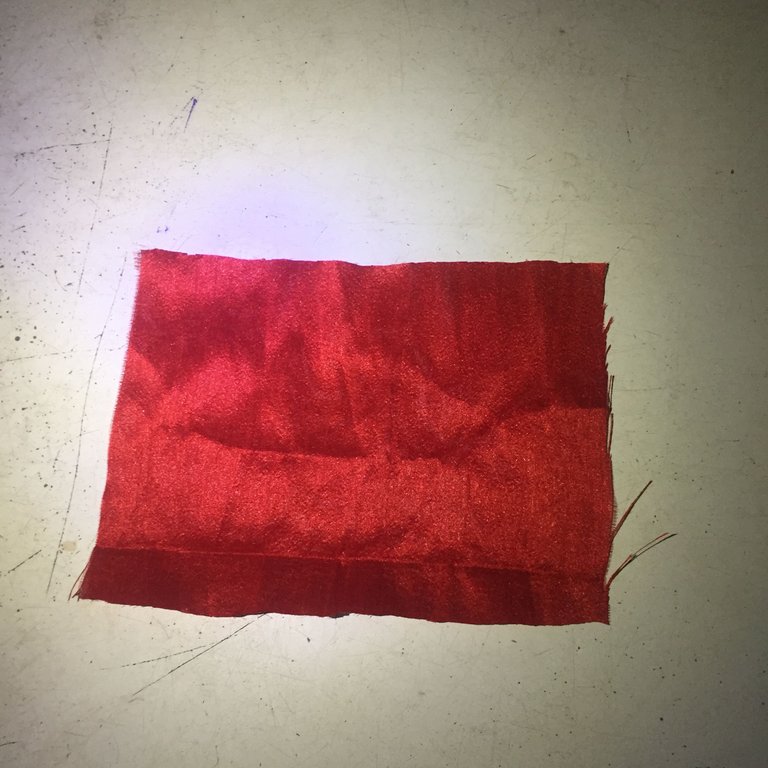
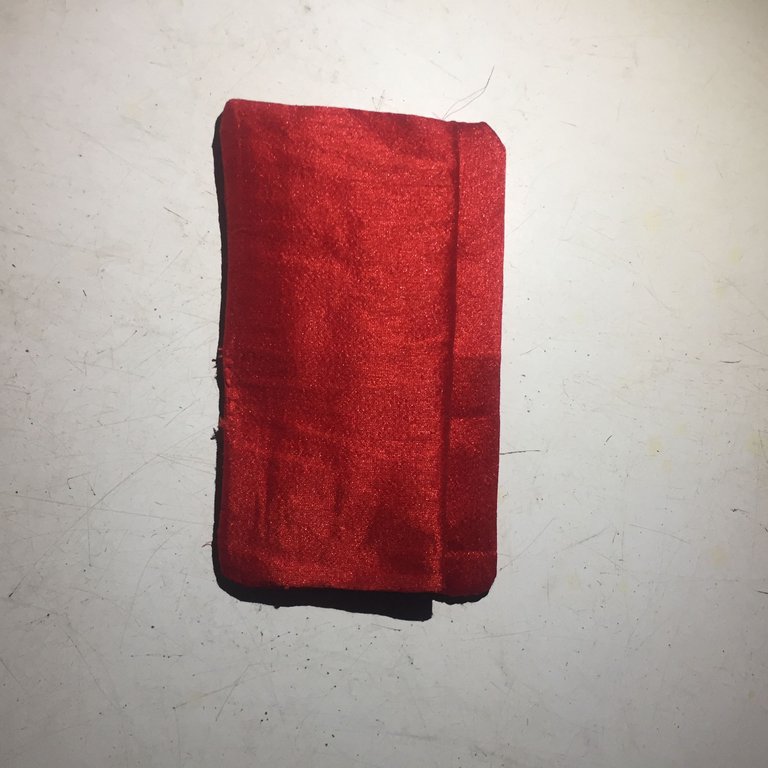
From the fabric, I cut out 7 x 50cm
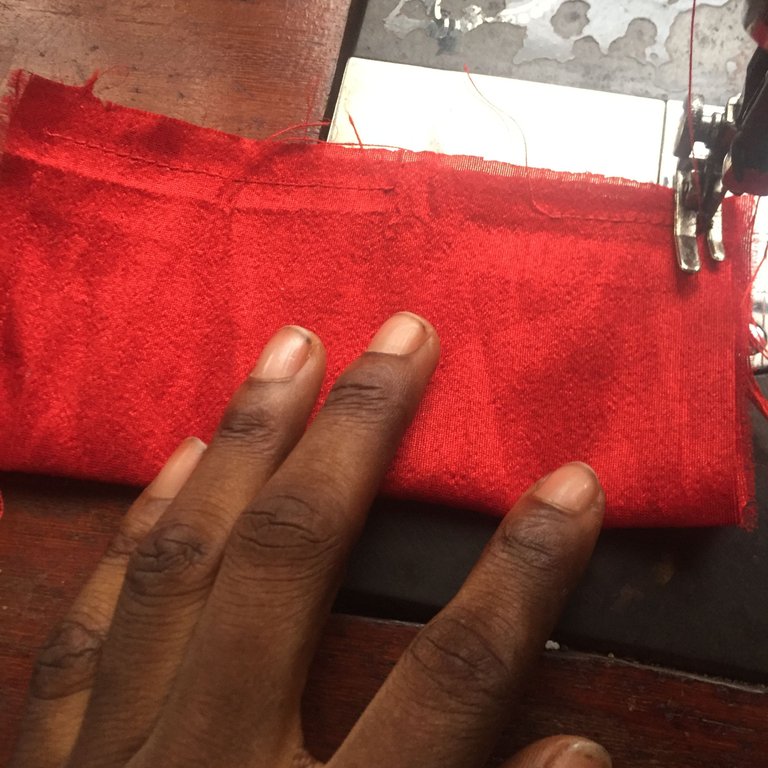
It was sewn on the wrong side and turned inside out.
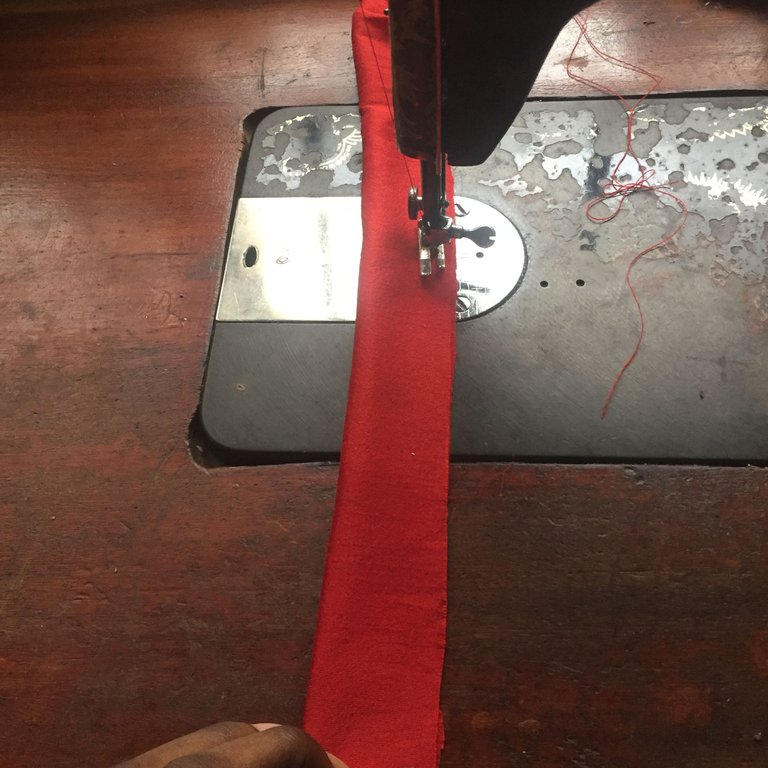
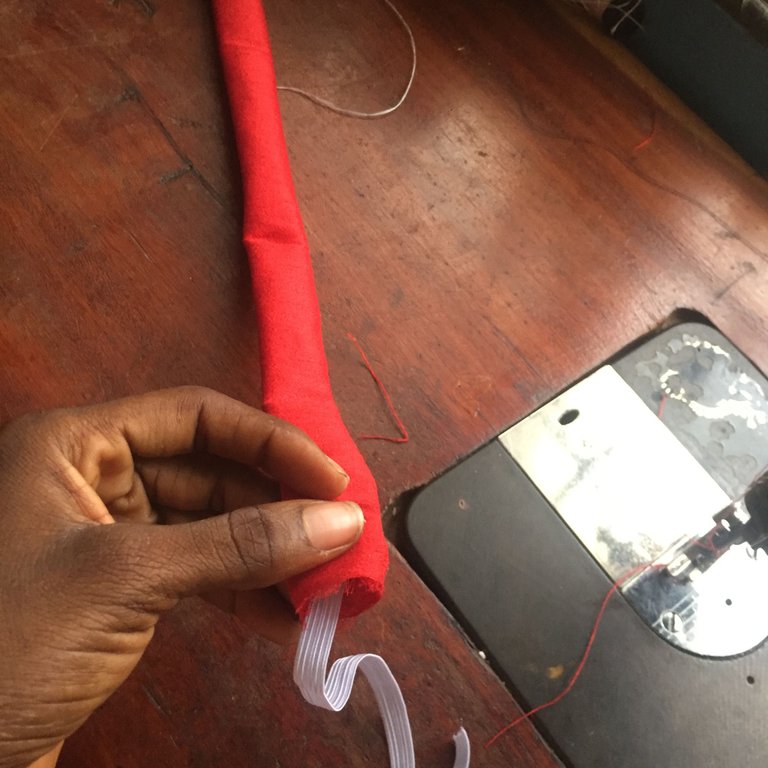
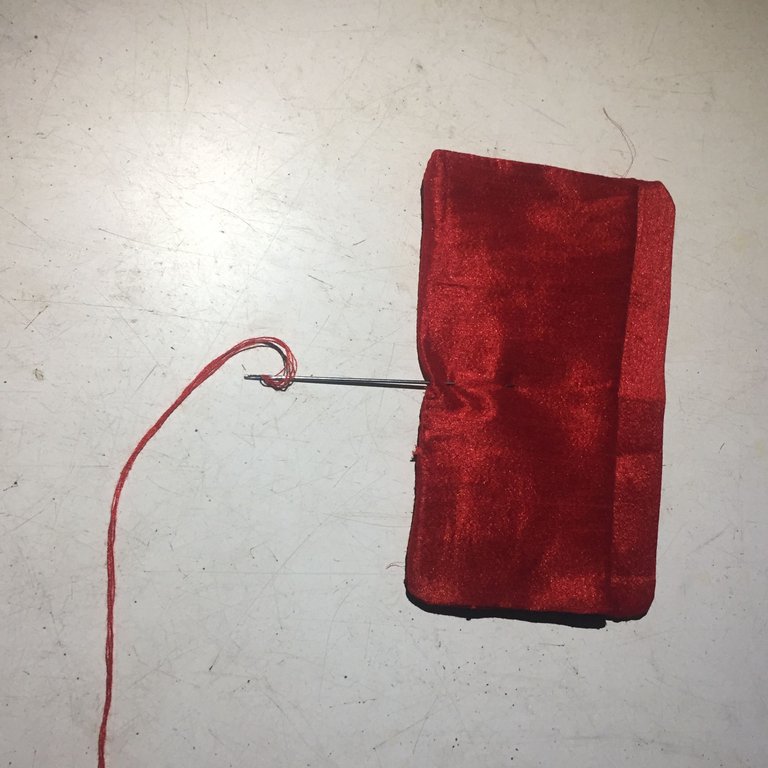
I cut out an elastic band of 0.5 x 8" and inserted it in to the long piece, sewn at the tip together and set aside.

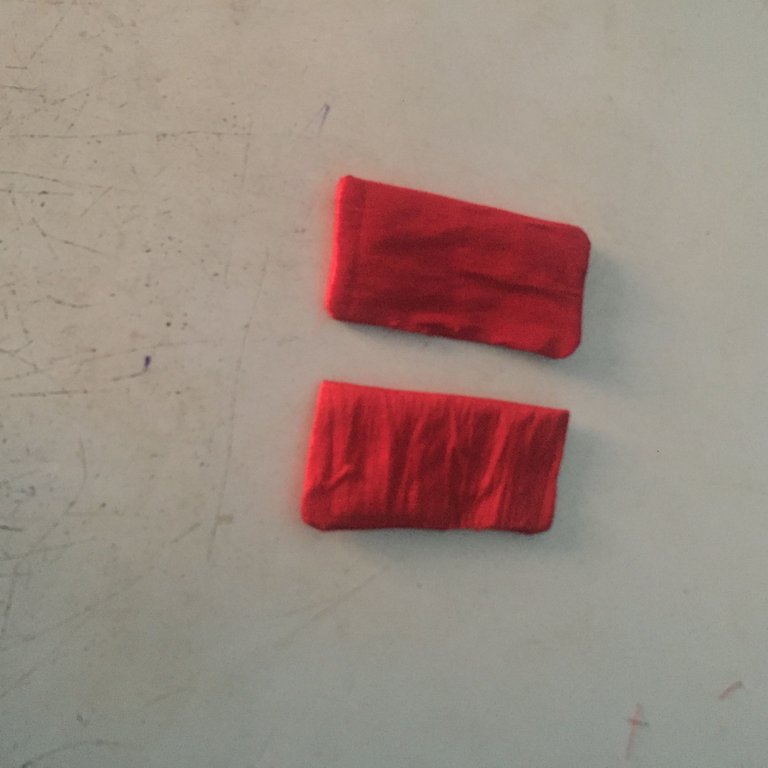
I cut out another piece of 15 x 15cm in 2 places .
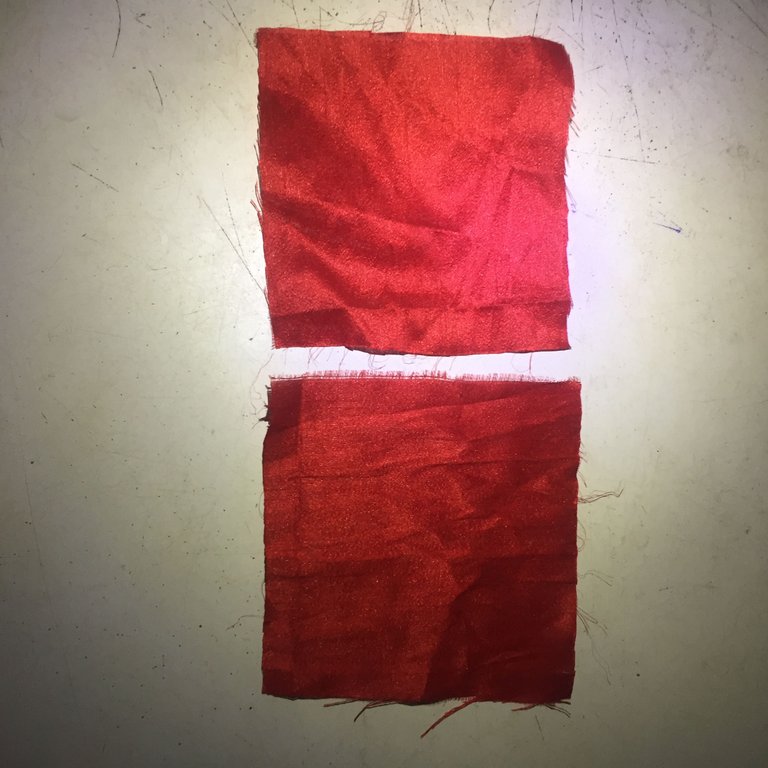
it was talking to the sew machine and I fold it and run stitches on it. left little space to turn to right face and I do same to the other one.
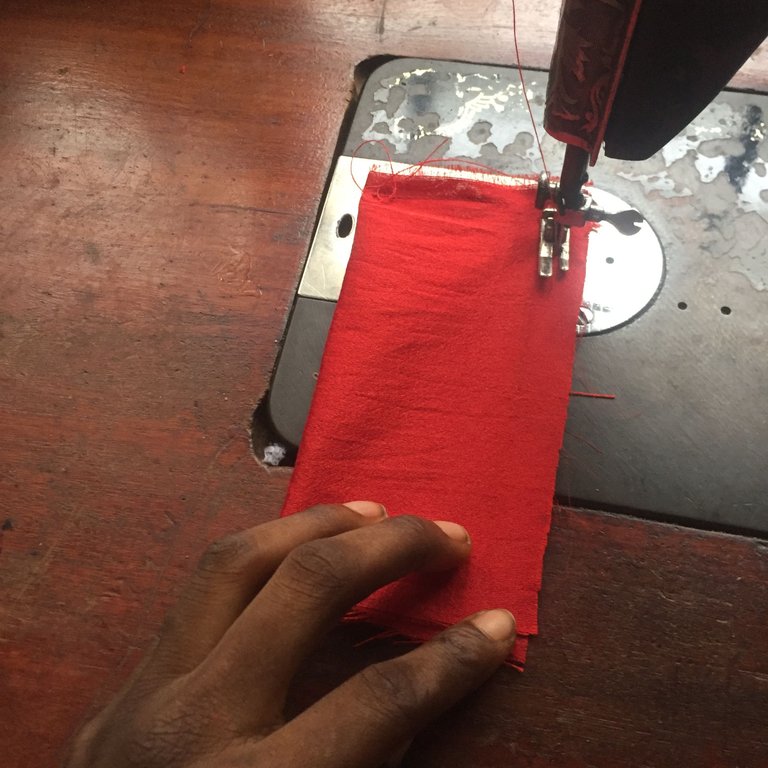
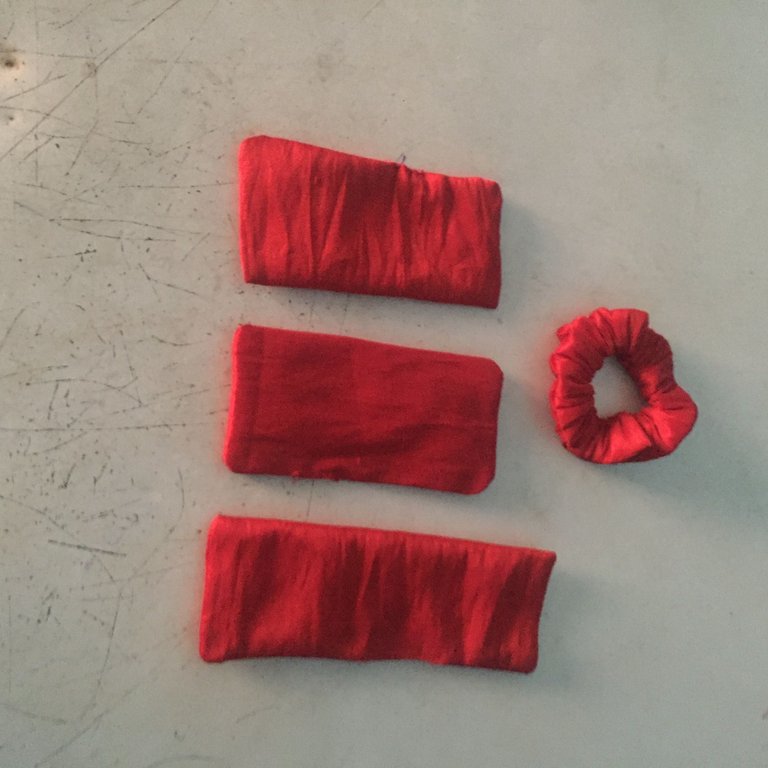
I cut out third piece of 12 x 20cm
it was sewn round leaving an opening at the base to be turned inside out which I did.
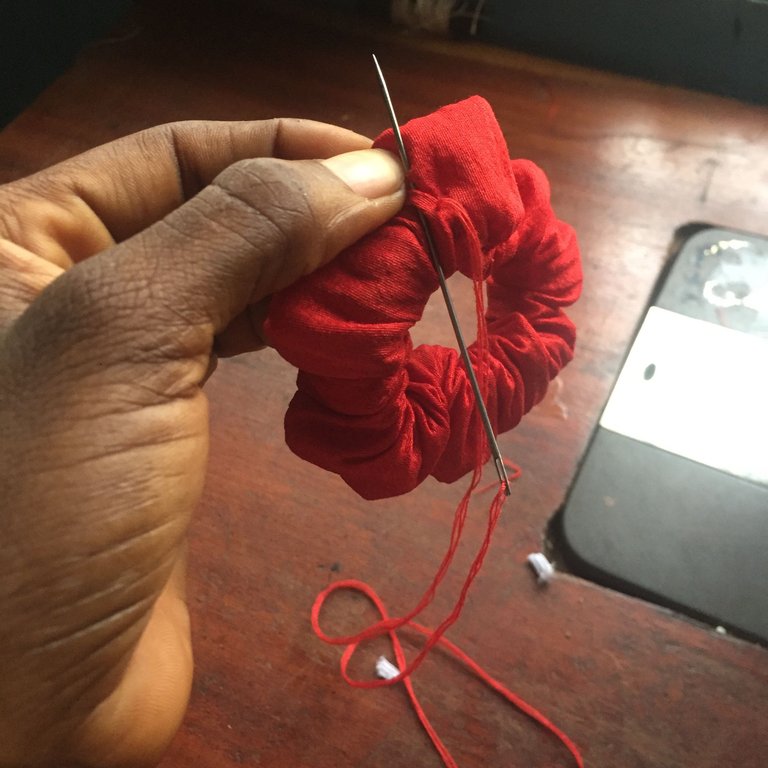
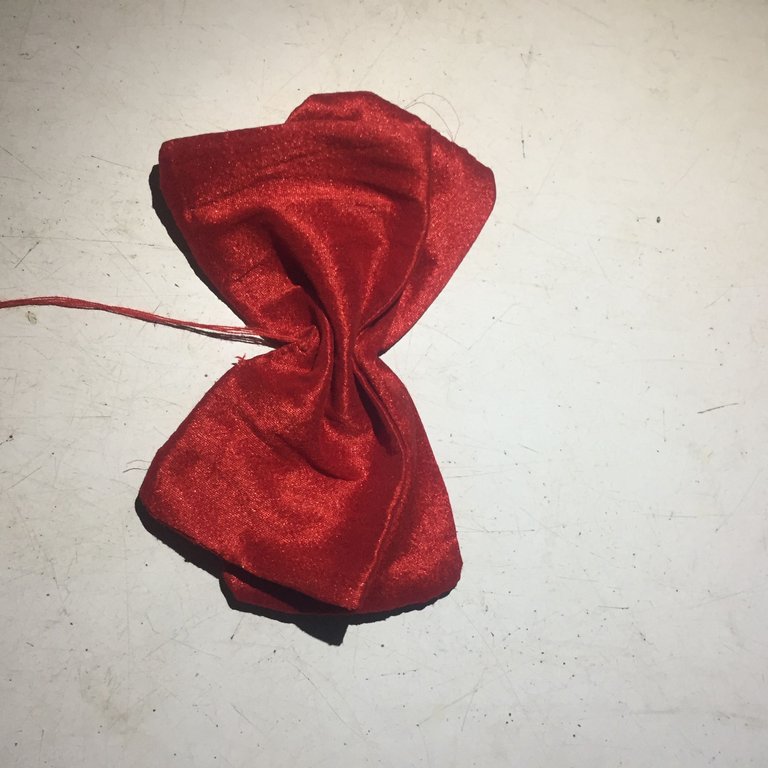
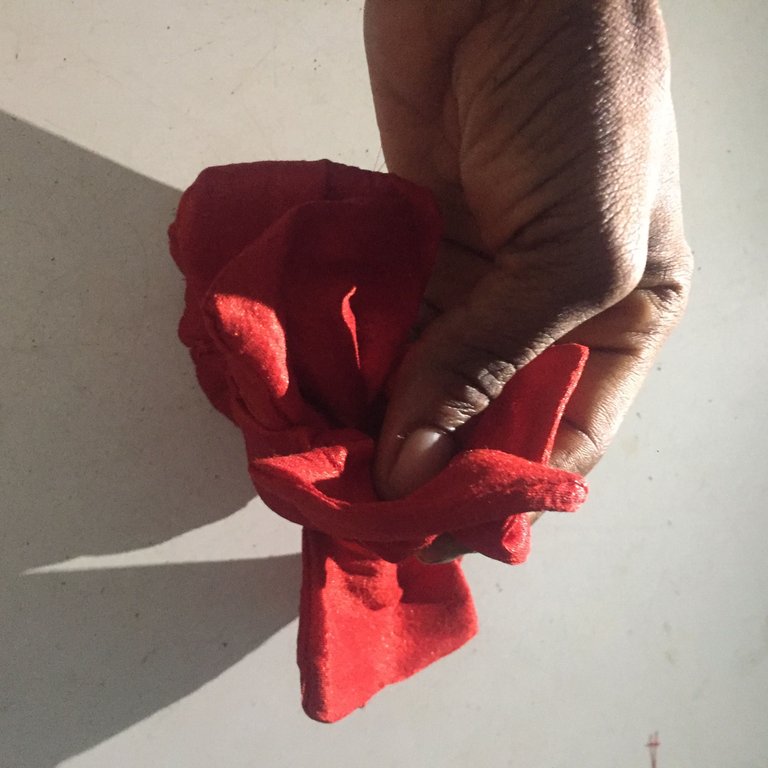
the two square shape I cut together was place on each other with a gap of 0.5 away from the other.
Locating the center of both square shape, I placed the other on top then took out the needle and thread forward the center mark, start from the down to the top then draw it.
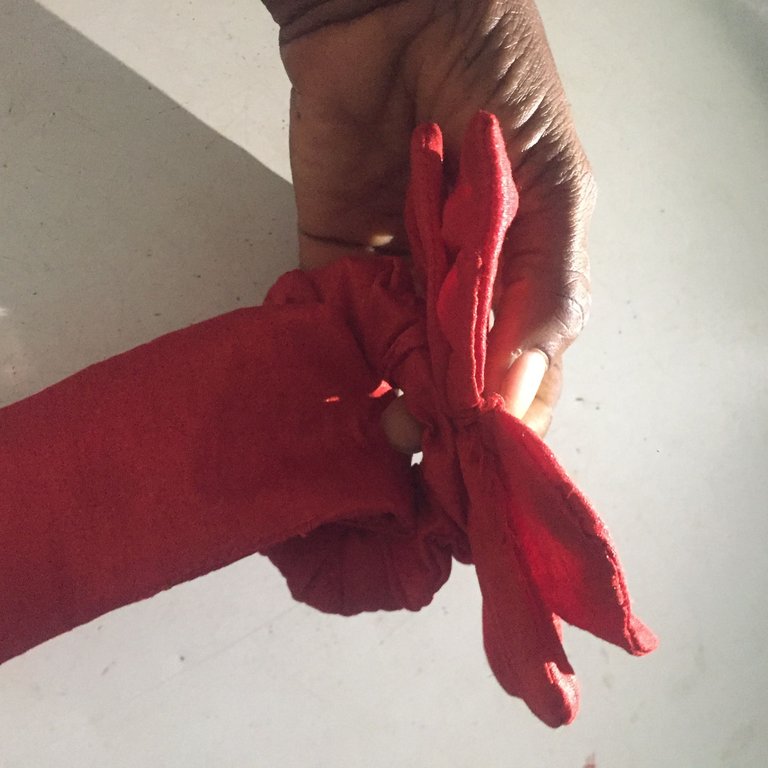
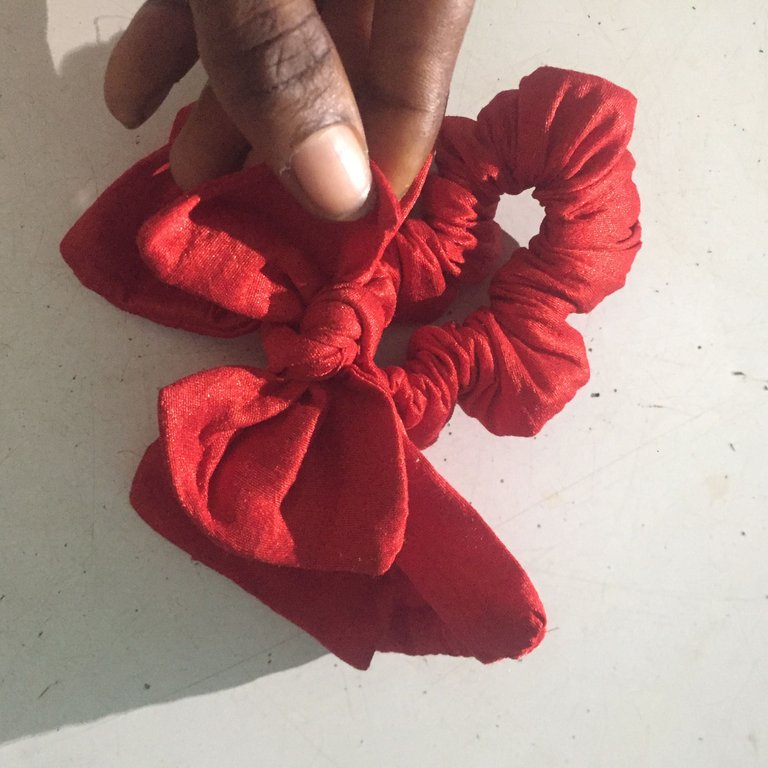
"The last stage of the hair bow*
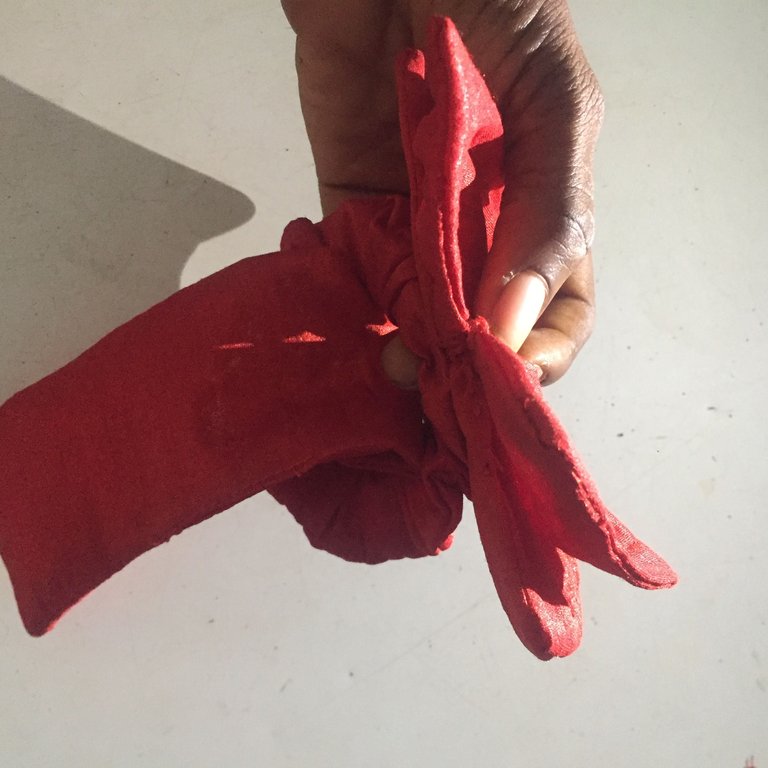
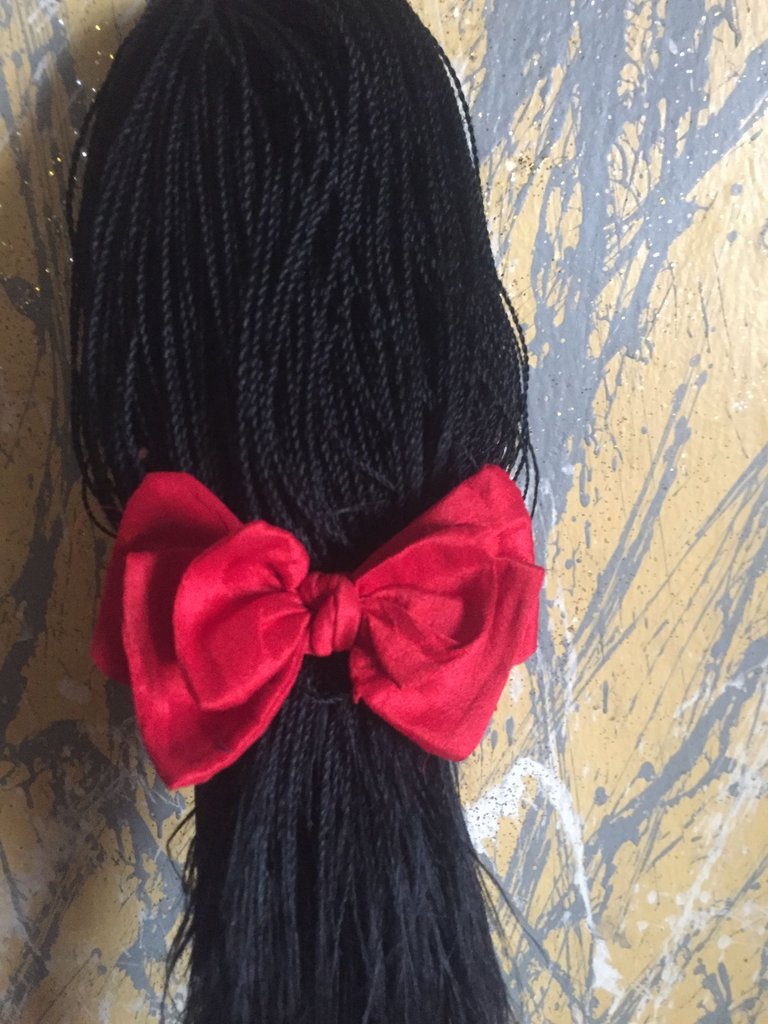
the gathered bow was placed under the elastic band then the third pieces pass through the the elastic part to the other side, it was used to wrapped them together then knot it like a bow at the center area.
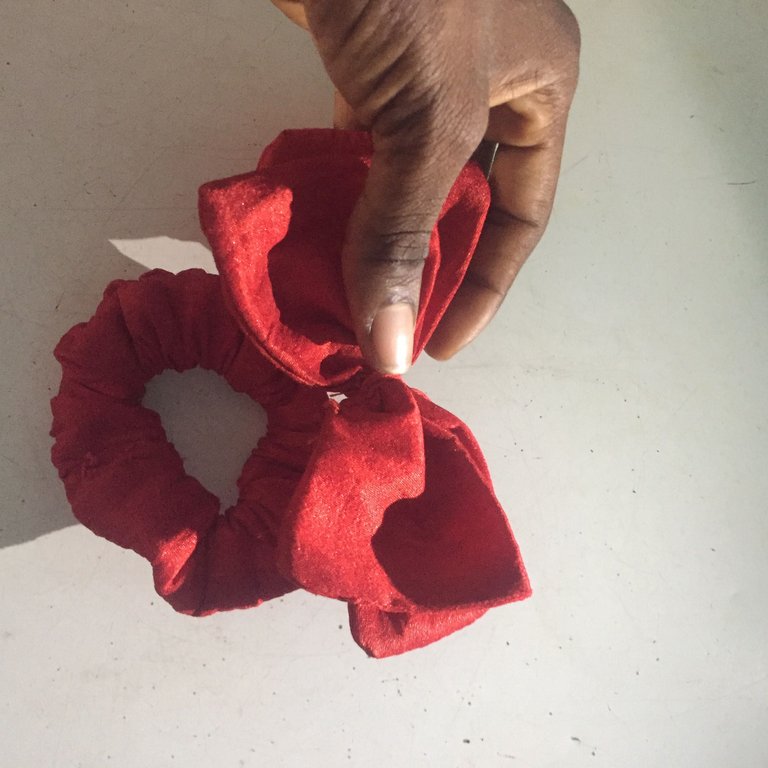
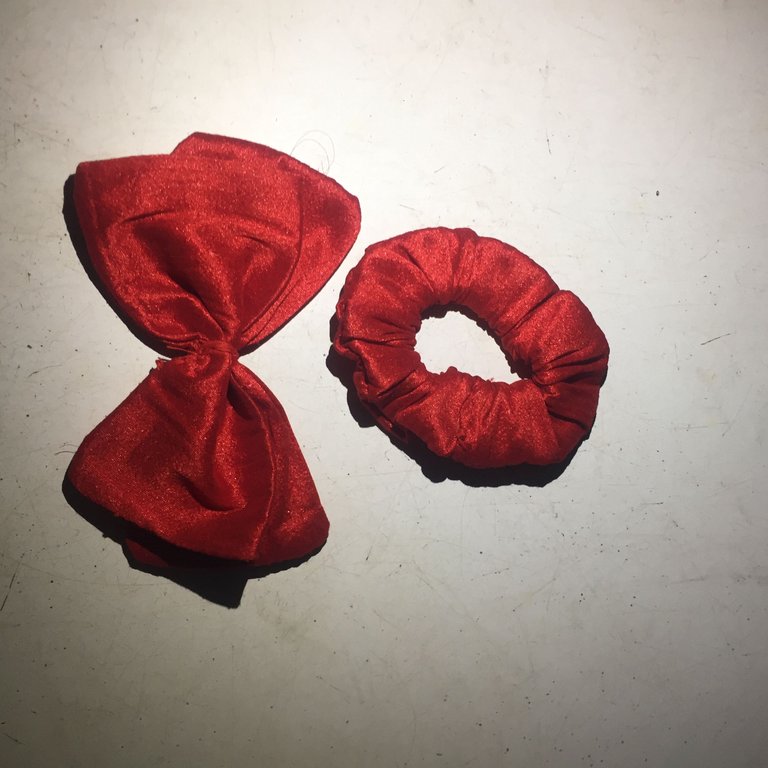
This is the final and beautiful outcome, I hope you like how simple and lovely it looks.
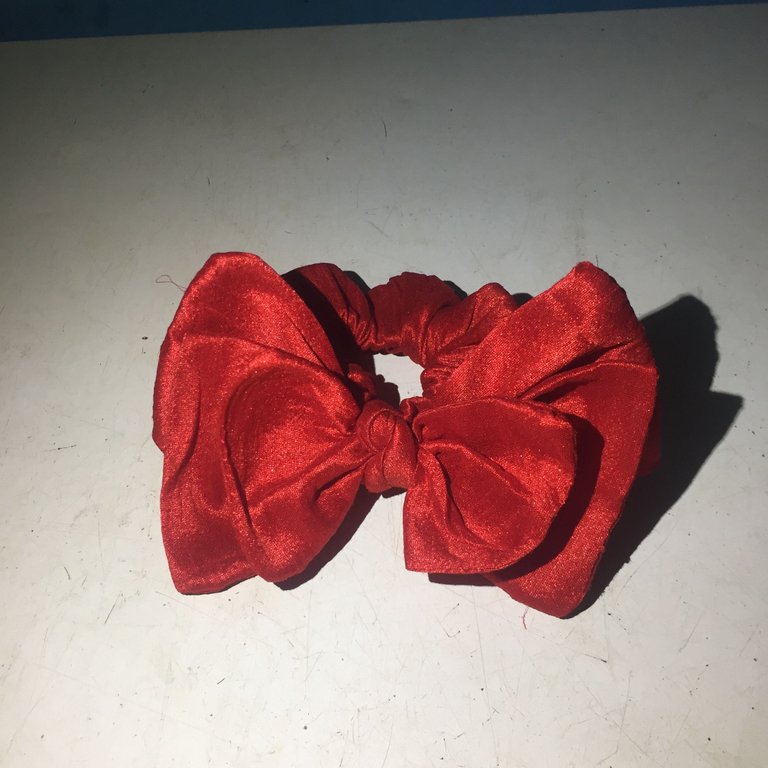
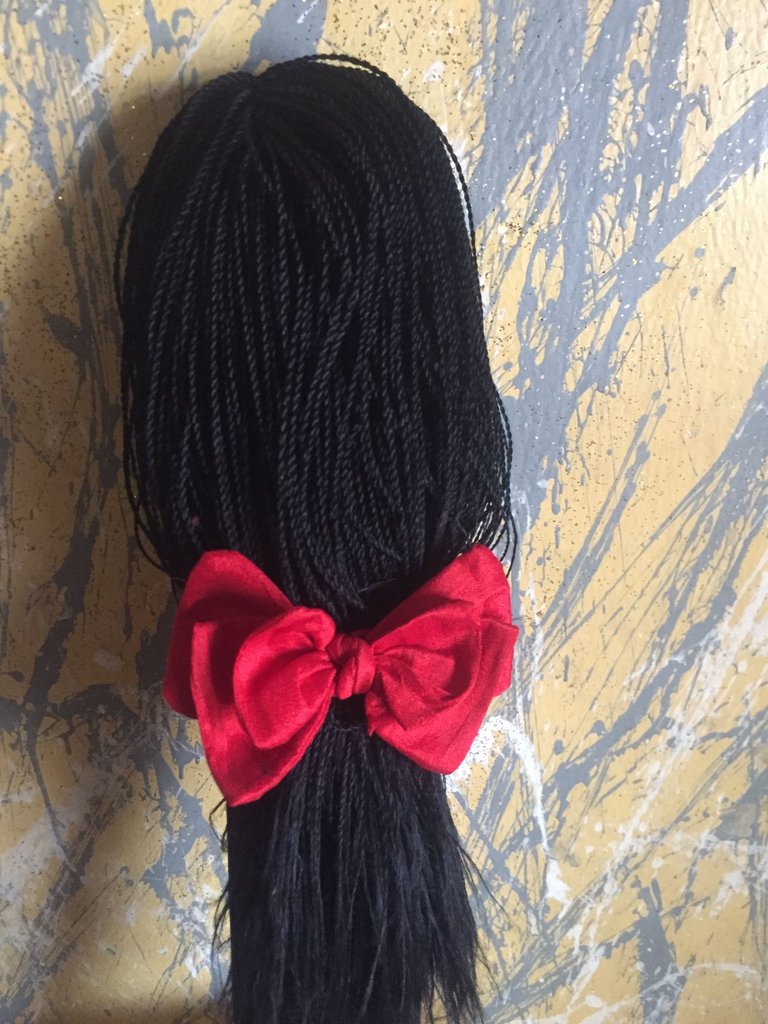
Now I have my scrunchie hair bow ready for use, it really wlook beautiful on my hair .
Thanks so much for your time, support, comment and encouragement. Until my next post, do have a wonderful and productive week.
This is so beautiful and charming. It looks amazing. Love it. It is good to see how you made this scrunchie. Well done!
selected by @rezoanulvibes
Your steps by steps are really explanatory thank you for sharing this with us
Hermoso!!! 😍 Gracias por compartir.