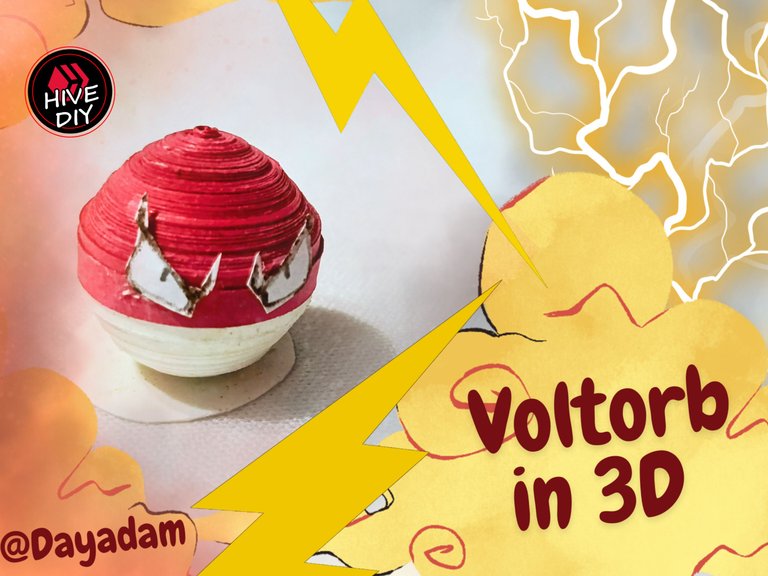
Voltorb in 3D Quilling Technique [Eng-Esp]
Hello everyone...✨
Hello to my dear Hivers and the dear community of artists #HiveDIY, as always very pleased and excited to be here again, showing you my work made with love and especially for you.
I have been progressively making a series of Pokémon, I don't have any collection since I make the ones I find pretty and I can adapt to the technique I use, they are not of a specific generation, I just love to challenge myself and keep creating 3D figurines.
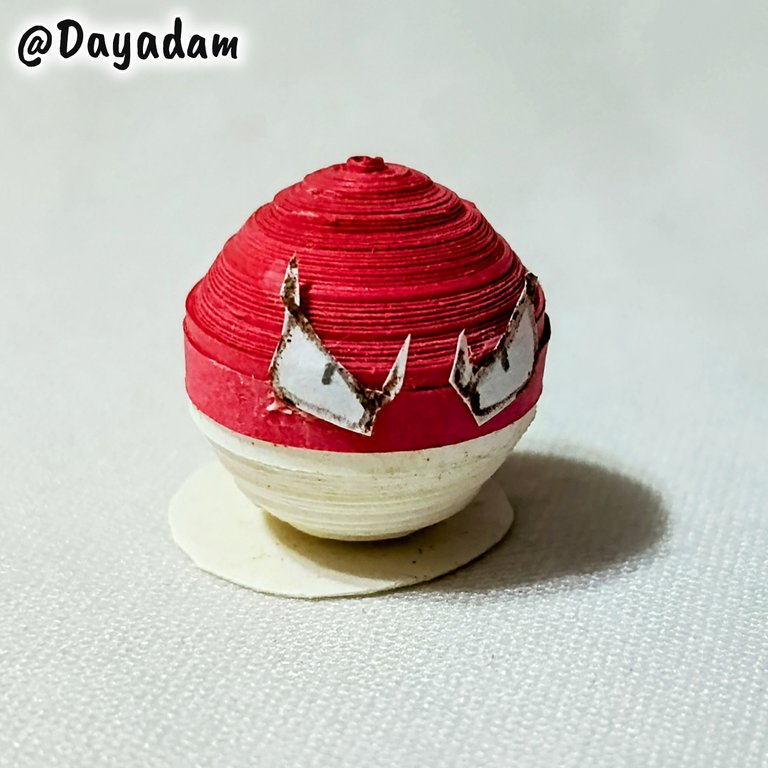
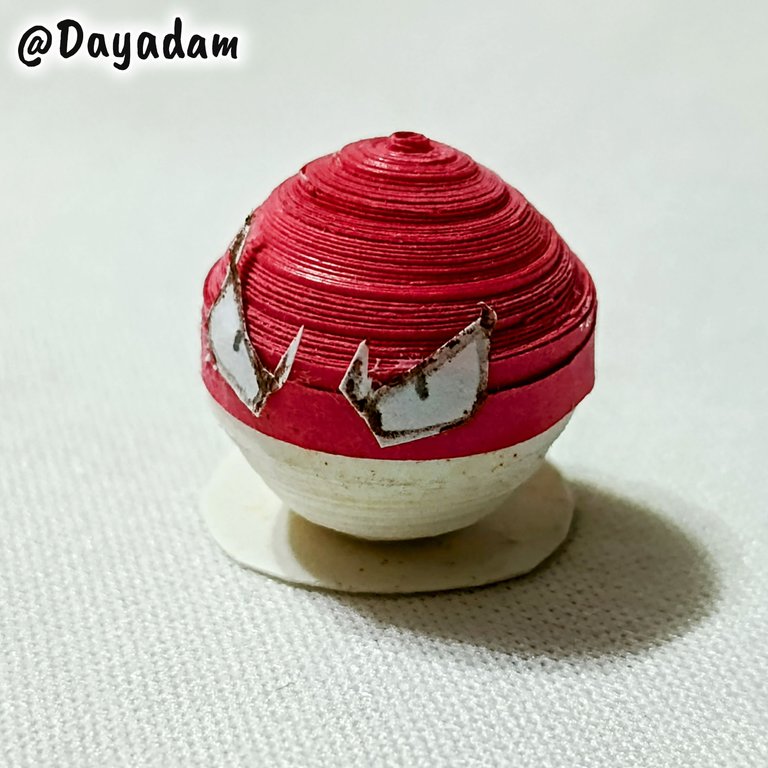
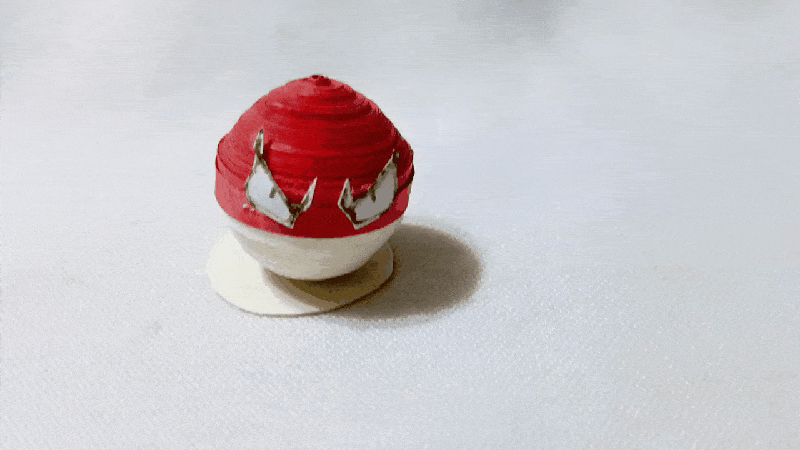
For today I decided to make a fairly simple one as it does not take more process that is so complicated to execute, this is a small character of Voltorb in 3D in the form of a decorative figure in the quilling technique.
Hoping you like it, I leave you my creative process:
Let's get started:😃

Hola a Todos...✨
Hola a mis queridos Hivers y a la querida comunidad de artistas #HiveDIY, como siempre muy complacida y emocionada de encontrarme por acá nuevamente, mostrándole mi trabajo hecho con mucho amor y especialmente para ustedes.
He venido haciendo progresivamente una serie de Pokémon, no tengo ninguna colección ya que hago los que me parecen bonitos y puedo adaptar a la técnica que manejo, no son de una generación específicamente, simplemente me encanta retarme y seguir creando figuritas en 3D.
Para hoy decidí hacer uno bastante sencillo ya que no lleva mayor proceso que sea tan complicado de ejecutar, este es un pequeño personaje de Voltorb en 3D en forma de una figura decorativa en la técnica de quilling.
Esperando que sea de su agrado, les dejo mi proceso creativo:
Comencemos:😃
 |
 |

• Cintas de quilling.
• Plantilla para moldear círculos.
• Cartulina.
• Hoja blanca, lápiz.
• Pega blanca extra fuerte (de carpintería).
• Tijera.
• Pincel.
- Quilling ribbons.
- Template to mold circles.
- Cardboard.
- White sheet, pencil.
- Extra strong white glue (carpentry glue).
- Scissors.
- Brush.

To make this work I didn't have white or red ribbons, so I cut with a paper guillotine, strips of red and white cardboard, of the measures I needed.
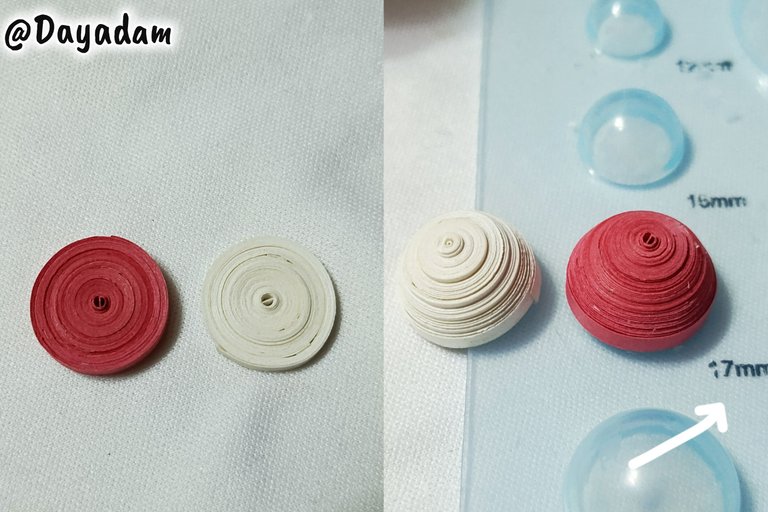
- I started by taking a white strip 3 mm wide, with the quilling needle I rolled it until I reached the end of it and formed a closed circle, sealed it with extra strong white glue and took it out of the needle.
- Under the same parameters as above I took red colored tape 3 mm wide, and formed a closed circle of the same size as the white one.
- I took a template to mold circles, and both closed circles I molded them in the measure number 17 mm, I applied extra strong white glue on the inside of both leaving them to dry very well, so that in this way they do not deform or move.
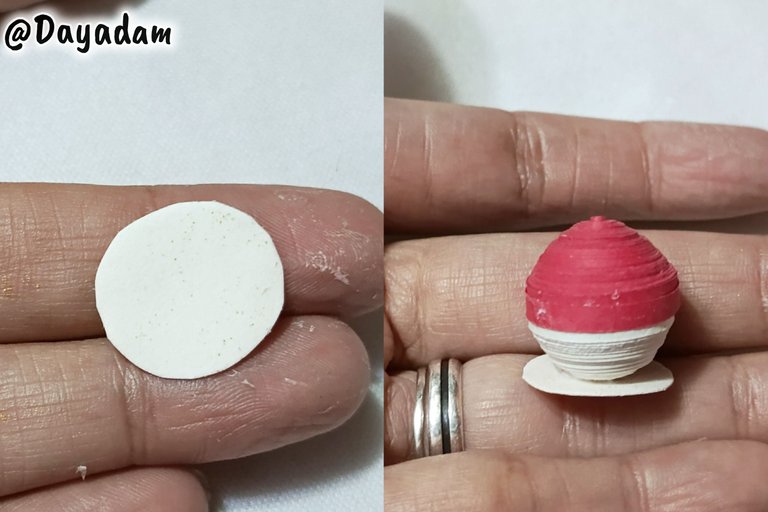
- I proceeded to join both half circles to form a small sphere, I did this by applying extra strong white glue and passing a 3 mm wide red ribbon around the middle part.

Para elaborar este trabajo casualmente no tenía cintas blancas ni rojas, por ello corté con una guillotina para papel, tiras de una cartulina color rojo y otra blanca, de las medidas que necesitaba.
• Comencé tomando una tira de color blanco de 3 mm de ancho, con la aguja para quilling enrollé hasta llegar al final de la misma y formar un círculo cerrado sellé con pega blanca extra fuerte y saqué de la aguja.
• Bajo los mismos parámetros anteriores tomé cinta de color rojo de 3 mm de ancho, y formé un círculo cerrado del mismo tamaño que el blanco.
• Tomé una plantilla para moldear círculos, y ambos círculos cerrados los moldee en la medida número 17 mm, apliqué pega blanca extra fuerte en la parte interna de ambos dejando que se secaran muy bien, para que de esta manera no se deformen ni se muevan.
• Procedí a unir ambos medio círculos para formar una pequeña esfera, esto lo hice aplicando pega blanca extra fuerte y pasando una cinta roja de 3 mm de ancho alrededor en la parte media.
 |  |  |
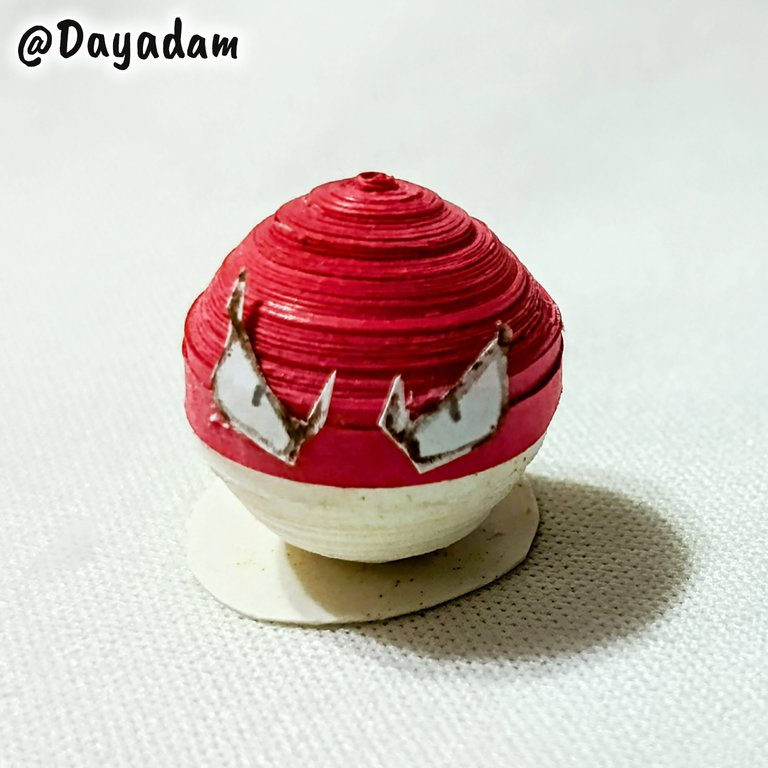
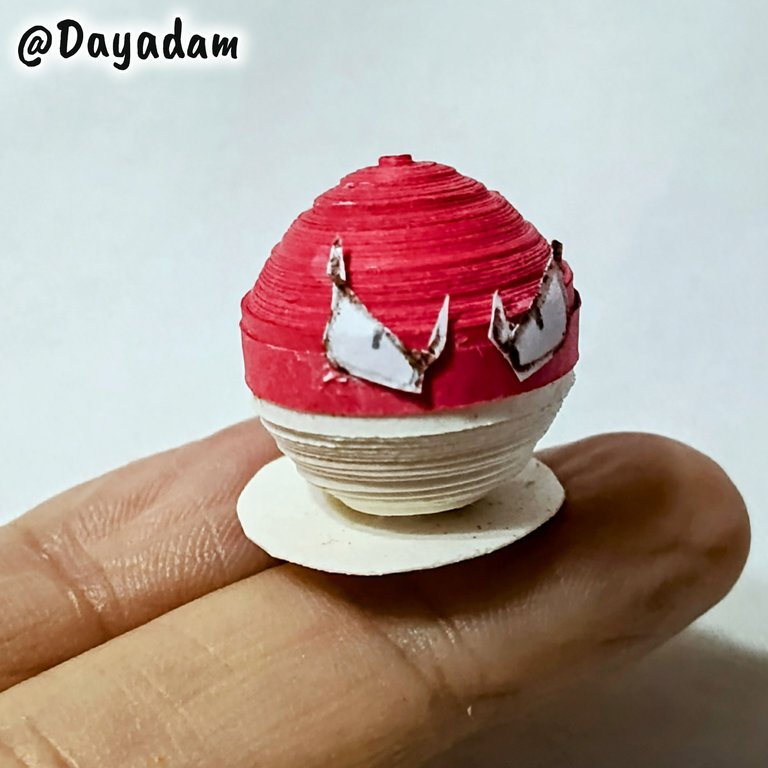
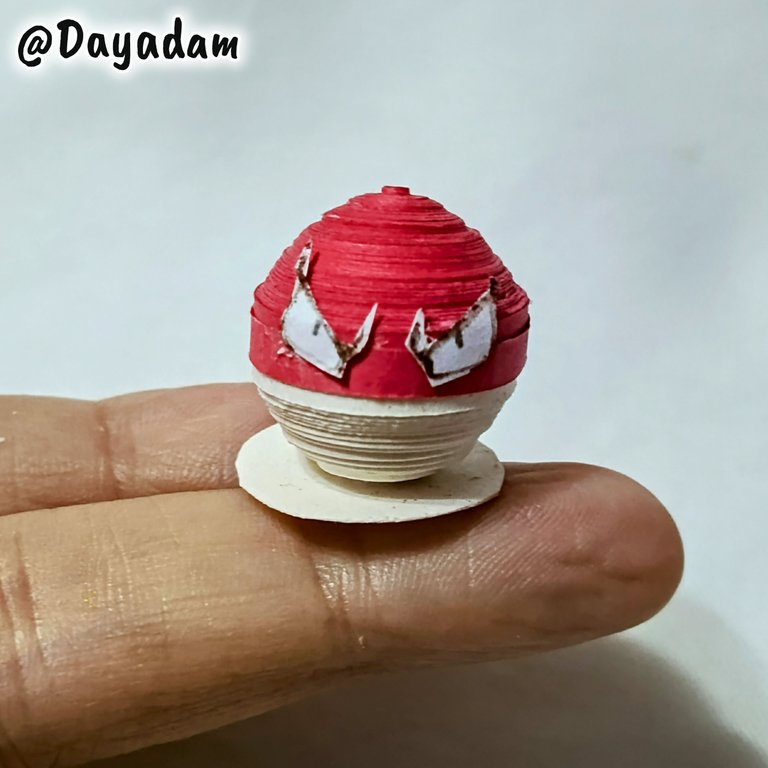
- I took a small piece of white cardboard, made a small circle to place as a base on the sphere to hold it.
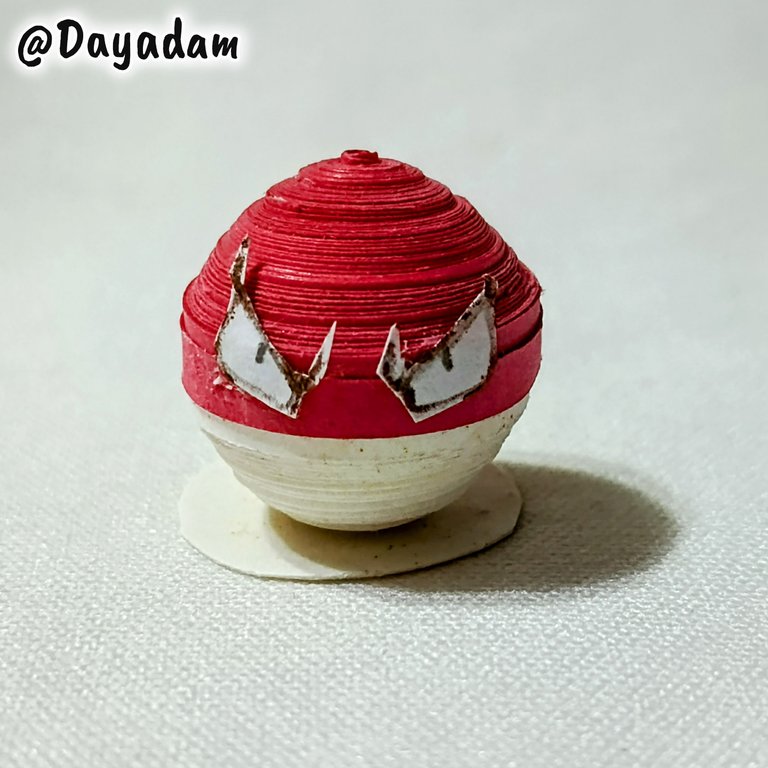
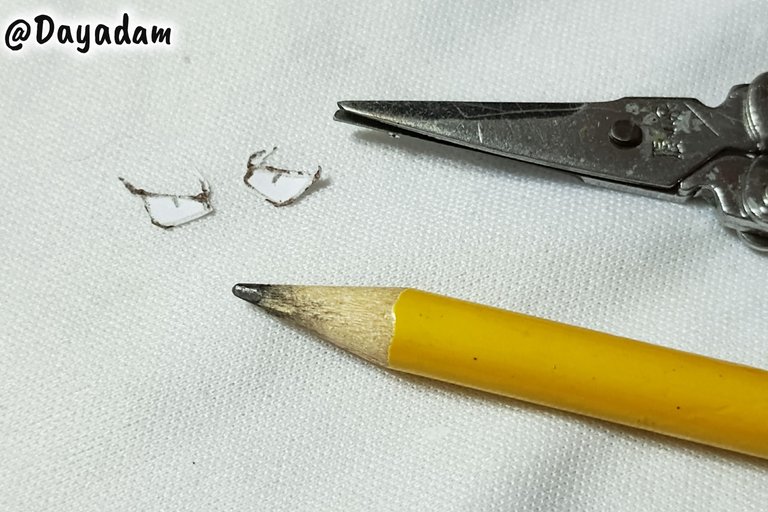
- To finish I proceeded to take a small piece of white sheet, with a pencil I painted the eyes, these I pasted on the face of the character in a harmonious way.
In this way I finished this little Pokémon Voltorb in 3D, in the quilling technique.
• Tomé un pequeño trozo de cartulina de color blanco, realicé un pequeño círculo para colocar como base en la esfera para que se mantenga.
• Para finalizar procedí a tomar un pequeño trozo de hoja blanca, con un lápiz pinté los ojos, estos los pegué en la cara del personaje de manera armónica.
De esta manera finalice este pequeño Pokémon Voltorb en 3D, en la de técnica de quilling.
 |  |

 |
 |  |
|
 |  |
 |
What did you think, did you like it?
I hope you did, I hope you liked my explanation, procedure and photos, I made them with love for you.
"Let out that muse that inspires you, and let your imagination fly".
Thank you all, see you next time ✨.
¿Que les pareció, les gustó?
Espero que sí, que les haya gustado mi explicación, procedimiento y fotos, los hice con mucho cariño por y para ustedes.
"Deja salir esa musa que te inspira, y deja volar tu imaginación".
Gracias a todos, nos vemos en la próxima✨

@tipu curate 7
Upvoted 👌 (Mana: 0/65) Liquid rewards.
Muchísimas gracias por el apoyo ✨
Thanks 💞
Undoubtedly, your creativity shines through this beautiful piece of yours. Very creative, and insightful. Well done friend and thanks for sharing.
selected by @ibbtammy
Thank you very much for your always kind words about my work and for the evaluation 💖
Como fan de Pokemon, ciertamente siento debilidad por lo encantador de este trabajo. Quedó muy bonito este personaje, a ver que tanto va creciendo tu colección.
!discovery 30
Me alegra muchísimo que no solo como fan de Pokémon, si no, como creador de figuras espectaculares del mismo te haya gustado este sencillo trabajo que realicé.
Agradecida por tu apreciación y valoración 🤎
This post was shared and voted inside the discord by the curators team of discovery-it
Join our Community and follow our Curation Trail
Discovery-it is also a Witness, vote for us here
Delegate to us for passive income. Check our 80% fee-back Program
Thanks 💞
Un buen proceso creativo bien explicado,colores muy llamativo que siga creciendo la colección.
Gracias mi bella por pasar y apreciar mi trabajo ❤️