Hello everyone...✨
Hello to my dear Hivers and the dear community of artists #HiveDIY, as always very pleased and excited to be here again, showing you my work made with love and especially for you.
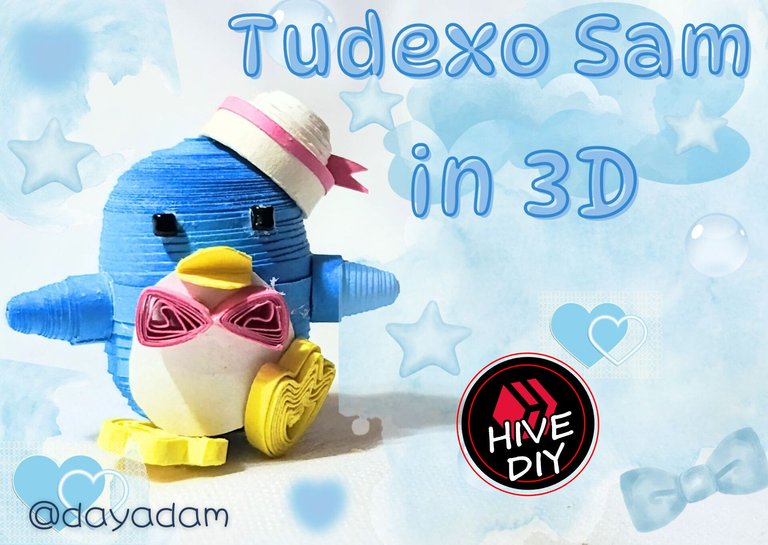
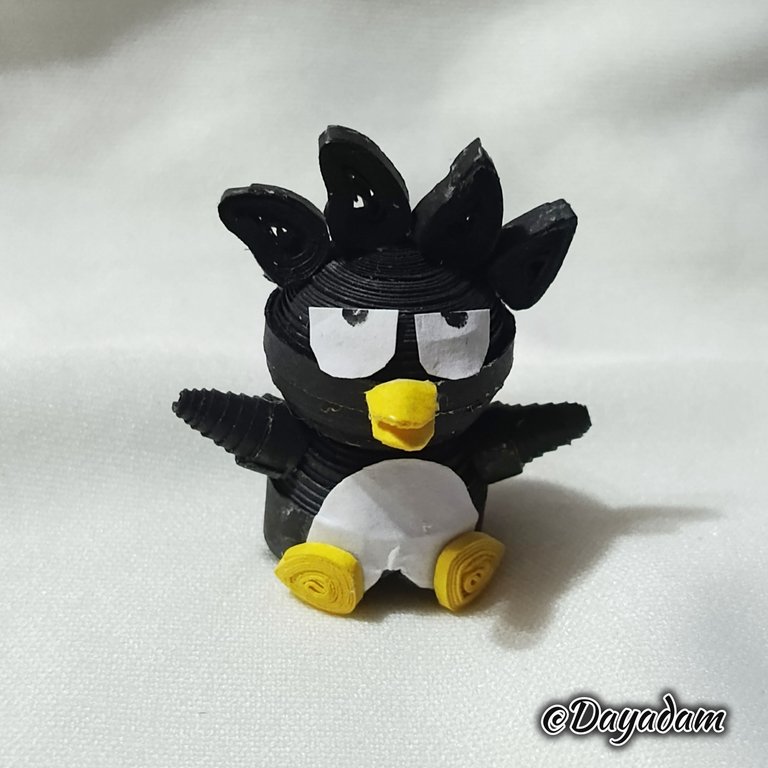
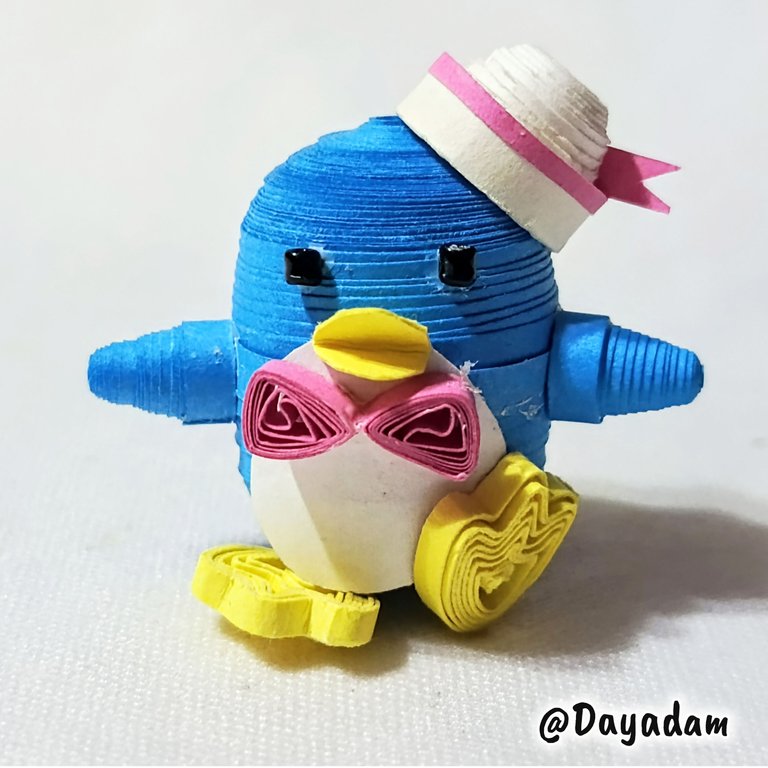
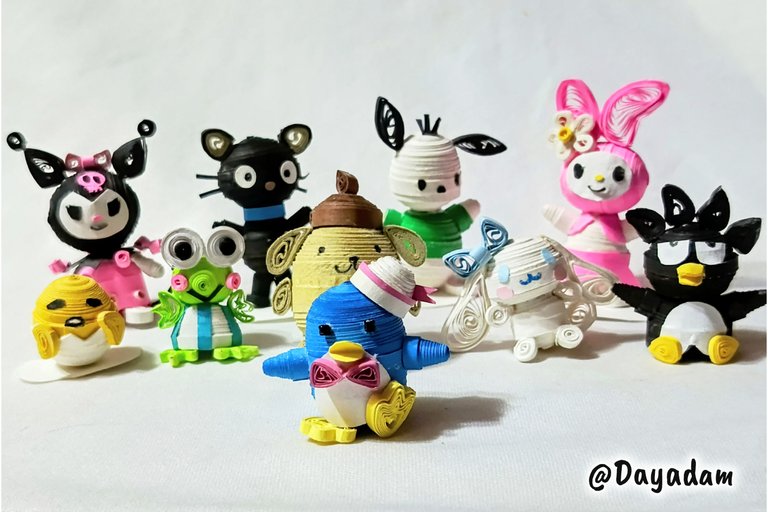
For today I continue with the collection that I have been making of the characters of SANRIO, to continue I made Tudexo Sam, a beautiful penguin that belongs to these cute friends of Hello Kitty which I made in another 3D decorative figure made in the quilling technique.
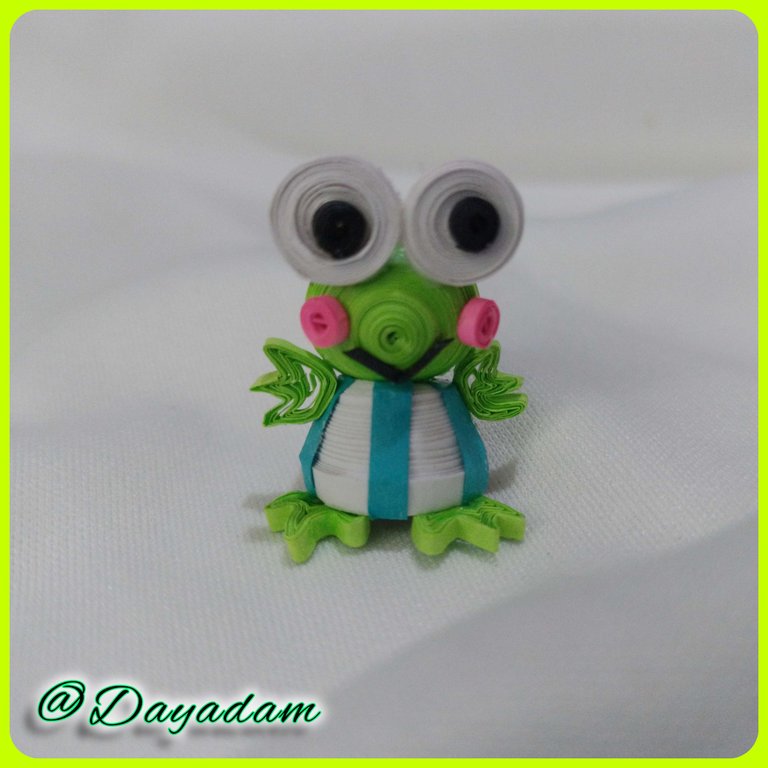
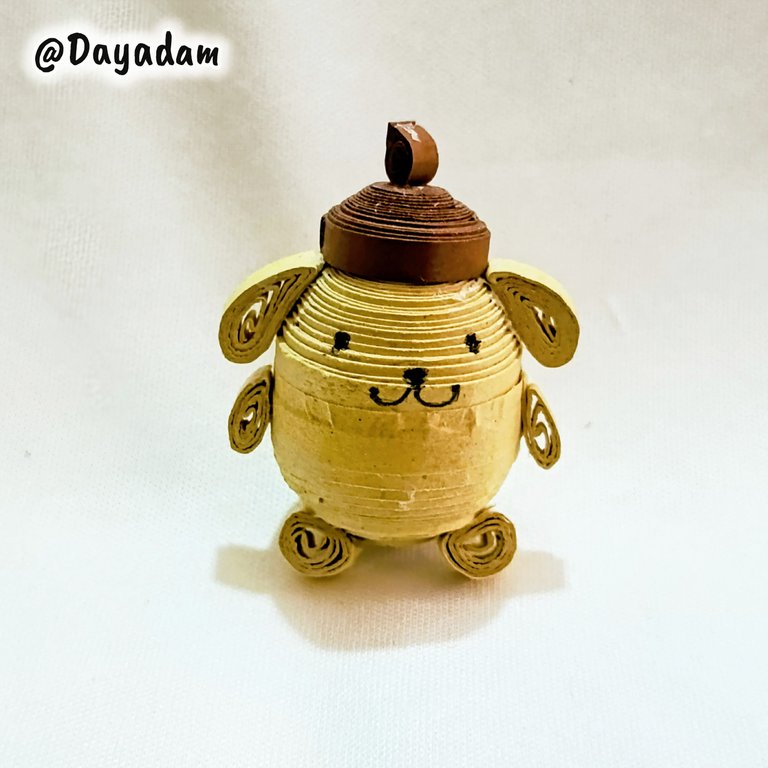
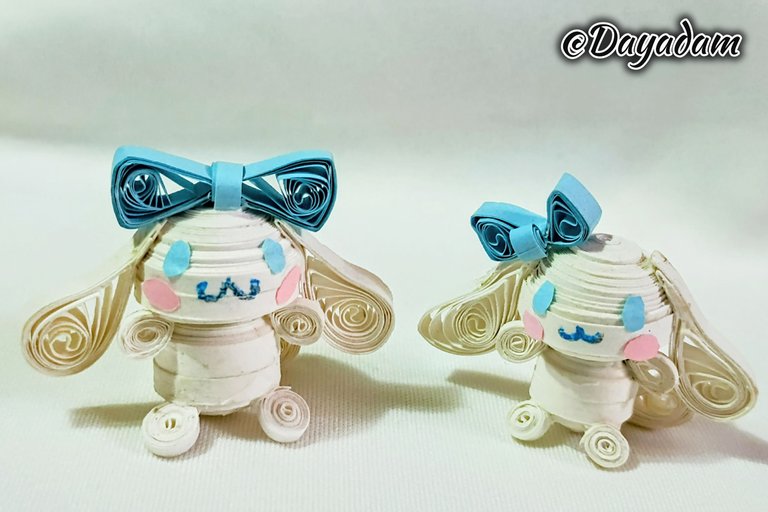
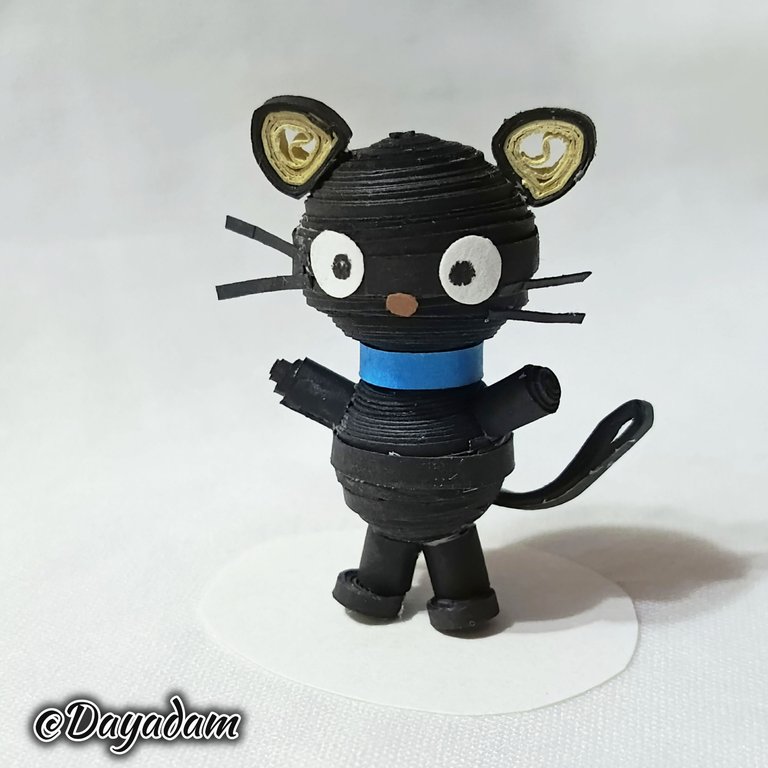
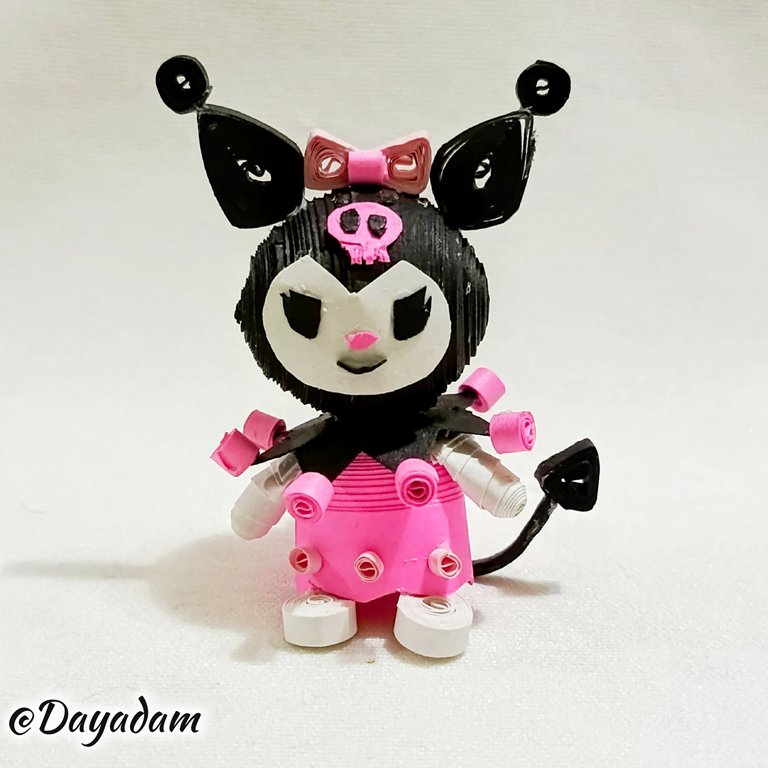
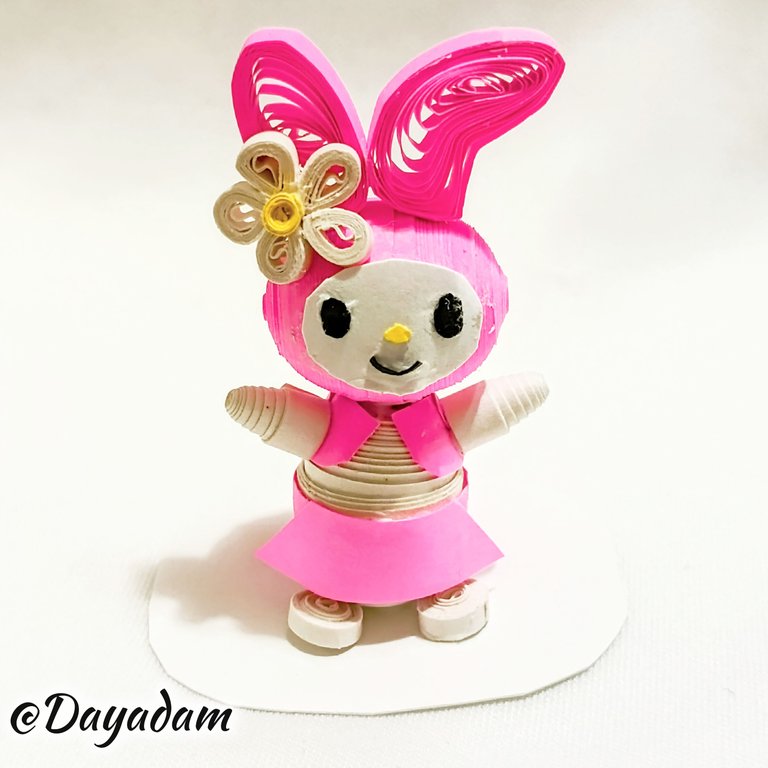
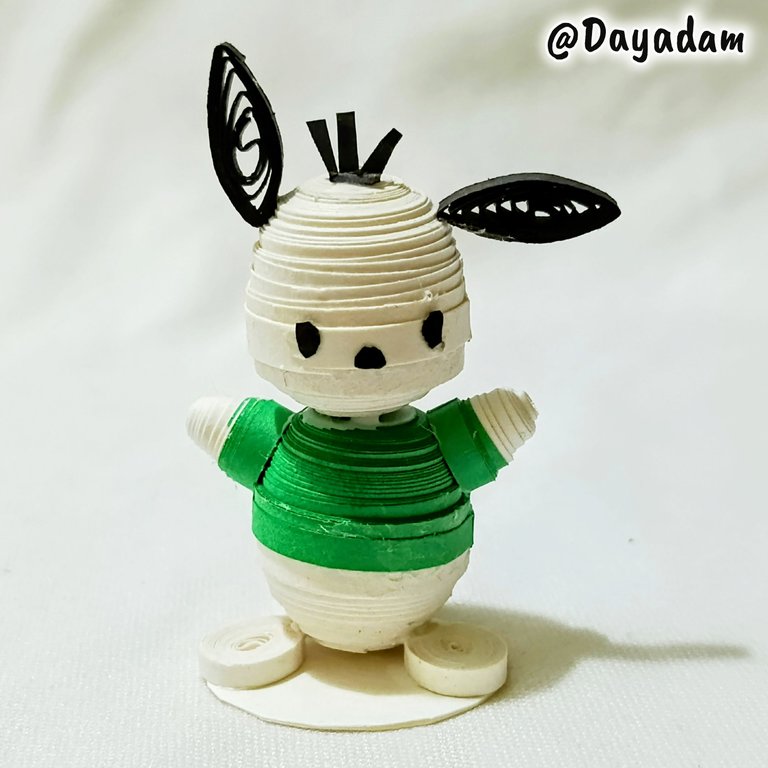
Here are the others that I have been making, so you can appreciate the creative process of each one of them:
Hoping you like it, I leave you my creative process:
Let's get started:😃

Hola a Todos...✨
Hola a mis queridos Hivers y a la querida comunidad de artistas #HiveDIY, como siempre muy complacida y emocionada de encontrarme por acá nuevamente, mostrándole mi trabajo hecho con mucho amor y especialmente para ustedes.
Para hoy continúo con la colección que he venido haciendo de los personajes de SANRIO, para seguir lleve a cabo a Tudexo Sam, un bello pingüino que pertenece a estos tiernos amigos de Hello Kitty el cual realicé en otra figura decorativa en 3D realizada en la técnica de quilling.
Por acá les dejo los demás que he venido haciendo, para que aprecien el proceso de creativo de cada uno de ellos;
Esperando que sea de su agrado, les dejo mi proceso creativo:
Comencemos:😃

• Cintas de quilling.
• Aguja de quilling.
• Plantilla para moldear círculos.
• Trozos de Cartulinas.
• Pincel.
• Pega blanca extra fuerte (de carpintería).
• Tijera.
- Quilling ribbons.
- Quilling needle.
- Template to mold circles.
- Pieces of cardboard.
- Brush.
- Extra strong white glue (carpentry glue).
- Scissors.

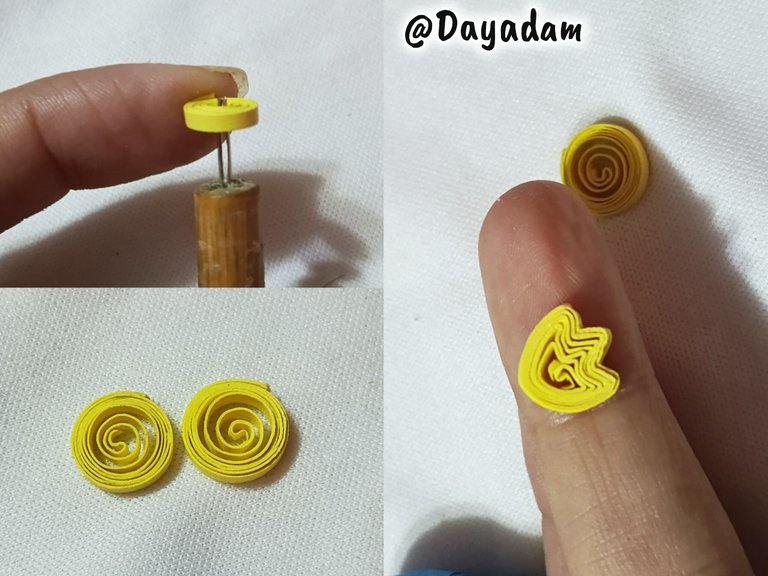
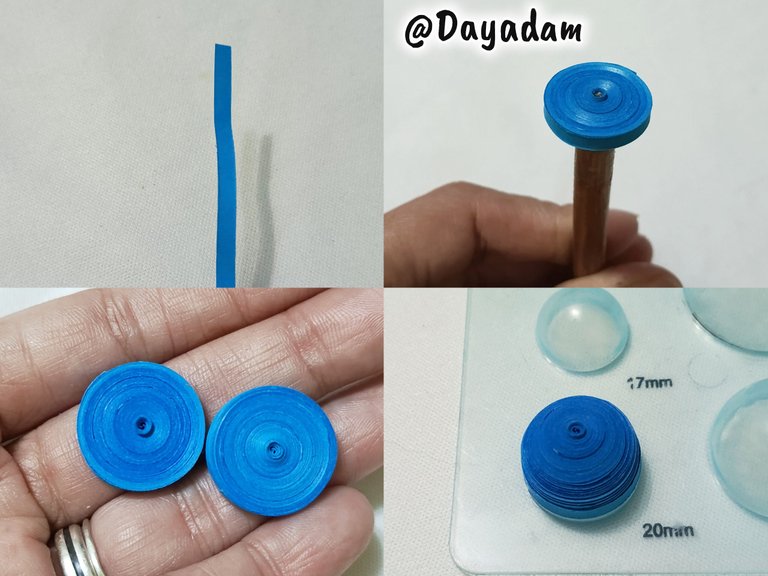
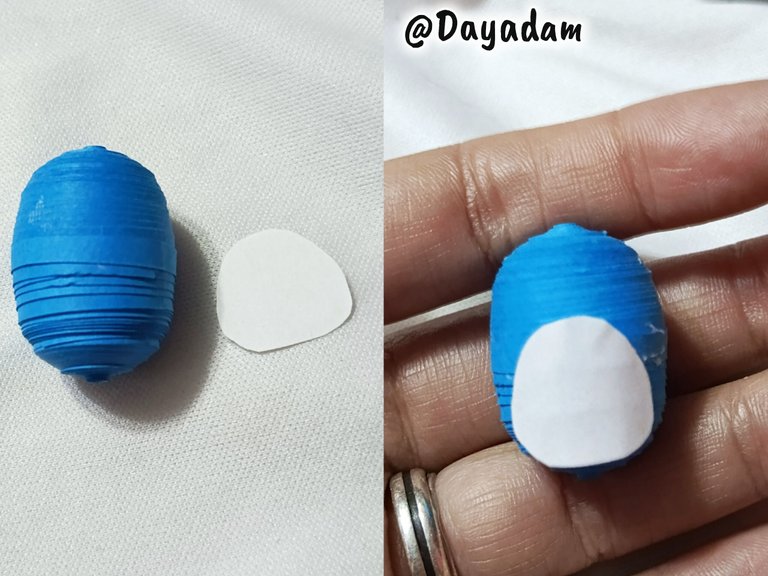
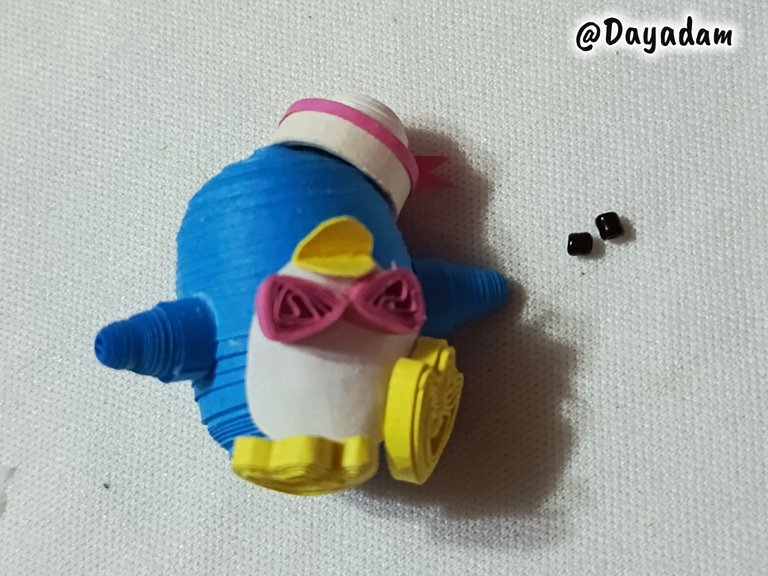
- Let's start by taking quilling tape 3 millimeters wide, with the needle we will roll all the tape until we reach the end of it, seal with extra strong white glue, remove from the needle, we will get a closed circle. We will need 2 circles of the same size.
- This did he had some the molds we will do in a template to mold circles in the measure number 20 mm, we take out of the mold we apply extra strong white glue on its inner part to prevent them from moving or deforming, let dry very well. We will join the pieces with a little white glue by placing a 3 mm wide blue ribbon around them.
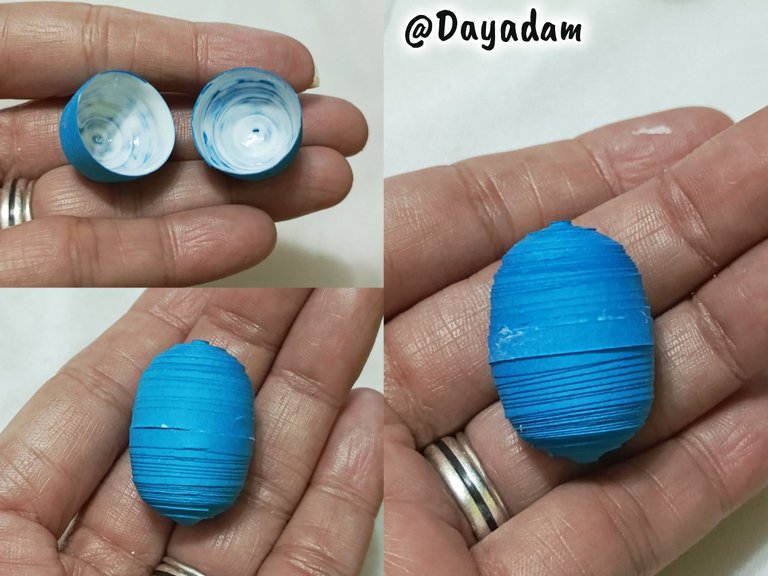
- To make what would be the belly and part of the body of the character, I cut a piece of white sheet and glued it as you can see in the image.

• Vamos a comenzar tomando cinta para quilling de 3 milímetros de ancho, con la aguja vamos a enrollar toda la cinta hasta llegar al final de la misma, sellamos con pega blanca extra fuerte, sacamos de la aguja, obtendremos un círculo cerrado. Necesitaremos 2 círculos del mismo tamaño.
• Esto sí él tuvo unos los moldes haremos en una plantilla para moldear círculos en la medida número 20 mm, sacamos del molde aplicamos pega blanca extra fuerte en su parte interna para evitar que los mismos se muevan o se deformen, dejamos secar muy bien. Uniremos las piezas con un poco de pega blanca colocando una cinta azul de 3 milímetros de ancho, alrededor de los mismos.
• Para realizar lo que sería la barriga y parte del cuerpo del personaje, corte un trozo de hoja blanca lo pegué tal y como pueden ver en la imagen.
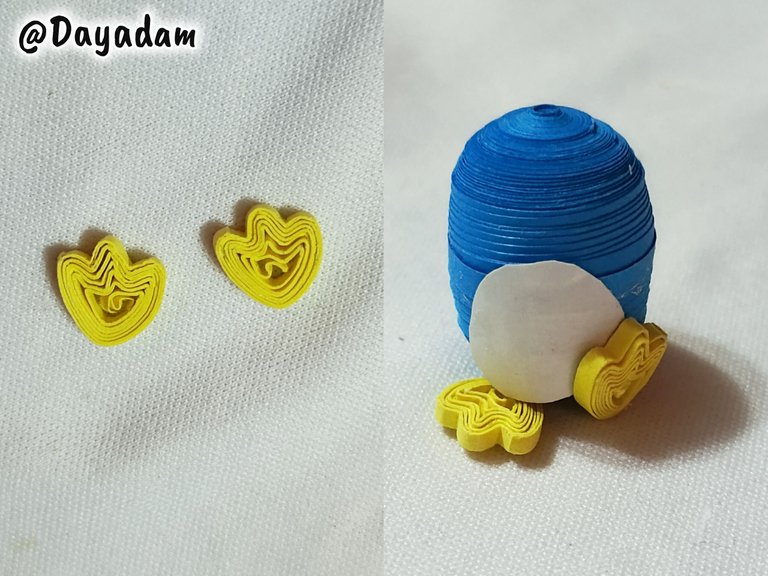
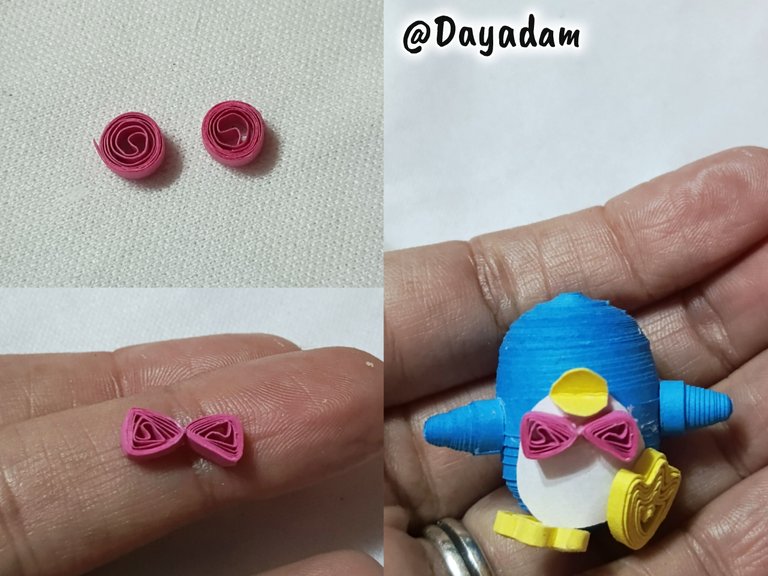
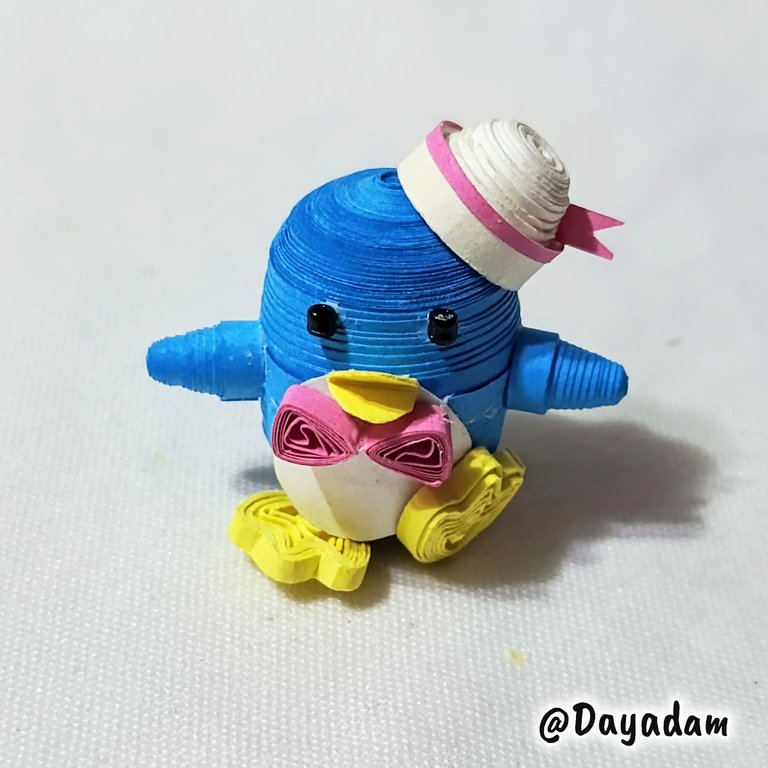
- To make the legs I rolled a piece of yellow ribbon 2 mm wide, with it I formed two open circles, then molded making three small peaks in the front and one in the back, ready the legs I glued them on the bottom of the body.
- For the arms I made 2 small closed circles of blue color, these I raised them a little with a pointed tweezers to make 2 small cones, glue them to the sides of the body.
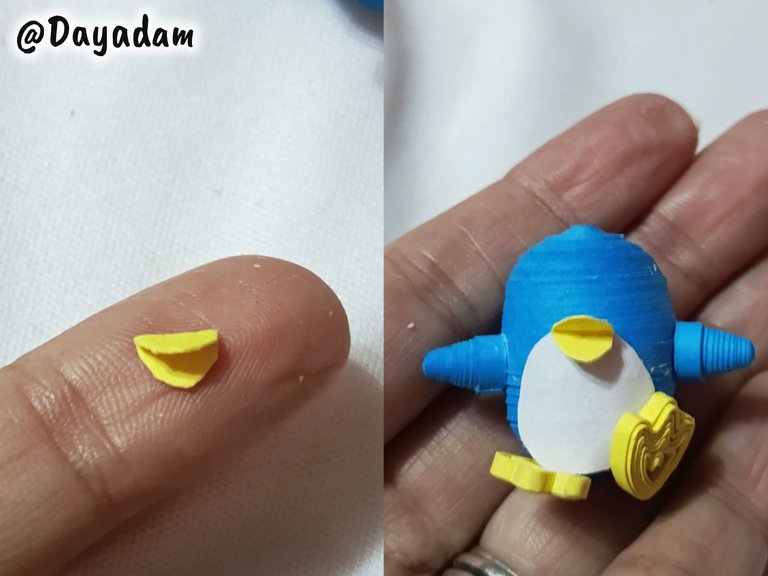
- For the mouth I took a small piece of yellow quilling and cut it into a semicircular shape, folded it in half and glued it to the face of the character.
• Para hacer las patitas enrollé un trozo de cinta amarilla de 2 milímetros de ancho, con ella forme dos círculos abiertos, luego moldee realizando tres pequeños picos en la parte de adelante y uno en la parte de atrás, listas las patitas las pegué en la parte de abajo del cuerpo.
• Para los brazos realicé 2 pequeños círculos cerrados de color azul, estos los levanté un poco con una pinza puntiaguda para realizar 2 pequeños conos, pegue a los lados del cuerpo.
• Para la boca tomé un trocito de quilling de color amarillo y lo recorte en una forma semicircular, lo doblé a la mitad y lo pegué de la cara del personaje.
| |
|---|
 |  |
| |
|---|
 |  |
- I made a small bow by carrying out 2 open circles of fuchsia color, which I molded in the shape of triangles, then I glued them in reverse, I placed it with a little glue on the body of the character just below the beak.
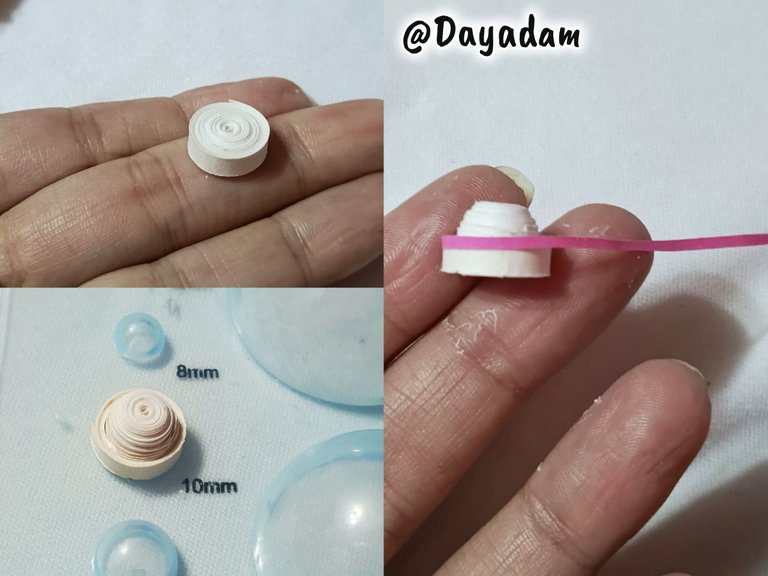
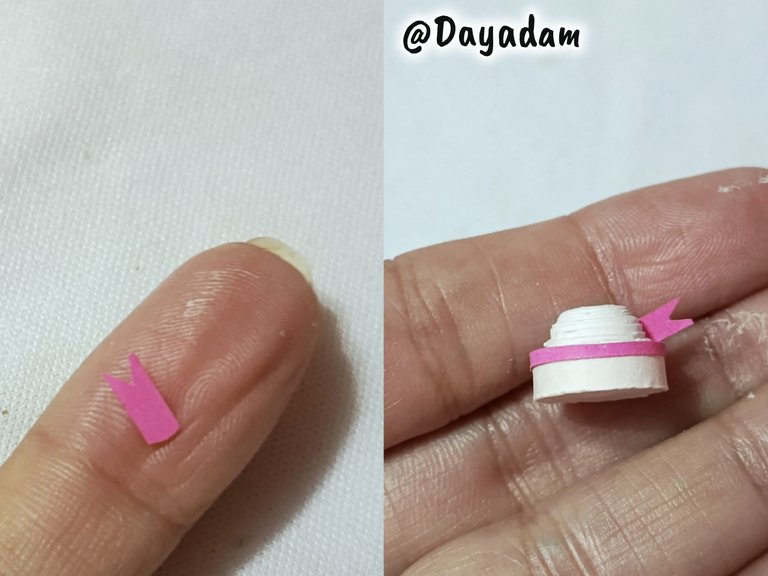
- To make the hat I carried out a closed circle of white color, this I molded it in the template to mold circles, in the measure number 10 millimeters, as you can see there is a leftover part below.
- I glued a piece of fuchsia ribbon on the top of the hat, this to decorate it, I cut in another piece of ribbon also of fuchsia color, some small peaks and I glued of the hat.
- To finish I glued 2 black beads, these are the eyes of the character.
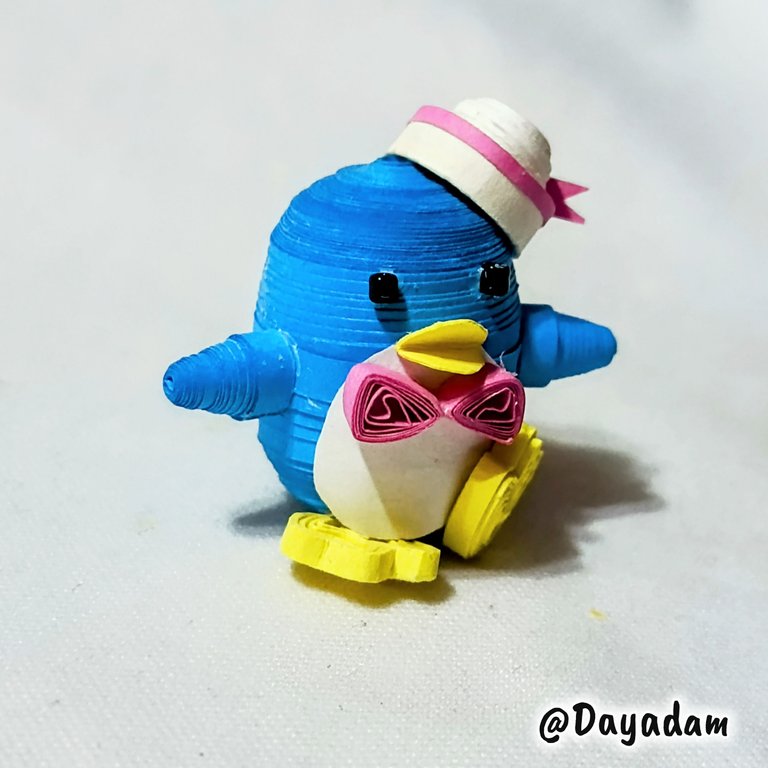
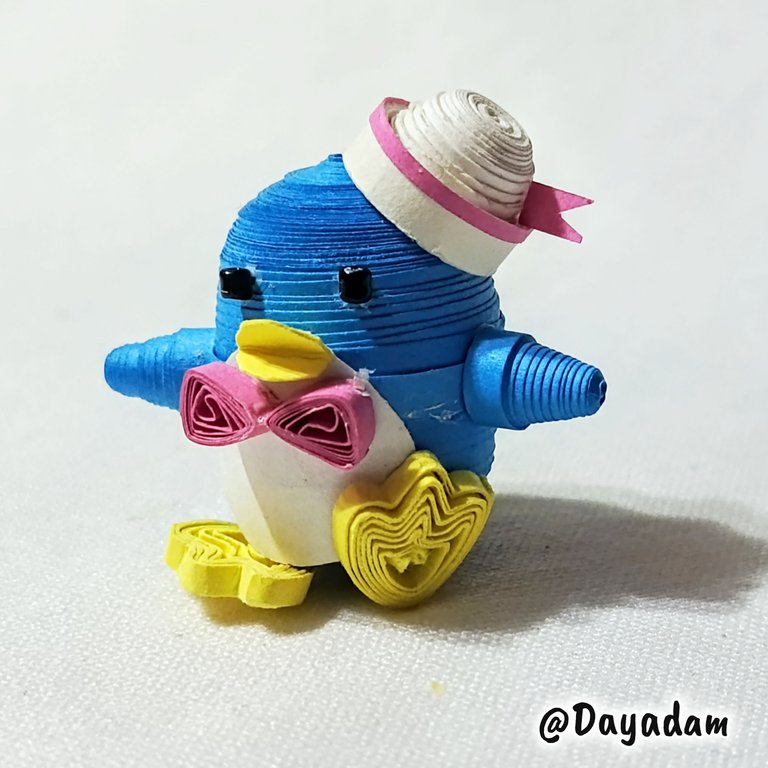
In this way I finished this small 3D decorative figure of Tuxedo Sam, in the quilling technique.
• Realicé un pequeño lazo llevando a cabo 2 círculos abiertos de color fucsia, los cuales moldee en forma de triángulos, luego los pegué de forma inversa, lo coloque con un poco de pega en el cuerpo del personaje justo debajo del pico.
• Para realizar el sombrero llevé a cabo un círculo cerrado de color blanco, este lo moldee en la plantilla para moldear círculos, en la medida número 10 milímetros, como pueden ver queda una parte sobrante abajo.
• Pegué un trozi de cinta fucsia en la parte de arriba del sombrero, esto para decorarlo, recorté en otro trozo de cinta también de color fucsia, unos pequeños picos y pegué del sombrero.
• Para finalizar pegué 2 canutillos de color negro, estos los ojos del personaje.
De esta manera finalice esta pequeña figura decorativa en 3D de Tuxedo Sam, en la técnica de técnica de quilling.

What did you think, did you like it?
I hope you did, I hope you liked my explanation, procedure and photos, I made them with love for you.
"Let out that muse that inspires you, and let your imagination fly".
Thank you all, see you next time ✨.
¿Que les pareció, les gustó?
Espero que sí, que les haya gustado mi explicación, procedimiento y fotos, los hice con mucho cariño por y para ustedes.
"Deja salir esa musa que te inspira, y deja volar tu imaginación".
Gracias a todos, nos vemos en la próxima✨

All photos used in this post are of my authorship and have been taken on my personal cell phone a Redmi 9T, edited in InShot and Canva
Banner and separator made by me in Canva
Translated with the help of DeepL
Todas las fotos usadas en este post son de mi autoría y han sido sacadas en mi celular personal un Redmi 9T, editadas en InShot y Canva
Banner y separador hecho por mí en Canva
Traducido con la ayuda de DeepL
Posted Using INLEO


The result is beautiful and adorable. The details are very neat, made with love.
Thank you so much, my faithful friend. It's a pleasure to have you here to appreciate my work. Greetings...
!LUV
Its cute and colorful. You did the color blend so well and I'm so surprised how you are able to work with such very small pieces.
Thank you so much my dear for your words and appreciation of my work 💖
!LADY
Están divinos esos personajes, cada uno destaca por sus hermosos colores y rasgos únicos. Veo que ya tienes un montón, dentro de poco podrás montar una exposición. Incluso podrías mostrarlos en la comunidad de coleccionistas.
Muchísimas gracias amigo Me alegra mucho que te haya llamado la atención y te guste esta colección.
Ya falta poco para terminar.
No había pensado en esa comunidad de colecciones la verdad que no sé cómo funciona pero suena tentadora la idea, gracias por la sugerencia.
!PIZZA
@dayadam, sorry! You need more to stake more $PIZZA to use this command.
The minimum requirement is 20.0 PIZZA staked.
More $PIZZA is available from Hive-Engine or Tribaldex
Esto merece decirme que está Pechocho... Adorable amiga, como siempre ❤️
Gracias amiga tan linda 😘
!LADY
Your collection is exceptional and Tudexo Sam character is no exception. Bravo friend and keep up the good work.
selected by @ibbtammy
Thank you for the support and your appreciation, it makes my work so beautiful 💕